
STORY 20 – Nameless
Recommended Level: 14
Objective: Search for signs of Craven near the sacred tree using your witcher senses
From the metal gate where you saw the Morkvarg, turn to follow Yennefer up the neaby stairs to reach the top of the wall surrounding the garden. Continue after her until you reach the sacred tree in the center of the garden, starting a scene.
Objective: Follow Craven's footsteps using your witcher senses
Seriously? She can't see the massive bloodstains on the table next to the tree? Anyway, look at the base of the tree next to the table with your senses to spot Craven's blood on the ground and a hole in the earth. From this hole, look to the right to see Craven's footsteps leading off. Following the prints will lead you in an arc around the front of the garden, starting on the South-East side and leading to the North-West side. On the way, you'll run into several wolves (use fast attacks, quen and igni to bring them down quickly). You can examine a few things until you reach the slashed door where the trail ends:

- Dead body near the front gate
- Morkvarg's tracks at the front gate
- Craven's blood near the second group of wolves
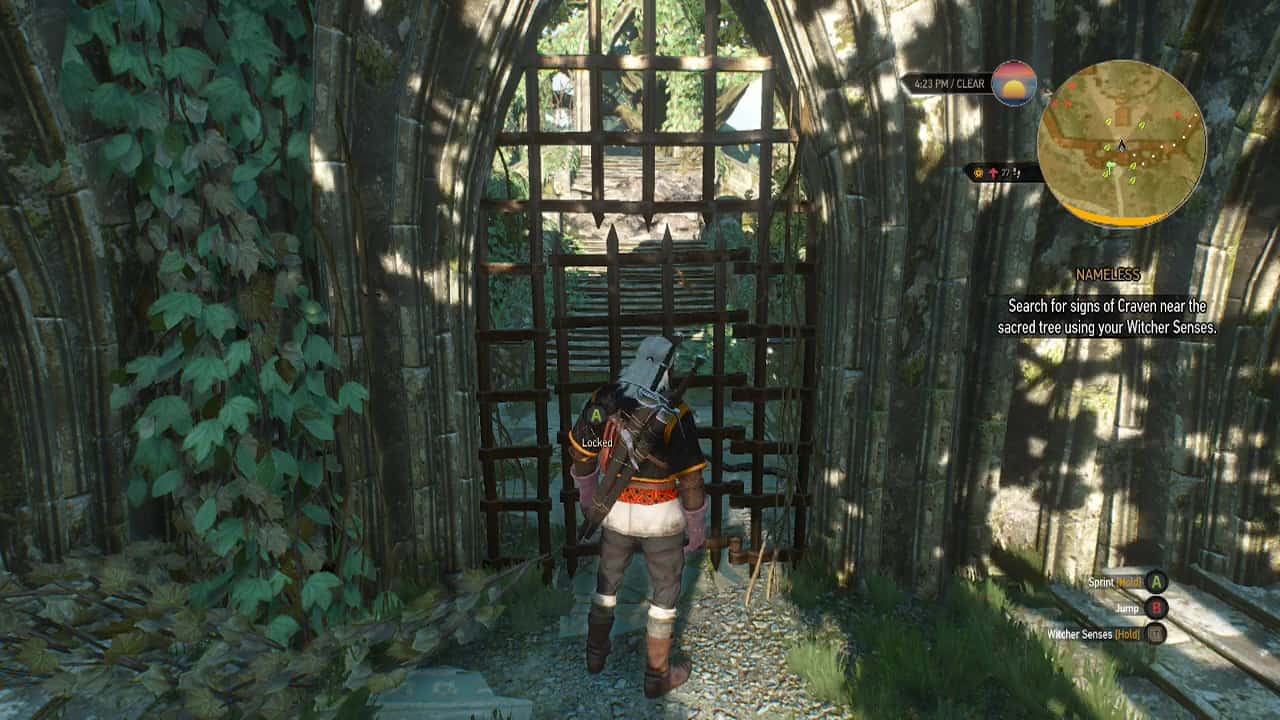
- Door covered in scratches at far end
When you reach and examine the door covered in scratches, it will be locked and you'll be unable to continue investigating this way.
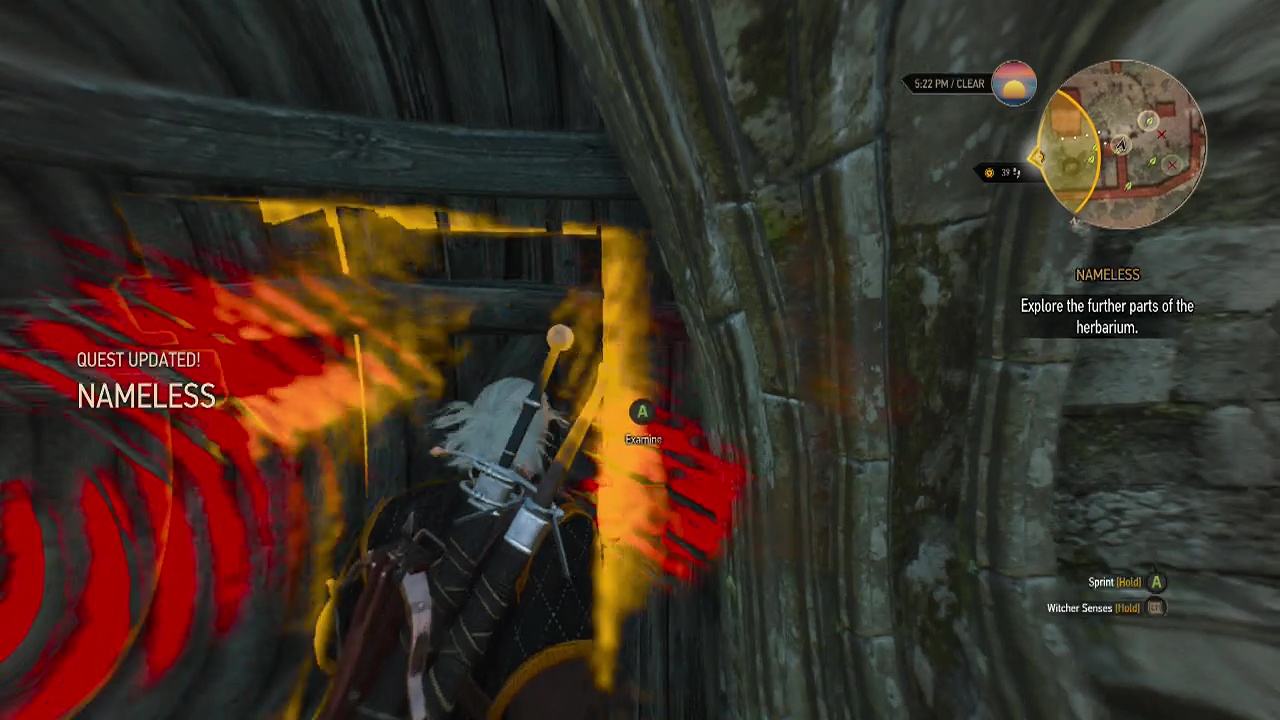
Objective: Explore the further parts of the herbarium
So, you need to backtrack to where you left Yennefer (where you dropped down from the wall near the sacred tree) and travel the other way instead (East past the pillar leading up to the wall and Yennefer). You'll see Morkvarg's tracks leading Eastward from here and run into another wolf. Continue following Morkvarg's trail down the small hut and across the wooden bridge. On the other side is a stone ladder you can climb up (it can be a bit difficult to spot). A few steps forward on the upper level will trigger a scene.
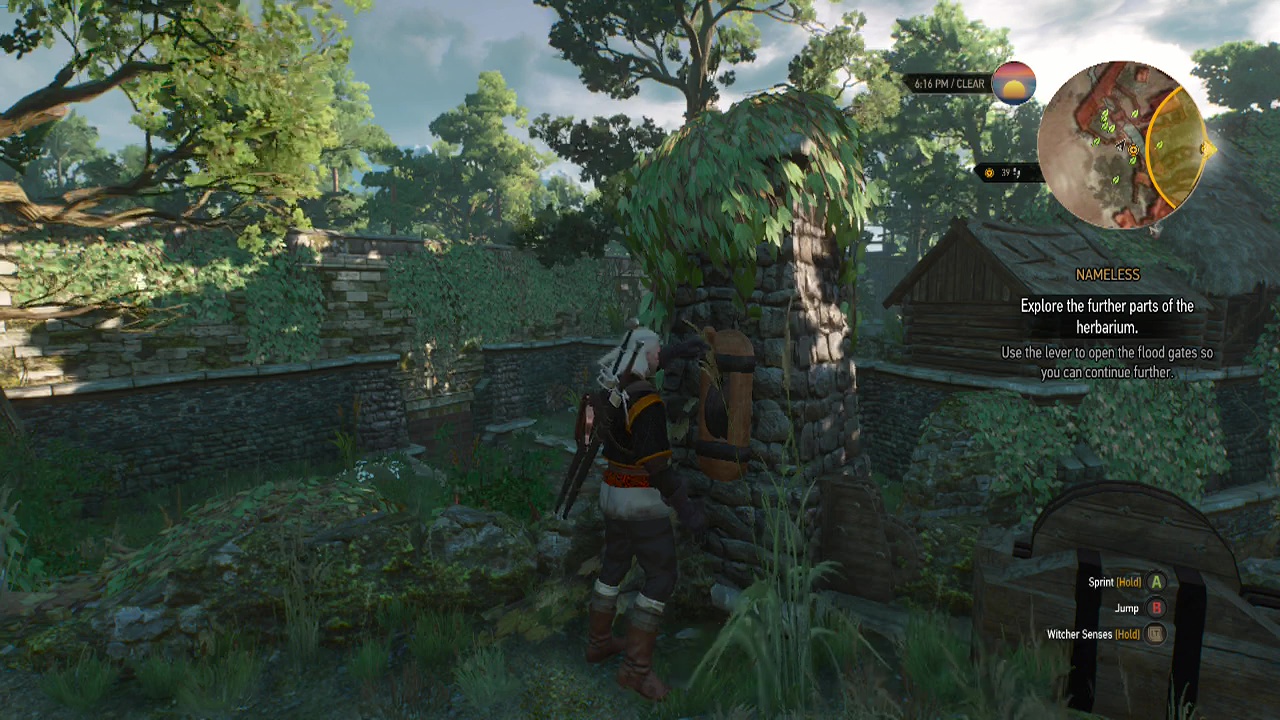
Objective: Use the lever to open the flood gates so you can continue further
The floodgates here are fairly easy to control (one lever to change gate, the other to open or close). The objective here is to open the central sluice (not the one leading out of the garden to the South, and not the one at the base of the falls to the North). The one you want to open is the one next to the wooden bridge you just crossed, leading to the middle of the garden. Flip the levers until you see this gate rise to open the way forward. When you get the correct combination, this objective will vanish.
Detour: You can enter the cave nearby on this level to confront Morkvarg (if you are doing the sidequest: In wolf's clothing). However, if you are just trying to complete the story mission, you can safely ignore the cave and avoid the fight.
Objective: Explore the further parts of the herbarium (cont)
Drop down from the upper area down to the waterway below and jump into the waterway. From here, swim through the now open sluice gate and climb up the ledge and ladder on the other side. From here you can head West to find one of the locked doors you couldn't pass before and a house to the North with it's door ripped off.
Detour: Enter the house to find several sets of bones and the gnawed off leg of Morkvarg. When you examine the leg, Morkvarg will appear at the door of the house behind you, explain the severed leg on the ground and then engage you in battle.
Morkvarg acts like any other werewolf, meaning that he hits with quick melee slashes and leaps around a fair bit in his movements. Use quen and fast attacks to keep up the damage and interrupt his swipes. Well timed rolls will also help you avoid taking too much damage. Morkvarg (like other werewolves) has a regeneration ability which heals for about 50 vitality a second. So you will want to be pretty aggressive to counteract this effect when you see him activate it (a red glow covering his body).
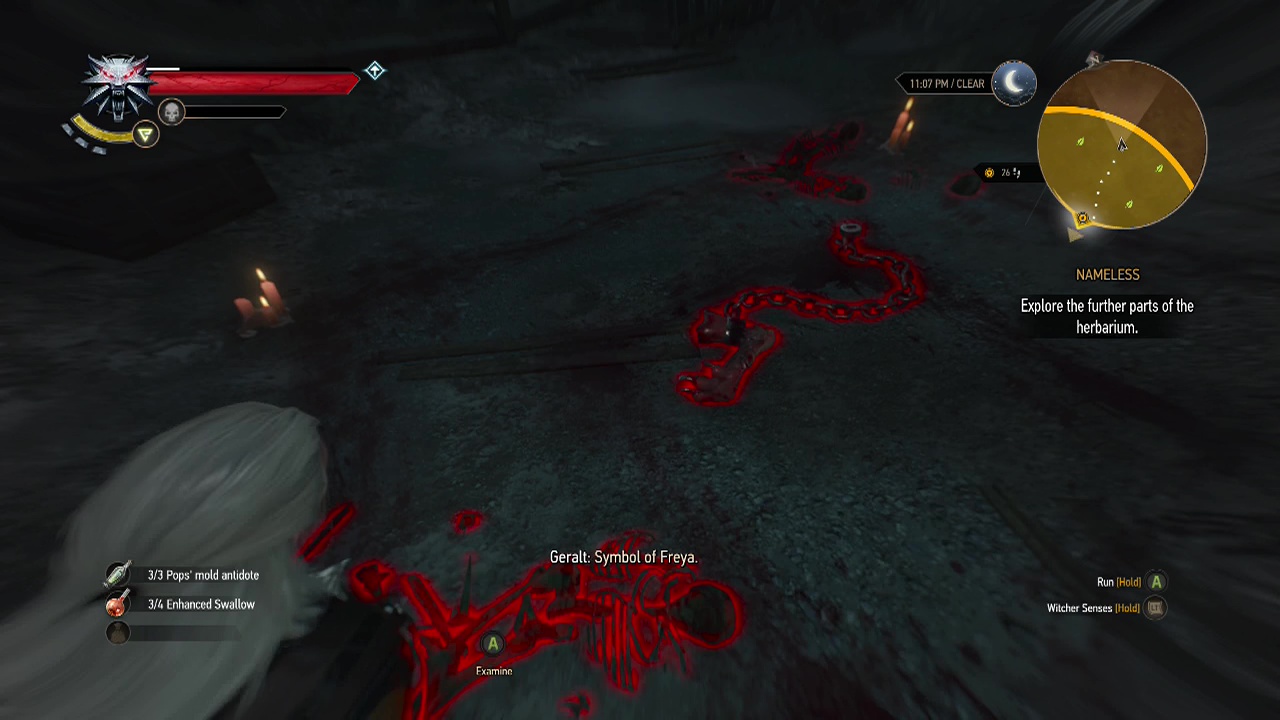
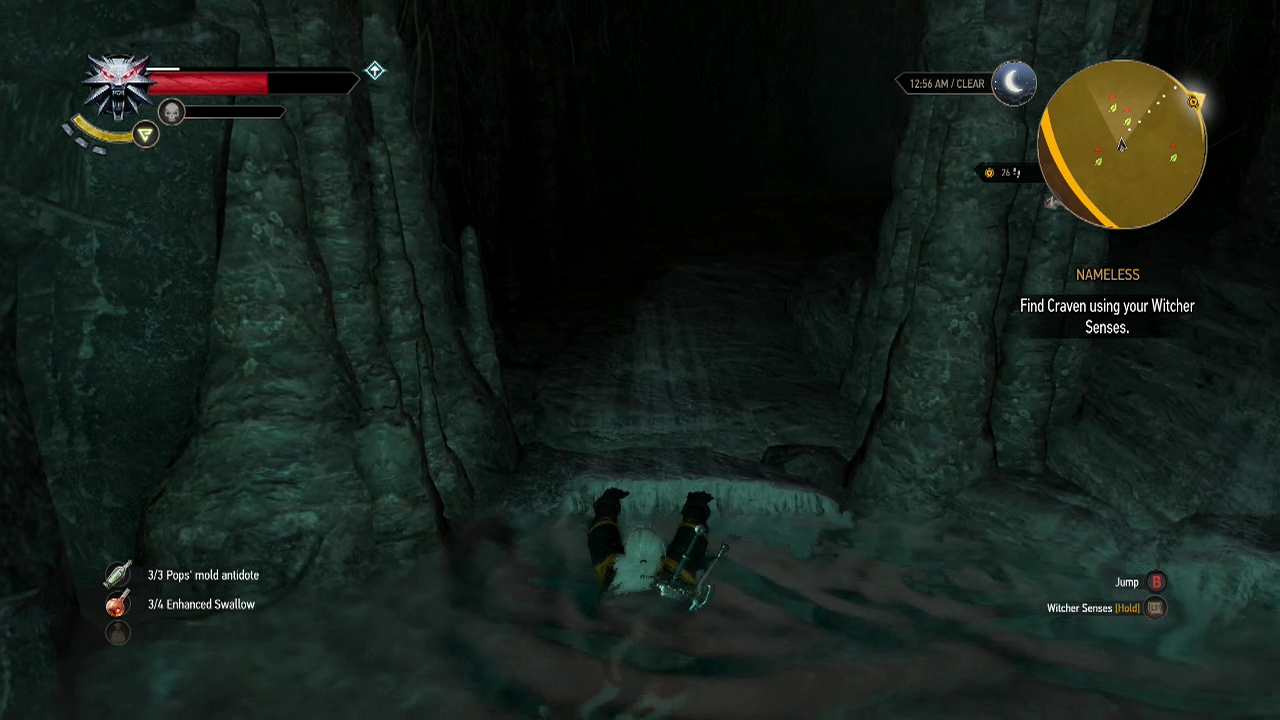
Objective: Find Craven using your witcher senses
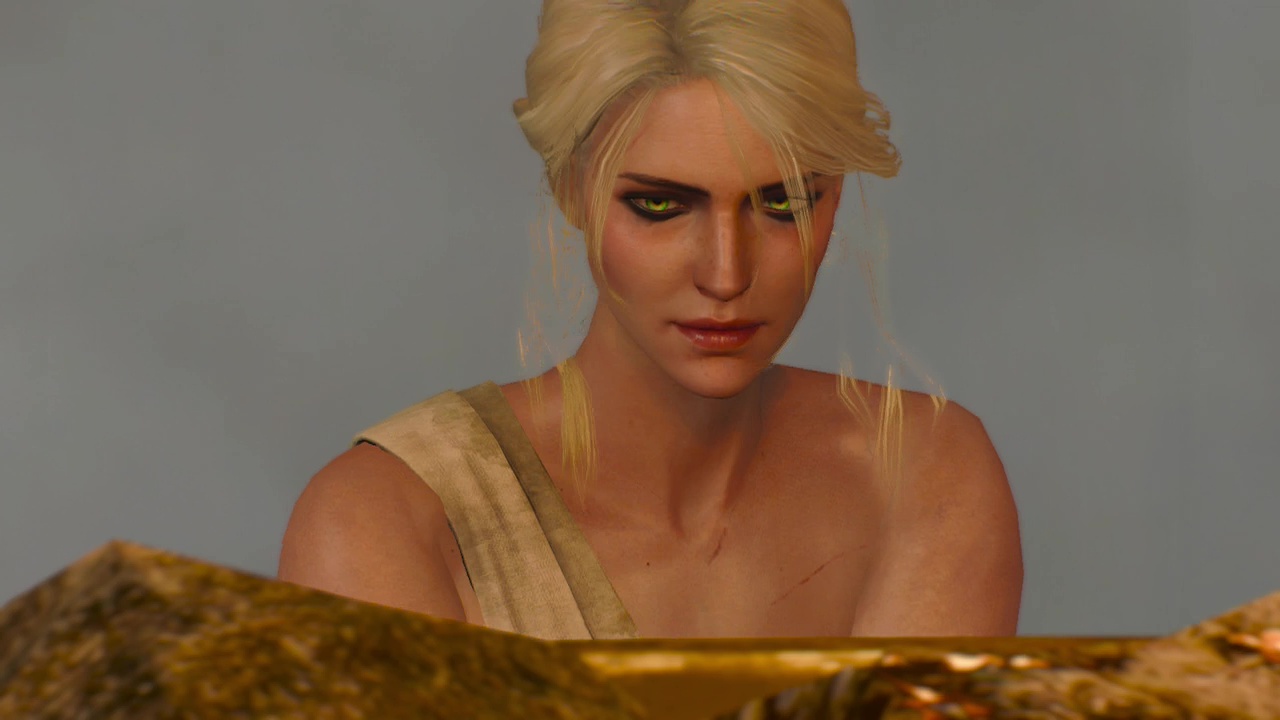
When you are ready to carry on, head for the yellow search area on the mini-map and look around at the ground to find a hole leading down to a cave (next to a tree just a little way from the impassible door mentioned before the detour above). Drop down into the hole and climb out of the water below. Follow the blood trail here to finally find Craven. Watch the scene unfold until you are back in control of Ciri once again.
STORY SUBQUEST: The Calm Before the Storm
Recommended Level:
Objective: Follow Astrid to the sauna
After watching what happened to Ciri and gaining control, follow your guide Astrid out of the house, across the village and into the sauna building.
Objective: Leave your clothes in the changing room
Interact with the materials in front of the mirror to be presented with the option to undress. Do so and you'll get the option to put on a towel or head straight for the sauna. Wearing the towel will cause some comment, but otherwise not change much. Either way, choose to head for the sauna when you are ready. After a long scene of talking (and a lot of wrinkled skin texture on Astrid's mother), you'll stand up and leave the steam room.
Optional Objective: Jump into the water to cool off and regenerate
Optional Objective: Drink a shot of Freya's fire water to warm up
Leave the room and jump in the pool outside the door to regenerate some of your health. From the pool, you'll see a small stone bridge across the water that leads to a tree and a platter with a jug and glasses. Interact with these to regenerate more health.
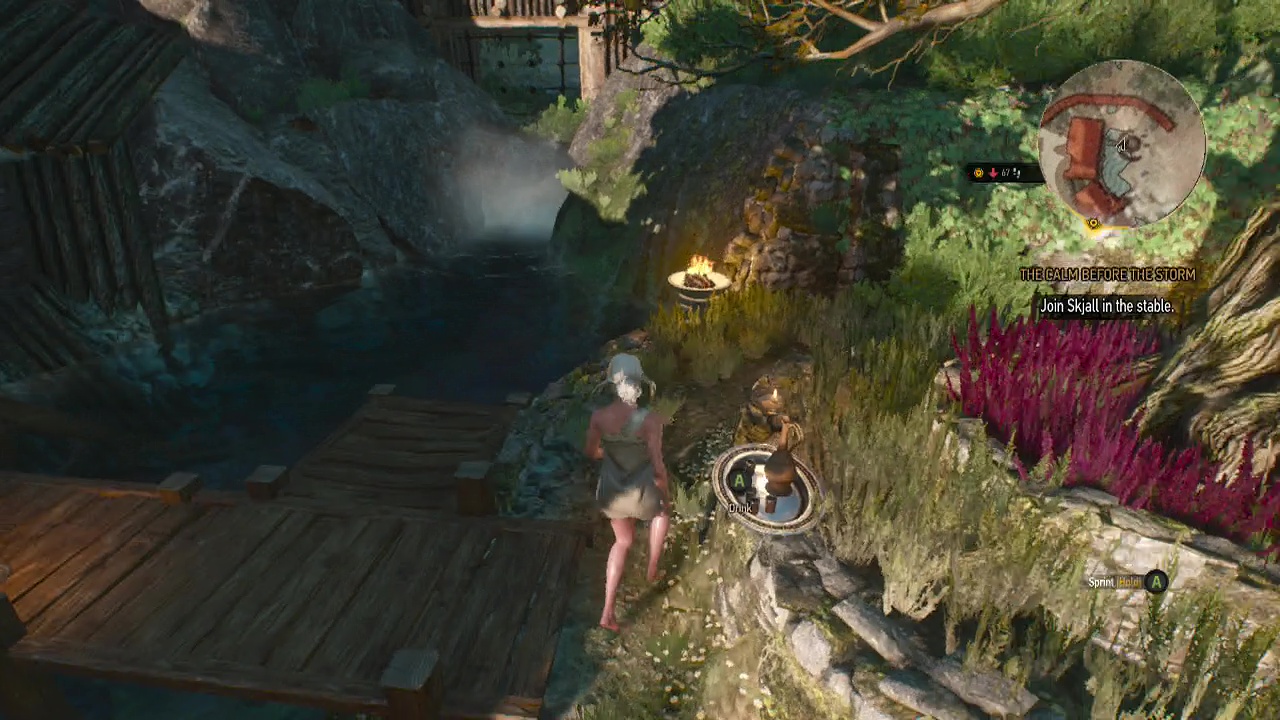
Objective: Join Skjall in the stable
Re-enter the sauna building and go back into the room where you undressed to put Ciri's clothes on again. Leave the sauna and follow the mini-map trail to find Skjall waiting for you at the stable. During the scene, you can choose to kiss Skjall or not before the wild hunt arrives.
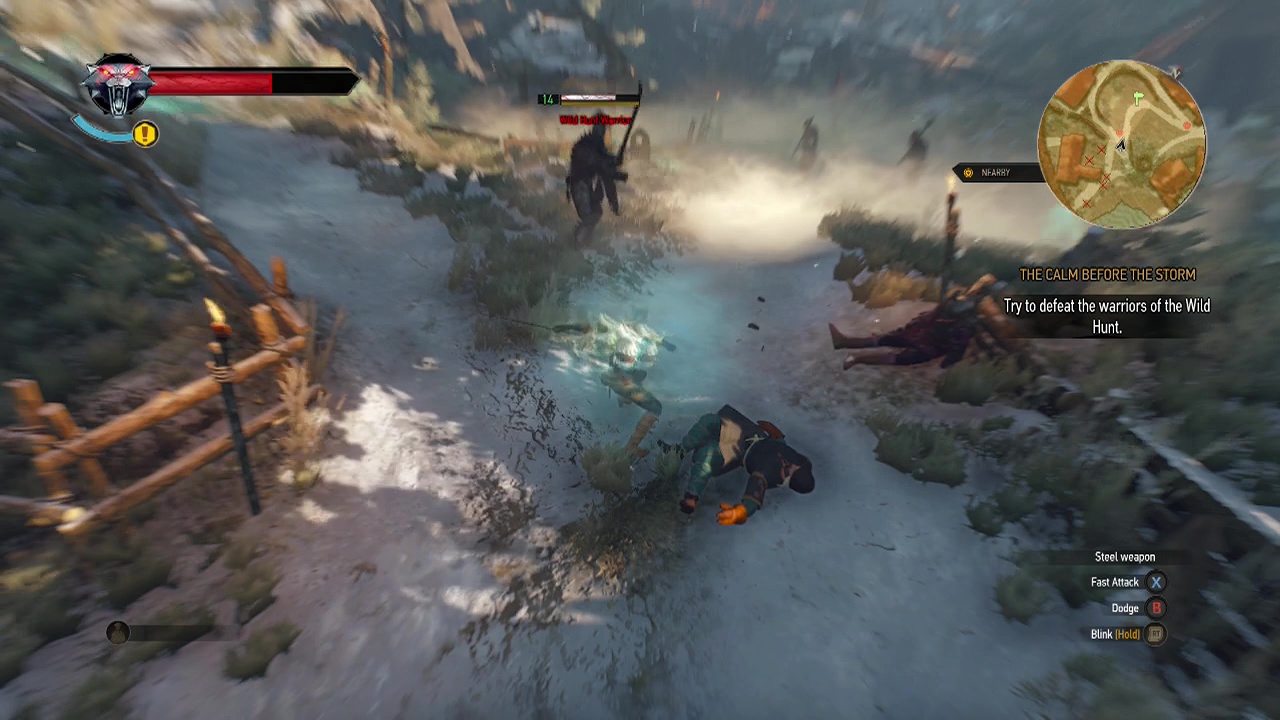
Objective: Try to defeat the warriors of the wild hunt
You'll have time to take down most of the warriors in the village (beating them with Ciri should be second nature by this point) before a scene takes over and Ciri needs to flee once more.
Objective: Get on a horse and flee towards Drowned Dead Rock
Hop on the marked horse nearby and start galloping out of the village and along the trail. Avoid the slashing hounds of the hunt along the way until a scene begins showing Ciri getting away from the hunt yet again. After you return to Geralt and Yennefer, watch Yennefer deal with the situation and afterwards this quest ends.