Fast travel to the hill where Ermion waits to ask for his aid. Unlike most allies, he will agree to help straight away and leave for Kaer Morhen immediately. I'm in shock. No sidequest. Madness!
Fast-travel to Kaer Trolde and find Crach to ask for his help. Annnd, rejection. Crach can't offer any help until the King's succession is complete and his children have returned. Sigh, guess we know what needs to be done.
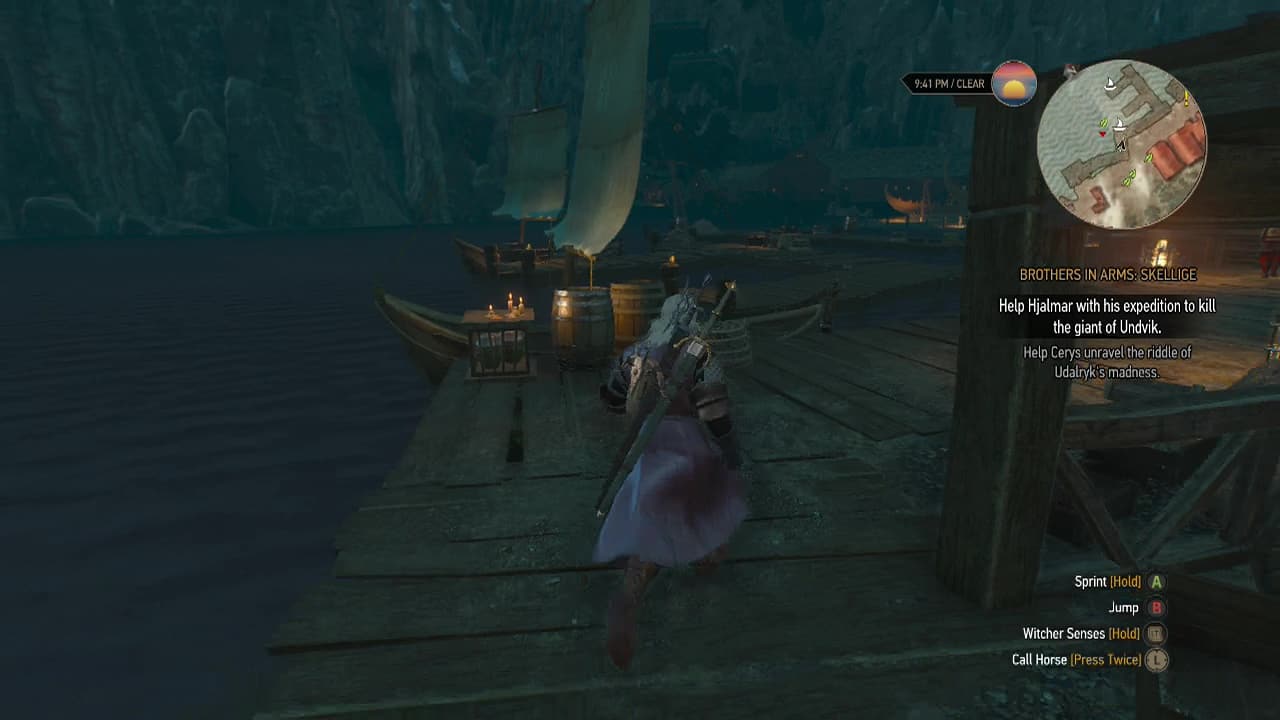
Well, first things first. Geralt will need to travel to the correct island. The one you're looking for is a big triangular one to the South-West of Kaer Trolde. Hop in a boat and avoid the sirens and other water based enemies as you make your way to it.
After landing on one of the two beaches of the island, you'll need to head inland to discover the demolished village of Urskar and the remnants of a major battle fought in the area.
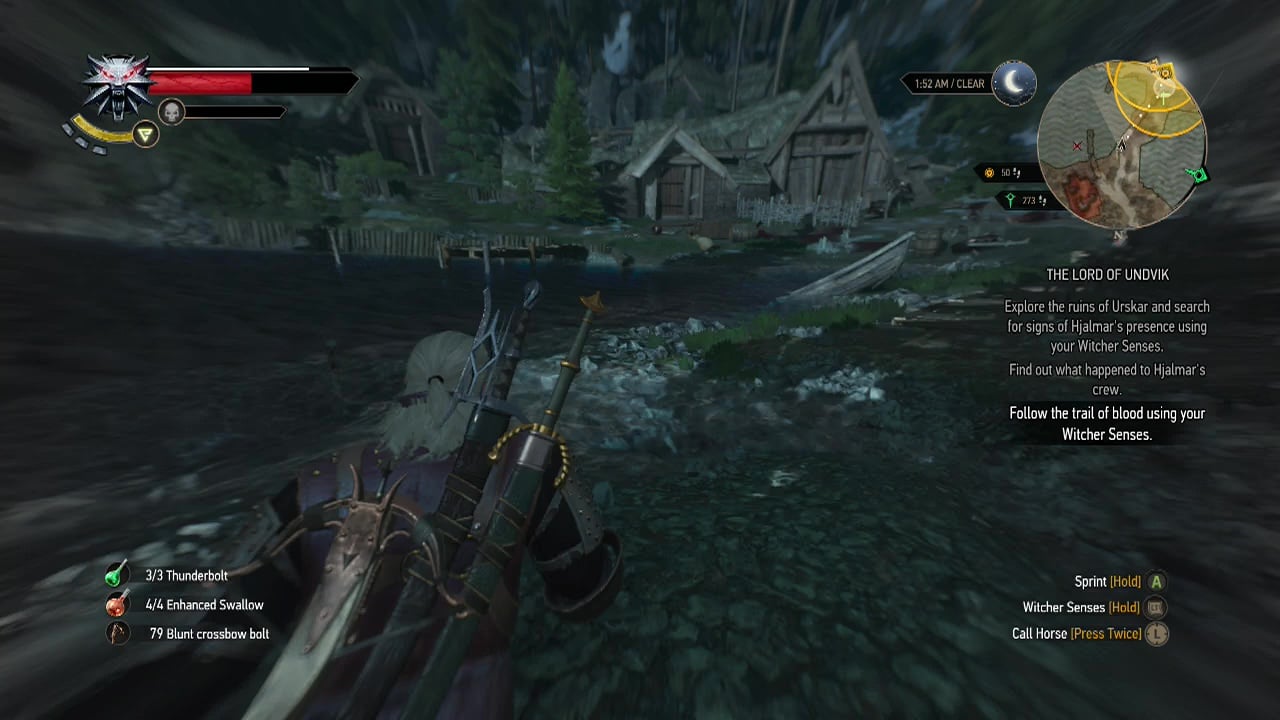
Near the fast-travel marker in the middle of the village, you'll spot huge puddles of blood with footprints leading away from the village. Follow it up the hillside until you reach a cave entrance, which the crew must have entered to escape the giant.
After entering the cave, you'll see the footprints end at a ledge, signifying that you should jump into the water below. Splash into the water below and quickly head for solid ground. Several erynias (harpy enemies) will be flying around the area for you to deal with. Like usual, fast attacks and takedowns will finish them off quickly, leaving you free to explore the caves.
Head for the Northern end of the cave to find the trail of the sailors once again. Blood spatters and enemy bodies litter the path for you to follow. Climb up along the series of ledges until you leave the cave via an upper exit, battling the devourers in the final passage.
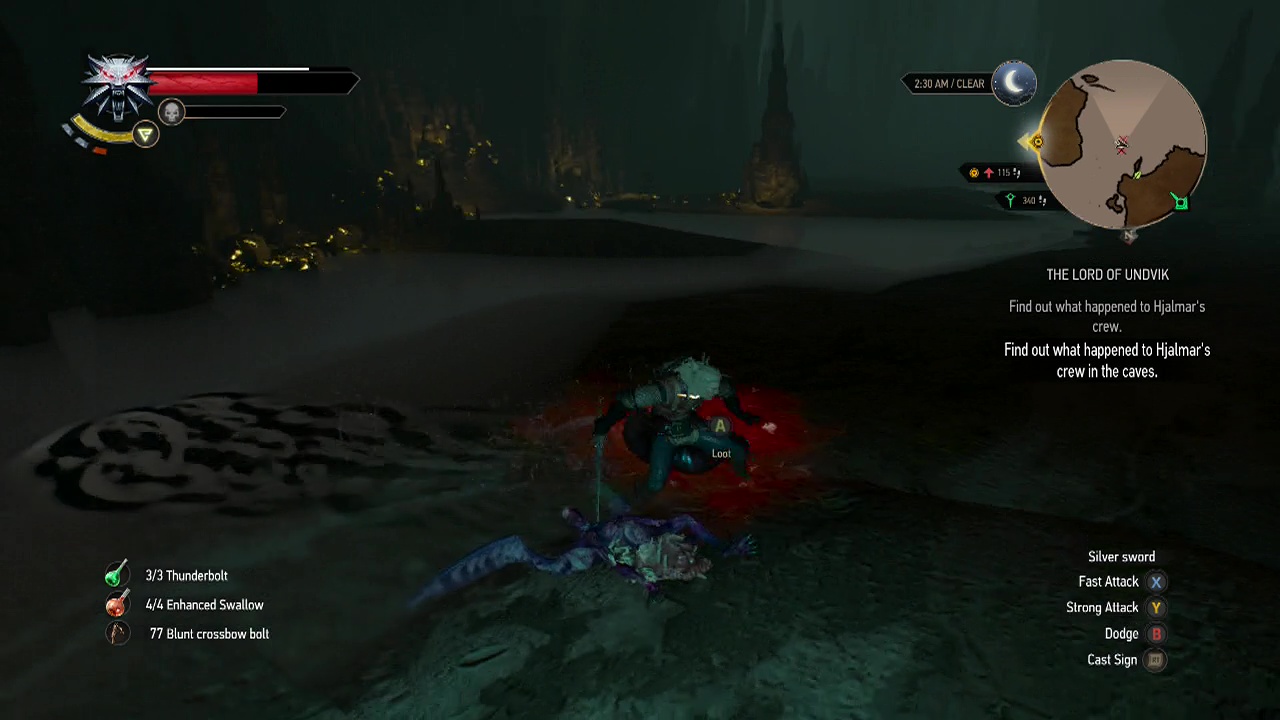
Enter the building in front of you to find out what happened to Hjalmar's crew. A trio of devourers will be in a side room for you to engage, before you follow the set of footprints leading from the building towards the beach down the hill. Here you'll finally find Hjalmar under attack from flying enemies. After a brief discussion, you'll accompany Hjalmar on his final attempt to find and slay the giant. Follow the trail to the fallen stones blocking the lair of the giant and clear the path during the scene.
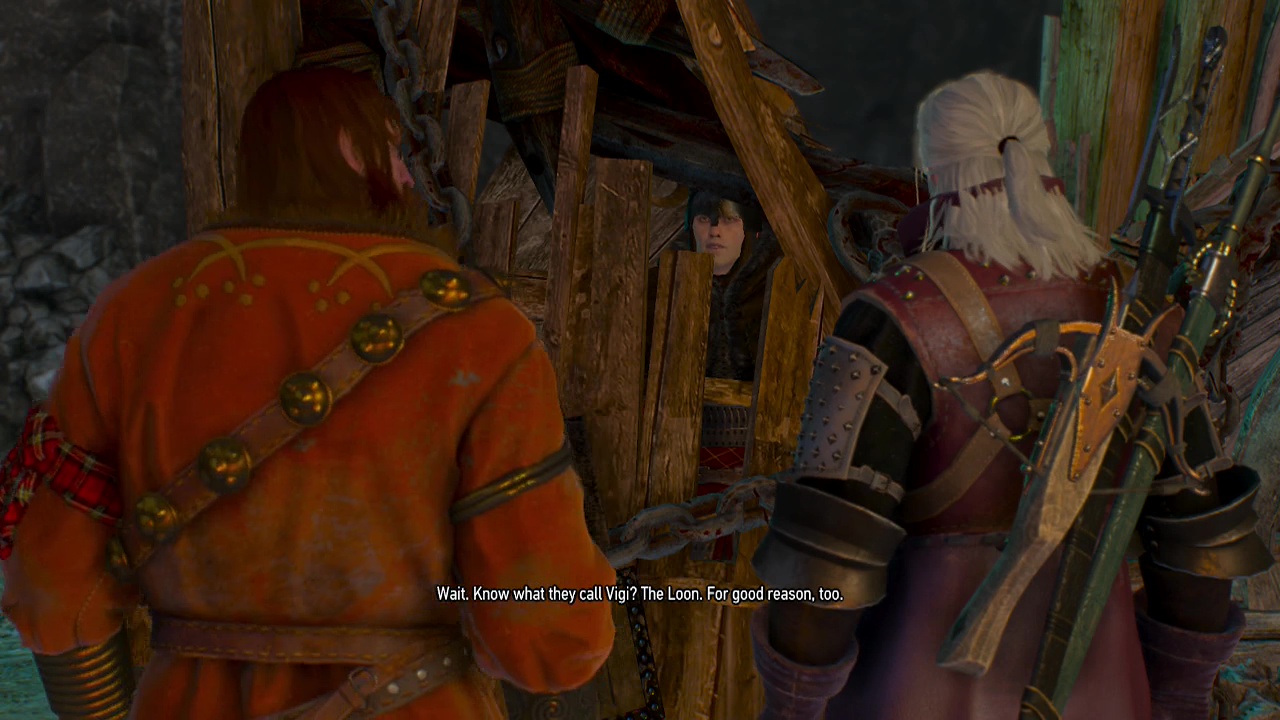
Enter the cave and work your way through. When you reach the back of the cave, you will trigger a scene, and find one of Hjalmar's men in a cage.
Let's free him. – Vigi initiates the fight with the giant
All right. Let him stay there. – Results in caged man's death during fight against giant.
Cross the room, carefully avoiding the white snow on the ground, until you reach a chest with a light behind it to the left of the giant. Examining the chest with your senses will highlight it in red. Inside is the key for Vigi's cage.
Carefully return to the cage and unlock it to trigger a scene.
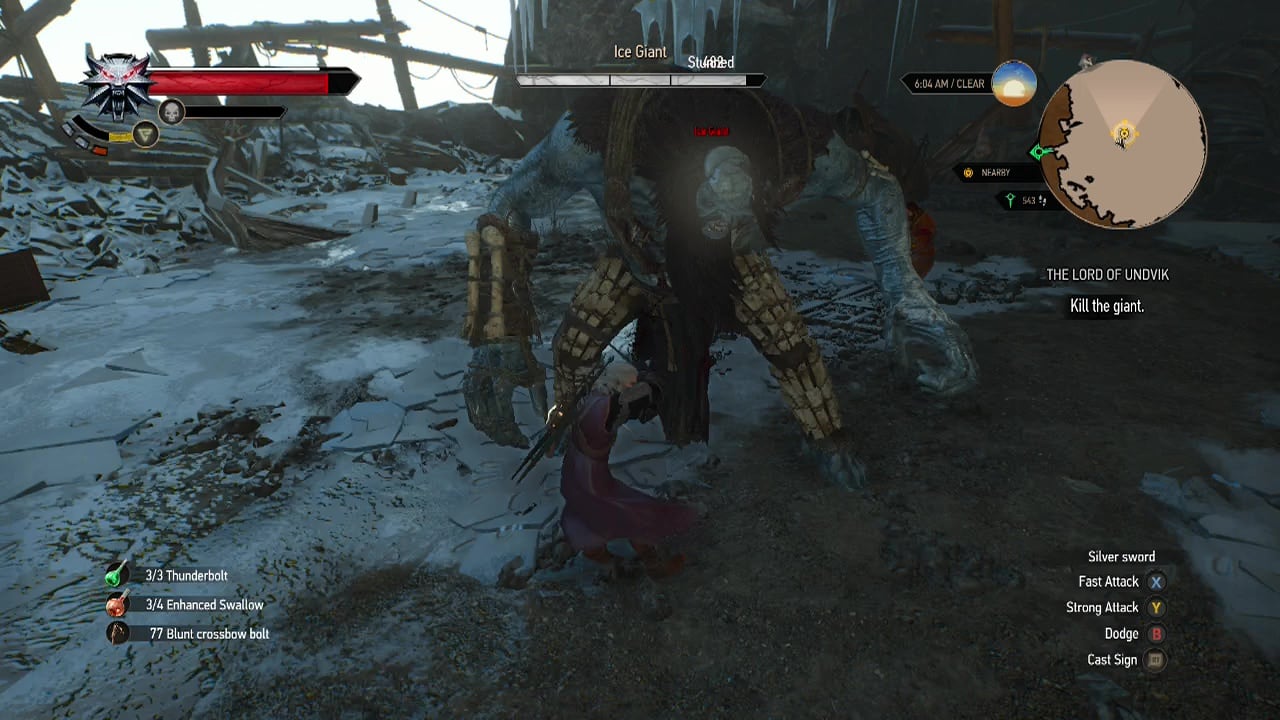
The giant is vulnerable against Ogroid Oil, and the Quen sign. Make sure to have the Quen sign active during the battle to soak up the powerful attacks.
At the start he will use close range swipes. The giant will also roar and charge across the map, swinging his arms. Another common attack is to slowly raise his foot, and bring it down dealing area of effect damage. Hjalmar is immortal and will slightly distract the giant occasionally, allowing easier movement and attack.
If you didn't release Vigi, when the giant has lost a quarter of his health, Vigi will be killed indirectly. If you did release Vigi, he will join the fight with you. He is not immortal, and has a health bar showing his life.
Once the giant picks up the anchor, he will use it in attacks, increasing his range. He will swing it down in a line straight ahead of him. If you are close enough, he will do a swipe with his free arm, knocking you back.
After the giant goes down, make sure to stay behind so you can get some nice loot from the giant's corpse. If you do this, you will need to meet him at the boat symbol on the map, to see him off for his return voyage home.
Objective: Ask Udalryk where Cerys is.
Fast travel to Svorlag. If you haven't yet discovered it, head north-west from Kaer Trolde Harbor. Once there, follow the minimap trail up the hill towards the Jarl's longhouse. Have an illuminating chat with the guards at the door before heading inside and talking to the Jarl. During the scene, you may get the impression there is something up with the Jarl.
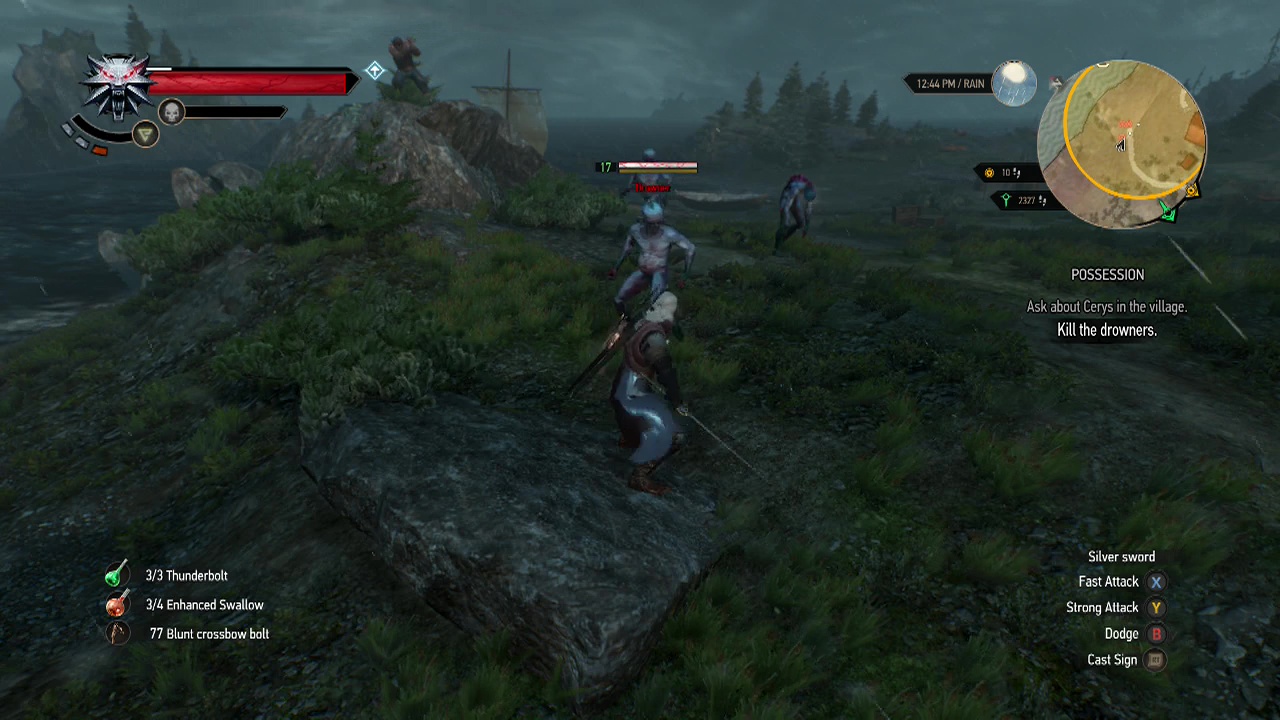
Objective: Ask about Cerys in the village.
Walk around the circle until it triggers into a individual person to talk to. There are multiple to find and talk to, and some of them move around so locations may differ. One is a Skellige Woman with a broom to the south-west of the fast travel sign. Another is a Fisherman on a patio to the west of the fast travel sign.

Objective: Talk to Bergthora
Bergthora is an evil chicken plucker. She is plucking chickens to the north of the fast travel sign. Somewhat pointless, as they do not have any less feathers, nor any change of chickens in the bucket. Talking to her will get you the information you need about Cerys.
Objective: Find Eiric
Follow the minimap trail to the nearby beach, to spot Eiric cowering on top of a cliff (to be expected when you're married to an evil chicken plucker), surrounded by drowners. Kill them to hear his story about how he saved you from the drowners you killed (wait, what?).
Objective: Look for Cerys in the abandoned house using your witcher senses.
Resume your following of the minimap trail, up the hillside behind the village, until you reach the Jarl's abandoned house. Head in and loot the place. Once inside, you may feel that something is wrong with this house. Notice the dark edges to the screen. Using your witcher senses, examine the floor near the entrance and follow the footsteps.
Enter the first door on the right, and pick up the key off the ledge. Walk past the second door and around the corner to find Cerys. During the following scene, you will find out more about Cerys and her efforts to help the Jarl.
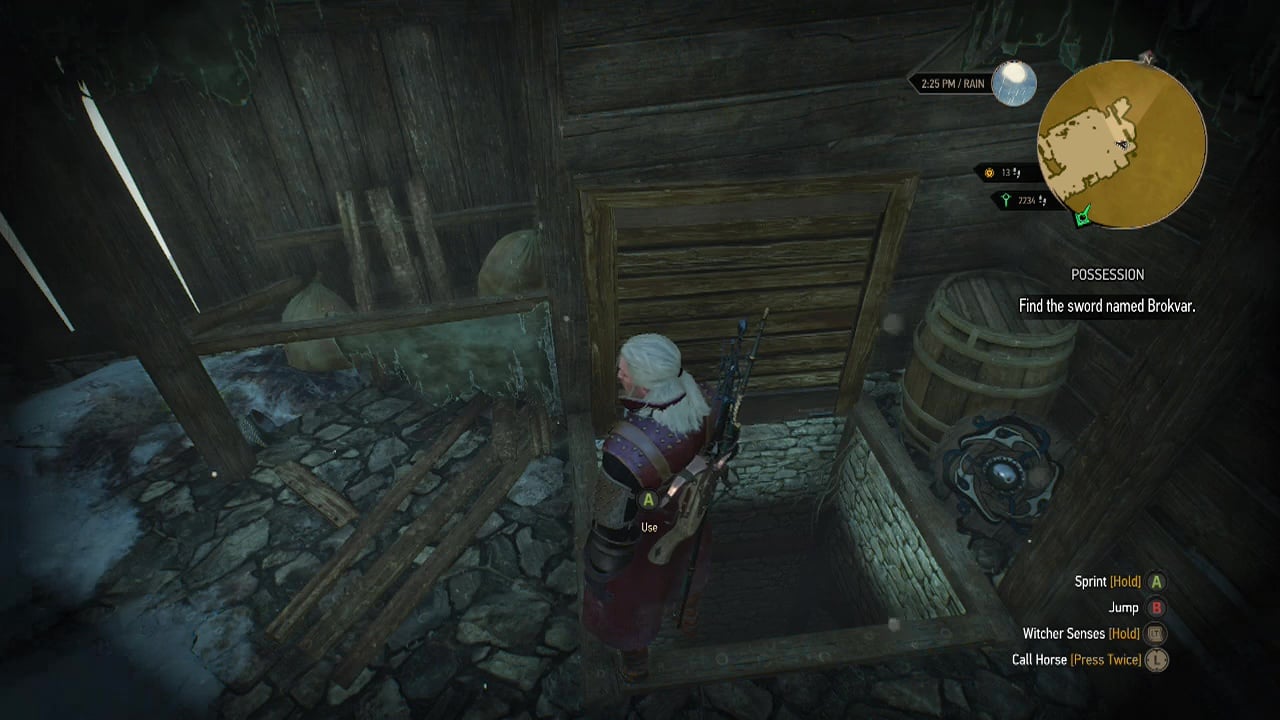
Objective: Find the sword named Brokvar
After the scene, head back into the house to find the sword. Using the key from before, you can unlock the trap door in the north corner of the house, and descend into the basement. Loot the glowing table to find Brokvar, and watch the wall behind the table.
Objective: Tell Cerys you found the sword
Leave the house to rejoin Cerys.
Objective: Go to Uldalryk with Cerys
Return to the village and return to the Jarl's longhouse once more to trigger a scene.
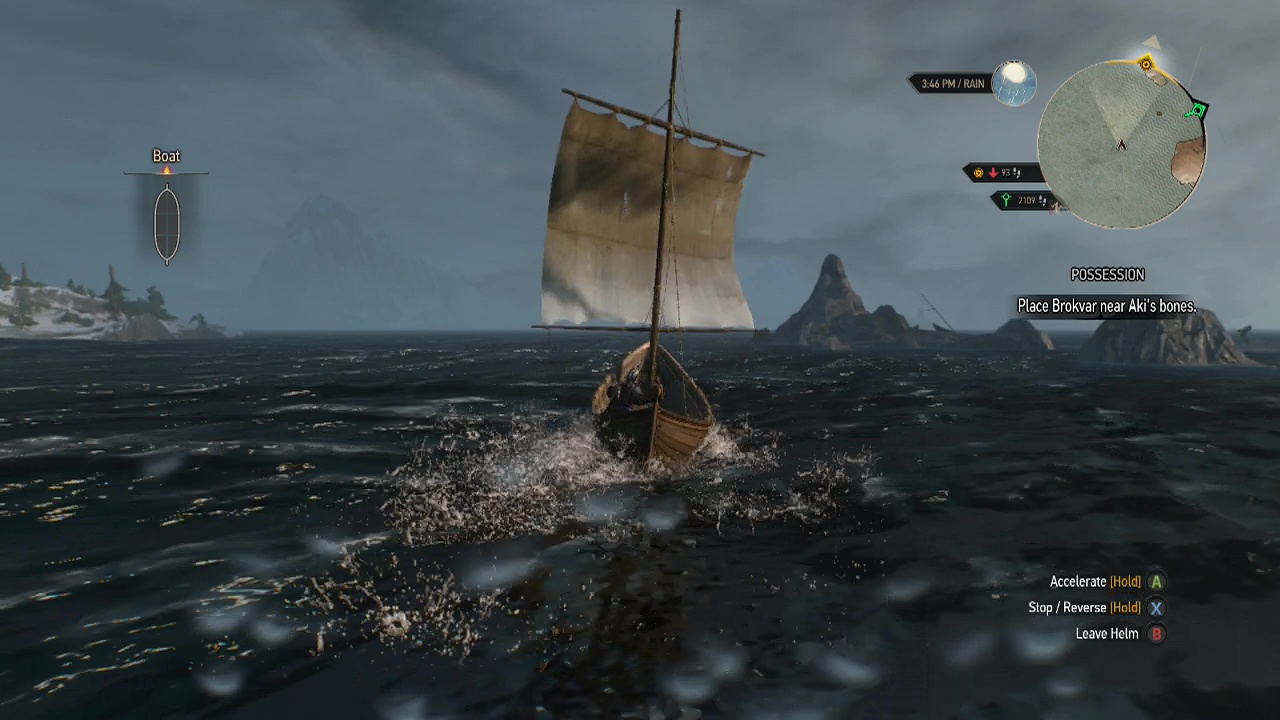
Objective: Place Brokvar near Aki's bones
Leave the progressively maimed/mutilated Jarl on his balcony and head down the trail to the docks, where a boat is waiting. Take the vessel and sail the short distance to the marker on the map. Dive into the freezing water, and take on the sirens who will try to drown you. In the centre of the circle, using your witcher senses, you will find Aki's body. Examine the body to place the sword with it.
Objective: Return to Udalryk
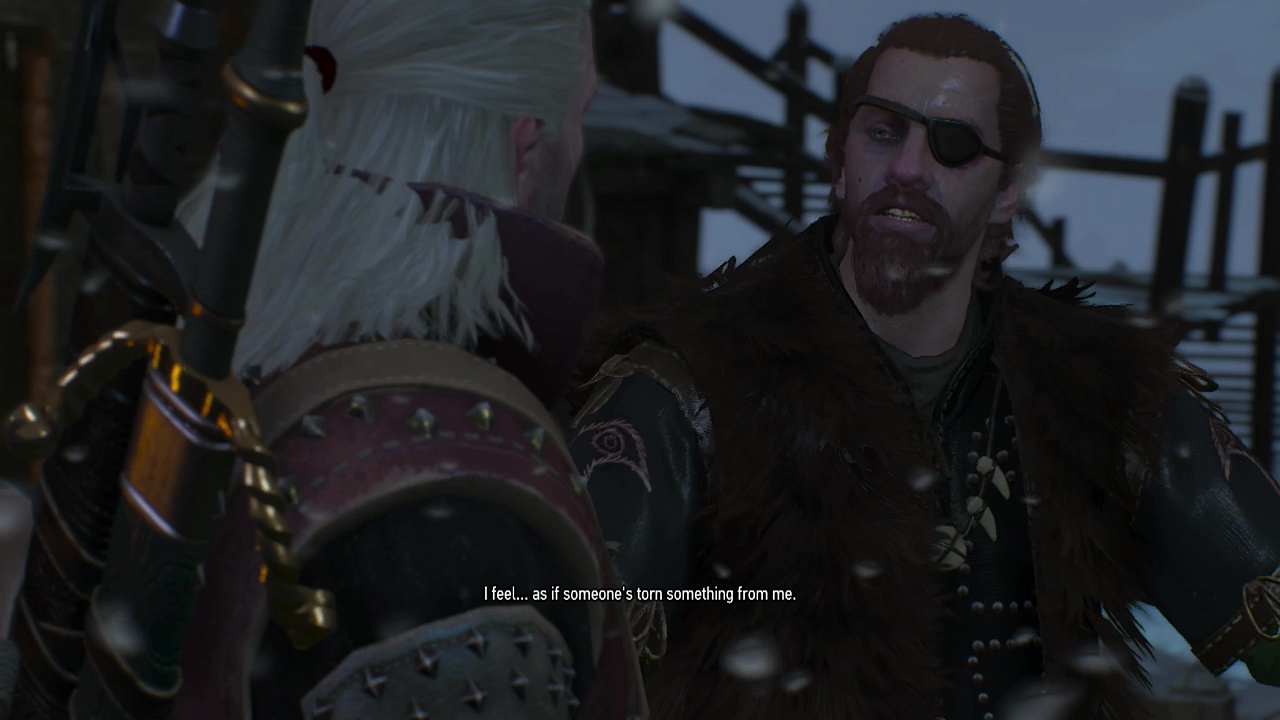
Navigate your way back to port, and return to the Jarl's longhouse, to hear a bloodcurdling scream. Walk inside to trigger a scene. Listen to the scene to find out what you are up against, and what options you have to combat it.
Objective: Meet Cerys in Udalryk's old home
Head back up the hill to the house.
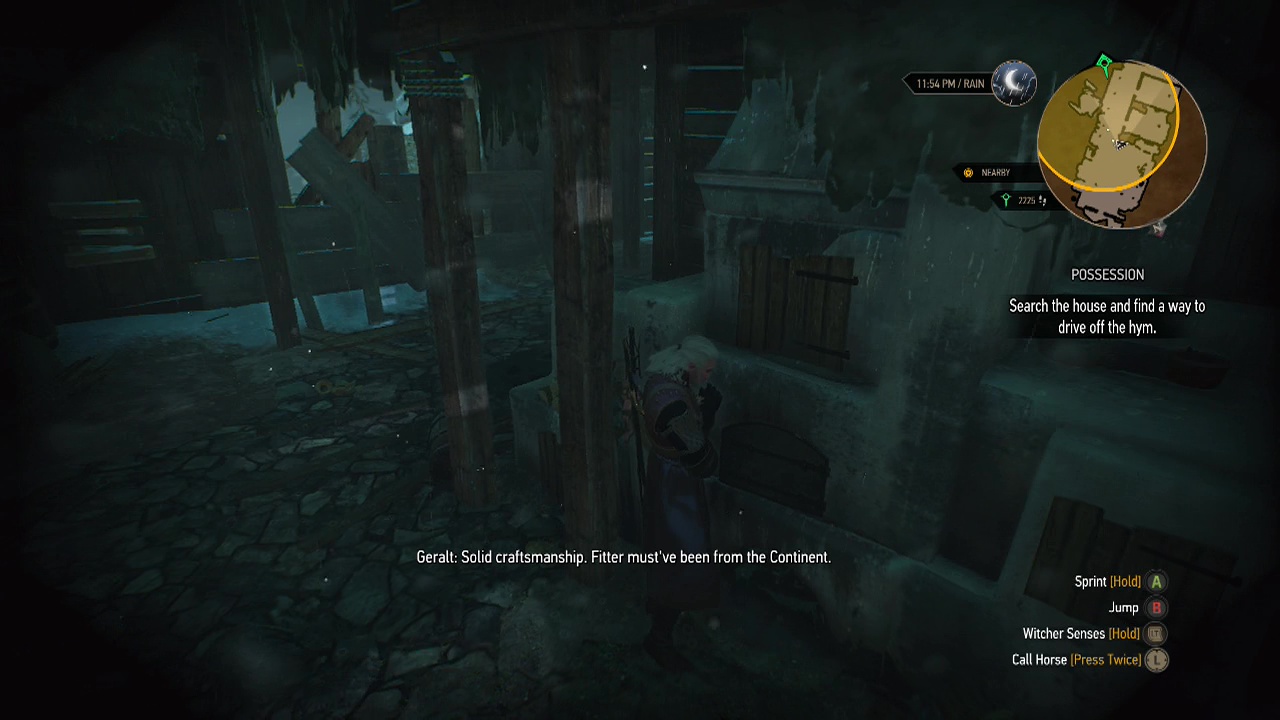
Objective: Search the house and find a way to drive off the hym
Enter the house and, using your witcher senses, examine the things highlighted in red.
- Portrait – First door on right, after cutscene with Ciri.
- Wooden Beam – First door on right.
- Cradle – Second door on right.
- Fireplace (Important) – Main room
Objective: See what Cerys has found
Shortly after examining everything, and once she has gone outside, Cerys will call out to Geralt. Join her outside the house.
I trust you. – Begins Trick method.
No way. – Begins Witcher method.
OPTION ONE: The Trick
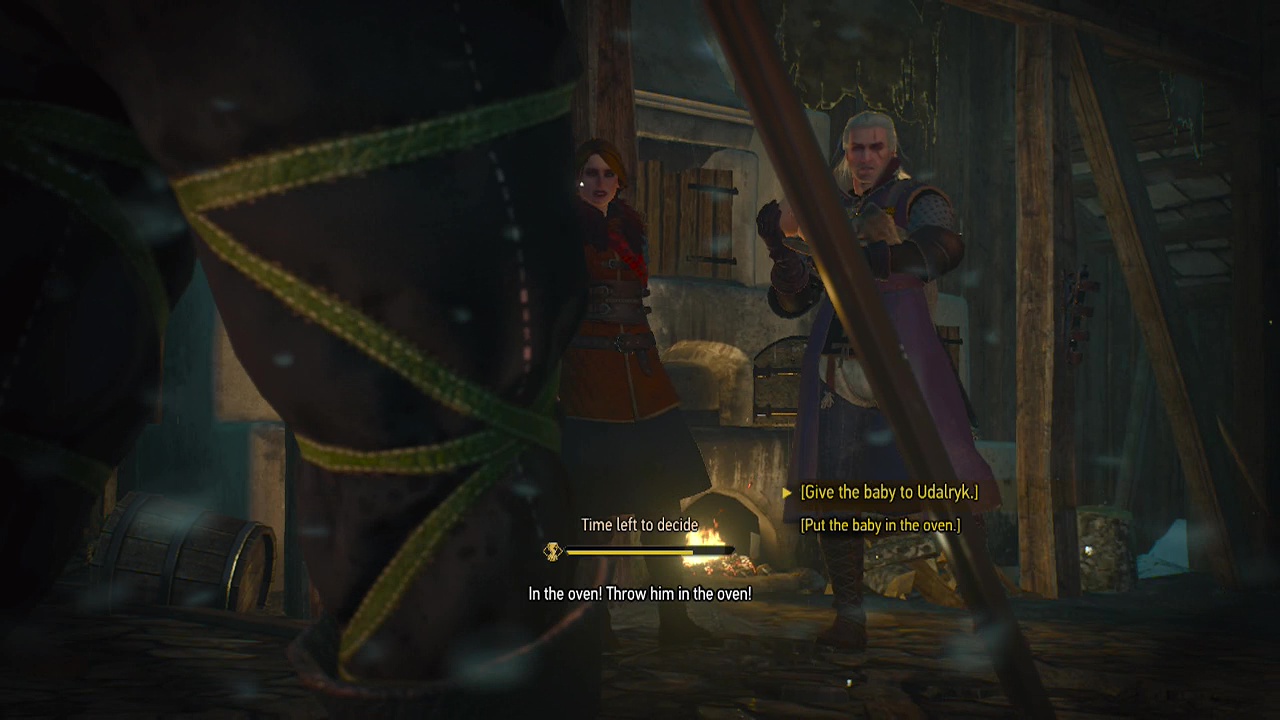
Watch the cutscene, and decide if you're a monster or not.
[Give the baby to Udalryk.] – Trigger Witcher path option.
[Put the baby in the oven.] – Continue Trick path.
"Let me make you a deal, you get your mojo, you keep your money, and I'll get your baby."
Objective: Defeat Udalryk's warriors
Beat up the saviour guards trying to save the innocent baby, and continue the scene. After this scene plays out, this path is over. Quick isn't it. Turns out throwing babies into ovens is a quick way to end a fight.
Note: At this point option one rejoins the sidequest for the scene showing the Jarl now free of the hym.
OPTION TWO: The Witcher's Way
Travel back to the village with or without Cerys.
Objective: Tell Udalryk about the hym
Enter the Jarl's longhouse and talk to him.
Objective: Place torches around the abandoned home (4)
Make your third trek back up to the abandoned house. Apparently we like haunted scenery. Go to each marker on the map, and place each torch.
Objective: When you're ready, talk to Udalryk
Walk to the balcony outside, and talk to Udalryk to start the ritual.
Objective: Light the torches
When you're ready to begin, light the torches.
Objective: Kill the hym
The hym has a claw swipe that hits further than it looks, for decent damage. He will also disappear in a puff of smoke, and reappear in a different location.
Objective: Calm Udalryk
Once you have taken the hym down to a third of its health, Udalryk will start screaming. Use your Axii sign on him to calm him down. The longer you take to do this, the hym will regain more health. Udalryk will also start moving around making it harder to treat him. Once you have nearly killed it, a scene will trigger.
Objective: Go to the basement
Head to the basement to finish off the hym. Turn on the lights to start the fight. It will have half of its health back, but will use the same attacks as before. When it is defeated, take its loot.
Objective: Tell Udalryk it's all over
Tell him it's all over.
Note: At this point option two rejoins the sidequest for the scene showing the Jarl now free of the hym.
End Sidequest
King's Gambit
Recommended Level: 18
Location/ Obtained From: Triggered automatically upon completion of sidequest – The Lord Of Undvik and sidequest – Possession
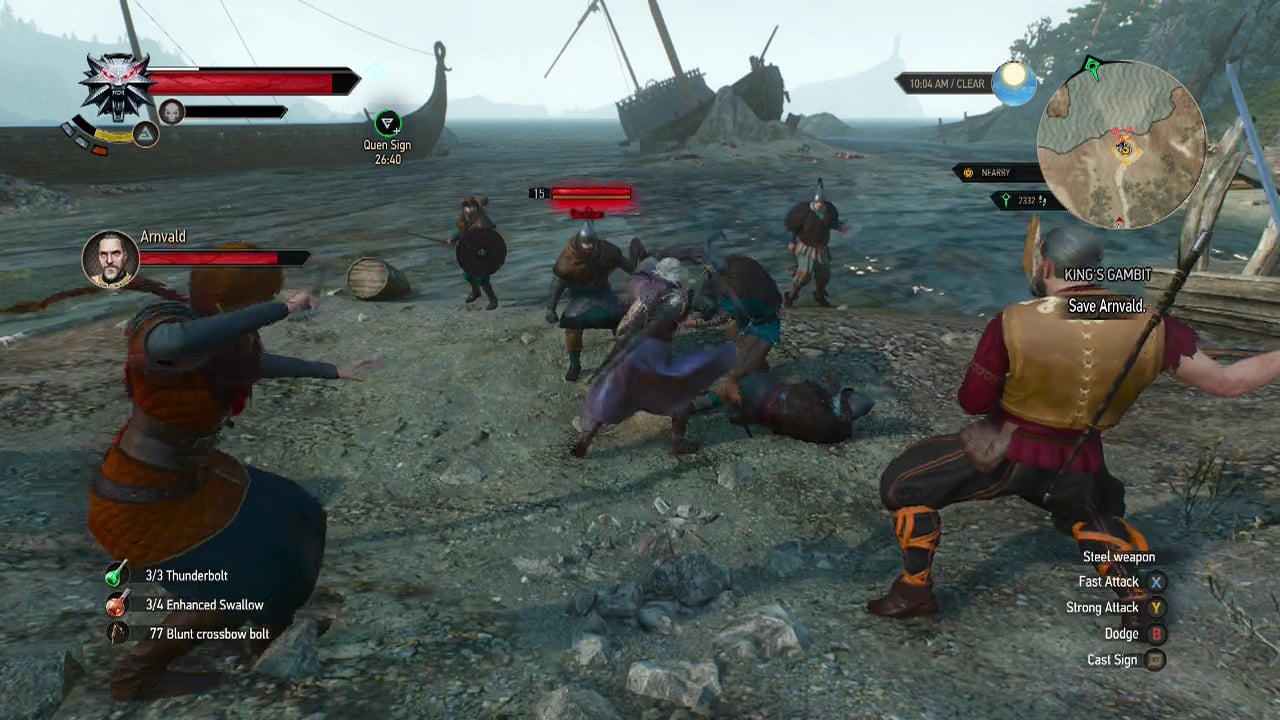
Objective: Report to Crach an Craite to collect your reward
Fast travel to Kaer Trolde and enter the castle to meet with Arnvald at the gate who will take you to see Crach. After the scene, head through the doors to trigger the scene with Crach. You will get your reward Fate (relic level sword) for helping both his children.
Objective: Defeat the bears
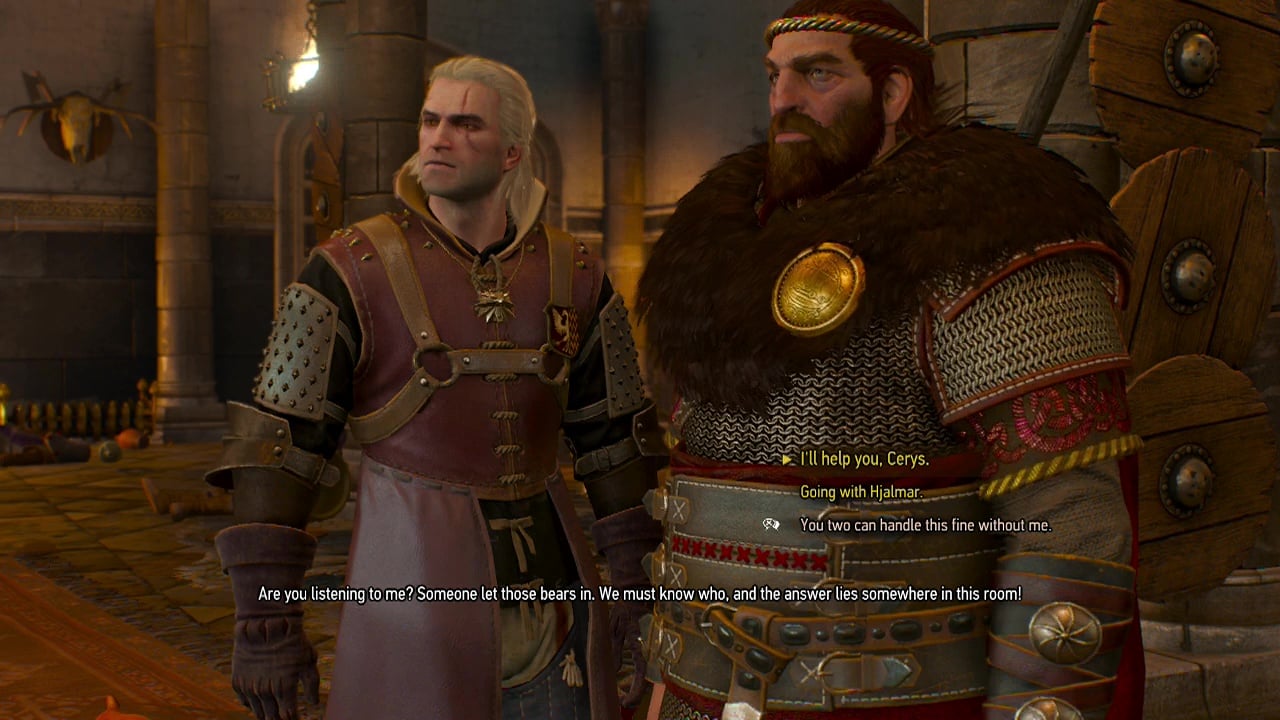
Kill the bears. Once done, there will be some shouting and you will have to choose who to help, or just say screw it and leave.
I'll help you, Cerys. – Help Cerys investigate. Will end up with Cerys crowned.
Going with Hjalmar. – Go with Hjalmar to kill people. Will end up with Hjalmar crowned.
You two can handle this fine without me. – Completes quest, but prevents quest chain from completing (unable to find continuation thread at this point)
OPTION ONE: Cerys Investigation
Objective: Examine the crime scene using your witcher senses
Look around the room with your witcher senses, looking for anything glowing red.
- Bodies on ground
- Bear corpse (Important)
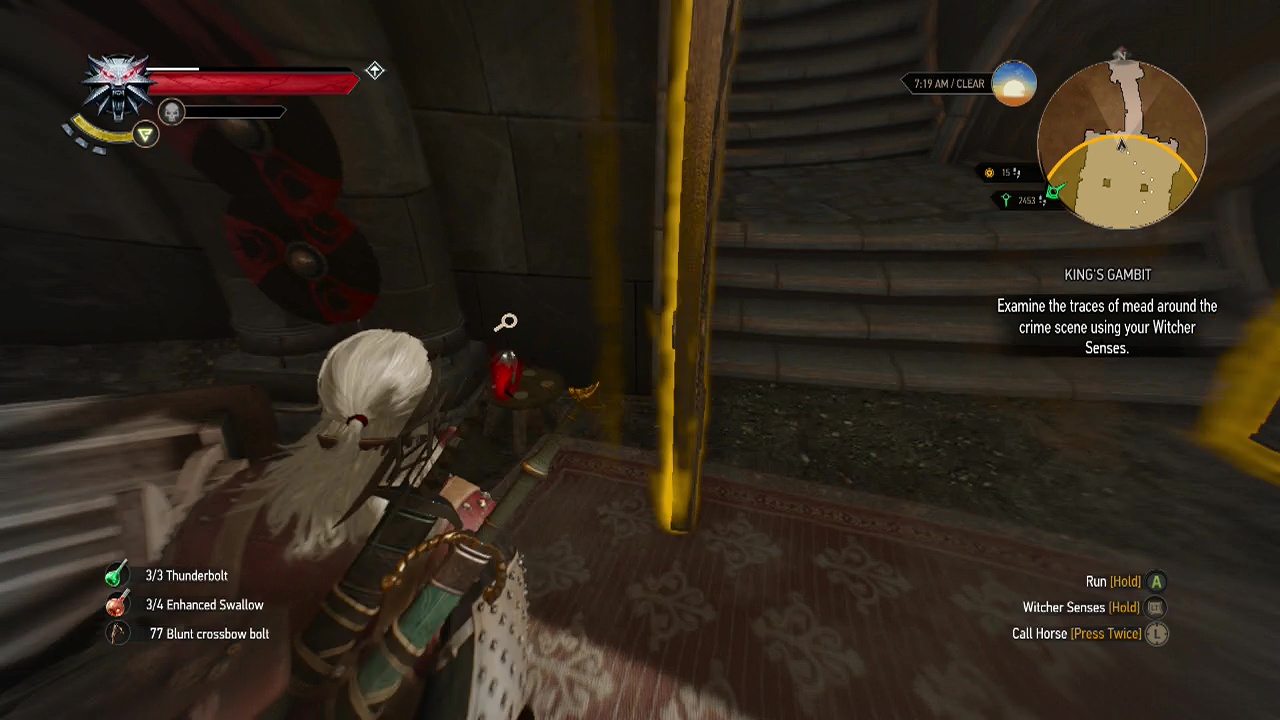
Objective: Examine the traces of mead around the crime scene using your witcher senses
The horn you need to find is next to the open doors at the north end of the hall.
Objective: Ask Hjort to have a look at the mead sample
Follow Cerys out of the hall and down the stairs to find the druid in prayer.
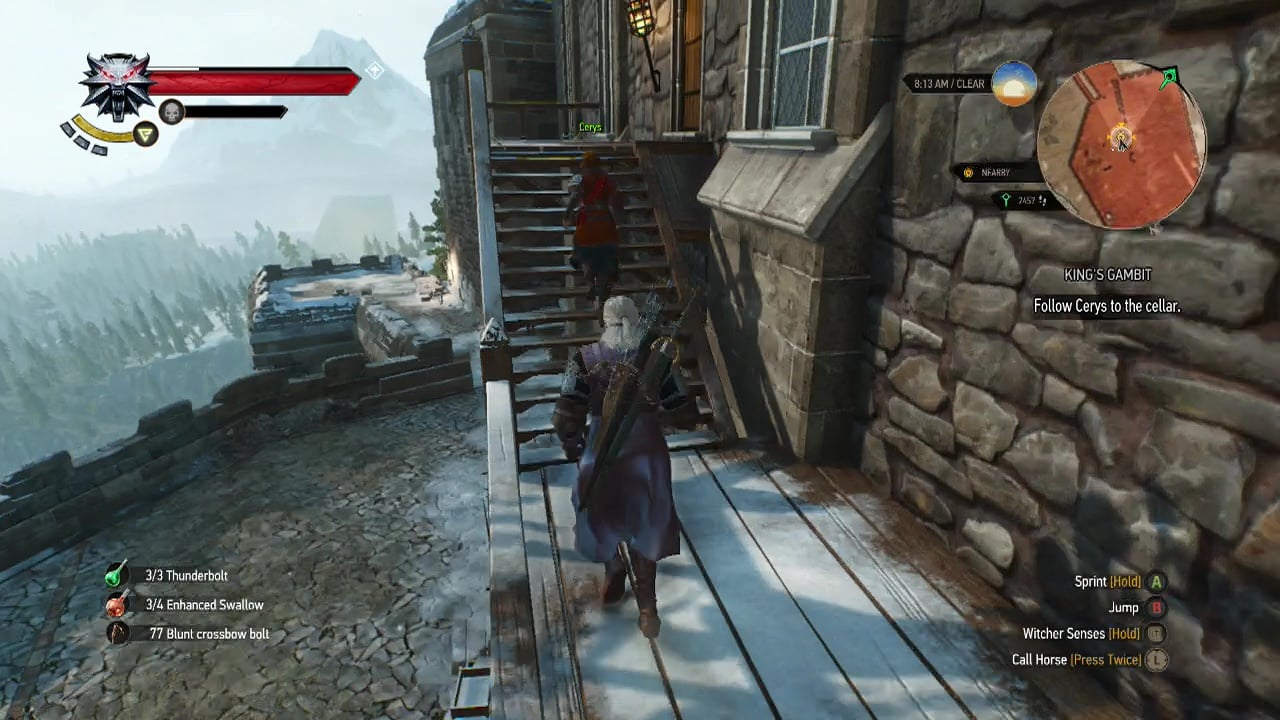
Objective: Follow Cerys to the cellar
Follow Cerys out of the main hall to the cellars. You may need to wait for her to unlock the door to get into the cellars. Because it is locked. And you don't have a key.
Objective: Examine the cellar
Head through the cellar until you jump down some stairs. These barrels will be glowing red.
Objective: Examine the mead in the open barrels
Examine the barrels until you find the spiked one. The south most barrel is the one.
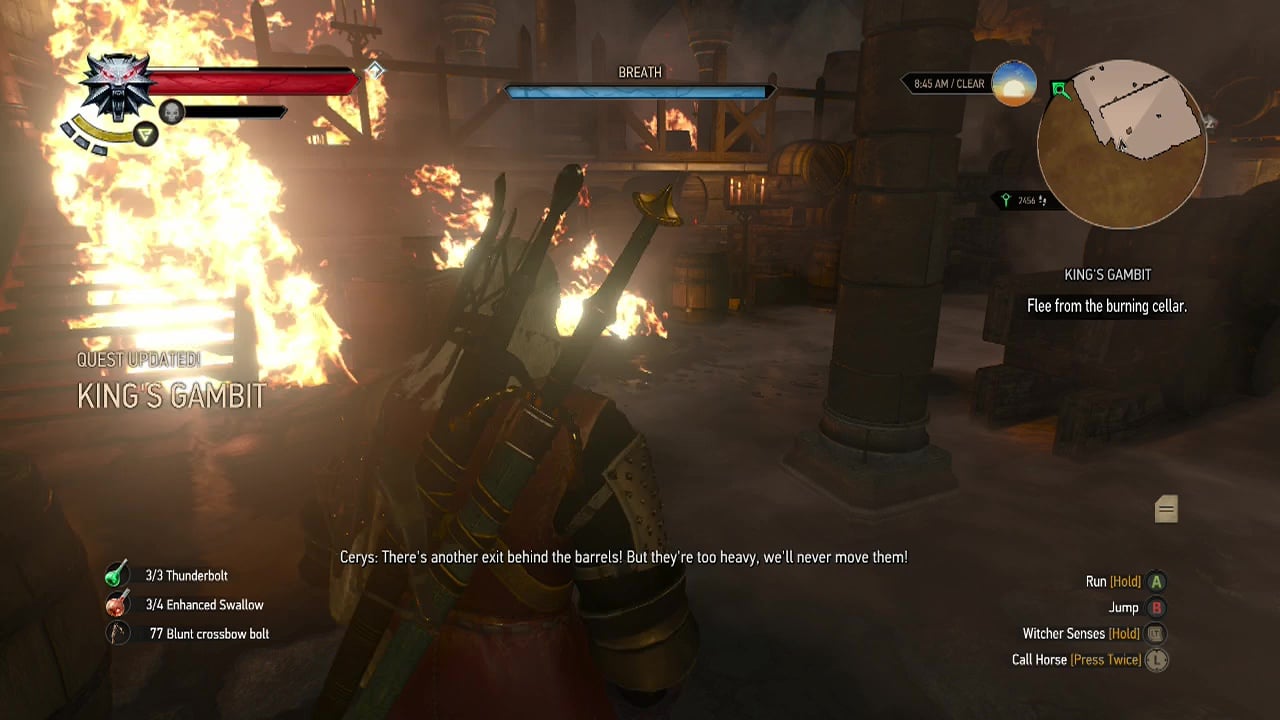
Objective: Flee from the burning cellar
As soon as you find the spiked barrel, someone throws some fire and catches the stone alight. Flee. Run to the north wall, and use the Aard sign to blast away the pile of barrels blocking the passage.
Objective: Follow Cerys through the tunnel
Follow Cerys through the tunnel. Partway along, you will find a place of power to draw upon, to gain an ability point.
Objective: Look for tracks around the cellar door using your witcher senses
Follow Cerys through the storerooms back to the entrance of the cellar. At the door you will find a smashed bottle of mead to examine.
Objective: Follow the footprints using your witcher senses
Follow the footprints to find the culprit.
Objective: Look around for a clue using your witcher senses
Once the trail ends, examine the torn material on the torch bracket.

Objective: Catch Arnvald
Race Cerys back to the entrance to the castle for a scene showing Arnvald fleeing the castle.
Objective: Chase Arnvald
Note: The presentation of evidence will proceed a little differently depending on if you catch him before he reaches the soldiers or not. It is actually more convincing to let him get to the soldiers. But either way, the true culprit will be served justice.
Run him down, and smack him to interrogate him. If you let him get too far, he will make it to some soldiers which you will have to fight. Once done, the trial will begin.
OPTION TWO: Hjalmar Vengeance
Objective: Explore the Vildkaarls' village using your witcher senses
Follow Hjalmar up the hill to the search area to trigger a scene. Some of these can be found in multiple locations. Discovering the trapdoor will progress the quest, and skip the optional objectives below. However, these can give you more flavour text if you want to know more about the clan.
- Northern hut – Human scalps hanging from ceiling.
- North of cliff, at base – Human body
- Southern house – Tattoo dyes
- Southern house – Dried mushrooms
- Southern house – Footprints on floor leading to concealed trapdoor (Important)
Optional Objective: Examine the place Hjalmar pointed out using your witcher senses
Up here is an arena training area.
Optional Objective: Examine the place where fights are held using your witcher senses
Examine the shrine to learn of Geralt's super sniffing ability.
Optional Objective: Follow the scent using your witcher senses
Follow the scent which will lead up to the southern most house. In here is the trapdoor which will lead you to the Southern most hut.
Optional Objective: Follow the footprints using your witchers senses
If you find the bloody footprints, you will get this objective to follow to the southern most hut.
Objective: Explore the cave
Whichever path you take, you will end up at an entrance to a cave through the trapdoor. Follow the path until you drop down into a small area, to fight a small man.
Objective: Defeat Hallgrim
Once he reaches a third health, he will become even smaller and cuter. Well, at the very least fluffier. He will regerate health, but in all regards, is a bear. He takes very little damage from physical attacks, but he really hates fire. So Igni isa good choice here. It will deal lots of damage over time, as well as stopping the regen for a short time.
Objective: Venture further into the cave
Venture further to find out how the new recruits are initiated.
Objective: Interrogate the druid
Approach the druid for a scene.
Objective: Defeat the druid and the beserkers
Druid smackdown begins. All of these enemies are weak to fire. However, these bears will take normal damage from your silver sword (if you switch to it), and very little from your steel. The druid has an area of effect blast, and a staff strike if you are close enough.
Use silver for the bears, and steel for the druid. Geralt likes to auto switch here, so pay attention to which sword is out. Or if you have a good enough Igni sign, just blitz through them all. After defeating the druid, you will find proof of another conspirator.
Note: Both options rejoin the sidequest here.
You will be rewarded with Death From Above (crossbow). If you do choose to go to the coronation, this quest chain is completed.
End Sidequest
Coronation
Recommended Level: 18
Location/ Obtained From: Triggered automatically upon completion of sidequest – King's Gambit
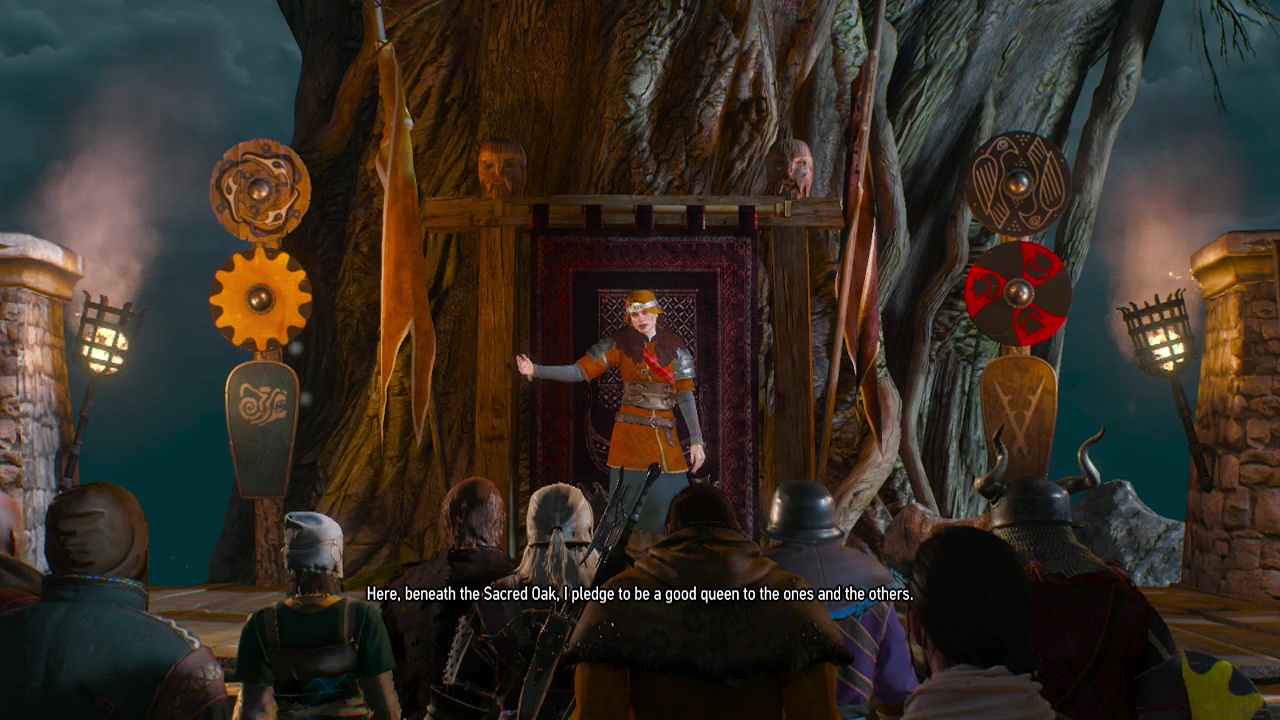
Watch the scene play out and the new King/ Queen be crowned in front of his/ her people. Quest over. Gee, that was short. I suppose no one wanted a feast to celebrate this time.
End Sidequest
Objective: Talk to Cerys
Objective: Talk to Hjalmar
Talk to both of them, whoever is king/queen will send their sibling to aid you in Kaer Morhen.
If Cerys is crowned, she will be a good leader that focuses on improving the lives of her countrymen.