STORY 27 – The Battle Of Kaer Morhen
Recommended Level: 24
Note: Gaining allies during the earlier story quest will make the battle easier by allowing certain characters to save each other and acting as distractions and decoys. If you haven't recruited any or many allies, Geralt will need to perform additional rescue tasks (such as saving Lambert when he is under attack). If you have recruited Keira for example, she will protect him. Meaning you don't have to. However it is still possible to get through without any help, just more difficult.
Note: This guide is for the full party of allies, if you have not obtained them all the objectives/ people involved may vary. And anyway, who wouldn't want to have everyone at Kaer Morhen for the battle to make it look even more epic?
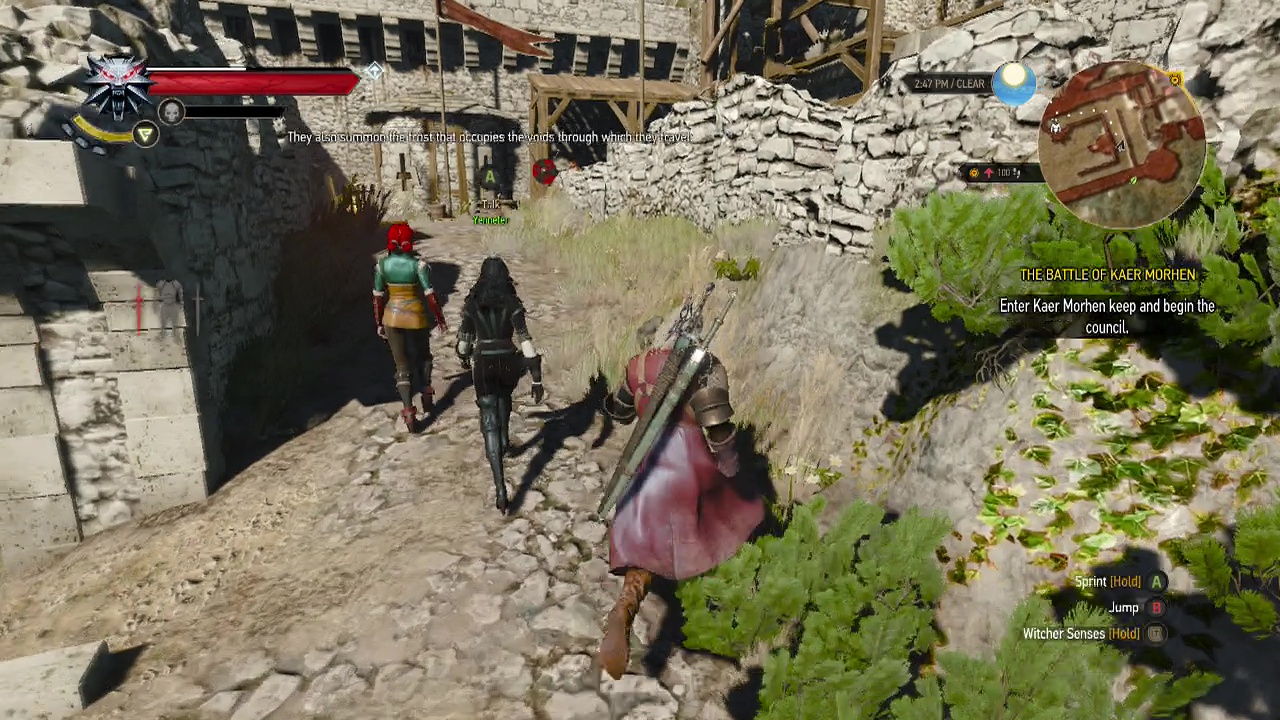
Objective: Enter Kaer Morhen keep and begin the council
After the reunion tour, head towards the main hall of the keep. As you walk along, you'll see your allies and some of their preparations spread out around the place (Zoltan's explosive barrels for instance). When you are ready to begin the main event, walk into the middle of the hall to trigger a scene and the deliberations.
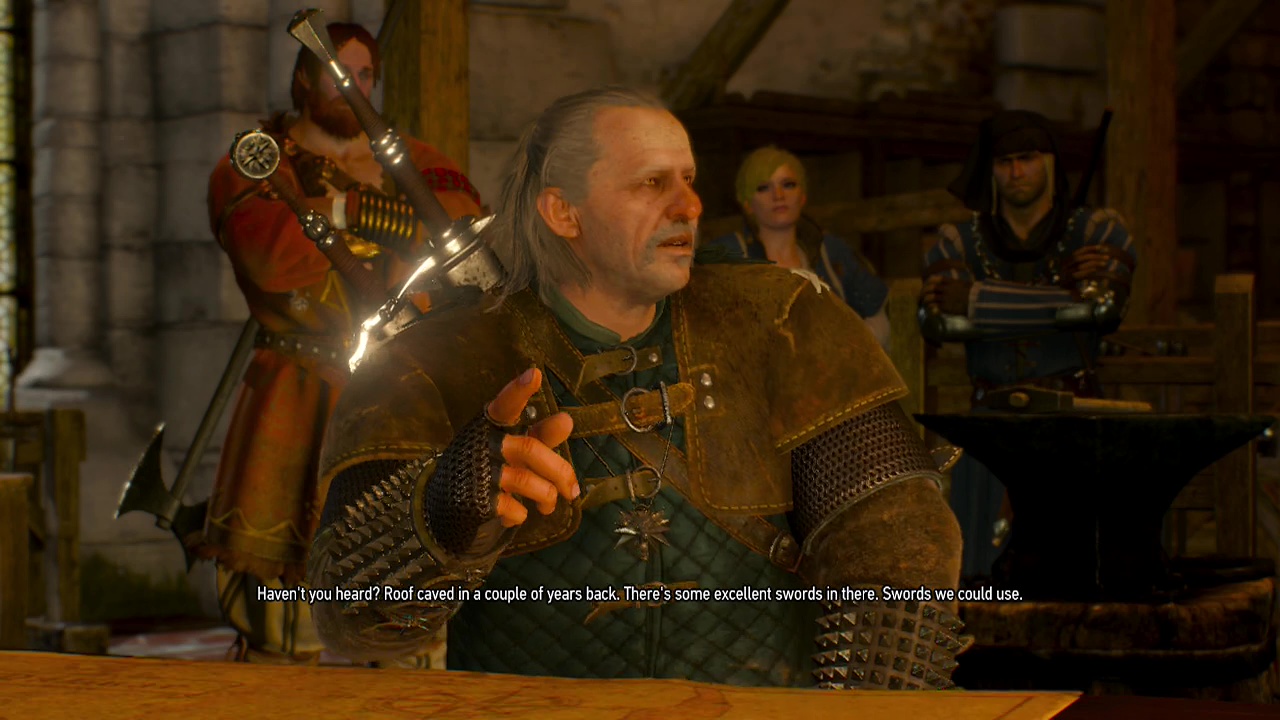
During the discussion, you can decide several things (if you need bombs or potions, to fix the hole in the fortress wall or to rescue blades from the armoury). Make your decisions by looking at your character focus (if you are a bomb user, it may help to fill up your bomb supply. Otherwise go for the potion refill to stock up on your swallow potions for the battle). The wall choice adjusts enemy numbers/ improves melee allies damage. After hearing out the plan, watch your allies go to work and shortly afterwards, the hunt will arrive at Kaer Morhen.
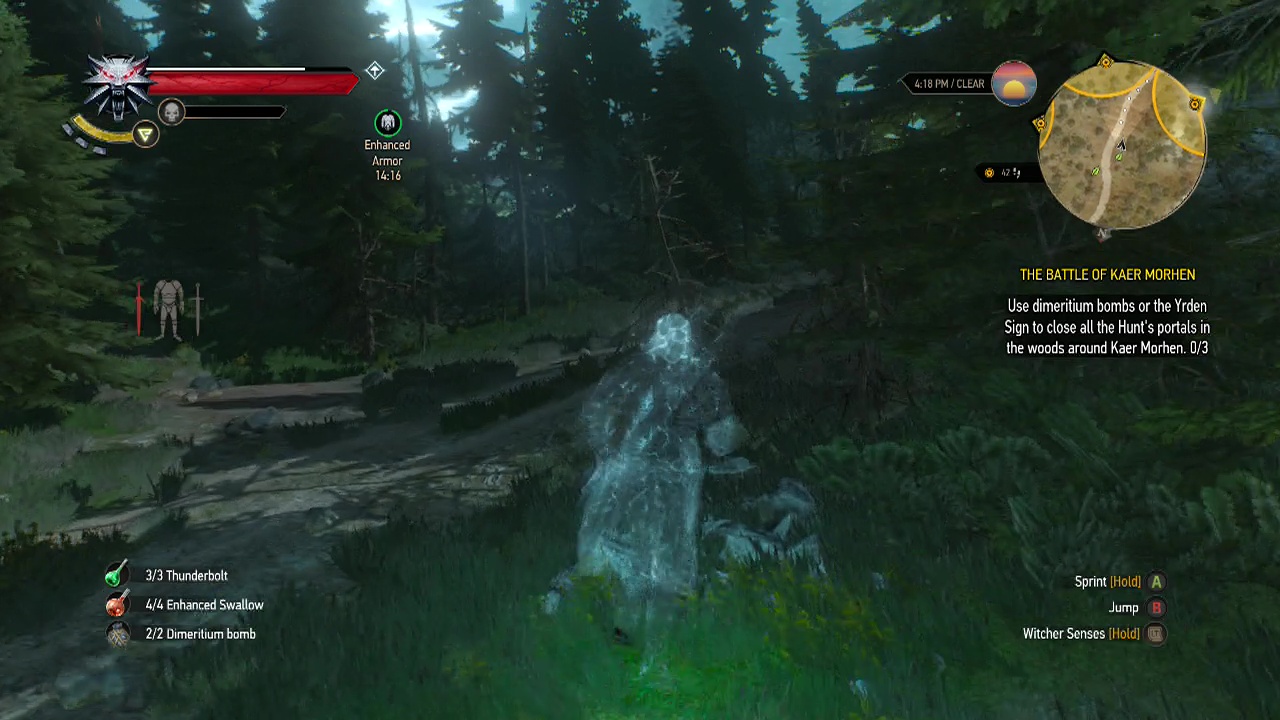
Objective: Use dimeritium bombs or the yrden sign to close all the hunt's portals in the woods around Kaer Morhen (3)
Optional Objective: Kill the wild hunt warriors near the right portal in the forest
Optional Objective: Kill the wild hunt warriors near the center portal in the forest
Optional Objective: Kill the wild hunt warriors near the left portal in the forest
Note: You can ignore the optional objectives here if you wish, as when you close the final portal you will not need to fight the remaining enemies. I recommend you ignore them to conserve your health and potions for later.
After battle commences with dramatic opening scenes, you'll find yourself invisible in the woods with Lambert at your side. This is the games one and only real stealth section. You are given a limited number of bombs to close the nearby portals at range. Using the yrden sign will reveal you to all nearby enemies as your invisibility will stop when you activate it. The easiest way to do this is to walk near enough to each portal to accurately (read: manually) throw a dieritium bomb into the vortex (select the bomb in the quick use menu – hold LB, then hold RB to manually aim the bomb and release to throw). I though I'd give a little reminder for players who haven't focused on bomb abilities, or used bombs since the Kaer Morhen tutorial at the start of the game.
You can also just wade into the enemies at the base of each portal and try to cast the yrden sign, but this is much more difficult and may result in you wasting swallow potions to heal up (which you will likely want to save for the later fights at the keep). So make sure to try the stealth approach first, falling back on the other method if you miss a throw. After the final portal is closed, you'll see more scenes of the battle in progress before gaining control of Ciri on the battlements.
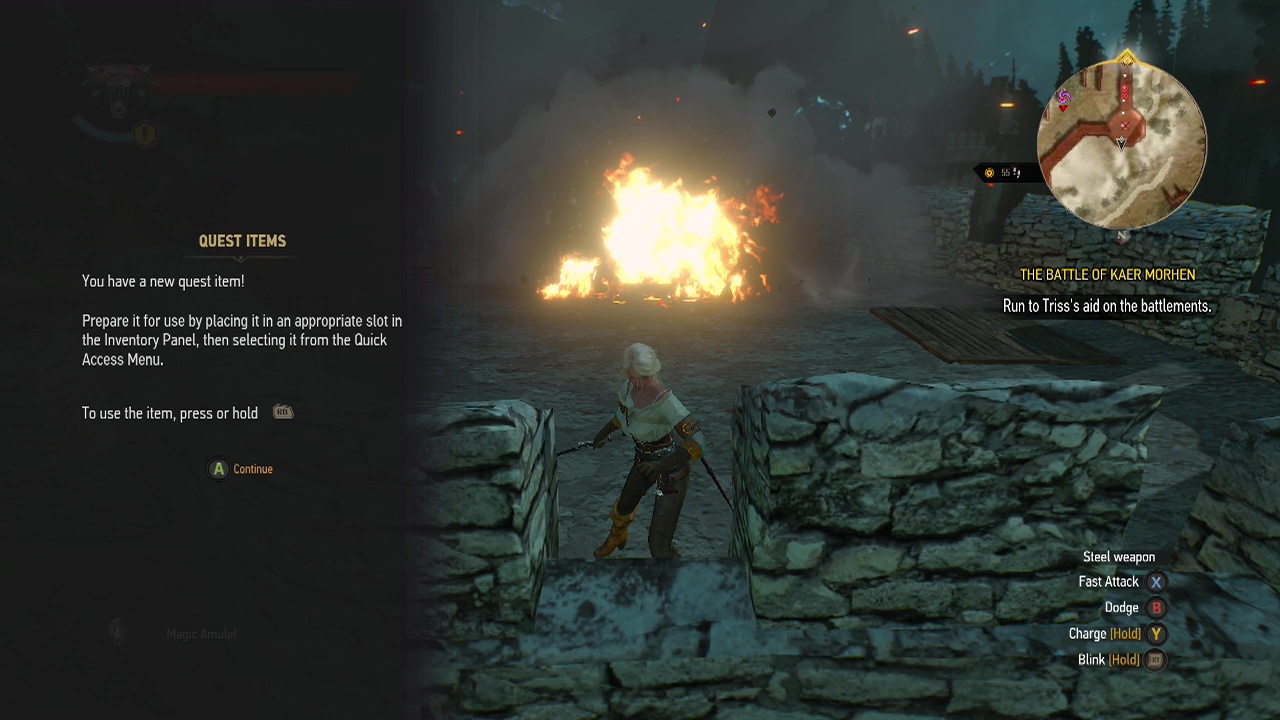
Objective: Run to Triss's aid on the battlements
Note: you will be given a quest item here which allows Ciri to summon damaging fireballs from the sky (cast by either Triss or one of the other mages at the keep), feel free to use these to help during the battle as they have no use limit.
Once you are in control of Ciri, quickly try out the quest item to test how it works. Make sure to step (teleport) away from it before it lands at the location you triggered it to avoid taking damage. Quick players will realize that this attack can be handy for dealing damage and setting on fire groups of enemies before engaging them in battle. So keep this in mind. Especially on higher difficulties. Hit and run tactics work well with Ciri. Well, they're really all she has.
Sprint along the battlement ahead of you when you're ready to go to run into a couple of hounds of the hunt. Use your new toy or just lay into them with your blade, teleporting to avoid their lunges. Further along, near the portal you'll find a group of hounds and a warrior or two in battle with Triss. Call down your firey explosion when the enemies are clustered and use your sword on any leftover stragglers. After clearing the enemies from around Triss, watch the scene play out and you'll be back in control of Geralt… on horseback with explosions going off all around him. Welcome to the action movie.
Objective: Return to Kaer Morhen
Well, with explosive fire raining down around me, I'd be making tracks for the keep too. Spur your horse into a sprint and follow the trail on the mini-map with Lambert alongside until you reach the safety of the main gate. Relative safety, I mean.
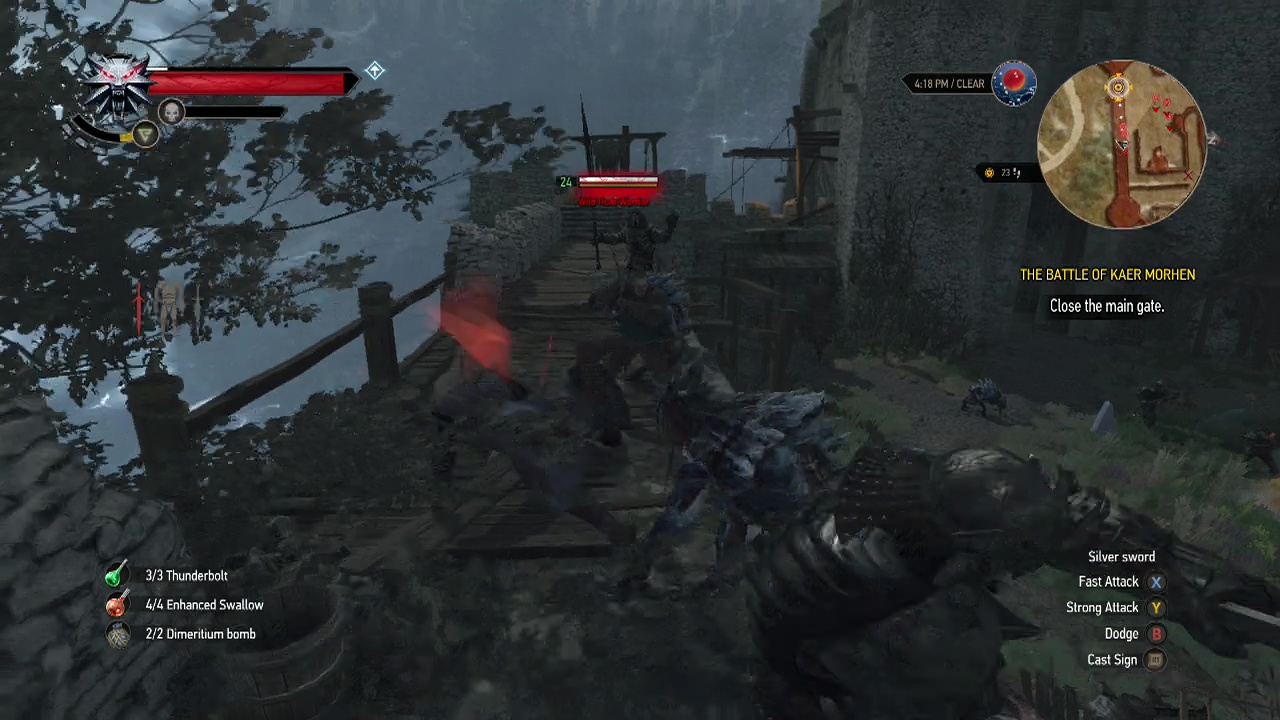
Objective: Close the main gate
After dismounting and watching a quick scene, you'll need to secure the main gate against the strongest forces of the hunt. The easiest way to do this is to just ignore all the enemies spawning in and sprint up the stairs onto the battlements to the lever at the end which drops the gate. The enemies will spawn in infinitely until this lever is pulled, so there is no point really in fighting them. Watch one of the leaders of the hunt bash away at the main gate and you'll be on the move once more.
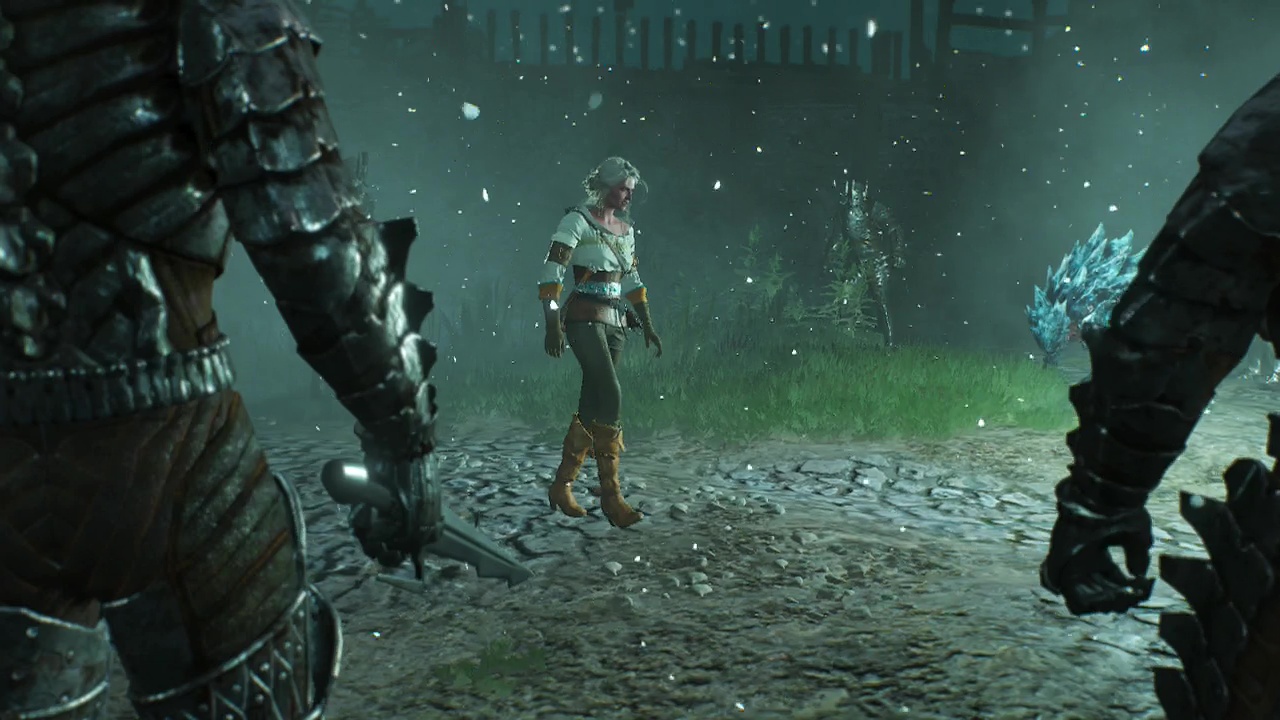
Objective: Retreat to the middle courtyard
Yennefer's sphere of protection is starting to weaken. This means that if you leave the bubble, you will take rapid damage from the cold and die if your health runs out. So sprint along the path to the courtyard to stay inside the sphere of protection until you reach it.
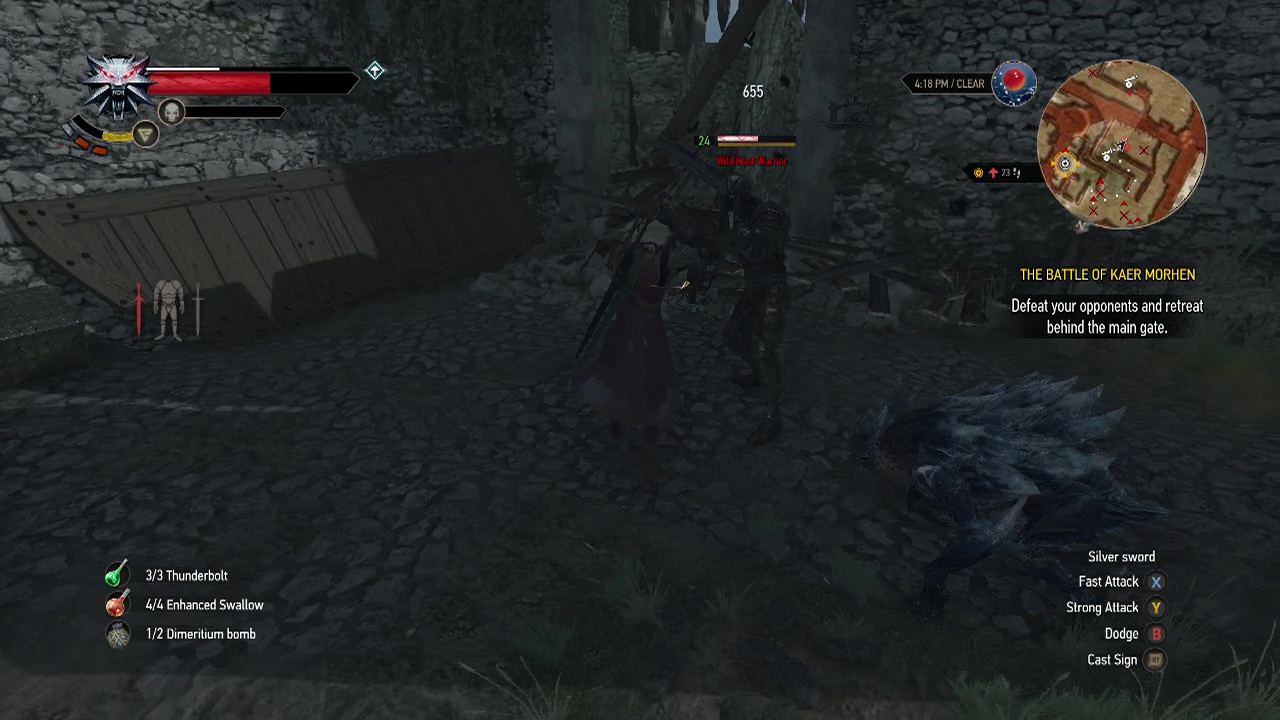
Objective: Defeat your opponents and retreat behind the main gate
How many main gates has this place got? There will be a large number of hounds and warriors spread throughout this area. Single them out, use distractions and use the axii sign on the hounds when they raise their spikes to stun them so you can attack. You won't be able to seal any portals during this fight (despite the on screen reminder), so just concentrate on clearing the enemies in the area. When you do, sprint to the gate and watch the scene.
Objective: Help Triss fight the hunt's warriors
Here you'll find triss under assault from hounds and warriors spawning in. Simply kill all the enemies that arrive with whatever you like to keep her safe and to trigger the next scene.
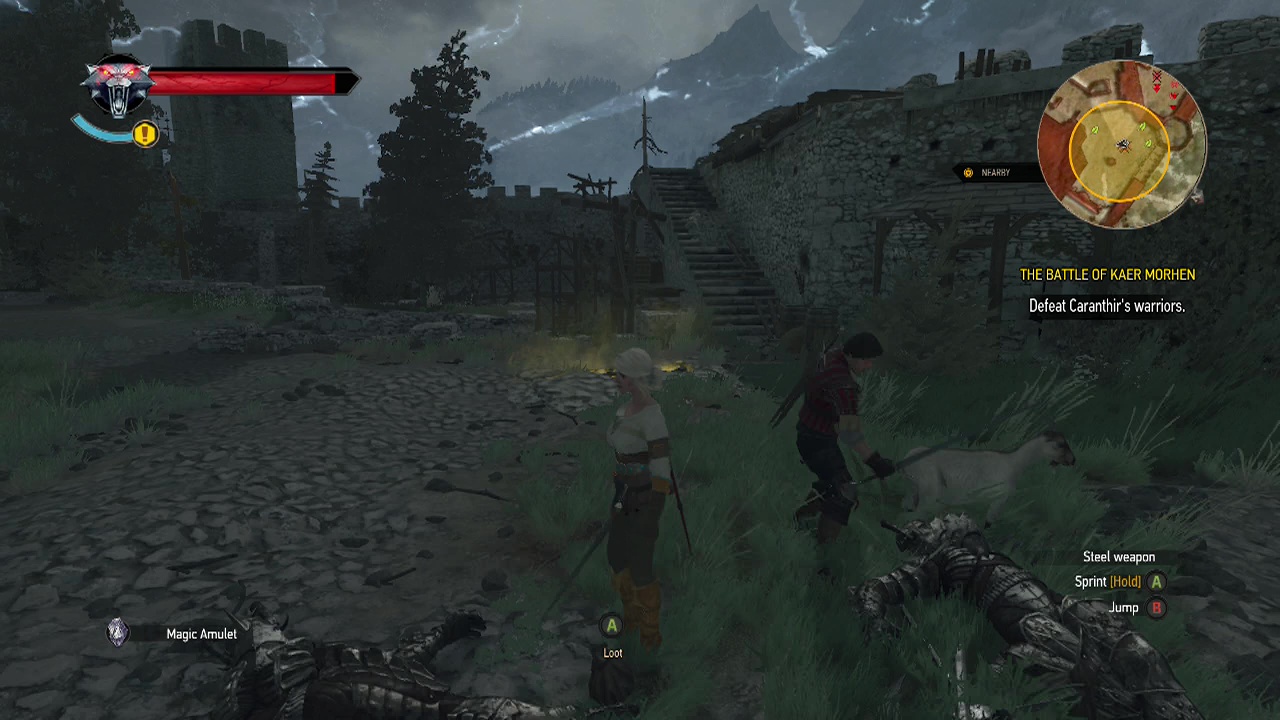
Objective: Defeat Caranthir's warriors
Again, you'll be back in control of Ciri. This makes taking apart the warriors here a doddle. Don't forget, you still have your explosive fireball quest item, as well as Ciri's formidable attacks, so use them to take the enemies around Eskel apart. Work your way towards the center of the marked area on the mini-map, dealing with the enemies along the way.
Objective: Open the gate to Kaer Morhen's inner courtyard
Walk over to the large glowing wheel and interact with it to open the gate.
Objective: Use Dimeritium bombs or the yrden sign to close the hunt's portals and stop and stop their attacks on Kaer Morhen
Optional Objective: Equip yourself with dimeritium bombs from Vesemir's supplies
Hope you've saved some of those bombs (if you haven't, you can pick up new ones from the chests scattered around the area) as they make closing the portals easier and safer. The portals you need to close will be at the back of the area, opposite your starting location. Don't waste bombs on the smaller portals in the middle of the area (as they close after spawning enemies anyway). Fight your way through the enemies to each portal and throw a bomb at it, or use the yrden sign if need be.
Objective: Help Triss fight the wild hunt by the gate to the inner courtyard
For this one, all you need to do is return to the inner courtyard to trigger a scene. Kill the enemies if you wish, or just sprint by them to begin it. After that, you'll watch a long sequence of scenes and the battle will end. As will this quest.