
STORY 29 – Bald Mountain
Recommended Level: 26
Note: The final battle of this quest is quite difficult, so make sure you are fully prepared for it (repair your gear, refill potions etc)
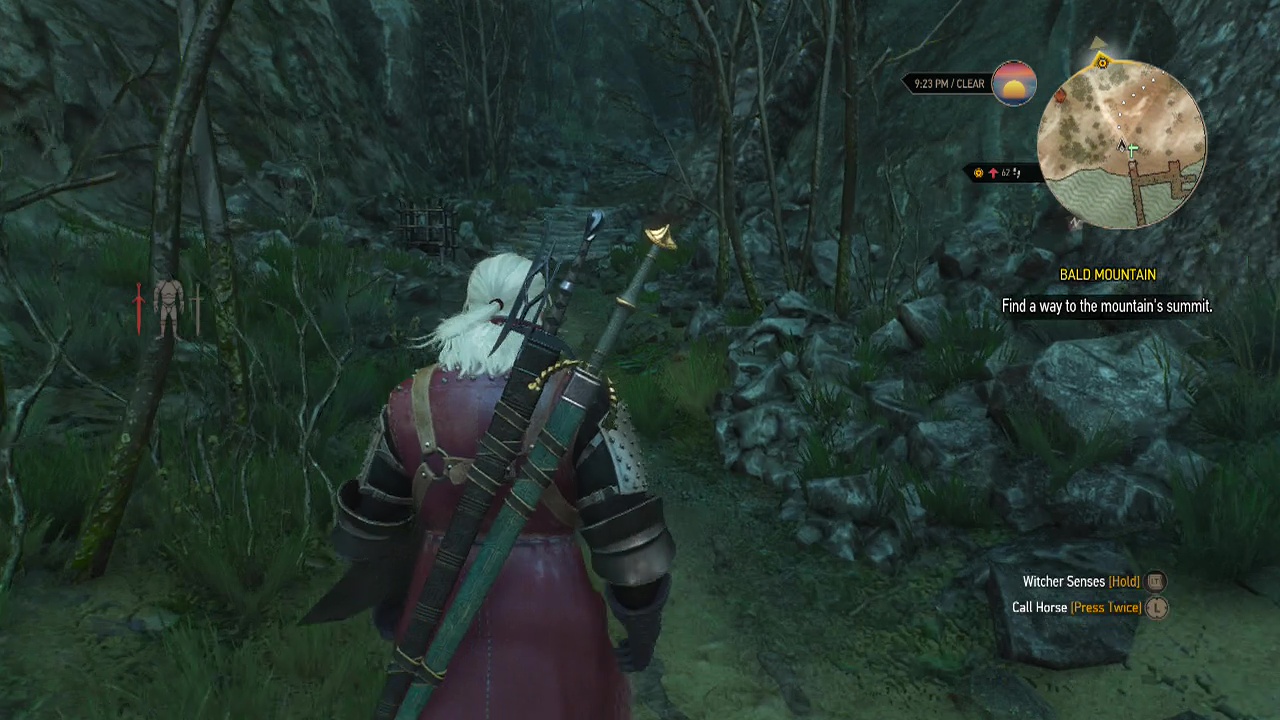
Objective: Find a way to the mountain's summit
After your vessel lands on the beach, start walking up the winding stone steps in front of you. At the top, you'll find a couple of villagers blocking your path. Approach them for a scene. At the fire, you can ask a bit about the festivities and who can go up the mountain. Looks like you'll have to convince this Thecla that both of you are fit to climb the mountain to meet the ladies.
Objective: Talk to Thecla and get permission to climb the mountain
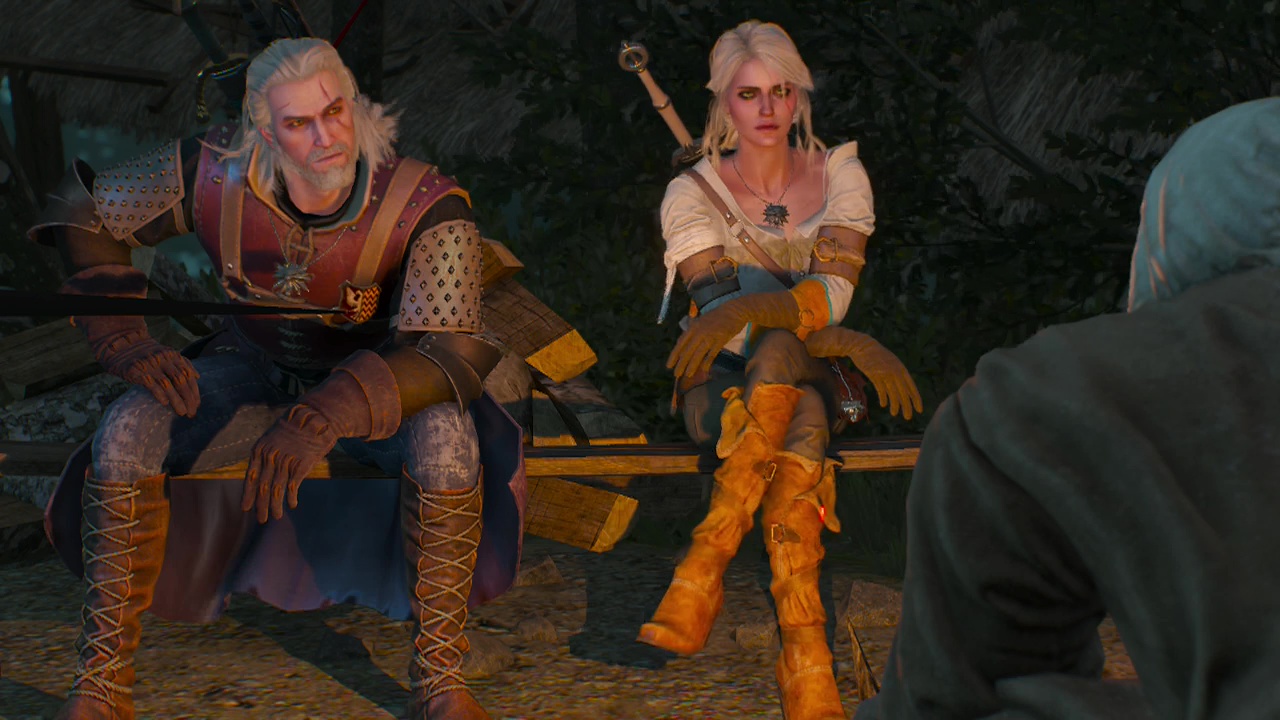
From your fireside location, wind your way along the trail following your mini-map until you trigger another scene, this time with a familiar face. Johnny the godling. After finding out the situation from Johnny, you'll find Thecla's pavillion just a little further onwards. Enter it to trigger a scene with the old lady. During the dialogue, Geralt will convince her to let him try the trial to challenge Thecla's verdict.
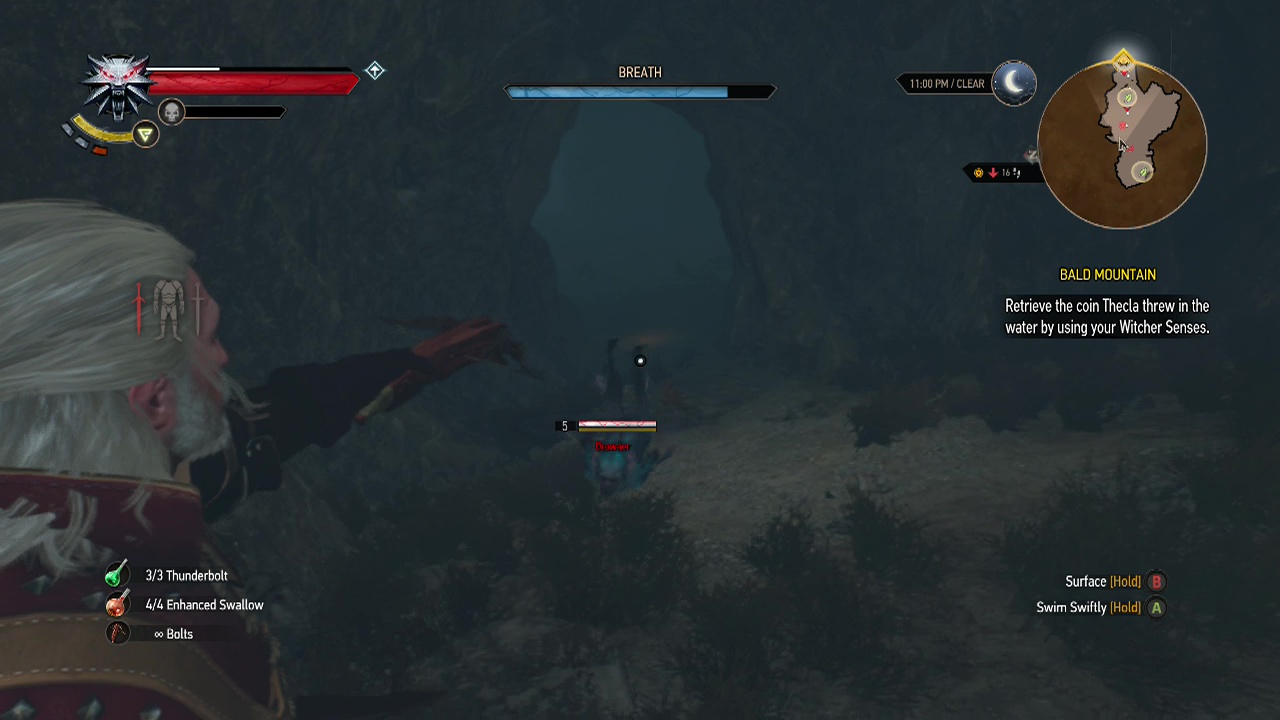
Objective: Retrieve the coin Thecla threw in the water by using your witcher senses
You'll find yourself on a wooden platform overlooking the water below. Dive into the waters and immediately pull out your crossbow. There are a couple of drowners to deal with in the murky depths of the underwater cave. Once they are dealt with, simply swim down the cave a little way to find the coin and then return to Thecla. Thecla will grudgingly allow you to climb the mountain, so leave her tent.
Note: You can explore further in the underwater cave if you wish for gather points and loot.
Objective: Travel the path to the peak of Bald Mountain
Follow the path leading up and out of the village behind Marica until you arrive at the entrance of a cave. Wait for your guide to open the doors and then follow the linear path inside to a scene.
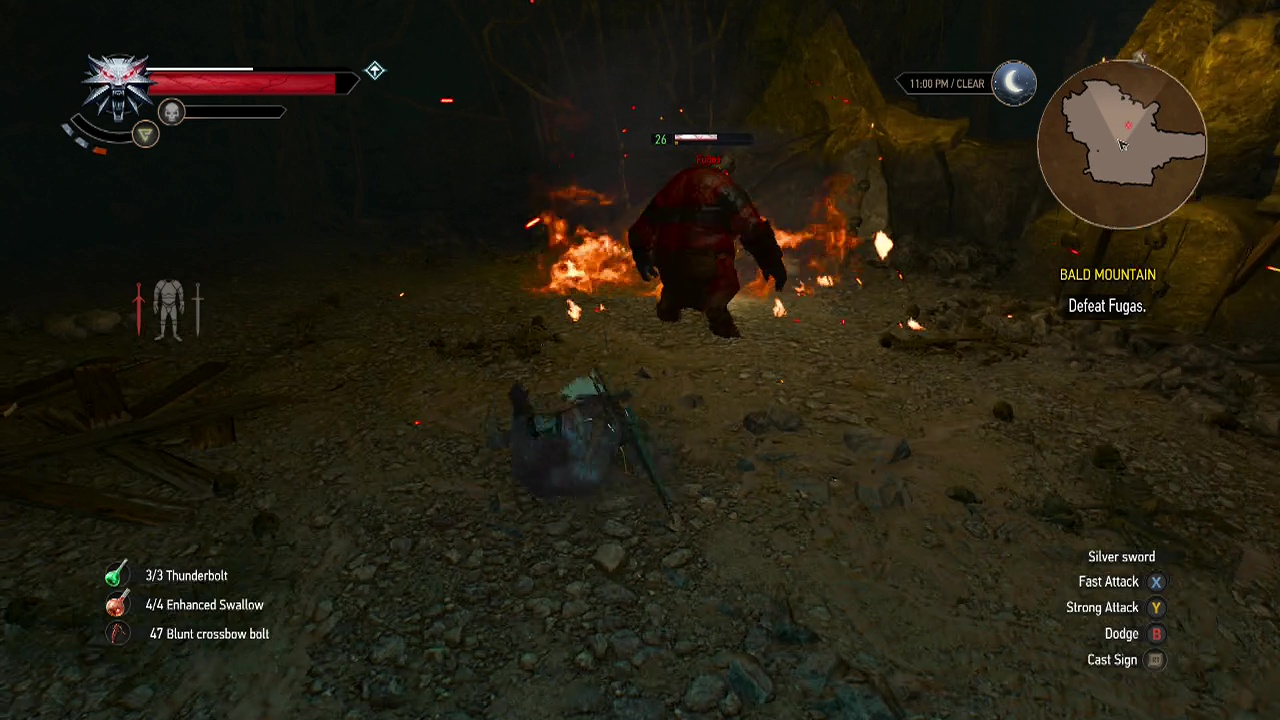
Objective: Defeat Fugas
Well, that's a lovely welcome. After the scene, Fugas will attack you and Ciri. He acts similar to giant enemies, only smaller and faster. Fugas will do short fast melee swings when he gets close, with the occasional AoE foot stomp to deal damage. He will also reach behind his back and then throw fire towards you for burning damage, igniting the floor temporarily as well.
Depending on the damage from your sword attacks, it is possible to interrupt him (when he is reaching behind his back), so if you have high damage it is possible to keep him nearly stunlocked while you slash him up. Otherwise, adopt a hit and run strategy using the quen sign to protect against the burning effect of his attacks.
Objective: Penetrate to the heart of the tree's roots
Afterwards you'll be in control of Ciri (Geralt having headed for the summit). Explore the cave, dropping down into the circular hole in the floor with the waterfall. After splashdown, take the only path on the map and you'll arrive at the lair of the ladies of the woods (crones) shortly. We finally get to confront the hags and wreak some havoc.
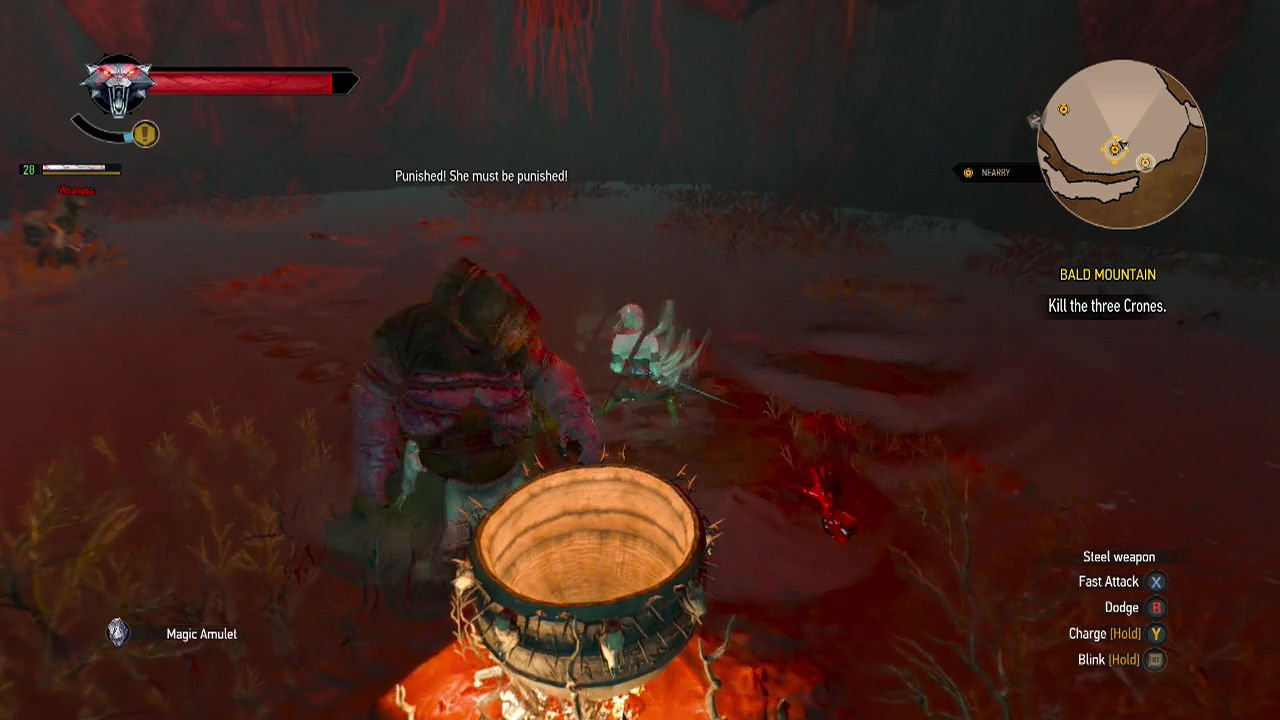
Objective: Kill the three crones
The crones are quite tough to damage and will move around the place quite fast. The best strategy in general here is to try and concentrate all your damage on one crone as much as possible (I recommend the brewess – largest of the three) as the other two don't deal as much damage). Use your teleport to avoid attacks and your special (RT) to hit them no matter where they run.
Brewess – Slow and lumbering but hits for decent damage. She will perform slow swings if you get close. If you move too far away, she will perform a slow ranged AoE attack (the water in a circle will begin to glow), teleport out of the circle to avoid it.
Weavess – Will generally race towards you on all fours for quick slash attacks before vanishing into the water. Can also perform an uppercut from the water (appearing below you to attack).
Whispess – Will throw limbs at you from her satchel. Also repeatedly turns into a murder of crows, dealing damage when they hit you. You can teleport past this attack, but it generally deals low damage unless on higher difficulties.
When the final crone falls, watch the scene play out and you will rejoin Geralt near the peak of the mountain.
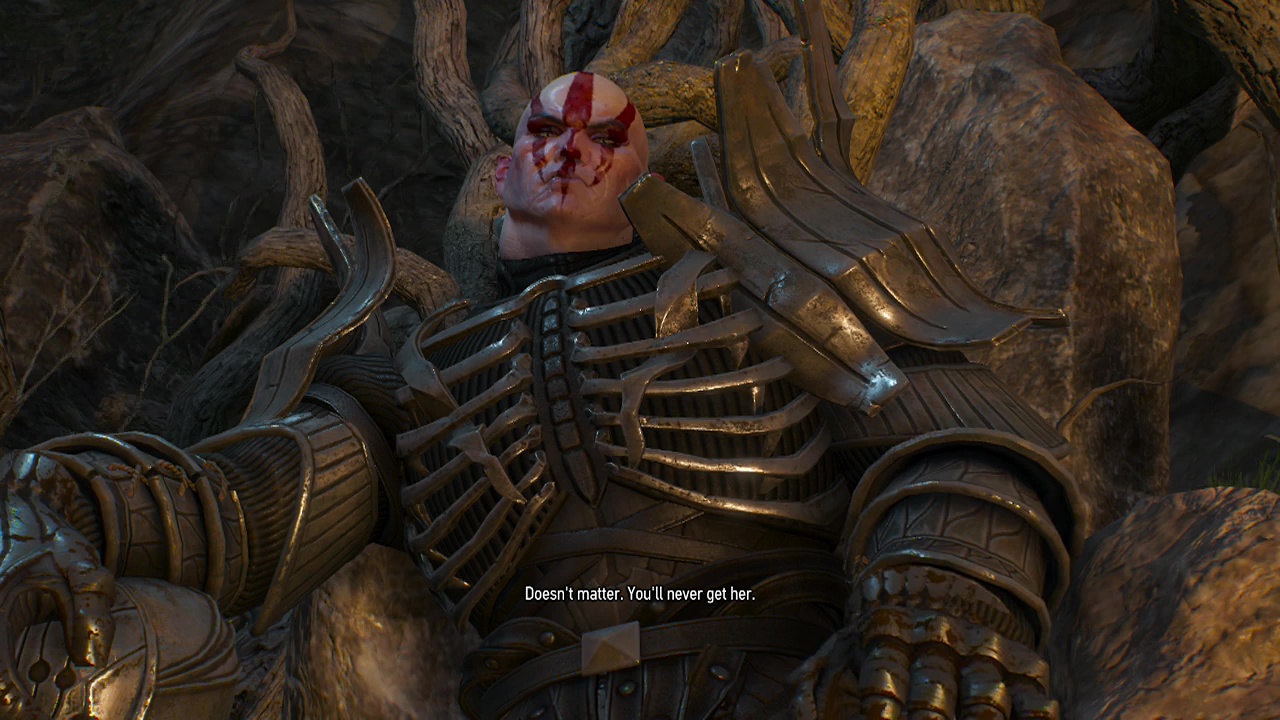
Objective: Find Imlerith
Continue along the dirt path towards the top of the mountain, being sure to pick up the ability point from the place of power along the way. Shortly after this point, you will trigger a scene where you meet Imlerith face to face. Enjoy the show.
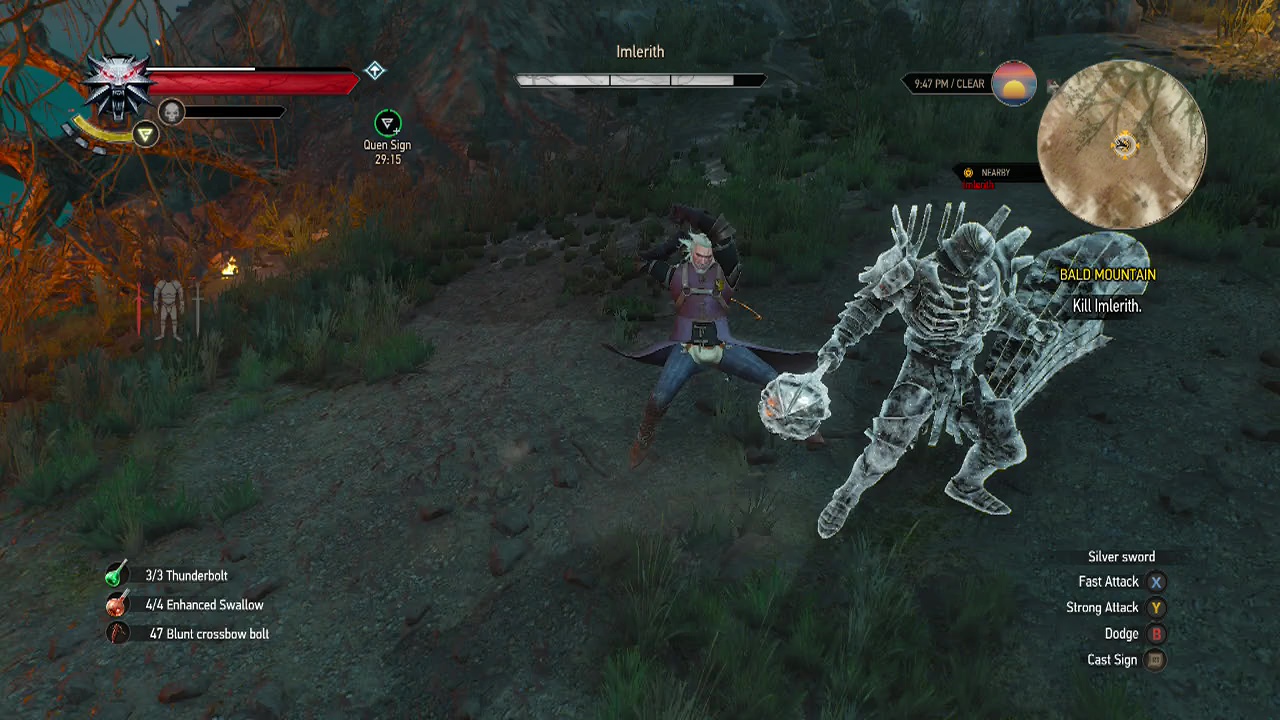
Objective: Kill Imlerith
Wow, anyone else get the feeling they just walked into a Dark Souls game? While the initial phase of the battle is not too hard, the difficulty will ramp up quite a bit in the second half, so make sure to keep a couple of swallow potions handy (unless you're quite skilled at pattern recognition and attack anticipation. Which on higher difficulties you have to be).
Phase 1:
Mace swing/ Shield bash: When close to Imlerith, he will either swing his mace or shield at you for decent damage. Circling to the side, dodging or rolling will all let you avoid this attack. This is one of the best chances to attack him, circle around him close until he swings then attack with your sword while he is still in the swing animation. He should recoil for a second, allowing you to get a couple of hits in safely.
Back strike: If you are behind Imlerith (as in just behind him), he will swing his mace overarm to strike you when he turns around. You can use the quen sign to absorb the blow and get in one of your own, or simply stand back to avoid it.
Blink strike: Imlerith will instantly teleport behind Geralt and swing his mace. This deals decent damage and requires good timing to avoid (roll). You will have a half second or so to initiate the roll before his attack hits, so I hope you've been working out those thumbs.
You'll find the best strategy is to lure Imlerith into attacking, then dodging (not rolling) to the side or past him to attack twice before dodging away again. This allows you to make two safe strikes on him before he can raise his shield again. You'll see this used often at the 26:43 mark of the video onwards (compare the basic hit and run tactics I used early on to this technique. Way more effective).
You can't engage him normally due to the shield recoil, when you strike the shield, it makes Geralt recoil. This can be potentially damaging if you don't recover before Imlerith strikes. Keep quen active as often as you can during this phase to soak up any lucky hits he makes on you while you attack. After Imlerith drops down to a third of his health, the second phase will begin. Hope you're ready.
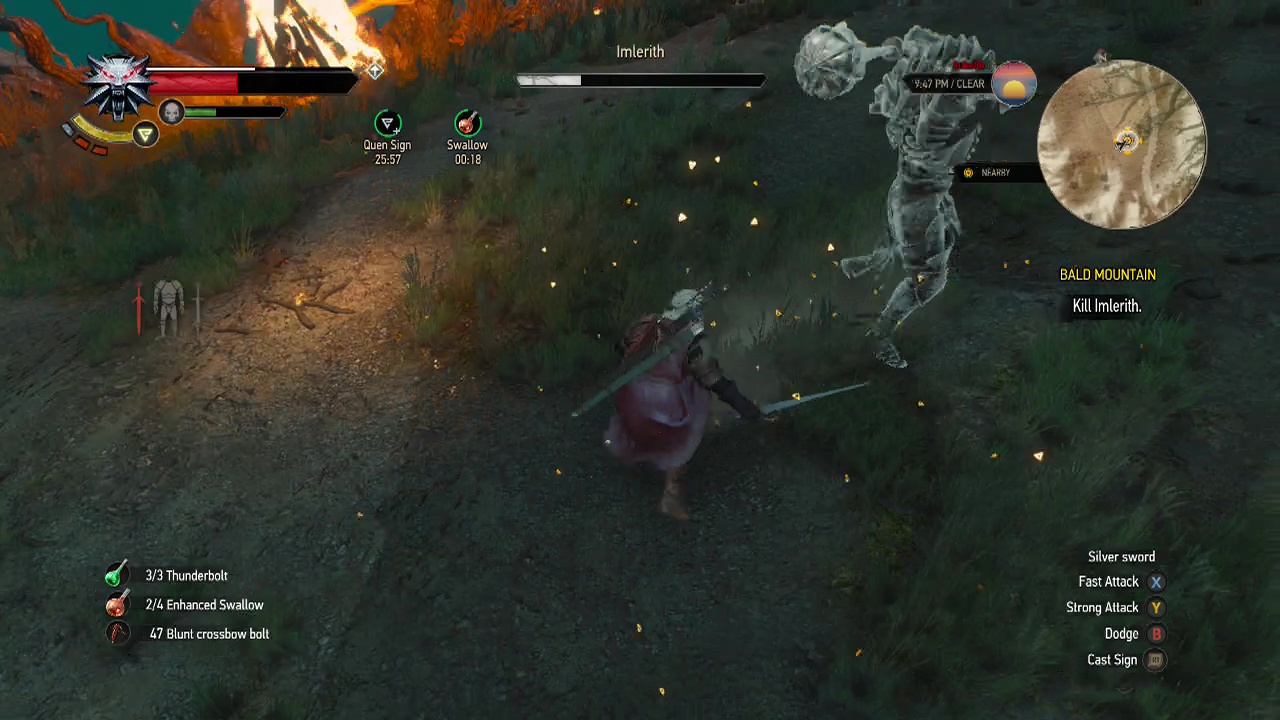
Phase 2:
Blink combo attack: This is the real threat of the fight (and his only new ability). Imlerith will teleport behind you and start swinging his mace rapidly. Unlike phase strike however, he will do this repeatedly when you roll/ dodge away up to five or six times before doing a massive downward swing which leaves him vulnerable for three or four seconds. After getting up he will repeat this attack over and over again.
You'll know this phase starts when he teleports away from you and throws down his shield. Yeah, things are about to get dicey. The new blink combo attack does significant damage and will be repeated constantly until he dies or you do. His most vulnerable moment is at the end of the chain of swings when he strikes the ground. When he does, be sure to get in three of four strikes before he buggers off again. The real key here is avoiding the attacks.
Time your rolls/ dodges carefully as it is likely he will appear behind you as soon as you stop rolling/ dodging. After an attempt or two, you'll likely get the hang of the timing and make mincemeat of him. Just keep trying. Take note of this blink strike tactic, as you will encounter it again in the battle with the leader of the Wild Hunt in the coming quests.
After the battle ends, you'll have a chat with Ciri and then return to Novigrad. After the scene ends, so does this quest.