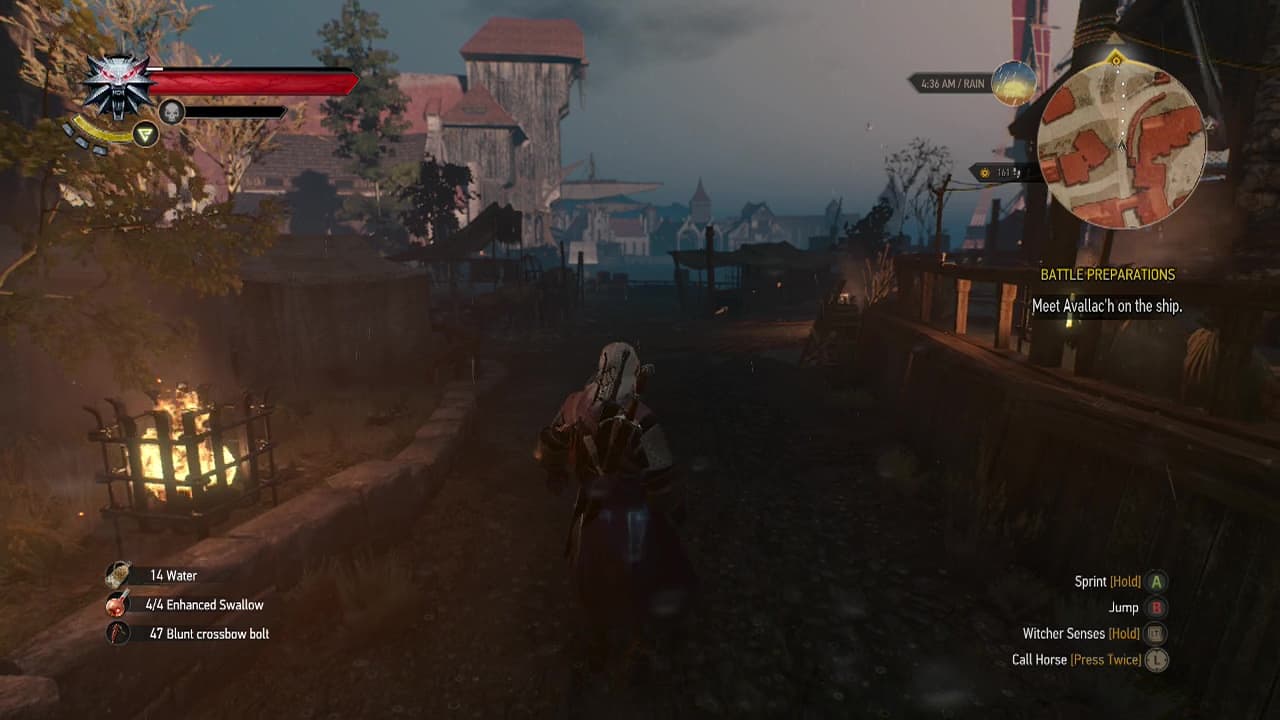
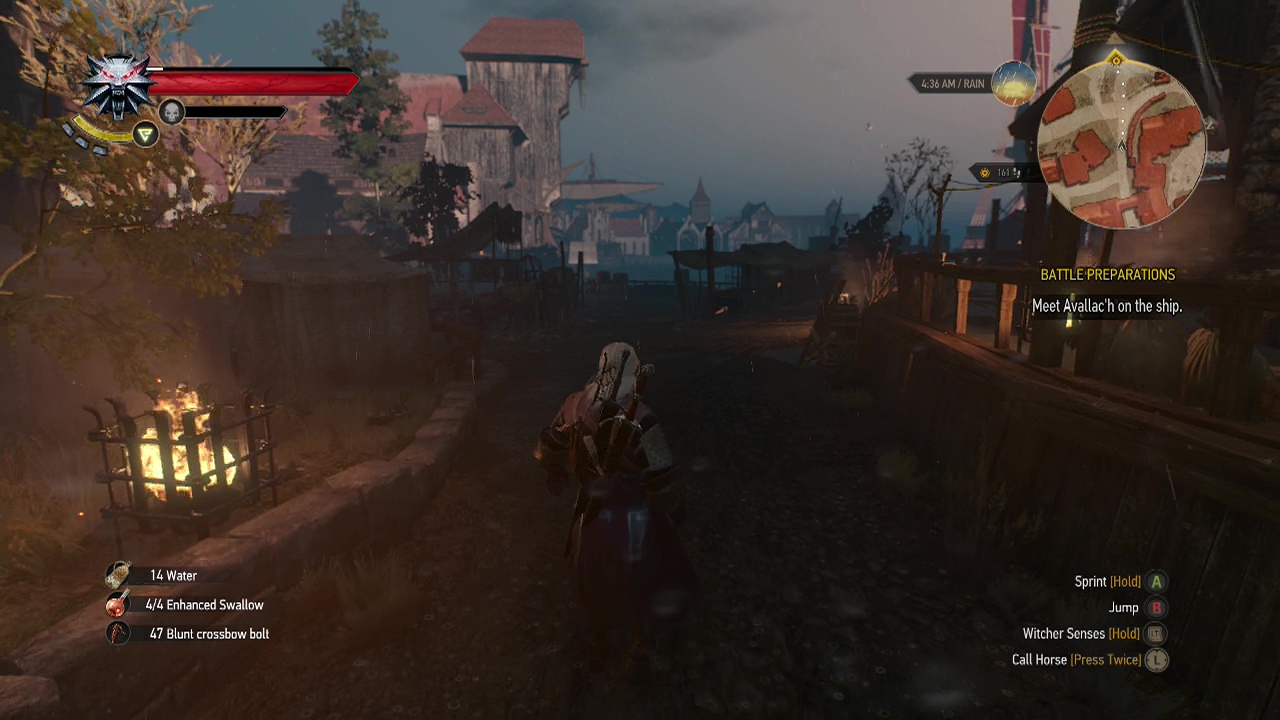
STORY 31 – Battle Preparations
Recommended Level: 28
Objective: Meet Avallac'h on the ship
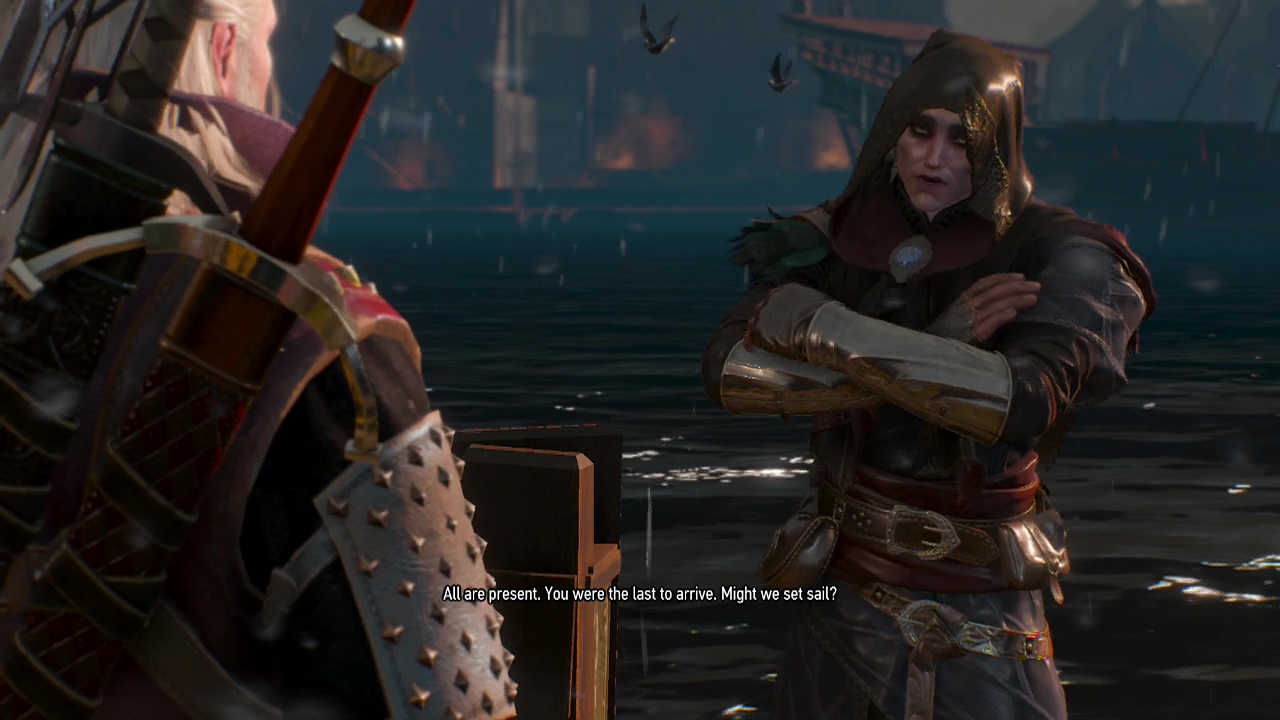
Make your way to the Novigrad docks to meet the rest of your allies next to the ship. After a brief scene it's time to weight anchor and set sail for the Skellige islands. On the way, you'll talk over what your group still needs to accomplish before you take on the leader of the hunt. When you make landfall at Aard Skellige, you'll have multiple subquests waiting in your quest log.
Note: The subquests can be completed in any order
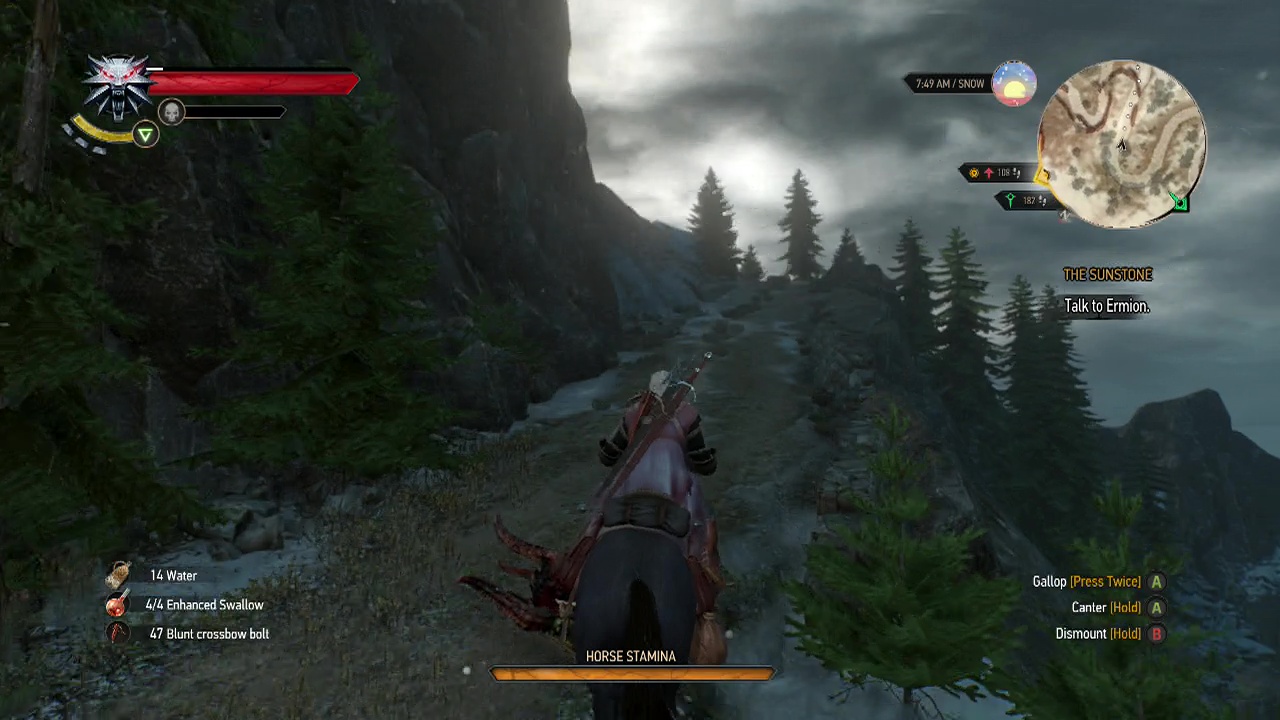
SUBQUEST: The Sunstone
Recommended Level: 28
Objective: Ask Crach where Ermion is
After stepping off the boat, walk to the nearby overlook to find Crack deep in cogitation as he gazes out at the sea. Step up and say hi to find out Ermion's location.
Objective: Find Ermion
To the fast-travel point! Looks like Ermion's trying to smooth things over with one of the clan leaders, so you need to fast travel to the South area of Aard Skellige (depending on the situation, you may have a fair way to travel if you haven't explored/ visited the area yet). When you eventually reach the clan's holding, ride up the trail on the cliffs to reach the clan's seat of power. You'll find Ermion inside arguing with Lugos. Whichever dialogue choice you make, you'll be thrown into battle with the jarl and his men.
Objective: Defeat Lugos' men
As usual use counterattacks combined with the quen/igni sign to make short work of your opponents. You will need to dispatch all of the jarl's men plus Lugos before Ermion will leave the fortress.
Objective: Talk to Ermion outside of Madman Lugos' territory
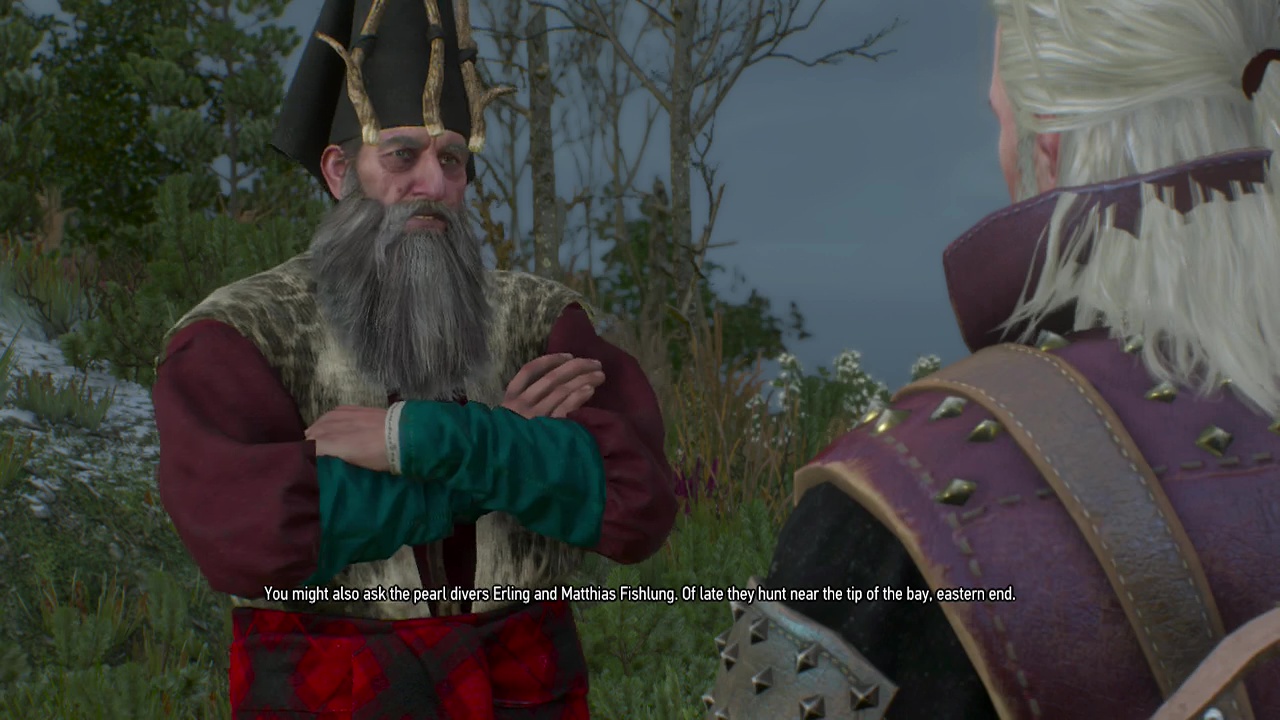
You'll have to engage another few pairs of guards on the way down the cliffs, but it is rather funny when you reach the guards at the village. Walk past spattered with blood, whistling innocently. After leaving the village, you'll get the chance to talk to Ermion. Ermion will give you some info about who might know the whereabouts of the ruins holding the sunstone, making your little killing spree worthwhile.
Objective: Talk to the bard known as Eyvind
Objective: Find and talk to the pearl diver
You will need to ride to a fairly close overlook to find the bard. Agree to watch for the whale with him to continue the conversation. When discussing the ruins, you will have to respond with the following dialogue to obtain the information you seek:
[Say nothing] + Gathering material for an adventure novel
Afterwards, you'll have the location. If you mess this up, you can visit the pearl diver to learn the same information.
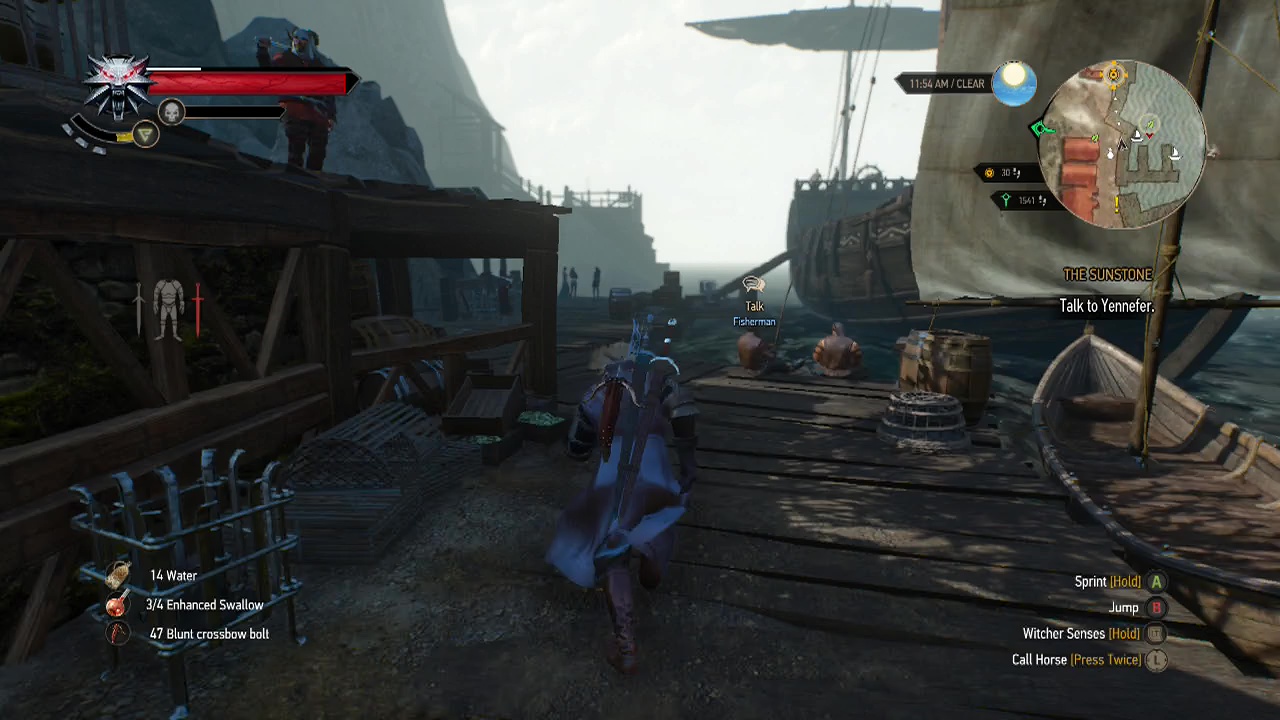
Objective: Talk to Yennefer
Leave the bard to his whale spotting and use the nearest fast-travel sign to teleport back to the harbour where Yennefer is waiting on the ship. After the scene plays out, you can undertake one of the other subquests or continue with this one. Philippa decides to travel to the ruins, expecting you to follow.
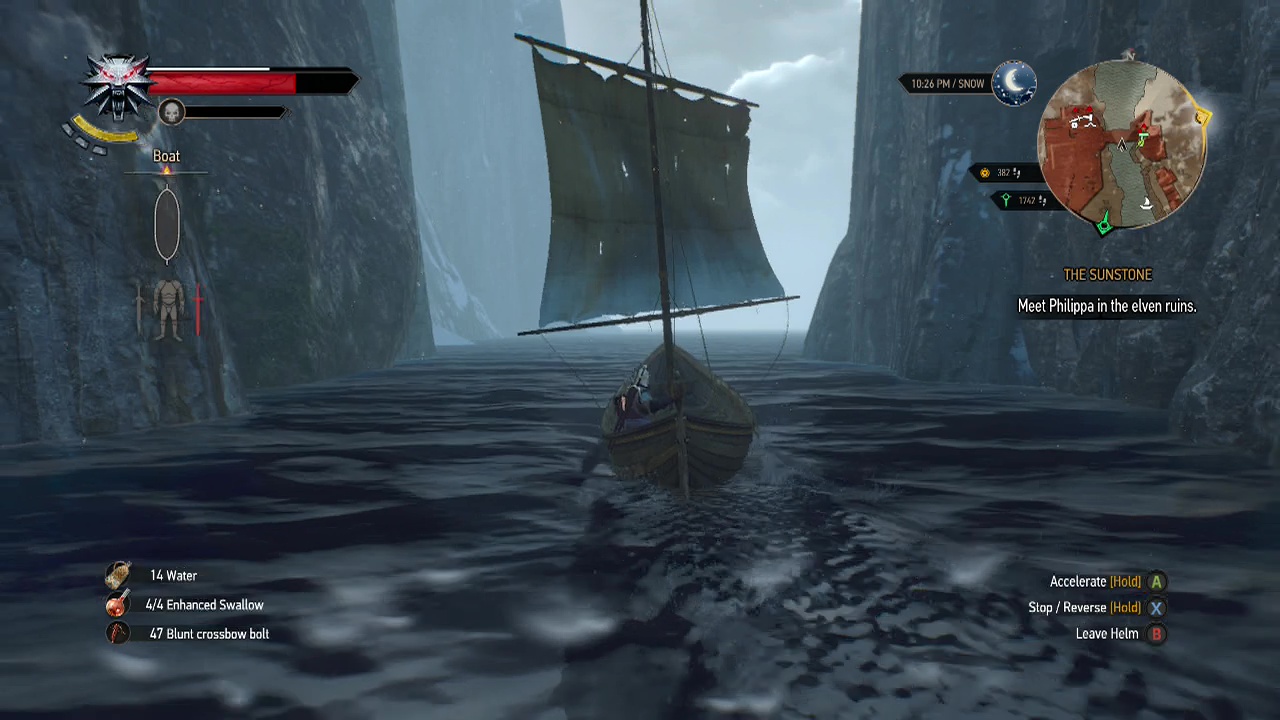
Objective: Meet Philippa in the elven ruins
Take a boat from the harbour and sail North around the coast (dodging the flying enemies in the area) until you reach a small cove that is the entrance to the ruins. Stride towards Philippa to have her open the entrance.
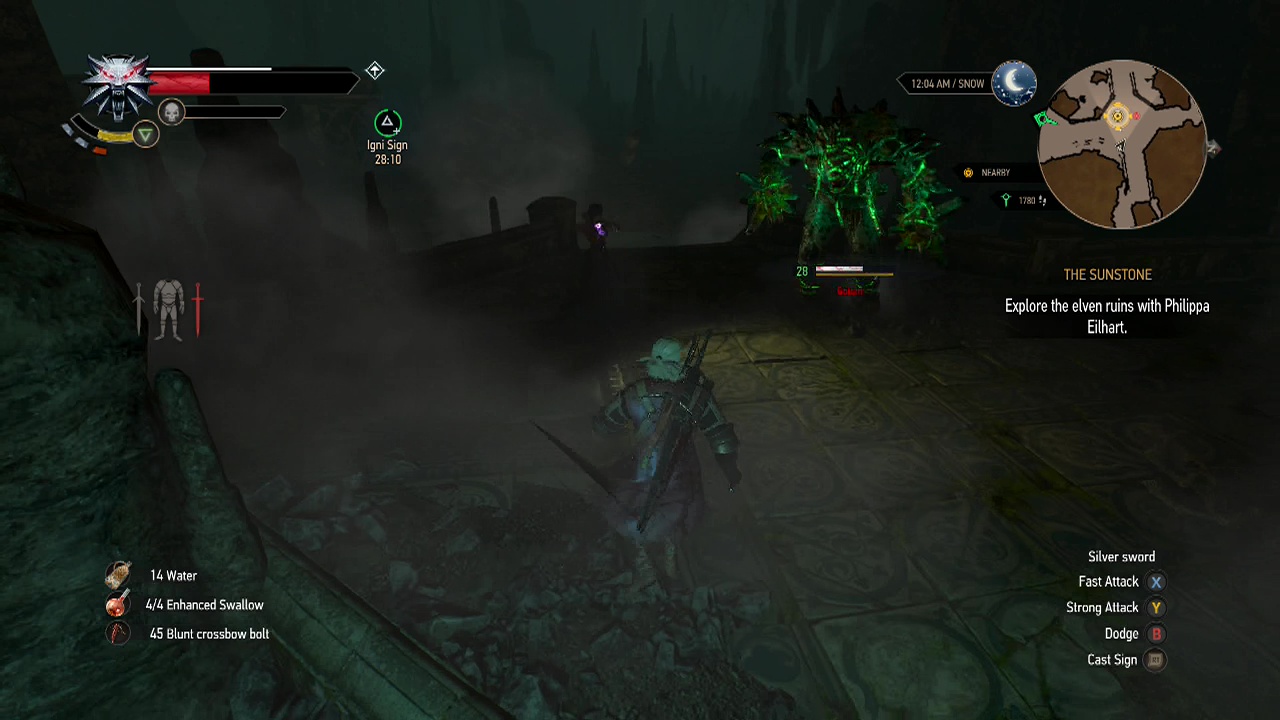
Objective: Explore the elven ruins with Philippa Eilhart
Follow Phillipa through the dank caverns until you reach an open cavern with several monsters inside.
Objective: Exterminate the monsters
You'll be under attack by a siren, alongside a group of three or so drowners. Use the quen or igni signs to deal with the drowners and a crossbow or the aard sign to knock down the siren so you can finish her off with your sword. Philippa will give you a hand during the battle as well.
Note: After the fight, look around to spot a nearby place of power you can use
Objective: Explore the elven ruins with Philippa Eilhart
Back to trailing along behind the stuck up sorceress (then again, most of them are). At the top of a crumbling staircase, you'll find the way across blocked by some missing stairs. Lucky you've got miss magic with you to open the path. Keep moving through the ruins until you run into your next opponent, a golem.
This plays out like most golem fights, with the sorceress distracting the golem with spells while you perform hit and run tactics to whittle down it's health. You can use the axii sign to slow the golem down, allowing you to get in more heavy sword swings before evading it's attacks. The golem will perform quick close range swipes, an AoE foot stomp when you are at mid range and will do a flailing run when you are too far away for it's other attacks to hit. This must be the minimum third or fourth encounter with this enemy type by now, so you should have a good idea of how to deal with it. After the golem crumbles to the floor, you'll have a short walk to a door and another scene.
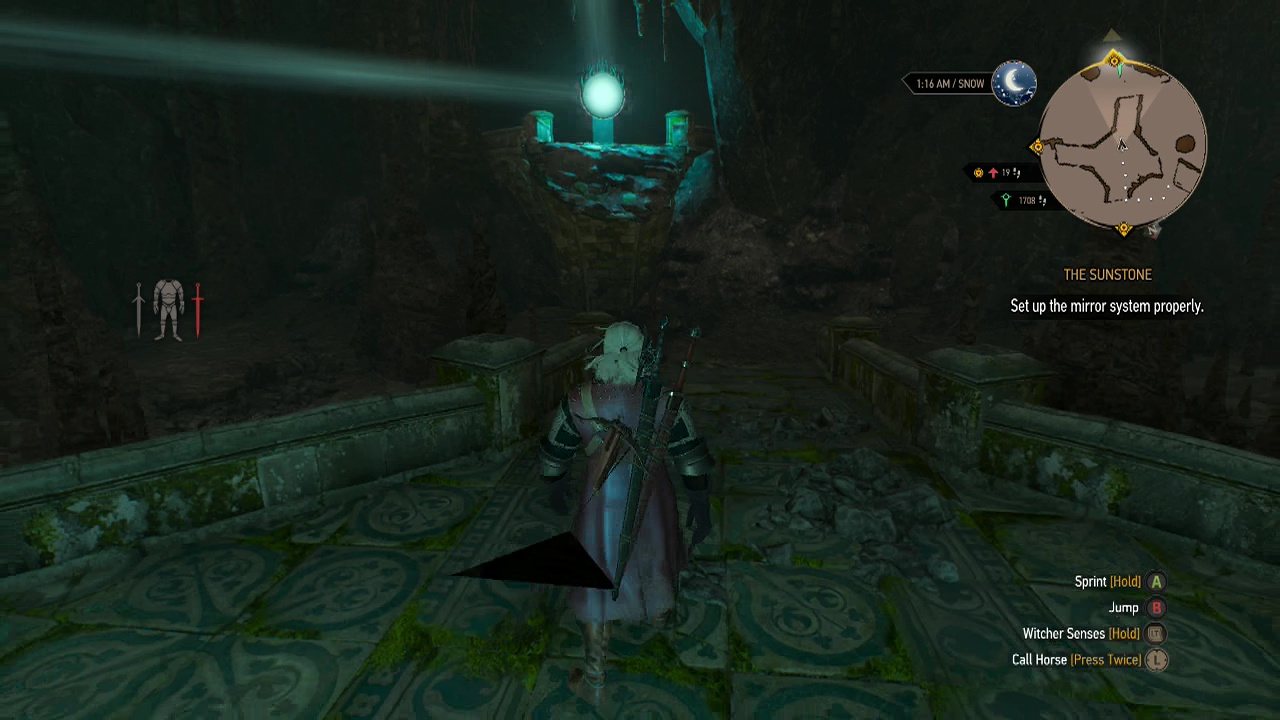
Objective: Set up the mirror system properly
On the other side you'll walk into a large cavern with three mirrors set up to reflect light. Ah, haven't seen one of these puzzles since Resident Evil 5 or the Zelda series. There is a fair bit of loot scattered about the cavern (near the mirrors), as well as guardian shadows to deal with. Think of them as wild hunt warriors and you'll get the idea of how they fight. Light attacks combined with the quen sign will get you past them pretty fast (special attacks even more so).
Clear out all the loot and shadows near each mirror before begining your adjustments. The mirrors are spread out in a triangle, one to the North, one to the East and the third to the South. Despite the visual complexity of the puzzle, it seems that each mirror only has to be facing the same way to trigger the sunstone's appearance.
North: right
East: right
South: right
Objective: Examine the sunstone
Head to the North side of the cavern to where Philippa is waiting to trigger a scene and obtain the sunstone. Remember, you'll still need to fight your way through the legions of shadows as you work your way out of the ruins to the fresh air once more.
End Subquest
SUBQUEST: Child Of The Elder Blood
Recommended Level:
Objective: Travel to the island where Avallac'h's laboratory is located
Apparently Avallach'h has been too helpful, so Ciri and Yennefer want to invesigate his lab. The small island you're looking for is to the West of Aard Skellige. A fast-travel sign should be there for you to teleport to. If not, you've got a long boat ride ahead of you. When you arrive on the island, walk into the entrance directly ahead to find yourself in the entryway of the laboratory. Talk to Yennefer and Ciri within.
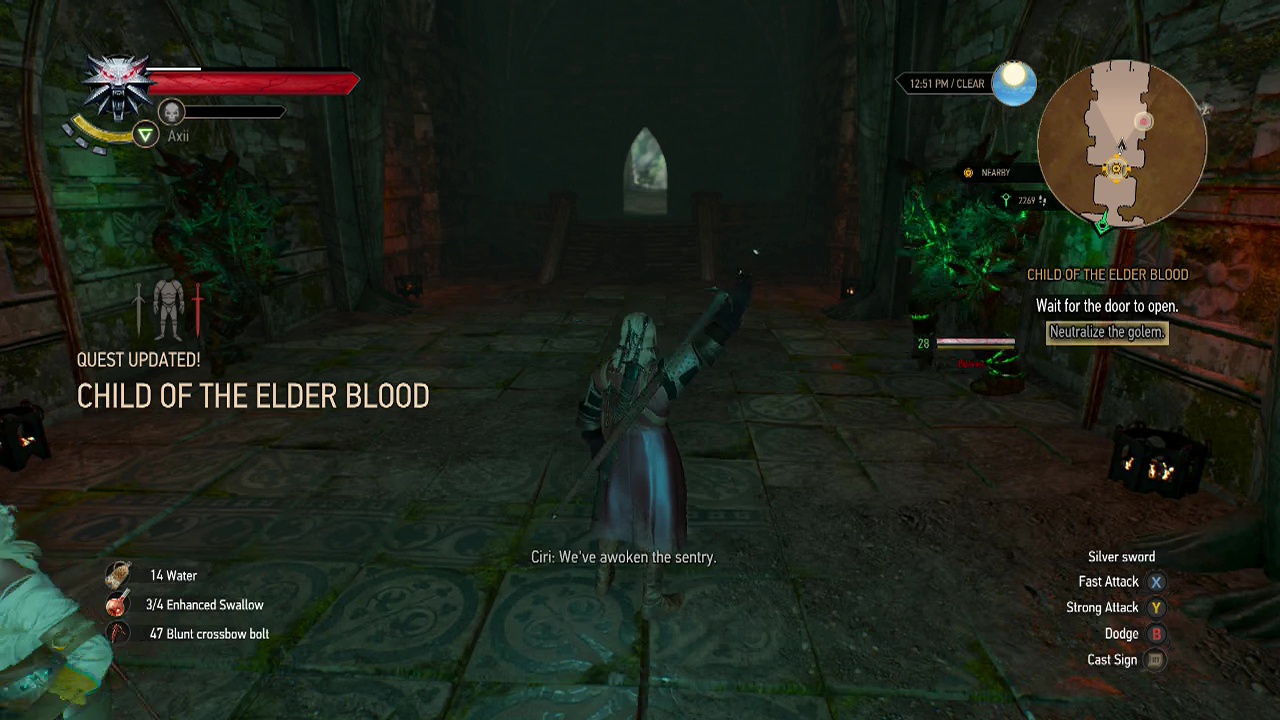
Objective: Wait for the door to open
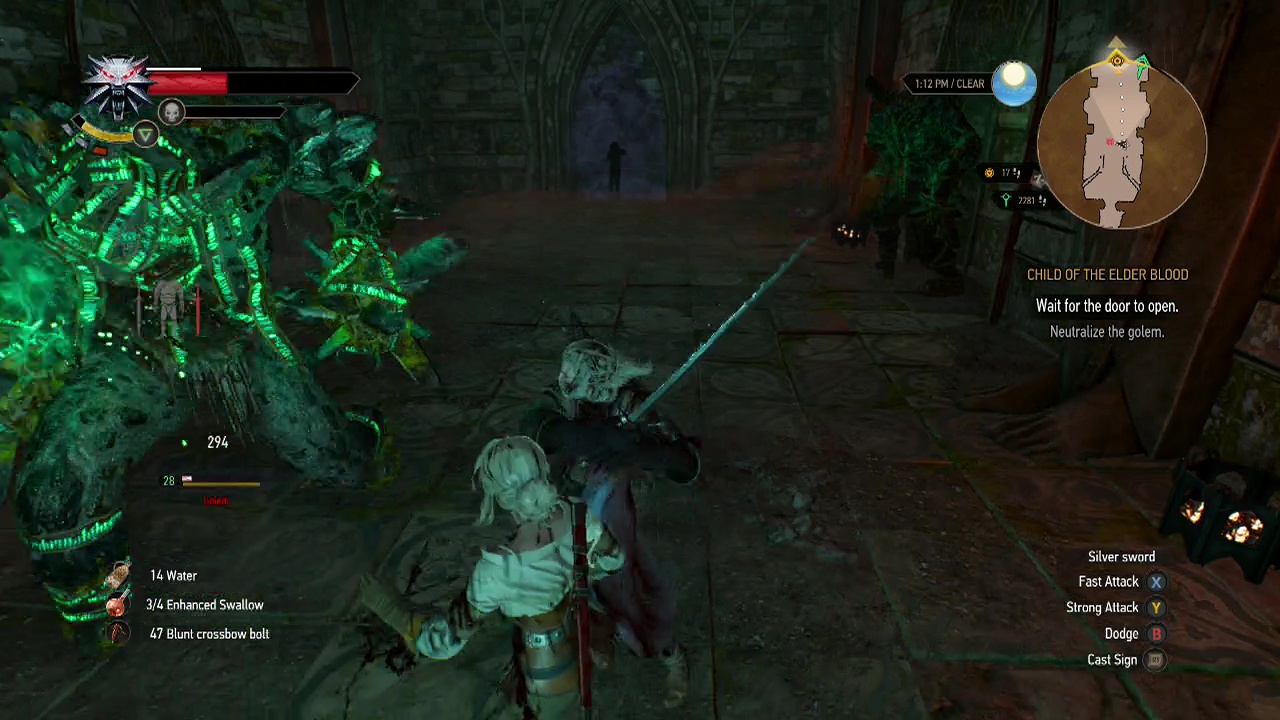
Objective: Neutralize the golem
Sigh, what is it with elven mages and golems? Let me just copy and paste my advice from the earlier golem fight in this story quest:
"This plays out like most golem fights, with the sorceress distracting the golem with spells while you perform hit and run tactics to whittle down it's health. You can use the axii sign to slow the golem down, allowing you to get in more heavy sword swings before evading it's attacks. The golem will perform quick close range swipes, an AoE foot stomp when you are at mid range and will do a flailing run when you are too far away for it's other attacks to hit. This must be the minimum third or fourth encounter with this enemy type by now, so you should have a good idea of how to deal with it."
The only difference is that Ciri will help you here, not Phillipa. Despite there being two golems, you will only have to fight one of them. After it is defeated, enter the open door of the laboratory.
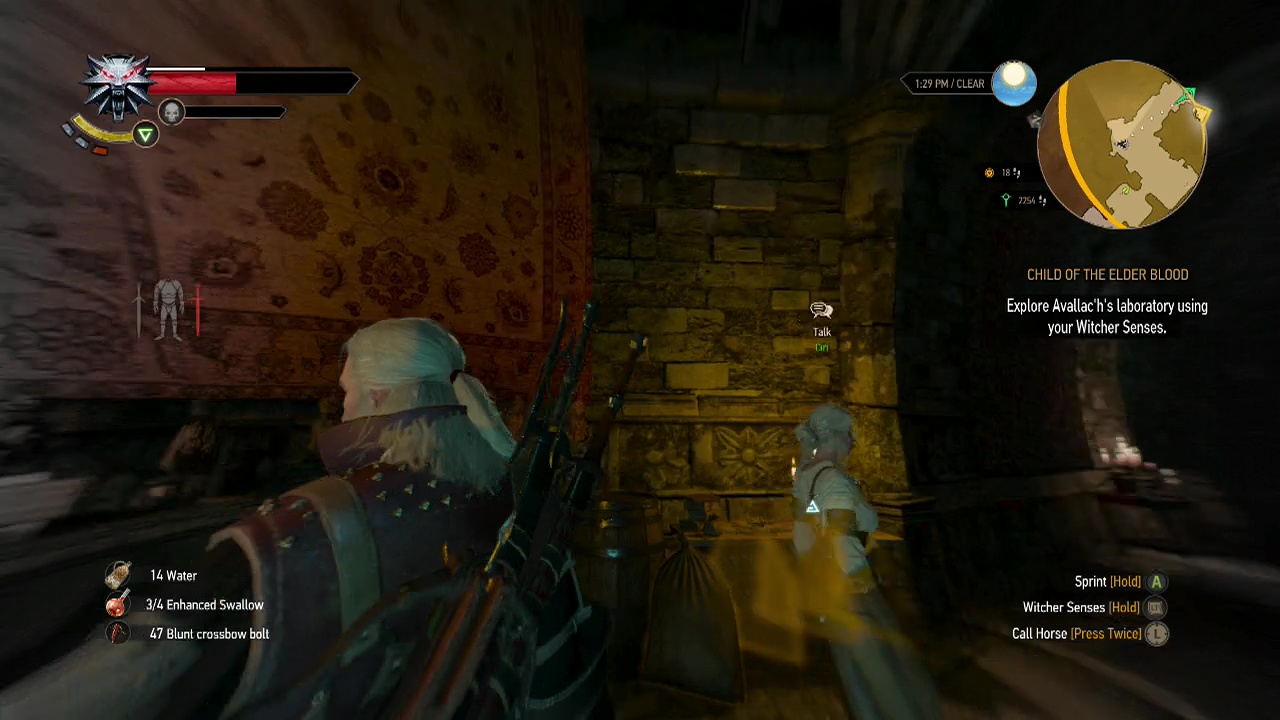
Objective: Explore Avallac'h's laboratory using your witcher senses
In the first room, there are several things to examine:
- Hand mirror on small table
- Something I missed looking at on a table near the hand mirror, possibly a book
Objective: Talk to Yennefer
Have a quick chat with Yennefer and get back to the investigation.
Objective: Explore Avallac'h's laboratory using your witcher senses
Head down the stairs to the next set of chambers to trigger a scene showing Ciri's family tree. Afterwards, you can resume your nosing about:
- Mirror on table at the opposite end of the room to the family tree
- Scent bottle on the same table
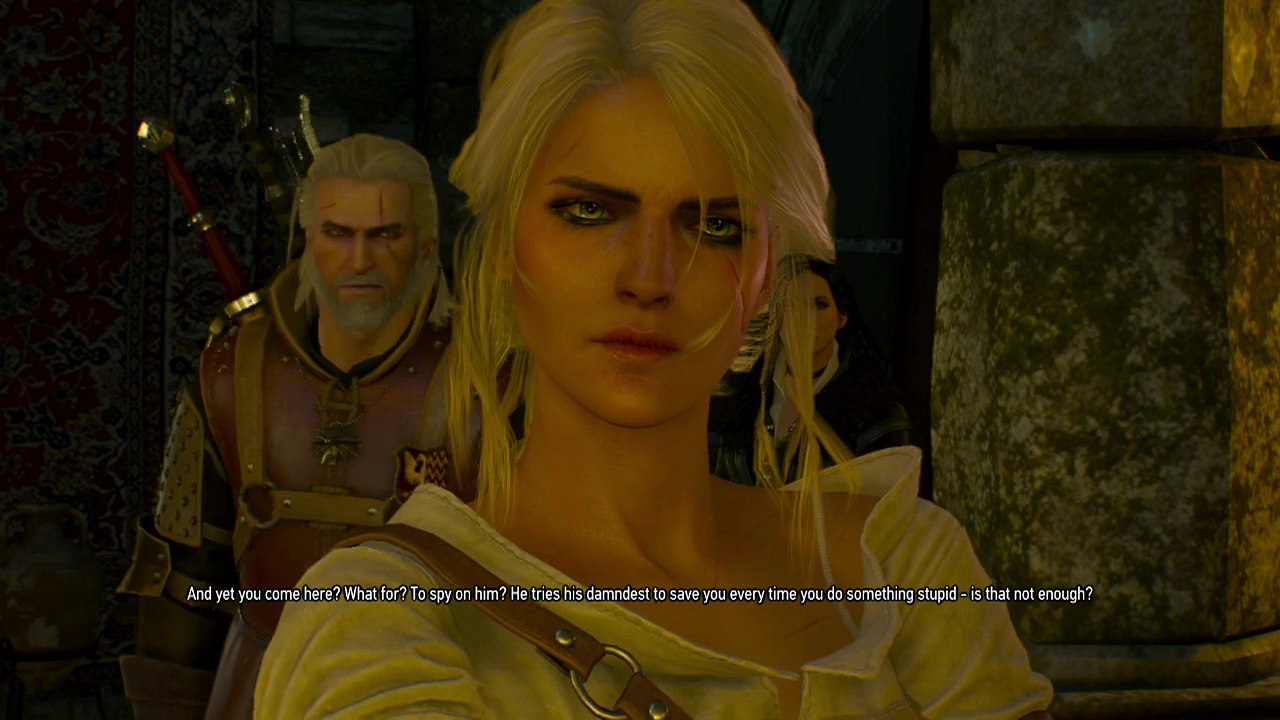
Pass through the door at the far end of the room to meet the other occupant of the laboratory. On the way out, you'll have some fun with Ciri (wow, you wouldn't want these two as house guests, would you?). After beating the hell out of Avallac'hs digs, you'll be off with Ciri to deal with some more unfinished business. Watch the rest of the scenes play out as the subquest ends.
End Subquest
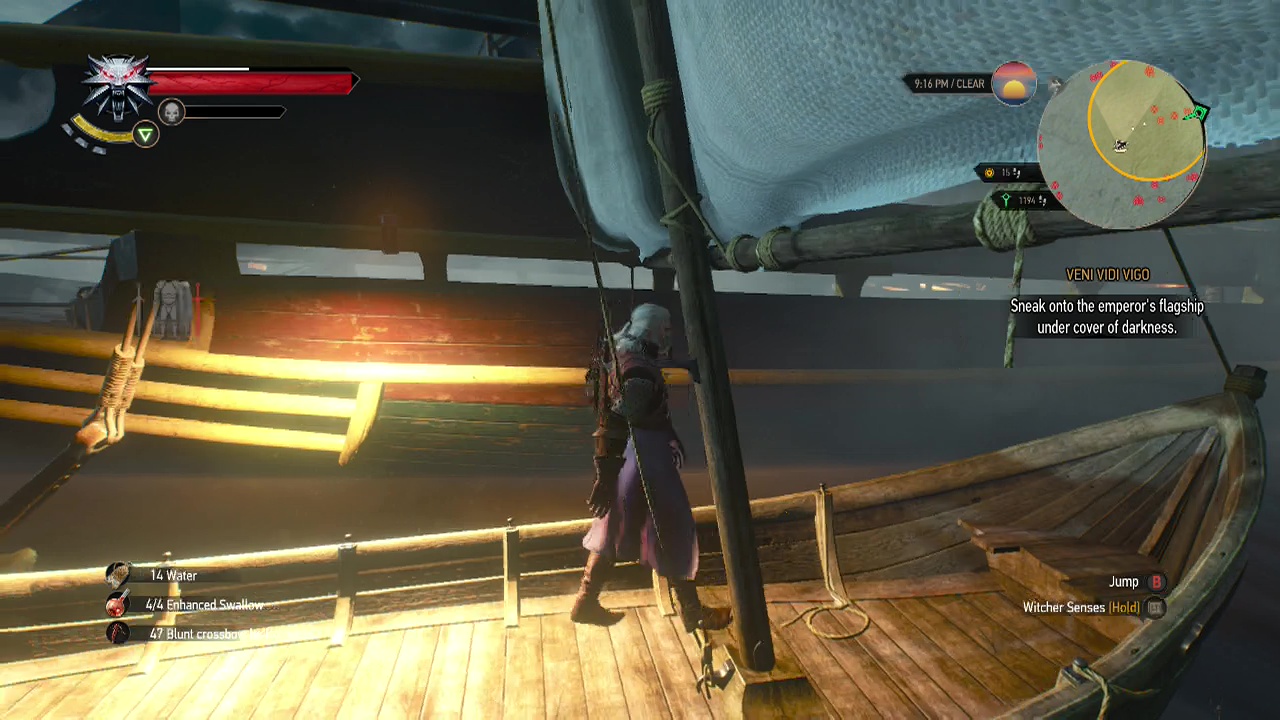
SUBQUEST: Veni, Vidi, Vigo
Recommended Level: 28
Objective: Sneak on the emperor's flagship under cover of darkness
Haha, you'll see in the video I really screwed this one up. The idea is to simply swim in the water, carefully avoiding the lights until you reach the flagship and climb up the anchor. I (like an idiot) grabbed a boat and tried to rush through the fleet to the flagship. I did manage to survive, but still they sunk my boat and damaged me a fair bit. Eh, you live and you learn. Or at least reload and learn. Watch the scene with the emperor and you'll have another sorceress in your ranks.
End Subquest
Objective: Let Avallac'h know everything's ready
Make your way back to the harbour to tell the sage everything is set. Several planning scenes will play out and the story quest is over, with you staring down the barrel of the big confrontation of the game.