
STORY 32 – On Thin Ice
Recommended Level: 30
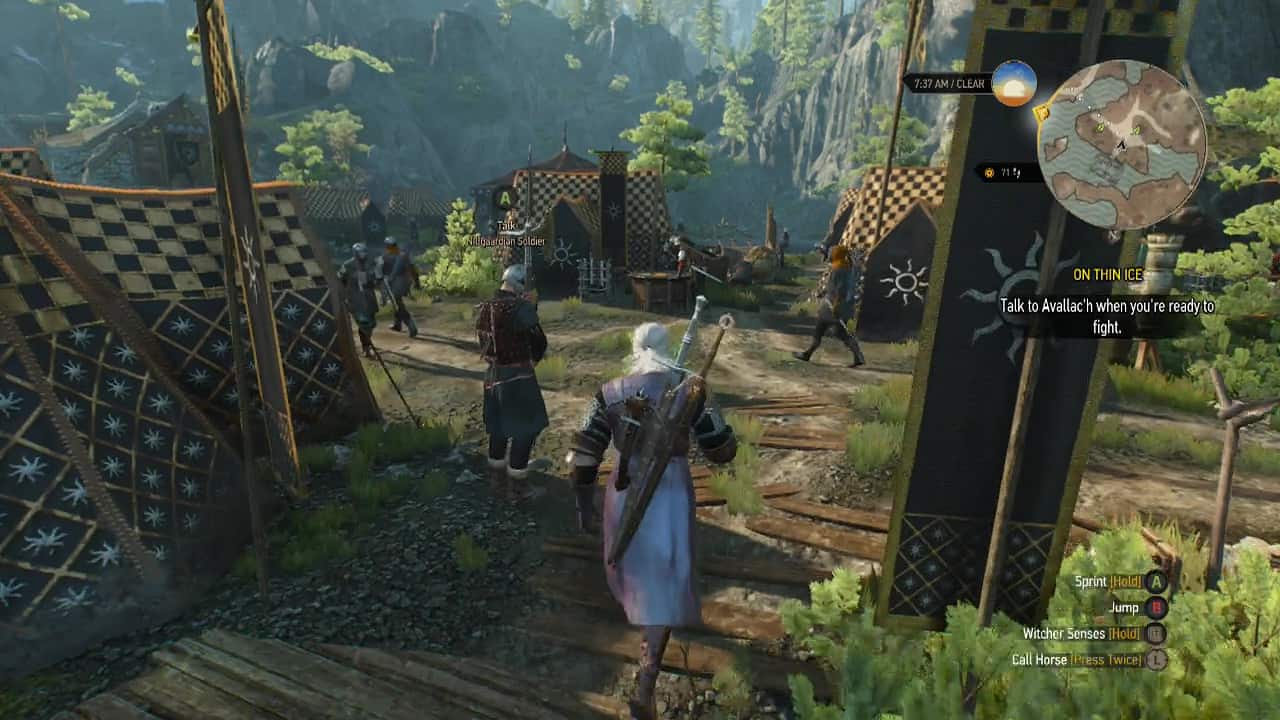
Objective: Talk to Avallac'h when you're ready to fight
When this quest begins, you'll be at the makeshift camp site where everyone is making their preparations for the final battle. Make sure you get everything repaired and stock up on what you need for the fight ahead, as this will be your last major story battle in the game. So pull out all the stops and use your best equipment to ensure victory. After you are ready, you'll find Avallac'h on the dock waiting for you.
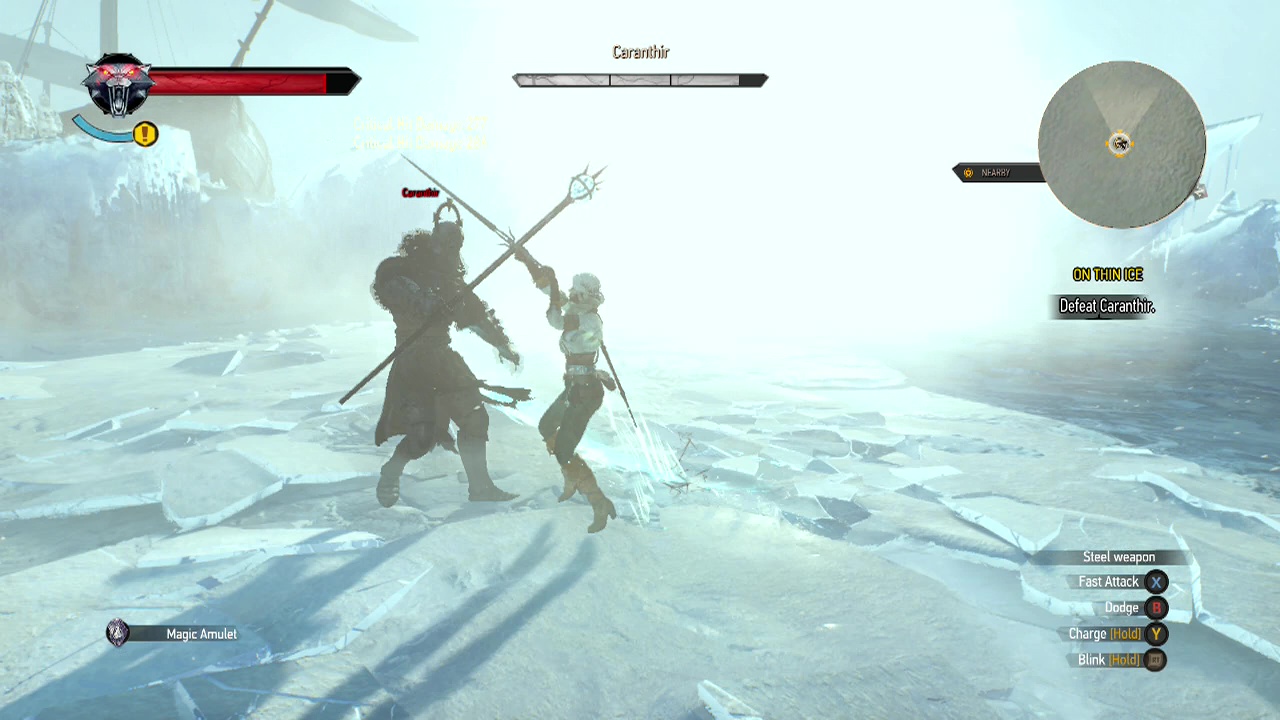
Objective: Defeat Caranthir
After the long scene, you'll be in control of Ciri on the ice floes facing off against the warriors of the hunt. The good news is that Ciri seems to have gotten a power upgrade since we last used her, meaning she can defeat the warriors in a single swing. Follow the map trail along the ice, slicing apart the enemies along the way until you drop down into the circular arena where Caranthir is waiting.
Immediately after you land, Caranthir will begin to speak. Ignore him and rush up to get some quick swipes in before he can respond. He will begin teleporting around while trying to strike you with his staff. By this point in the game though, you should be well practiced at using Ciri's teleport to avoid enemy strikes. So keep slashing and avoiding his attacks until a quarter of his health has vanished. Watch the scene play out.
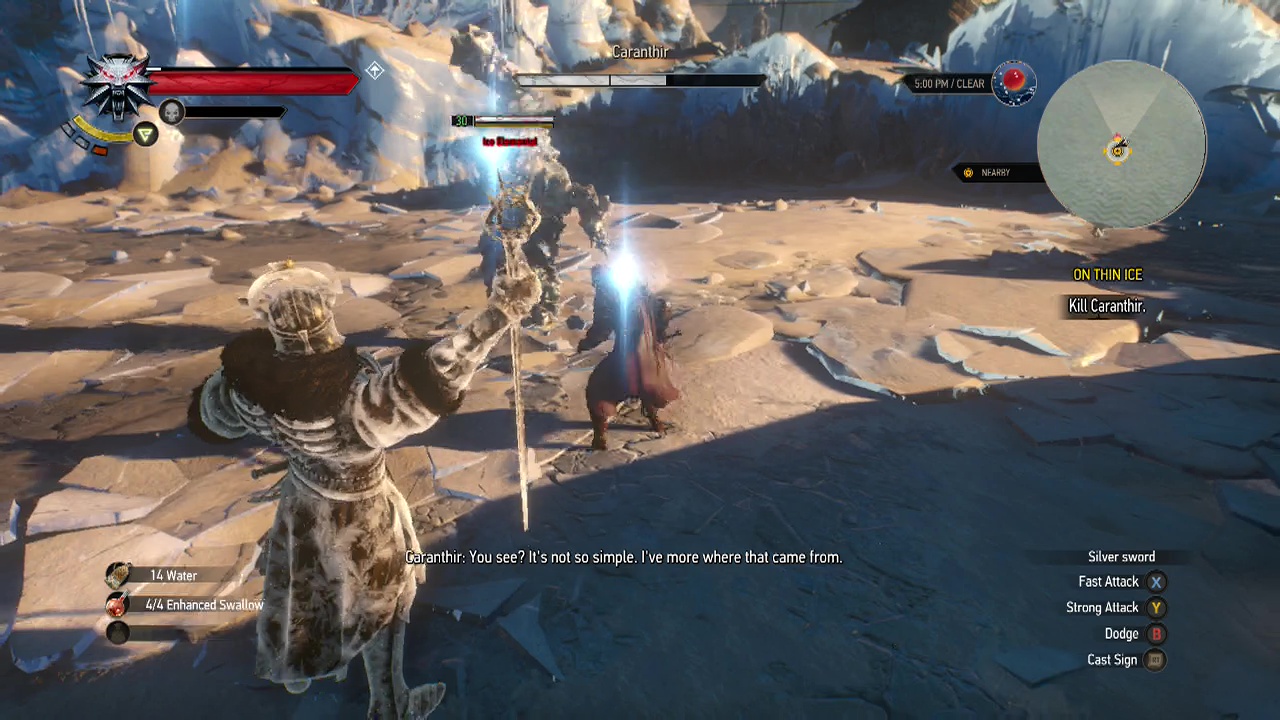
Objective: Kill Caranthir
Looks like Ciri's tapped out and Geralt's in. Caranthir's health will remain at the same level as Ciri left it, so this is more like the second phase of the same fight. Caranthir will begin by casting projectile attacks towards you repeatedly. Roll out of the way to avoid these and try to angle left or right as opposed to directly toward Caranthir as you try and close the distance. This makes avoiding the projectiles easier. Whenever you get close, land a couple of light hits on him (heavy attacks are too slow) before he teleports to a new position. Repeat until he has lost a full third of his health and he summons a ball of ice from the sky.
Ah, now this is where the fight really begins. Caranthir will summon an ice elemental (arriving as a ball of ice from the sky) which will unfurl and begin to attack you. The problem with this (strategy-wise, not the obvious) is that Caranthir has an infinite supply of these. This makes attacking the ice elemental completely pointless. You should instead concentrate your efforts on avoiding the elementals and getting close enough to Caranthir to land some more attacks before he relocates. This is the general idea for the rest of the fight.
There are a couple of other things to note though. As Caranthir loses more health, he can have more elementals active at a time, making the final small segment of his health a real bastard for you (as three elementals will all be chasing you, while Caranthir pelts you with projectiles). Play defensively and focus on avoiding taking damage, as you are likely going to want to save as many potions as possible for the final fight shortly. Another important point is that Caranthir's spells deal friendly fire damage. So wily players can use the elementals as a shield from the attacks and damage the elementals at the same time by placing the elementals between.
Objective: Swim to the surface
After you're splashdown victory, swim upwards towards to surface to climb out of the water.
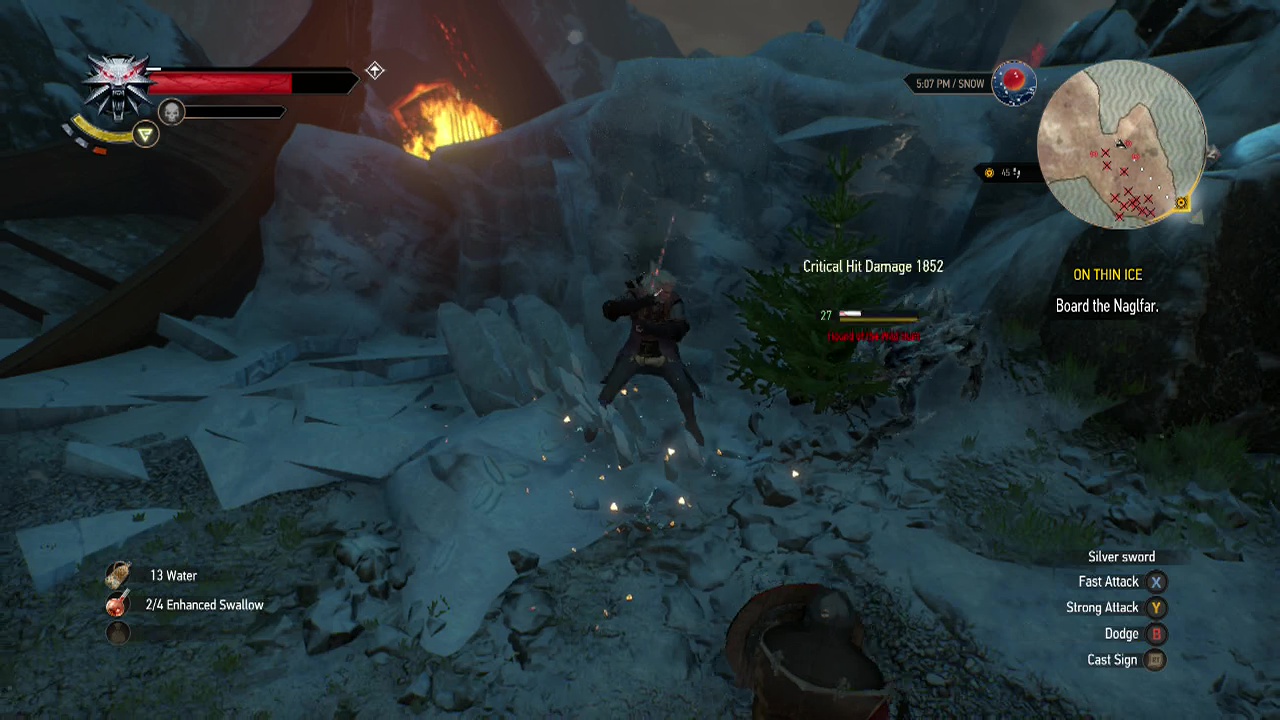
Objective: Board the Naglfar
Now you'll have to run through the battlefield to reach the elven ship. You can either lend a hand or just run past everything (makes no difference). When you get close to the ship, you'll see Crach dueling with Eredin. After the scene plays out, you'll be face to face with the leader of the hunt.
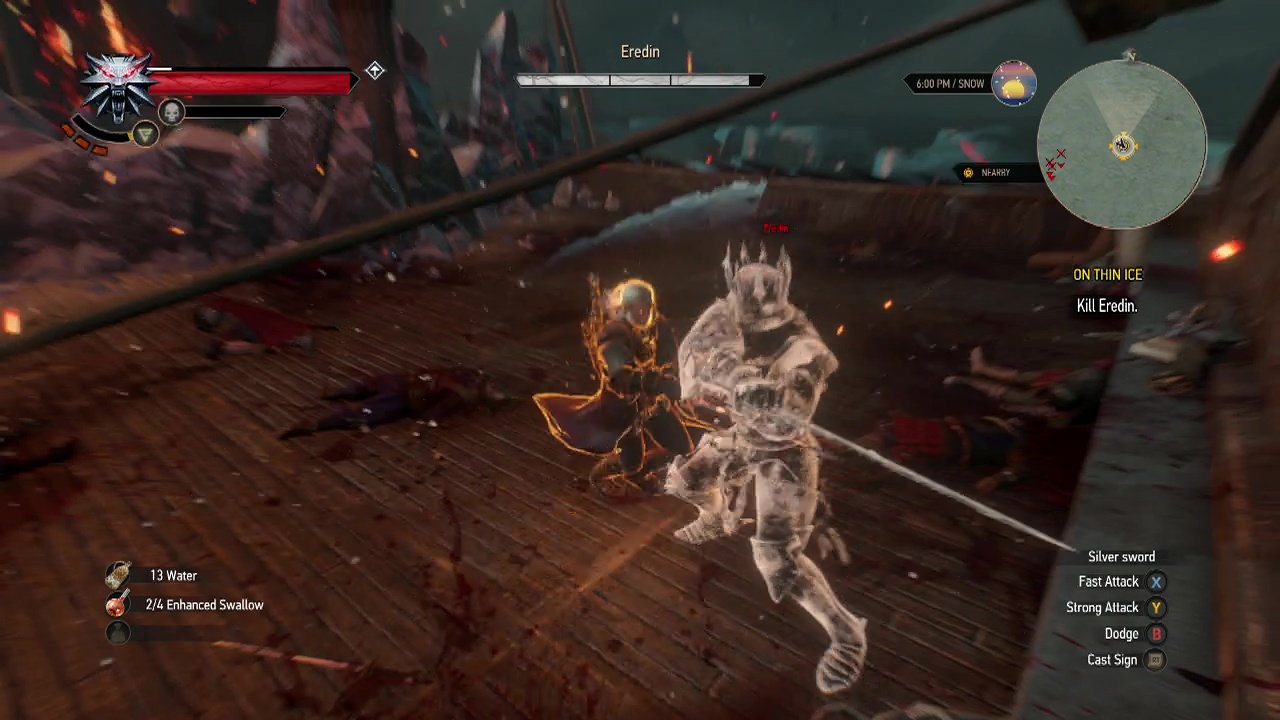
Objective: Kill Eredin
Eredin will spend the first few seconds of the fight mocking you (cliche villan lines 101). I hope you remember how you dealt with the lieutenant at Bald Mountain earlier in the story, as Eredin can do the teleport back attack straight off the bat.
Melee strike: When you are close to him, Eredin will slash towards you (one or multiple times) with his sword. Quen will interrupt this attack, but you can also dodge or roll away from it.
Blink strike: Eredin will teleport directly behind you and immediately attack with his sword. Use quen to absorb the blow, or use dodge for more control. Roll only if you are desperate (as it takes a split second to recover from a roll, in which Eredin has probably already teleported to your new location).
Timing your dodges is crucial, as soon as Eredin vanishes, you should be dodging to the side to avoid his attack when he reappears. When you do, you can either attempt to land a hit or two (any more and he will counterattack), or just avoid the damage. You can also use the quen sign as an interrupt, tanking an attack so you can attack back while he staggers. Use these strategies to get him down and you shouldn't lose much health during this phase. After he's lost about an eighth of his health, he will vanish and you will suddenly be knocked down.
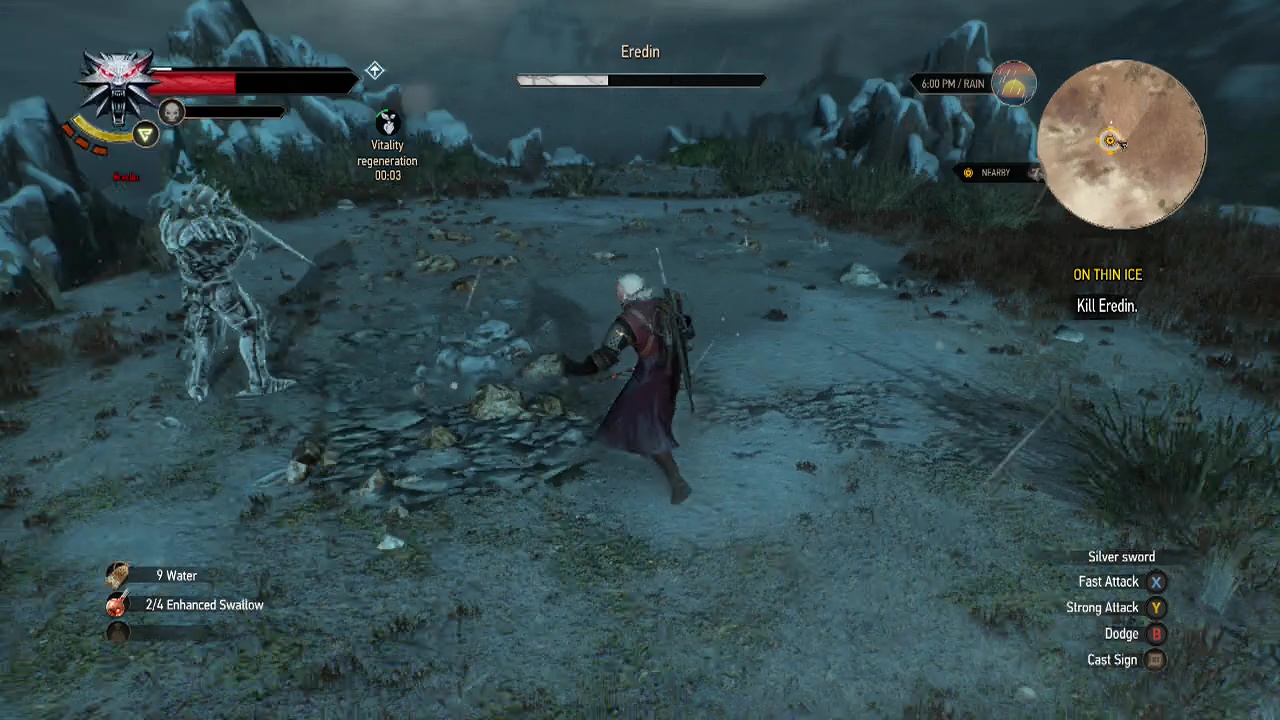
You will reappear on the other side of a portal somewhere on Skellige (in an open circular area). This is the second phase of the fight, where footwork is everything. Eredin will have picked up some new moves in the interim:
Blade beam: Eredin will slam his sword into the ground causing a series of energy gysers to rise from the ground in a straight line from him. He will repeat this two more times, with the beam getting wider each time unless he is attacked. To avoid this, you should be sprinting at ninety degrees to the beam. Don't try to dodge or roll away from the beam (especially the larger ones), as you won't cover ground quickly enough.
Explosion: Eredin will cast a spell on an an area under your feet, after a few seconds a meteor/ falling fireball will fall from the sky at that location, damaging you if you are caught in the blast. Simply sprint out of the area to avoid the hit.
Energy blast: You will see a small point of light appear, which a second or two will explode (dealing damage) into a sphere. Eredin can cast these in rapid succession, meaning you will need to keep moving quickly to avoid them.
This is the real final battle, so you're in for the long haul. The main focus of this fight is interrupting Eredin. When he casts his new attacks he must remain stationary. This gives you the opportunity to (if you can avoid the attacks), get in his face for some slicing and dicing. Take advantage of quen as much as you can during the fight to prevent unexpected damage (being to close to an attack or one of Eredin's teleport strikes). You should spend the majority of this fight runnning around avoiding the attacks and closing on Eredin as much as you can.
When he stops casting spells, he will use the blink strike attack like in the earlier phase of the fight. You can use it in the same way, simply sidestep and attack once or twice before he teleports again. You should (if you conserved earlier), have plently of potions left and as long as your skills and footwork are up to par, you should be able to bring the bastard down. When his life bar is empty, watch Geralt deal with him, have a quick chat with Yennefer and the quest will be over.