
Lost Call
Follow the waypoint and activate the marker to start things off.
A Brutal Discovery
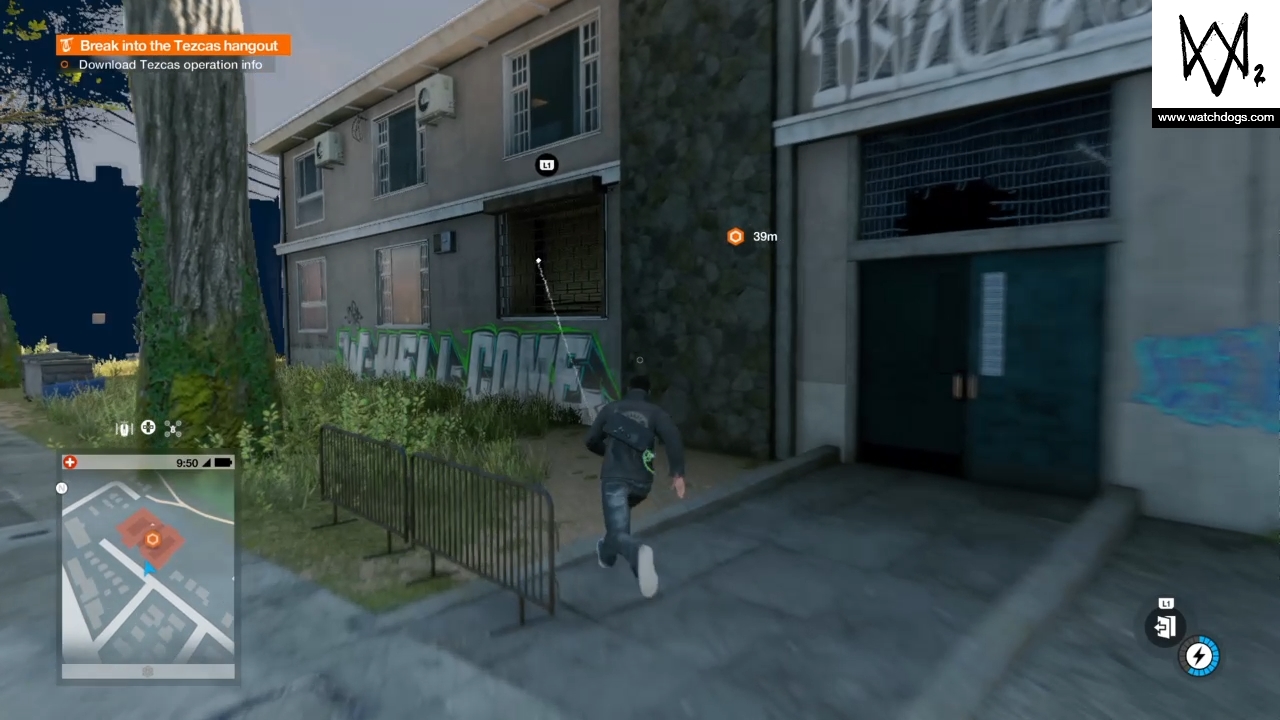
Follow the waypoint to the building and activate it to start the cutscene. Once it’s over, head for the next waypoint. To get inside the compound, hack the window and climb in.
Stealth is tricky in this part due to the combination of close confines, a lack of hackable traps and dogs everywhere that you can’t distract. The best option is to take it slow, and use the tried and tested one-two punch of distract and shoot/stun, on anyone who gets in your way or spots you. Once you’ve hacked the data, head for the next waypoint and hack the panel to burn up the Tezca’s drug supply.

To escape, from facing the panel you just hacked, head right and up the stairs, keep right then take the first left. There’re hackable blinds there that can provide a quick and easy exit. Get out and away, and lose anyone who gives chase to complete this section.
Head for the waypoint to meet with your contact. Talk to them to start the mission off. This mission is made into child's play if you have a sniper rifle or, even better, the ability for your quadcopter to drop explosives. If you can do that, just find yourself a vantage point and watch the fireworks. If not, things get a little trickier, and getting into a fight is almost guaranteed due to the number of enemies and the blind corners everywhere.
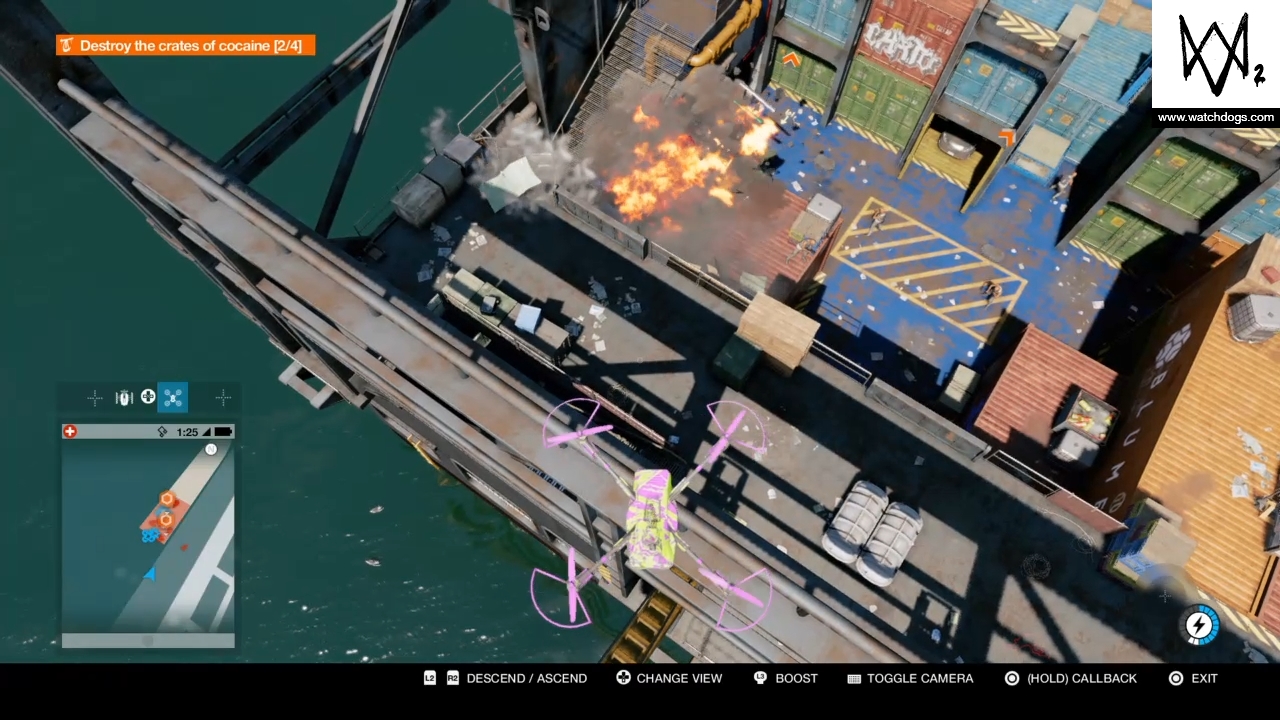
Another is there’s a forklift on the deck that you can hack and drive straight into the pile at the rear of the ship to destroy it.
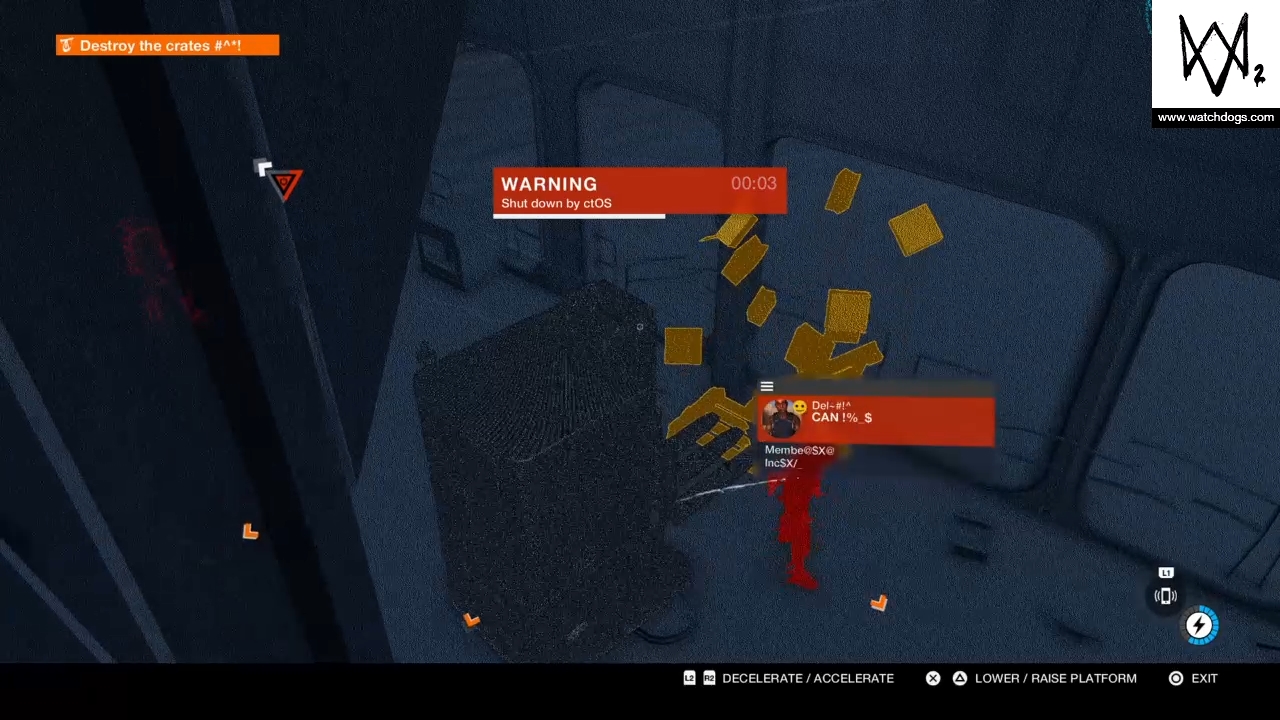
The other two are, unfortunately, going to have to be more hands on. Use the size and complexity of the ship to your advantage, lead any pursuers on a merry chase as you take out the other two drug stashes. Remember the distract/shoot combo, and if you have the mass distract skill, use it to stop a whole group of bad guys at once. Once everything’s destroyed get away from the area to complete the mission. The police normally show up once you start blowing things up, so there’s a decent chance that they’ll start fighting with the gang members and you can get away in the chaos.
Root Canal
As with the other stage, meet your contact to start things off. Once you’re back in control, there are a few ways to go about completing this mission, which all depend on how much revenge you want to take. Having said that however, whatever you’re planning, there’s a great spot to set up on the roof of the green building opposite the one where you met your contact. Go around the back, hop over the wall, up the ladder then take cover behind the chimney pots.

A knockout will do on each of the targets, so you can just send a quadcopter out to set off traps when they get near. If you want to kill them, you can do similar, but as they’re armoured, the anti-material sniper rifle works best (it can also shoot through walls, so there’s that). Once you take out two of them, the third will begin to run, so be ready to give chase if need be. When they’re all taken care of get out of the area to complete this phase.
A Real Dog Fight
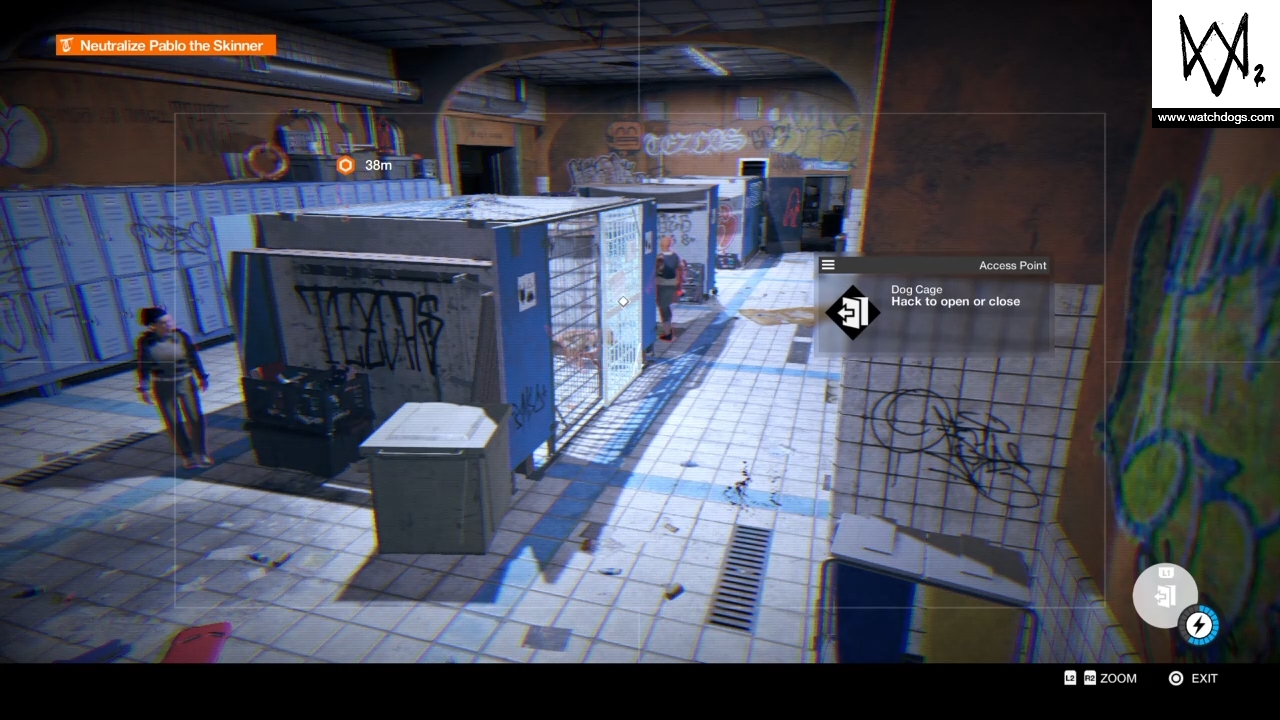
Same drill again at the start, meet the contact and get your info. There are a lot of guards in a tight space here, so stealth is tricky, but honestly it’s not that important here as, as soon as you’re through the door it locks behind you and the guards here can’t call reinforcements. Once you’re through the door, head for the elevator and go down, cue cutscene. Once you’re back in control, hack the nearby cage door to let the dog out, which will promptly savage the guard. You can either lure it back into the cage with the Jumper or just take it out to proceed.
About this time the Sons of Ragnarok will attack the compound, sowing some confusion, but you can further aid that by jumping into the camera system and releasing another dog.
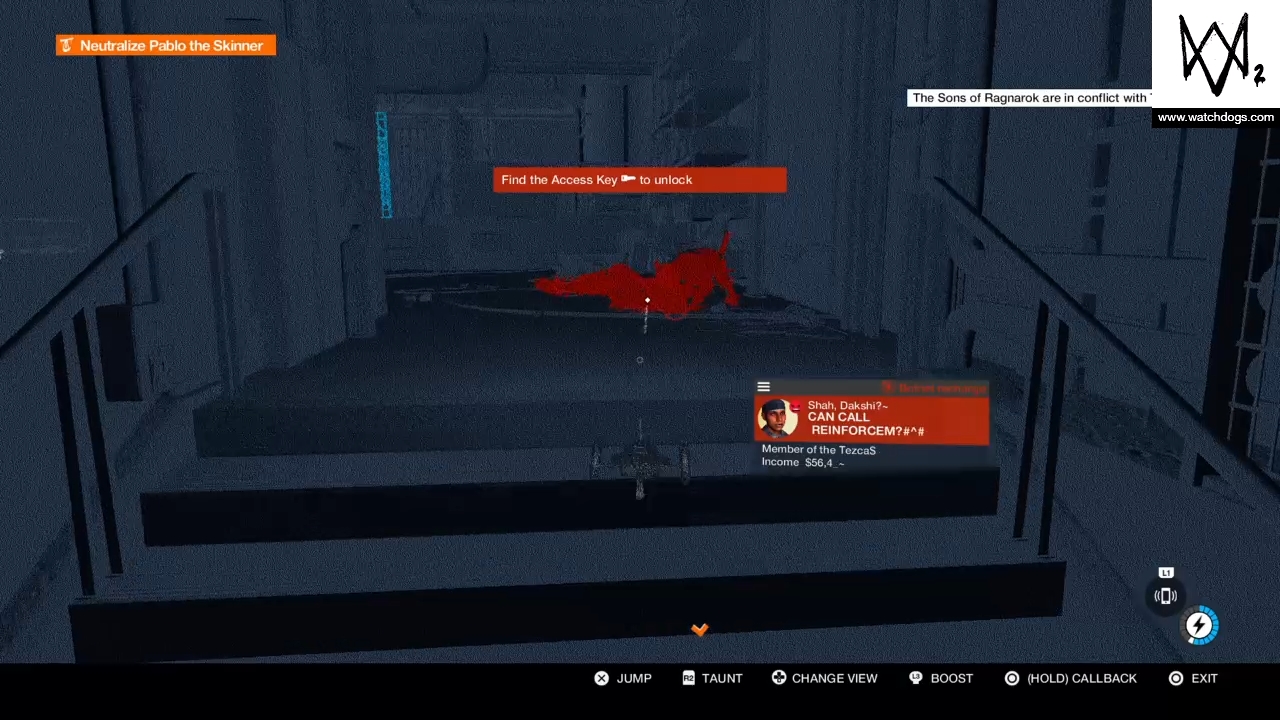
Whilst you’re in the camera system, bounce around until you find the guy you need to hack to get the access code and grab it from him. Head through the now unlocked door, and stay low to avoid detection.
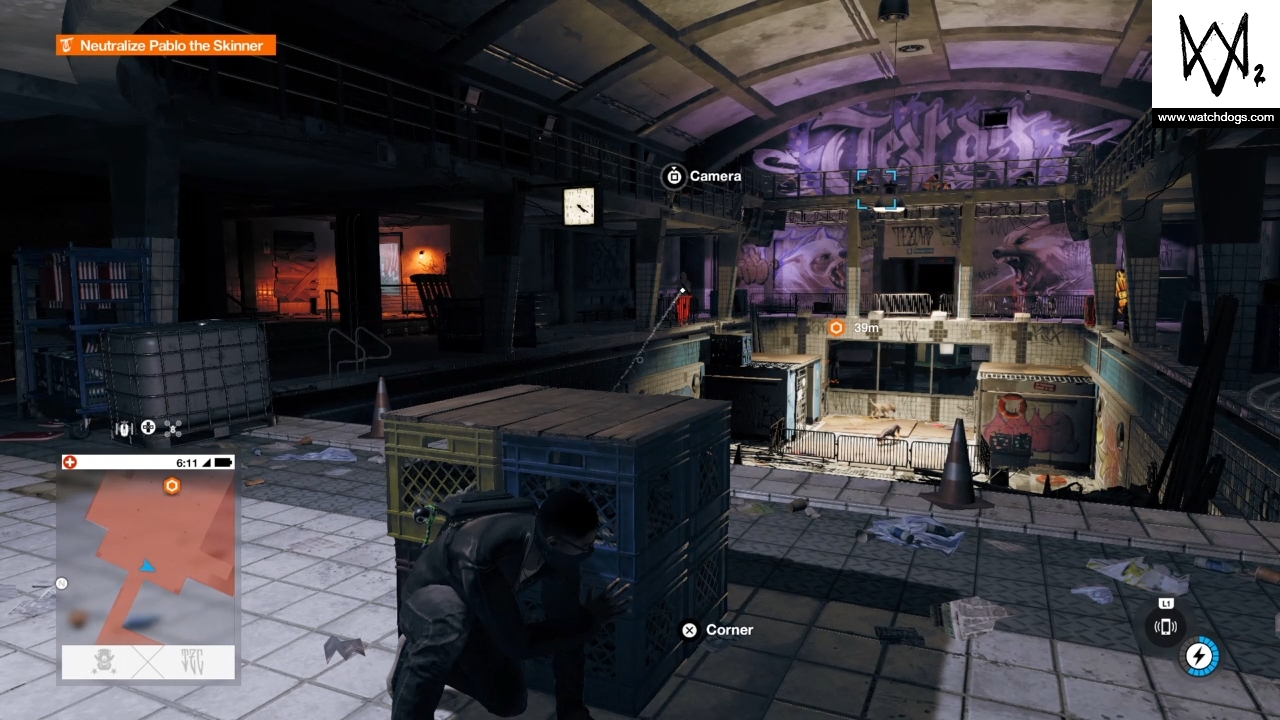
Head left and then go through the door that leads downstairs past some lockers on your right. Pablo will be patrolling around here (incidentally you can hack him for $18,000, so definitely do that). Either attract his attention over to a trap, or take him out yourself.
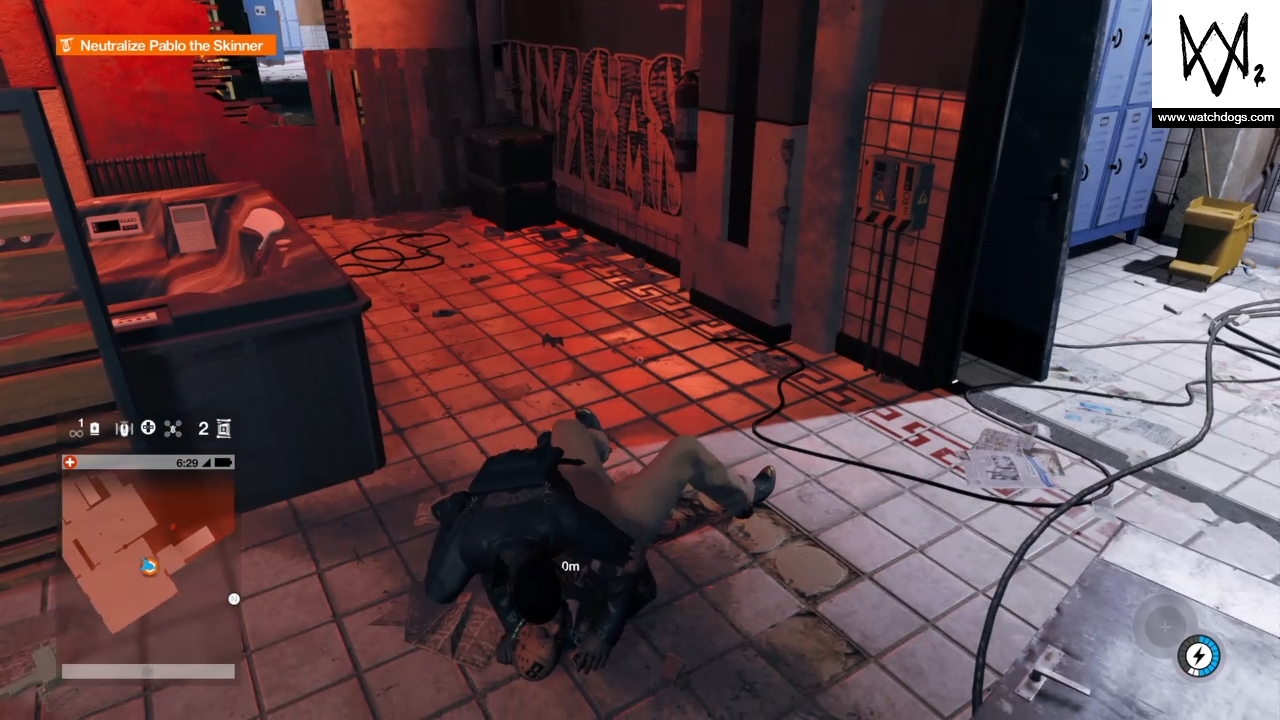
Whichever you choose, once it’s done, retrace your steps back to the lift and head on up to finish the operation.