
Once the Ubisoft loading screens clear and the game boots up, our first image is… another loading screen! Except this one is much fancier. Say what you like about their morality, Abstergo knows their shiny.

Shiiiinyyyyy.
Of course, we're playing “Assassin's Creed,” not “Commandments of the Knights Templar,” so that Abstergo logo starts fuzzing out halfway through the loading bar, turning into a cloud of noise and then our mission control in the present, one “Bishop.” No last name given, and it's probably not her real name anyway…
After a bit of exposition (oh look, another Piece of Eden. Somehow these things just end up all over the place, there'll be one hiding in my teacup next.), we're introduced to our first pair of loose cannons: Rebecca Crane and Shaun Hastings. Yup, they're just going to look into a meeting with Templar brass on their lonesome, no big deal. They'll definitely come out of this all right.
Anyway, moving on to the important people, AKA us.
Oh, wait, no, more exposition. A mysterious Assassin (well, more mysterious than the usual) starts telling us about the state of London, and presumably our endgame target: one Crawford Starrick.
Hugs?
All snark aside, Starrick is a pretty nasty guy here, with the hard and soft power – the gangs and the political backing – to prop him up despite his questionable morality. Not someone we want in control of the spice – sorry, London.
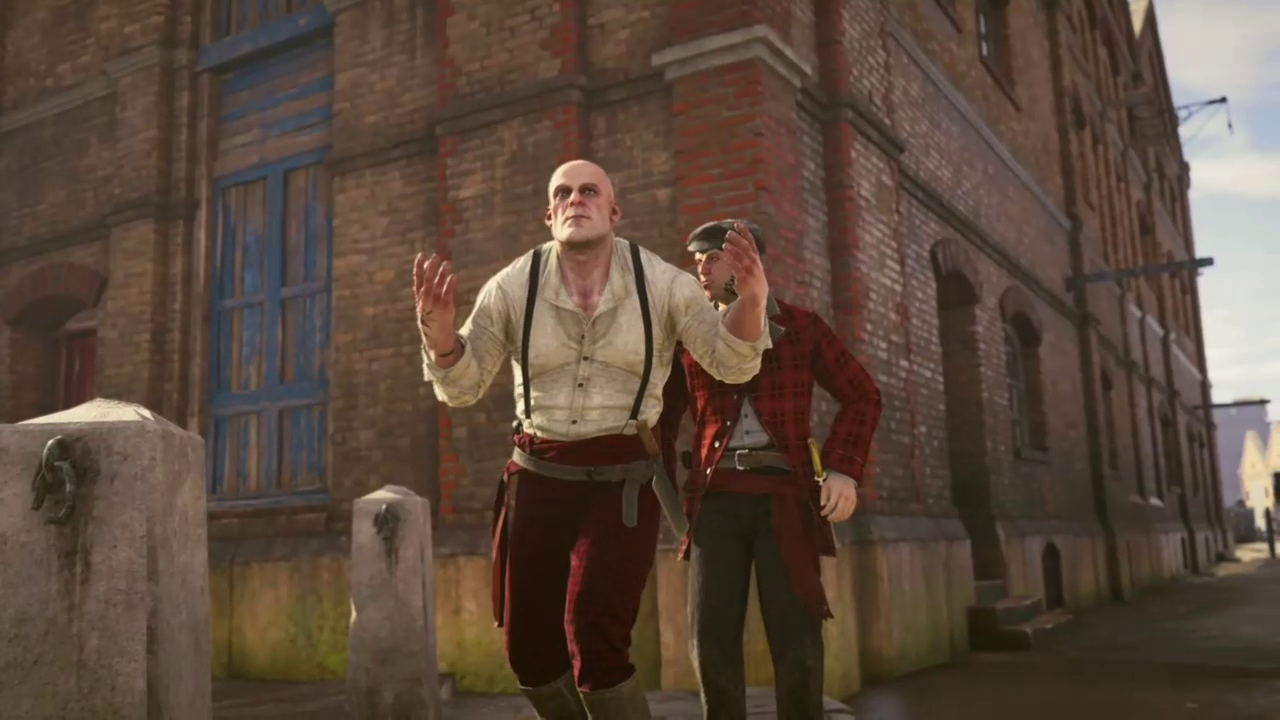
Countering him, then, we meet our second pair of loose cannons: the Frye twins. Not, despite Rebecca's excited squeeing earlier, a celebrity family, but a pair of Assassins. Which are like celebrities, except without the fame, and a little less cutthroat. With them comes the Brother George our mysterious Assassin was speaking of, as cautious and wary as expected.
A nice establishing shot of Rupert Ferris finally ends the opening cutscene. Yes, please get some painkillers for the guy with a headache, not the poor schmuck who just got crushed by a broken machine. Wonderful man, Mr. Ferris. Jacob will sleep quite soundly tonight, I think. Unfortunately we're not a McNinja or we could do something for his poor victim there.
And at last, here we are at the beginning of…
SEQUENCE ONE
A Spanner in the Works
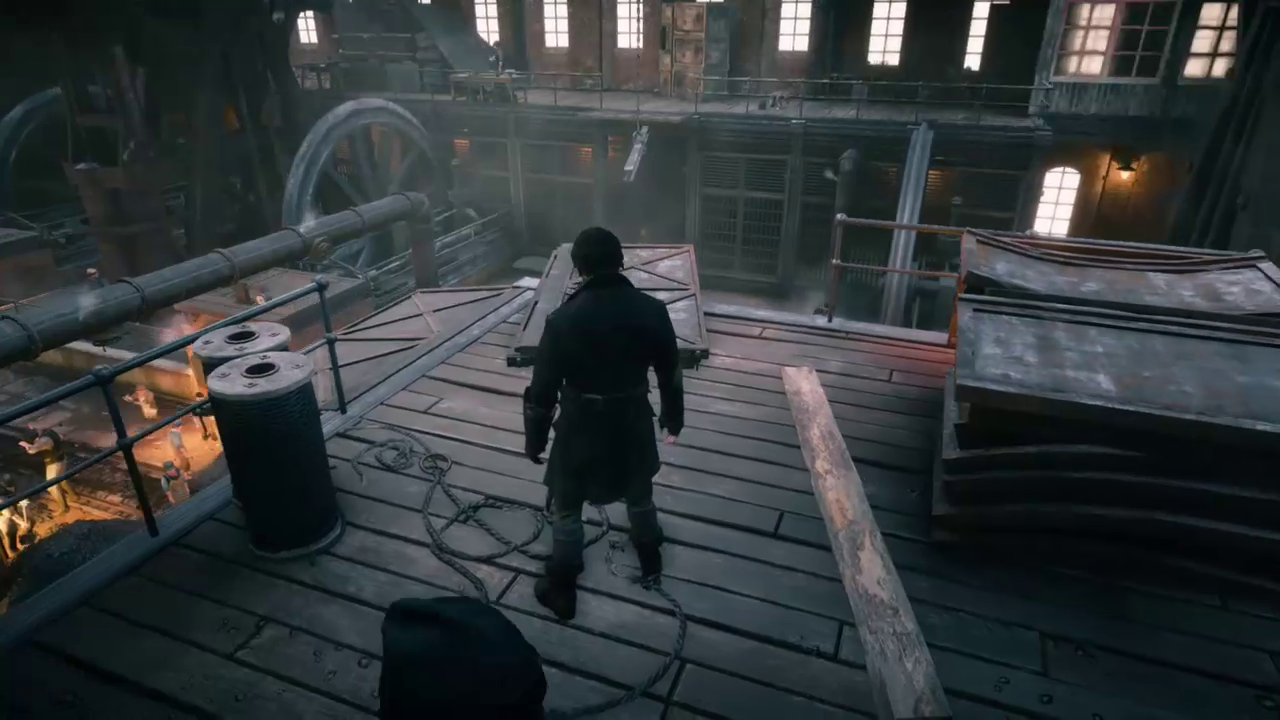
Nobody here cares about anything you do, unless you attack them of course. (Then there will be much cringing and terror from anyone within two feet, and no reaction from anyone outside that range.) If you like, you can start practicing your High Profile freerunning here, swinging like a monkey from ledge to ledge.
Or, yannow, you can walk down the stairs and over to the goal – the door Ferris left through – like a normal person.
Perfectly. Normal.
To the surprise of… well, nobody who's ever played a game, the door is locked. A nearby worker helpfully tells us that nobody will get through “unless there's a problem”; well, clearly we need to start causing problems.
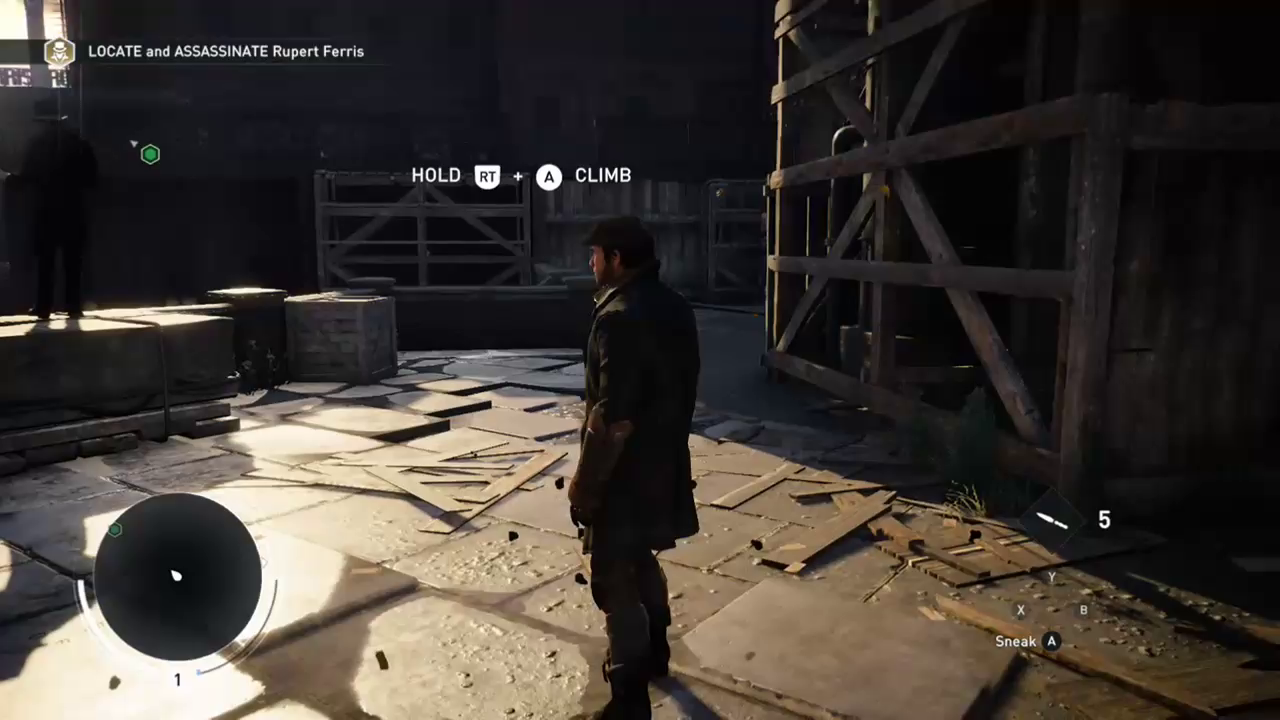
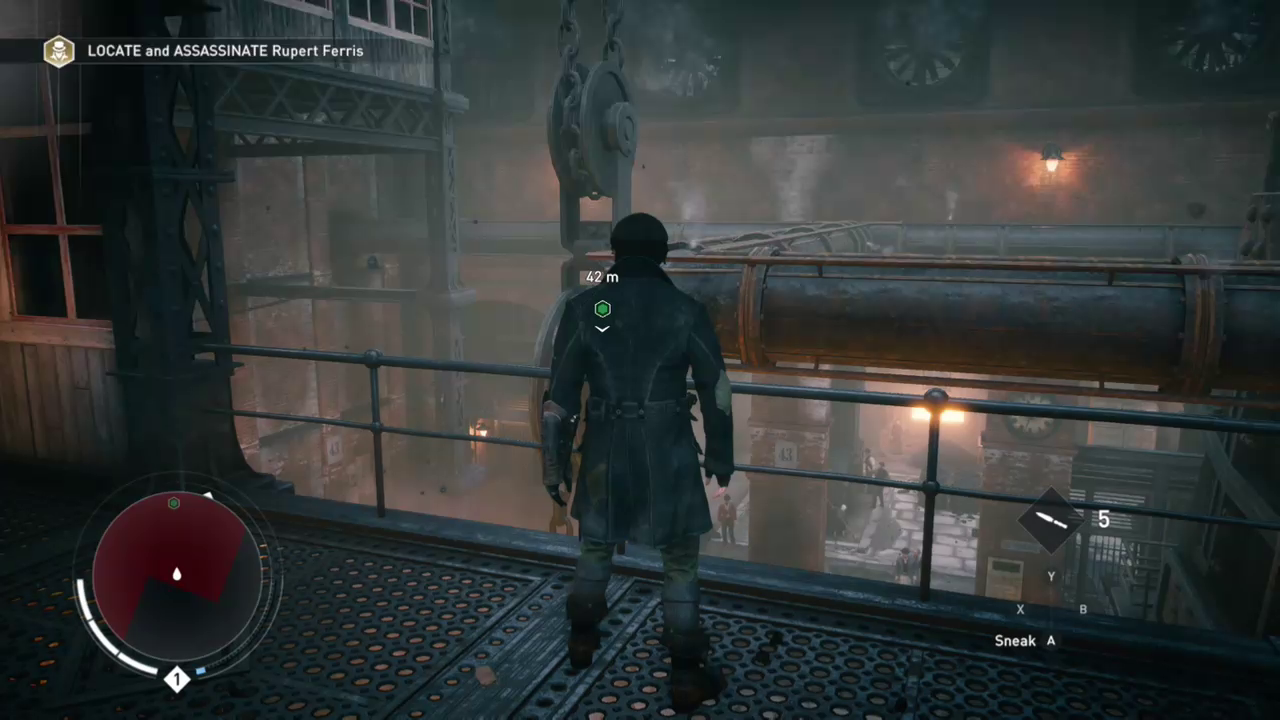
The game helpfully tells us how to freeclimb at this point, which is useful, because we'll need it to get the first target. It's pretty much a straight shot, though.
Straight as a laser.
Up the ramp, bounce off an I-beam, swing on a chain, over a platform and across a pipe. The Sabotage goal is on a pressure valve of some kind; turn the valve and ruin these workers livelihood. (Oddly enough, the boy right next to the valve doesn't seem to much care.)
“Nothin' t'do wit' me, guv'nor.”
The next one is just as simple, since the game is so kind as to guide you: straight onto the hanging I-beam over to the next platform, turn left and up the ramps, over the pipes and to the next platform.
Don't ask me why it doesn't rotate under you.
“Sure, we can spare a day's wages, go on.”
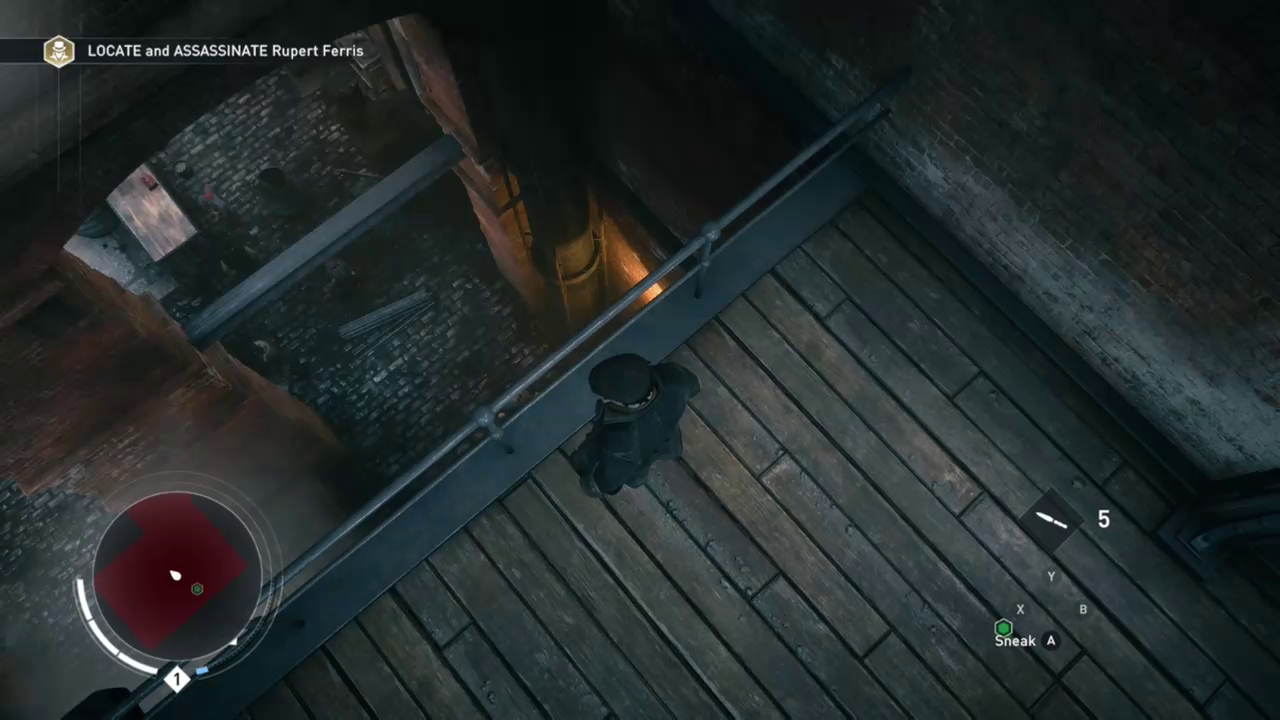
The last one doesn't even really require any free-running – just walk back across the plank and down the catwalk.

Releasing all three valves brings all work in the factory to a halt, and an angry foreman in through the door. If you're feeling sadistic you can listen to the workers try to defend themselves, but you're in perfect position to hit the thug with an air assassination instead.
Jacob's quite capable of providing his own snark here. “The sanitary inspector,” indeed. Walking through the now-open door, we're greeted with our first…
Boss Fight
Thug x3
And all should cry, Beware! Beware!
… well, maybe not. But this is the format I'll be using in the future for challenging battles (which are rather rare, actually) or assassinations/buglaries (much more common.)
The game quite neatly leads you through making short work of the thugs. Don't get confused by the slow-motion it throws at you the first time you get a counter, by the way; it only does that as an example, after that you'll want to hit your counter button (B on the Xbox) in real-time when their health gauge flashes yellow.
Walk through the terrified workers to the door, and head on through.
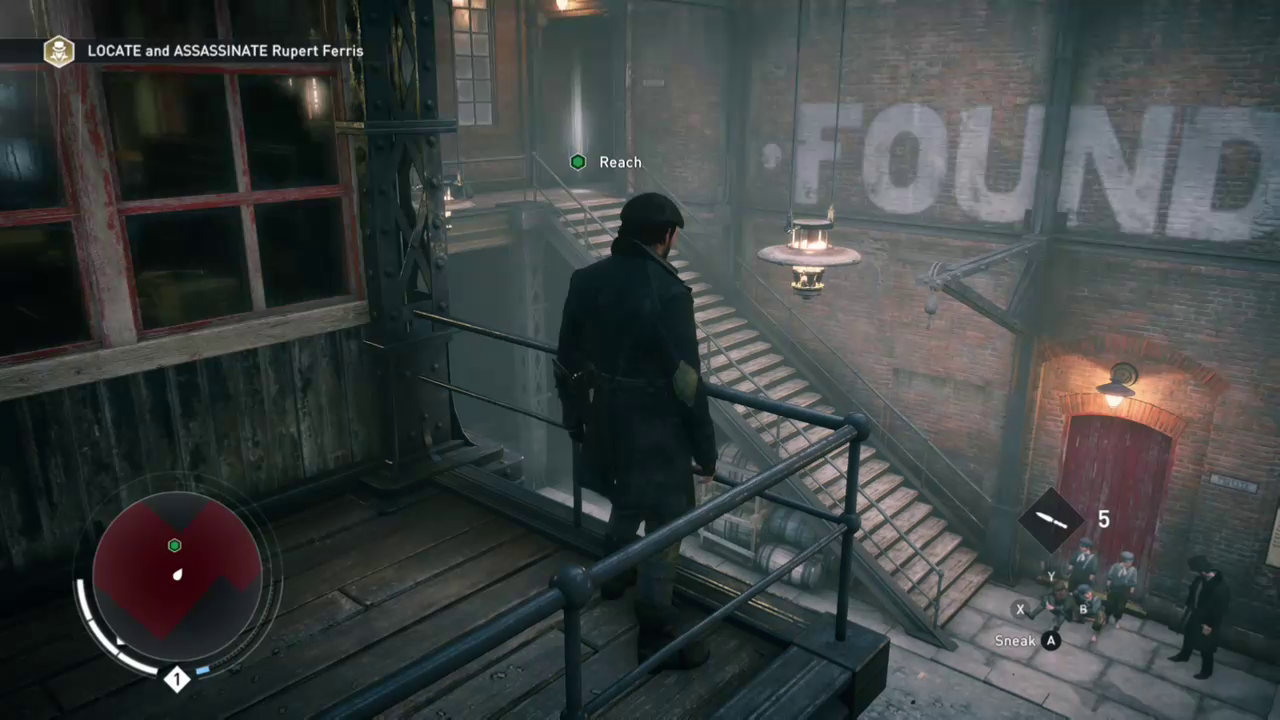
Part two begins with a protest, and a charming man delivering even more charming messages about the worsening conditions in the factory. Listen to it if you wish, then head over to your right.
Hm, I wonder where we should go.
Along the rail, up the fence, and left; climbing up the stacks of planks reveals another makeshift bridge that doesn't quite take us to our destination, not that our Assassin cares. Jump across to the crane wheel and climb up to the top of the tower, and then out to the end of the crane.
Embrace your inner vulture.
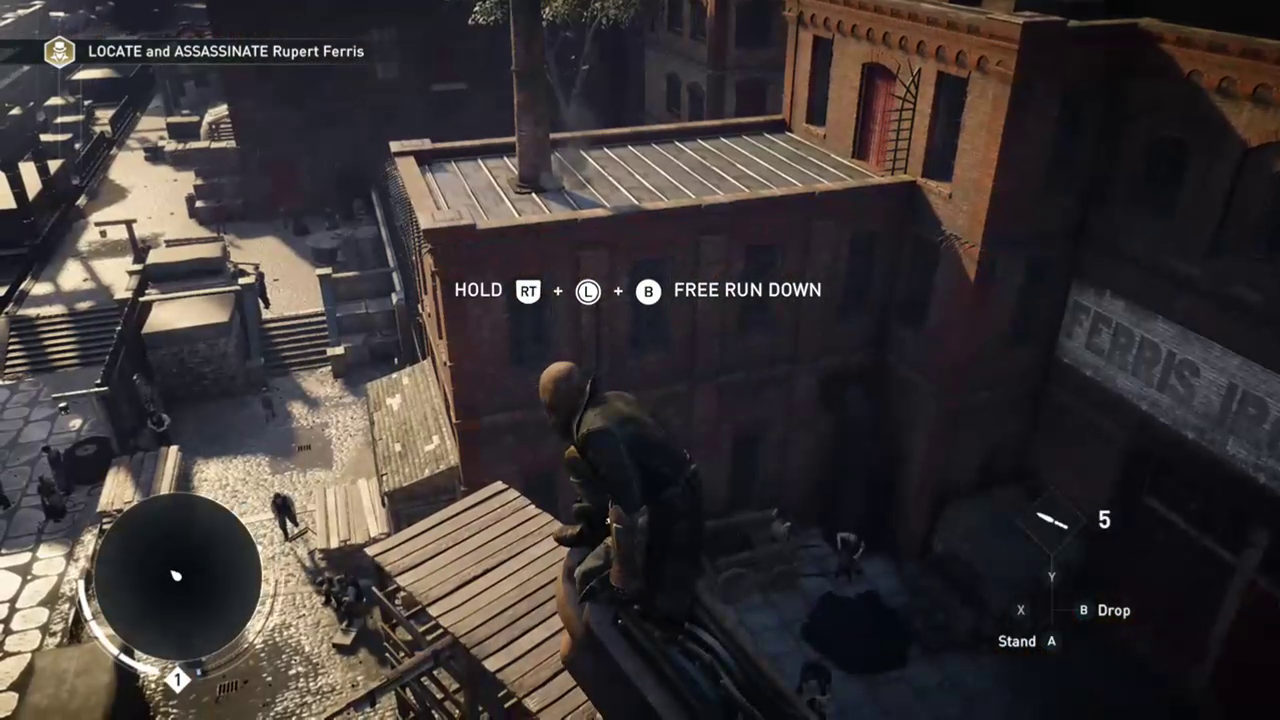
Trust in the Force here, or rather Jacob's skills; if you free-run down from here Jacob will grab onto that pole sticking out of the scaffolding below him, and then from there drop down to the street.
An overseer will probably catch sight of you unless you're very quick here, giving the game a chance to teach you how detection works. That last known position feature is pretty cool; keep it in mind going forward, it's a great tool to help you lure your enemies around. In this case, you can pretty easily lure the thug into walking around the planks, giving you a chance to sneak him behind him and hit him with low-profile assassination.
“Low profile.”
There's another overseer watching the stairs on the right, so keep the fence between you and him Walk along the train; there's room between the rail and the packages on the left, and the rail will block the overseers sight.
Good enough.
(Don't walk on top. These guys may not look up, but they do have peripheral vision.) Similarly, there's an overseer on the right and a gap in the packages; keep close to him and he won't see you.
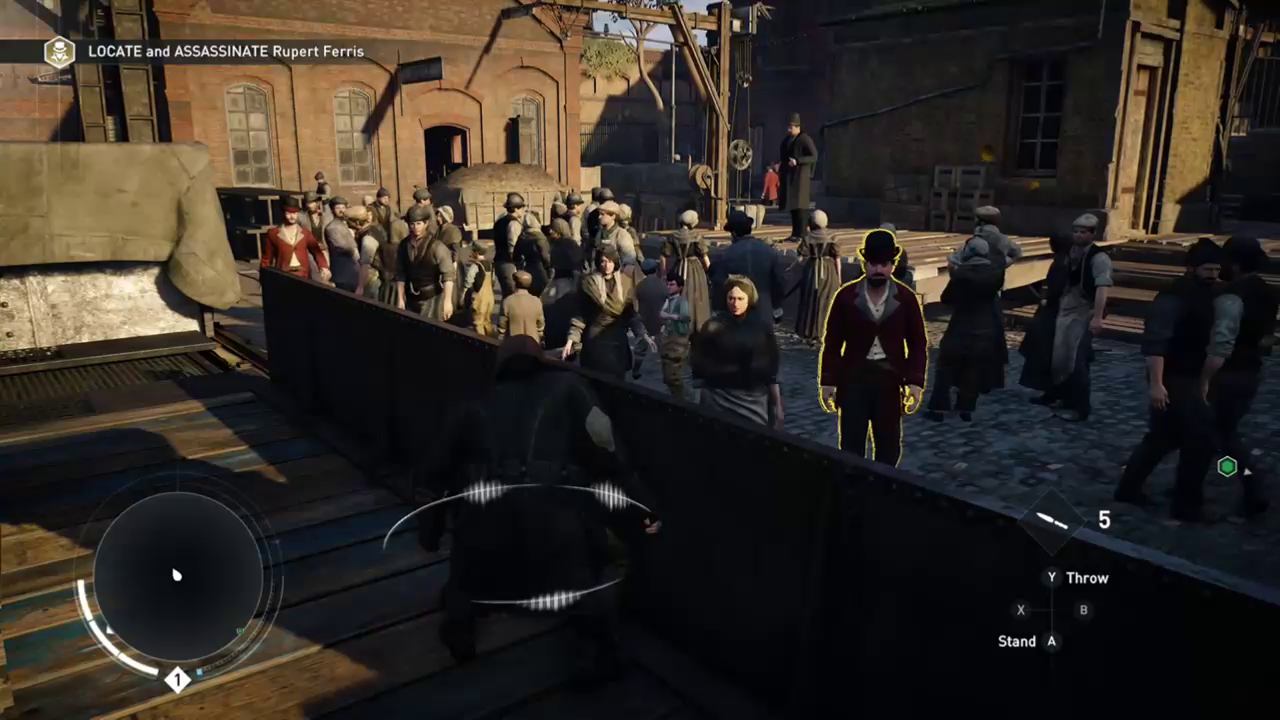
None of the thugs are all that close to each other, though, and none of them are individually a match for you; if you want, you can just run up in high profile and knife them as you pass instead.
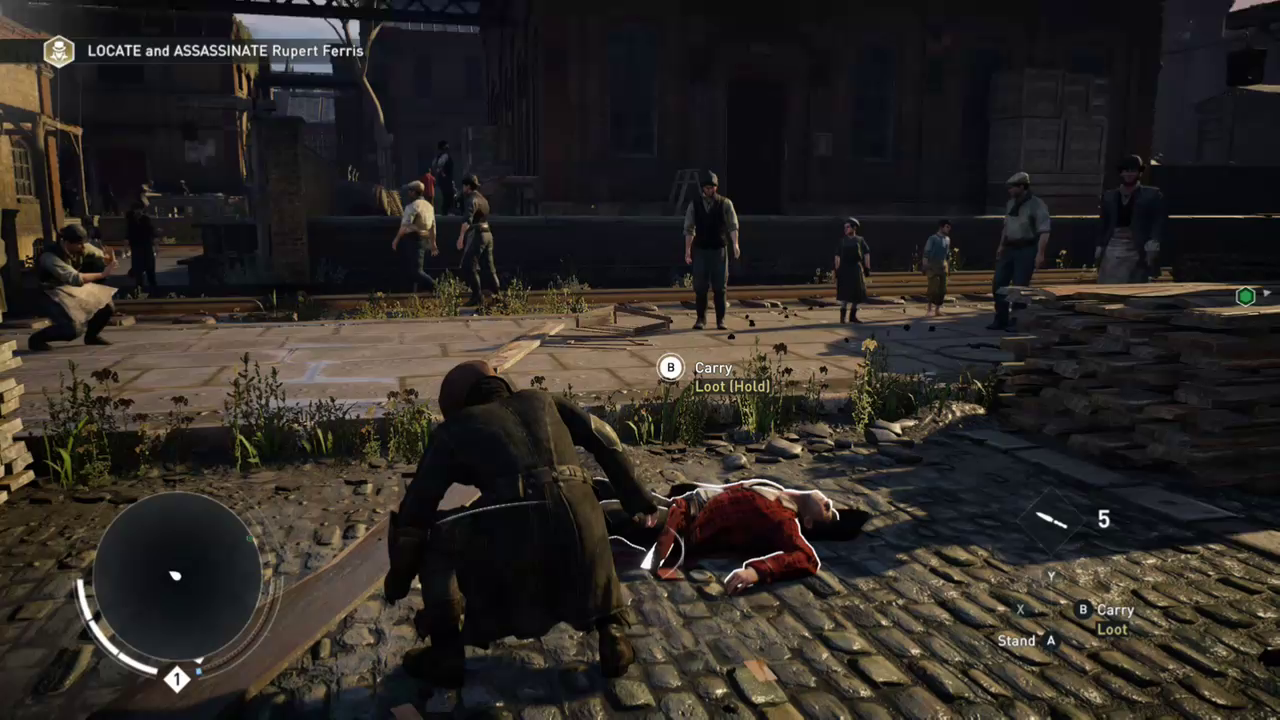
Anyway, at the end of the train, stop and take a look: there's another thug up ahead. This is a good chance to start grinding for that headshot perk: knives have no drop in this game, so you can pretty trivially take him out from here.
Screw gravity.
Loot him to replace your knife, being wary of the next thug further ahead.
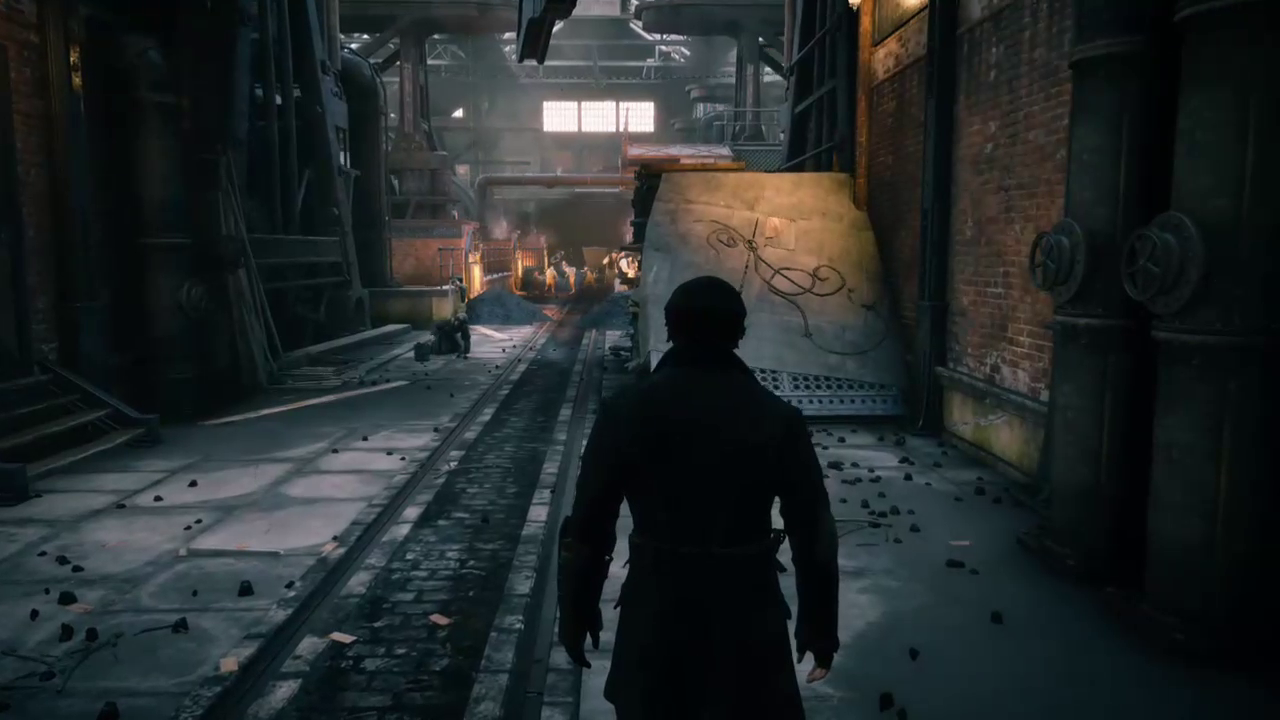
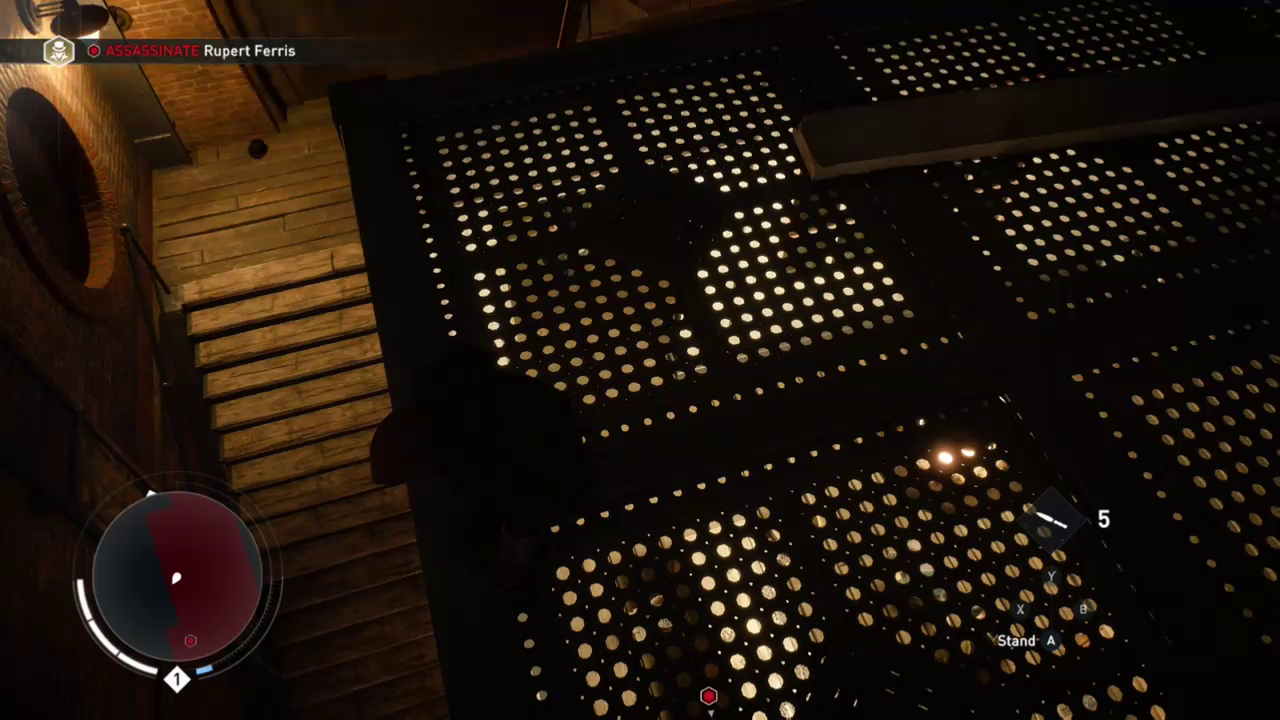
Now, our goal is up ahead, but not only is that entrance being watched, it's also locked – you can't actually get in that way. This, of course, is about as tough to bypass as a frame made of paper-mache.
The frame in question.
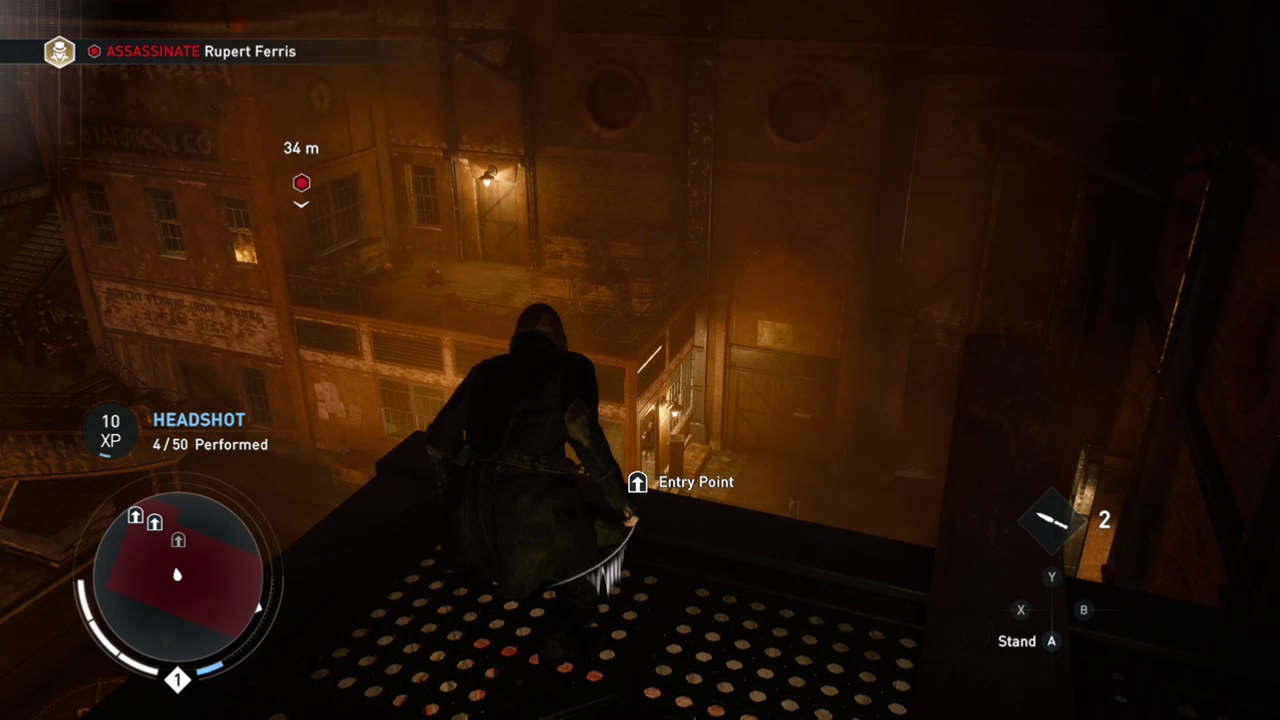
Up the boxes, jump across to the wall and up to the roof, up the boxes again and onto the I-beams. From here, we can see our destination – there's a nice bright sliver of a doorway across the pipes. Head over to it.
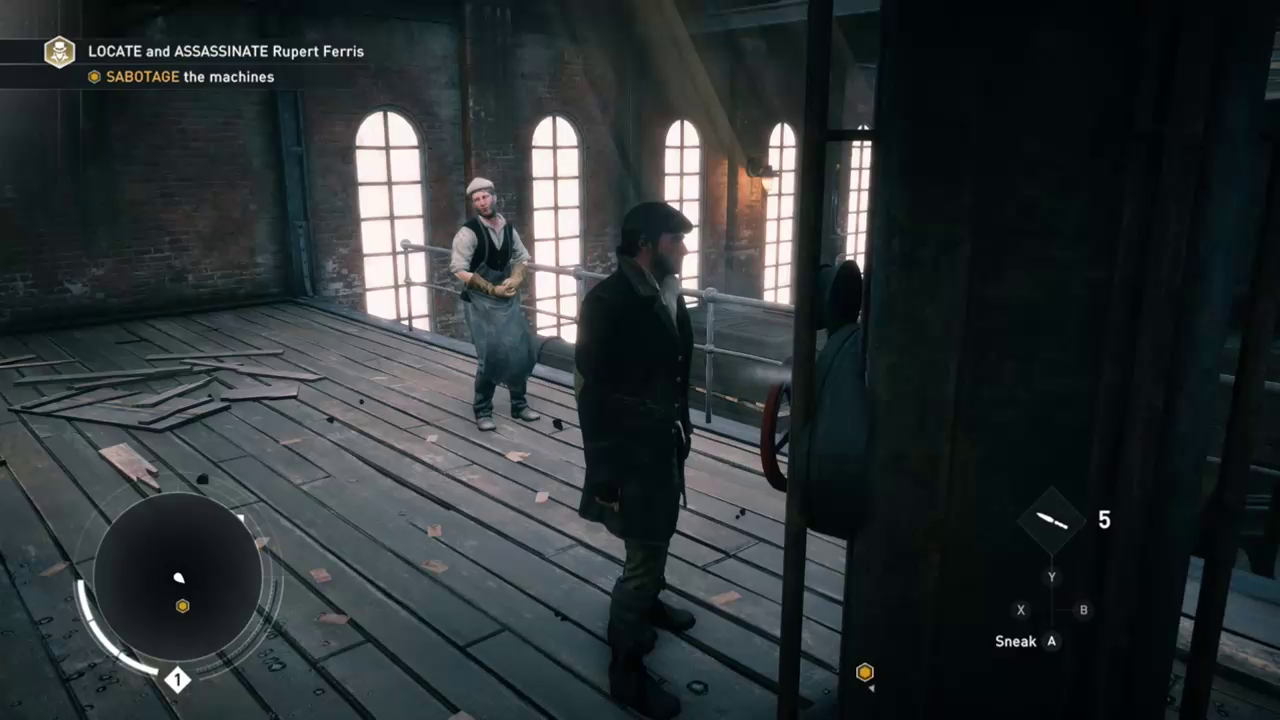
Before you enter, peek around the doorway outside – there's a thug just inside. Hit him with a headshot or a discreet assassination, as you prefer. Your destination is across the room from here; there's no official way across, but of course that stops us not at all.
Over the pipes and through the rafters, to Ferris' office we go~
Once you're over in the corner, just drop on down. Carefully, mind – there are two overseers wandering the main floor in the room you're about to leave, and another one wandering the floor you're about to enter. There are some planks and walls you can use to keep yourself hidden. Not that you need to stay hidden for long – once you're under the arch, climb right back up the next building. If you're feeling fancy you can even try and drop onto the bar that runs under the arch, instead of going all the way to the ground.
Up here, quickly.
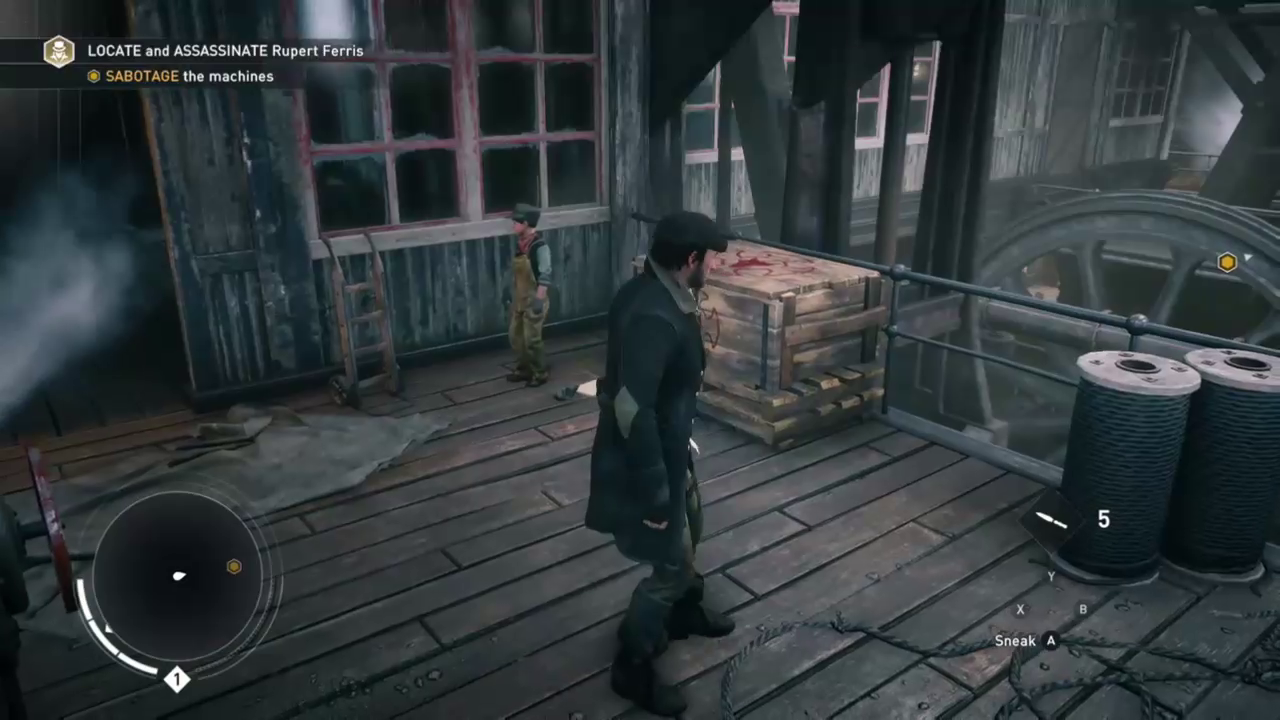
One last thug on this balcony; he wanders, so you can avoid him pretty easily if you don't want to kill him. Then walk through the door and…. your goal changes! Wonderful.
Turn left after you head through the door, and head over the railing and across the rafters. Once you're on the railing, you're just about done with this part. Wander through the room (in, turn right, back out), then head over the railing – you can jump off the lamp to stay off the ground and out of sight. Through the door and along some passages, and we get a one more cutscene to remind us of how terrible Mr. Ferris is.
The assassin's highway.
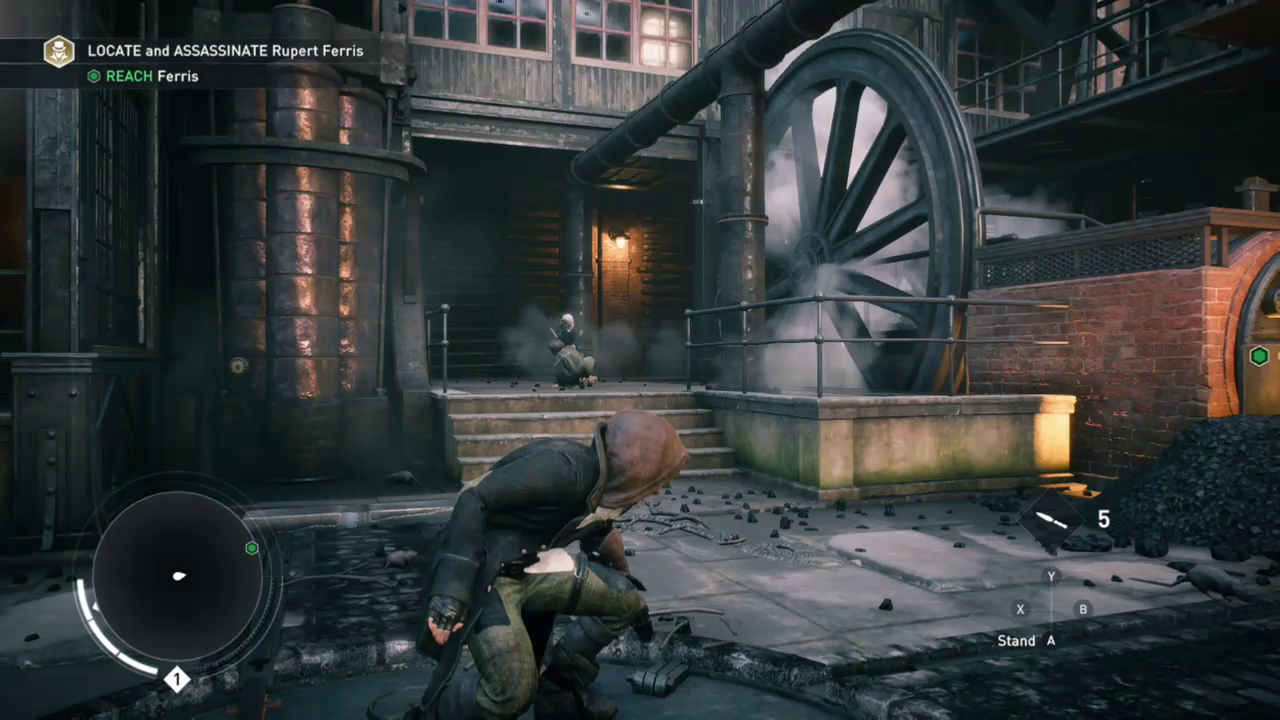
Once more, take to the rafters: you can jump across to a support pole, which you can then pull yourself up. Don't dawdle – there are some overseers positioned that will eventually spot you if you take too long. Wander across the pipes towards the marker; there's really nothing to stop you once you're up here. Then head all the way down to the ground level, and then down the stairs in the corner of the room.
Mind the drop.
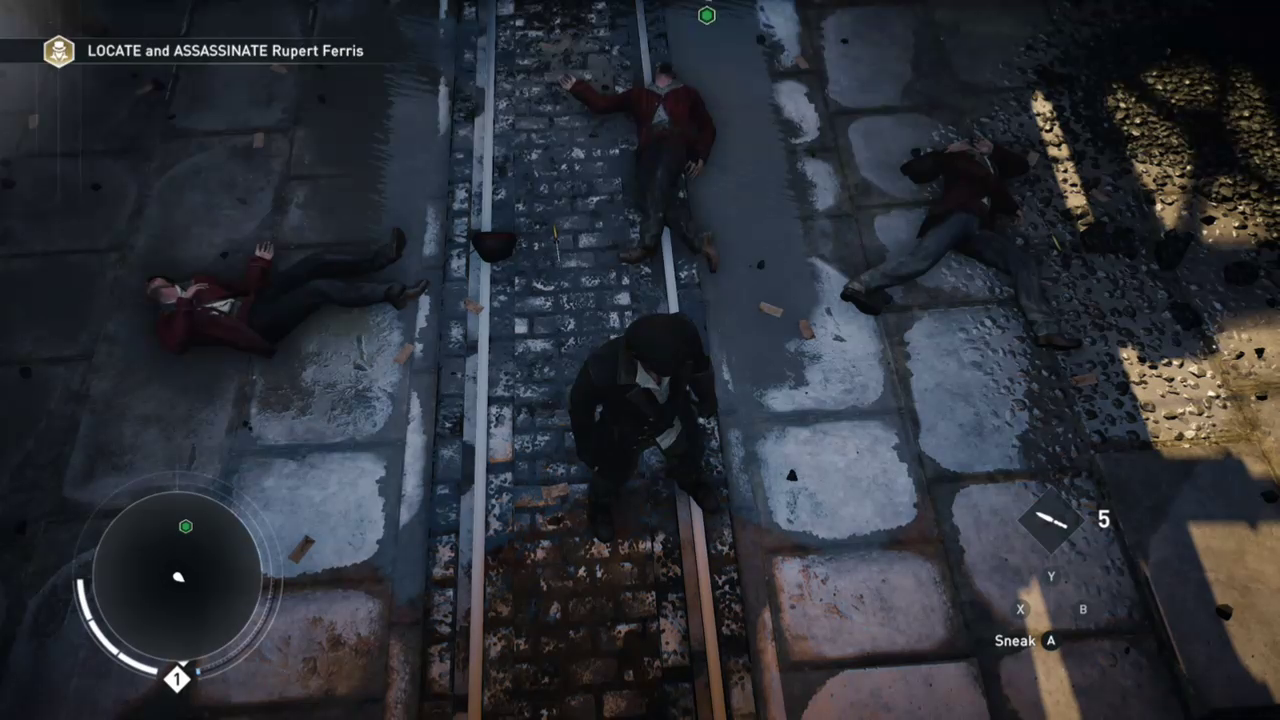
Down the stairs and through the passage. The next room is fairly crawling with overseers; it's probably easiest to just lure them into the passage one at a time and kill them there. And rather traumatizing to the kids that are standing around there, but oh well.
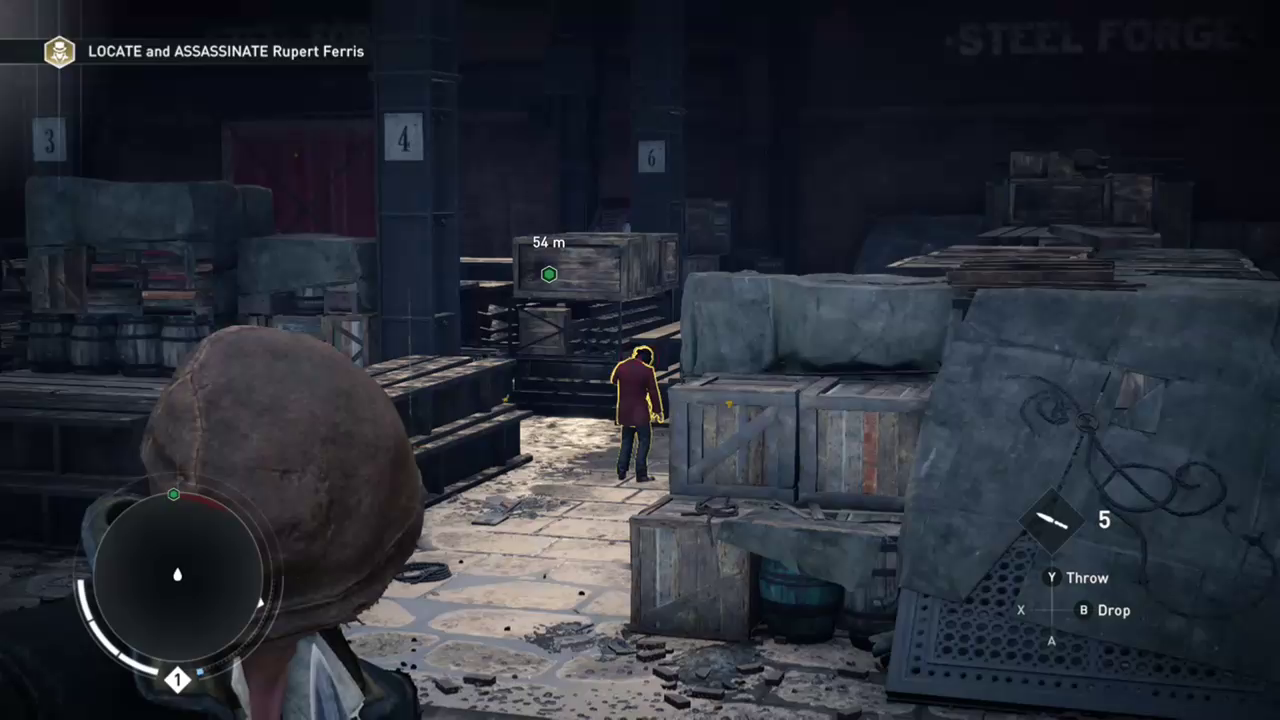
Once the room is reasonably clear, you can run up the nearest support and climb up it to get near roof level. There are three overseers visible from here near your destination; go ahead and take them out with headshots, they'll get in your way later anyway.
Well, they would if they didn't have a fatal case of steel poisoning, anyway.
Swing across the hook to the rafters, then over to the wall. Pull yourself to the left, to the platform where the overseers were. Climb up the wall and head right through the window, and you'll be in excellent position to hit Mr. Ferris with a well-deserved air assassination.
And here we go, the classic last words scene…
From here, just follow the guides out the door and you're done!
… ooor not. Looks like they're a bit more persistent than that. Hop down onto the moving train and let's have ourselves a battle, hm?
Not a lot to say about this fight. Thugs come at you two at a time; counter and beat them up. If you can, catching them from a distance with a knife will save you some trouble.
Not that it matters in the end, because the maniacs then derail the train, sending the entire thing cascading off the edge a cliff and wasting who knows how many tons of iron. On the plus side, Jacob gets some excellent snark here.

Seriously, I don't even need to say anything.
The next bit is pretty self-explanatory: the game will guide you down the bridge and through the flames, with a red herring here and there to keep you on your toes. And oh dear, a near miss from a carriage too.
And that is Sequence 1. Congratulations!