MISSION 04 – ACE Chemicals
Objective: Rendezvous with Gordon at the ACE Chemicals plant
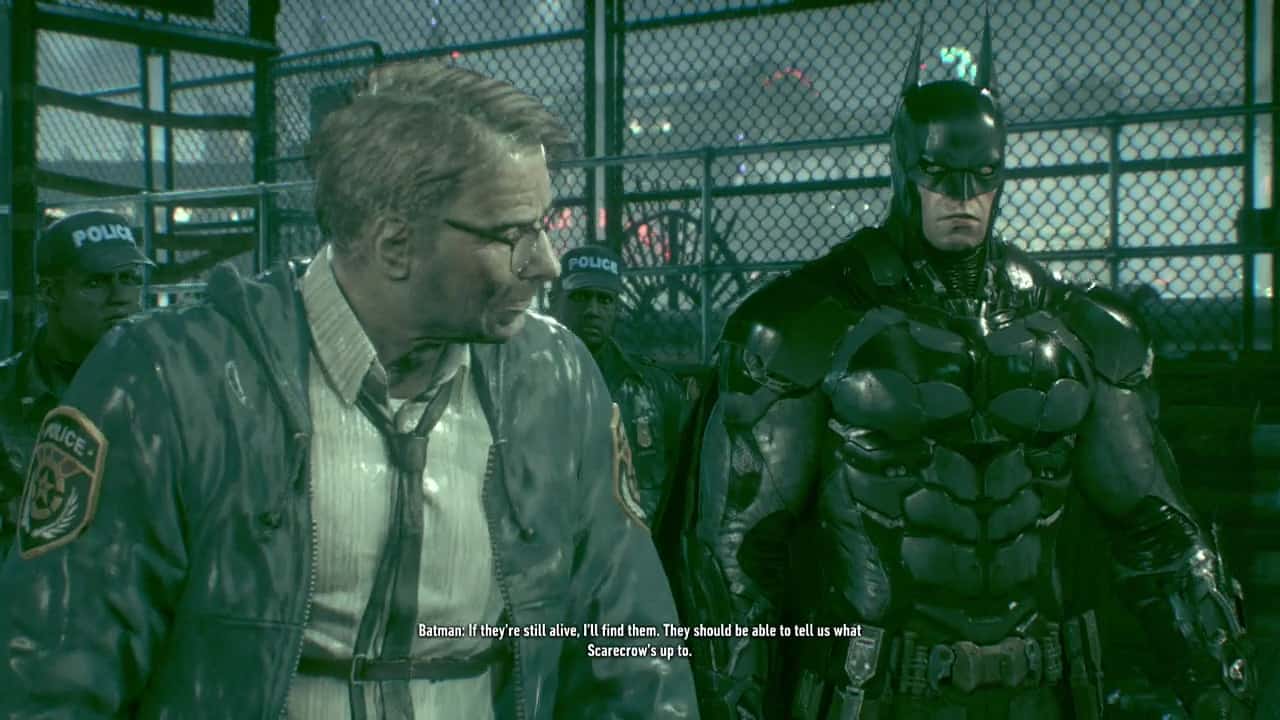
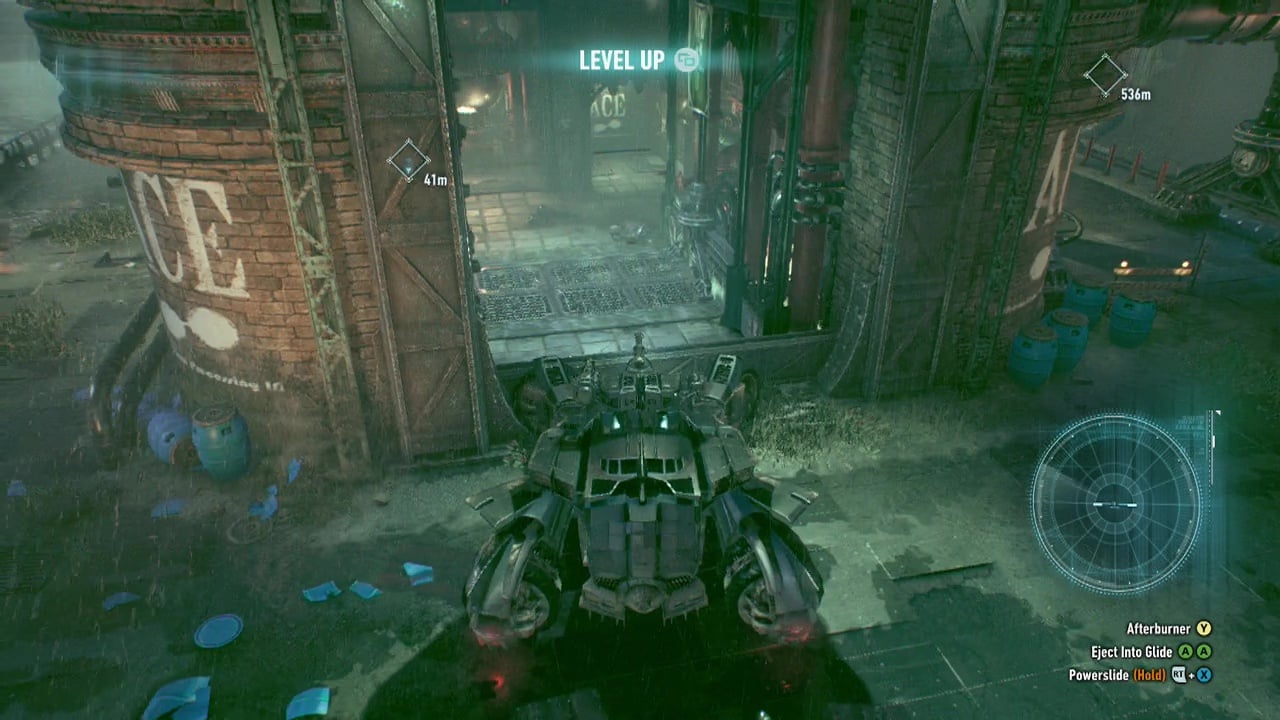
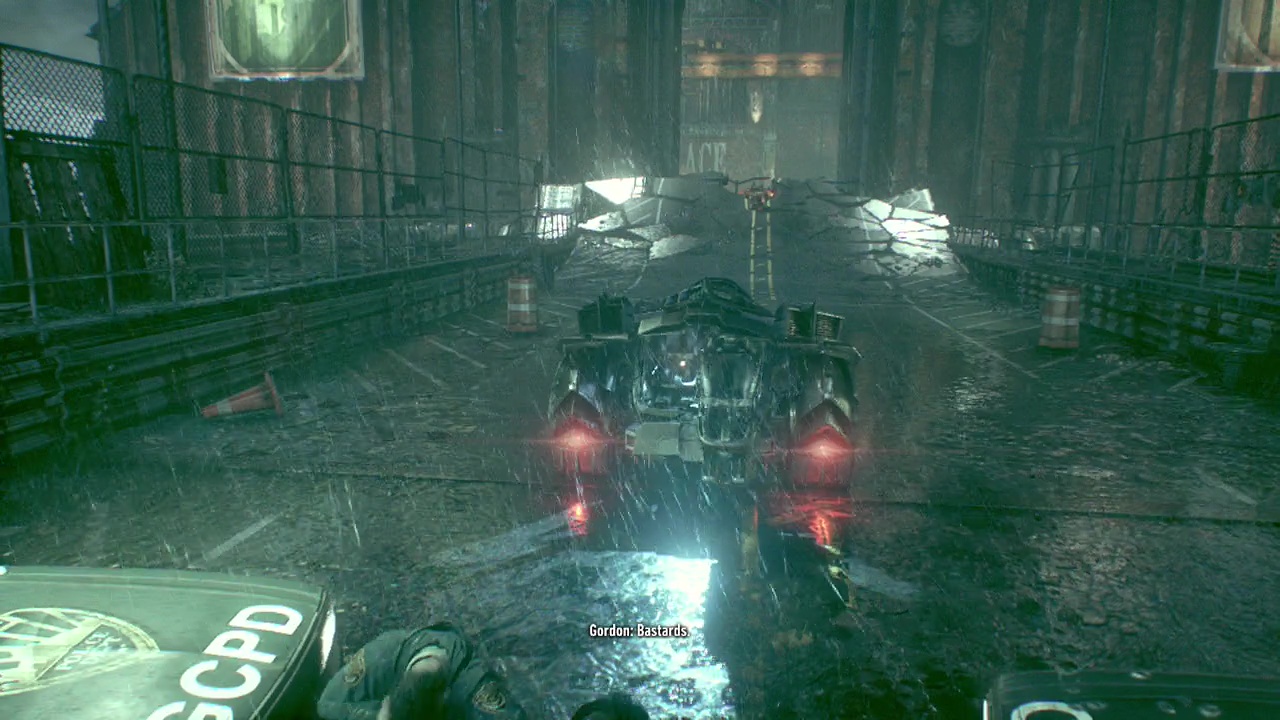
Now that you know Scarecrow's location it's time to take the fight to him. Hop in the Batmobile and tear through the streets and onto the bridge leading to the ACE Chemicals plant. At the far end of the bridge, meet up with Gordon and watch the events of the scene play out. Looks like the situation has gone more tits-up than Batman expected.
Main Objective: Stop Scarecrow from detonating the fear toxin bomb
Objective: Rescue the missing ACE Chemicals workers to get information on Scarecrow
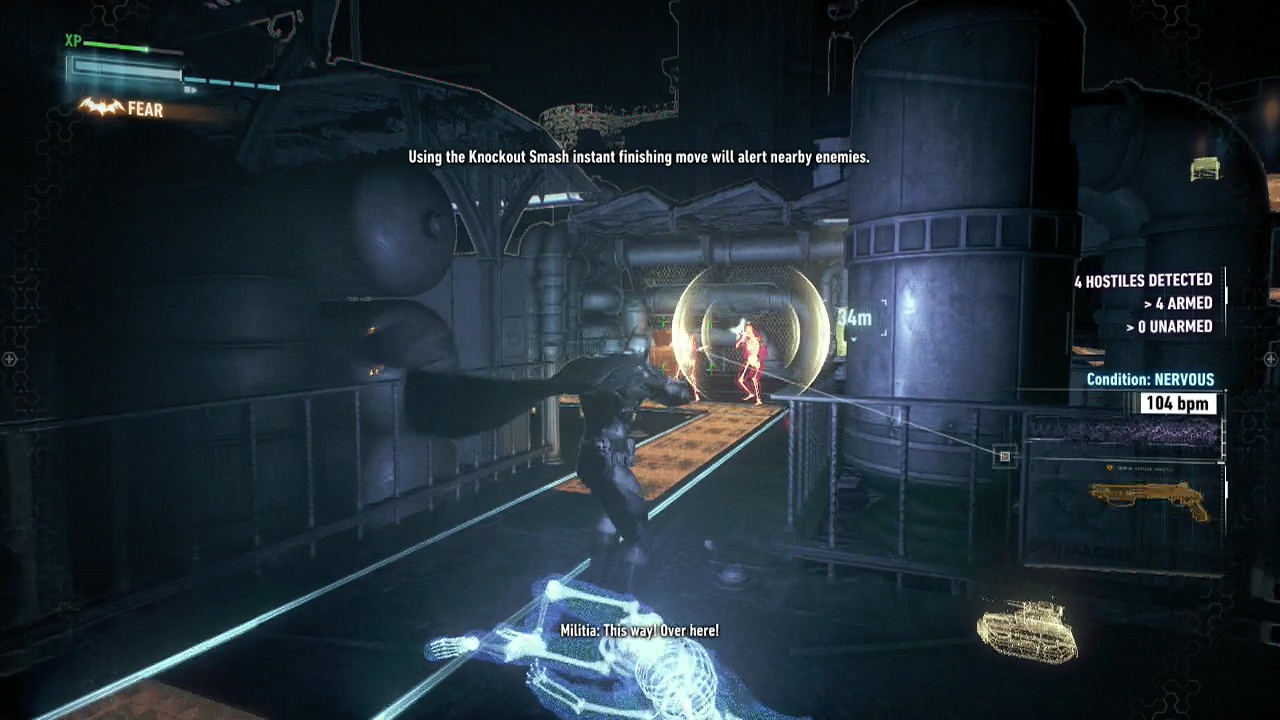
After the explosive confrontation, use your grappling hook to swish over the plant walls and trigger another quick scene. After you finish talking to your wrist, activate detective mode to assess the situation around the terminal. Five armed enemies will be patrolling the area surrounding it (you don't need to worry about the tanks below yet as they won't spot you from this distance).
A series of careful stealth takedowns and drop kicks will get you though quick and silently (you will also be introduced to couching here – hold RT to move quickly and quietly), but they are quite spread out initially so you can also just run up and punch them out in succession if you have started upgrading your batsuit to resist firearm damage.
You can also take advantage of your smoke pellets here to escape when spotted, or simply grapple quickly around the area for them to lose you. Once the final thug falls, stomp over to the marked terminal to get the intel on the workers still in the plant.
Objective: Scan the ACE Chemicals plant to pinpoint the location of the missing workers
Now that you know who you're looking for, you'll need to scan the area to pinpoint their locations. Grapple your way up to the rooftop of the ACE Chemicals plant and you'll enter scan mode. During the scan, use the left stick to search for the workers. When the line in the center of the reticule begins to waver and wriggle, hold the A/ X button to home in on the target. The detection radius is fairly big, so they shouldn't be hard to find.
Once you have all five, glide towards the Northernmost marker, alone on a pier out towards the sea. Land on the rooftop of the small structure and scan the area for enemies to spot the two groups of three patrolling guards. The trio moving around the building slowly are easy to take down in melee or one by one with silent takedowns. After the first trio is down, walk around the small building to find a set of large metal doors on one side with a grab point for the Power Winch. Guess we gotta bring in the Batmobile.

Objective: Open the main ACE Chemicals gate to allow access for the Batmobile
Bactrack to the the rooftops overlooking the large courtyard area at the front of the plant that holds all the enemy tanks. You should be able to see a small building with multiple unarmed men inside and one of the plant workers. The roof should have several breakable windows on top that you can drop through for an instant takedown. If you are quick enough, you can pull off a Fear takedown here and get rid of nearly all the enemies in one go.

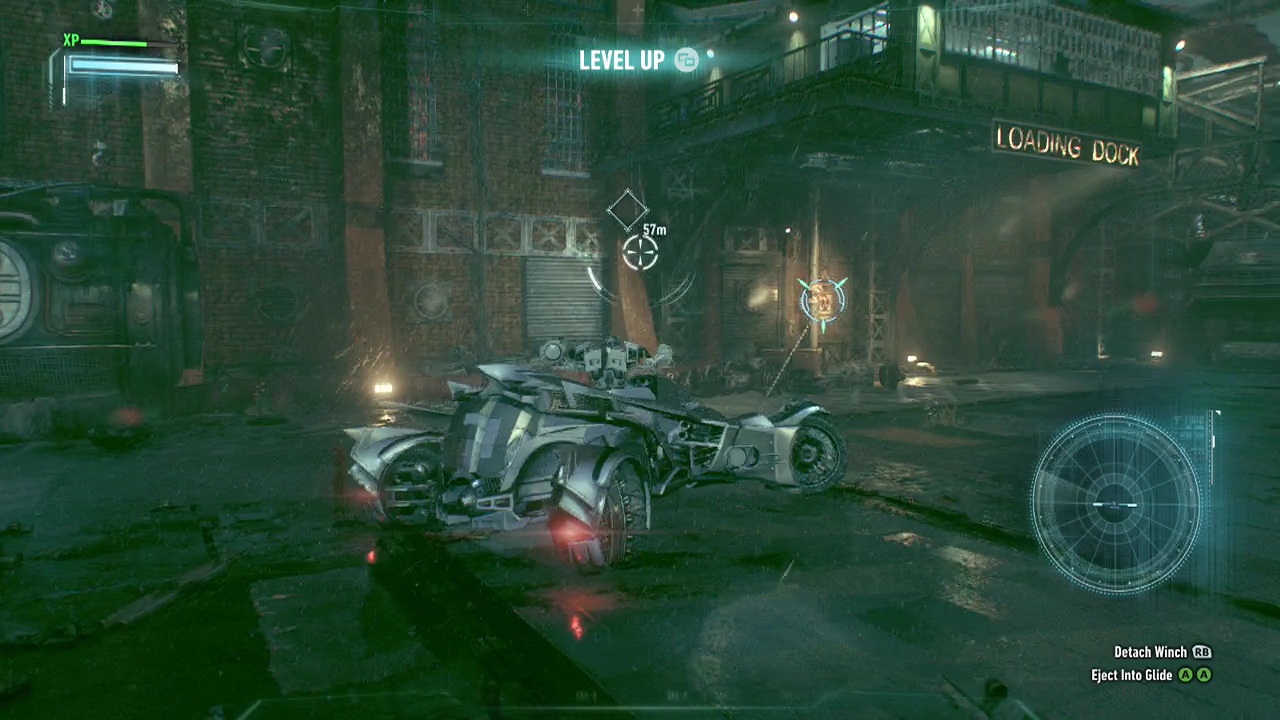
Once all the guards are on the floor, look around to find the remains of the worker and a control box on the wall next to it. Pull the lever to open the gates to the plant. Bring up your gadget menu and select the remote Batmobile to take it for a spin. Before trying to cross the gap, make sure to use the grab point to create a ramp. Reverse the Batmobile as far as you can and then use your afterburners as you blaze across the gap.
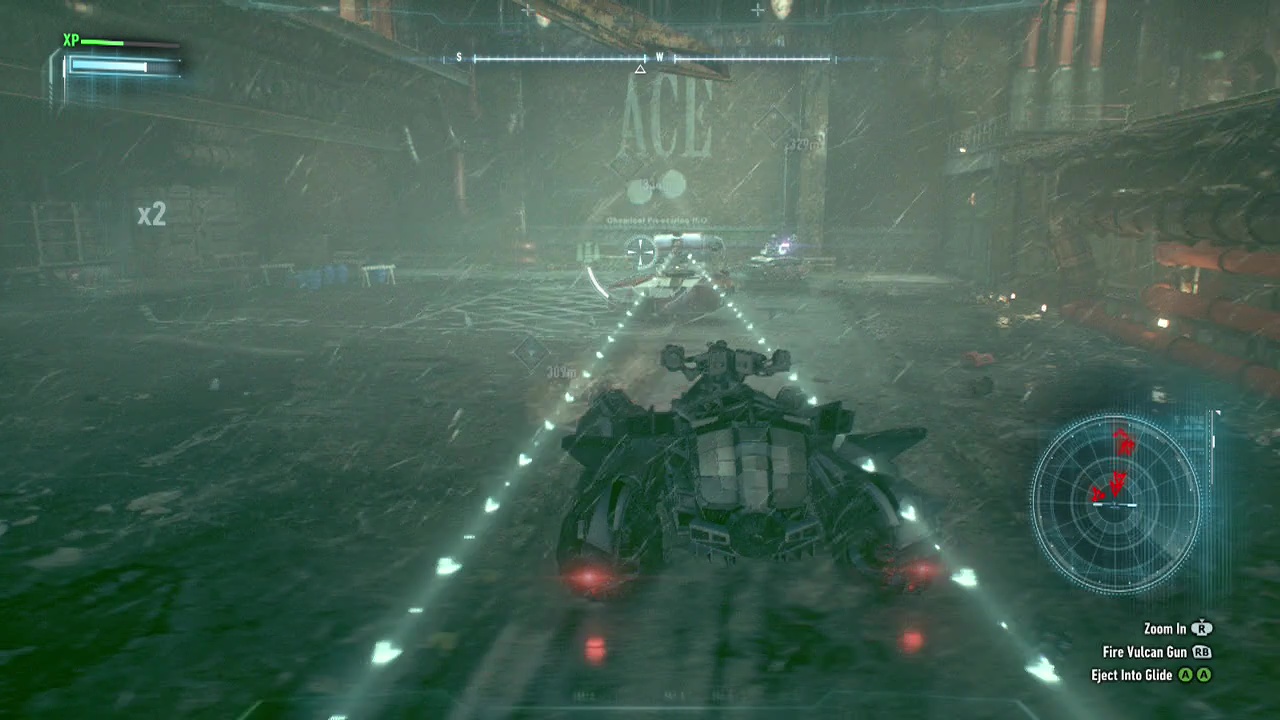
Keep in mind that as soon as you land you'll be under fire from several directions at once. Immediately enter battle mode to see the incoming attacks and start firing back. You'll be dealing with about six tanks in a relatively small area (including a couple of triple shot tanks), so make sure your shots count. If things get hectic, remember to use your special attack to target the triple shot tanks. That should make evasion a bit easier.
After the front courtyard is clear, use the Power Winch on the grab point on the metal door to the right and wrench it open with the Power Winch. This will lead up a small ramp to a parking area where you can ram through the railing to travel along the walkway to the Northenmost building which you visited earlier. Swing around to the metal doors and bring them down to confront the trio of armed guards inside. Use your non lethal rounds (RB) to quickly take them out and then walk inside.
You'll see one of the workers in a containment cell at the far end of the room. Walk inside to rescue the man. When you get the chance, Take control of the Batmobile (it will zoom in on it and move upwards slightly to show you are in control). Aim at each of the armed enemies with the left stick and fire at them to bring them down.
When you can reach the enemies, quickly dispatch them with a ground takedown (RT+Y/ RT+Triangle) or just beat the hell out of them. Once the coast is clear, you can release the worker. After hearing about the situation and informing Gordon about what's going on, you'll need to get the worker to safety.
Objective: Escort the ACE Chemicals worker to Gordon on the bridge
With the worker strapped in, burn rubber back the way you came from and launch back across the gap to the bridge. You'll drop off the worker (who is most likely carsick by now) and need to ramp back into the plant. Get up high on the plant and look for the only remaining group of enemies in the front area. They should be up on a circular platform about halfway up the plant. You'll see that two of them have ranged weapons, so try to target them first.
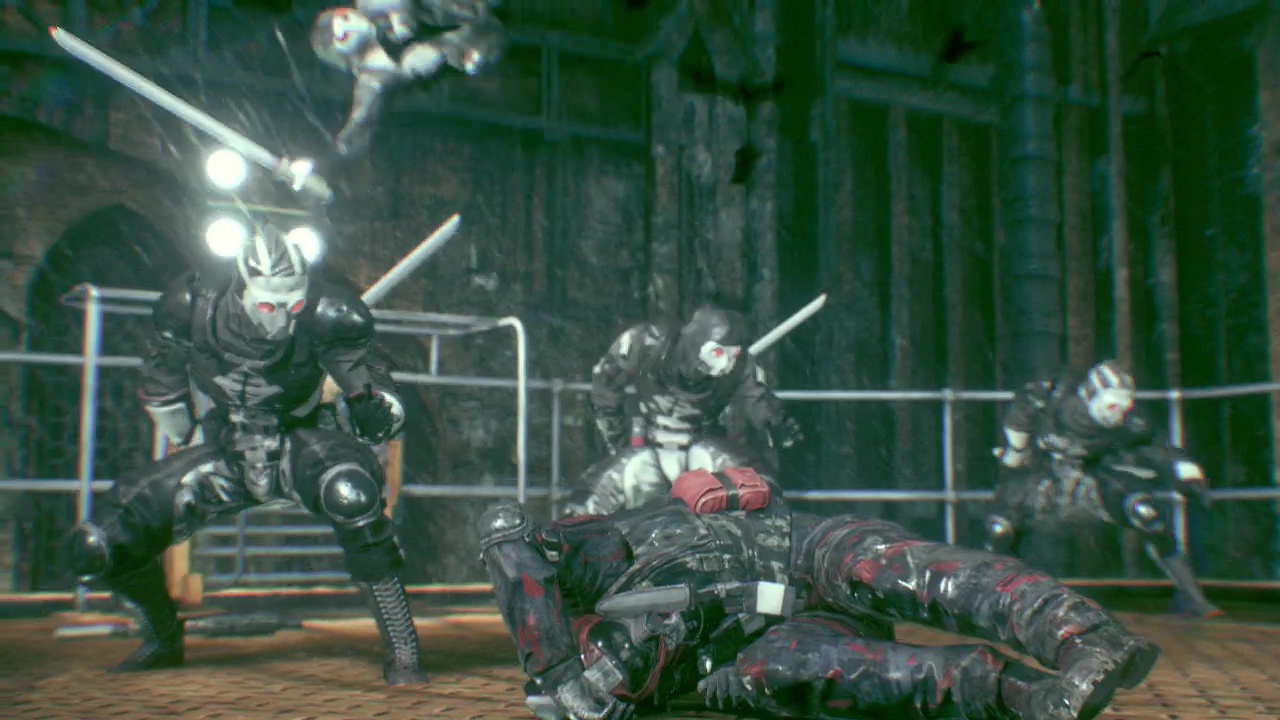
Immediately after taking down the nine or so thugs on the platform, ninjas will show up. Yeah, Scarecrow and Arkham Knight apparently employ ninjas. These guys have the ability to climb on an allies shoulders and then leap towards Batman, along with the usual (slightly faster than usual) melee attacks. Despite the dangerous looks of the jump attack, you can counter it just like most normal attacks.
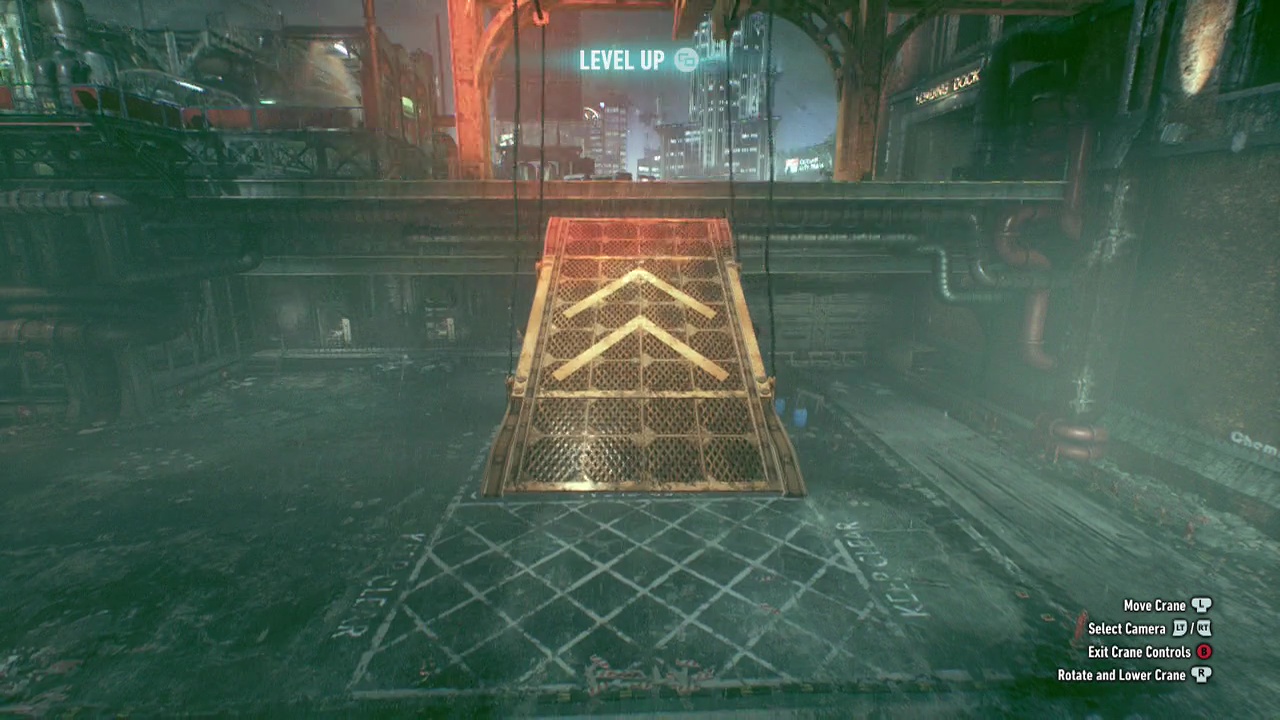
After the platform is pacified, look for a set of crane controls on one of the railings. This will put you in command of a ramp below. For the first configuration, you'll want to keep the ramp facing the direction it is initially (tilted upwards so the tip is facing South), but then lower it down so that the top tip is just below the top of the upper grey pipe on the South side. If you're having problems lining it up, look at the 23:45 mark of the video.
Now you need to glide down and get in the Batmobile and attempt the jump across. Make sure you use battle mode to line up the ramp and get as much distance from the jump as you can before hitting the afterburner and hoping this works. If you hit the underside of the ramp, you may need to lower it slightly using the crane controls.
On the far side, straighten up and get ready to deal with another batch of several tanks (with a couple of triple shots among them). Move quickly into the open area beyond the landing platform (so you don't get pinned in close quarters) and start blasting and dodging away. If you have stored up the four shot special attack, you may as well use it here (there is another enemy you will need to fight shortly, but it is only one target).
After reducing the enemy forces to scrap metal, look around to see the three remaining plant worker markers nearby. Leave the Batmobile and head for the one on the right (North), and grapple up to the balcony above. You'll see three (two melee weapon, one unarmed) enemies inside the shed, so smash through the skylights and bring the pain. Once they are all groaning heaps on the floor, use your detective vision to spot the cracked wall on the side of the room.
These cracked walls (if you haven't played one of the earlier games), can be destroyed using Explosive Gel which can be found in Batman's gadget select. Hold LT to bring out the spray, then Hold RT to apply it to the wall. After the animation ends, you can push in the left stick to blast open the wall. You'll find a pipe spewing out steam will now block your path. Batman will comment about using the Batmobile to destroy the pipe, stopping the steam.
So descend back to your roaring beast and use the Power Winch to rip out the valve on the pipe beneath the shed (where the grab point is). This will cut off the flow of steam, allowing you access to the passageway. Inside you'll find another worker's corpse and another cracked surface for the Explosive Gel. After creating another hole in the building, drop down to find another steam pipe blocking your path.
Activate the nearby power box (to open the shutters to the area outside) and use your Explosive Gel on the cracked surface. Once this is done, you can take remote control of the Batmobile and fire it's Power Winch through the shutters and into the pipe, allowing you to destroy it. Now that the steam is gone yet again, walk along the new path to find another worker's body.
Past the body you'll see another fuse box that powers the shutters. Use it and take control of the Batmobile again, blasting the cracked wall and using the winch to wrench the elevator pulley off the wall. When you've done this, you can raise or lower the lift it's connected to by accelerating or reversing the Batmobile. Move Batman outside and then raise the elevator up as high as it will go. Back as Batman again, you can crouch down and enter the lift.
And back to the Batmobile to lower the lift back down. After the metal door slides open at the bottom, you'll see enemy militia toying with one of the plant workers. Look overhead to see an open vent above you that you can grapple up to. Crawl along inside, opening the vent cover (Tap A/ X) to find a cover you can drop down through for a silent takedown or Fear takedown on the unaware enemies below.
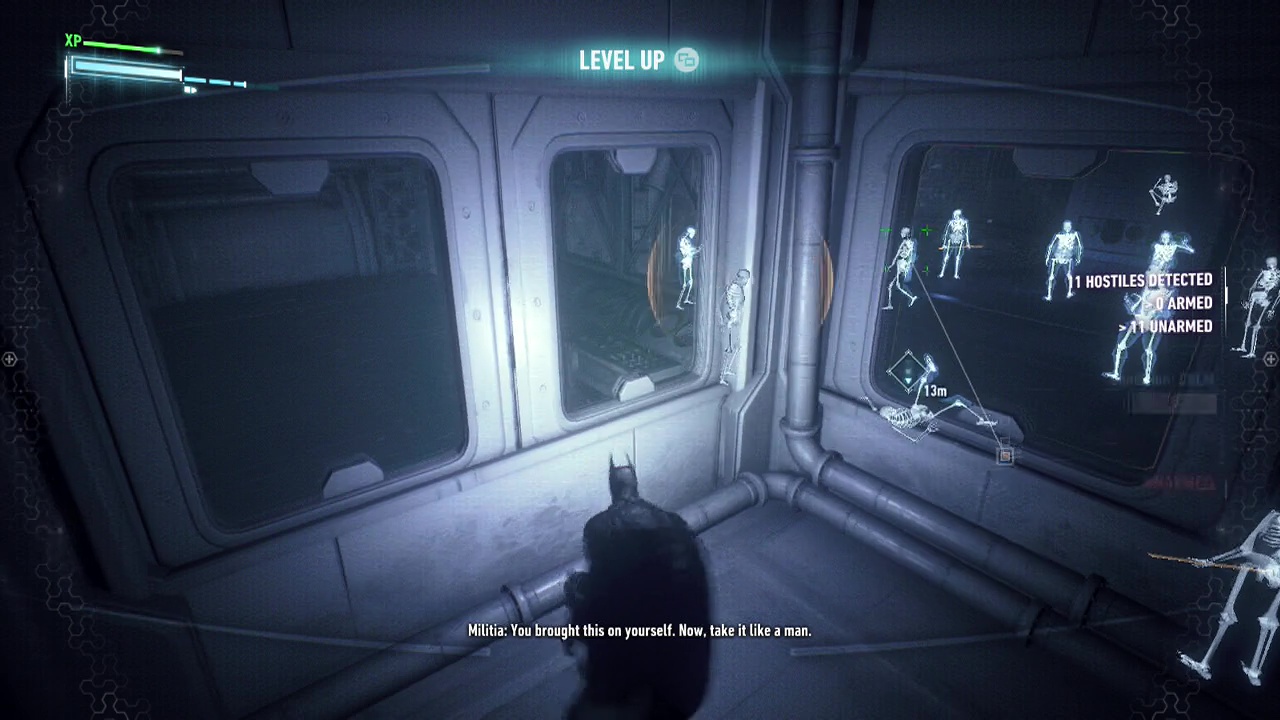
Drop down and start taking the clustered enemies to pieces, making sure to take out the medic quickly (guy in white). Batter (haha) your way through, dealing with the three ninjas, medic and about six regular militia, After the fight, approach and talk to the final worker. Well, two out of five ain't bad I guess.
After updating Gordon on the situation, follow the worker to the lift. You'll need to do the worker drop off again here. Swap to the Batmobile and get that elevator moving upward. At the top, swap back to Batman and clamber out to begin your first boss fight of the game.
======================================================
BOSS: ARKHAM KNIGHT (HELICOPTER)
======================================================
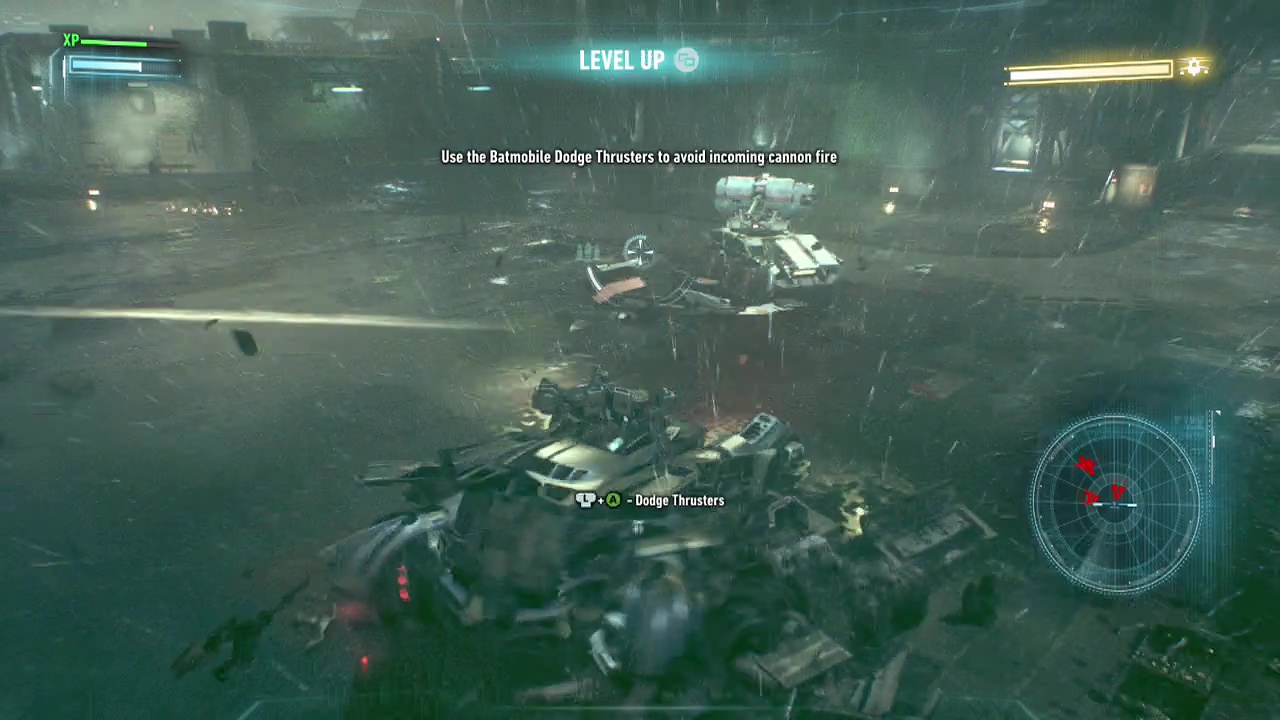
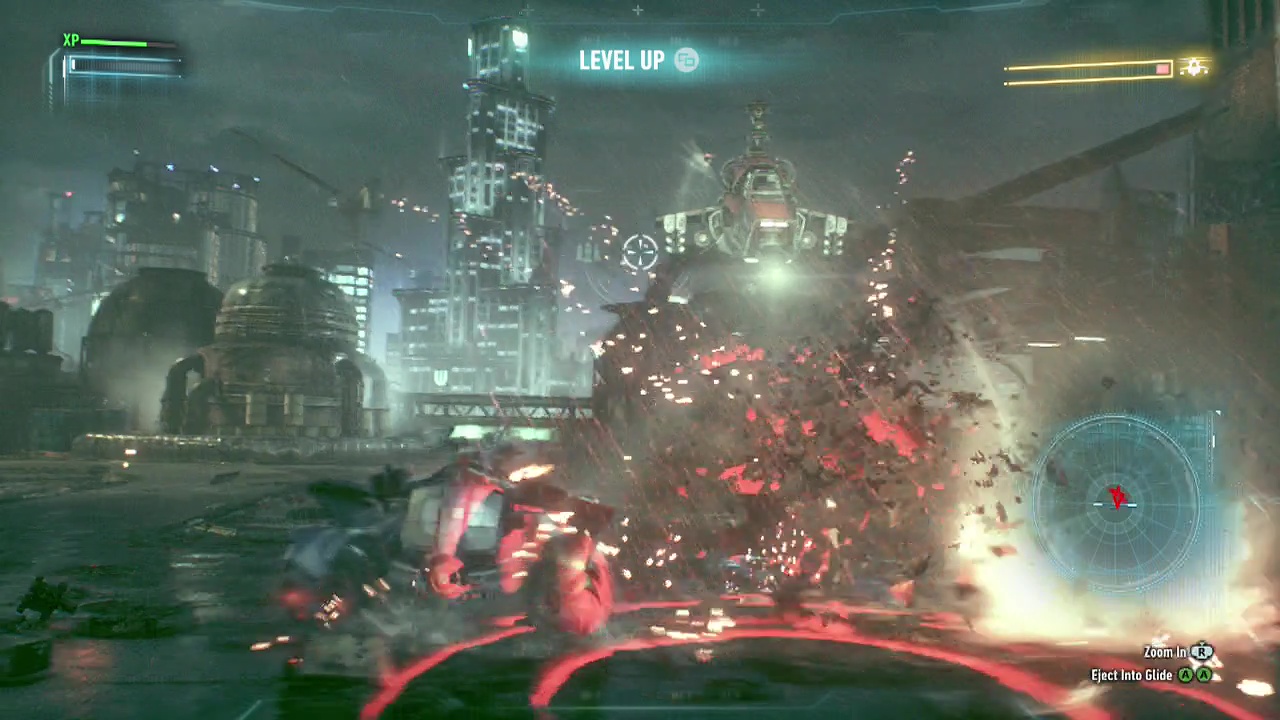
Initially you'll be greeted by six or seven enemy tanks (two triple shots amongst them) as well as the Arkham Knight's helicopter. During the tank phase, he will simply circle the area taking the odd potshot at you (shown by a couple of circles appearing on the ground and rockets fired about half a second later). You can use the dodge thrusters left stick + A to avoid these while you go about demolishing the ground forces. Keep moving around to make locking on for the Arkham Knight more difficult.
Once the tanks have been cleared away, you'll begin the battle proper. The helicopter can be damaged by both your weapons (the cannon and vulcan gun), however the cannon does more damage despite the fact it fires slower, so use it to damage the helicopter during the confrontation.

Missile barrage – Multiple circles will appear on the ground near or under the Batmobile, followed about half a second later by a wave of missiles aimed at that location. If the barrage connects it can do considerable damage. Use the dodge thrusters or simply strafe out of the way to avoid this attack.
Homing missiles – The helicopter will occasionally remain stationary and then fire off four homing missiles that initially move slowly and then speed up after a couple of seconds and fly towards the Batmobile, dealing decent damage if they connect. The cannon fires too slow to deal with this attack, so swap to the vulcan gun (RB) to quickly shoot the missiles out of the sky before they hit.
Strafing run – When the helicopter falls below half health, the Arkham Knight will begin swooping down for strafing runs in a line across the field, bombarding the area directly below him. Similar to the missile barrage, the best way to avoid this is to use the dodge thrusters to avoid the marked areas. This is probably the hardest attack to dodge, and gives you less time to get attacks off while the helicopter recovers.
You'll find that the last quarter of the helicopter's health bar takes longer to bring down than the rest, but keep pounding away at the flying hunk of metal until it eventually falls from the sky. Job done.
======================================================
Objective: Escort the ACE Chemicals worker to Gordon on the bridge
Wow, the Arkham Knight really sounded like a whiny kid there: "You haven't won. I'm telling mom on you!" Anyway, we've another passenger to drop off. The dude probably has whiplash, is half deaf and has thrown up all over the place, but I suppose it's better than getting blown up. Look for a small rectangular platform in the corner of the area, this is an elevator you can use to get back up to the area you landed when you jumped across earlier.
Step out of the Batmobile and press the glowing button on the wall to activate the lift and then hop back in. You should be able to drop back down to the front courtyard and fly across the ramp once again to deliver the second worker.
Objective: Stop Scarecrow from blowing up ACE Chemicals
After returning to the front courtyard, you'll be shown the location of a service tunnel behind the main wall. Fire off a couple of rounds at the target to reveal it. And we're going to need the crane again to move the platform into place. Grapple up to the platform where the controls area and turn the ramp ninety degrees to the right from it's previous position before lowering it so that it actually touches the ground.
Glide back down and launch the Batmobile into the service tunnel. When you land, enter battle mode and begin moving down the road to confront the pair of waiting triple shot tanks. If you stay at the corner, you'll find their shots spread out significantly from their position, making only the middle line a threat. Use this to your advantage while you blast them to oblivion.
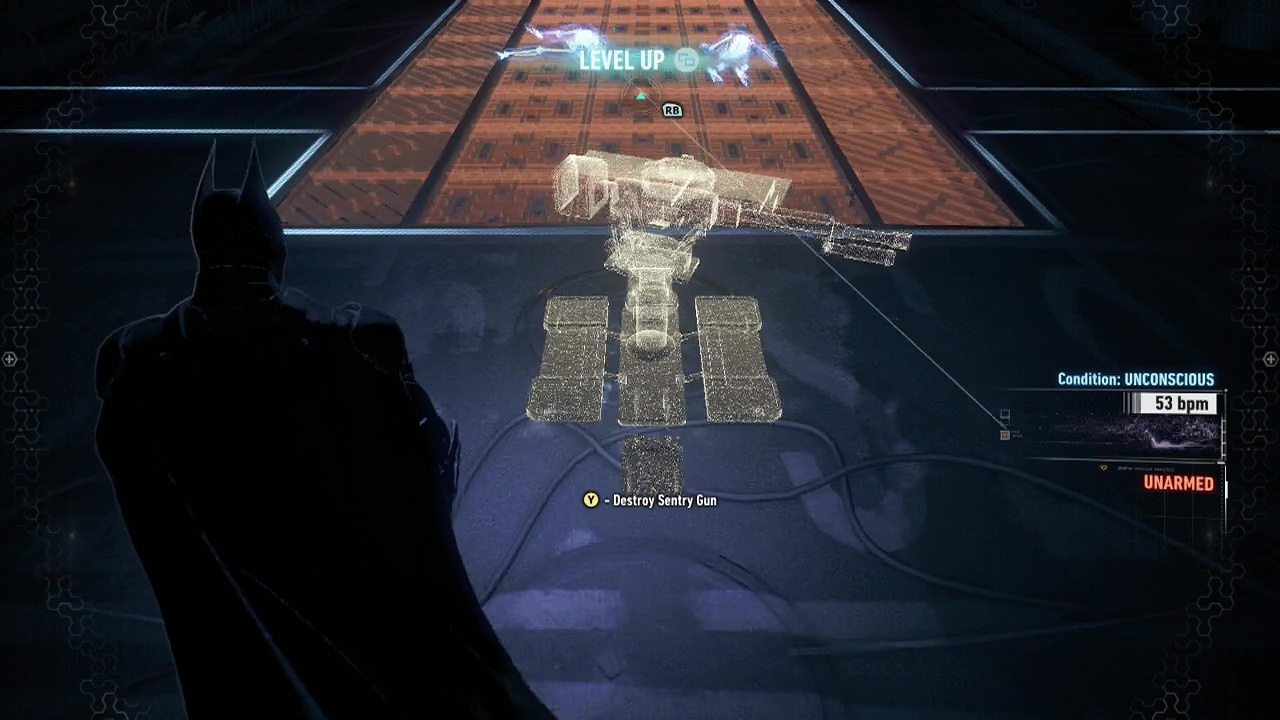
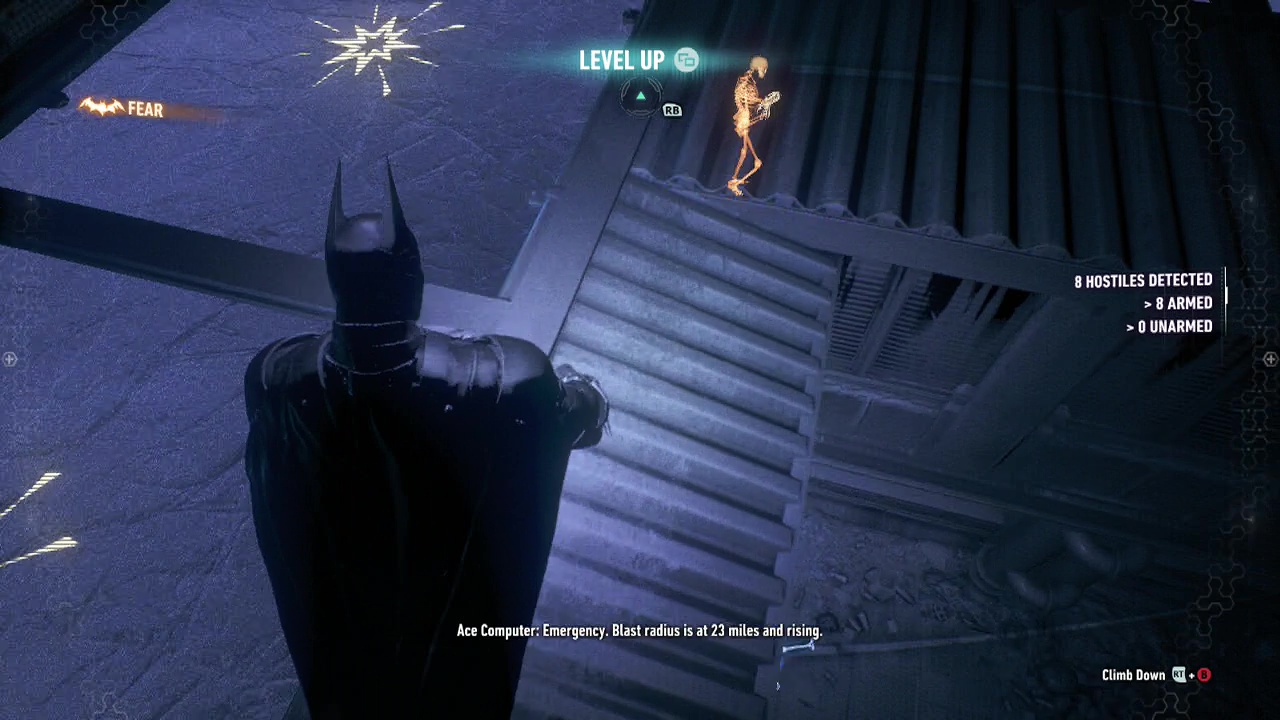
After passing the charred remains, your progress will be blocked by a metal door that you can't blast through unfortunately. Instead, look at the platform above the door and grapple your way up. You'll be overlooking two armed militia covered by a sentry gun. From your vantage point, you should also spot two ventilation shafts running down the walls. Swing over to one of these and slide down to the passage under the militia's feet to initiate a Fear takedown, taking cover immediately afterwards to avoid the sentry fire.
Climb back up to your high vantage point and glide down behind the sentry gun, pressing Y/ Triangle to destroy it. Now that the room is clear, look for a fuse box on the wall nearby you can interact with to open the metal gate. Get back in the Batmobile and continue your drive. A short distance ahead, you'll run into another metal gate.
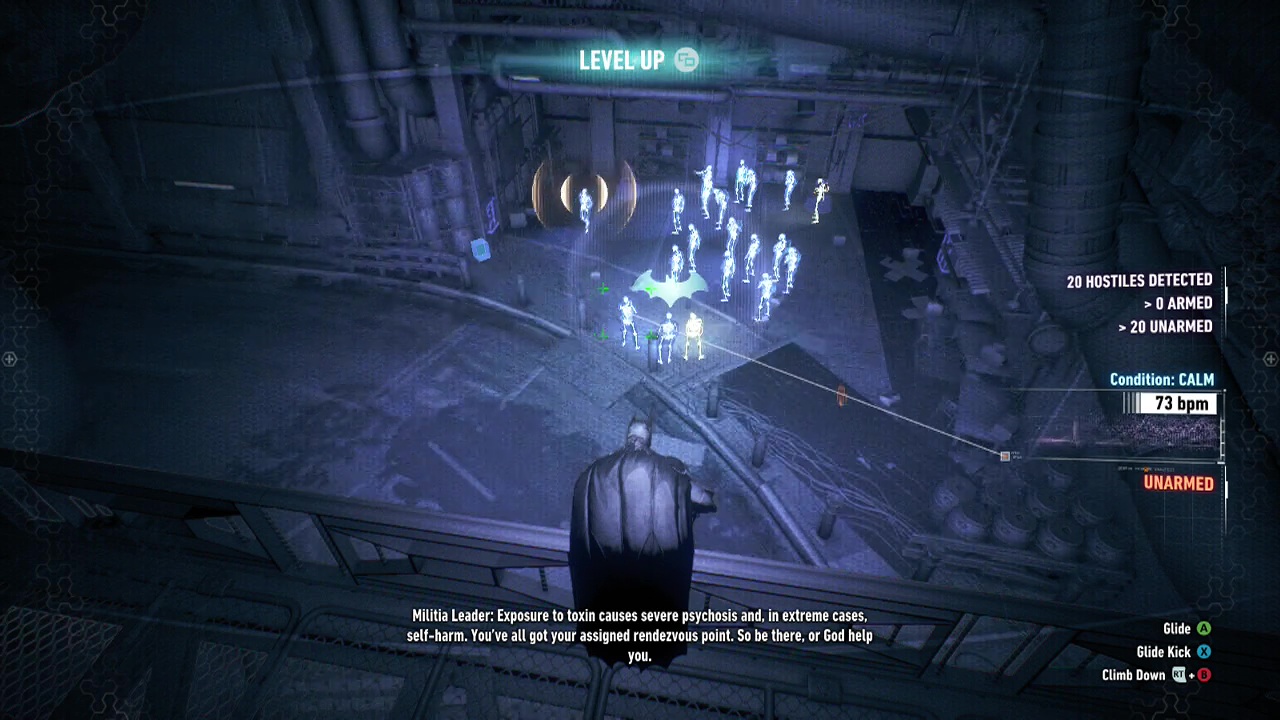
Grapple up to the platform above once again and you'll see a group of about twenty thugs having a meeting below (two medics are in the group as well). You can listen to the briefing or just attack if you wish. This is a particularly good fight for building up your combo due to the lack of enemy ranged weapons. Go to down and get some of that frustration about metal gates out. Once you are done, look for the fuse box next to the gate and open it up.
In front of you, you'll see another metal door (sigh) with the sign "Mixing Chamber" on it. Here you need to use the Batmobile's eject function (A+A hold/ X+X hold) to fly over the sharp edged platform above the gate (grappling doesn't work on this one). Inside the mixing chamber, you'll see eight armed enemies, with a pair of sentry guns covering the metal gate.
Wait until the guard near the sentry guns moves away and then immediately drop down and take the guns out before grappling back up out of sight. The rest of the patrolling enemies are scattered enough to make takedowns fairly easy (especially the ones walking underneath the glass panels on the right side of the room. Take them down using whatever tactics you feel like and get rid of the third sentry gun at the back of the room.
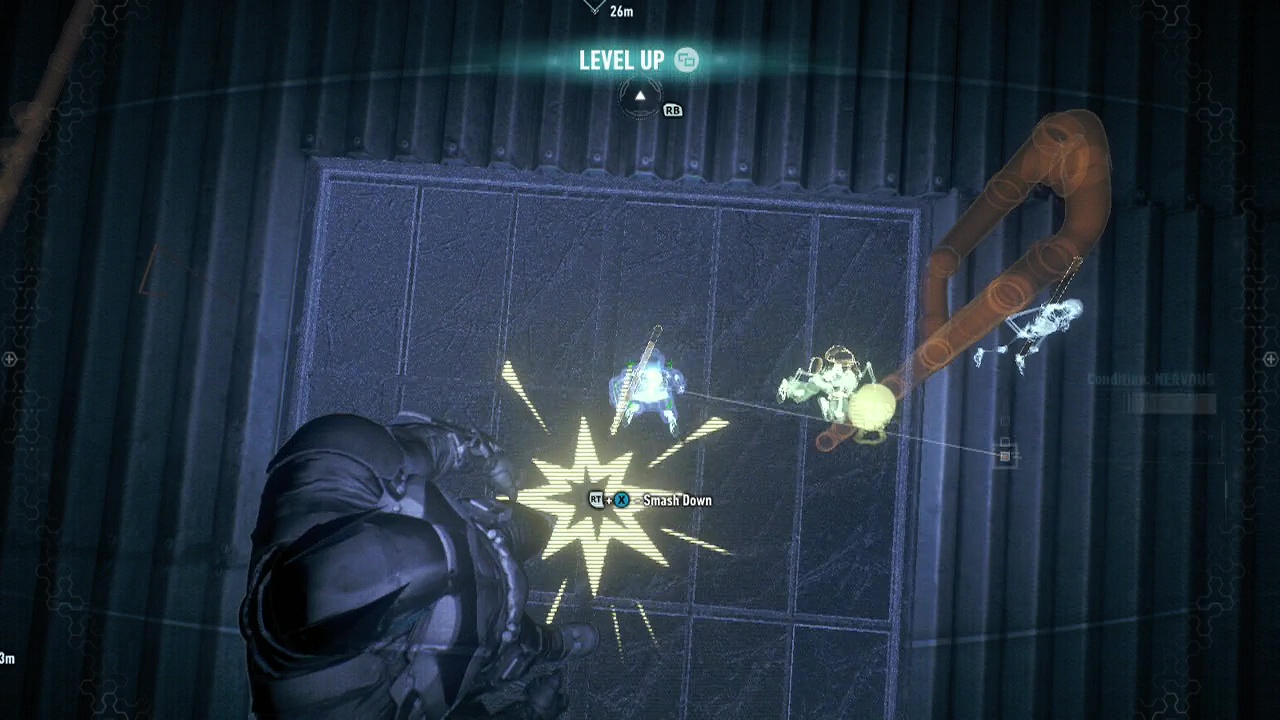
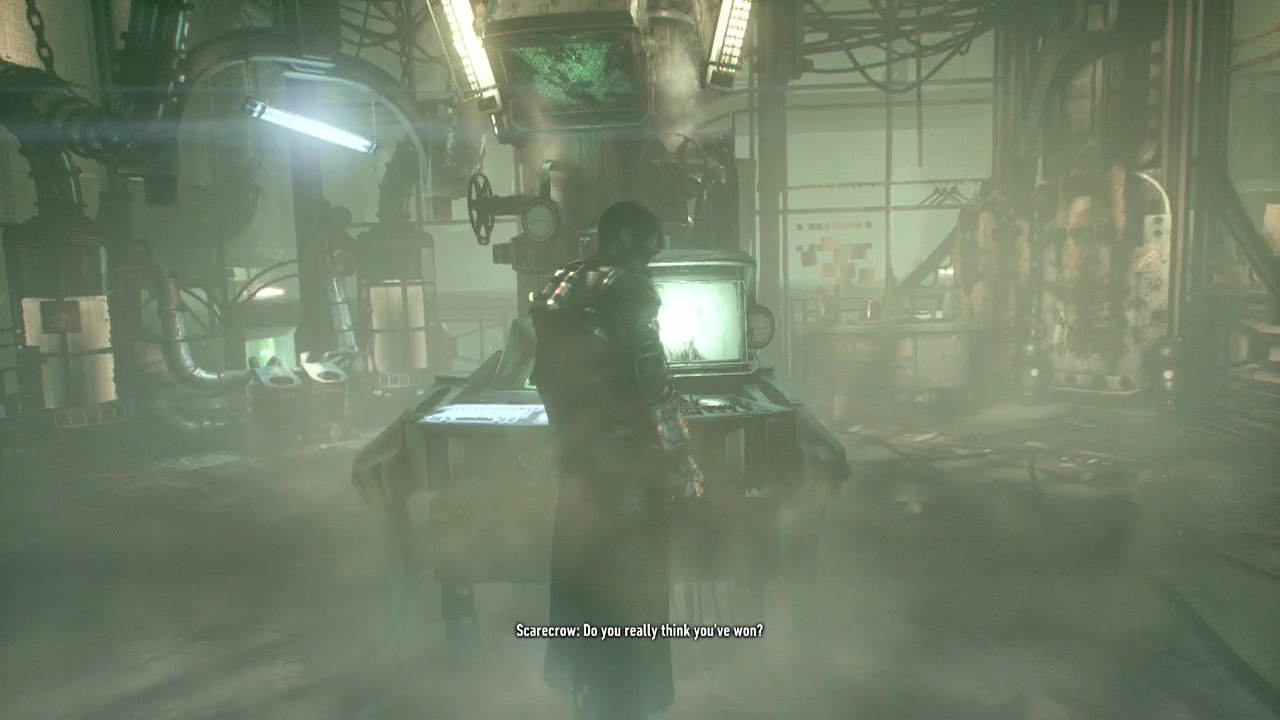
Once the final thug hits the floor, head for the chamber in the middle of the room with the glowing door (in detective vision) to meet Scarecrow face to face. After your little meeting ends, wait for the talk to end with Gordon before interacting with the keyboard in the center of the room. After this, a set of four tanks will rise up into the room. Each one of these has to be carefully manhandled (read: bathandled) into one of the tubes on the opposite wall. If you move them too fast, they will detonate causing your death.
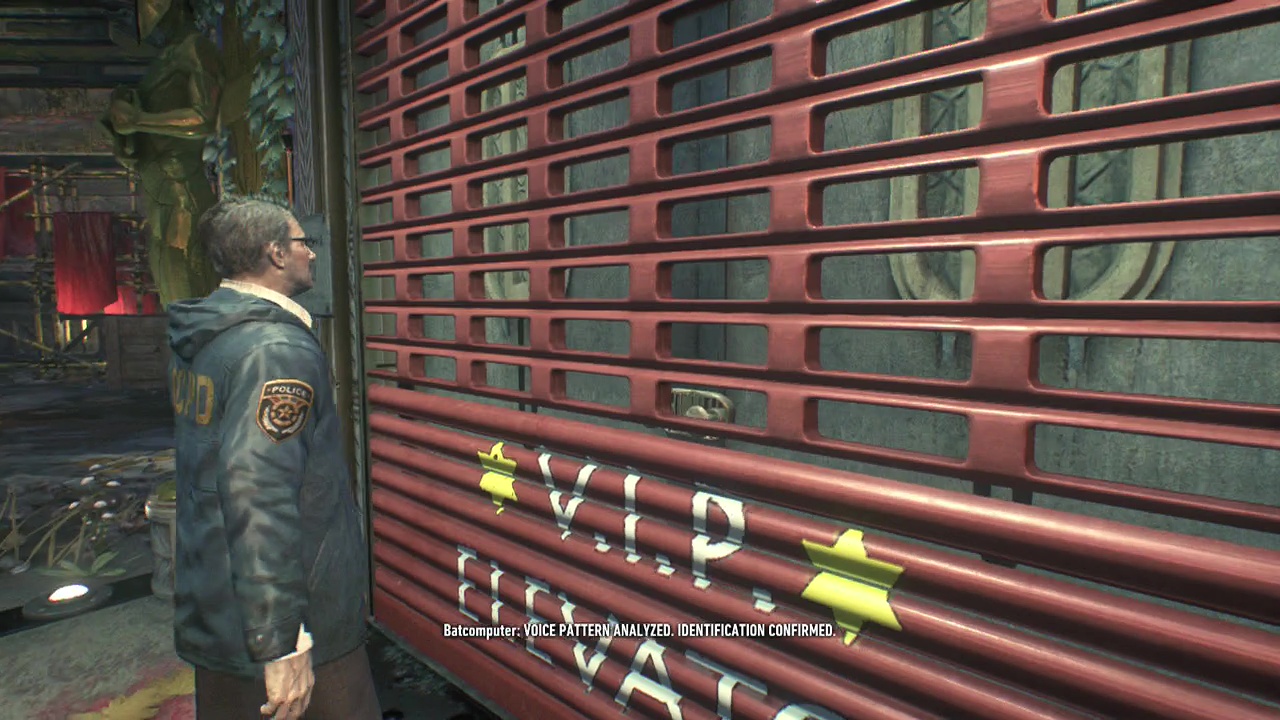
Watch the events play out as you place the canisters in the tubes. Once you regain control as Gordon, step off the helipad and walk down the red path to the VIP entrance. Head inside and walk into the elevator to descend into a level of Bioshock? An old theatre anyway. Inside you'll find a set of containment cells filled with mist. Approach each of the cells and talk to the prisoners. After the final one, you'll have a brief chat with Batman before the flashback ends.
After waking up to a horrible sight, you'll need to get out of the plant that's about to explode. Take remote control of the Batmobile, and use the grab point on the side of the room to break open the glass, allowing you to escape. Once you're in your wheels, floor it back up the way you came in as the place explodes around you. Drop out of the service tunnel and trigger the afterburner as you speed up the ramp across the bridge to safety.