MISSION 10 – Infiltrating Stagg Airships
Main Objective: Track down Scarecrow in the Stagg Enterprises airships
Objective: Identify a way to infiltrate the Stagg Enterprises airships
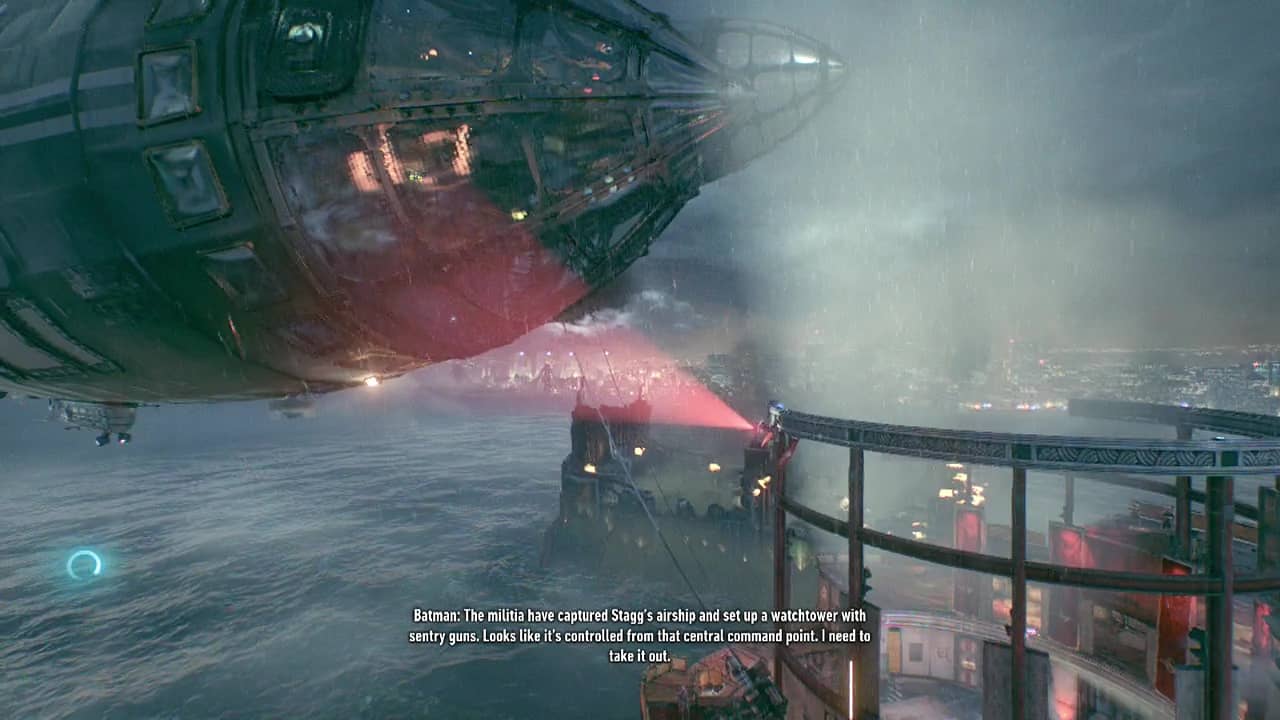
Burn rubber in your set of wheels or glide like a shadow across the city towards the marked location. On the way, you'll have to ditch the Batmobile if you were using it at the raised bridge to the new island. Grapple and swing across and you'll arrive at a large building overlooking another skyscraper. You'll see a pair of airships docked here as well as a decent number of enemies walking around.

Objective: Disable the watchtower guarding the airships
Here you will encounter a new type of anti-bat enemy, or at least a new type of device for detecting Batman. One of the thugs patrolling will be able to detect you if you use your detective vision for too long (shown by a bar on the screen). Start bringing justice to the thugs. Don't forget about your new Disruptor as the guards are all armed.
Note: If you deliberately leave one conscious for a while, Arkham Knight will taunt you to finish him off. Apparently not only does he know you are there, but he knows you are going to win.
Objective: Collect the remote hacking device from the top of Wayne International Plaza
The plaza is only a short distance away from the airships. Grapple your way up the side of the building and interact with the lit wall right at the top to pick up your new hacking tool. Once obtained, glide your way back to the airship. The control panel is actually inside the airship, just below the hatch.
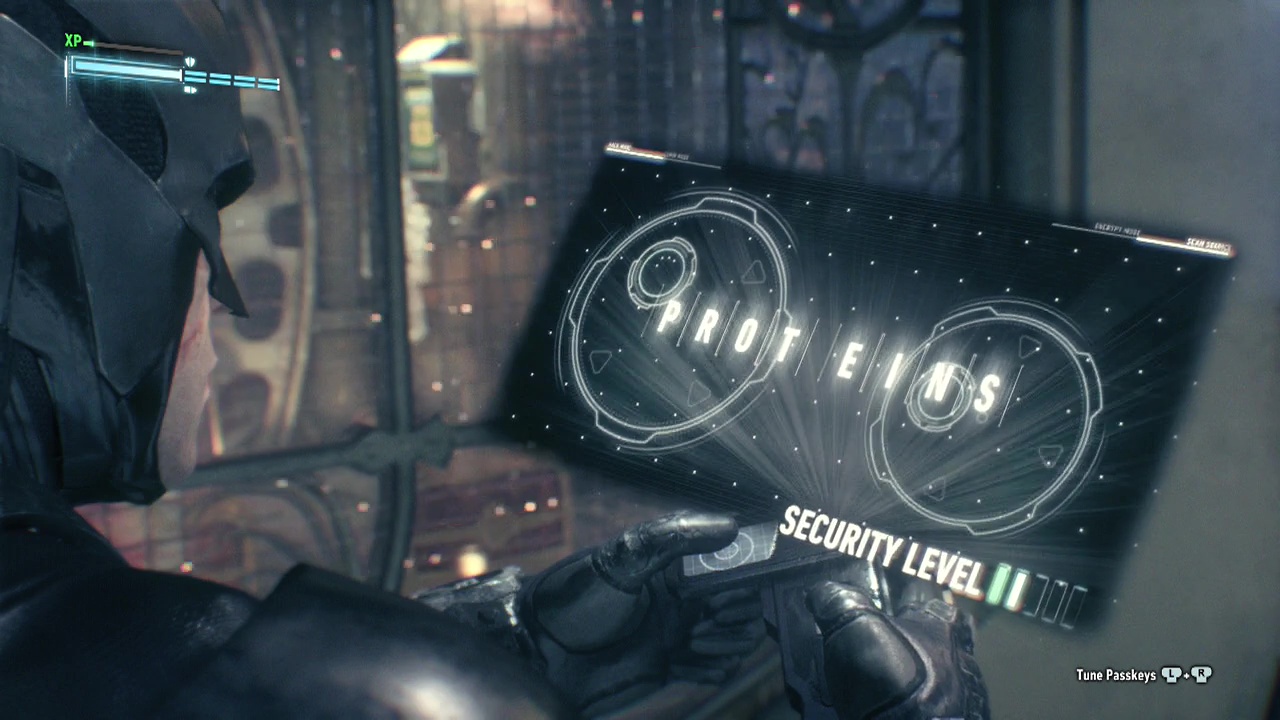
To get inside, just aim the hacking tool at it and a mini-game will begin. Rotate the two sticks to make the letters change until they form words. This is made easier by the fact the controller will vibrate when a stick is in the right position. After cracking the code, open the hatch and make your way down.
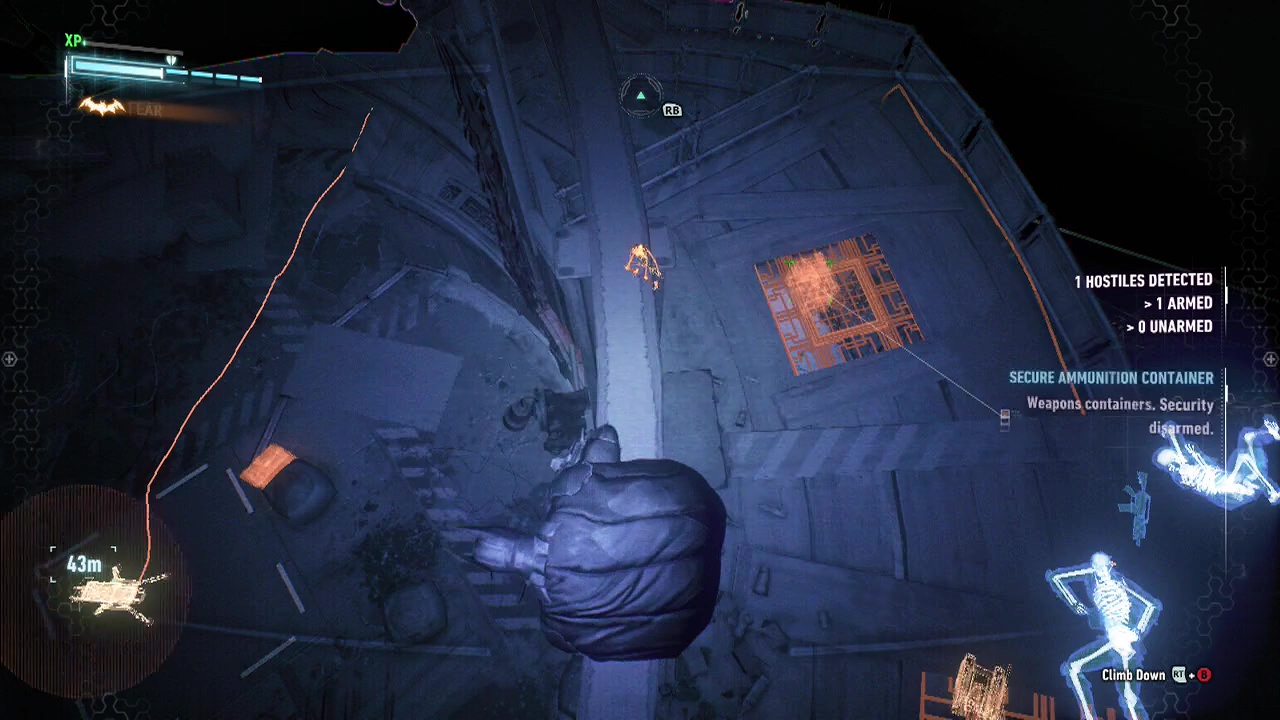
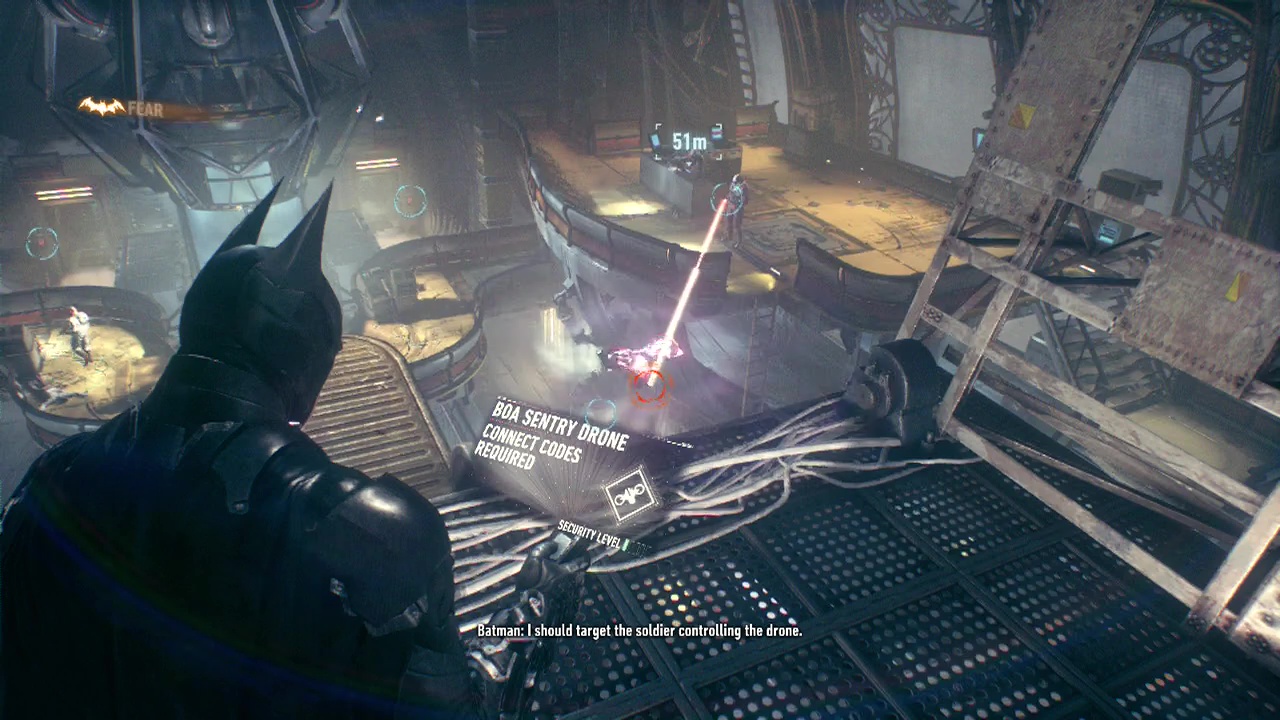
Just inside the airship, you'll drop down onto a glass dome with three militia goons distractedly playing with a drone. Scuttle through the nearby vent to enter the room behind them without them noticing. Once there, use your new hacking tool to take control of the boasting thug's drone (by aiming at the thug's remote) and turn it against them. Thug: Why drone, why?
Afterwards hack the control panel through the nearby wall to open the door to the room with the now downed goons. After opening the doors, you'll see a quick scene showing a nearby trapdoor, hinting where you need to go next. To reach it however, you'll need to take command of the airship's stability controls (found in the small room next to the door controls you just used) by walking into the room and interacting with them.
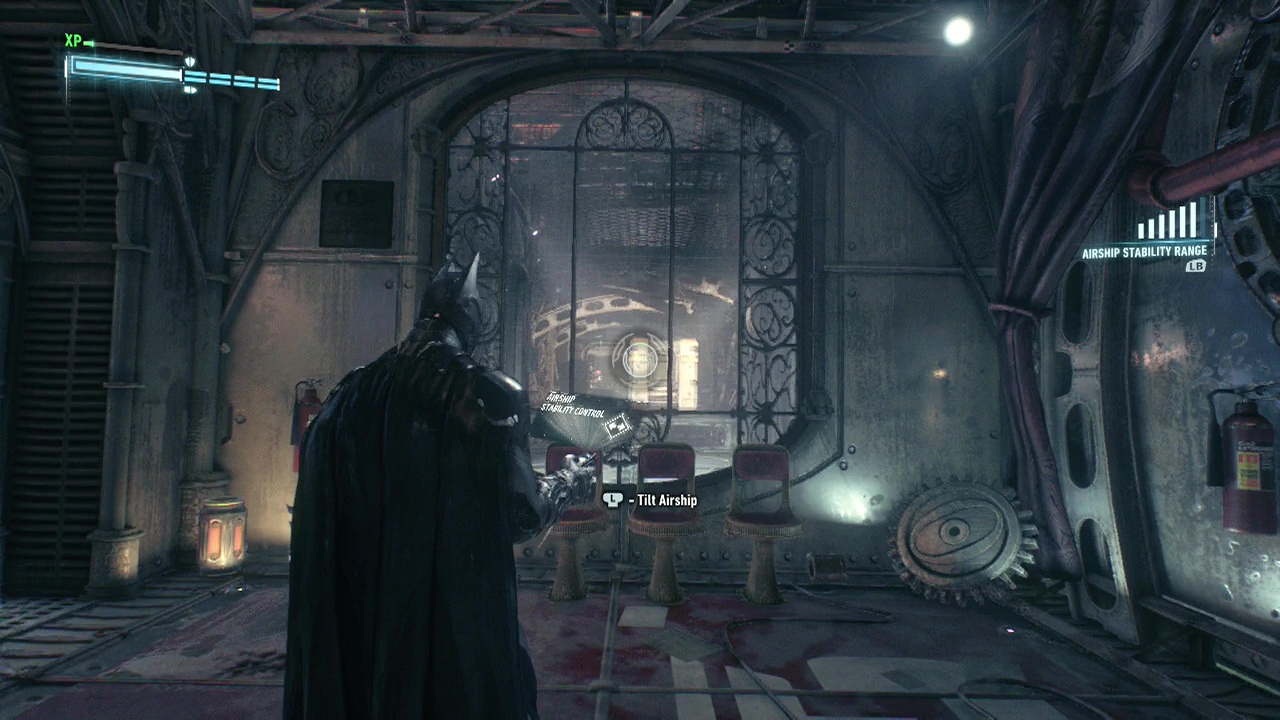
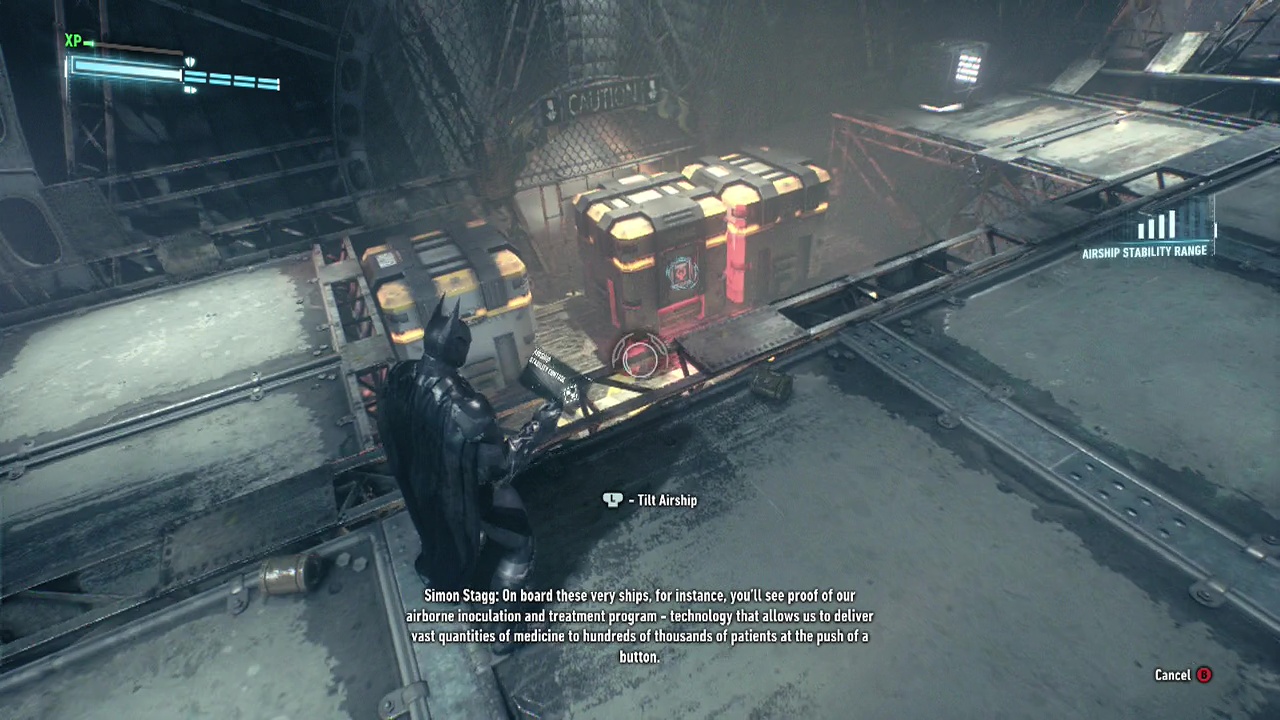
Now that you have command of the stability controls, use them (by pressing LB to turn them on, then using the left stick to rotate the airship) to move the container opposite the control panel off the trap door you saw earlier. Once that's accomplished, the glass blocking your way to the trapdoor should be gone, so walk back over and descend deeper into the airship.
At the bottom of the ladder you just came down, your path will be blocked by a container on rails. To clear the path, use the stability control mode again and tilt the ship until it rolls out of your way. Drop down into the room below and you'll find your first magnetic crate puzzle of the evening.
This one is fairly simple, the door you need is immediately behind the crate with the glowing light on it. Crates with this symbol can be locked (red) or unlocked (green). Make sure the crate is unlocked and then tilt the airship so that all the crates slide to the left as much as possible. When all three stop, lock the crate and tilt the airship back the other way to move the last sliding crate out of the way of the door, allowing you access.
Enter the now open corridor and look up to spot a hatch in the ceiling you can enter. Through here you will fight a bruiser with blades on his wrists and the game will introduce you to the blade dodge mechanic (L stick away from the enemy and hold Y/ Triangle). During a gap in his swings, trigger a beatdown attack to bring him down (B+X/ Circle + Square).
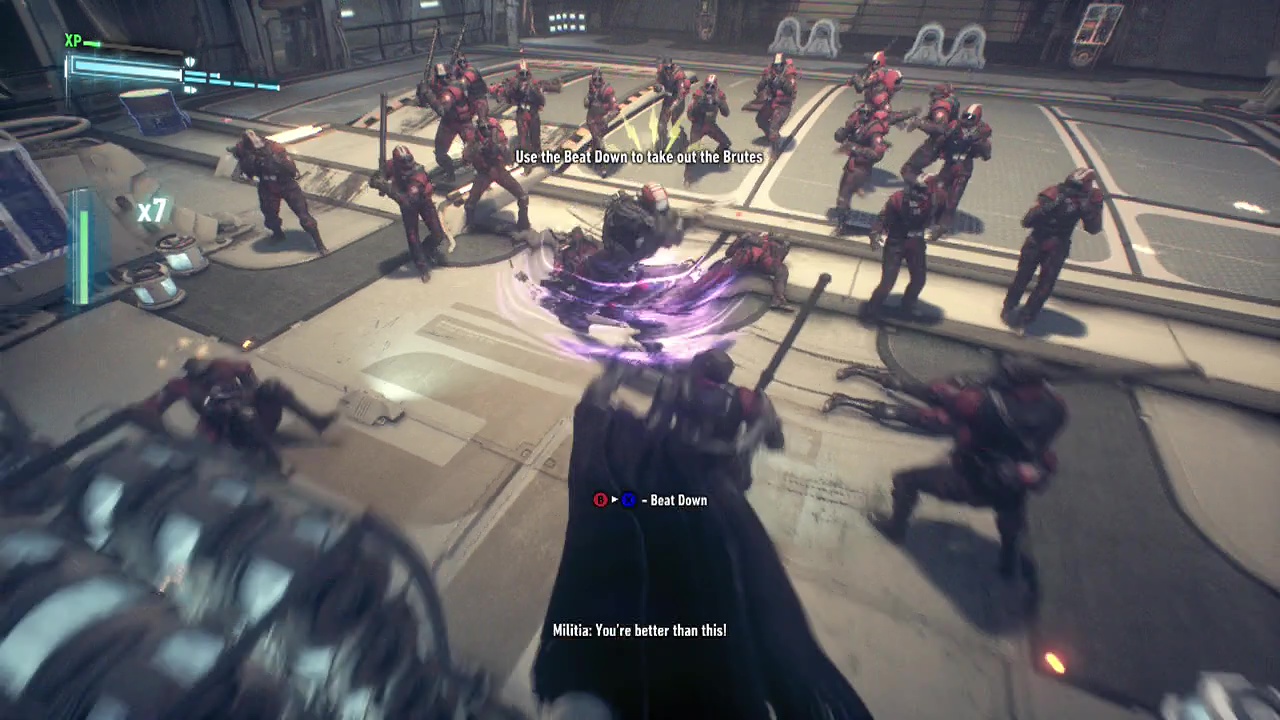
After hacking the door control at the end of the passage, you'll reach a large room swarming with 26 unarmed enemies, including another Blade Bruiser. Go to town on them, the only real issue here is the blade bruiser (don't forget that blade dodge). If you have decent combat skills, you can initiate a beatdown on the bruiser while countering other attacking enemies, getting rid of the main threat early.
After the fight ends, approach Stagg and talk to him. A sequence will begin here. After it ends, walk over to the stability controls nearby to take them over. After a brief conversation with Alfred, you'll have a new objective.
Objective: Destroy the weapon turrets on the second airship
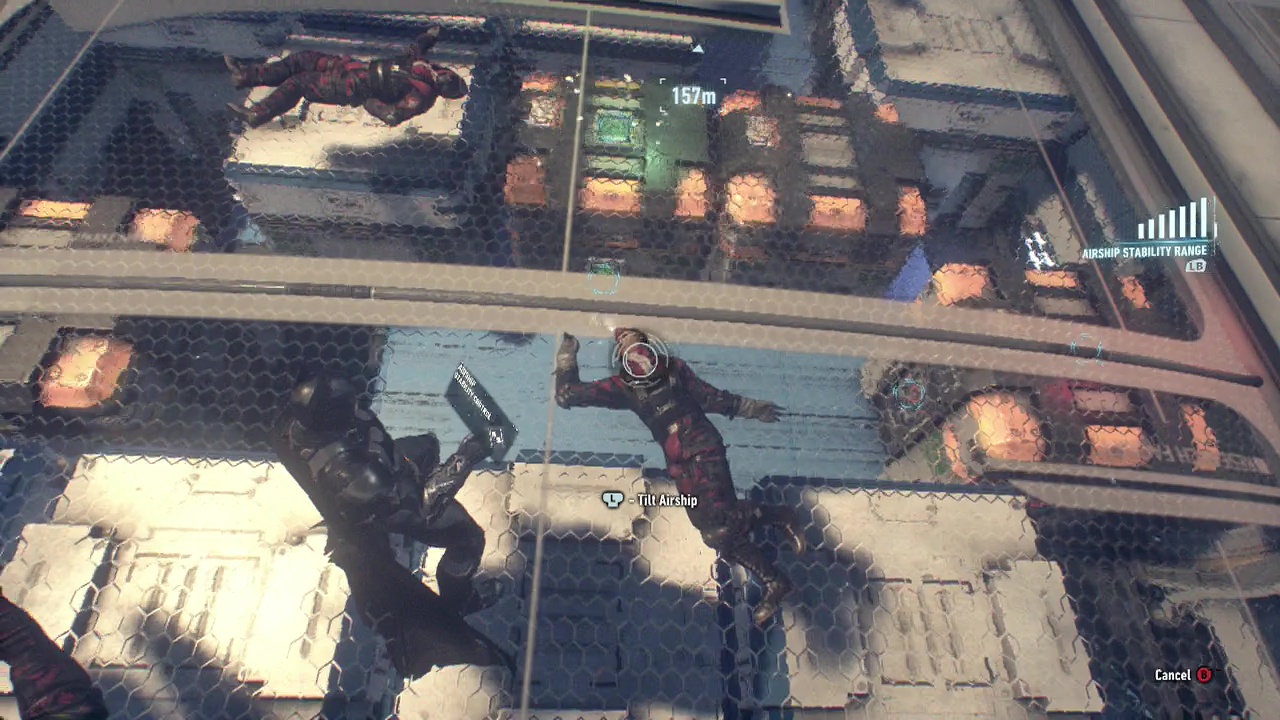
Looks like we need to head back to the other end of the airship. Great. Observant players will have noticed the large number of magnetic crates through the mesh under their feet. You will need to clear a path using the magnetic lock crates and the airship tilt here. The method is fairly common sense (simply lock the crates when they are out of the way to clear a path), but if you are having problems, watch the video from the 23:33 mark onward.
Once the path is clear, drop down through the hatch at the far end of the room and walk along the now clear walkway. At the far end, pop out of the grate like some demented jack in the box to find yourself in a hallway. Climb the nearby stairs (Yes, Batman can actually use stairs! It's not all grappling hooks here folks). Hack your way through the door on the next floor up, and look up to find another roof vent you can get through above.
When you reach the Research Lab vault door, climb above it and clamber through a duct to reach a guarded room (You can also hack the door opposite the lab to create a shortcut to make moving through the ship easier later if you like). Here you can make use of your hacking tool and a drone to take out a few guys. Move closer to the thug with the codes. Then you can either destroy the drone or take out a few thugs with it.
Once they are defeated, use the control panel. Here you will need to find some fingerprints to activate the defense controls (because thats how this world works). Each video contains pieces of the complete print, so you will need to go through all of them. You are looking for moments when Stagg places his hand flat on a surface.
With the bottom left video, wait until he puts his hand on the wall at the far right. With the top left video, wait until he puts his hand on the ground. With the top right, wait until he finishes falling and puts his hand on the ground. With the bottom right, wait until his hand is on the ground when a soldier is standing over him.
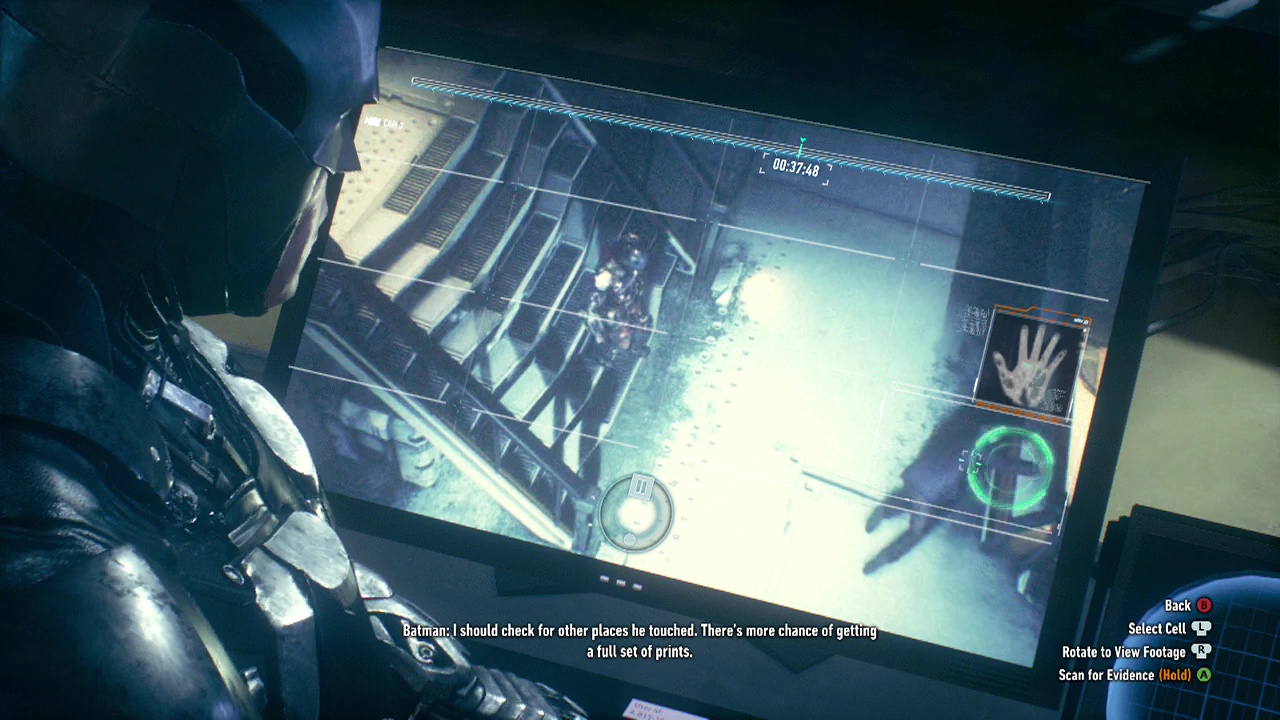
After you've seen each relevant bit of video, enter evidence scanner mode (D-pad up) to see the holograms of Stagg scattered about the area. If you move too far away, it will revert back to detective vision. Go to each of the four locations (holograms), and scan the hands for each. Once you have all four, return to the computer to use your newly minted hand print.
Now you have access to all those annoying hand print scanning devices scattered all over the ship. Use your newfound powers of Stagg to destroy the turrets on the opposite airship. Open the vault door for a shortcut back. In the passageway, hack your way through the door (if you didn't earlier) to arrive back to the room of the big fights. Now some of the thugs will have electric currents on their clothing, meaning they cannot be hit in that time (or they will interrupt you more when they hit you).
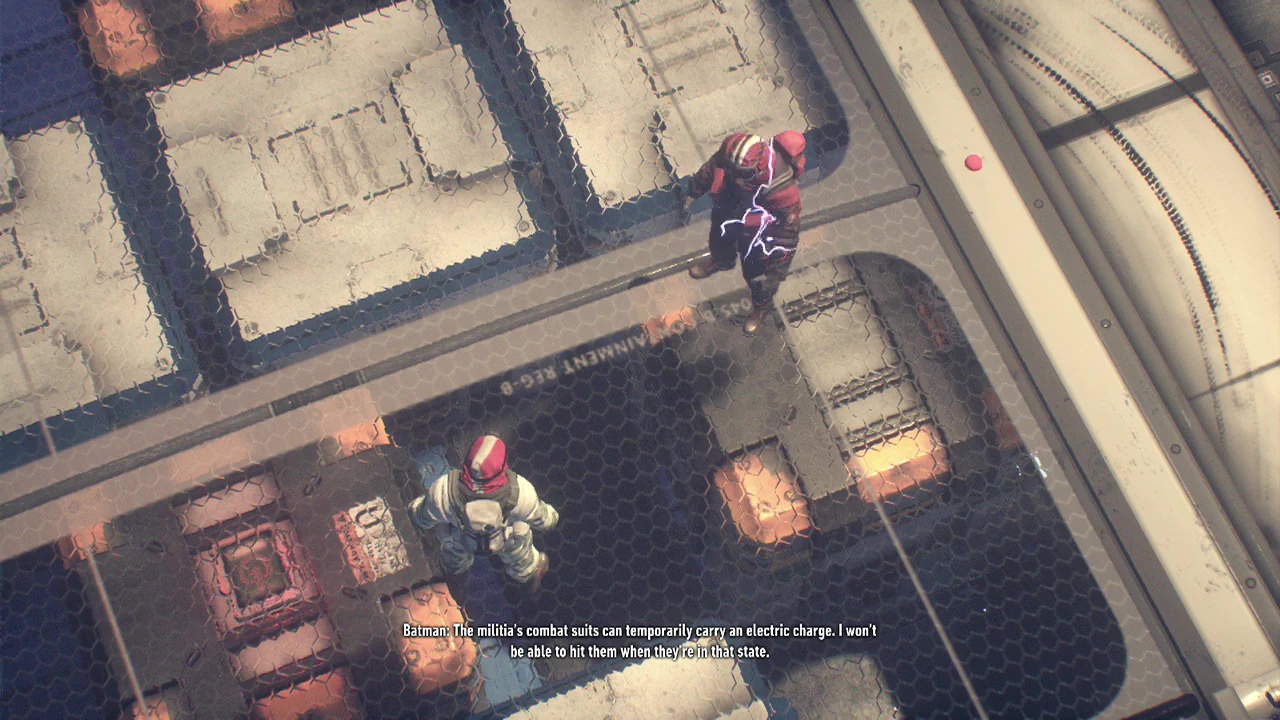
Try to be aware of when they start sparking (on top of everything else), and attempt to avoid them when possible or use LT + Y/ Triangle to quick fire your Batclaw to intercept them (yeah, that's gonna take some practice). Don't forget to focus on both medics first. When you are finished mopping the floor with them, you have the option for another upgrade for your Batmobile weapons. EMP or Secondary Weapon (this may be different depending on your previous choices).
Open the cargo bay door with your hacking tool and take on the goon welcoming party of a couple of ninjas and several regular militia enemies. After the ruckus is over, break the nearby wall with your explosive gel (and doesn't that just sound wrong?) and take over the airship stability controls. Use it to move a crate out of the way to clear the path for you to progress. Listen to the research notes along the path if you wish, and move on.
Note: You can open one of the rooms with the green coloured computer terminal in the corridor to obtain a Riddler trophy.
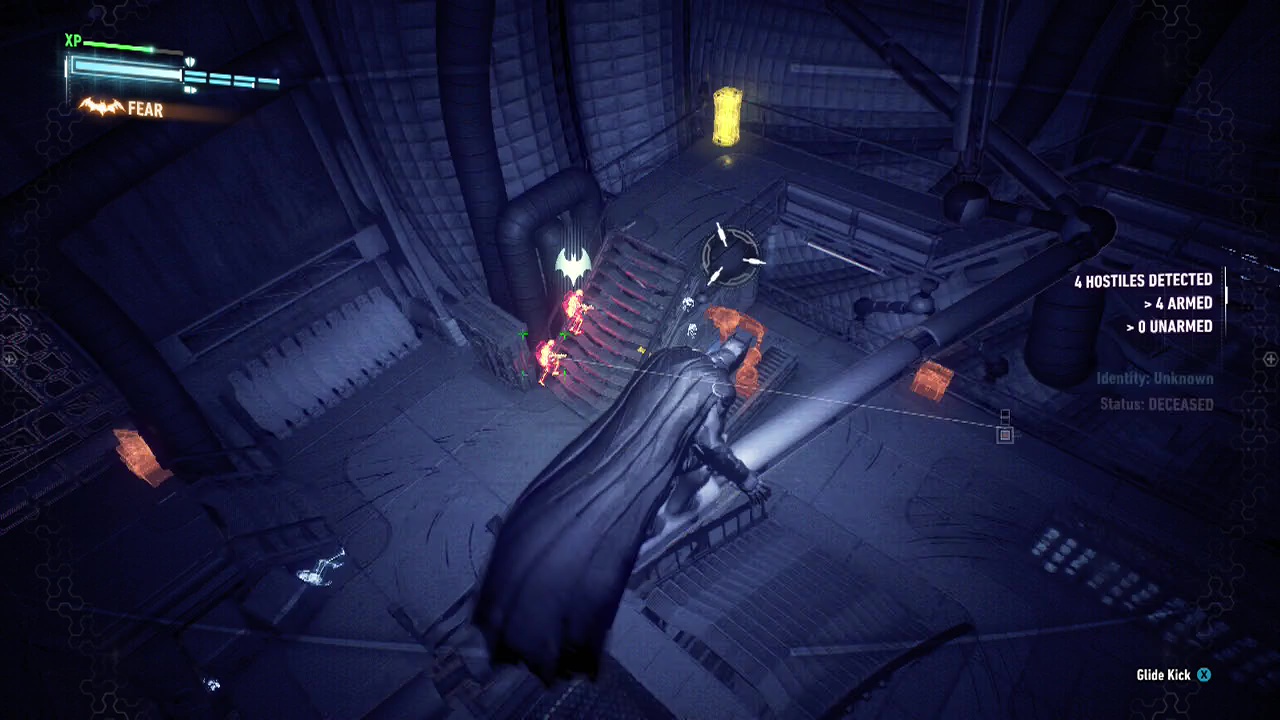
Open the door at the end. Here there are a lot of guys, and a mini-gunner (who is vulnerable to the Disruptor by the way, but only temporarily). Silent and Fear takedowns work very well here. The mini-gunner will take a fair bit of beating (several counters) before going down. (Note: Beware where you start beating him up, as he will sometimes glitch over railings or through walls, making it very difficult or impossible to beat him, as I learned first-hand).
Once you are finished, head through the door and pick the wrong Scarecrow. Yeah, either way it's the wrong one.