MISSION 13 – Destroy The Missile Launcher
Main Objective: Destroy the Arkham Knight's defense grid on Founder's Island to allow the Batwing to scan for the Cloudburst
Objective: Head to Panessa Studios to analyze Arkham Knight's forces
After saving Ivy's plants, you should be on street level once again. There may be a few drones nearby that you can mop up if you wish before moving on. When you are ready start blazing a trail across town until you reach Panessa Studios.
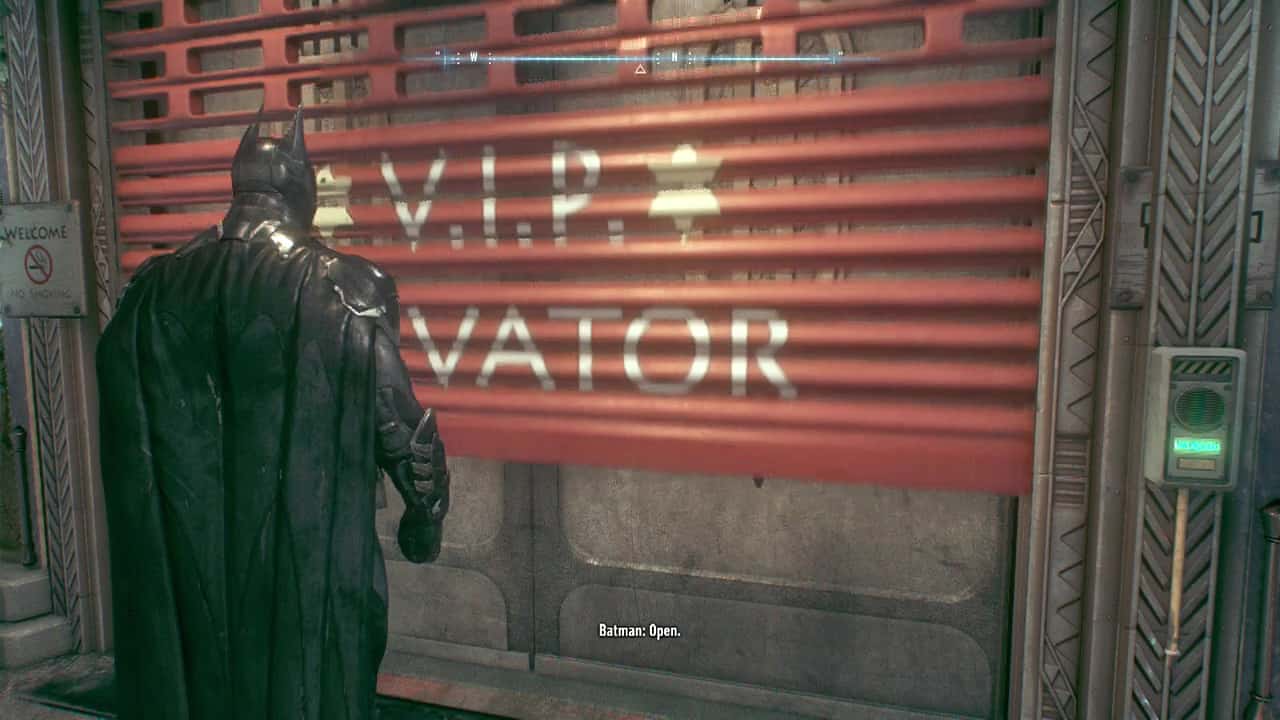
When you reach the rooftop, you'll find the door that Gordon used in an earlier flashback. Approach the swanky door and interact with it to pass inside. Take the elevator down to the quarantine cell area, talking to Alfred along the way.

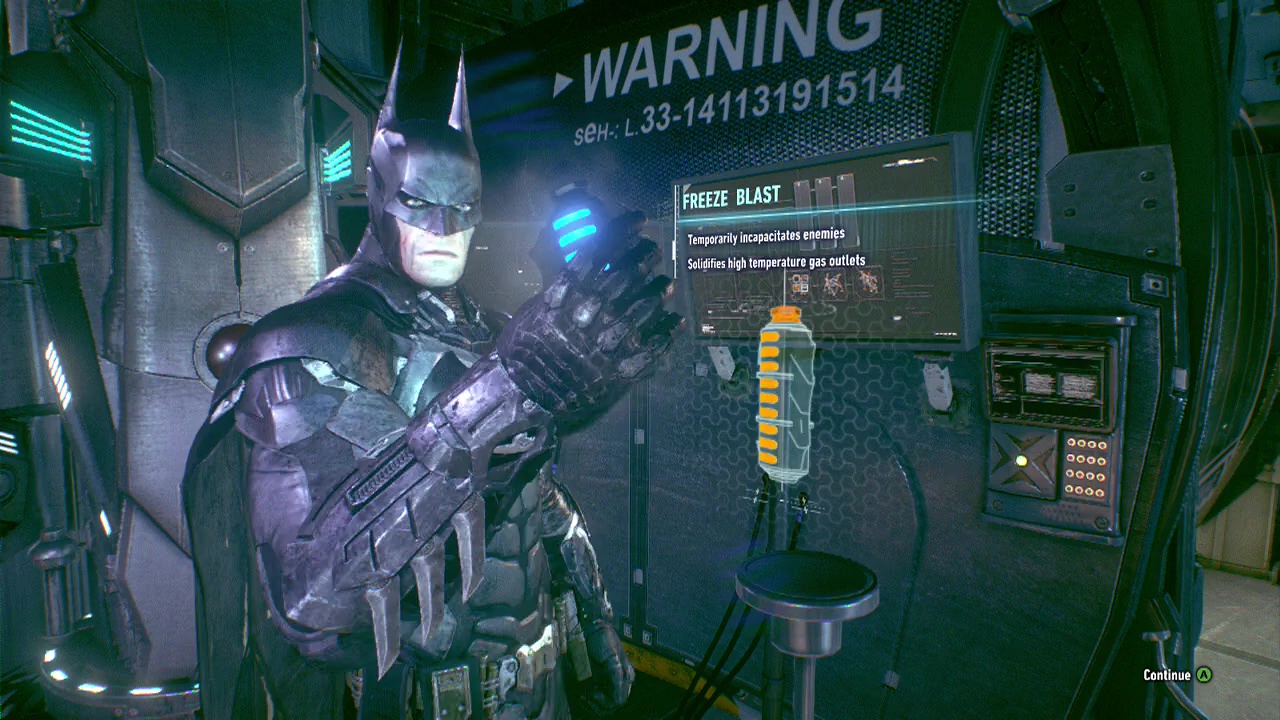
When you step off the elevator, look for a metal tray against the wall of the first isolation cell on the left. On it you'll find the freeze blast grenade. A useful tool for stopping enemies in their tracks and also used in combo finishers (once you purchase it in the skill tree).
Once you're done increasing your arsenal, you can examine the medical records of the patients/ prisoners if you wish before walking past Robin and using the computer. Oh, sorry. I mean the Batcomputer. Completely different.
Objective: Glide onto the relay drone and examine it to find a way to defeat the drone forces
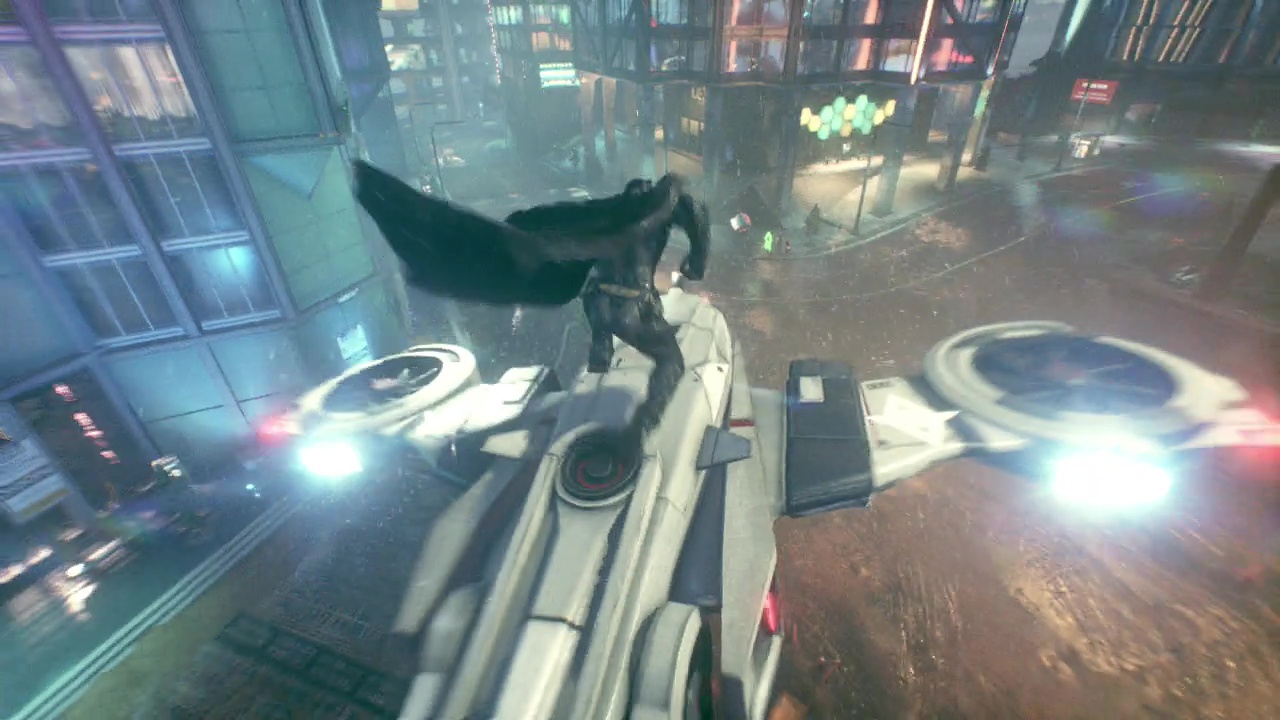
After finding out some new information about Arkham Knight's defenses, return to the elevator and then to the rooftop. From here, you'll have a fairly long way to travel using either mode of transport until you reach the raised bridge leading to Founder's Island. Grapple up and across the bridge and start gliding across the skyline of the new island, avoiding the red glowing searchlights/ detectors.
The marked drone will be slowly patrolling the area when you arrive, so get up above it on one of the higher buildings and carefully aim your glide so that you land on the back of it. You don't have to be perfect, but you do need to be close to trigger the animation.
Objective: Destroy the Arkham Knight's radar network (2)
So nobody noticed the drone crash and subsequent explosion? Just another night in Gotham City. Now that you have the relay chip you can use it to disable drones (the large ones) for a minute at a time. When you regain control, you should be looking straight at the first radar device, along with the patrolling drone above it. Select your remote hacking device (with it's new and upgraded powers) and use it to temporarily prevent the drone from seeing you.
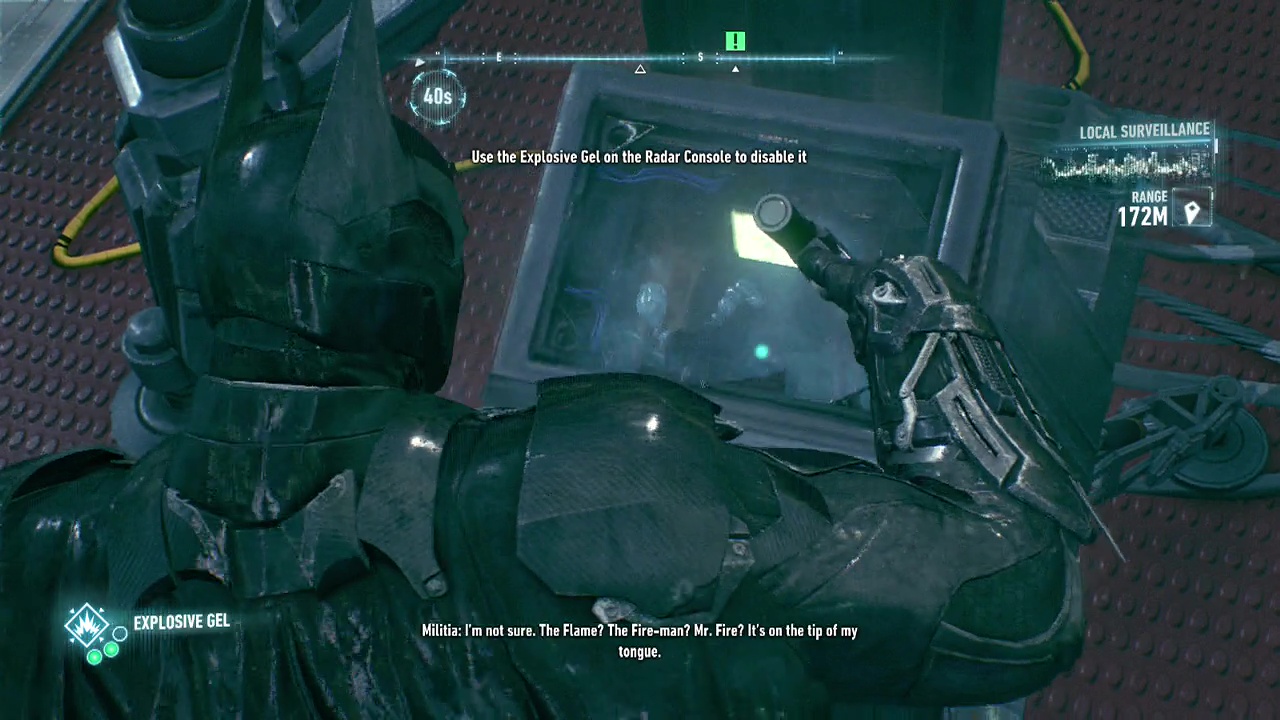
As soon as you do, grapple across to the rooftop with the radar and grab your explosive gel. Quickly run over to the radar device and down a can of the spray into the guts of the machine before blowing it up. That's one radar down, but now the Arkham Knight knows you're here. So the next one won't be so easy.
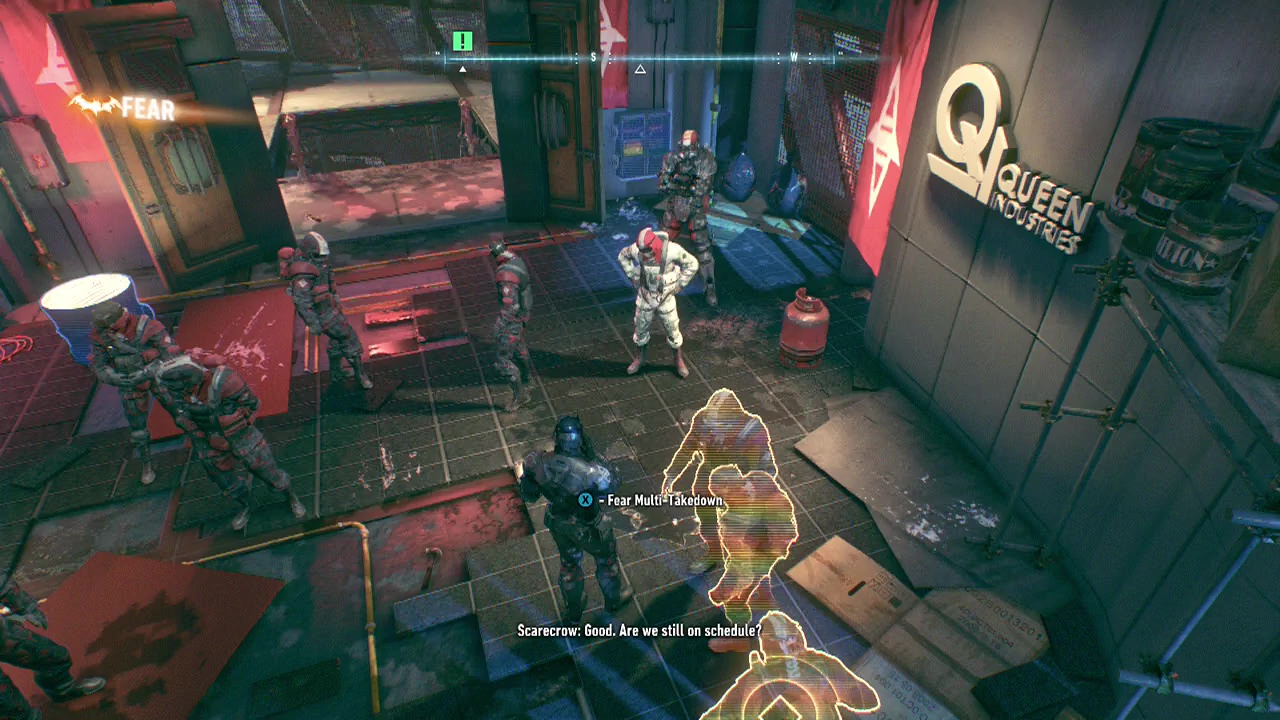
Sprint off the platform and start floating across the Island towards the next marker. When you get close, you'll see a drone moving around. Just be careful to stay out of it's searchlight/ scanner. Scramble up the side of the building until you reach the rooftop. Aww, isn't that nice. The militia goons are all standing in a circle.
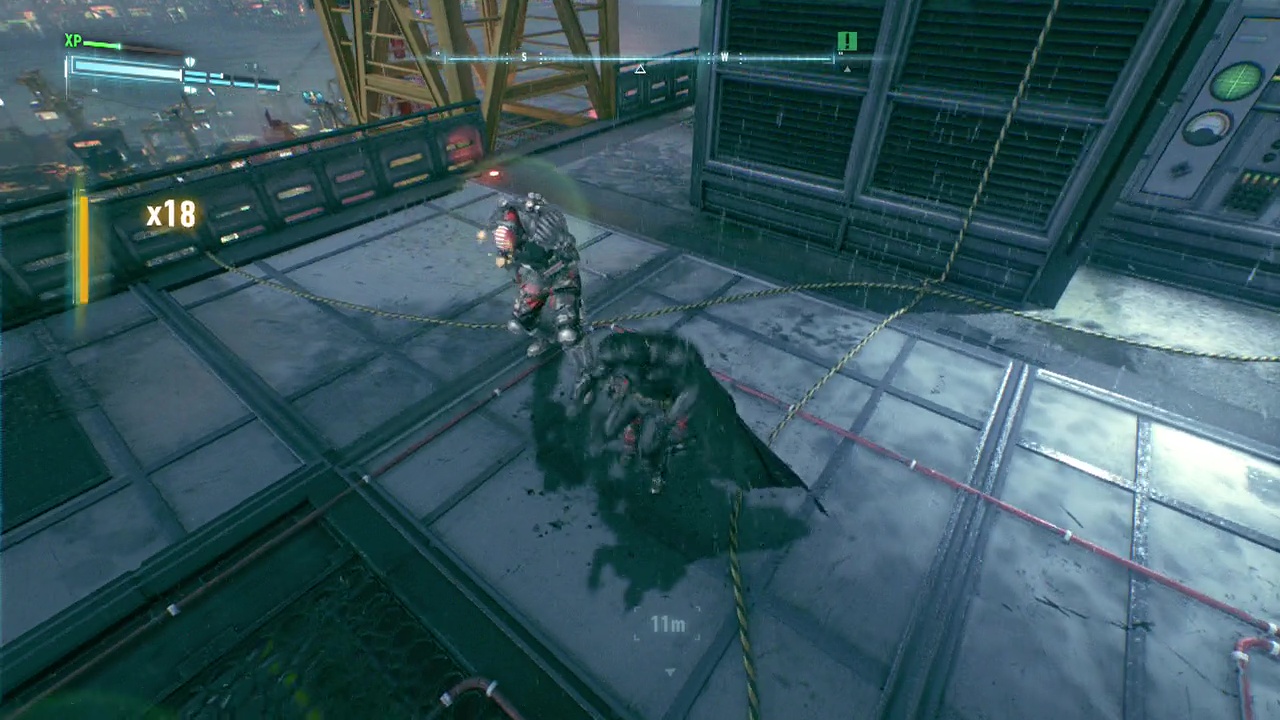
There are two unarmed regular militia, three ninjas and a bruiser here, so you shouldn't really encounter any problems (don't forget your blade dodge – LS + Y/ Triangle). It's also a good opportunity to test out your new freeze blast gadget if you like. A couple more militia will appear as reinforcements during the fight.
Rip off the fuse box cover and join some random wires together to open the door that was protecting the second radar. Pull out your remote hacking device and simply target one of the sentry guns blocking your path to temporarily disable it. When it goes down, you can simply walk between both guns and destroy them. After that's taken care of, you can blow up the second radar device against the nearby wall.
Objective: Take out the long range missile launcher
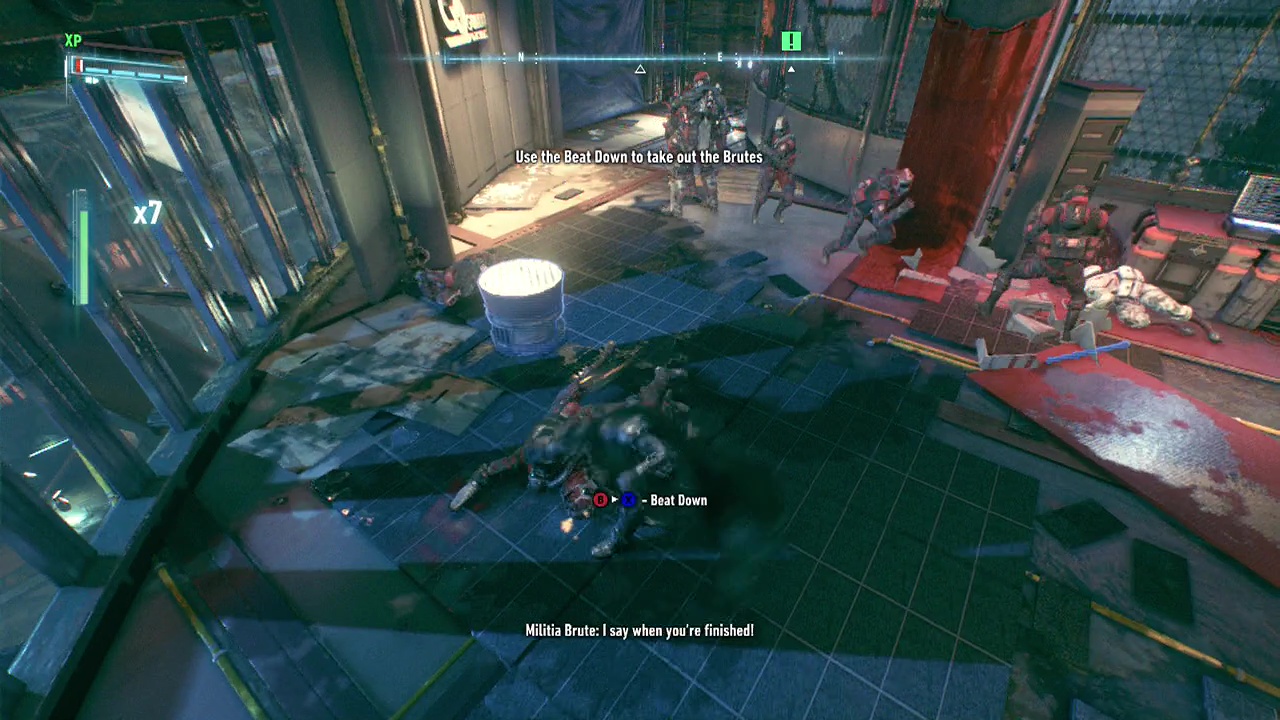
Looks like Arkham Kight's starting to get annoyed at the incompetence of his forces. As you travel through the night skies, look for a crane across the top of the marked building. This gives you a good vantage of the squads of enemies below (and should keep you out of range of the detective vision scanner one of the militia below has). You won't be able to do anything to the launcher directly at this point, so ignore it and focus on the enemies moving around the area instead.
There are several levels here with little cover to hide behind. On the lower levels there are also some vents you can take advantage of to move around freely in. No matter what you do, the initial part of this battle is likely to be messy unless you make good use of your gadgets. Make sure to use the disruptor to disable enemies weapons before moving in quickly to take them down. A well timed Fear takedown can also cut the enemy forces in half in one go.
Objective: Lower the barriers protecting the missile launcher
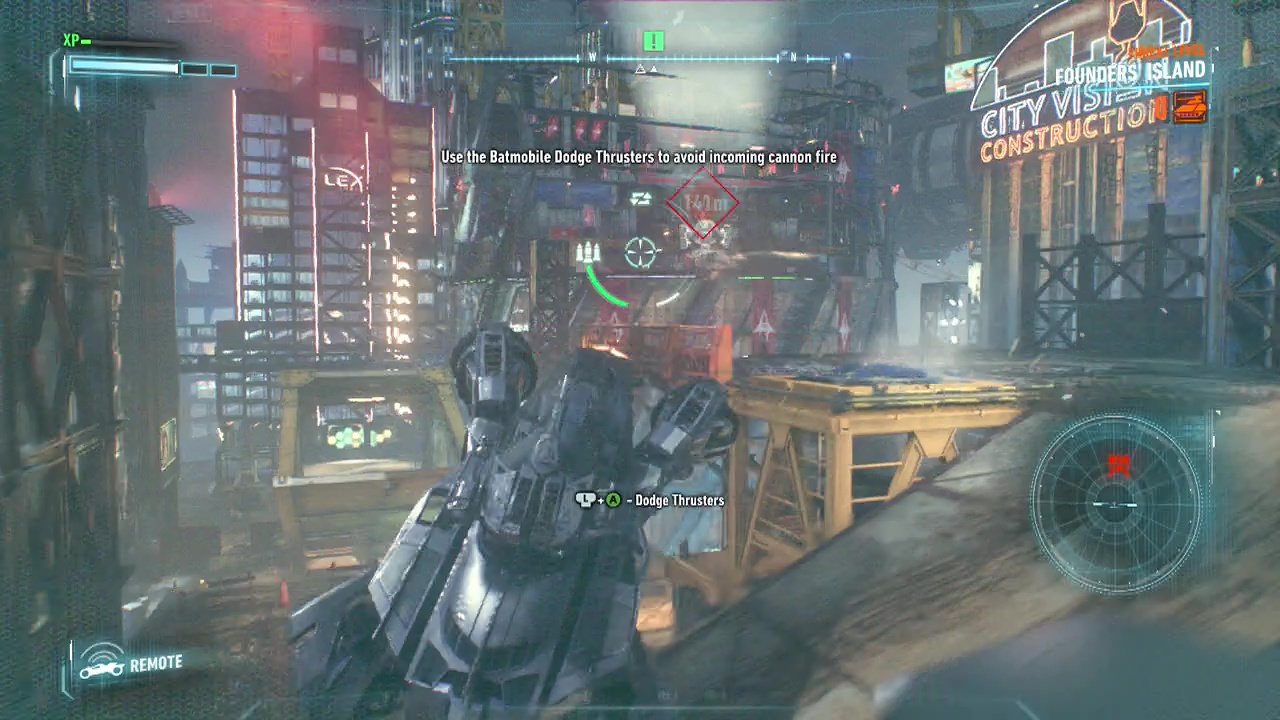
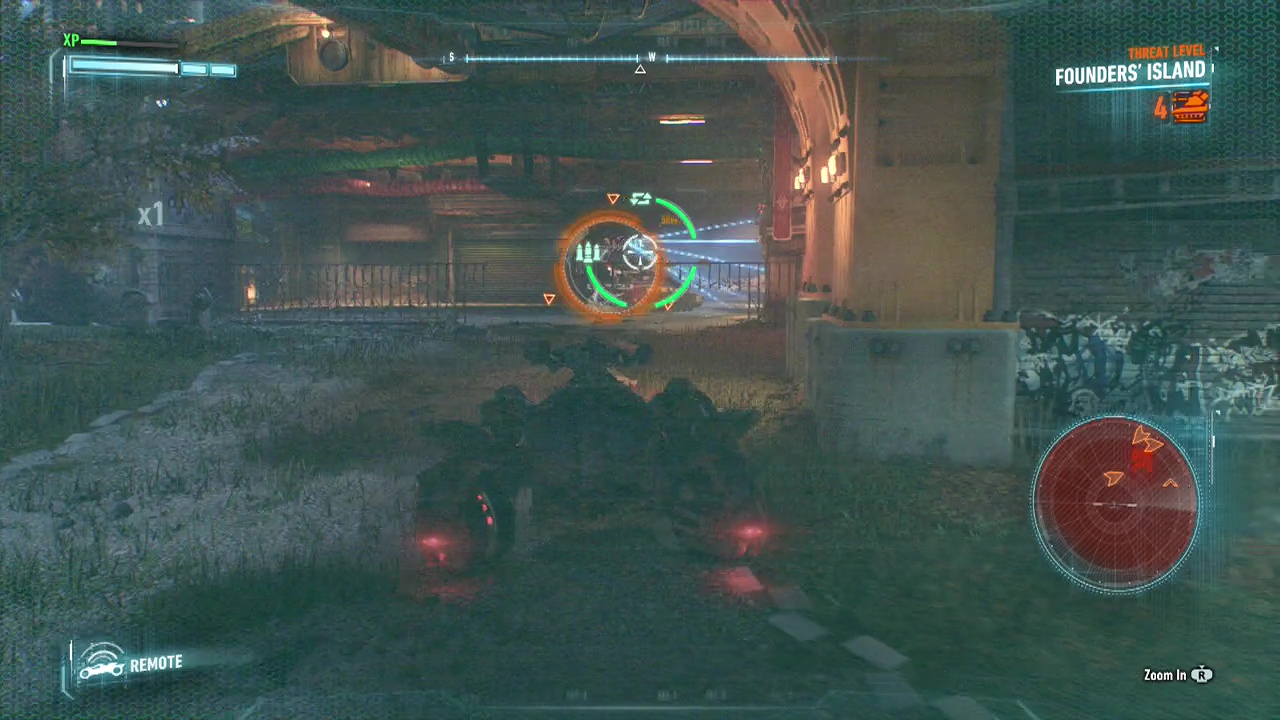
Once the area is secure, you'll need to grapple up to the control room. Step inside and interact with the laptop on the crate. Now that the radar is gone, you can safely bring the Batmobile across the bridge to help you out. Take control of the Batmobile and start cautiously moving towards the marker until you see the red detection area of a cobra appear on the map. Apparently the Arkham Knight has dispatched five cobra drones onto the street to block your path.
The same strategy as before applies, circle round behind one of the cobras and wait until you lock on before firing your shot and moving away from the site. Make sure to pick them off one at a time when they are out of sight of other drones, or you'll get an exhaust full of missiles.
This process is time consuming but relatively easy to accomplish. After the streets are clear, head to the overpass/ upper levels to find a yellow and black painted ramp with a grab point for your power winch. Latch on to the grab point to be transferred back to Batman.
Watch the scene play out with the Arkham Knight until you can use the RS to target the enemies below you. Hopefully you have upgraded your Fear takedown by this point so you can get rid of the medic at the back as part of your attack. Target the enemies you like and finish on the Arkham Knight to force him to flee. Despite his absence, this fight can be a bit tricky due to the limited space in the room and variety of enemies.
The remaining enemies (a couple of medics, a blade bruiser, a pair of electrified militia and a handful of regular militia) will make your life difficult here unless you know how to avoid (LT + A/ X) and are decent at timing your counters. Focus on the medics first, stopping them from reviving enemies.
After that it's up to you who you bring the pain to. I would recommend dropping the blade bruiser early if you can as the small area can make it difficult to dodge away from his strikes. Now that the room has been agressively pacified, you'll transfer back over to the Batmobile.
Objective: Take out the long range missile launcher
Use the grab point and slam the Batmobile into reverse to raise the ramp. Trigger the afterburners as you leap across the gap to the building. You will likely be under attack immediately upon landing so make sure you are ready to respond with the vulcan gun. Enter battle mode and slide up the ramp here until you can see the missile launcher.
If you position the Batmobile correctly, you can use the wall to protect yourself from shots, while you hop out and fire before ducking back into cover. Repeat the process and you will bring the launcher down in short order. Job done. After resuming control of Batman, walk outside the control room to finish the mission.