MISSION 14 – Assault On Panessa Studios
Objective: Return to Oracle's Clock Tower to review the Batwing scans for the Cloudburst device
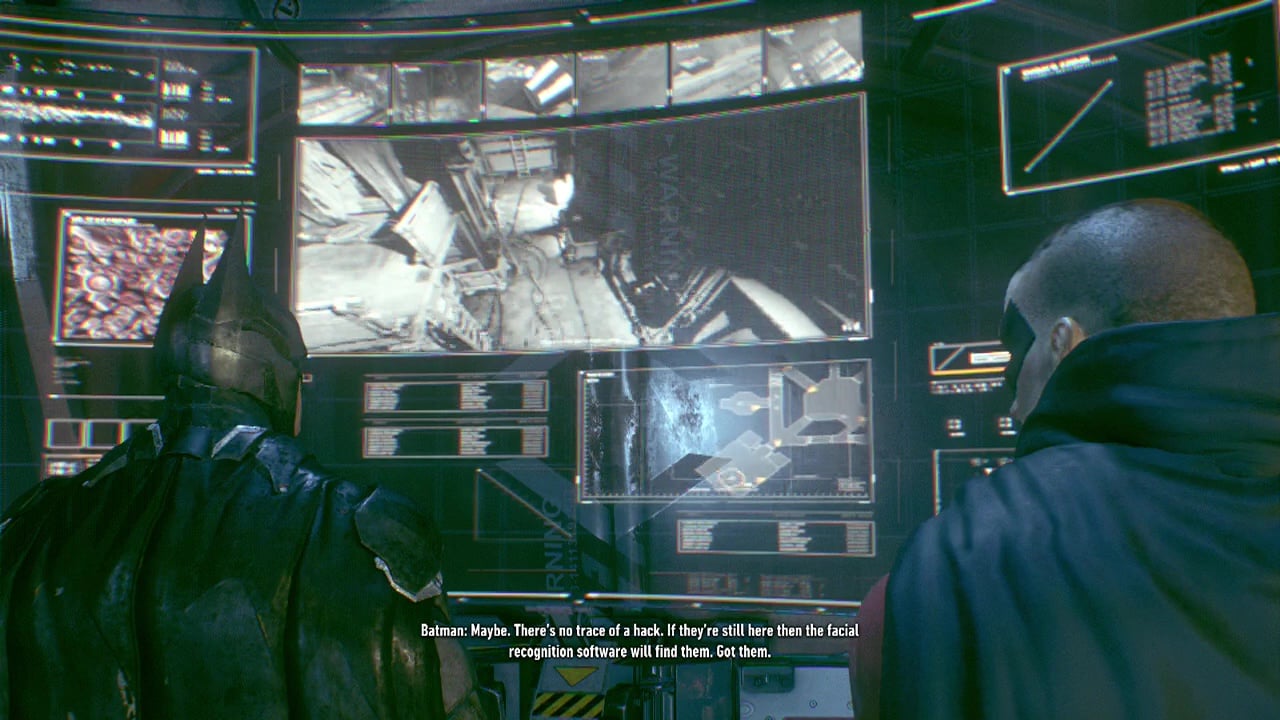
Now that Founder's Island is accessible, it's time to leave it behind. Glide your way across the bridge/ water or burn rubber along the streets back to Bleake Island and the Clock Tower. Clamber to the top of it and drop down through the concealed entrance. Inside perform the usual eye scan and when it appears, interact with the Batcomputer to check the scan logs for the Batwing. Annnd all hell breaks loose.
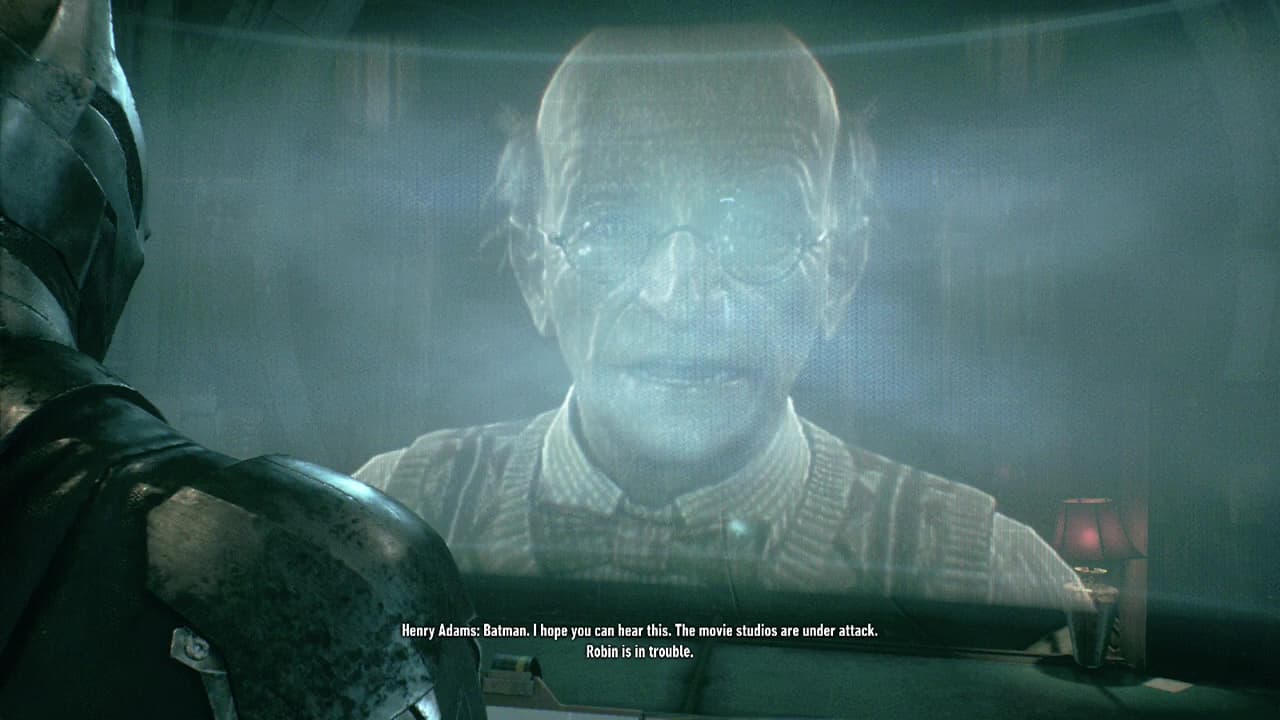
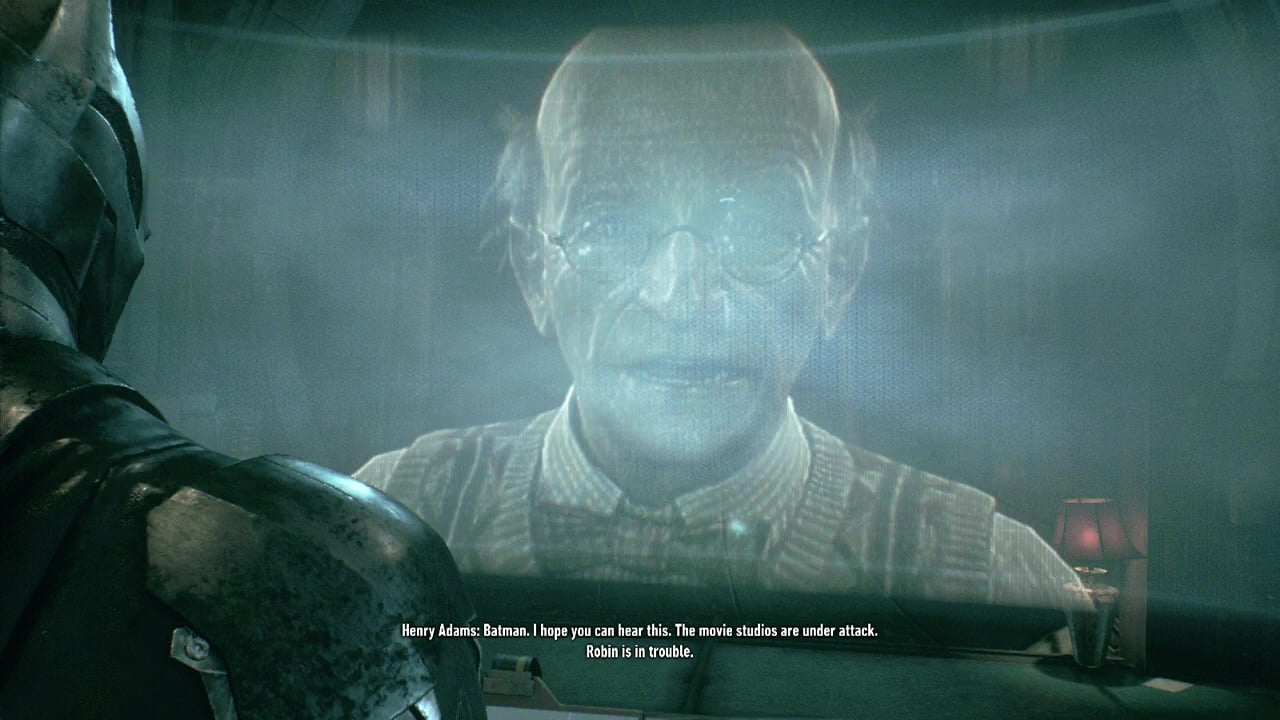
Henry Adams will contact you from the studio with some bad news. Apparently Harley Quinn has gained access somehow and is attempting to release the infected inside. Looks like things are about to get busy.
Main Objective: Stop Harley Quinn from taking the Joker infected
And once again it's back to Panessa Studios. When you get close to the roof, you'll see it's lousy with Harley's goons. There are eight or so of them, two armed with knives. So keep that in mind when you engage them. As long as you are quick enough, they shouldn't be able to rearm and make things harder. Once the roof is clear, try the VIP door to trigger a brief scene.
Hmm, looks like this isn't going to be as easy as we thought. Since Harley's changed the voice keys, you'll need to use the Voice Synthesiser you picked up earlier. When the voice sample loads, you'll need to adjust the pitch (RS) and modulation (LS) to make the sample sound like Harley.
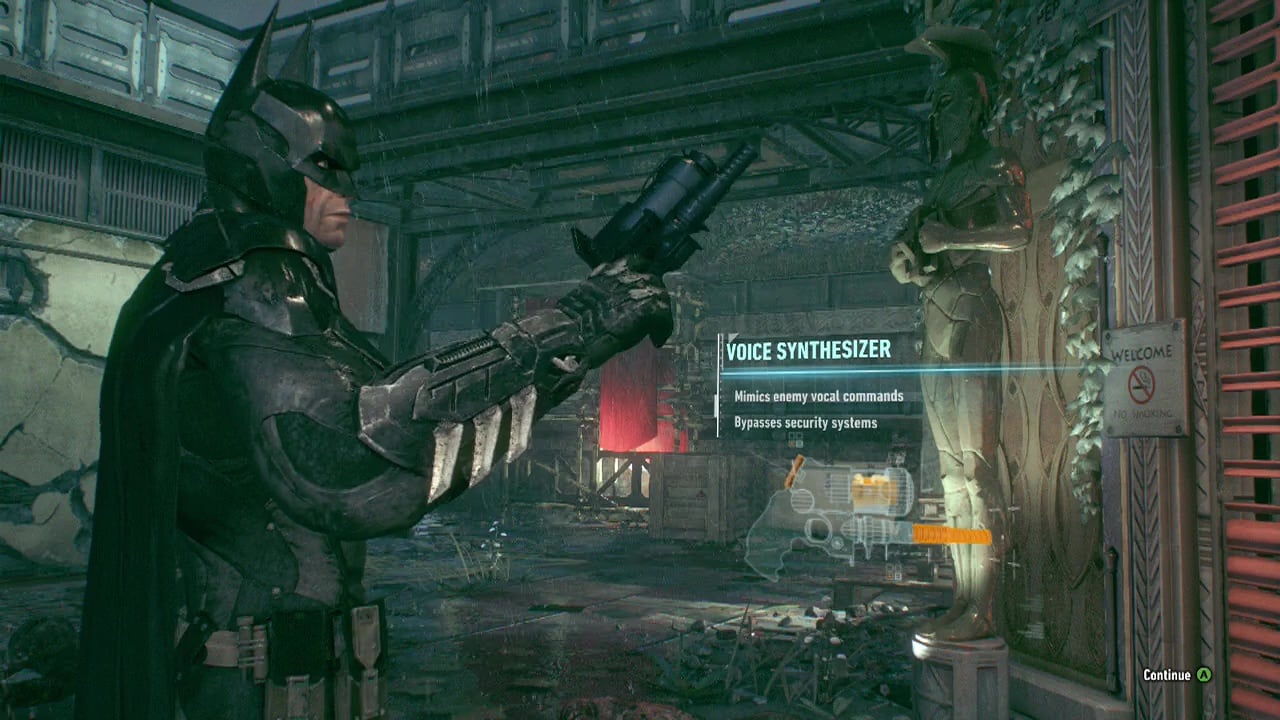
The bar on the left needs to be just shy of the top, while the bar on the bottom needs to be about a quarter of the way along from the left. Once the voice sounds correct, press X/ Square to verify it. Now you have a way to get past those pesky voice locks. Hold LT and use the RS to aim your new toy at the voice lock and press RT to "fire" Harley's voice at it.
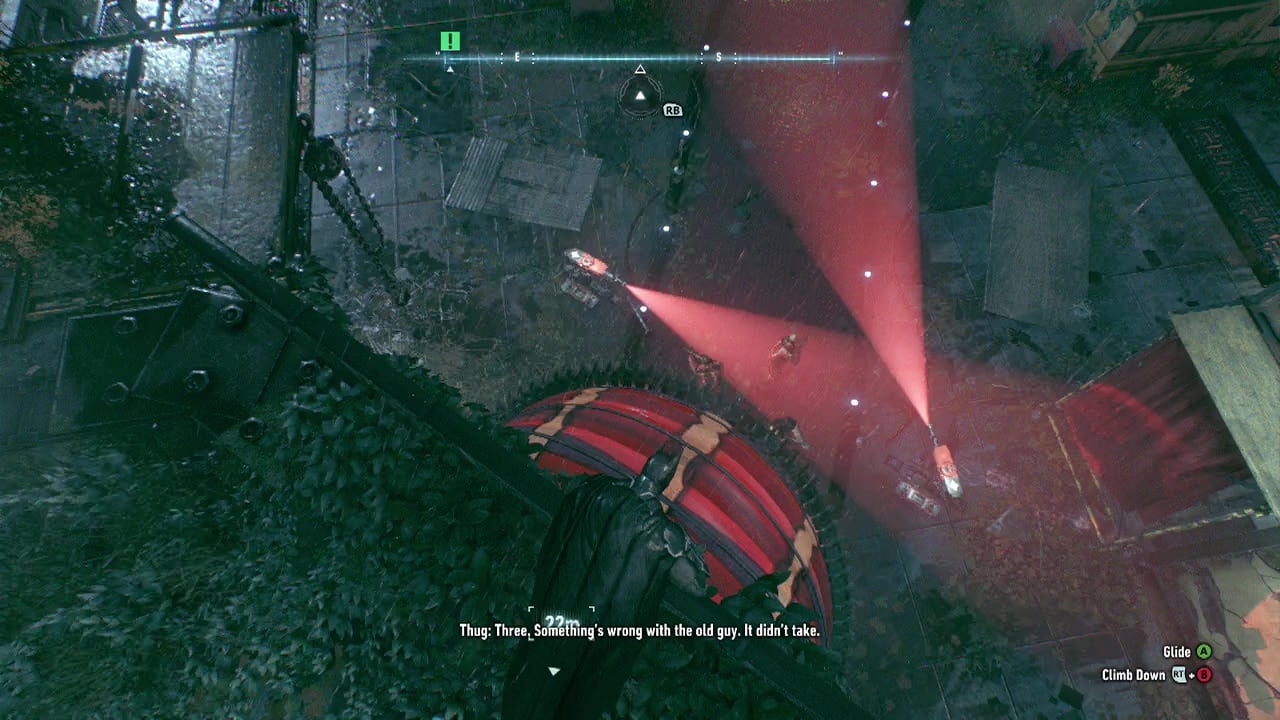
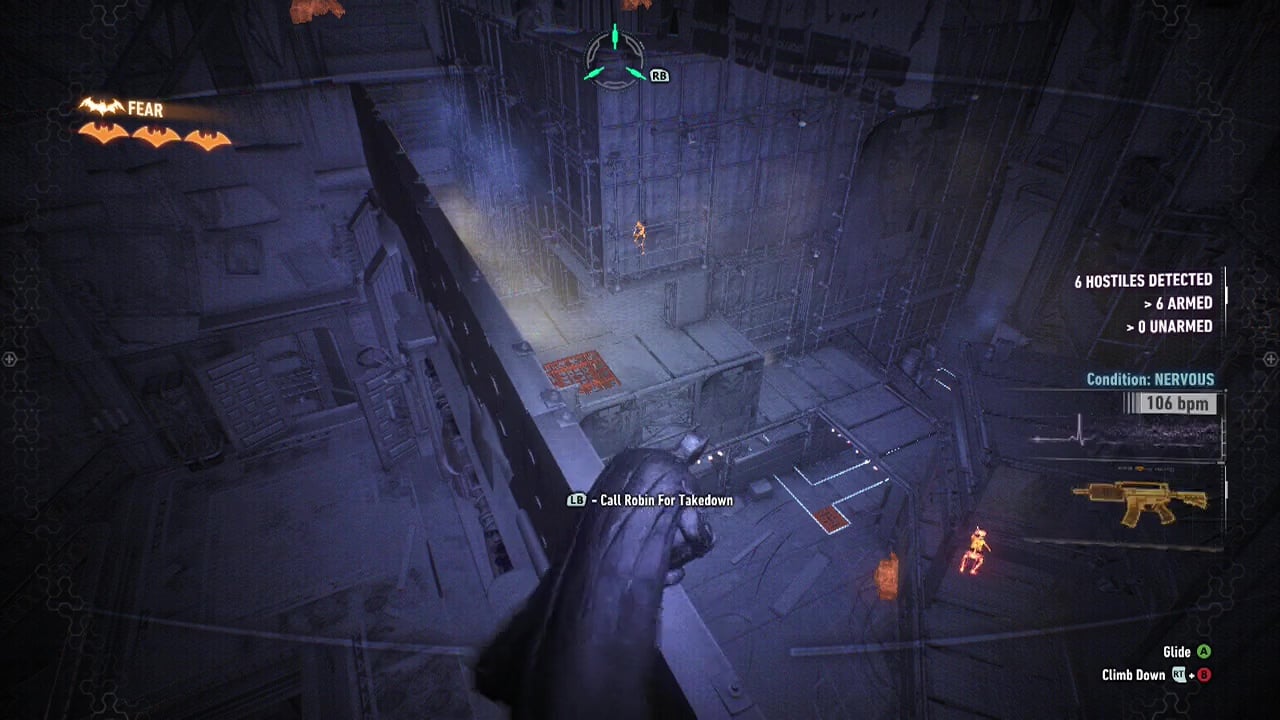
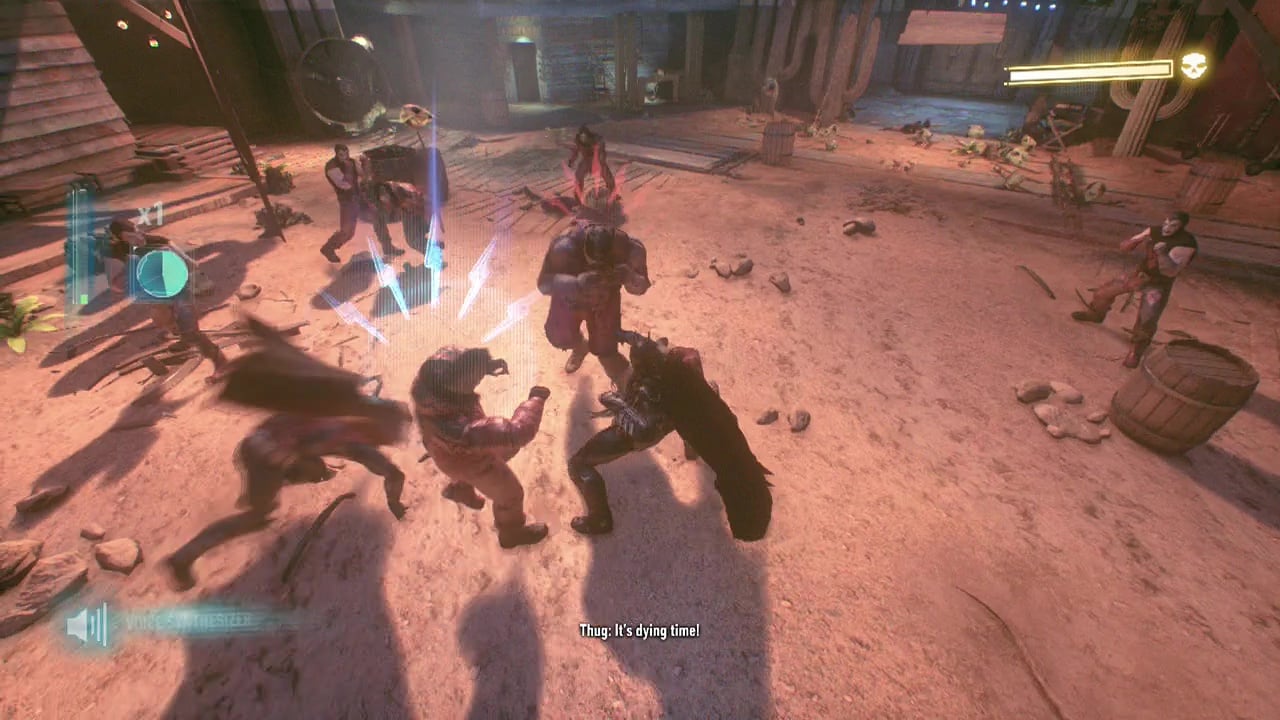
After the scene and arrival of yet more of Harley's troops, you will be overlooking them from above. Use this position to check out their positions. The area is quite open, and all eleven enemies will be armed with some type of gun. The biggest threat here are the three mini-gunners. The first should be alone at the base of the tower, easy prey. The other two, not so much. Protected as they are by dual sentry turrets.
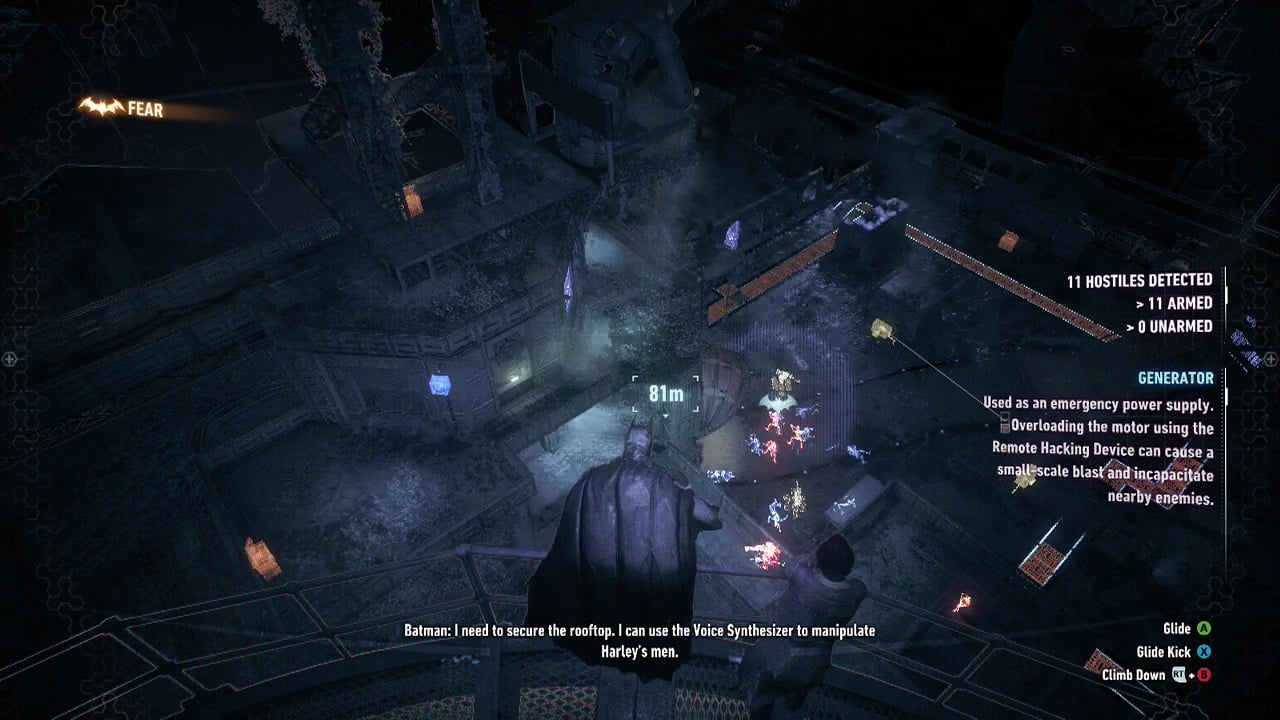
Get rid of the lone mini-gunner and then work your way through the enemies that arrive to examine his unconscious form. Leave the three directly in front of the entrance for last, as you'll want to use your voice synthesizer and/ or hacking device to deal with that huddle. Once all the wandering armed goons are disposed of, get in to a vantage point above the group in front of the entrance.
The simplest way is to simply use the synthesizer to send one of them away (for example to check the generator) and pounce on him when he does. When the other two move away from the sentry guns to check on their comrade, you can drop a smoke pellet and quickly bring them down. Now use your hacking tool or simply drop down behind the sentry gun and quickly destroy it before grappling away and repeating the process.
Now that the rooftop has been clear for a second time, you can finally head through the VIP door. Walk inside and start the lift on it's way downwards. Hmm, isn't this lift going a bit fast. Turn around to trigger a little scene that might bring back memories for those who played the first Arkham game. When the lift coasts to a stop, you'll be facing a goon with a new type of weapon. The goon will be holding a shield.
Despite it's rather comical appearance, it can be annoying to face. You will need to use your stun attack (B/ Circle) quickly followed by double tapping A/ X to flip over the shield and take out the goon. It may take a few tries but it is worth remembering as they are difficult to dispose of with other methods. Shielded goons also have the ability to perform a shield bash attack, just to make them more of a pain.
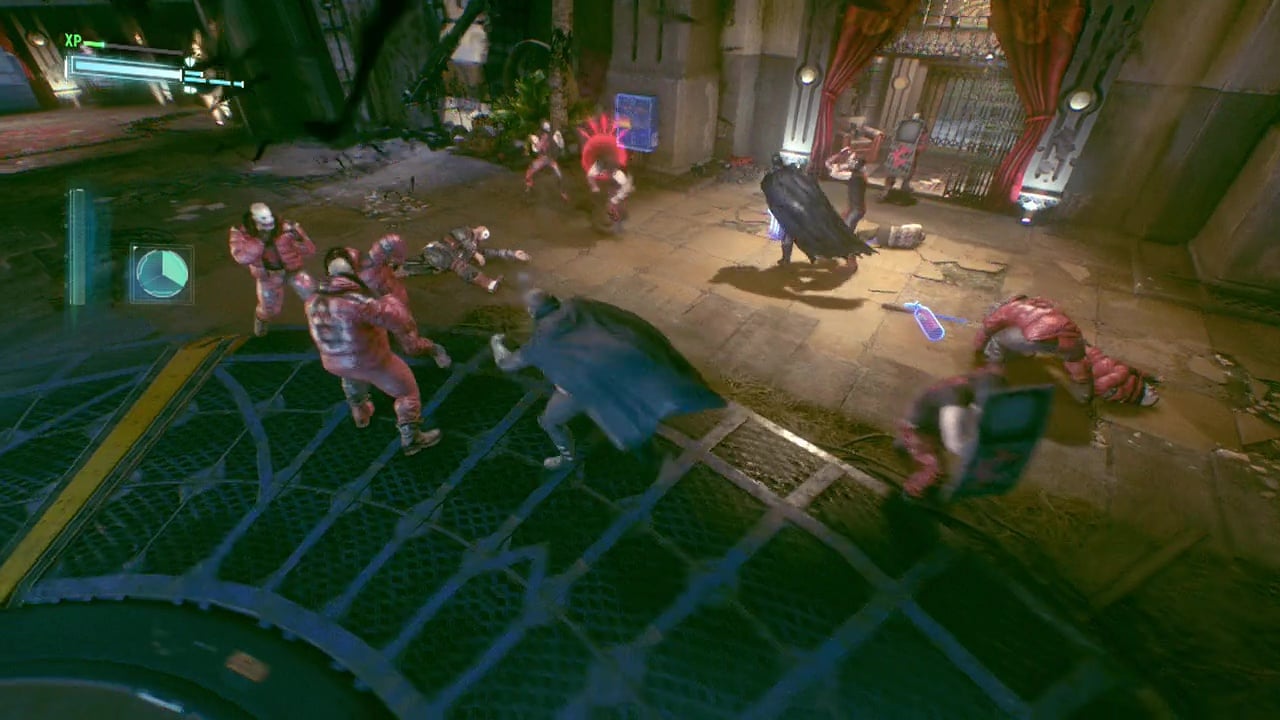
Use your voice synthesiser to open the voice lock next to the metal bars to waltz into a punch up with 14 unarmed goons. The good news is that Robin will be on hand to help you out with team takedowns. Remember the technique against shields, as one of the enemies here will have one. Dance and flip your way through the enemies as the dynamic duo to bring the thugs sudden sweet oblivion.
After the fight is over, you'll interrogate one of Harley's men to no avail. Watch the scene play out afterwards to see just how bad things have gotten. The Joker infected have spread themselves throughout the building, each one taking a corner of the area.
Main Objective: Return the escaped Joker infected to their cells
Objective: Apprehend Christina Bell in sound stage B
Take the only other hallway (besides the one leading to the elevator) and you'll arrive at the path split. The door to sound stage B lies open to you, so take the invitation and head inside. After making your dramatic entrance on a group of Harley's thugs, proceed to beat down the small group. With both you and Robin there, the fight should be over in a matter of seconds. As always, take advantage of your team takedowns when possible.
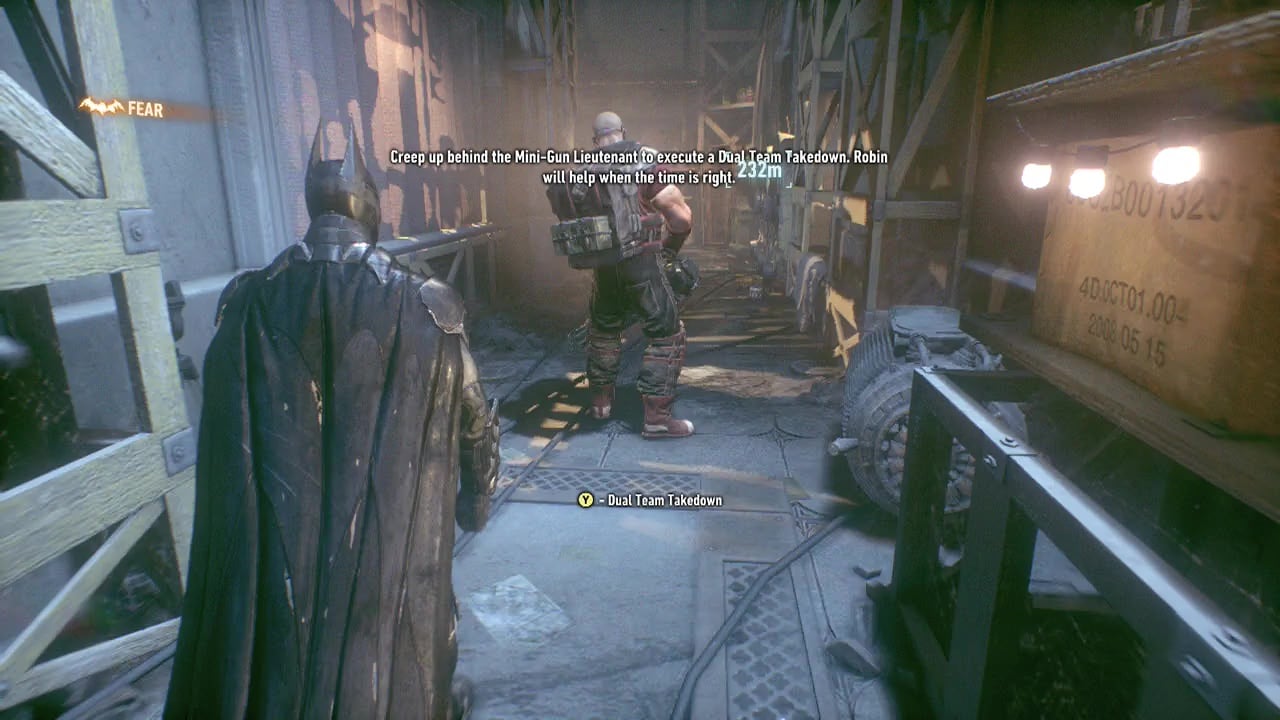
As you pass through the next doorway, you may notice a gargoyle statue on the wall above. It's a not so subtle hint as you round the next corner. Grapple up to the gargoyle when you can and then grapple up the hallway to drop down behind the mini-gunner. Walk up behind him and tap him on the shoulder with the Y/ Triangle button to initiate a team takedown. Ouch, that's gotta hurt.
Walk through the green door ahead to see what lies before you. Yup, you'll be faced with another couple of mini-gunners and around eight armed Harley thugs. The area isn't really suited for takedowns from above, instead you might want to use the grates in the lower areas or your voice synthesizer to lure lone guards away before doing unspeakable things to them. During this section, you can also call in Robin three times (shown by the bat symbols under your health bar) to perform takedowns. Dual takedowns don't count towards this, so use them when you can.
There are also walls on the lower area you can rig with explosive gel to lure thugs towards or several other ways you can thin their numbers. Once the inital group of enemies is taken care of, four more will burst out of the doorway nearby (two armed thugs and two mini-gunners). Repeat your earlier tactics on these guys, making sure to use up any remaining takedowns you have as they won't be of use after this.
Once the coast is clear, stroll up the stairs the goons arrived from and ready the counter button. When you burst through the door, Bell will try to tear Robin's face off with her nails. Immediately counter her nails to avoid taking substantial damage. Well, I'm sure Robin will remember that for some time. Now that the first Joker infected is subdued, Robin will grab her and you can start making your way back to the path split from earlier.
Objective: Apprehend Johhny Charisma in sound stage C
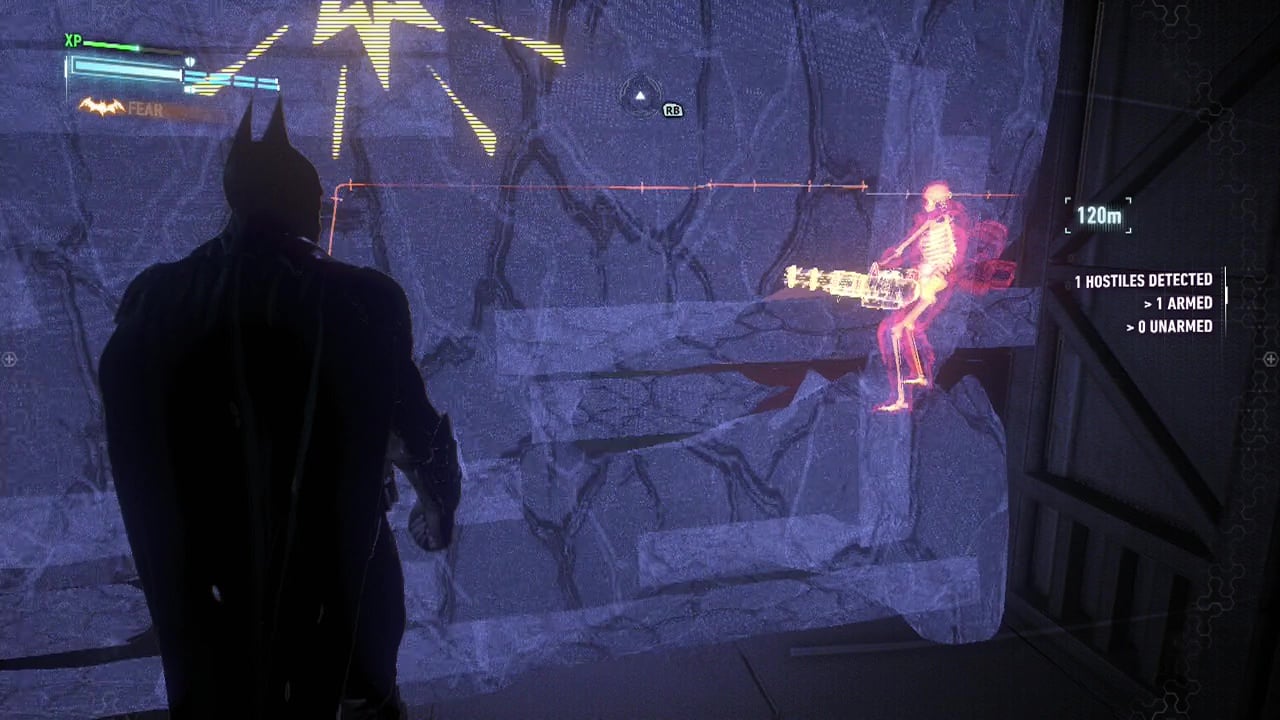
Walk into the slightly mouldy looking hallway leading to sound stage C and round the corner, to find another mini-gunner waiting to unload on you. Quickly drop a smoke pellet (Y/ Triangle) and retreat to safety. Look overhead to spot a vent leading above the metal gate and into a side room next to the mini-gunner. Drop down and spray explosive gel on the wall before climbing back into the vent. From here you can use the voice synthesiser to order the mini-gunner to investigate the wall to a large explosion and general amusement.
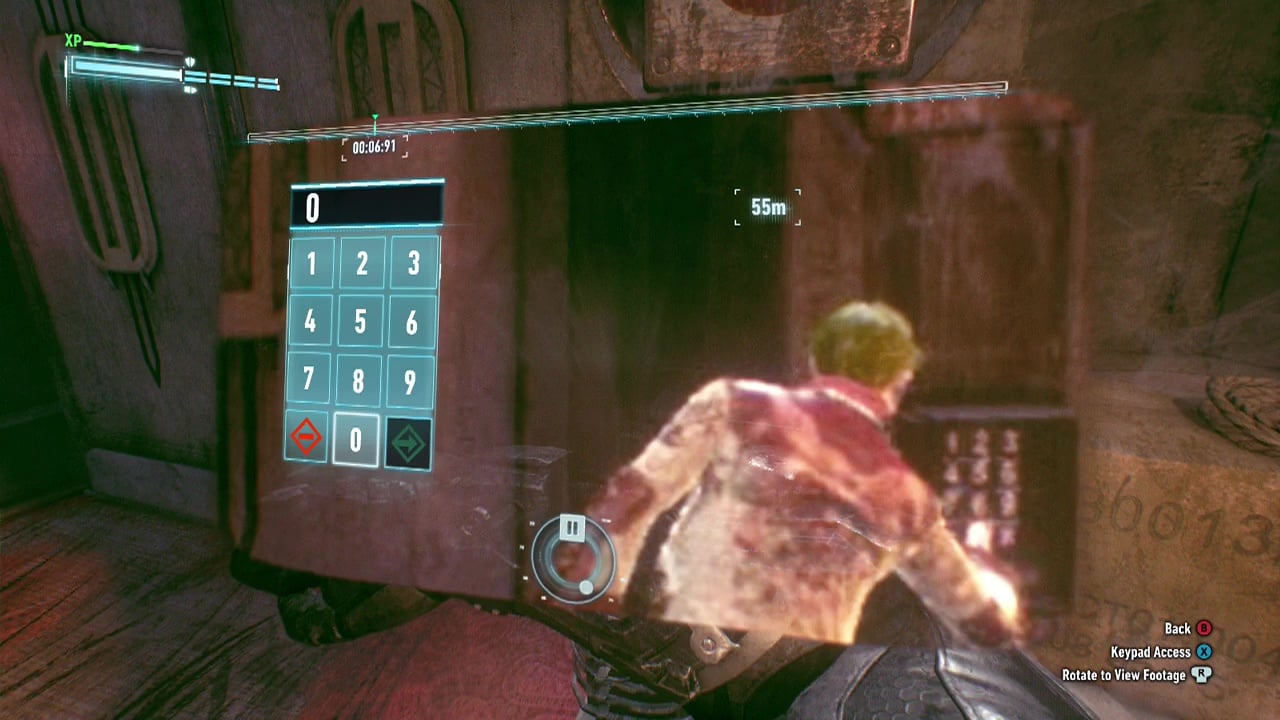
Press the switch on the wall nearby and walk into the next room to find a lone person tied to a wheelchair. Walk to the front of the person and 'rescue' them to trigger a scene… or a memory. Once everything has returned to what qualifies as normal, leave the room and follow the next hallway to find a keypad stopping your progress.
After a brief exchange with Henry, you'll obtain the camera footage showing Johnny opening the door earlier. He covers the keypad, however after some reflection you should figure it out. Yeah, use the mirror on the right to spot the code. 0-5-3-9.
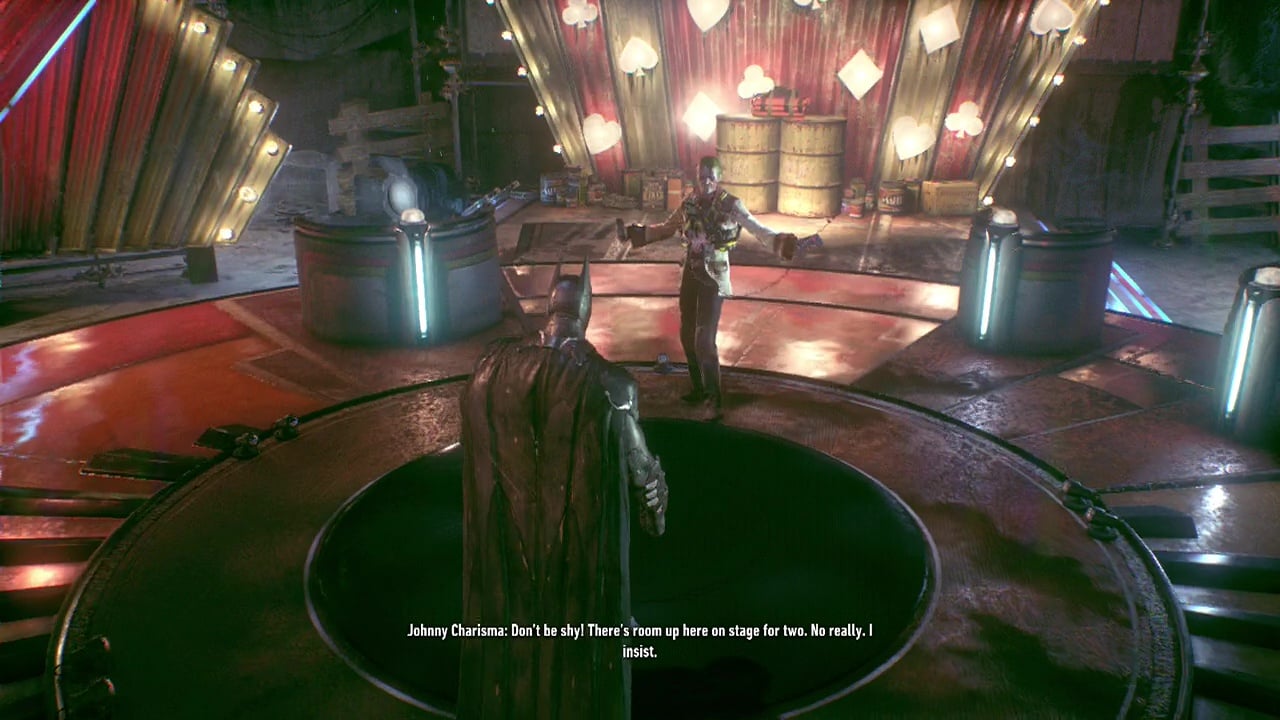
Trundle into the room to come face to bomb-vest with Johnny. Walk towards the stage and step on to the large painted X in front of him. Once you're in place, Johhny will start his act and you'll have to just stand there. A little bit into it, the camera will zoom in as Robin appears from a vent in the corner of the room. You'll now be in control of Robin.
Move from cover to cover, holding down A/ X to disarm the bombs when you can. You will need to time your movements carefully so that Johhny is facing away from you when you are out in the open or else kaboom! The middle one is the hardest to disarm safely, so you will need to time it pretty damn well to succeed.
Once the final bomb is defused, you will need to run up one of the sets of stairs behind Johnny when he isn't looking and initiate a takedown. Wow, that would have been hard to just stand there and watch.
Objective: Apprehend Albert King in sound stage A
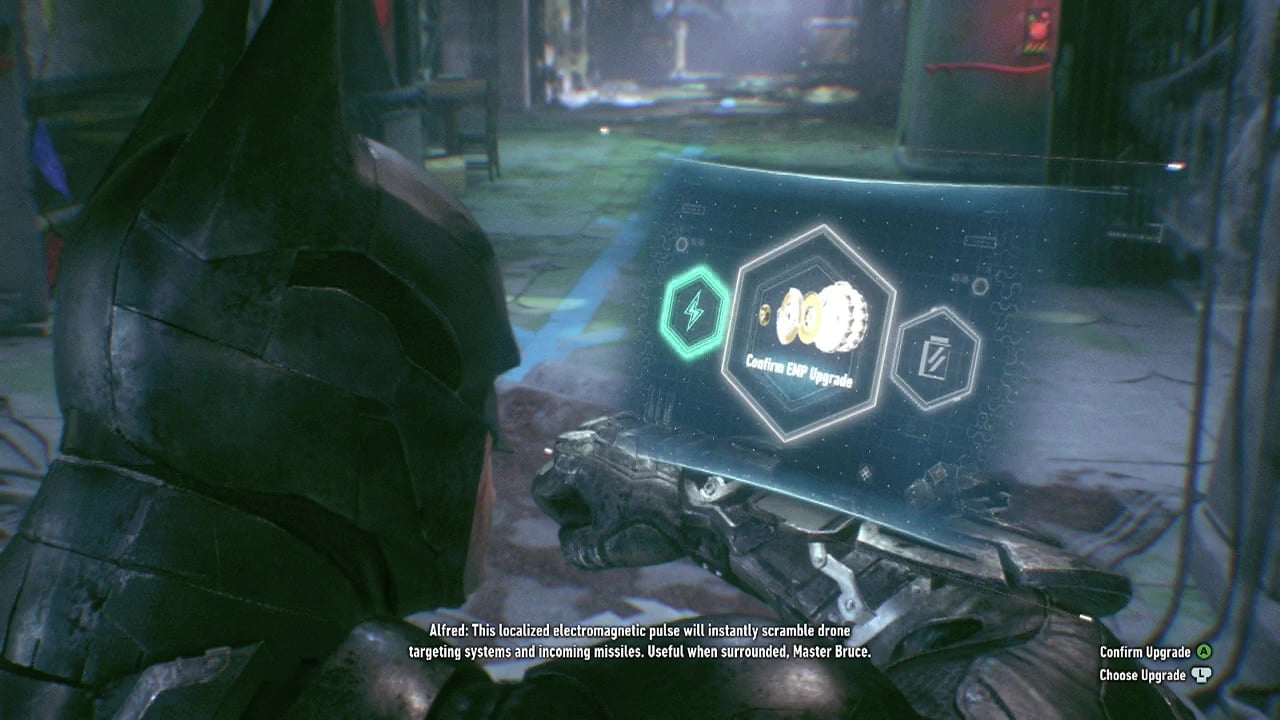
And it's back to the path split once again. You'll have a quick chat with Alfred along the way and get the choice between another set of Batmobile upgrades (Emp and Weapon Generator). Select the one you prefer and continue backtracking.
When you arrive at the entry to the path leading to sound stage A, you'll find that Harley's goons have kept the metal door shut. Genius level idea for these guys. Despite their caution, you can get past fairly easily by concealing yourself in the vent and using the sound synthesiser to order one of the goons to open the gate.
Once the gate is open, you can pop up out of the grille like a Batman outta hell and bring the smackdown to the small group. One of them will have a shield, so you'll need to use the aerial combo once again. Press the wall switch to open the gate into the next room with a curtain draped over something in the center of it. Queue then next memory sequence folks.
After the sequence ends you are rejoined by Robin, go through the door to walk right into the middle of Albert King's ring. Before beginning the fight, keep these things in mind:
- Albert King can only be damaged by dual team takedowns
- The goons in this fight are immortal until King is defeated. They are only there to charge your combo meter, allowing you to use dual team takedowns.
- When King's health drops down to about a third, strike (X/ Square) button prompts will begin to appear after triggering the tag team attack. When they do you can continue to attack and counter King's attacks to drop his health further, eventually taking him out.
- Use dodges (LT + A/ X) to avoid King while beating up his minions until you charge up your tag team takedown. He does pack a punch.
Once you've managed to bring down the giant, finish off his extremely tenderized goons to capture the last of the escaped infected. A quick call from Henry will get you on the move once more as Harley is knocking at the door.
Run back towards the path split to find another group of Harley's thugs behind a metal gate. Repeat what you did last time (hide in grate, voice synthesiser) to find that Harley has learned from your little tricks. However, she is still volatile enough to be goaded into opening it by Robin. Watch the scene play out between the pair, positioning yourself under the diamond grille immediately behind Robin. When Harley circles around behind him initate a takedown when the prompt appears to instantly knock her out. Looks like those acting classes have paid off for both of you.
Despite the loss of their leader, the thugs will still decide to get in your way. Take out any remaining frustrations you have out on the final group of goons. Counters, team takedowns, yada yada… After the fight carry Harley back into the quarantine are for a long scene. When you regain control, follow Robin's instructions and watch yet another memory play out. Afterwards, you'll have suddenly jumped back in time a few minutes. When the counter prompt appears over Robin, trigger it.
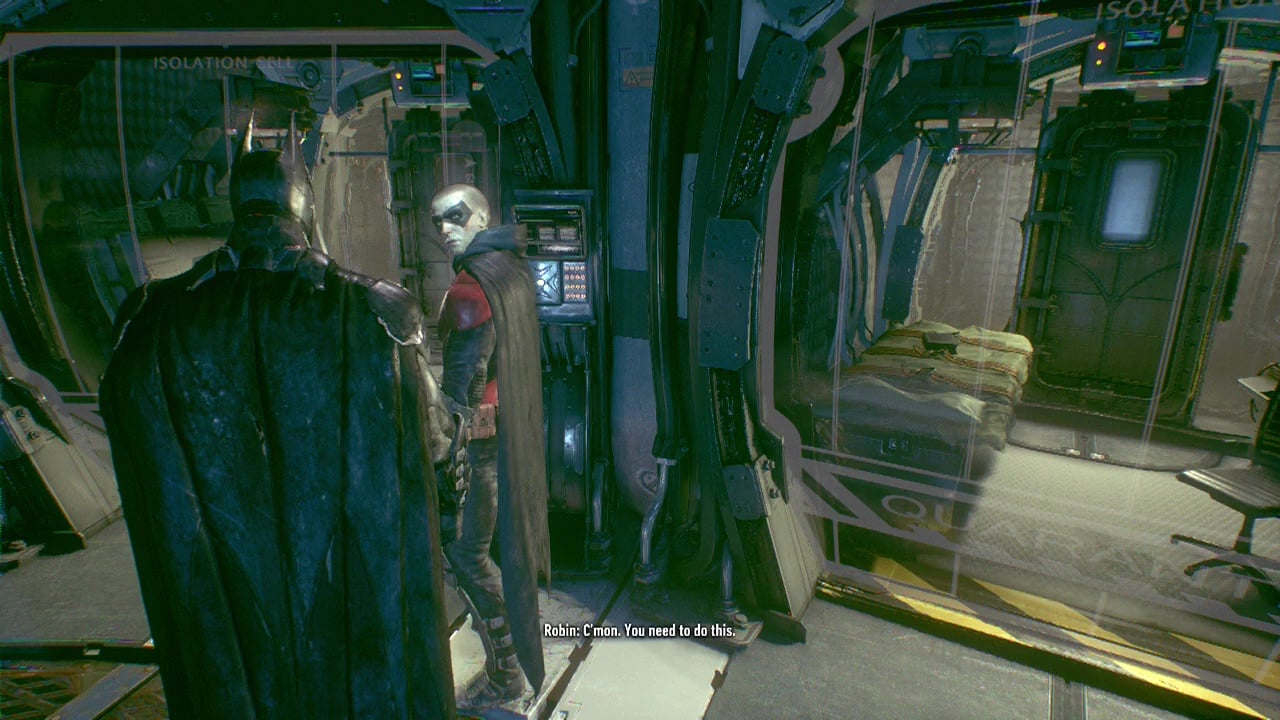
Once that's over, you can choose to tell Robin something important that's been on your chest for a while if you wish. Leave via the elevator and walk out onto the roof to end the mission. Looks like things have gone from bad to worse.