MISSION 01 – Black Ops
After dealing with all the customization and team creation/ difficulty selection rigmarole, you will finally be able to hit 'Start game' to begin. A lovely little scene will play out filling you in on a bit of the recent history of this world that is slightly futuristic compared to our present one. The comments about robotics and bio augmentation may make you think you are about to be dropped into the game as the Terminator, but alas it's not so. You're just a 100% regular unmodified human Black Ops specialist operative in the middle of a rescue mission revolving around an Egyptian minister. Damn.
As the future history reel ends, you'll be watching your new CO Hendricks pacing in front of you diverting airway traffic. After the landing is over, you'll gain control of your character. In your hands is an MR6 pistol which is surprisingly accurate and can fire as fast as you can pull the trigger/ press the button. Your main weapon is a kuda SMG with a scope, high fire rate and fairly accurate if you use burst fire. You'll also have a pair of flash-bangs and two frag grenades for your personal enjoyment (and for enemies personal dismemberment). Step up to the door in front of you and pop four rounds in the dazed group of four guards standing in the hallway just outside.

CHECKPOINT
Descend the stairs next to the now still guards and the room will shake with random debris falling from the ceiling. At the bottom of the stairs take an immediate left to find an NCR Comms Earpiece on a desk nearby. Keep moving past the desk to find another set of stairs leading further downwards to the tower's ground floor. Wait next to the door as Hendricks gives his speel about blending in and then opens the door to the outside world. Follow Hendricks as he jogs past the flaming airplane wreckage and people running about in panic. You'll clatter down a set of stairs after him, turning left towards a security checkpoint.
CHECKPOINT
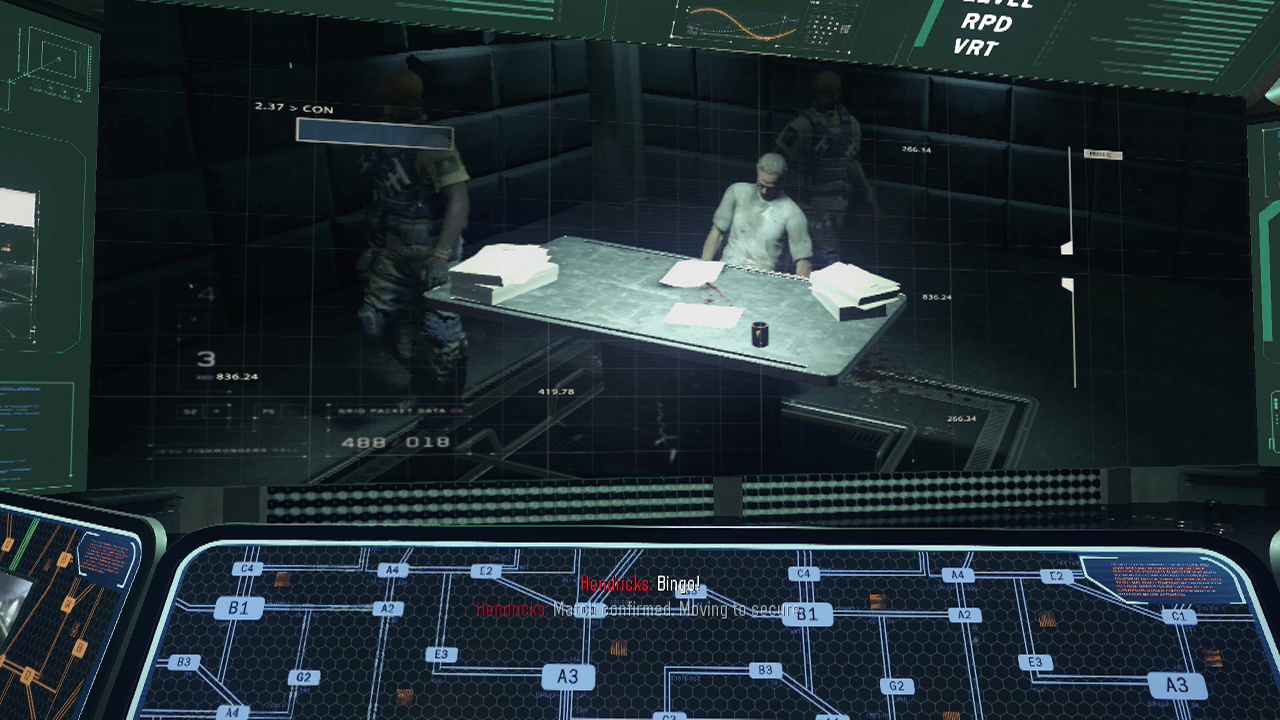
Approach the checkpoint and watch Hendricks do his thing on the guard inside, afterwards he'll beckon you through a nearby door as you continue moving along the walkways deeper into the base. After passing through a pair of doors, you'll cross a small bridge and reach the doors to the security station. When the door slides open, Hendricks will take down both guards inside in a split second and head inside. After a few lines of dialogue, you'll be tasked with using the camera system to locate the missing minister. Basically just keep pressing A/ X until your character points the minister out. When they move him out of his initial room, keep pressing A/ X until you see the room they move him to, finishing up your little camera wrangling exercise. Leave the console, turn around look at the bottom corner of the window behind you to find a Dud RPG. Afterwards trail after Hendricks to the other door in the room.
CHECKPOINT
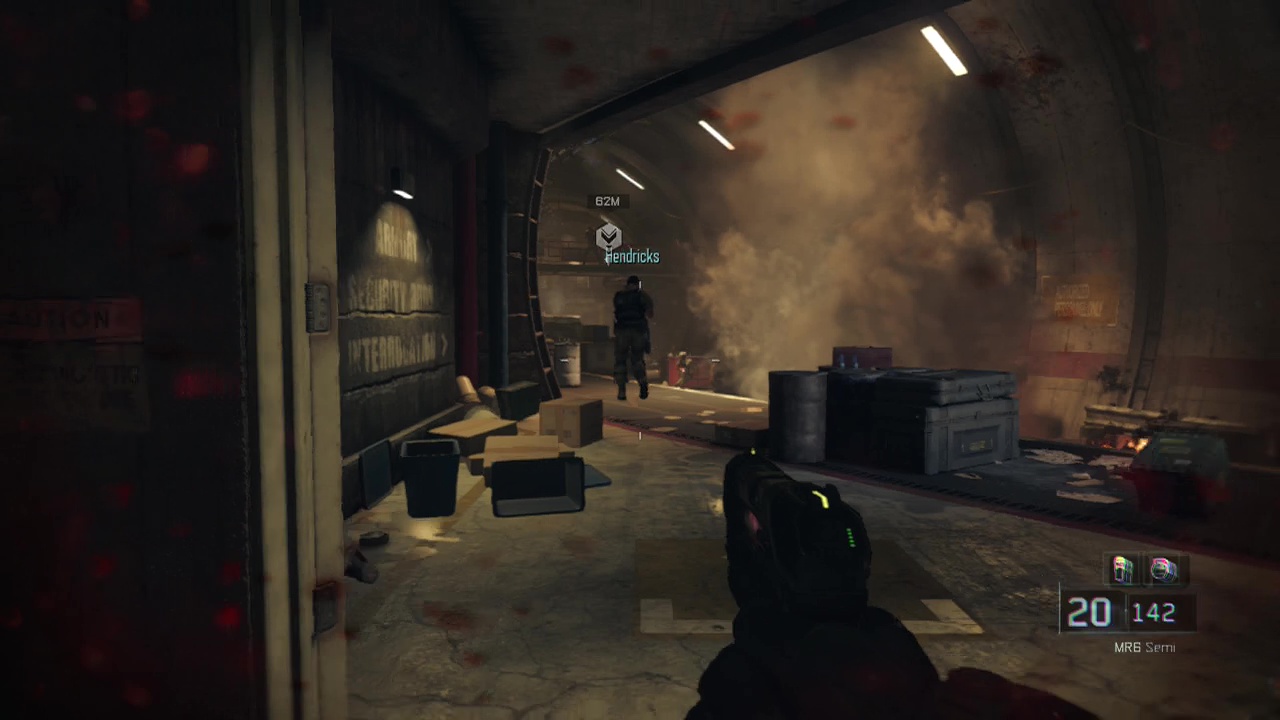
When the door opens, you'll enter the first real combat zone of the game (those dazed enemies from before don't count). Make sure you are comfortable with aiming your weapon and strafing from side to side before you move down the stairs as those on higher difficulties can be shocked by the rapid damage even the first enemies can do if you aren't cautious. Make sure you advance down the stairs slowly as the initial enemies are using shotguns. Too close equals much pain. When you are about halfway down the stairs, a guard will race in from the left side of the room below firing a shotgun at you. Stand on the stairs or back up as you fill him full of lead (hopefully you can see him through the dust clouds in the room). A second guard with a shotgun will be a little further behind the first one's position, firing at you as you get to the bottom of the stairs, return the favour with interest.
Stick to the left wall for cover as you move up as an enemy with an assault rifle will open fire as you get close to the door leading out of this small room. He gets his just desserts seconds later however as Hendricks lobs a grenade into the middle of a fuel pile next to the enemy, setting him on fire. Take note of this trick as you can do the same by shooting glowing red crates to make them explode, dealing damage to or killing nearby enemies. After the explosion, stick to the door and start unloading into the enemies that run along the sunken road in the middle of the large tunnel. You should be relatively safe in this position, allowing you to pick off the enemies hiding behind boxes further down the tunnel when they poke their heads out.
Also keep an eye out for enemies on a bridge over the road at the far end of the tunnel from where you are. You'll want to clear these guys out before moving up after Hendricks as their high position can allow them to shot at an angle over cover sometimes. When you can't see any more enemies from the doorway, move up to the large crate behind and to the right of Hendricks. Pick off any enemies you can see between the truck and the crates next to it before you move up past Hendricks to the large stack of boxes to his right. Be careful moving forward from here too quickly as another group of guards will rush out further along the tunnel and open fire.
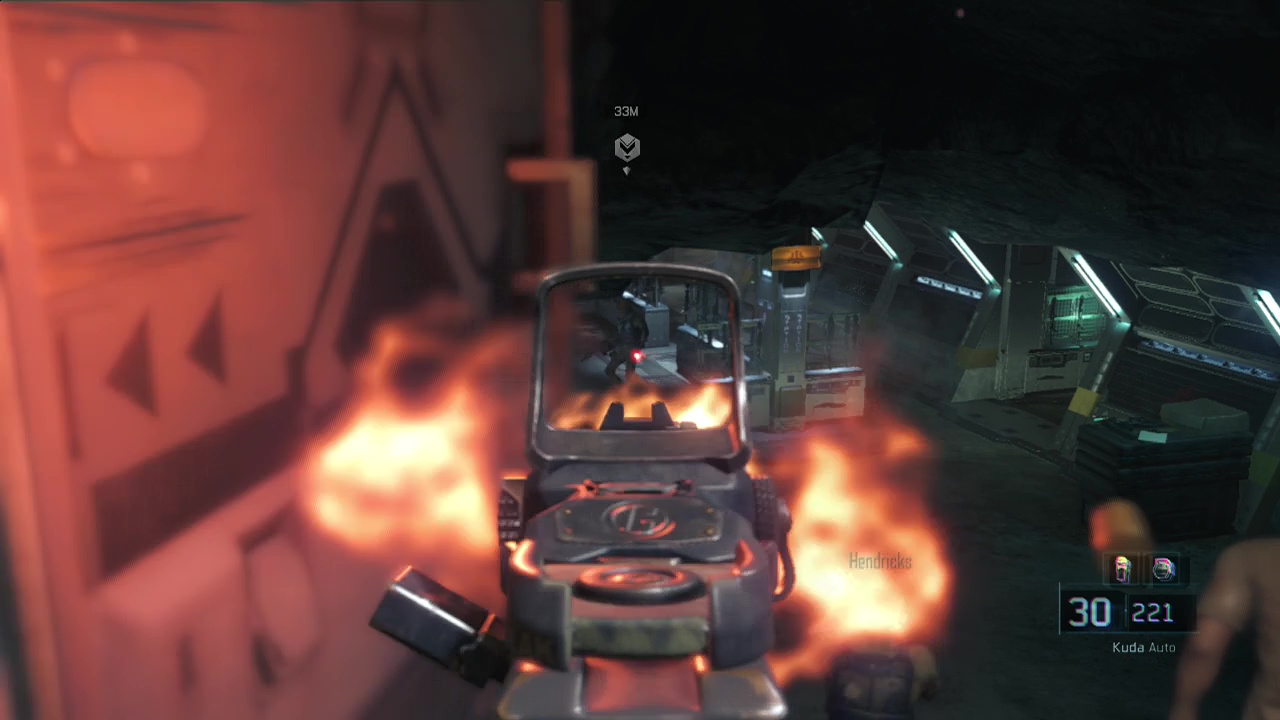
Move up and use the van against the left side of the sunken road as cover while you peek out and shoot any exposed targets (or the explosive crates nearby). Hendricks should move up to a the back of a forklift to the right in front of you as the firefight continues. When everything is quiet, carefully move forward to join Hendricks to push him forward while you clear out anything that still moves in the area ahead. When the coast is clear, walk over to the left hand side of the tunnel and up the stairs to the bridge over the road. Turning right at the top of the stairs, follow Hendricks through the door leading to the cell blocks.

CHECKPOINT
You'll see a breach icon appear on your screen as you enter the next room. Walk over to the marked door and interact with it to clear the path. You'll walk into an observation room behind a two way mirror, while an interrogator and three guards are in the next room with the minister. Before you do anything else, you can pick up the Egyptian Army Cap from the shelves beside the entry door against the wall. Hendricks will prepare to breach the interrogation room door after a few seconds. So line up one of the guards in the room and open fire when Hendricks bursts in. Drop down through the broken glass of the mirror when the one sided fight is over as Hendricks and the minister start to leave. Looks like you've got to pick up someone else before you can get the minister out of here. Hendricks doesn't seem very happy with the idea, does he?
Luckily the person you need to find is inside the next room on the right as you leave the interrogation room. Convenient. Breach the door when the prompt appears and watch Hendricks release the man inside (Khalil). As you prepare to leave the room, sirens will start blaring and red lights will start flashing. Looks like things have suddenly become complicated. The rest of the group will move down the corridor to a new doorway. Stay in cover on the side of this doorway as Hendricks and company rush down the stairs into the killzone below.
CHECKPOINT
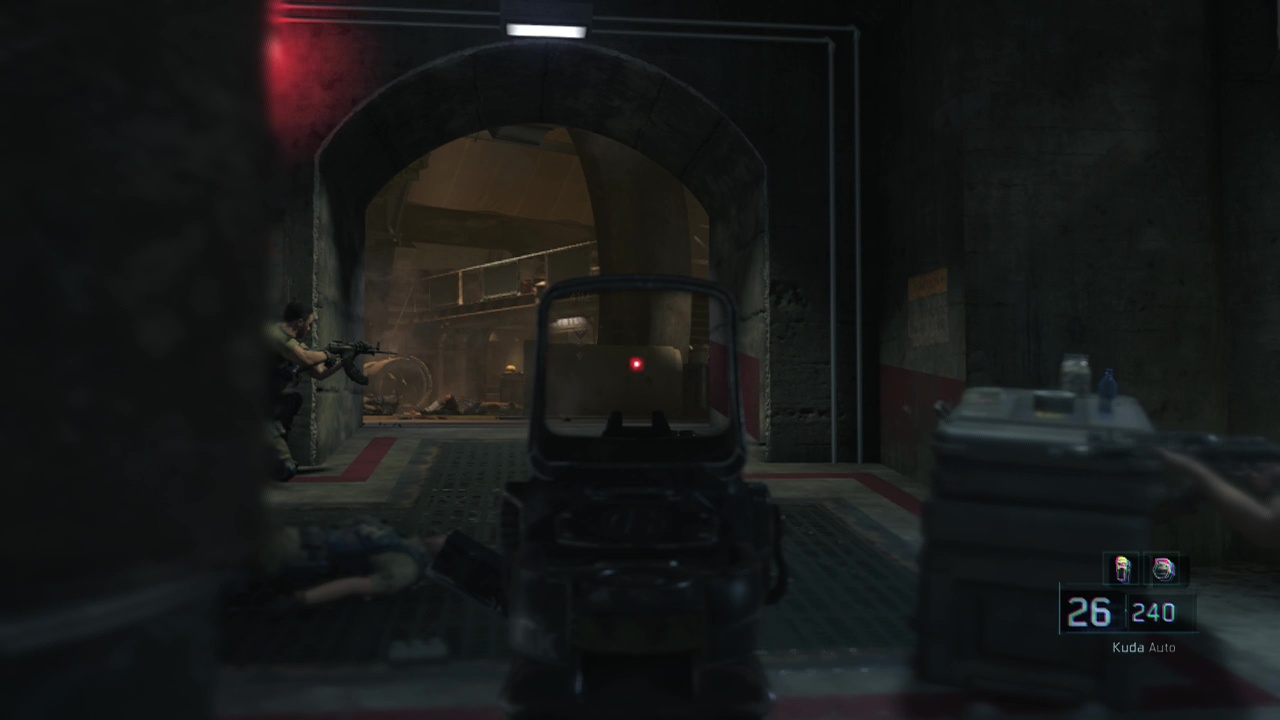
Enemy forces will be moving between cover in the area below your position, use you safe cover spot to get rid of any advancing enemies you see. When you think it's safe enough to move into the room, follow the trail Hendricks took, descend the stairs but instead at the bottom run left to take position behind a large storage crate. This will give you a decent line of sight down the left corridor (the rest of the squad will keep those to the right pretty busy).
Depending on your paranoia/ difficulty level, you'll either want to pop up, peek out the right edge or lay prone edging out only far enough to fire. When you are ready to move up, you can either race for the next low barrier on the left in front of you or hug the benches on the right hand side. You'll see two archways in the wall ahead, when you get close to the pillar near it (where Hendricks most likely is), enemies will show up in the next room. Two will race onto the bridge in the next room while another will advance on ground level.
CHECKPOINT
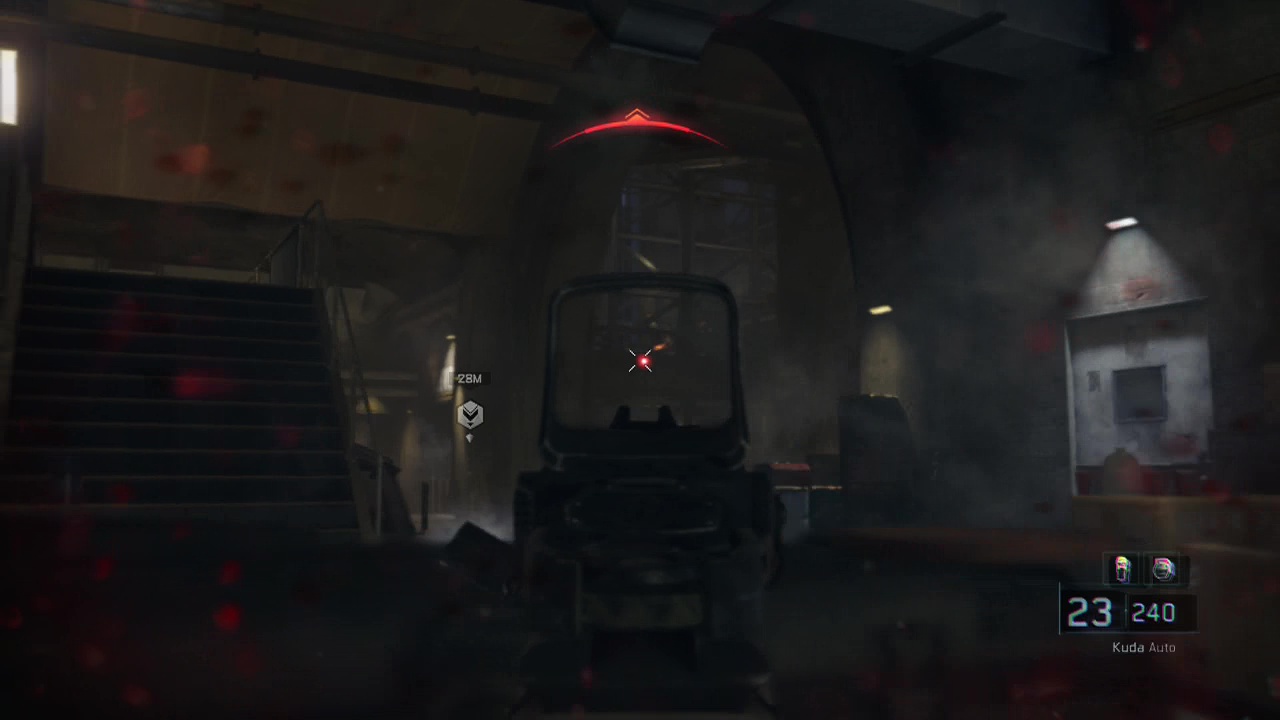
If you are on a higher difficulty, you may want to retreat back to your previous position and start shooting through the arches from there as it is a bit safer. You can also use the pillar Hendricks was using for cover (just be careful of any lobbed grenades). After taking out the initial three enemies, a shotgunner will appear where the previous ground level enemy was and will start moving forward. Once that group are gone, you need to carefully start to clear out the enemies behind cover on the right side of the large room. Stick to your pillar position as more enemies appear on the bridge and from cover on the right. After taking out about eight to ten, you can make a dash for the cover closest to the arches, just be prepped for a sudden appearance as a lone shotgunner likes to hide behind the closest crates near the right wall of the room.
A few seconds after you take cover on the right side of the room, an elevator on the opposite wall will start coming down with a group of four or five enemies on it. Start thinning their numbers before they have a chance to disembark and spread out. More enemies will start emerging from the same side of the room as the elevator, so gun them down from your superior position. When the room is clear, stroll on to the elevator you just cleaned out and start your ascent to above ground once again.
CHECKPOINT
After the show at the top ends, you'll meet Taylor (a cybernetically enhanced soldier) and his team of fellow 'enhanced' fighters. An icon will show up if you look around here, showing a nearby resupply crate. Refilling ammo as you progress is crucial to keeping your magazines stocked for each confrontation. Remember that by default in this game you cannot pick up enemy weapons, so you can't just say "screw it, I'll just grab an AK if I run out." Make sure to top up in each new area, or failing that buy the cybernetic core upgrade that allows you to pick up enemy weapons later. When you are good to go, follow Diaz as he runs through a door in the wall to the left out into a big open area.
CHECKPOINT
After gunning down some enemies just outside, Diaz will run towards a large hangar nearby. You'll see the team split here, with some going upstairs through a window, while others just enter the door. On higher difficulties, taking the upper path and following Diaz's advice is a guaranteed trip to pain city, so take the less impressive but safer path below. From the hangar doorway, you can scope the interior out or move directly ahead behind the large mix of crates and supplies acting as good cover.

Most of the enemies in here are on the right hand side, so you should be able to move from cover to cover along the trail of crates and other barriers that sit in a half circle on the right side. Just be wary of enemies weaving through the planes in the hangar, trying to flank your position. There is an ammo box in the middle of the hangar for you to grab before moving forward through the doors on the far side. As you emerge from the first hangar, you'll see another member of Taylor's squad jumping over the barrier to your right. Gunfire will be coming out of the second hangar doors right in front of you so move to the side to avoid becoming a pincushion.
CHECKPOINT
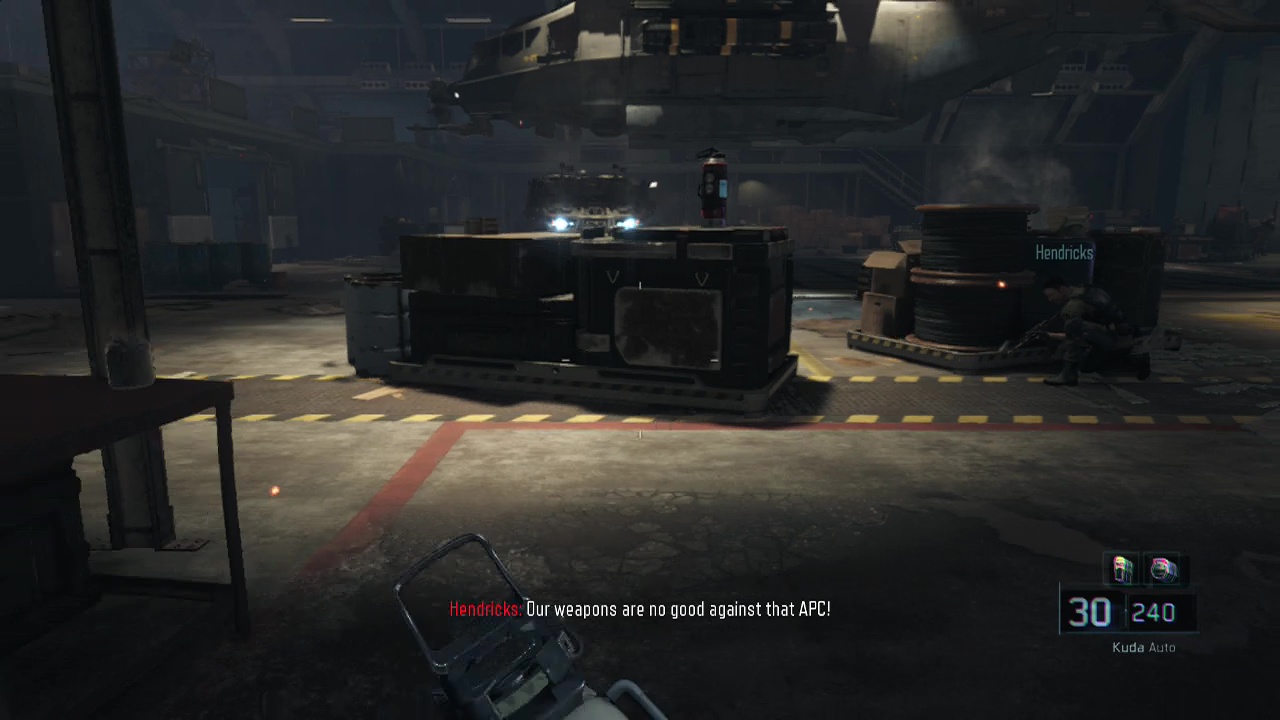
You'll see as you get closer to the second hangar that the bullets are coming from an APC inside. While you can't take on the APC directly, you can fire at the missiles on the side of the VTOL above it, destroying the VTOL and bringing it down on the APC. Two birds, one explosion. When the APC is destroyed, enemies will appear on the balcony to the left from the hangar doors. Get rid of any you spot and then move with the rest of the squad along the barriers leading around the right side of the hangar. Difficult to see enemies will likely begin shooting through the flames and smoke left by the burning VTOL, however you are better off moving up past the smoke so you can see where to aim.
Another ammo box will be sitting in the middle of the hangar for you to pick up as you go. If you are having problems clearing the enemies on the far side, don't forget your supply of grenades. They can be a big help here. As you get halfway across the hangar enemies will show up behind the glass windows above the far door (opposite the one you came in by). Start gunning them down immediately as their higher position can make life difficult otherwise. Before leaving this hangar, head back to the doorway where you came in and check inside the storage room on the left in the darkest back corner you'll find a Replica Nano Drone. When the hangar is finally clear, slow down and take cover as you approach Hendricks and the rest as when you get close, the door they are standing next to will fly open and a shotgunner will open fire through it (quickly taken down, but you the shotgun blasts before this can be dangerous).
CHECKPOINT
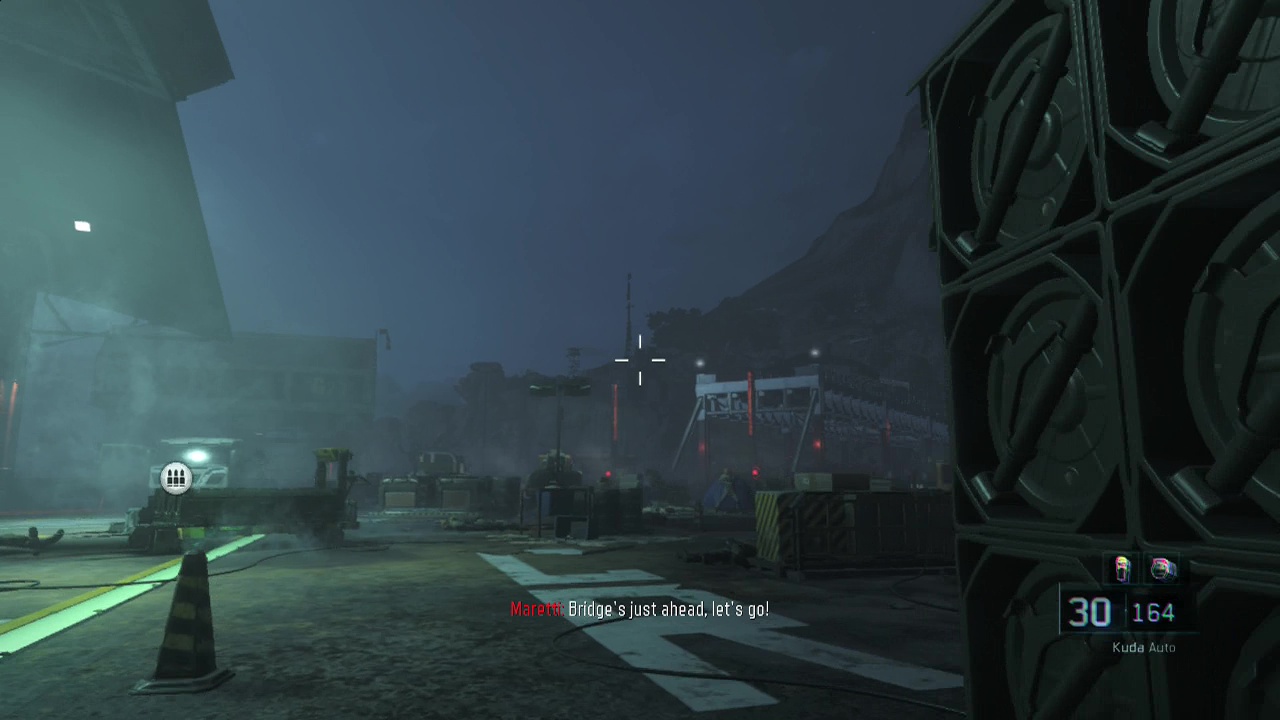
Duck down as you walk through the hangar doors and take cover behind the barrier to your right. A technical will be at the end of this open space firing towards your position. Luckily if you wait a few seconds, Hall will take it out for you. When she has taken it and the surrounding enemies out, move up to the destroyed technical. More enemy forces will be surging across the bridges to the left. Take cover behind one of the nearby crate stacks and start popping heads. Two technicals will roll in near the bridge, opening fire when they do. You don't have to take these out, just keep dealing with the troops around them. When enough of the enemy forces are dead, the team will blow the bridge (destroying the technicals) and make a break for the secondary exfil location. Grab some ammo from the ground nearby and then follow the squad towards the nearby building.
CHECKPOINT
Ascend the large staircase and one of Taylor's team will kill the power, and the lights along with it. After a few seconds, you will get temporary heat/ night vision allowing you to start blasting the blinded enemies in the comms room below. You can also run in and just melee the blind suckers if you want to as well. When all the enemies in the room are dead, the lights will come back on and your vistion will return to normal. Continue through the comms room and into the room covered in glass windows beyond. A VTOL will be hovering outside, but will shortly be dealt with by someone else. Hide in cover until the VTOL is disposed off and then exit the building through the nearby door. Take cover as soon as you get outside, as more enemies will begin running down some stairs ahead to the left. Take apart the five or so guards and then move towards their position using cover as you go.
CHECKPOINT
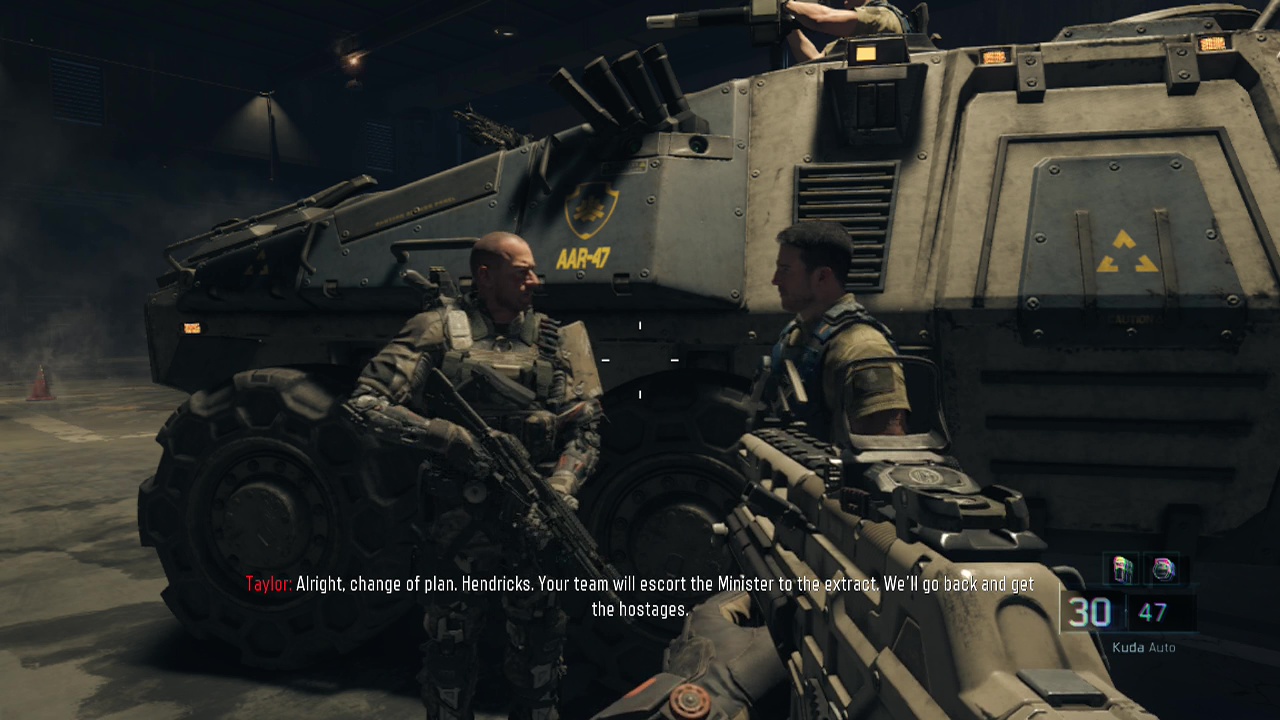
Refill your ammo at the crate at the base of the stairs before leading your squad up them. A small wall with an alley beyond will be what you find at the top. Jump over the wall and immediately take cover behind the barrier of crates on the left hand side of the alley. A red smoke haze will appear at the far end of the alley and then you'll see a line of robots emerge from the smoke, firing repeatedly towards you (a well placed grenade can really screw up their ranks here). Their shots are quite damaging, so make sure to stay in cover to deal with the initial wave. The rest of your team will work on opening a door in the building on the right side of the alley, which should open up after the first wave of robots are defeated. As soon as the calls of "Inside. Go, go, go" ring out, race across the gap and through the now open door. Check the back of this large vehicle bay for a V-TOL Panel. A quick conversation between Taylor and Hendricks will play out here before you can enter the gunner's seat of the APC everyone else has clambered into.
CHECKPOINT
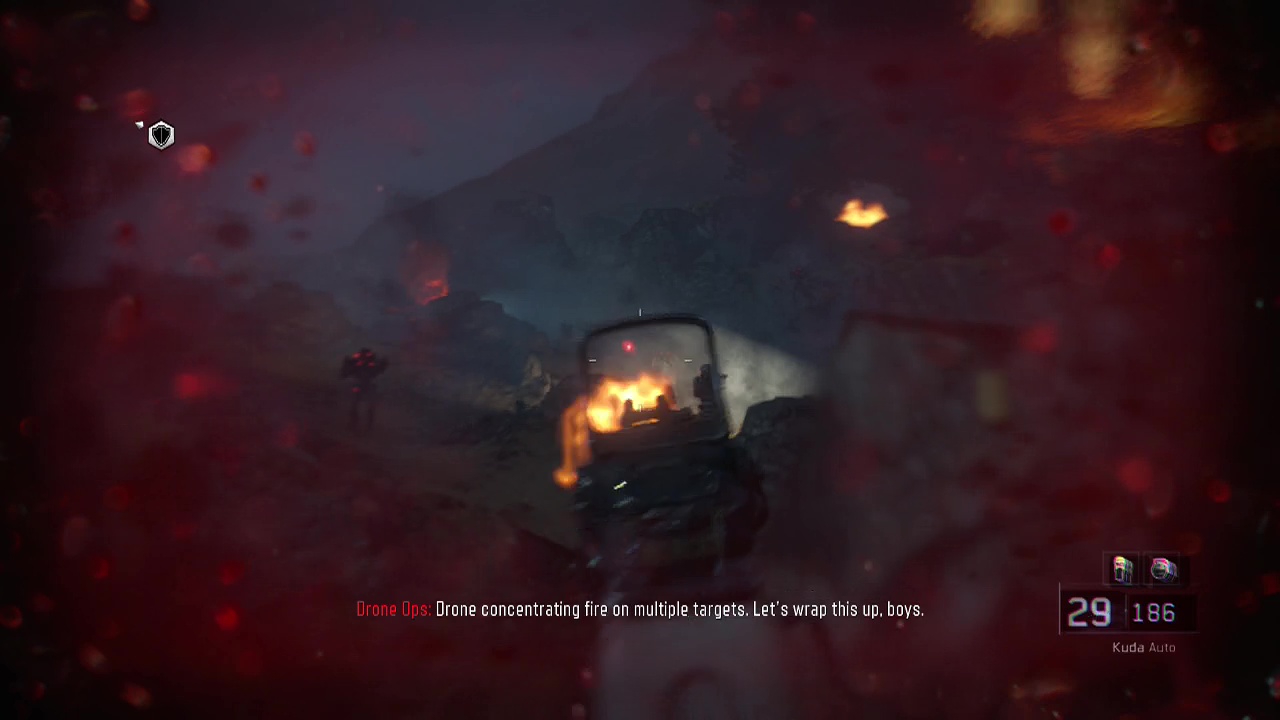
This is nothing like the turret section in Black Ops one on veteran. Basically just keep firing at anything you see shooting or moving as you race outside. There are only really two things to keep in mind here: Don't let the turret overheat and concentrate your fire on vehicles first as they have the most damage potential. Seriously, even on veteran difficulty this is pretty easy. When the APC goes off road and tits become upwardly inclined, you'll regain control on the ground near the stricken APC. The exfil pod will fly directly in front of you so start following it towards it's landing area a short distance away.
CHECKPOINT
When you reach the pod, take cover behind one of the large rock formations and focus on taking out any enemies that try to flank your position or that you can shoot without getting filled with too much lead. The objective here is to hold out until the minister has been safely locked in the pod, then you can rush to the door to trigger some scenes and the end of the first mission. Anyone else feel like that was kinda a cut and paste of CoD: Advanced Warfare's first level? Look forward to new superpowers in the next level everyone!