
MISSION 02 – New World
Note: From this mission onwards, between missions you can customize your loadouts. In game crates will also appear that allow you to swap between loadouts mid-mission. So if you find yourself in a sniper section with only a shotgun or SMG, or in a heavy robot section, you can change things up to give yourself an advantage.
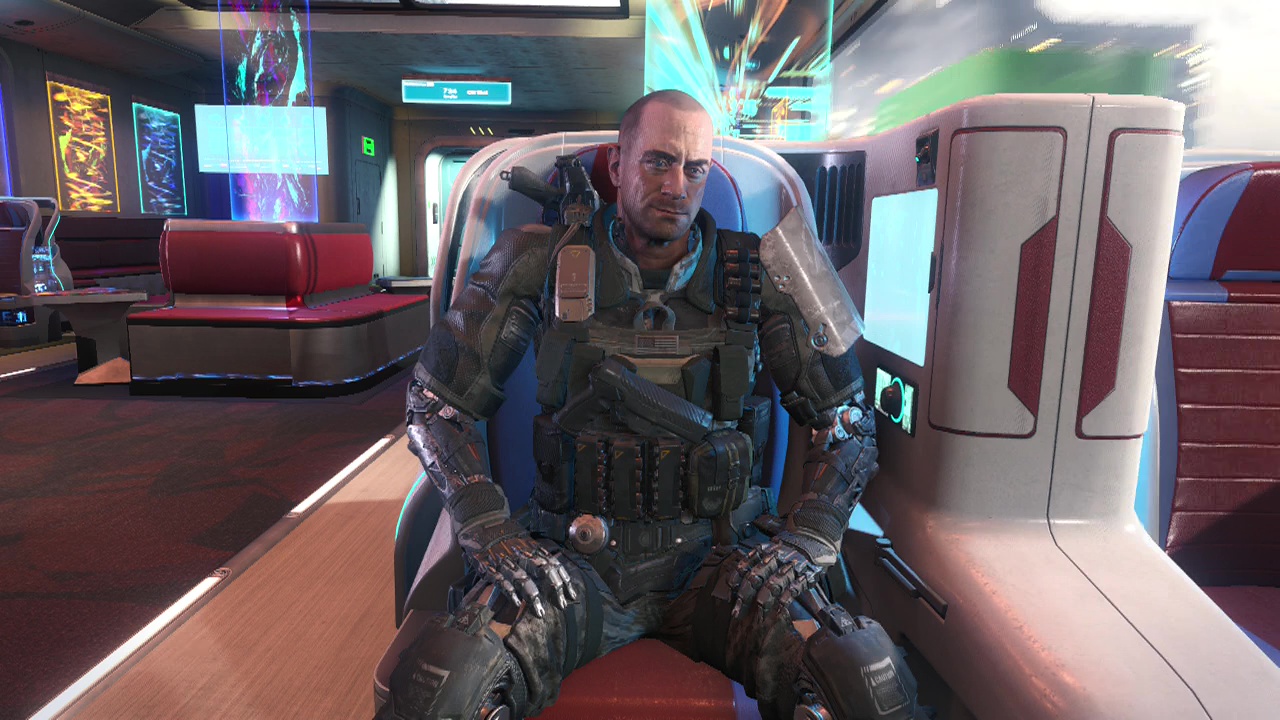
After waking up, Taylor will fill you in on a few details. Looks like you are going to be running through a simulation to get used to your new abilities. Oh, and the phrase: "Train go boom," is going to be said a lot here. When you arrive at the steel mill, you will be handed over to Diaz for the first stage of your training. As soon as you gain control, take cover behind the vehicle next to you that just hit the ground. An enemy will be rushing down some stairs up and to the right of your position while three more fire down from a bridge above that. They have no cover, so you should be able to tear through them quickly.

Further back in the lower area, a couple more enemies are firing from a raised walkway. You can shoot the explosive crates nearby to get rid of them or just shoot them. That should clear the right and middle, now it's time to deal with the enemies in cover inside the building on the left from your position. Keep picking off raised heads as they pop up. You can move to the parked car to the right if you want a better view of the building as well. Move forward to cover, crouching by the crates against the railing. Anothe enemy or two will appear in the building straight ahead when you do as everyone else moves up.
A couple more will also appear from the doorway below you to the right, although your squad members should take care of them. Stay behind cover, shooting at whoever appears. When the area is clear, you can drop down and take the stairs leading upwards. Move cautiously to the top of the stairs, staying alert for any remaining enemies you can see from the top. Diaz will inform you about tactical mode view when you reach the top of the stairs. This view is extremely helpful in spotting moving enemies, but be careful about relying on it solely as distant immobile enemies will not show up and can take you by surprise.
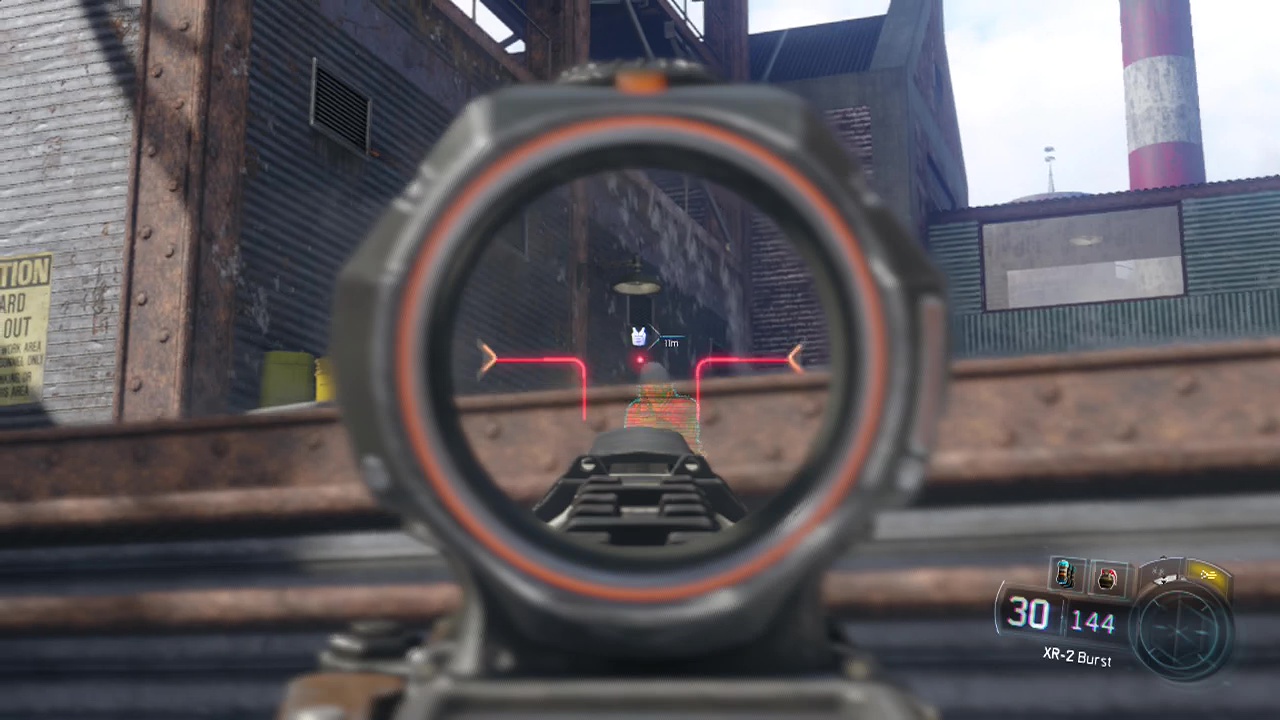
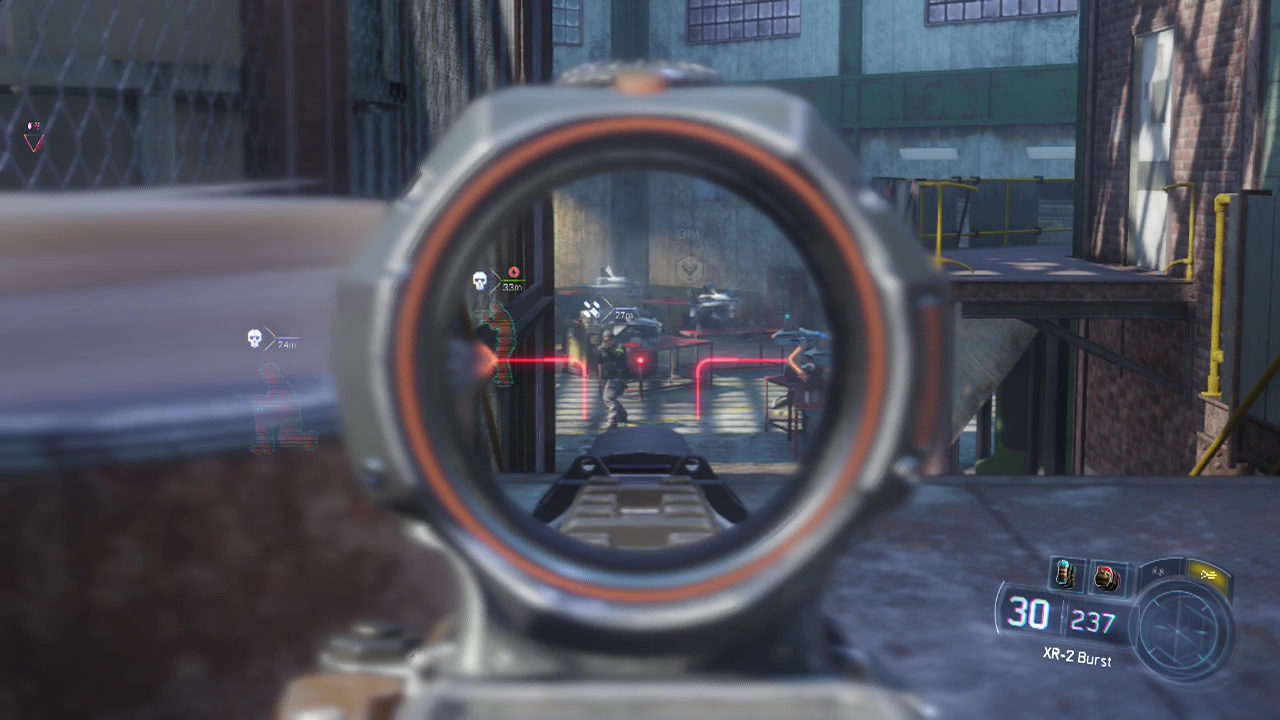
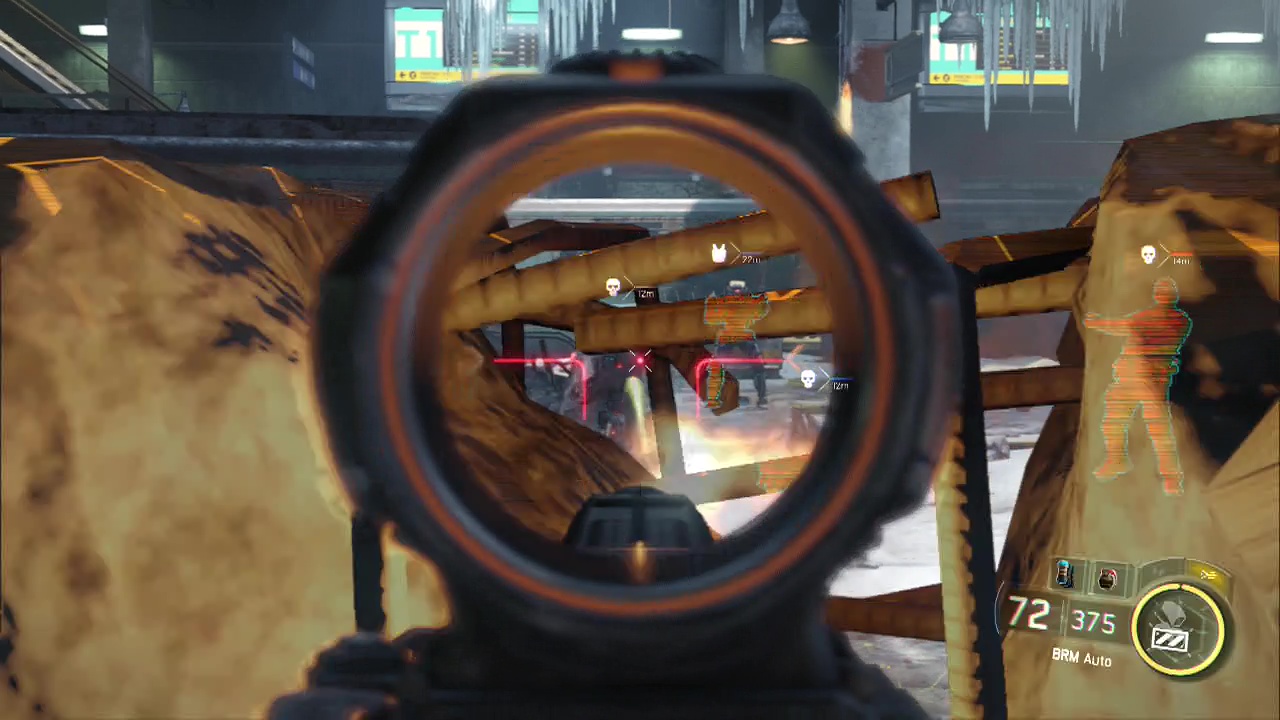
Turn right and pop the head of the now visible enemy waiting for you at just beyond the next set of stairs. Then back down the stairs and turn left to find another set of stairs. This allows you to flank the enemy crouching amongst the crates waiting to blast you (he doesn't show up in your tactical view). When he is down, move up to take cover behind the crates nearby. Your tactical view should allow you to start taking down the enemies ahead quickly, just be wary of the lone enemy in the blue metal overpass above as well as thrown grenades. When the three or four enemies are no more, you can move up to the objective marker.
CHECKPOINT
Here you'll be introduced to wall-running, simply move parallel next to a wall and then hold A/X to initiate the wall-run. Look at the blue line to see where you should move. Remember that after this mission, you will need to purchase and equip the tac skill to use this ability in future. Wall-running can let you find alternate routes that you wouldn't otherwise be able to reach, which can give you the drop on the enemy. If you've played the the multiplayer mode before this, wall-running should be a something you know how to do already.
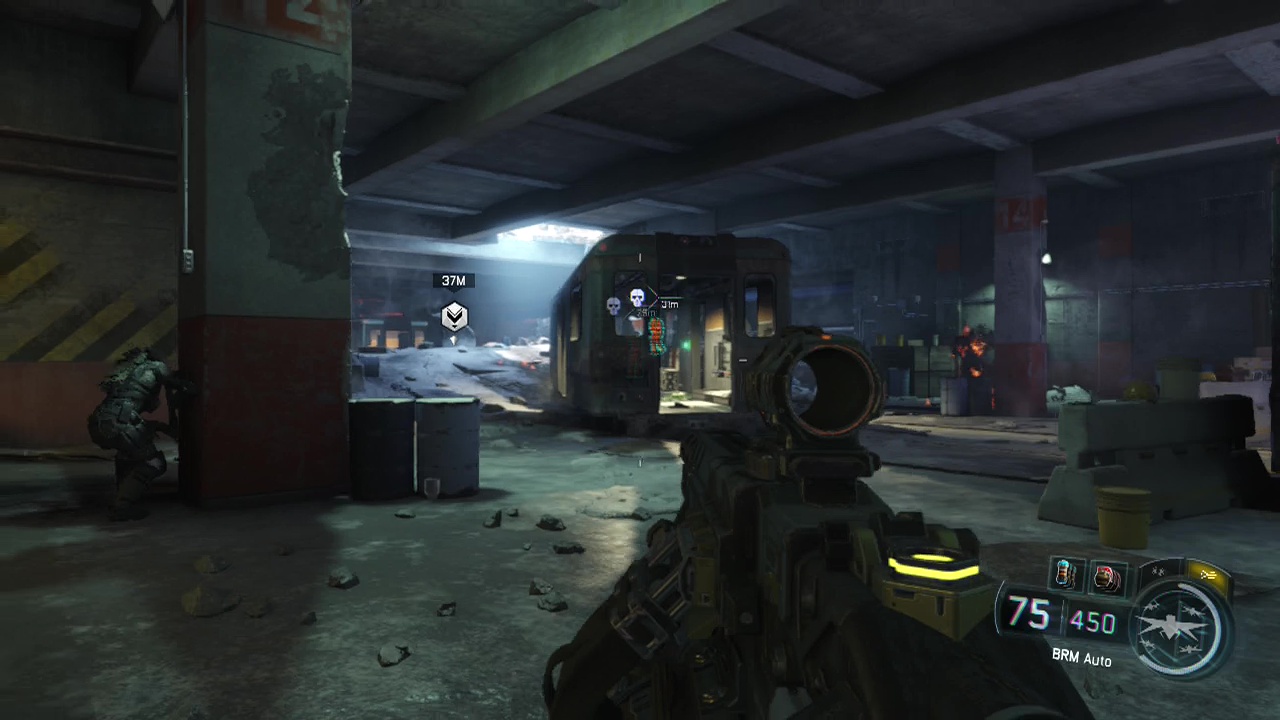
On the other side of the gap, take cover next to the doorway as more troops emerge in the area outside (four or five in the room up the stairs to the left when you look out the doors, with two on ground level behind the parked vehicle). Stay in the doorway as you begin to take out the enemies through the walls. When the initial group up the stairs are gone, you can move forward to the block of cover closest to the door (people mover).
The dip in the body of the people mover makes it a good spot to peek through to shoot the enemies further back in in the area. When things are quiet climb up the stairs to the left and enter the room at the top where the initial group of enemies were. Move carefully if you see a diagonal pattern on the ground as this represents a killzone, meaning an enemy is hiding behind cover close by waiting to shoot anyone who walks there.

Use the walls next to the doorway as cover as you clear the upper walkway of remaining enemies. Move forward along the walkway when you are done and then duck into the room on the left, being careful to observe any killzones on the ground. From the window in here, you should be able to seriously mess up the group of enemies coming through the door opposite with a well placed grenade or gunfire. Just be wary of enemies flanking on the walkway to the left when you fire out.
When Diaz moves up and the area remains free of gunfire, jump down to ground level and follow him inside the warehouse, weaving amongst the cover in case of any hiding enemy guards. You can jump through the smashed windows to the left of the main entrance or try the direct approach. I'd recommend the windows as it gives you a height advantage and there is some cover to the left of the door you can use to hide from incoming fire. Damn, I wish I had tactical vision in vetaran mode in CoD: Modern Warfare I, those later levels were all about memorizing enemy spawn locations. With this, they would be a joke.
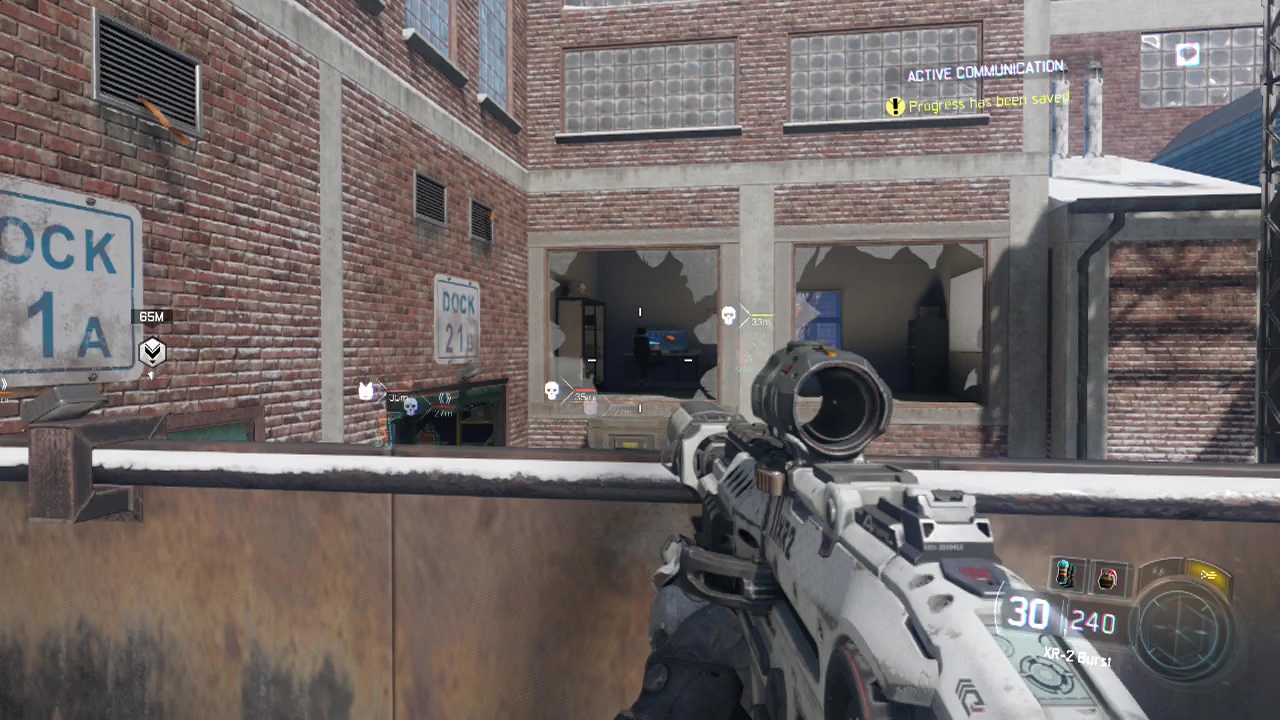
Shoot out at the group of enemies to the left of the door (Diaz should be firing towards them too). If you need to you can dash out to the walkway to hide behind one of the metal plates acting as cover. This may offer you a better (if less safe) vantage point. There is also a resupply point just ahead along the walkway so make sure to stock up as you go.
Move into the room (with the ammo restock and computer consoles) and start firing through the doorway and window at the enemies below. You can also leave through the door on the right and flank the enemies at the back of the room from here as well. When you've finished slaughtering everyone, tromp down the stairs and approach the marker at the back of the room below.
CHECKPOINT
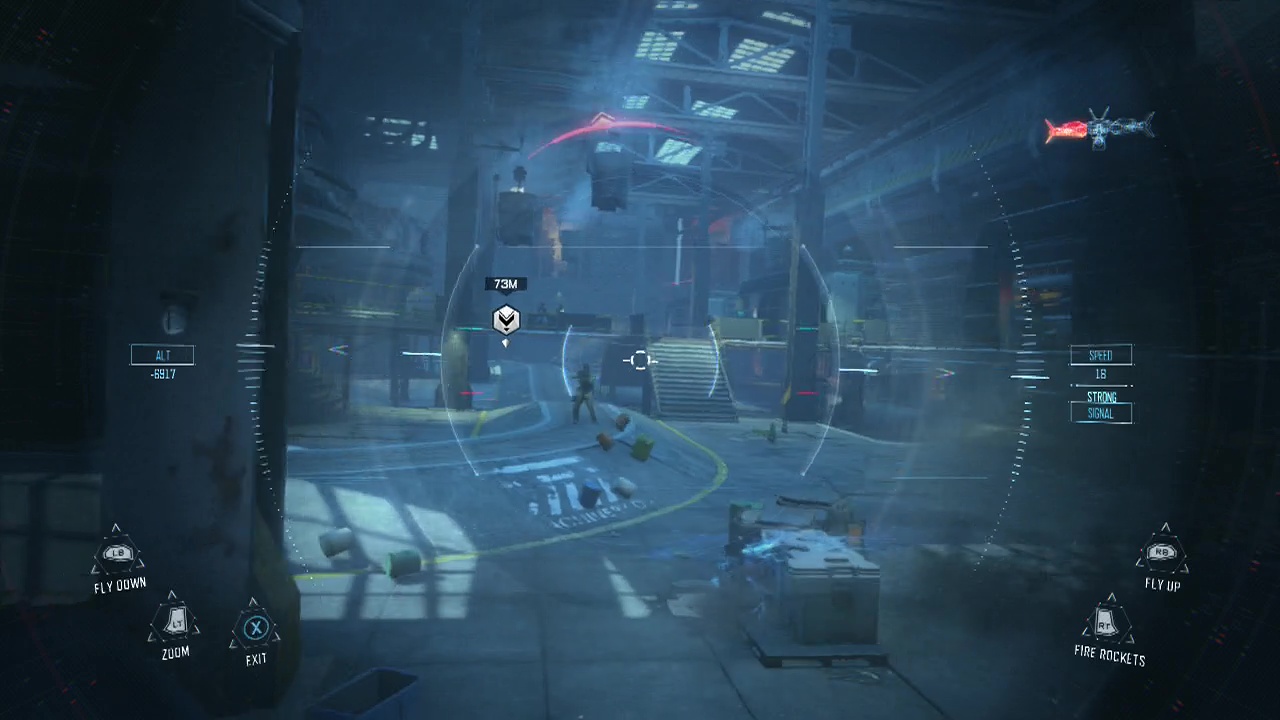
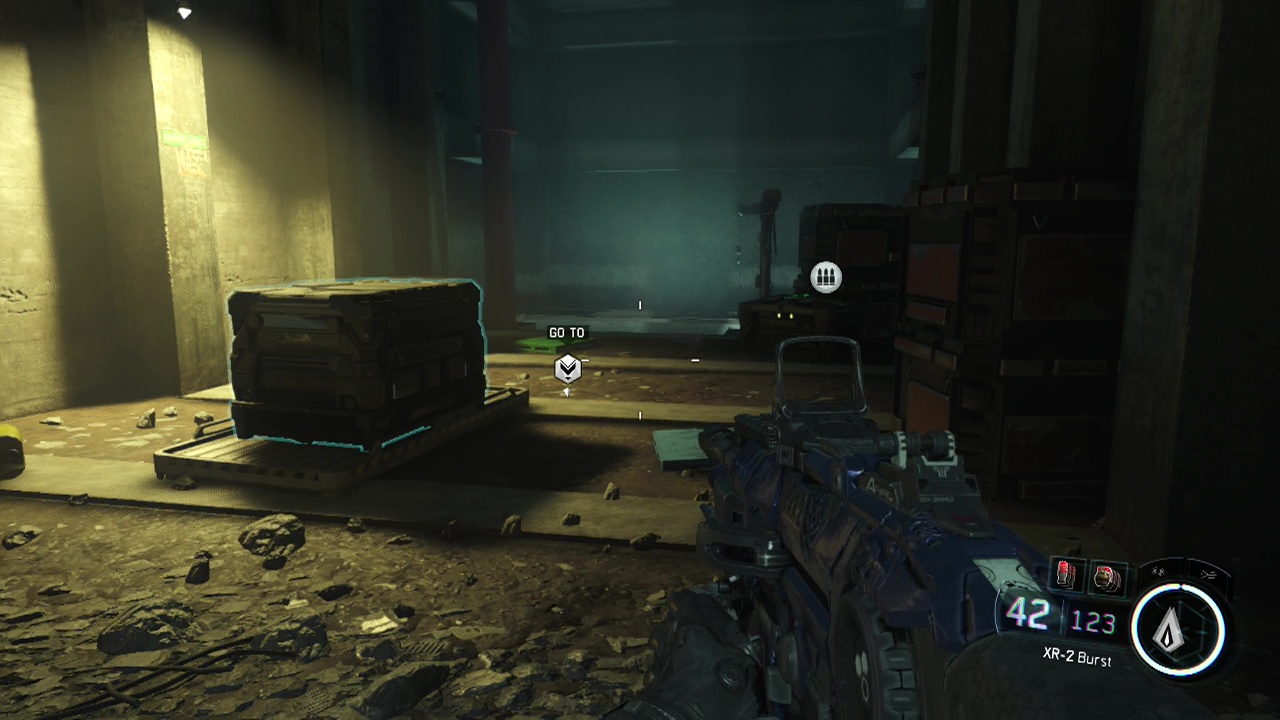
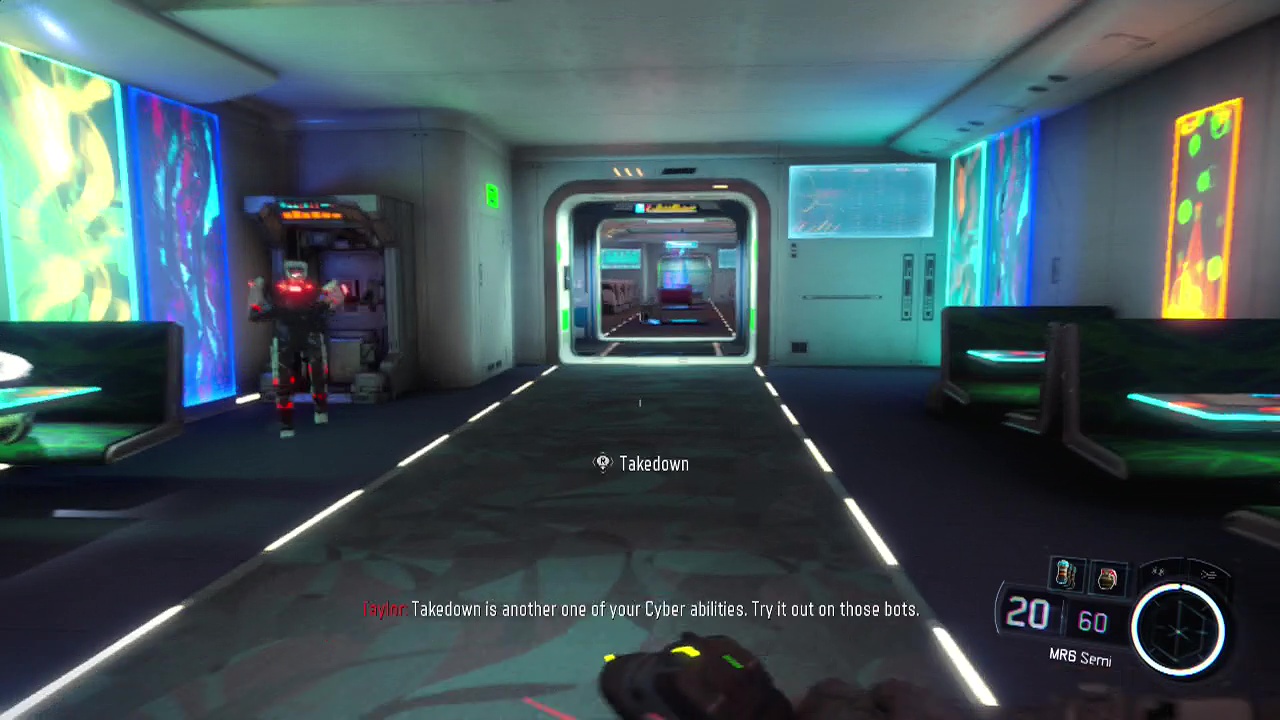
Diaz will point out the metallic heaps on the benches as drones, as well as informing you about your new powers of mechanical mind control. Look towards a drone on the bench and press LB + RB to take control of one. You'll suddenly be looking through the camera fitted on the front of the drone. Use RB to ascend and LB to descend as Diaz opens a nearby roller door for your drone to pass through. You can fire rockets by pressing RT as well.
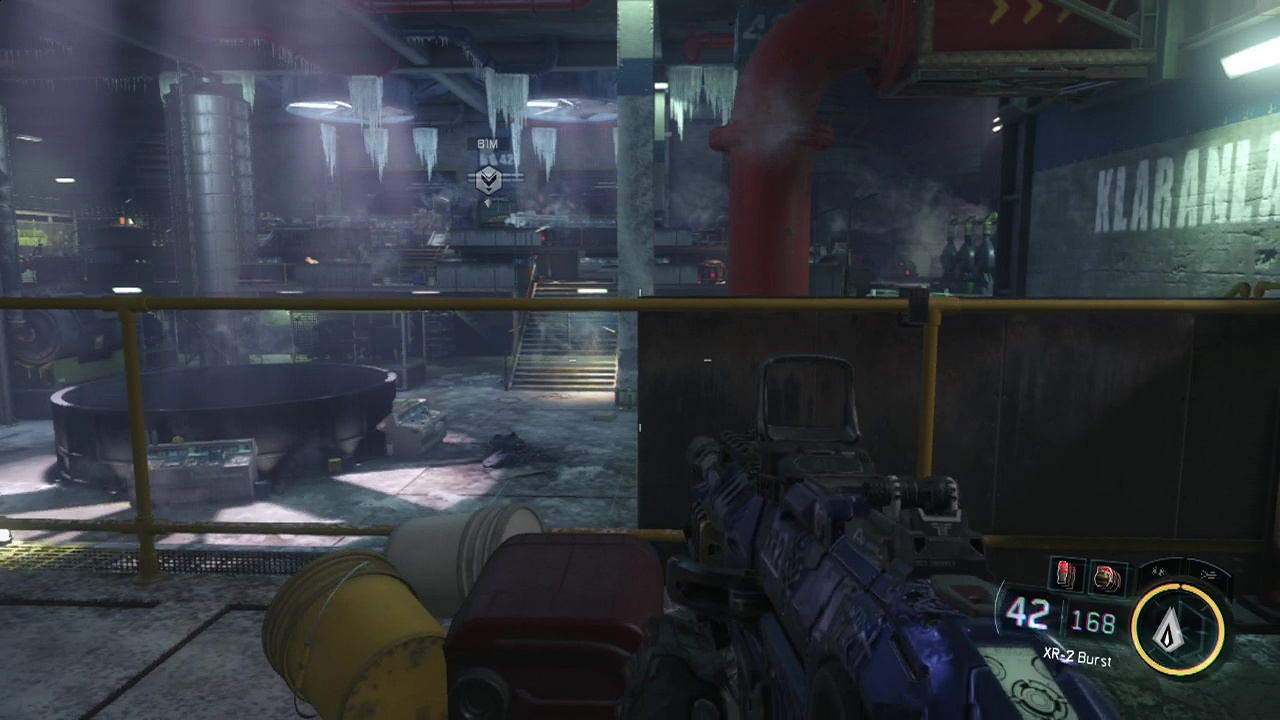
The hallway is linear with a fair few guards to take care of, but they shouldn't pose much of a threat to your shiny new metallic drone body as long as you keep moving around (your health is shown by a drone image in the top right corner). Fly up high when you can to get better shots at the enemy below with your rockets. At the end of the path, you'll spot a big red generator with the target marker on it. Fire a missile and you'll be dumped back into your own body once more. Diaz will open another big door next to you when you regain control. Follow him outside and into the casting facility. When you enter the large set of door where the flaming pot of metal was knocked down (there should still be fire burning on the ground). look next to the fallen casting pot beyond the fire to find a Defective Robot Hand. There's some ammo sitting in the center of the first room for the taking.
CHECKPOINT
Descend both sets of stairs leading down and look for the killzone on the floor at the bottom, along with the enemies behind crates in the next area. Use the concrete wall on the right as cover while you ping the enemies in the head. Just be alert for any enemies that sprint across and try to flank your cover position. You'll also see lasers moving through the air here, these indicate sentry turrets. These deal rapid damage if they get a bead on you and if you're going to engage them, use hit and run/ hide tactics instead of expecting a single clip to destroy them.
You should be able to safely take out at least one of the turrets from your initial cover position. When the infantry troops are out of the way, you can move behind one of the nearby posts and use your new machine control ability to take command of the turret at the far right side of the room. This allows you to blast the hell out of about six enemies all clustered around it. More enemies will run through the door directly behind where the turret was initially facing, right into your area of fire. Oh, and the turret is permanently disabled when you return to your body by pressing X/ Square. Nice party trick that one.

Cross the casting room floor to the far side of the huge room and walk over to the marked door on the far side. Interact with the panel and a scene will take over. Watch the scenes play out and you'll be in a new area with a new squad member, Hall. This section is part chase sequence, part tutorial. Follow her out of the smashed window to the level below.
CHECKPOINT
The sprinting mole will be supported by robotic guards as he escapes, so when you see any don't hesitate to open fire. One will be to your right as you land, another two will be on the other side of the foot bridge straight ahead for you to dismantle. Shoot down over the railing at the two bots on the lower level under you and then drop down to join Hall. Race through the fleeing civilians and then drop down the large hole at the end to the plaza at the bottom. Look up a bit as you sprint through the wreckage to see a pair of robots on the walkway straight ahead of you.
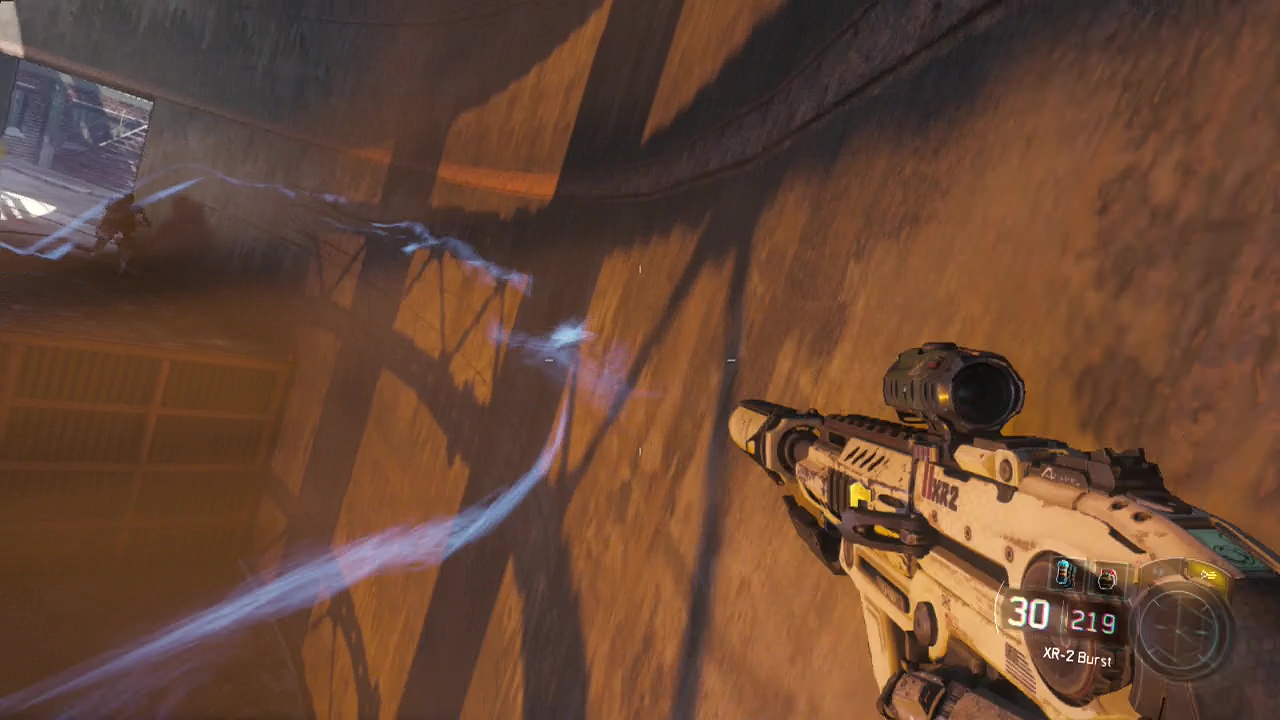
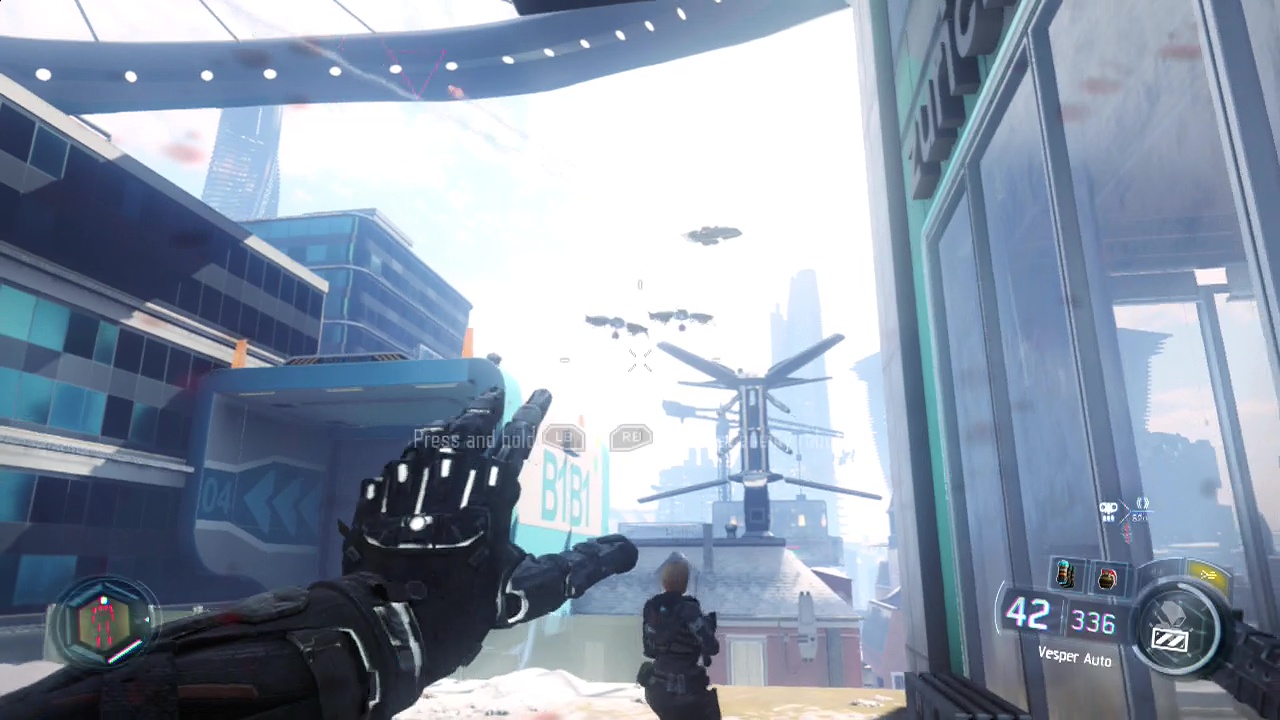
Hall will climb up to the platfrom where the pair of robots were that you just took down. Run up to the base of the wall and press A to get to the top. Keep tracking the blue trail as you run through gardens and over fences. Hall will call out for you to use the billboard to get over the tracks. This is the red billboard on the right edge of the area. Run towards it and press A when you are parallel to it to cross over the train safely.
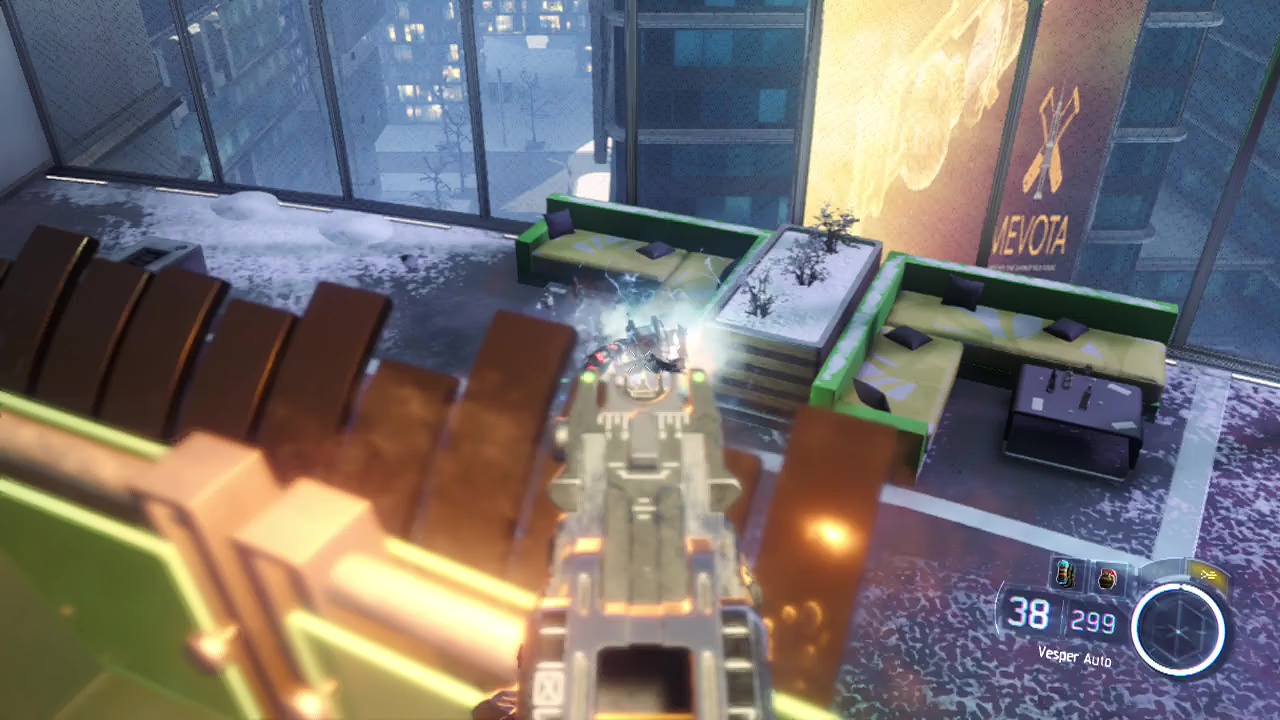
On the other side, descend the stairs to your left and you'll get a new cyber ability, system paralysis. This temporarily disable enemy electronic devices such as drones or robot. This makes it extremely useful against the group of three or so drones that appear out from behind a wall straight ahead. Trigger the ability and drop down the series of rooftops in front of you. Another group of three drones will appear from the building in the middle, once again use your ability and keep running forward. Jump up and over the green wall in front of you and then sprint across another snow dusted rooftop.
A large device will open on top of the yellow house in front of you releasing another trio of drones. Bzzzt, fall, boom them with your new power. Run down the stairs ahead and follow Hall along the wall, while blasting the pair of robots on the left with paralysis. You should be able to quickly take them down while they are still in shock, and then continue after Hall for another wall run with a robot at the end you can target. Finally ahead you'll see the elusive mole jumping on the architecture. Jump across the gap and clamber up the wall after him jump forward after him to trigger a scene. New location, new squad member. Maretti. Oh, and "Train go boom."
When you gain control, immediately crouch down behind the broken concrete barrier just to your left. You should be able to open fire on some of the robots on the other side by shooting through the gap in the barrier and the rebar wires. You'll pick up a new cyber ability here, immolation. This allows you to destroy a robotic device making it burst into flames, dealing damage to enemies around it. Clear out the remaining enemies on the right and on the catwalk at the back of the room before moving up the stairs to the right and taking cover at the end, opening fire on the additional robots that saunter out into the fray.
More robots will appear on the catwalk at the back of the room as well, so use your cover position to start thinning both sides out. Your LMG and cyber power are quite good distance-wise, so make the most of them to avoid getting to close to the robots. Before you move on you can head up the escalator on the left hand side of this area to find a Bomb Detonator Cap. When the coast is clear, follow Maretti through the ruined wall a short distance along you'll see an ammo belt and more enemies running towards you ahead. Luckily a new cyber ability will unlock here, firefly swarm. This works on human enemies, releasing a swarm of nanobots that blind and burn nearby enemies. This is extremely useful if you need to distract enemies while you recover or you don't want to round that corner to get blasted by a shotgunner.
CHECKPOINT
Move forward from cover to cover, using your nanobots while you pick off any enemies that run out of cover or are blinded. As you move past the train car, another wave of enemies will run out the door to the left and straight ahead, so say hello with your flaming nanobots of death. Stick to cover on the right side of the room as you take them out. Your LMG should shoot through the concrete pillars like they were paper so the enemies should have little effective cover from your attacks. More enemies will keep entering from the left hand doorway, so keep putting them down until the flow of enemies stops.
It's time to move to the left side of the area when the arrivals stop. Move up behind the train cars and you'll encounter a mix of robot and human enemies. To use your cyber abilities properly here, you'll need to target the correct enemy type with each power (immolation = robot, firefly = human). Keep firing off your powers and your gun from behind the train car to wreak havoc on the enemy forces. When everything is pacified with extreme prejudice, walk to the back of this side of the room to find more ammo and a mobile armoury. This allows you to change to another custom class mid-mission, potentially giving you an advantage.
CHECKPOINT
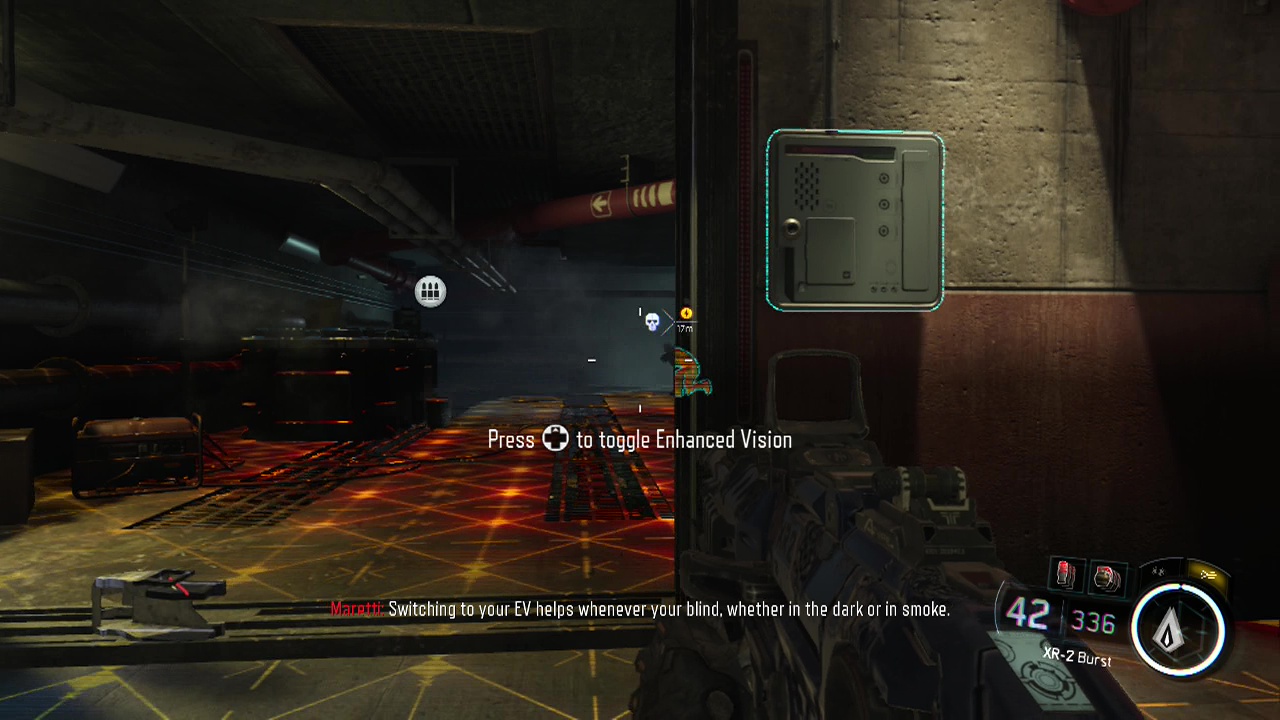
Interact with the marked door and the corridor it opens to will suddenly fill with smoke. You will now be able to activate enhanced vision by pressing up on the D-pad. This allows you to see through the smoke and in the dark. The human enemies around the corner are a prime target for your nanobots, but you can do things the old fashioned shooty way as well if you wish. The enhanced vision acts like a pulse, so you want to advance slowly, waiting for the pulse to end so you see all potential enemies. Otherwise you can get perforated by a long range enemy that your pulse hasn't reached yet.
After taking down the remaining two or three enemies around the corner, you can disable your enhanced vision as you move up. Another enemy will likely be waiting at the entrance to the lit room at the end of the corridor, so be ready for him. As you enter the next room, a pair of bots will break through the walls on the right and left. Immediately take cover and swap over to immolation as they start moving towards you. More robots will appear from the far end of the room as well as the fight continues, followed by a few human enemies. Be careful moving up here, as enemies like to run through and shoot through doors in the small room on the right. They can also appear from where you entered the room initially as well, so be warned. You may need to back up all the way to cover in the previous hallway to avoid being flanked.
When you move past the halfway point of the room, more voices will ring out as a couple of humans run through the door at the far end. A burst of nanobots will soon take care of them. Move forward and then follow Maretti as he passes by an ammo belt and through a door into another room full of robot enemies.
CHECKPOINT
A group of them in the center will be trying to push a train car across the floor to act as cover. Swap to immolation and start sending them to the wreckers, as more emerge from the door opposite, while other walk across from the left side of the room. Some human enemies will start emerging after them as well, so switch to the appropriate skill to deal with the enemy you target. Be careful that the robots don't get too close to your cover position as they like to just walk up to you and fire at you, point blank. More robots and humans will come out of the hole on the far side of the room for you to deal with, as well as a pair of robots shooting through an upper window in the far wall (one with a laser sight that is a sniper). Keep chewing through the remaining enemies until the room is clear.
Before you move through the doors on the far side of the room, look for stairs leading down into a mechanic bay. Down here you can find a Model Maglev Train collectible. Pick it up and head back upstairs towards the marker, restocking at the ammo box you pass. Drop down to the level below after Maretti.
CHECKPOINT
Watch Maretti run out into the open, while you take cover. You can use the pillars on the right wall or move further ahead to take cover behind the wall to the left of the doorway. Due to the distance between you and most of the enemy robots, immolation won't be much use unless you manage to move up. So let your gun do the talking instead (you should have plenty of ammo). The biggest threat here are the enemy drones amongst the robots and human soldiers. These little remote controlled bastards scuttle around on the ground firing rockets towards you. Immolation does work on them, but you've got to avoid being hit by those rockets as you use it.
Be extremely wary as you advance in this location to avoid sudden death via missile or mini-gun to the crotch. They take a good clip worth of ammo to take down as well if you want to try and shoot them. There are two or three total among the other enemies in the room. Stay up on the catwalk until the robots and humans are gone, then look carefully for laser lines and missile explosions to track the robotic 'hounds' down. When you're ready, move along the left wall of the area and jump up to the walkway on the left to follow Maretti. From cover here, you should be able to deal with the remaining robots and final hound. A last group of human enemies will try to stop you as you get close to the back of the room, so swap to fireflies and turn them into charcoal.
When the room is finally free of enemies, approach and interact with the door at the back. Follow the corridor beyond to a computer console you can hack to trigger a (you guessed it) scene. When you arrive on the top of the train with Taylor, listen to his little speech (especially when he shows the positions of the security robots). Whenever he says 'Winslow Accord Neural Network Initiative' I always hear 'Winslow Accord Neural Key Emergence Resolution' instead. When you enter the train and gain control, your previous guns will be gone. Leaving you with a shotgun, pistol, three EMP grenades and a lone frag grenade. Welcome to close combat 101.
Your enemies in this section will only be robots, so the EMP grenades are extremely useful. They can paralyze multiple robots in an area for about three or four seconds, long enough for you to get in shotgun blasts or your (soon to be unlocked) core ability. Anyway, let's get started. Oh, and you probably don't want to unload on the civilians in the starting cars. While not a rule, it does lack a bit of style. Run through the first car and look to the back left corner as you sprint into the second one to see a robot emerging from it's station. You can either melee it (perform a takedown, a core ability) or blast it with the shotgun to bring it down in one hit before it can respond enough to kill you. Before moving to the next car, turn around and jump over the bar to find some Premium Liquor under it.
In the next car, two robots will swing in through the windows on each side. You are best off backing into the previous car and picking them off with the pistol or using an EMP grenade and racing in with the shotgun to give them a terminal face-lift. Two more will appear at the back of the car as you move through it past the first two. Quickly dispatch them with your shotgun before they open fire and take cover on the right side of the door leading to the next car.
Use another EMP grenade to stop the robots firing and once again unload your shotgun all three of their stunned CPUs. Another robot will appear in the right rear corner of the car as you move up. Immediately take cover to the right and pop his seal of freshness by shooting over the seats Stop here and climb up to the second floor to find a Train Pass on one of the seats at the end of this upper area. As you enter the next car, you'll see two robots hammering on the glass roof of the train above. Unfortunately you can't shoot through the glass to hit them. So you have to move forward letting them break through before you can attack. Throw another EMP when the drop through and dispose of them quickly before jumping up the wall at the end and clambering onto the roof of the train.
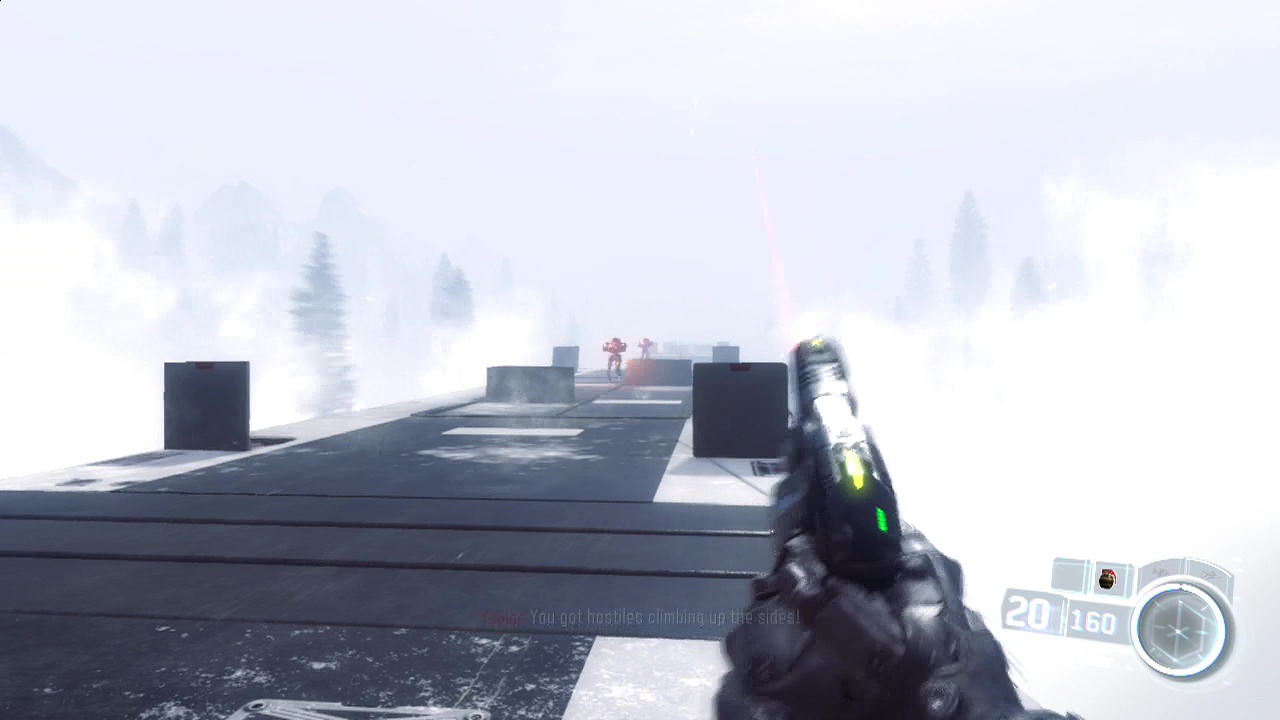
You'll see a robot directly ahead as panels rise on the roof of the train acting as cover. Immediately take cover behind the closest panel on the left or right (the central one is a good way to get flanked), and start firing your pistol at the robot. Three more robots will appear and start moving towards your position. You should continue firing with your pistol until you take damage or the robots get too close and you need to swap to your shotgun to blast them when they round your cover. Don't just stand up and try to take all the robots down with a pistol unless you are on a low difficulty playthrough. You shouldn't need an EMP grenade here, just some decent gunplay.
CHECKPOINT
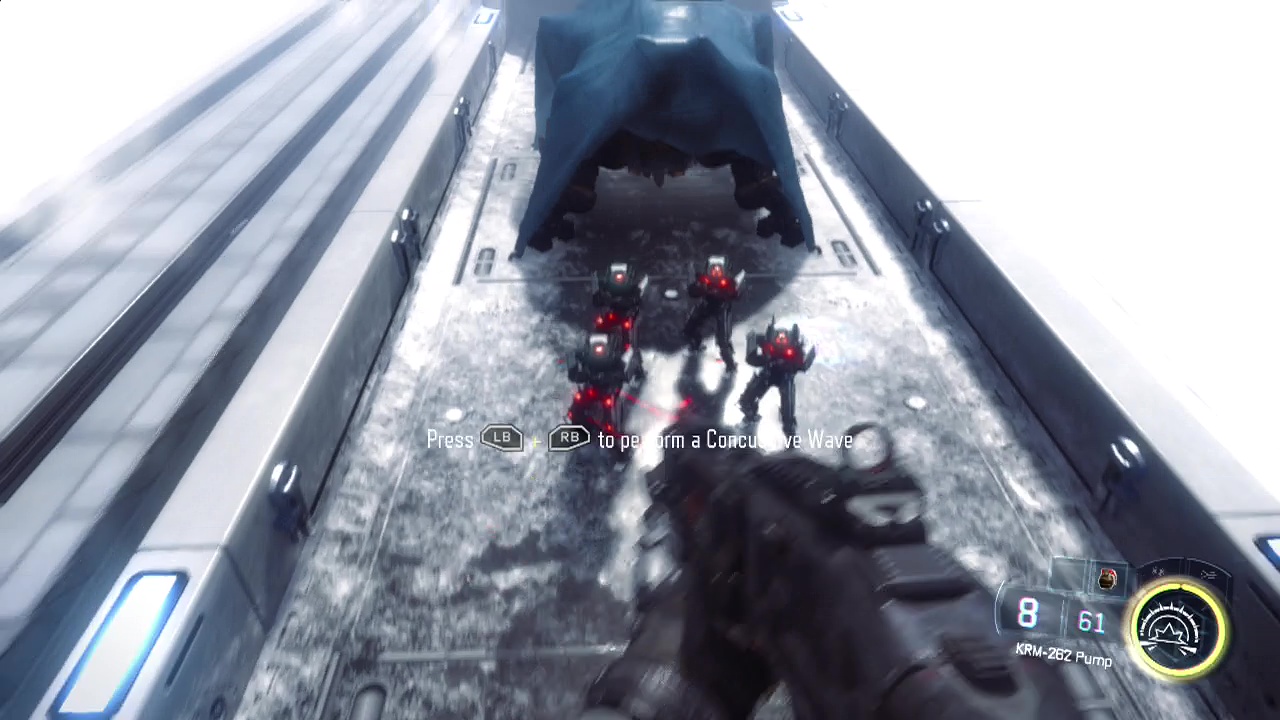
When the car's roof is clear, move forward slightly and you'll get a new core ability. Concussive blast. This (like gravity spikes in multiplayer), damages enemies in an area around you when you smash into the ground after triggering the ability. This is extremely useful against groups of enemies, like the ones below you in the next car. Sprint to the end and trigger the ability in mid-air to destroy all four robots below you.
Climb up and over the restricted access door to enter another rooftop shooting gallery. This time one robot will remain at a distance shooting at you while the remaining four will move up to your position. Same strategy as before, use the pistol when they are far away, the shotgun when they get close. Just be careful dealing with the lone long range enemy as he is fairly accurate. When the top of the roof is free of bots, race to the end of the car and use another concussive blast on the two robots below, moving forward to greet the robot at the end of the car with a shotgun blast. Immediately resupply at the crate in front of you before moving forward (to get those EMP grenades back). Take out the one remaining enemy behind the crate and then take cover on the left side of the door.
CHECKPOINT
Over six robots will be in middle of the next car, requiring a well thrown EMP grenade and following concussive blast to clear them out. One or two bots at the back may escape the blast however, so be prepared to start firing after the ability animation completes. Feel free to use your last EMP grenade on them as that's it for enemies on the train. Hack the door panel to trigger a scene and finish the mission. And it's back to reality people.
