MISSION 03 – In Darkness
Note: Starting from this mission onwards, you can select which core you want to have equipped on your character (allowing you to use several abilities based on the core you select if you have upgraded it). These abilities are extremely useful and you should take the time to upgrade these in between missions.
Notably useful core ability: Augmentation breakdown (control). surge (control), mass paralysis (control), immolation (chaos), fireflies (chaos)
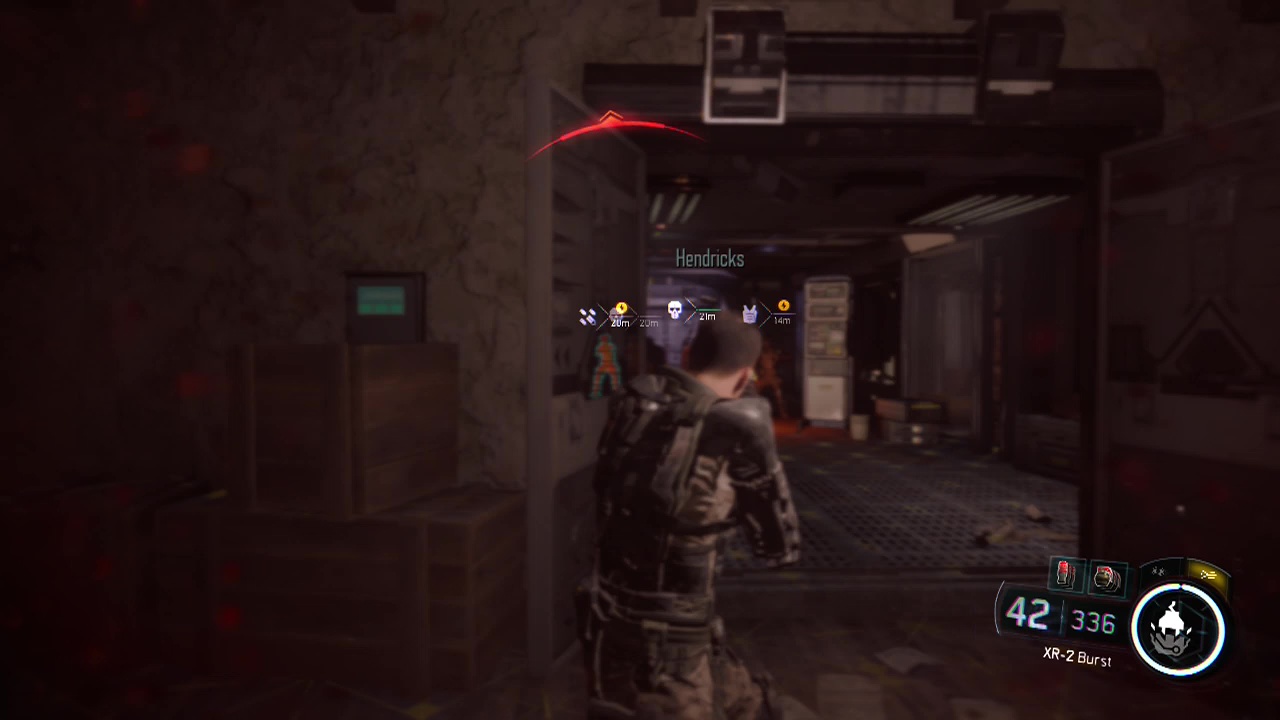
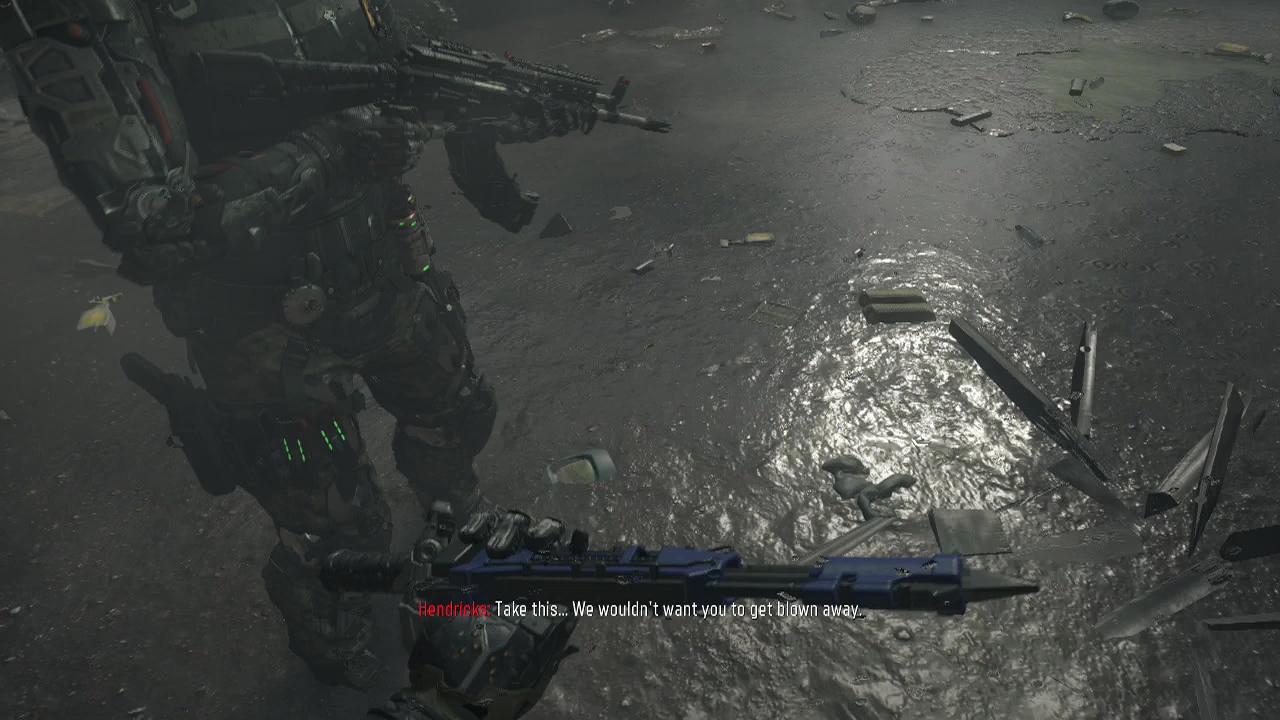
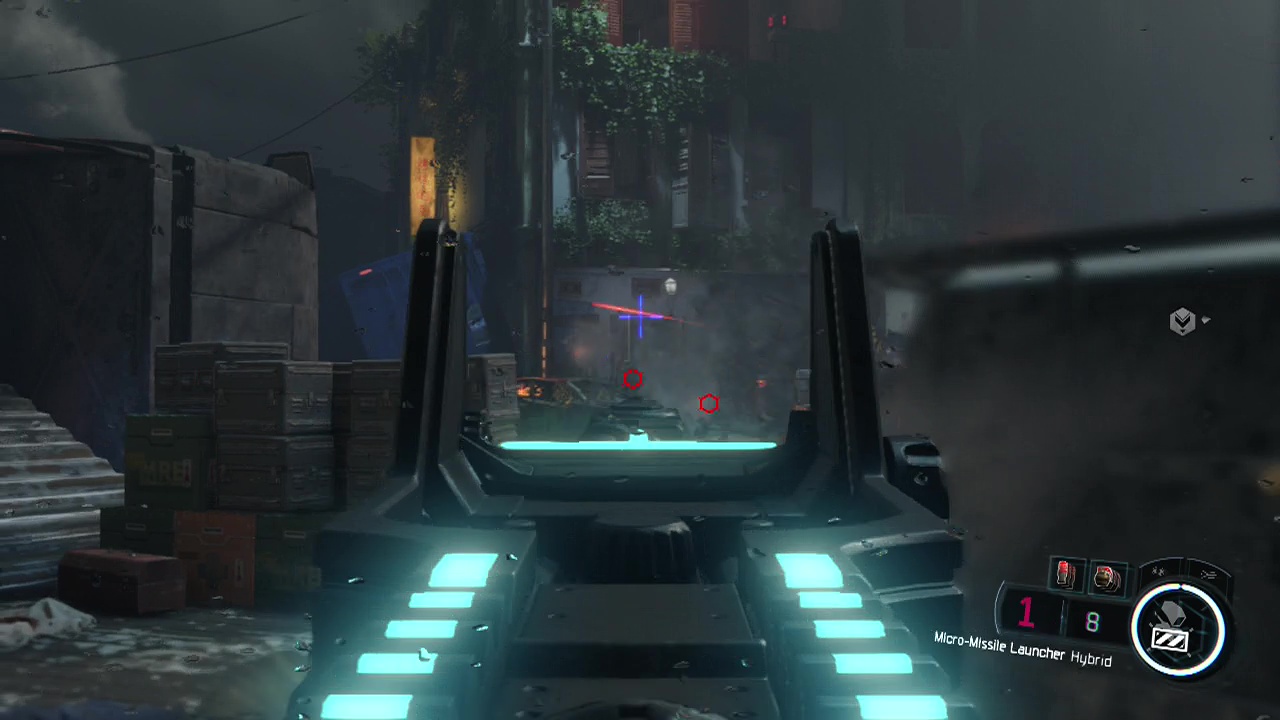
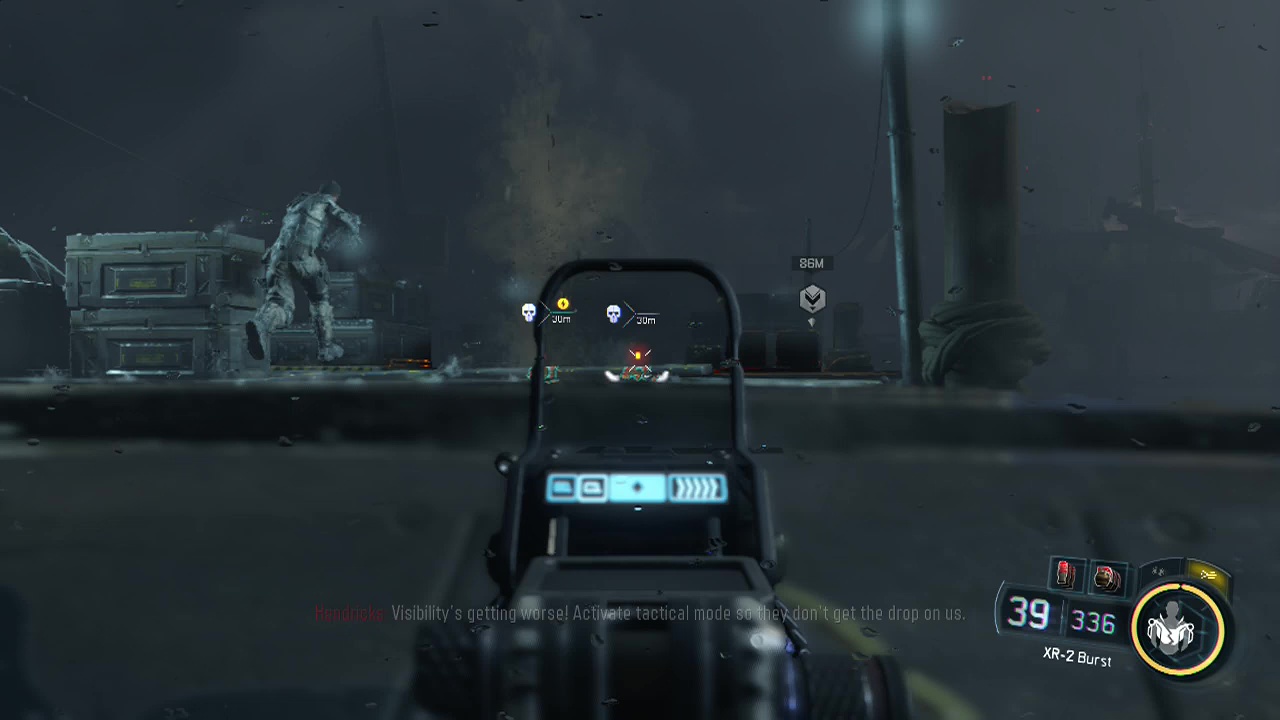
After gaining control when the intro scene finishes, you'll be rocking a micro-missile launcher hybrid (no matter what loadout you picked). This temporary weapon highlights enemies and fires up to five missiles at once, causing the flying of limbs and general confusion all around. Definitely a nice way to start off the mission. You'll find as you progress, your main enemy will be the weather itself, with wind gusts and water currents trying to screw you over. Hendricks will give you an anchor which you can deploy in certain areas to prevent the weathers negative effects for a time.
Follow Hendricks down the street and into a ruined building on the left. You'll weave through piles of rubble and wrecked cars as you work your way towards the objective marker. Keep moving along the dilapidated pathways until Hendricks stops at a small slope. Moving towards the slope triggers a scene. After the scene ends, it looks like the stealth approach has gone out the window thanks to Hendricks. Sprint down the slope and take cover behind the pile of three large crates slightly to the left. You can use other cover but this is the largest barrier close to your starting position.
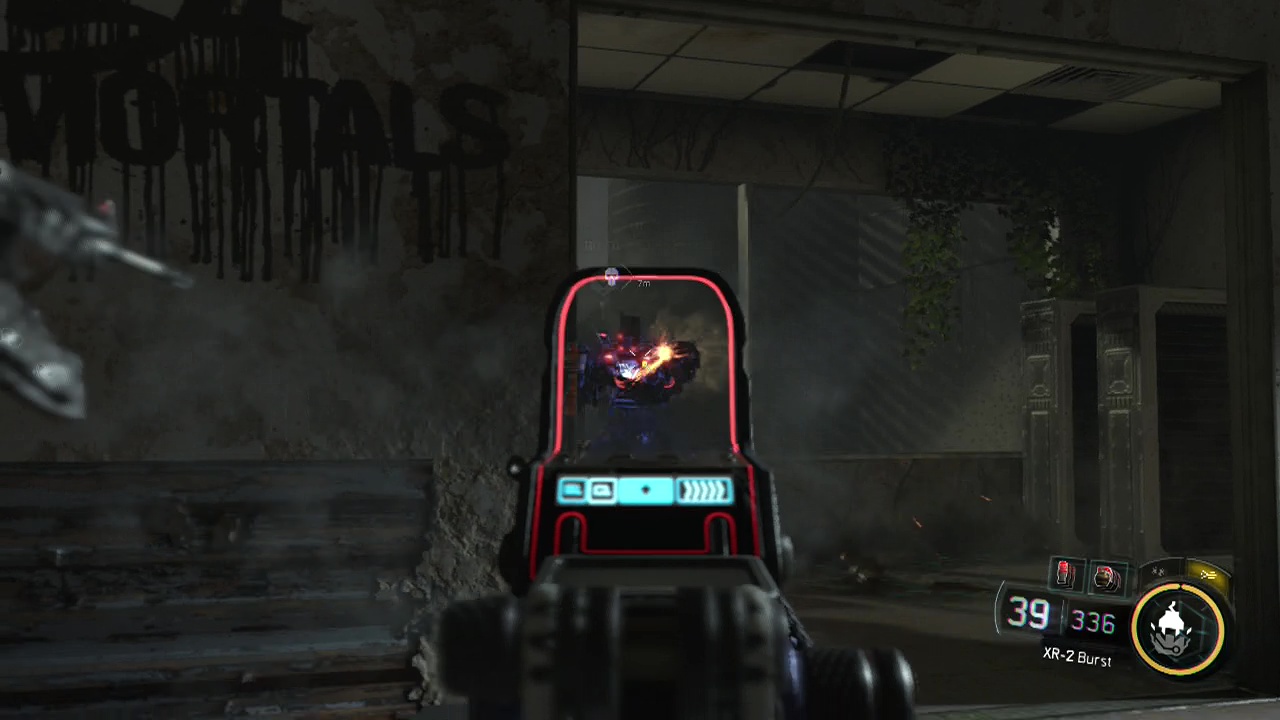
From this position you can start to unload your new micro-missile launcher. If you can get five kills in a single barrage, you'll get an accolade here as well. Make sure your tactical targeting is on as well so you know where to aim the launcher to lock onto targets. You'll want to make sure to unload on the heavily armoured cybernetically enhanced enemy (warlord) near the opposite building firing an LMG towards your position. He takes about three missiles to bring down on veteran difficulty.
You'll likely run out of missiles on higher difficulties, so start laying into the enemy forces with your selected loadout. Incoming grenades can be an issue here, so you may need to sprint between cover (there is a smaller pile of boxes next to the one I pointed out earlier that you can move to) to avoid the blasts. If you have the firefly core ability or another effective means of dealing with human enemies, this is a good time to use it.
When the tidal wave of incoming enemies ends, restock at the ammo box on a nearby crate then start cautiously moving down the street with Hendricks, staying alert for killzones on the ground, or sudden enemy movement. Check the doorway in the building to the right of the objective marker at the end of the street to find a counter inside with a Broken Respirator hidden behind it. When the final enemy is mopped up, chase after Hendricks as he starts to ascend the massive pile of debris at the end of the street. Jump up onto the car and then onto the blue shipping container. Your introduction to anchors comes in here. You need to hold X/Square to plant an anchor and then press X/Square afterwards to release it. Anchoring yourself keeps you from being blown away by the powerful wind gusts blasting down the slope in front of you.
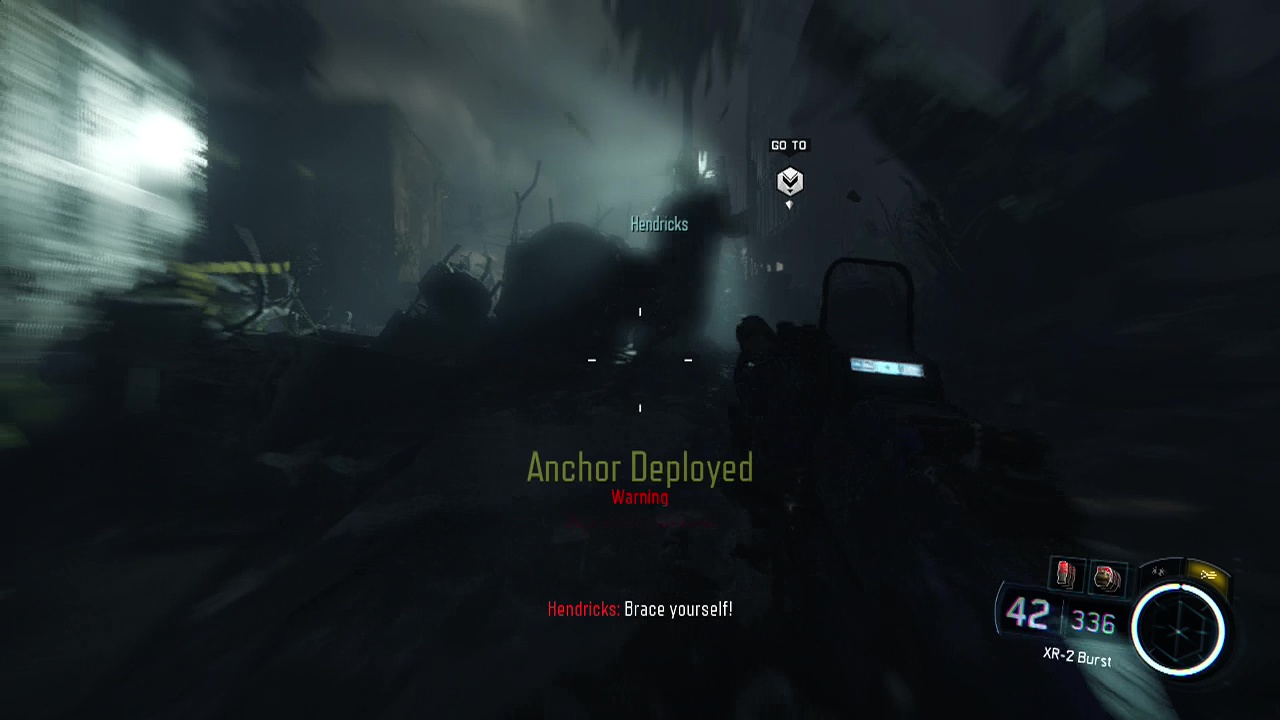
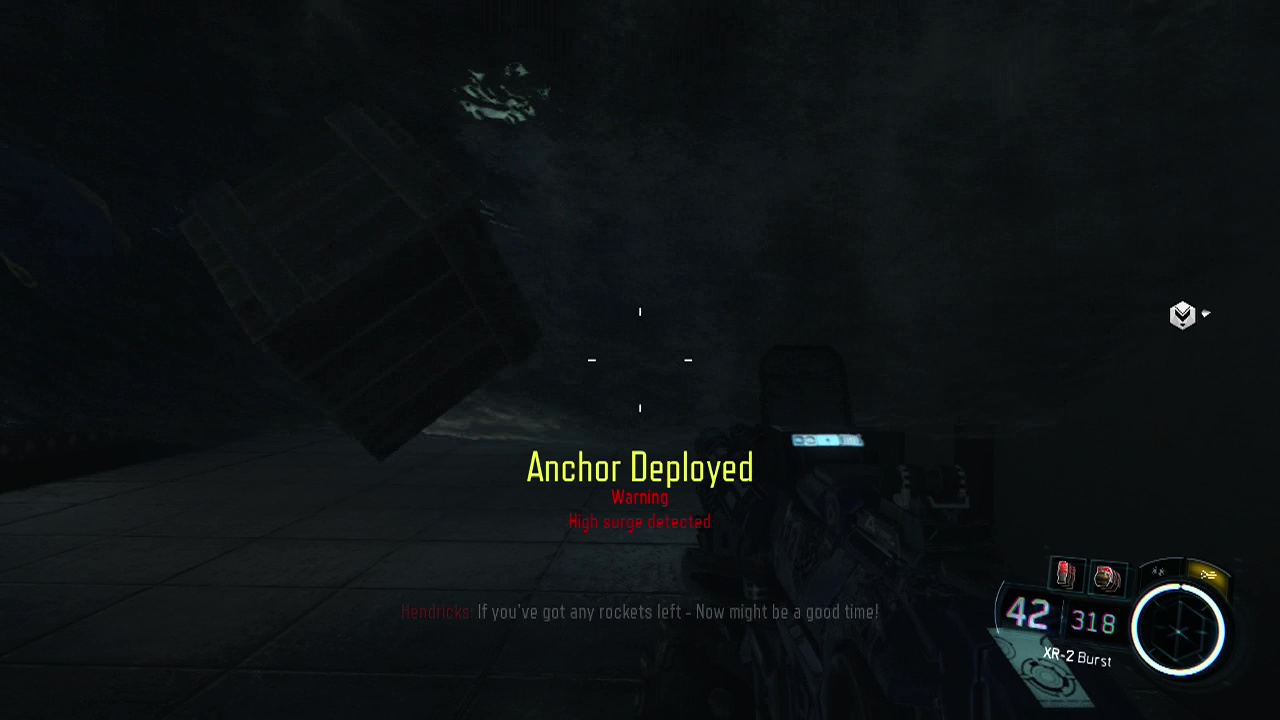
Whenever Hendricks calls out to anchor yourself or the red warning text flashes on screen, slam the anchor into the ground as you struggle up the slope after him, releasing the anchor after the wind dies down each time. At the top, you'll jump across a gap in the ground and enter through the side of a building. Race through the crumbling level of the building with Hendricks and help him fire at the fleeing stream of enemies below. After a couple of clips, Hendricks will vault over the railing and head down towards where the fleeing enemy troops were exiting.
Follow him down the series of ledges, picking off any enemy stragglers as you drop down. When you reach the water filled area at the bottom, you'll encounter the next obstacle mother nature decides to throw at you. Storm surges (large waves) will come belting towards you as you try to move forward through the waterlogged area, pushing you backwards or even sweeping you away if you aren't anchored in place.
Sprint down the partially submerged corridor, planting your anchor and releasing it as you move along through the waves. At the end, Hendricks will take cover against the right wall. Just beyond him, is an open area that enemies on the far side will shoot at you from, so be careful about poking your head out past Hendricks position.
CHECKPOINT
Around ten enemies will open fire as you look around the corner here. Waves will appear at set intervals here that require you to use the anchor if you move about. If one hits you in the open here without an anchor, you will be swept to the right and unable to control yourself, meaning on higher difficulties you will become a bullet sponge who dies in a few seconds. So I advise you stay near Hendricks initial position and shoot from the tunnel you came up as the water will not move you around in this spot.
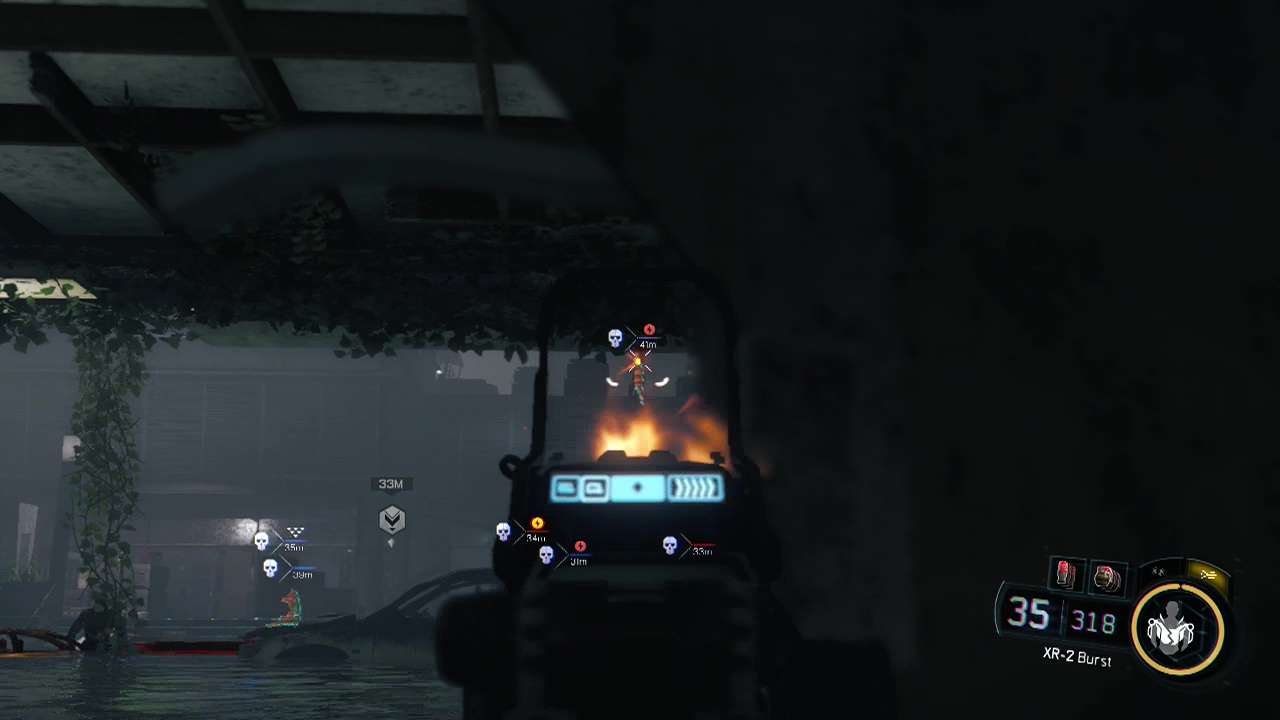
Keep low and use your tactical vision to pick them off one by one. When the area seems relatively clear, you can move up, remembering to use your anchor whenever a wave is incoming. When you reach solid ground, move around to the left corner of the building, as usually a couple of enemies like to flank around this side. Fill them with holes before following Hendricks inside to deal with the remaining enemies. Before moving to the rear of the building, head around the right side to find an Urn With Incense Sticks on the ground next to a ruined truck. Out past the back of the building is an ammo box for you to refill at before you plunge into the water after the objective marker once again.
A dock made from shipping containers and planks of timber will have a group of guards at the far end who open fire as you approach. Stay at the base of the ramp leading up to the dock as you peek up and ping enemies in the head, ducking down when you take damage. You'll need to be wary as you move up the dock, as falling into the water will wash you back to the start of the dock and may end with you having extra orifices added to your person via bullets.
The enemies at the far end of the docks are also on floating platforms, meaning they can sway up and down making them harder to target, so make sure you take the motion into account when lining up your shots. More enemies will appear further along the dock as you move forward from cover to cover, so when they do stop moving forward and take them on. You'll reach the pitching and rolling container ship at the end of the dock. Pass up the ramp enter the open shipping container in front of you to interact with a terminal inside.
After dealing with the files, walk over to the nearby doors leading to the interior of the ship. Six enemy troops will be waiting inside to greet you, so open fire immediately when the doors open. Hendricks will leap down from the upper level to assist you in taking them out. After they hit the deck, a scene will take over. When you regain control in your new location, follow Hendricks down into the murky waters in front of you. When you are submerged, instead of following Hendricks down and right, instead go straight ahead through the illuminated seaweed to find a Child's Toy on a bench,
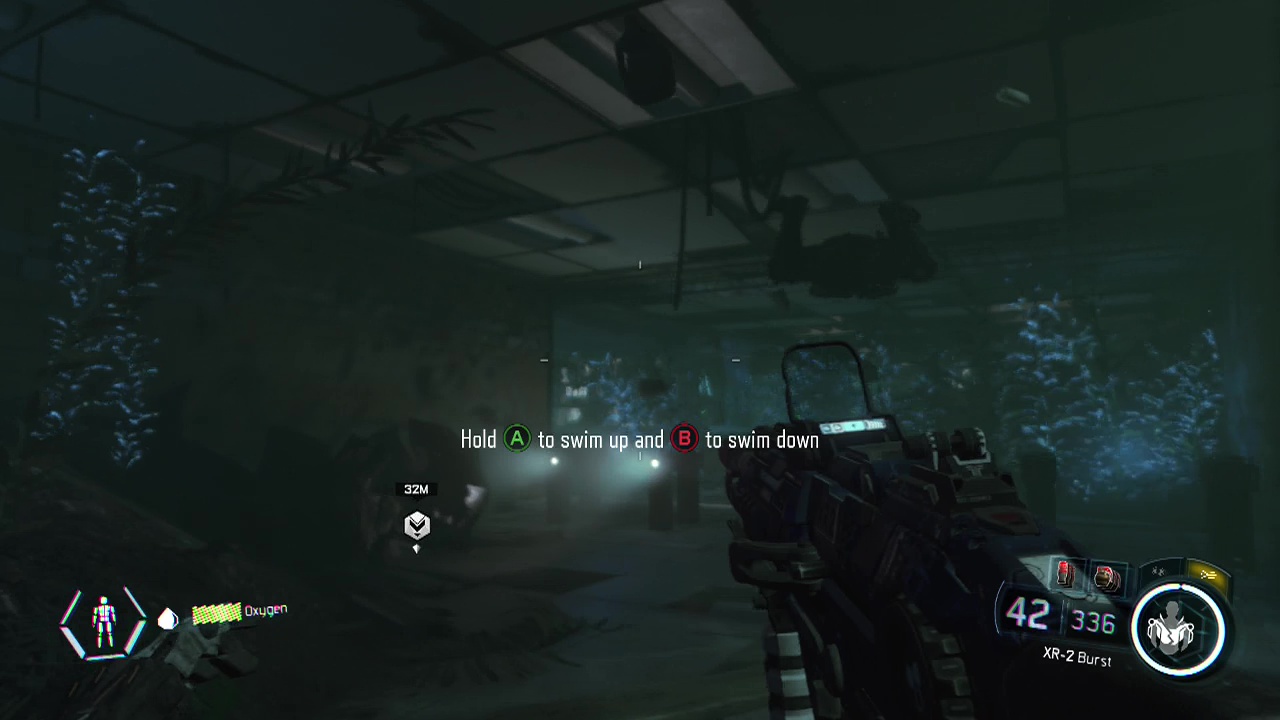
There are no enemies in this underwater section, so simply tail Hendricks as he swims along the sunken corridors. When you emerge from the water, travel along the hallway and up the water-soaked stairs at the end. At the top, crouch down behind the sandbag wall and look across to the building directly ahead to see a decent size group of enemies. Hendricks will move forward to attack them with fireflies before opening fire. When he does, join him in gunning down the disoriented enemy forces from your fairly safe position. Three robots directly ahead can be controlled or paralyzed if you are using the control core.
When the initial group is no more, move up to the entrance of the building taking cover to the side of the main door. From here you should get a decent view of the enemies inside, allowing you to start bringing them down. The enemies here will move around a fair bit, jumping up and down between the floors with additional enemies appearing on the floor above, firing down at you so stay alert. Take your time, using your tactical vision to take out the enemies one by one. When you've gotten rid of most of those within easy sight range, move in and to the left to find a hole in the ceiling that you can leap up to reach the second floor.
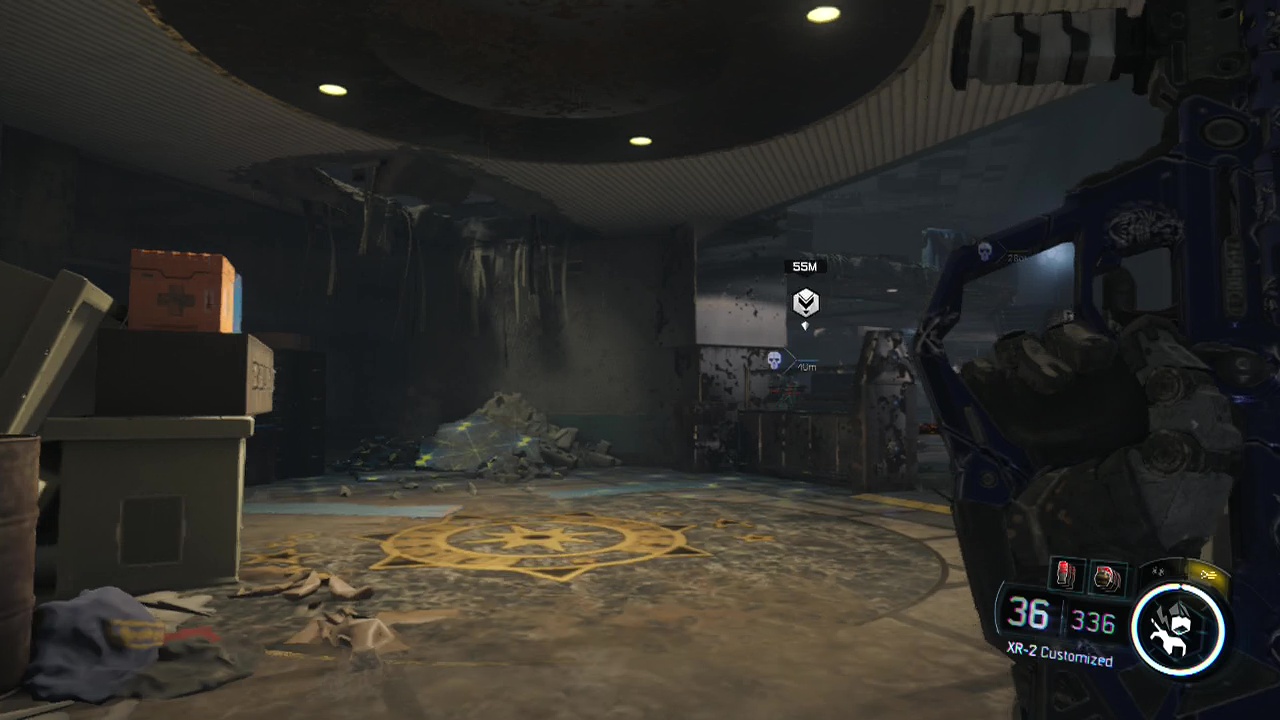
From here, you can use this cover position to take out all the enemies who were trying to shoot you from above (just watch out for unexpected enemies climbing up from below). Move forward, finishing off the enemy forces. In the room at the back of the ground floor, head into the small side room to the left to grab the Warlord Helmet and then head for the marker on the floor above when the coast is clear. A phalanx (man with riot shield) should be standing near the back of the room. You can take him out with a well placed grenade or aimed shot to the legs or hand. Enter through the hole in the wall behind the now deceased phalanx to reach the next corner at the end of a hallway and be confronted with four more.
Lob a grenade at their feet and pick off any that survive while they are still recovering from the blast. More enemies will emerge out of the side rooms in the hallway ahead when the shielded enemies are defeated. Stay in your position next to the door and fire upon the onrushing foes. After a quick sweep, follow Hendricks up another set of stairs and onto the third floor to trigger a scene.

When the scene finishes and you regain control, resupply at the ammo crate against the wall and leave through the hole in the wall, clambering up the shipping container wall after Hendricks. You can wall-run across the river if you have the right skill equipped here, or cross by moving into the corridor inside. If you take the corridor (skybridge), jump up through the hole in the roof on in the building on the far side and turn right to pass through some doors to find a Fu Dog Figurine sitting on top of a wooden shelf. As you get near the comms relay, you'll see enemy markers appear on your tactical display (mostly robots with a couple of humans). If you are using the control core, you can simply paralyze, make them overload or take control of them as they emerge. Or with the chaos core you can immolate them. Of course you can always just fall back on old fashioned bullets if none of those options appeal/ are available.
Instead of running directly toward the building, look for a staircase to the right that leads up to the second floor of the comms relay. Take cover up here as you shoot down at the enemies on the lower level and clear out any on this one. Drop down through the hole in the floor when the enemies are taken care of and be very careful when you approach the communications room where the marker is. The enemy inside (despite being a robot) can't be affected by core abilities so you will need to simply open fire on it. When it is down, approach and interact with the device.
When you're finished with the comms, Hendricks will start to make a beeline out of the place. Chase after him through and out of the building as you move through the crumbling buildings. You'll rejoin with Kane at the end of the trek. After their conversation, use the left zip-line to glide down to the buildings below. There are sniper enemies in the buildings on the right, so use their lasers and your tactical view to track them down. You'll need to move forward through the buildings on the left side of the street as you clear the enemies. Avoid dropping down to street level whatever you do as at the end of the street amongst the other enemies, a warlord will join the fray. Here is where the augmentation breakdown skill will come into play if you have it unlocked in the control core. Using this ability on him hold him still and stops him firing for four or five seconds while you unload several clips into his noggin.
When the street is finally empty, you can drop down to ground level and stroll over to the marker at a nearby building. Follow Hendricks inside and keep going until you reach a doorway blocked by a metal bar. At the top of the stairs, stick to the left wall until you reach a small office where you'll find the Therapy Session Recording. Keep moving after the squad until Hendricks calls out that there's something ahead. Check carefully around the next few corners, and around one of them you'll encounter the last of the 54i assault forces. A well placed grenade or four head-shots will remove them from this reality, leaving the corridor free to traverse. Approach the door at the end to start a scene and watch it play out as the mission ends.