MISSION 04 – Provocation
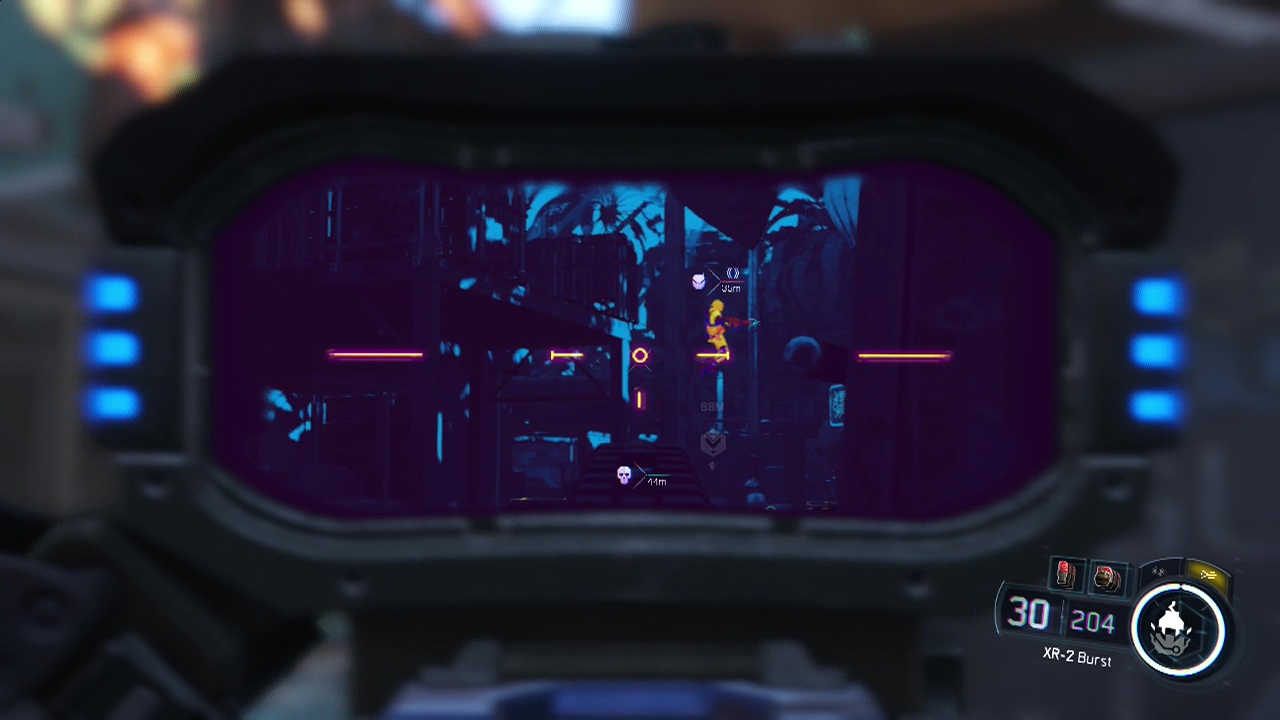
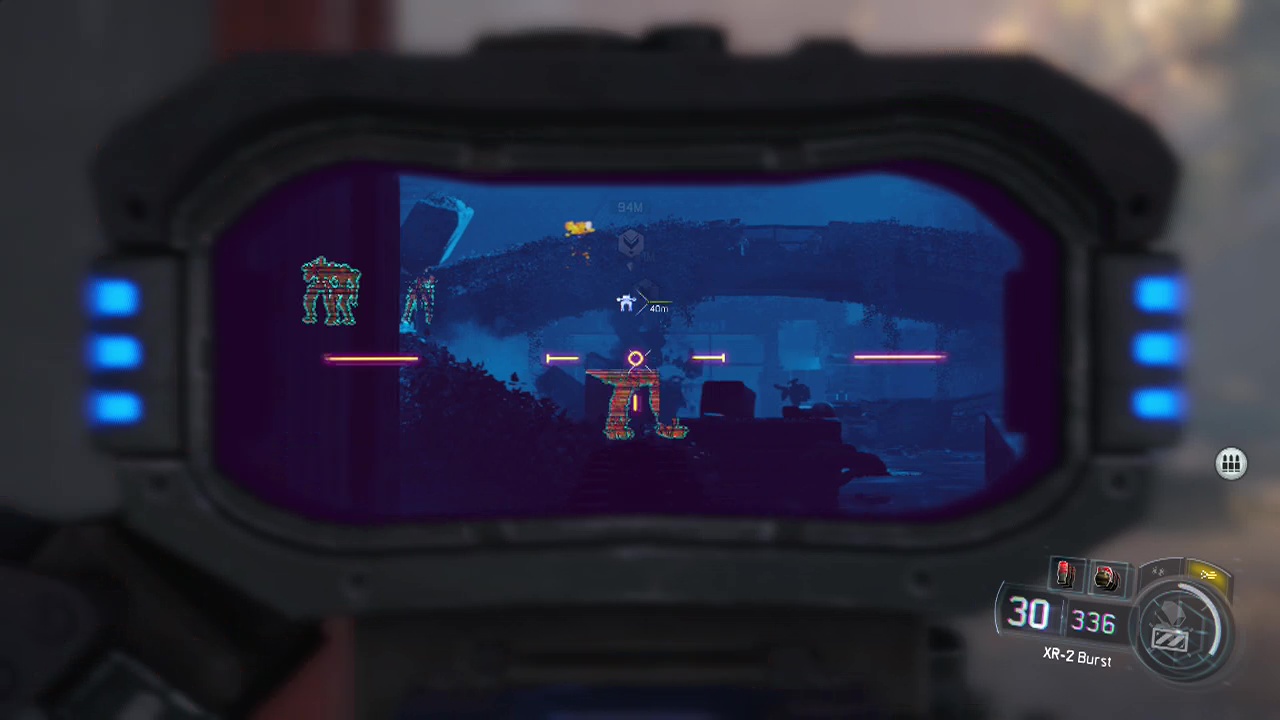
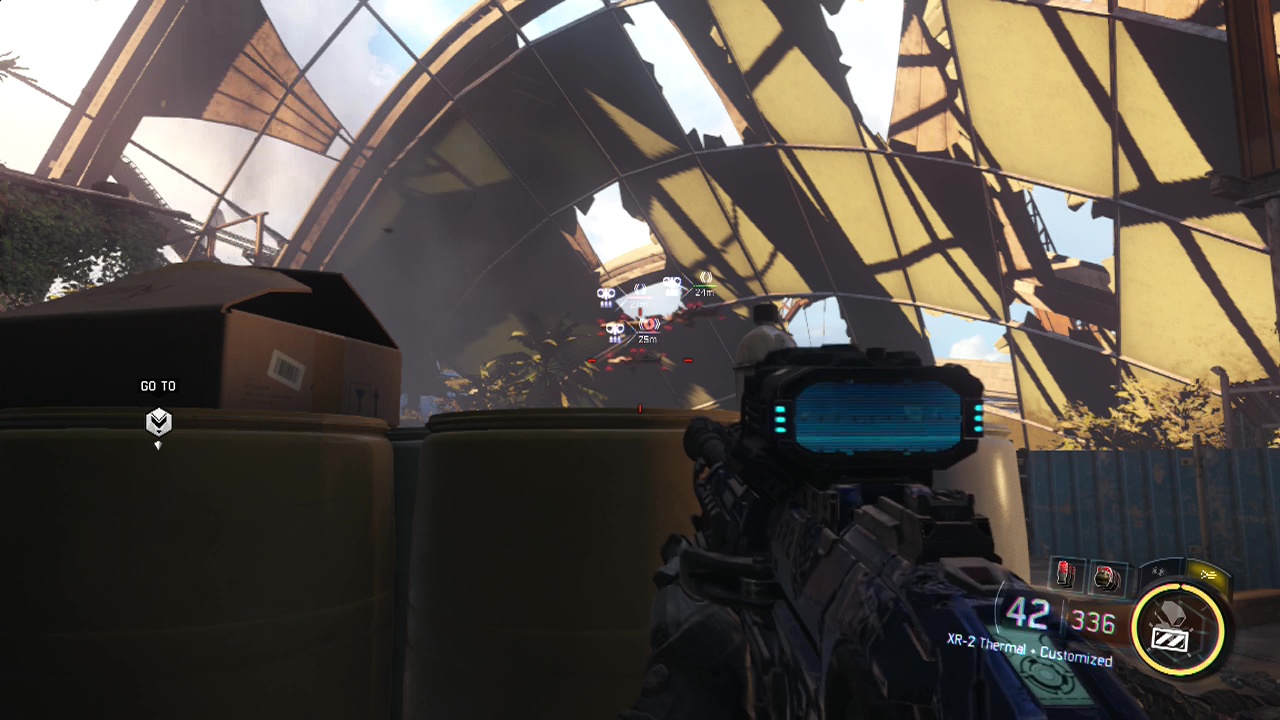
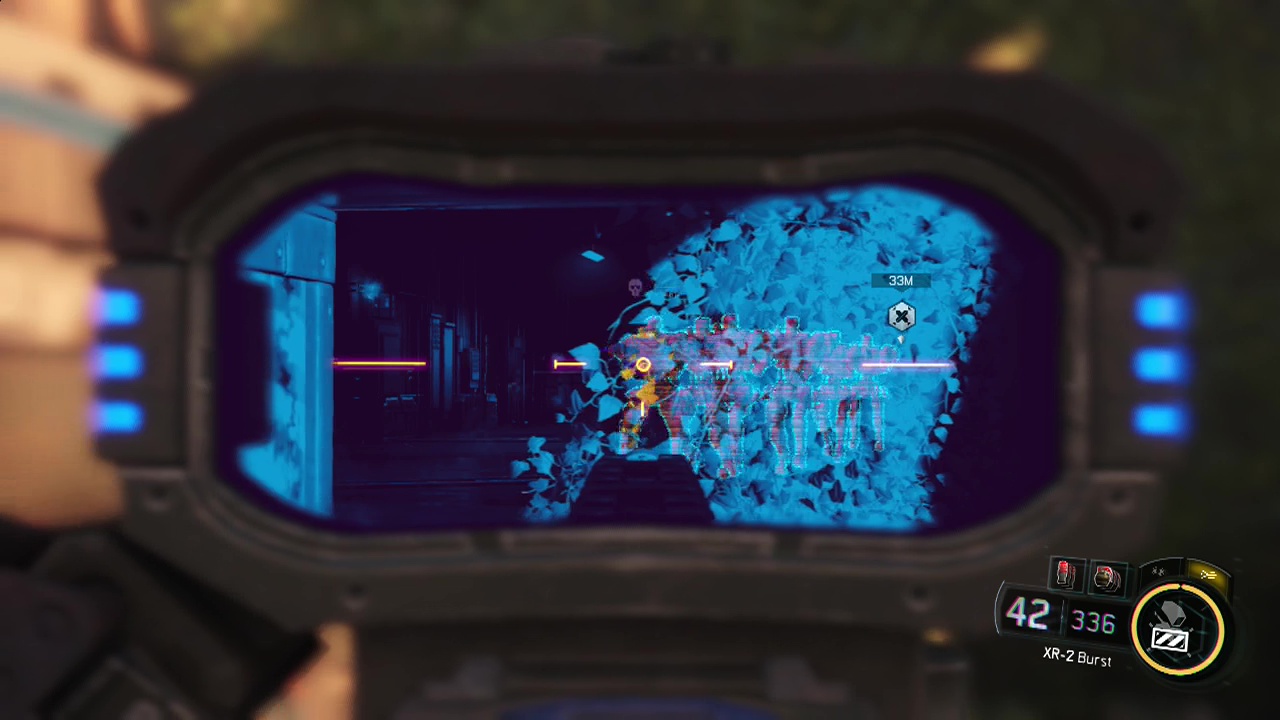
Note: Hopefully by now you've maxed out a weapon, giving you access to the thermal scope. This allows you to see incoming enemy forces better than the tactical view as you can see enemies even when they are immobile (which is great for preventing shotgun ambushes). The only things you won't be able to see are large robots such as P.A.W.W.S, but you should be able to see them easily enough with regular vision. Seriously consider sticking to one gun when you find one that suits you so you can take advantage of this awesome piece of kit as soon as possible. It will save your life several times over, trust me.
Core selection: The majority of enemies in this level are human (especially in the most difficult parts). You will also encounter more than one warlord and P.A.W.W.S during this level, so you may want to take the control tree with it's augmentation breakdown and remote hijack (upgraded) to take advantage of this. The chaos core can also be useful with it's immolation and firefly swarm abilities to deal with both enemy types. If you don't want to take a core that affects robots and turrets however, make sure to bring some EMP grenades to compensate for this lack as you will be dealing with a fair few mechanical enemies in this level.
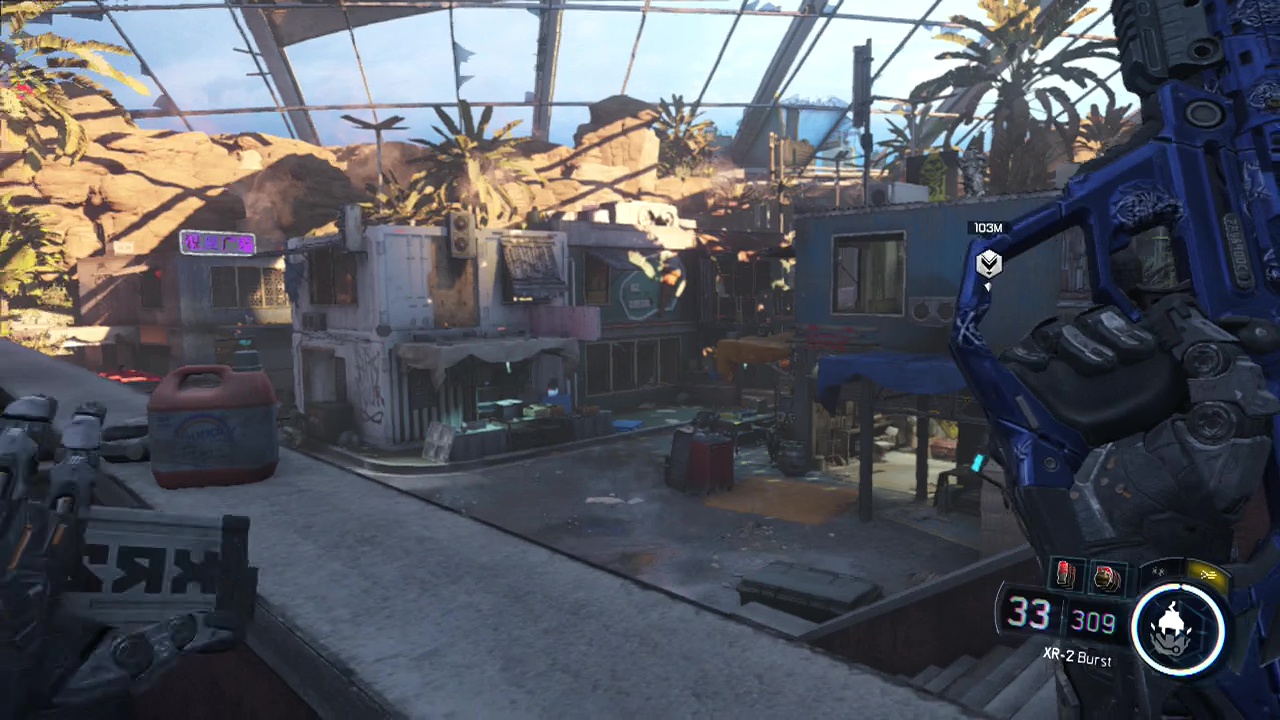
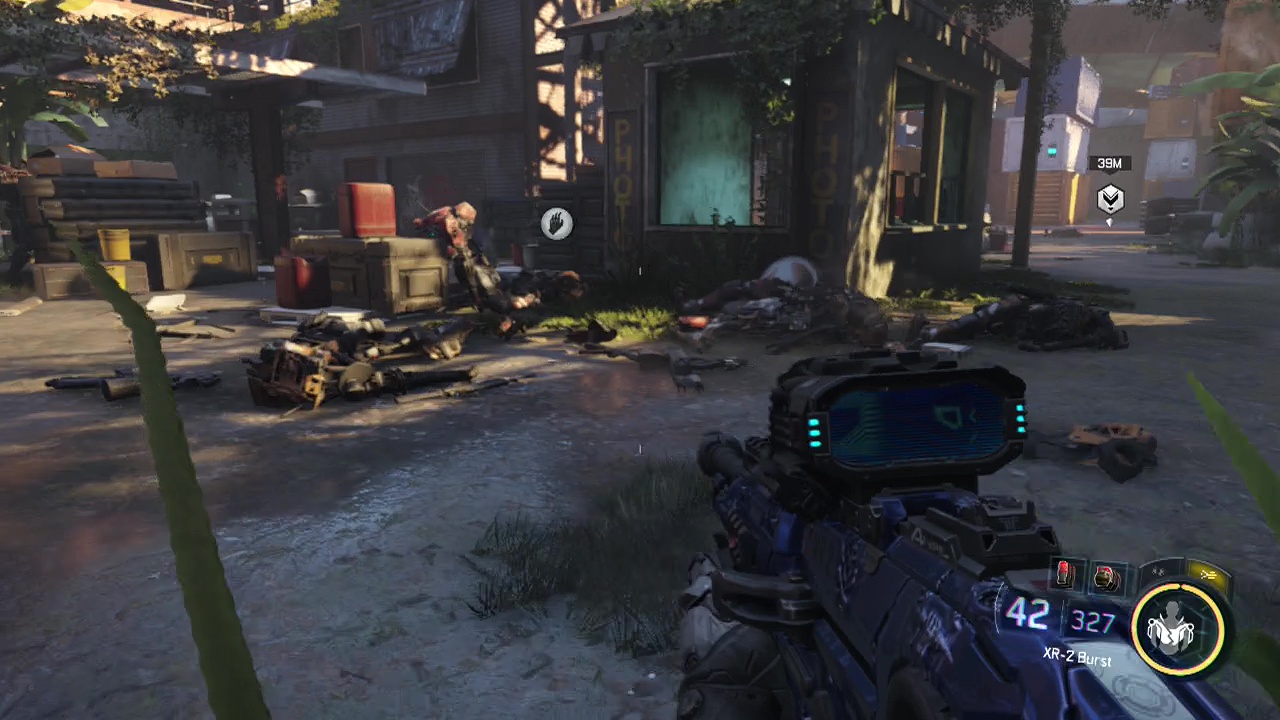
After the fairly long intro scene ends, you'll be thrown into the middle of combat with little fanfare. The cover in front and to the left of you when you gain control is a death sentence on higher difficulty thanks to the angled gunfire and rain of incoming grenades. Instead, immediately dash to the right following the low wall and take cover at the end of it. This should give you decent line of sight on the area, while removing you from the middle of the firefight.
Start dealing with the enemies in higher positions first as they will be the ones still able to hit you, using your tactical view & or thermal scope to see the enemies in the buildings. After a few seconds, you'll see some of the enemies on the lower level seem to start falling over and dying by themselves, this means the robotic allies from the earlier scene have reached them and are wreaking havoc. Pick off any enemies your automated allies missed before descending from the high starting position you are using to the streets between the buildings below.
From the bottom of the stairs on the right, you can enter the house closest to you to find some Gangster Bling on a generator inside. From this building, you'll likely see enemy reinforcements moving through the streets ahead. You can either retreat back up the stairs and shoot down at them like before (safer option) or move from building to building shooting them out of windows and doorways. Your robot friends should move around taking out some of them, just be careful to avoid surprise flanks and back attacks if you do stay among the buildings.
A warlord will show up among the other enemies, so make sure to back up when you see his icon. Players with the control core sufficiently upgraded can use the augmentation breakdown to make the battle against him a piece of cake, while others will want to use long ranged weapons with head-shots/ grenade salvos to take him down safely (close combat with a warlord is generally a bad idea in any situation). Your robots will continue to whittle down his health so he shouldn't take as long to defeat as most warlords.
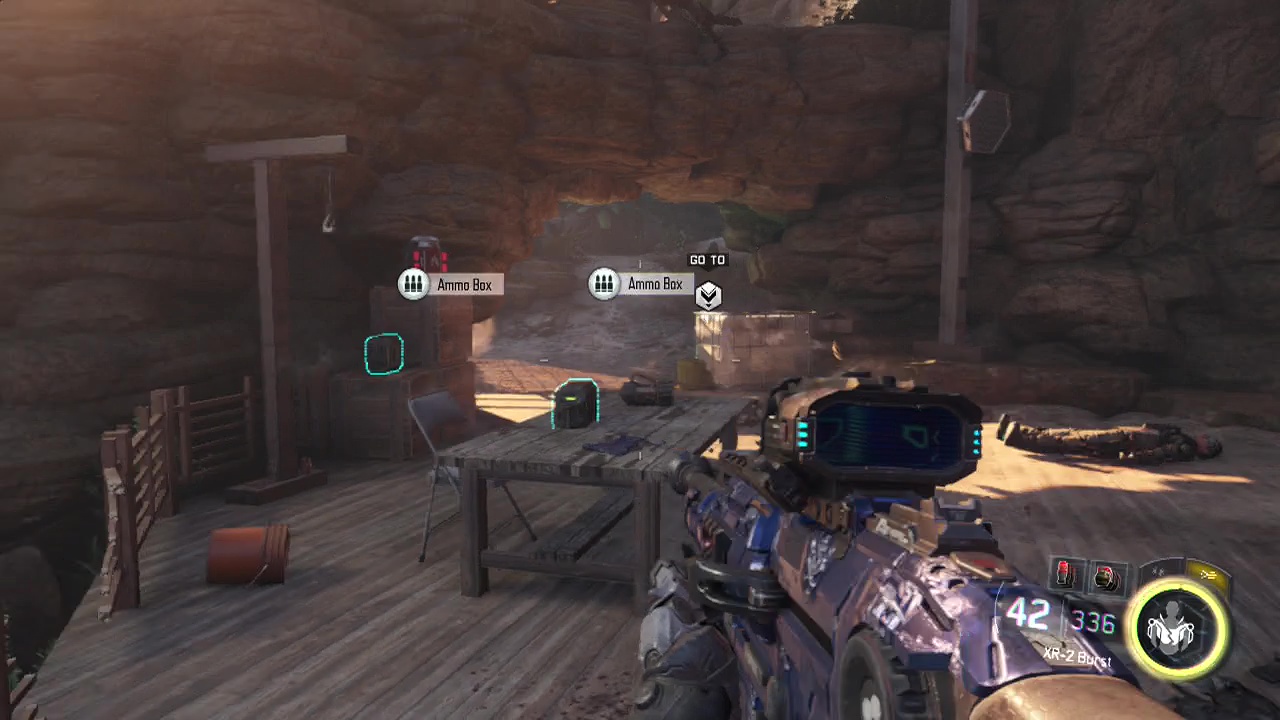
You'll need to move further along the streets to trigger another group of enemy troops who arrive from the rear left area of the village. Don't forget to use the upper levels of buildings if you are having problems shooting through and around cover. At around this point you should catch up with Hendricks near the back of the village. Restock on ammo at any of the ammo boxes near him and he'll tell you that the enemy is falling back. Stick to the right wall near the back of the village (there is a pair of ammo refills close to it) on a wooden table next to green vines covering the wall is a Supertree Souvenir to collect.
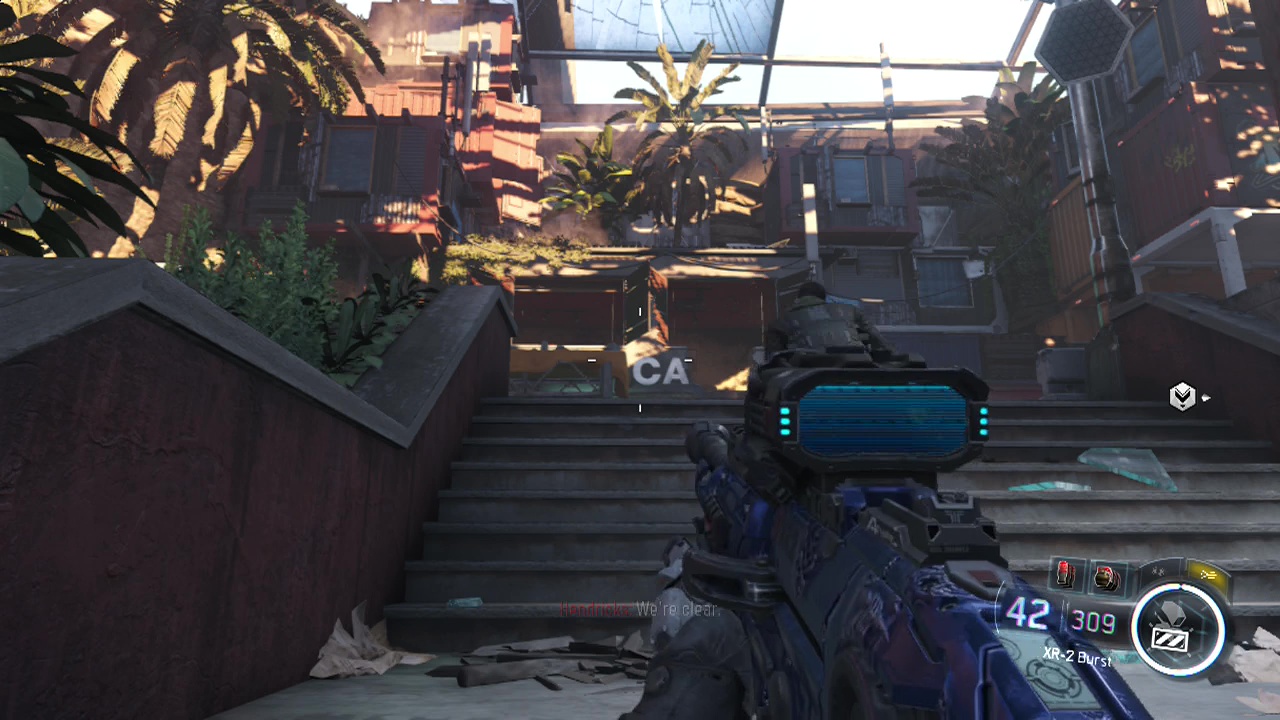
Now that's out of the way, head for the marker showing your next destination. As you reach some stairs leading up to a sign saying 'cafe bar' in white on a wall at the top, a turret and additional enemies will emerge and shoot down from the large window. Once again the control core will help you out here if you have the remote hijack ability or mass paralysis, allowing you to turn the turret against it's allies or disable it. Failing that, you'll need to either shoot it or try a different method of taking it out. Stay at the divider at the bottom of the stairs for cover or retreat behind a nearby wall before starting the attack.
When the cafe is clear, move over or through the shipping crate beside it and you'll find a cave ahead of you. As you enter, make sure to stick to the right wall as an enemy ambush is about to be sprung. With tactical view, you'll see the enemy firing area in the sun-lit part of the trail out the other side of the cave. When you move up enough for Hendricks to rush forward, immediately backpedal as a shotgunner will round the bend in the trail and open fire on you if you remain still. Gun him down and then move back up warily.
After this your robotic friends should move up and take the fight to the enemies on the rock ledge above. While they distract the enemy, use your tactical view to locate the enemies positions while you fire or lob grenades down the dirt trail at them. Grab some supplies from the ammo boxes on the table around the next corner before you move towards the rock archway next to it. Through this you should be able to see more enemy forces moving around. Use the rock wall or wired crate to take cover behind while you take potshots at the enemies positioned ahead. More robots will appear and rush forward to join in the fun as you continue to lay waste to the enemy forces.
A turret will be sitting in the middle of the street ahead that you should be able to see as you pass through the archway. Take control or try to bring it down from your cover position near the archway. A warlord will also be next to the turret (which makes taking over the turret even more of a strategic move as you can use it to blast the warlord). If you don't have control abilities, you can use the allied robots as a distraction while you try and gun down the turret from range, and then follow up with the warlord.
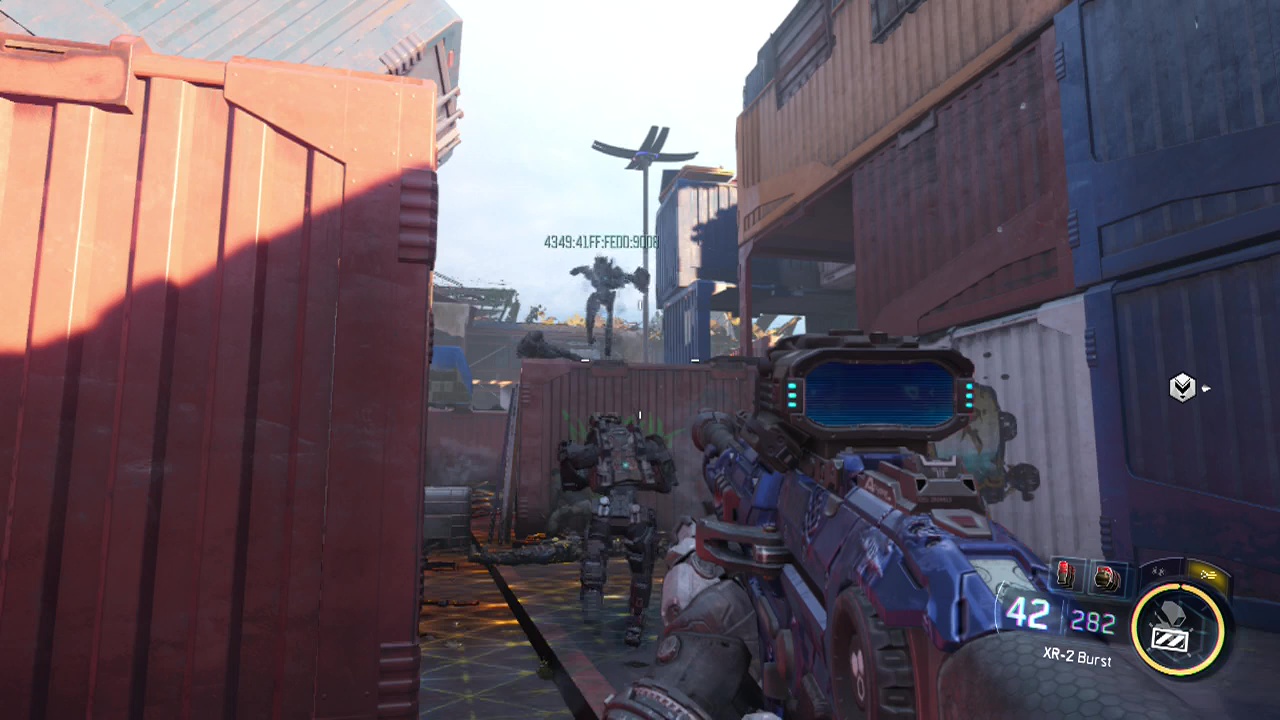
Jump across the gap in the ground ahead after you finish off the enemy forces and watch your robots run forward to meet the approaching enemy robot squad when you move up. When you see them appear, back up to take cover inside a building or behind one of the concrete walls nearby. You can investigate the building against the left wall of this area to find a Dud Slave Collar on the second floor. More human soldiers will also be behind the robot group, so start taking them on from your cover position with core abilities or gunfire. Move forward through the huts as the enemy are cut down until you are confronted with two paths as you enter a yard full of shipping containers.
Two groups of three enemy talons will be flying around in the front area of the container yard, while robots try to flank your squad from the right path. Take cover behind one of the shipping containers in front of the yard and start using your core powers or gunfire to bring down the robotic enemies. They should mostly be concentrating on your robotic allies when they move up so it shouldn't be too difficult. Afterwards, Hendricks will ask which way the team should move. Either way is the same, only the enemy positioning changes slightly so pick whichever way you want. I went left personally. The split is only for a minute or two anyway.
Move up the path enough to get your allies to run forwards, but not enough to expose yourself to enemy fire. There are plenty of shipping crates on the sides of the path you can use as cover from the enemy soldiers, robots and talons that appear. Make good use of your tactical view to avoid getting shot by the enemies up on the top of the containers (one or two with rocket launchers that pack a punch). A thermal scope will be extremely useful here to locate the stationary enemies here if you have one.
Move up to the corner heading toward the back of the container yard carefully, once again enough to move up your forces but not far enough to get shot by the waiting robots on the ground and the human enemies on the crates above. Repeat the same strategy from the section you just did, picking off enemies from behind your shipping crate cover while your allies deal with the threats on the lower levels. There will be a phalanx on the lower level at the far end, but as he is alone he shouldn't be too tough to deal with.
Be warned however that when you reach the gate at the back of the container yard, it will open up to reveal a warlord who will rush out and attack your forces and you if you are close enough. You should have enough support around to help while you bring him down fast, as long as he doesn't take you by surprise. Mop up any remaining enemies when he is gone and head over to the door at the back of the yard where the warlord entered from. Before moving through the door, turn right and look for a dark blue shipping container on the second layer/level. Inside is an Antique Vase. As the door opens, you will see a P.A.W.W.S in the area ahead. If you have the remote hijack ability, this should be a fairly easy encounter: just peek out of cover until you fill the bar and take control. If not, you'll want to stay in cover shooting at it from the gate while your allies engage it and it's four supporting robots directly.
As you trek forward, you'll see robot enemies moving around the entrance to the Cloud Forest building ahead. You can use the ramps leading to the upper level walkways outside to shoot down on them, or simply take cover on the lower level approach to the building, firing from behind cover. Carefully move up to the barricade at the entrance to the building to keep taking on the robots inside who activate from the wall charge sockets when you get close. This position should allow you to bring down the remaining forces on this floor.
When the first floor is clear, Hendricks will call out for you to move on to the second floor. You want to be extremely cautious here as reaching the top of the stairs on either side will set off more robots on the second floor, along with a warlord who will start chasing you down. Immediately retreat back towards the entrance barricade and open fire on the warlord as he comes down the stairs after you. You can also retreat further to the barriers just outside the building if he gets too close. A hound (small robot on treads that fires a machine gun and missiles) will move down the stairs from the second level as well, so be prepared to take this out too. Finish off any remaining robotic forces on the second floor to begin your assault on the third and final floor.
Restock your ammo next to the staircase where Hendricks is waiting before heading upwards. When you reach the top of the stairs use them as cover as a pair of phalanxes, along with multiple robots in wall sockets to the right will start heading towards you. A well placed grenade or gunfire should take care of the phalanxes, while the robots are just more of the same that you've faced already. A group of four or five human enemies will move up behind the wall ahead when the initial enemies are down. As on the lower floors, mop up any remaining enemies here before taking cover to the side of the large hole in the wall.
Use this position for cover while you mow down the waiting enemies outside, before emerging and climbing up the stairs nearby. Once again at the top of the stairs, slow down as more enemies come into your tactical view. You can rush forward to the left to take some more solid cover here or remain at the top of the stairs moving up and down as you shoot over the barriers at the enemy forces. A trio of talons will appear above the walkway ahead, quickly followed by a wraith in the skies above the dome.
For now ignore the wraith as it shouldn't lock onto you while you are in the dome (unless you attack it directly). Start getting rid of the talons in the air as well as the additional two reinforcements that show up and keep following the walkway, clambering up the next flight of stairs. Take cover at the leafy barrier in front of you as you enter into another building, shooting through the windows at the oncoming robotic minions, including the one in the wall socket to the right. Three human enemies will be able to see through the gaps in the wall from outside and may shoot at you if you get too close to one. Additional talons will also appear in the sky outside for your bullet shooting pleasure. In the center of this area in one of the display cases is a red Mineral you can grab as well.
When the coast is clear of threats once more, leave through the opening on the far side and step onto the walkway with it's corrugated iron sidings avoiding being shot by the enemies further out, as well as the shotgunner running down the stairs to your right from the upper level. Now you can (you guessed it) go up even more stairs. As you reach the top, you'll see a line of multiple robots moving towards the walkway you are on from inside. Take cover behind some crates or retreat downstairs when this happens, using your core abilities or lobbing a grenade into the groups midst to take out several at once. Two marked turrets will also be further inside that you can commandeer with the right ability, tearing through the robot barricade in the doorway. As usual, if you don't have the right abilities, you'll be left using gunfire and EMP grenades if you brought them. Once the turrets are no longer functioning, move inside and hack the wall panel to gain access to the control room triggering a scene.
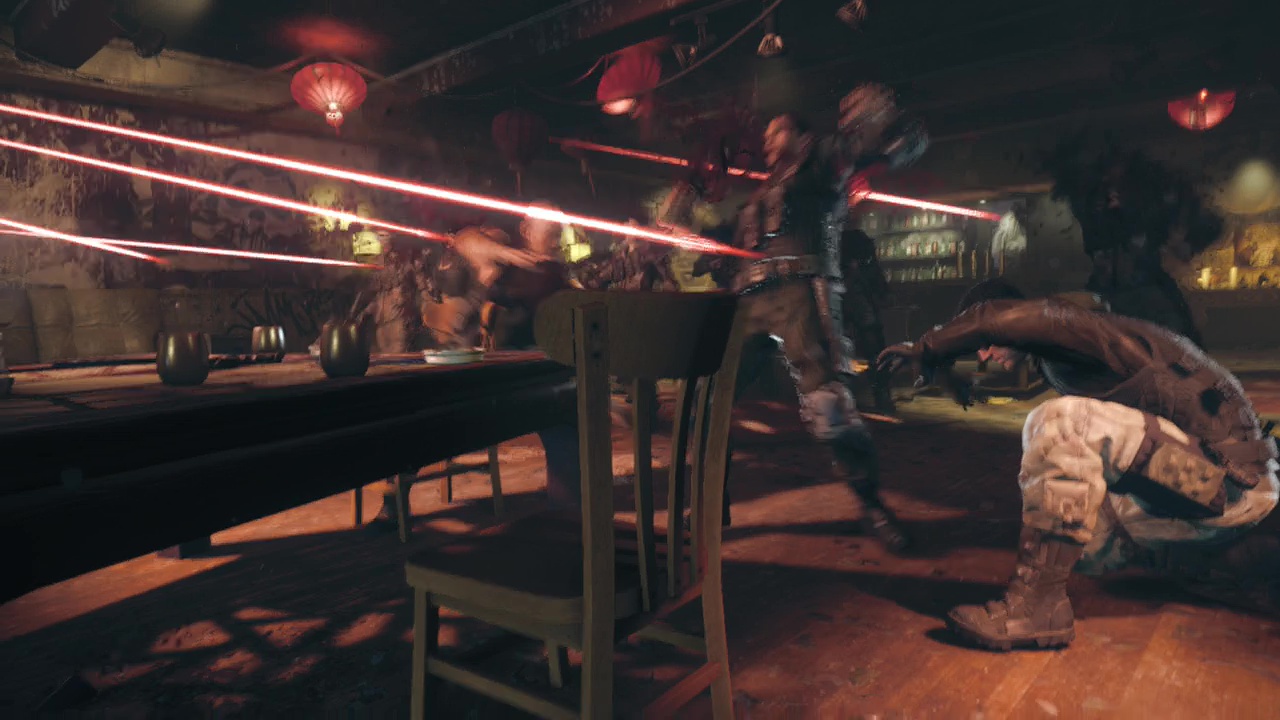
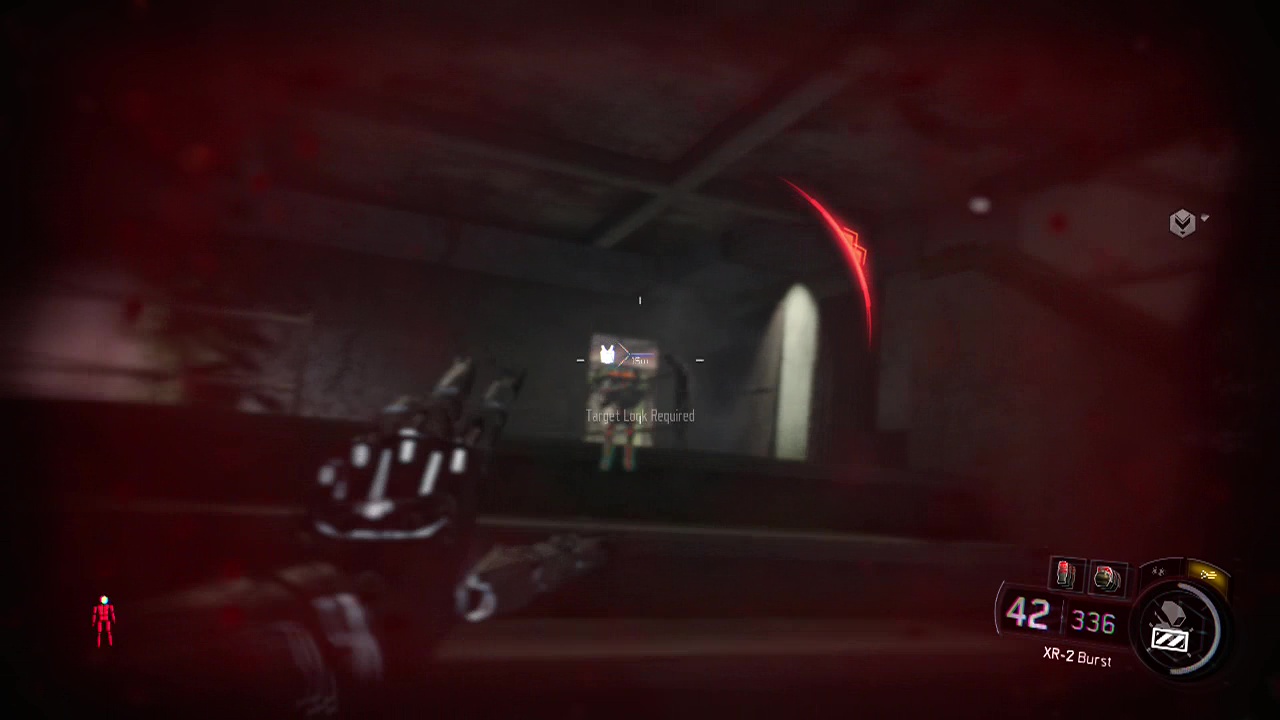
Aw, shit. You'll be left to fend off incoming enemy waves while Hendricks is temporarily incapacitated. Immediately choose a location on the side of the room closest to Hendricks to take cover. I would advise the upper level if you can as it makes it impossible for enemies to drop down from above to back attack you in the gunfight ahead. For those that can't make it up there, you'll just have to bring your A game to the fight to stay alive. Thankfully there are a couple of checkpoints during this fight (40% and 80%) to make things a bit easier.
Initially you'll see a bunch of enemies trying to break through the window on the right of the room while enemies rush in from the area at the back. Enemies will also show up on the right side of the upper level as well for you to worry about. The idea here is to basically hold your ground against the incoming enemies until the data upload is complete, and then kill any remaining enemies in the room. How you do it is essentially up to you but make sure you stay in cover and throw back any nearby grenades. There's no simple way through this fight, but if you are lucky enough to have fireflies or thermite grenades, it will make things a bit easier. When the room is empty, jump out through the window the enemies initially broke through and connect to the zip-lines on the railing to trigger a scene and slight change of scenery.

You'll land in front of a bridge which leads to a nearby supertree. The idea here is to cross to the far end of the rope bridges (using whichever route you wish to take as there are multiple), taking out the large number of human enemy forces along the way. There will also be a wraith hovering overhead during this watching your every move. So I suggest bringing down the wraith as soon as you can when you are in a position with decent cover. A few clips from your gun will leave the wraith as wreckage in the water below. You will really want a thermal scope here if you can because the enemies will arrive on zip-lines or run across bridges, often flanking your position unexpectedly. Make sure you have the tactical view on at all times to help you stay alive.
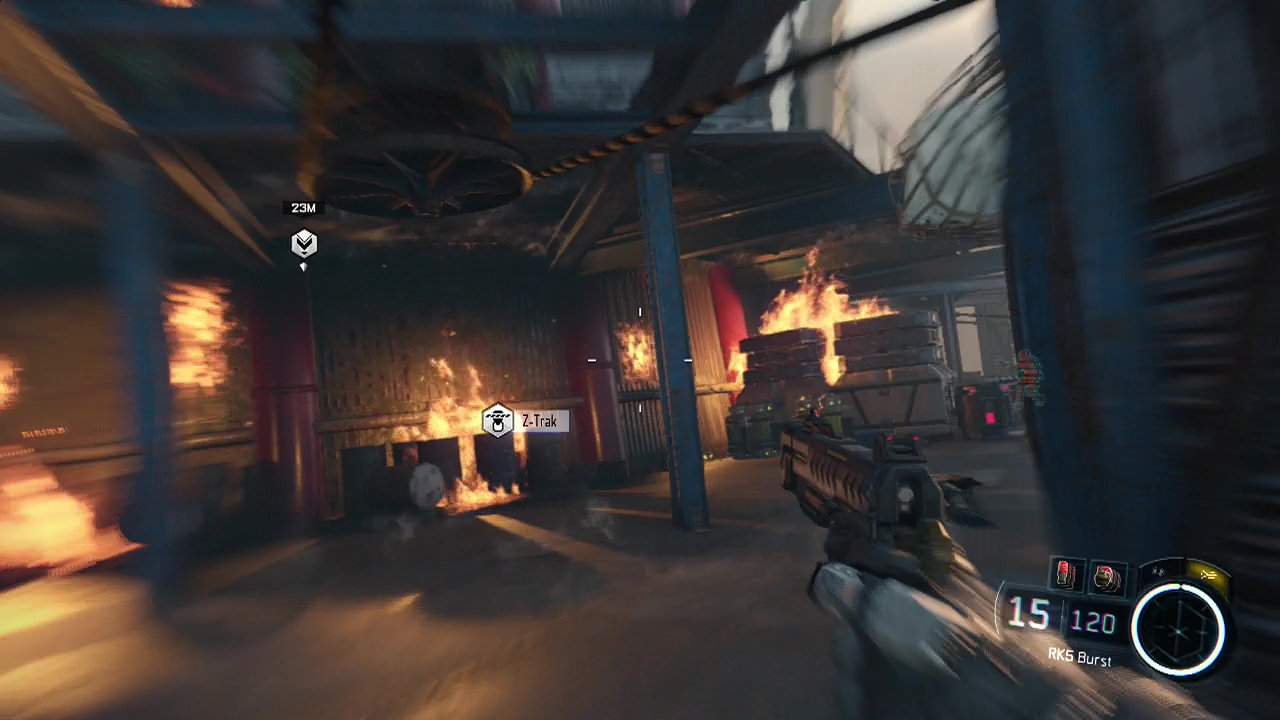
Just a collectible note before you cross the final zip-line to the burning supertree, on the lower level of this tree on a crate is a Bullet Shell Necklace to pick up. Good luck, it may take you several attempts but you should finally reach the zip-line leading to the burning supertree. Immediately open fire on the enemies to your right when you land on the burning tree and then scramble up the steps to your left. Race inside the upper level and interact with the elevator cables next to Hendricks to rocket skyward to the top floor. Follow Hendricks across the flaming room and jump from the ledge into the turbulent water below.
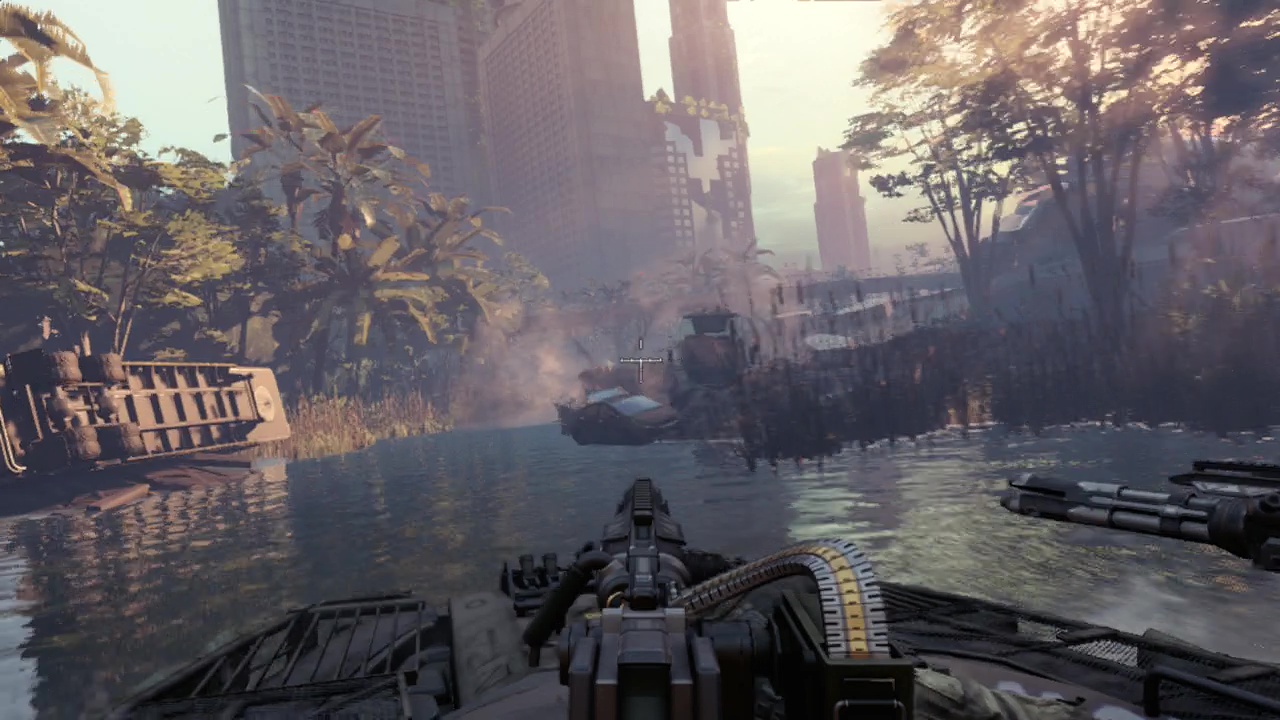
Stay low in the water and swim after Hendricks as the bullets whiz around you. Swim under the first wooden dock to surface next to Hendricks at the second, turning right to take cover behind the box covered in blue cloth as a group of enemies move toward the dock. After the gun battle is over, approach the boat and take control of one of the turrets for the journey onward. Like the turret section in the previous level, the turret section is fairly easy. Focus fire on enemy vehicles and guard-towers as you zip along the waterways. This time the turret doesn't overheat (water cooled maybe?) so you can just keep firing to your heart's content. When the boat comes to a stop, a scene will take over and the mission will finish up.