

MISSION 05 – Hypocenter
Core selection: You will be dealing with a LOT of robots in this mission. Seriously consider taking the control core, or if you can't, then take the chaos core for it's immolation ability. EMP grenades are also handy too.
When you gain control, you'll be looking down at the wreckage of an old reactor site swarming with 54i soldiers. Before you get too close, look for a yellow tent along the dirt path, inside is a 54i Data Pad. Enable your tactical view and move along the trail through the undergrowth to the right to start getting closer. If you have a weapon with decent range, you can hold up behind one of the barriers/ rocks beside the trail and start picking off enemies from your position in the shrubbery (must resist urge to make Monty Python reference). Some of the enemies closest will likely rush towards you after you open fire, so be ready to deal with them before they get too close.
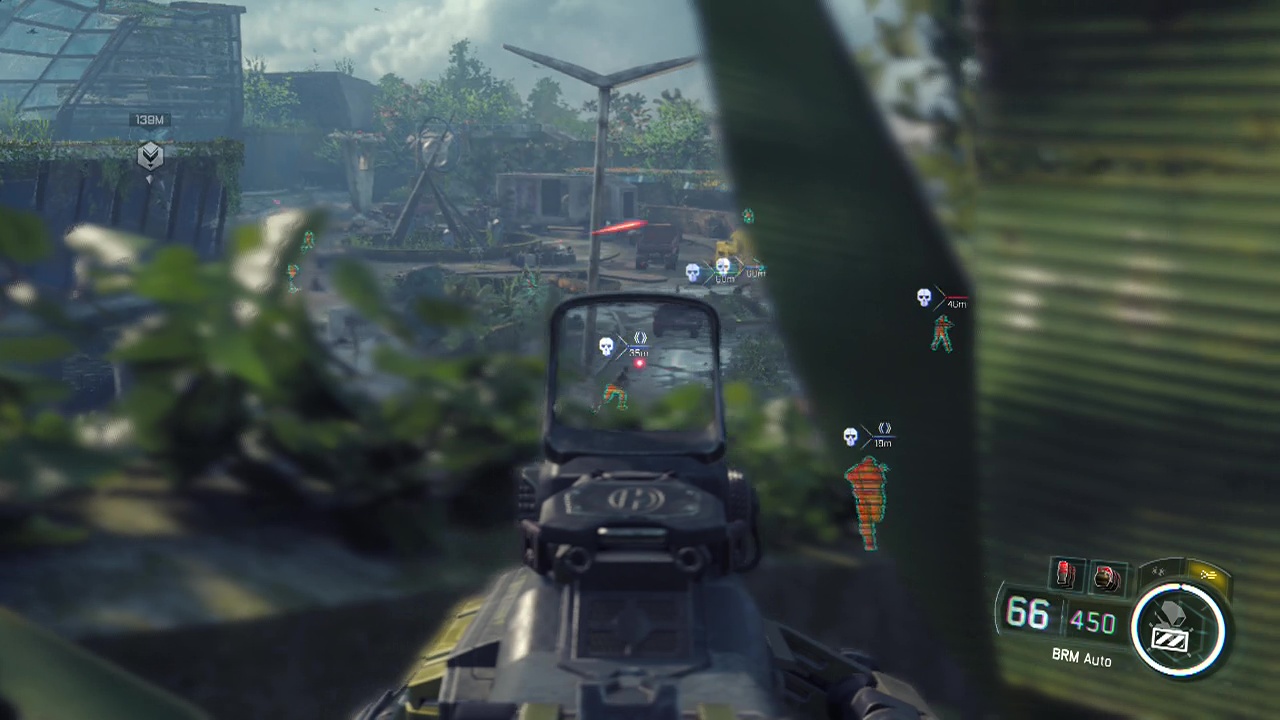
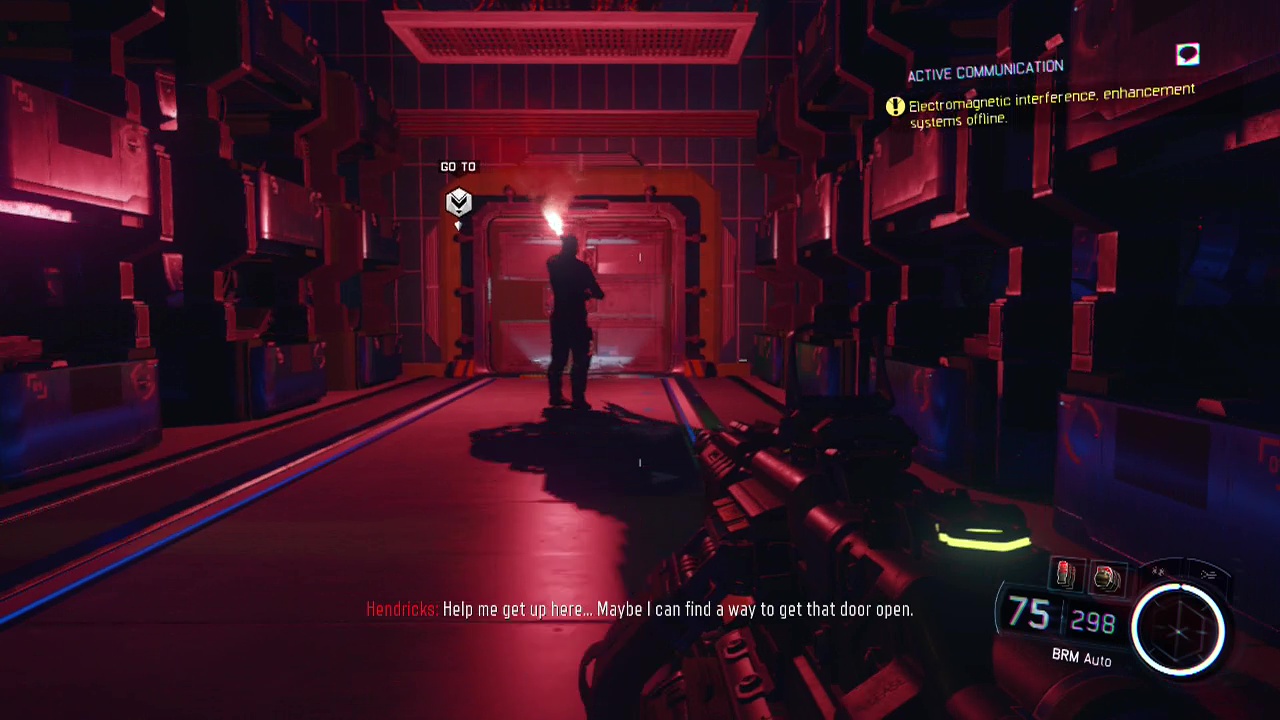
When you run out of tactical view targets, you'll need to cross the road and start moving from cover to cover towards the open area below where all the soldiers were swarming. Take your time as you move through the debris, checking for outlines and potential ambushes as you move towards Hendrick's position. There is a technical with an active turret in the center of the area that you can use if you want to be a bit reckless as well to mop up the remaining enemy forces. When the final human opponent falls, an explosion will rock the far end of the plaza and a A.S.P tank will erupt from underneath a pile of rubble, opening fire as it emerges.
Near Hendricks position behind the fountain, you will find multiple XM-53 RPG launchers. The A.S.P has deflection plates that prevent incoming grenades and rockets from hitting the main body of the tank until it is weakened by gunfire. While remaining in cover to avoid the A.S.P's attacks you will need to unload a fair few bullets to temporarily disrupt the plates and then swap to the RPG and fire off two locked on shots as quick as you can to deal the maximum amount of damage in each barrage. After around five successful RPG shots, the A.S.P should clatter into stillness leaving you and Hendricks alone in the plaza.

Stroll over to the marked door past the fallen A.S.P, hacking the panel next to it to gain access to the facility. Trail after Hendricks down the stairs and through the foyer. When the sceens light up, turn left to find a small dead end alcove with a Contamination Test Kit in it. You'll pass through another door, followed by finding a large number of bodies scattered on the ground. After a bit of dialogue plays out, follow Kane's instructions and interact with the datapad on the nearby body slumped against the low wall. You'll then begin descending the ledges around the circular perimeter of the facility. Be careful doing this as a missed jump can tumble you into the darkness below to a painful death. Follow Hendricks and the recon drone ever downwards, wall-running or doing undignified jumps after him. After reaching the other side of the wall-run, your tactical view will spot some 54i enemies in the rooms ahead.
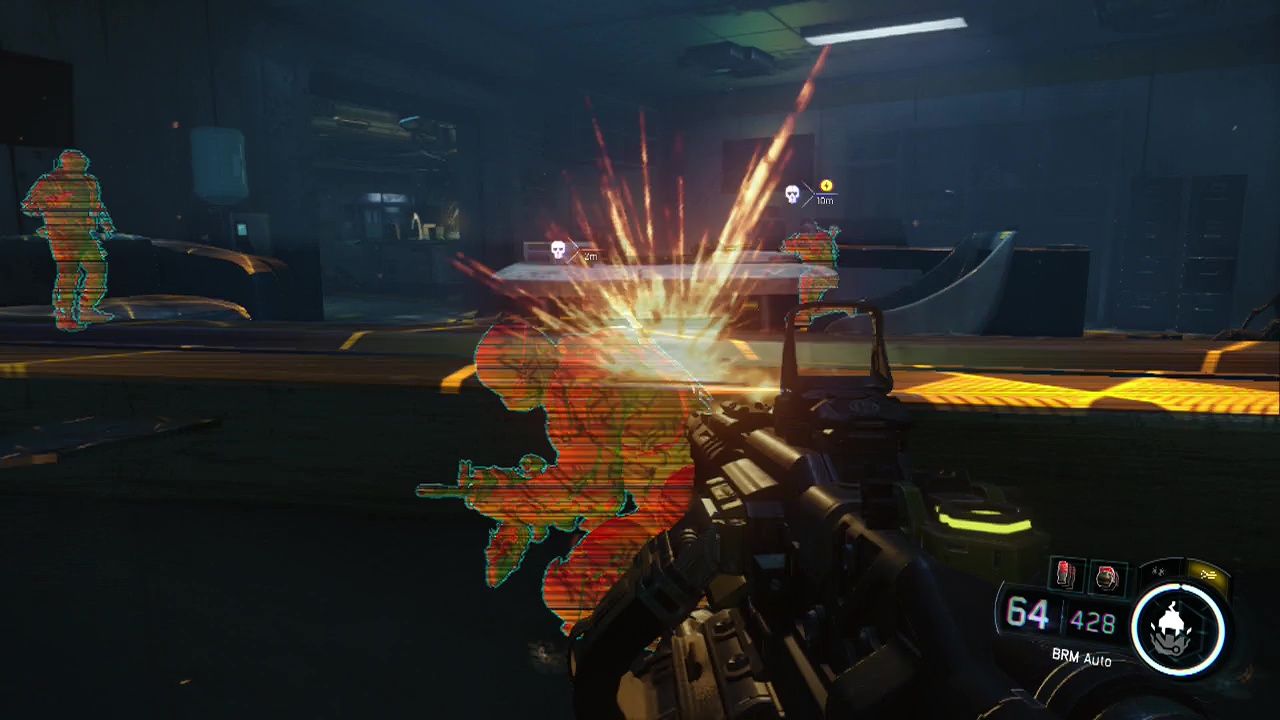
Use either one of the window sills (straight ahead or in the room to the left) as cover positions while you open fire on the enemies in the rooms beyond. A warlord at the back of the group will be your biggest concern here. If you have the control core, you can screw with his augmentations to temporarily disable him allowing for a succession of head-shots, while the chaos core's fireflies will quickly clear out the other goons leaving you free to deal with the warlord one on one. If all else fails, stick to cover and fire at him when you can, throwing a grenade out occasionally to keep things interesting. As you move up, more enemies will run towards you, so take cover and let them come into your firing range.
When the lab is clear, resume your tailing of Hendricks and his drone buddy. You'll descend some more ledges, perform more wall-runs and traverse some crumbling walkways, until you reach a room with rusty red paint on the walls with multiple robots in containment cells. Ignore the strange robots for now and continue after Hendricks and the drone. Duck under the door he opens and wait for him to rejoin you before moving along the hallway. Even more ledge dropping will follow with you reaching a large circular area at the bottom. Hug the right wall when you land to head into a small room. As you do, robots in the area will activate and begin targeting you and Hendricks.
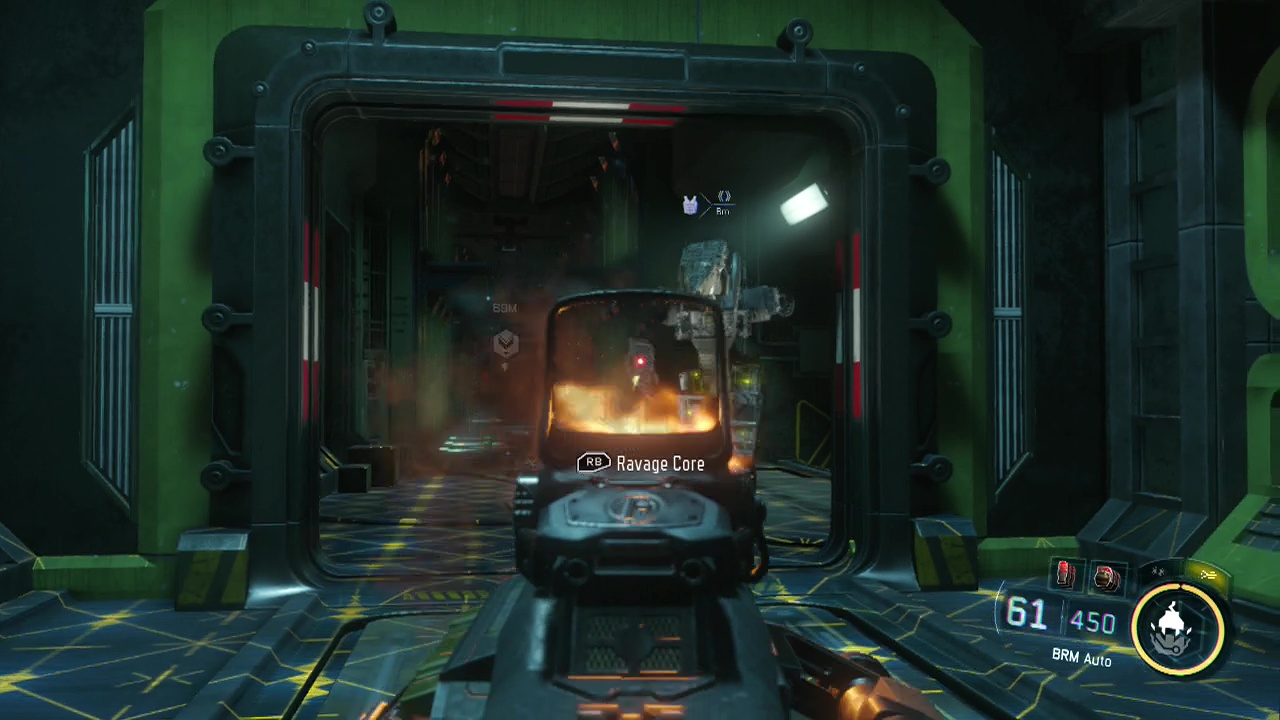
Use your position in room, taking cover by the windowsill to fire out at the advancing menace. Use your core powers and/ or EMP grenades to quickly bring the enemy forces to heel. This is where the robotic enemies on the level begin. You're going to be glad you brought that control core and EMP grenades from here on out. Be especially wary of the robot with the RPG on the upper level as well. Watch out as the initial group are broken down for parts, as two more robots will drop down next to the door of the room you are in and will come inside to try and take you by surprise. Greet them with a hail of gunfire to finish off this first robotic horde. You'll also find some Coalesence Marketing Material in here too.
Amble over to the center of the area to meet Hendricks and the recon drone as a new path is opened. Drop down into the darkness after Hendricks and activate your enhanced vision (D-pad up). Keep chasing after Hendricks, making a few dicey jumps in the darkness until the drone encounters some problems. At the end of the unexpected platforming section, you'll find a lit doorway. Disable your EV as you approach and enter the hallway (why is this looking more and more like a vault from the Fallout series?). Move up to the marker in the room ahead and examine your surroundings, including the glowing blue eagle emblem on the wall.
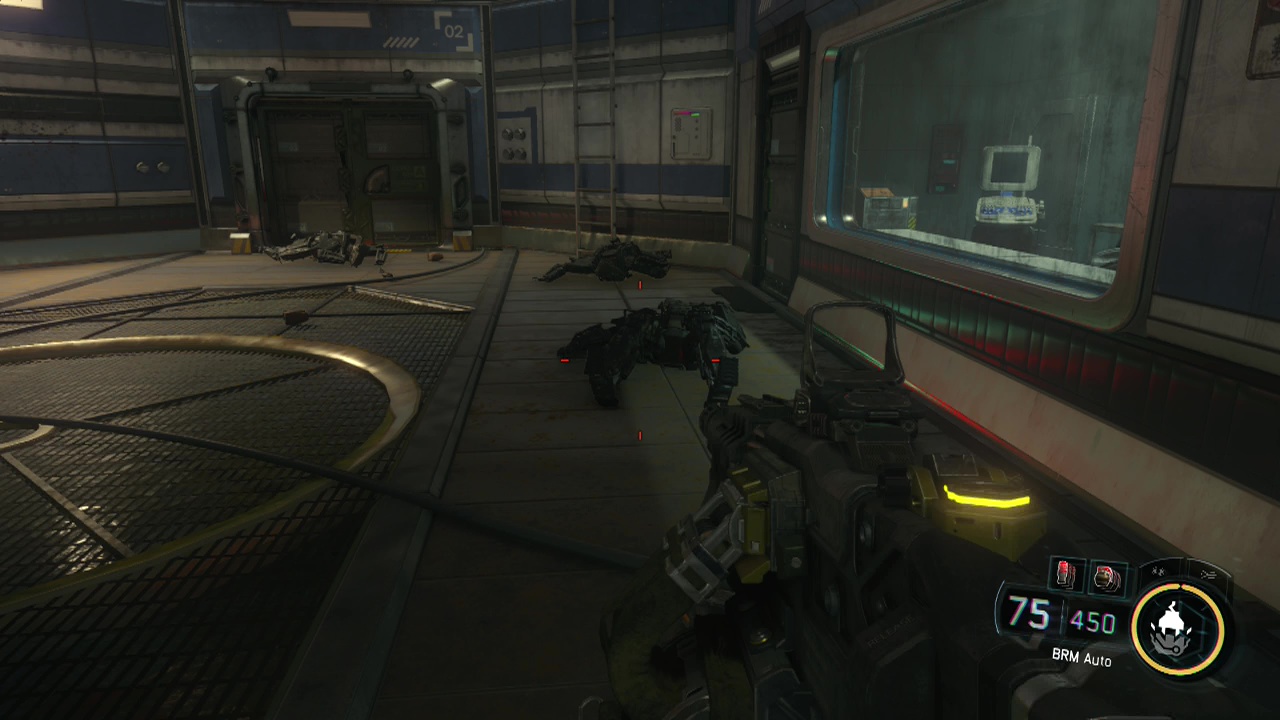
Restock at the ammo crate in the corner before following Hendricks through the doors. A Biocontainment Canister will be through the first door to your left in the corridor. Move down the stairs and enter the oval shaped room through the next set of doors. You'll spot several robots lying on the ground. Quick players may notice that their cross-hairs are red when they hover over the robots. Yes, they are all active, so start meleeing/ shooting them immediately as they will be ambushing you shortly if you don't. The robots will begin getting up to attack after a few seconds, and on higher difficulties their melee strikes pack a punch, so be sure to shoot them as quick as you can or use your core abilities.
The bots will start dropping down from the walkway above, so tuck yourself into a corner and open fire on any that you see. After killing a fair few, Hendricks will run off down the corridor. Reload and chase after him, remaining on the alert for robots lying on the ground or dropping down from the level above. You can use the stairs in a side room to reach the upper level if you wish here as well. As you round the corner near Hendricks, more bots will run out of what looks like a circular break room ahead.
Keep moving down the corridor after Hendricks, following down a staircase until you reach a door with a panel you can hack. Opening it up will trigger a few scenes. Theres an E-ink Whiteboard on a counter nearby in this room as well. When you regain control afterwards, you'll be following Hendricks back into darkness once more. So flick on your enhanced vision again down into the darkened rooms below. As you enter a room at the bottom of the stairs, your optics will start playing up, preventing the tactical view and enhanced vision from working, so turn them off and catch up with Hendricks next to a door in the gloom.
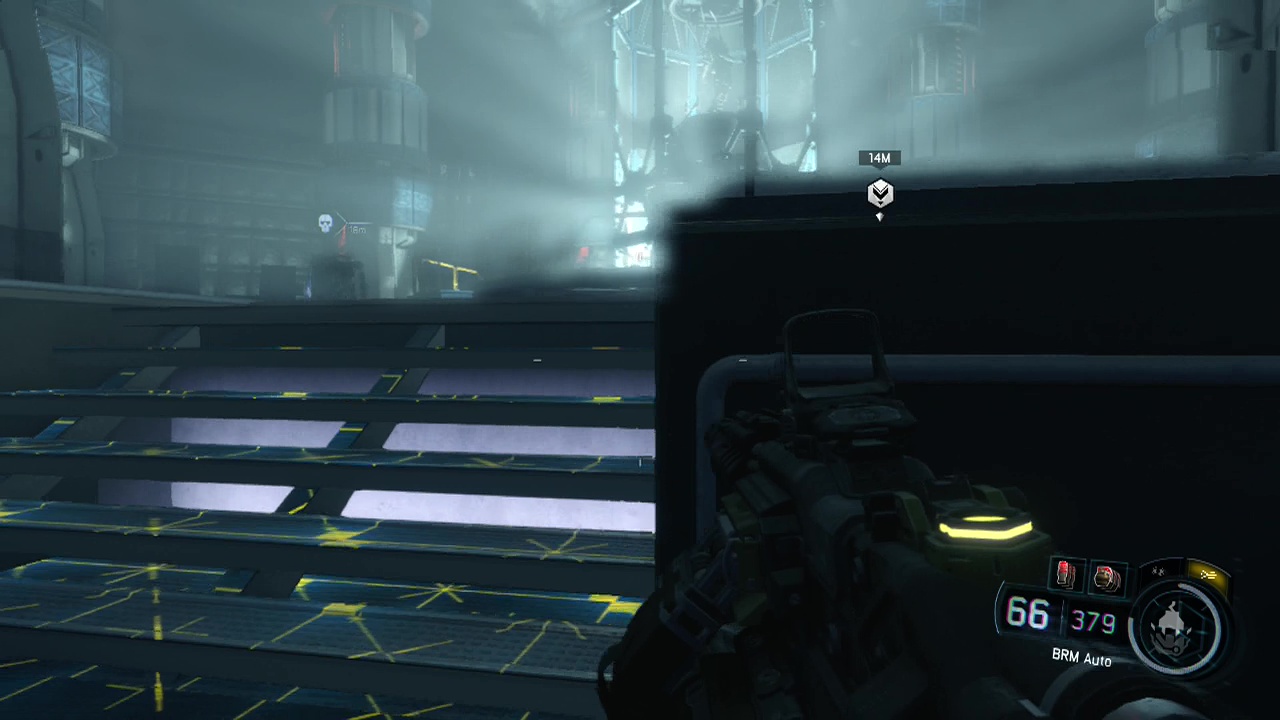
Get close to Hendricks and you'll automatically boost him up to the ledge overhead. A few seconds later the door in front of you will open, however Hendricks didn't open it. Anyone else getting the feeling they just walked into a horror movie? Restock at the ammo crate just inside the door and then move into the room bathed in red light beyond. If you move into either of the side passages (left or right) they will seal behind you, forcing you to move though a linear sunken corridor. As you move up, robots will burst up out of the water and race towards you to attack. Empty your gun's bullets into them or use your core abilities to destroy them before they can hit you. I hope you have a gun with a good reload speed or a large magazine (like an LMG) as they come at you fast and furious.
Pass through the lone open door in the middle of the waterway and take care of the robots in the central area before walking through the door out of the room towards the objective marker. Passing through the next doorway will restore your optical enhancements, so you can reactivate tactical view again. Turn into the first room on the right to find a Prototype DNI Implant. Restock at the ammo crate on the corner before following it around to find the entrance to a new room stocked to the gills with robots in charge bays. Yeah, they ain't gonna like you walking through. You'll want to rush forward here until you hear the robots start activating, then backtrack to the entrance you came in from as you blast down the onrushing robots. Despite the large number of robots in the room, only five or six actually activate, so it is fairly easy to dismantle them.
Go through the now safe robot corridor towards the marker at the end where an open elevator is waiting for you. When you reach the bottom floor you'll finally be in the server room. Someone is in the middle of the room using their DNI to control the robots in the facility and you've gotta stop them. Great. I'll lay out the general strategy of this section (as it consists of three repeating tasks) with a few pointers on what to look for as you take this person and his robots on.
The idea here is to shoot the covers on three pipes (one at a time) in the middle of the circular room. When a pipe is open, you can approach the marker on the central dais and you'll automatically perform a climbing/ grenade throwing animation to damage the core inside. While you attempt to do this, ranged robots and melee bots will attack you constantly (with infinite respawning at the center dais). On higher difficulties you need to be extremely alert to avoid being blindsided and one shot killed by the fast moving melee bots. Having the control core here to hack the ranged robots or to defend yourself while reloading is exceptionally useful here. Between the second and third pipes, you will need to defend Hendricks in the control room (look for the shield objective marker) by shooting the robots that try to jump up and explode on the glass. Keep in mind that you are invulnerable during the grenade toss animation, so you can use it to heal up on veteran difficulty if you make a dash for the trigger spot. Oh, and don't forget to use the EMP grenades if you brought them, as there are four ammo crates on the outside of the room that you can restock at. After throwing in the third grenade, scenes will trigger.
Afterwards you'll be in serious trouble as the place begins to fill with water. Chase after Hendricks as he runs down the corridors. Start firing at the 54i enemies above when you reach the bottom of a set of stairs, also getting rid of the guy around the corner at the top of the stairs. Shoot the two or three enemies running straight towards you down the corridor ahead before you sprint straight along it after Hendricks. You'll have to run and gun another couple of goons as you race along the corridor ahead, stopping at the corner to take on the force on the other side of it. Climb up another set of stairs to the next level up and take cover against the railing in the room at the top.
You'll need to bring down a couple of robots and a few immortals before you can move on once more. On the other side of the upper level, drop down after Hendricks and listen to Kane's plan. When Hendricks starts fiddling with the doorway, take cover behind the crates on the left hand wall and start laying into the approaching enemies. After taking on about ten robots and a lone human enemy, Hendricks will call out for you to give him a hand. Race over to the marker beside him and interact with it to open the doors and flood the place.
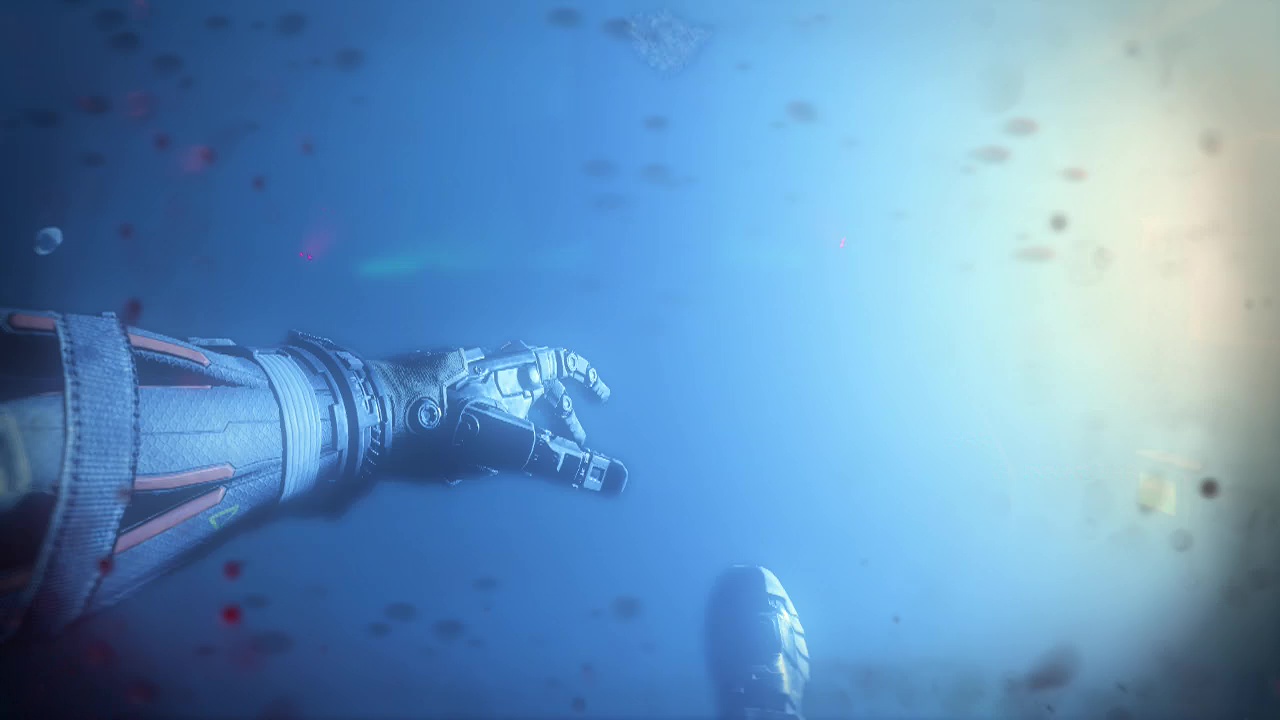
When you regain control in the flooded corridor, swim after Hendricks, blasting the robotic enemies on the walkway in the first room you get to. Swim up to the marked doorway and shortly afterwards you will be swept all the way back to that circular area where you first started to encounter the robotic enemies in this level. When you gain control once more, turn right and open fire on the robots on the walkway. Advance warning: There are depth charges being dropped in the area above that home in from a fairly large distance dealing a decent amount of damage (2x hits kill you on veteran difficulty). To avoid death, you need to follow the marker exactly.
To start with, from the two robots you just destroyed, look up to see a large hole in the roof with three or four depth charges falling through. Use your gun to quickly dispose of them and then swim up to the hole. From here you should be able to see a large section of walkway falling (which you want to avoid being crushed under) and a dangling series of shipping containers. You want to quickly swim up and inside these containers (as they partially protect you from the depth charge explosions) and swim up and onto the marked walkway. From here you need to follow the markers along the walkway, killing the robots that appear on it until a large group of them are killed by falling debris. When this happens, swim forward and upward to the water's surface to finish off the level. Trying to take on the depth charges or traveling up any other way nearly always ends in death, so use the method I described and you should nail it in a couple of attempts.