MISSION 06 – Vengeance
Core selection: While not very useful in the early parts of the level, the control core will help you tremendously in the second half as there are many turrets and P.A.W.W.S that you can immobilize or control. The chaos core will be effective for the whole level against the plentiful human and regular robot enemies, but won't be as effective in the final battle. There is also a heavy stealth focus in this chapter making the invisibility ability from the martial core effective as well. Essentially choose the one that matches your play-style as they all have benefits in this level.
Note: You will obtain a silenced sniper rifle halfway through this level (lasting for the rest of the level), so consider this when selecting your weapons.
Looks like it's time to pull off an old fashioned rescue mission everyone. When you hit the streets and gain control, immediately turn left into a small alley. Around the corner on the ground is a Damaged Optical Camo Cloak. Return to the main street and walk alongside Hendricks as you advance between the burning buildings. At a marker on the right side of the street, Hendricks will open the door allowing you access to the building. Ascend the stairs and carefully move into the next room towards the sound of voices. At the top of the second set of stairs, you can peek over the railing to see several 54i roughing up some civilians. You can open fire at any time, but if you manage to kill all three before Hendricks kills any you will earn an accolade. Dash past the cooling bodies after Hendricks and pass through the door he opens in the bedroom.
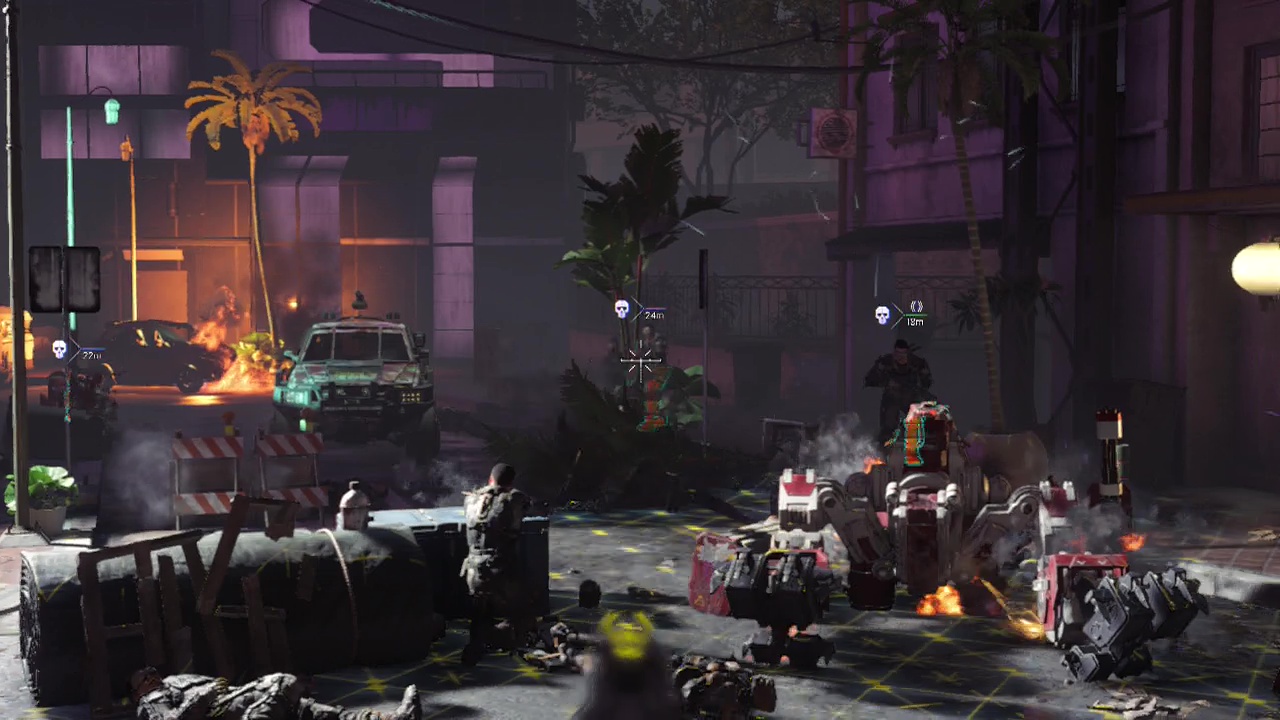
Walk onto the balcony outside and the game will take control as Hendricks takes on the enemies in the street below (including an P.A.W.W.S), dragging you along with him during the quick scene. When you land on the street you will be given back control in slow motion as Hendricks temporarily disables the P.A.W.W.S and the nearby human and robot enemies start firing at you. You can't take over the P.A.W.W.S, so don't even bother to try (I learned that the hard way). Immediately move backwards toward the back of the car you land beside to take cover, firing towards the human enemies in front of you. This way you'll be in cover as the technical behind the close group of enemies starts shooting at you. From this position, you should be able to clear the rest of the enemies on the street and the enemy using the technical's turret pretty safely. Especially if you get on the turret of the car you are huddling behind or have a chaos core with the fireflies ability.
When the street is clear of the living except for you and Hendricks, walk over with him to the wire fence to the left side of the road to enter an alleyway. At the next corner more 54i enemies will be waiting to take you on. The four close to you don't pose much of a threat, just be wary of the sniper in the lit window directly ahead as his bullets can sting. Enter the nearby metal doors under the exit sign with Hendricks afterward to enter the back rooms of a restaurant. You will see several 54i human enemies peering through the glass into the gloom inside. Say hello by emptying your magazine into them and the robots behind them, using the counter as cover. You can also take control of the robots if you have a control core to have them fire on the humans looking through the glass.
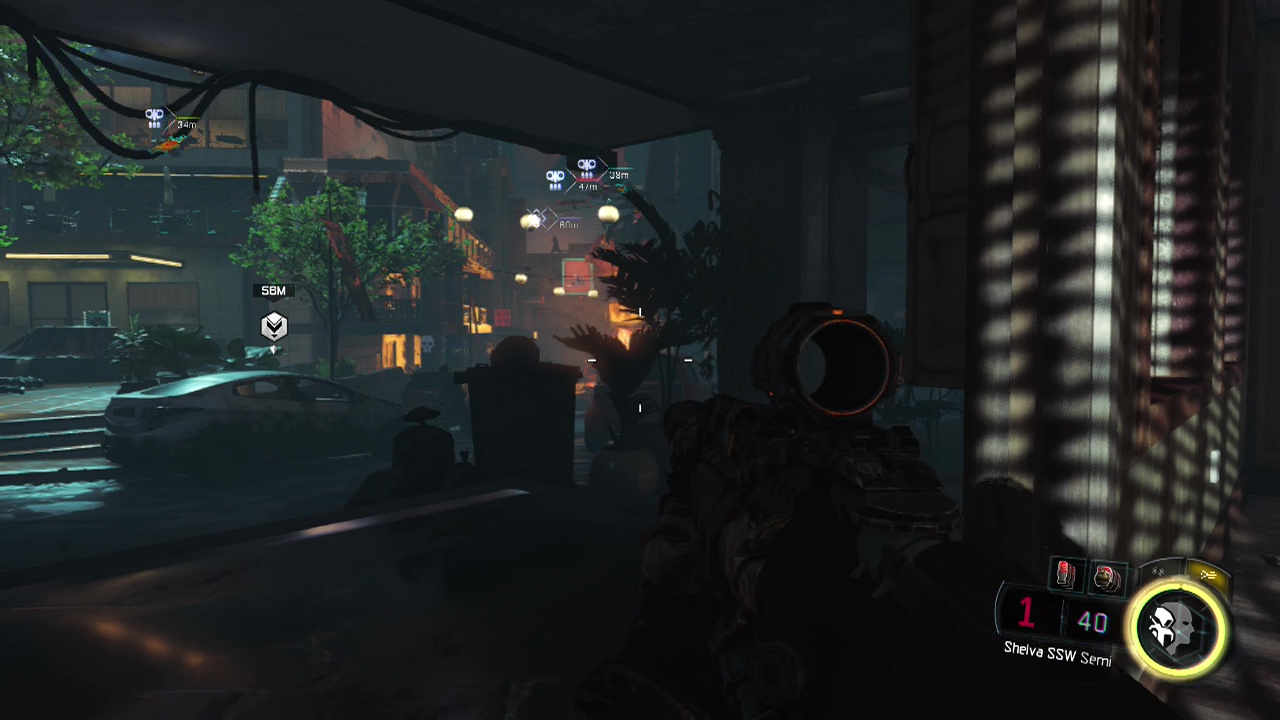
Follow Hendricks through the side door into another alley and open the marked red door to trigger a scene. After the scene ends, you'll be toting a Sheiva SSW (suppressor), which will likely be your best friend for the rest of the level. The idea here is to pick off the enemies in the street outside one at a time while no-one's looking. Even if you screw this up, you can still solve the problem with more violence but that isn't as stylish as taking down the enemy forces without them even realizing something's wrong. Take your time here, getting rid of the two enemies in front of you and then looking for the laser sights of the snipers in the upper levels of the other buildings. Focus on removing the snipers next unless the immortals get too close to your position. A couple of talons will also be scouting the street as well for you to use control's mass paralysis on or a well placed shot.
When the more complicated enemies are down, start mopping up the remaining goons on the street level, keeping a lookout for any talons arriving in the air above. When the street is enemy-free, move across it and down the alley behind the building opposite towards the objective marker. Be aware that there might be an enemy in a second floor window looking down the alley toward the objective marker so don't get shot in the back by him if you can avoid it. A sniper will be on a ledge at the end of the alley for you to take care of as well. Open the marked wire gate when you reach it to regroup with Hendricks. Around the corner you'll see an A.S.P moving through the flames. Unfortunately you can't control it and will need to move onto the ledges above with Hendricks to avoid it.
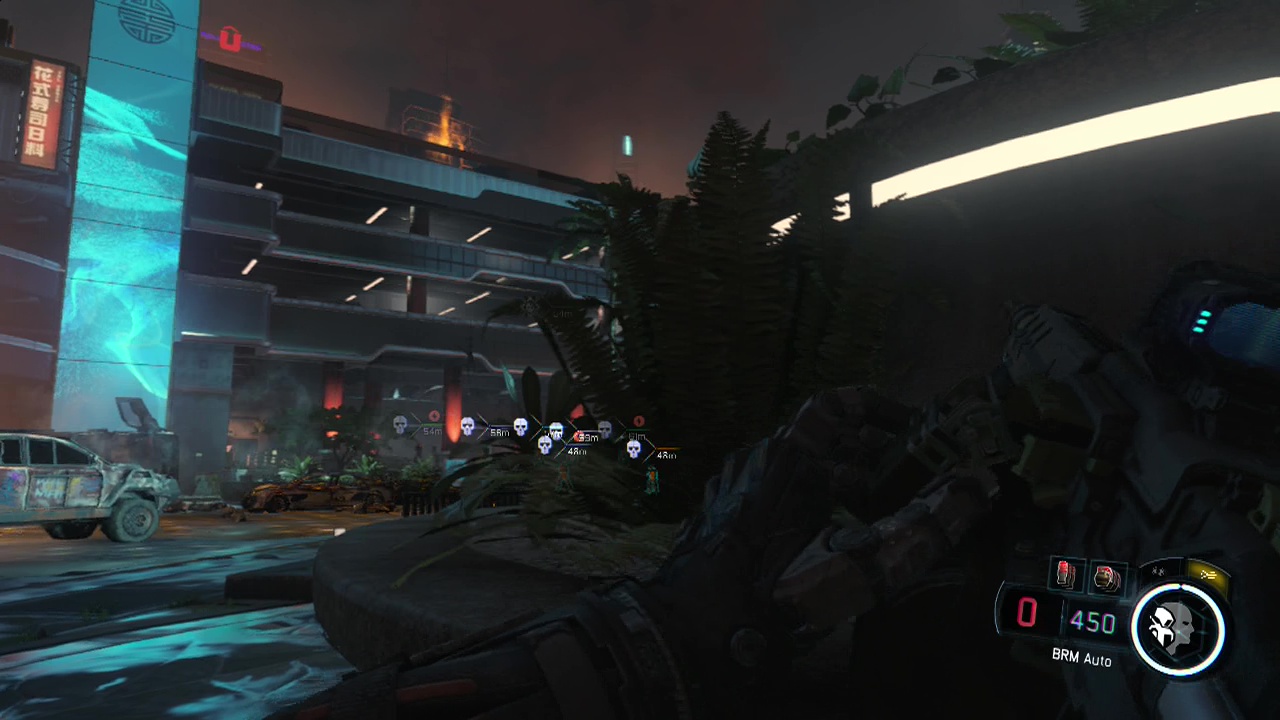
When you reach the rooftop, you'll be extremely glad of your sniper rifle here as you have brilliant line of sight on a massive area below. Think of it as a giant shooting gallery with a huge number of ducks to shoot below. If you have a weapon with a thermal scope (on you or in a loadout, as there is an armoury on the rooftop), it will make locating all the enemies in range extremely easy. Just swap back and forth between the scope and the sniper rifle as you locate and shoot enemies. Without the scope, you'll need to rely on your eyes and your tactical view markers. Pick off all the enemies as you can see (including the talons moving through the sky), before you descend from the rooftop and start moving through the streets below towards the marker. The more enemies you eliminate before you drop down, the easier the trek will be and the more likely you will survive.

You'll need to start moving through the streets. I chose to hug the right wall of the area, having to take out about six enemies total on my trip through the buildings. Just be cautious and use your tactical vision and/ or thermal scope to alert you of any nearby threats as you move up. In the back right corner of the area in a garden you'll find a Bio-Luminescent Orchid, it's a tiny blue glowing flower in a darkened garden just before you reach the street at the back of the area. Open the marked door into the building on the far side. Walk through the building after Hendricks and exit through the back door when the prompt appears. Looks like things just went from bad to worse.
A scene will play out leaving you in control behind a fountain, looking out at the massed 54i immortals laying siege to the building. On higher difficulties the turret on the technical to your left is not a good idea as you will be gunned down very fast by the snipers above. Instead, take cover behind the fountain and use your silenced sniper rifle or regular gun to start bringing down the many snipers in the balconies over the main entrance. You want to kill all the snipers as quickly as possible as they are the ones most likely to kill you if you move out of cover. After that, start clearing the enemies on the street outside the building. There are a lot of enemies here, but they are all in poor cover and die from a single decent shot or two to the body. They won't rush your position, so you have plenty of time to dispose of them one by one.

When you run out of enemies to shoot, follow Hendricks across the open space of the plaza, restocking your ammo on the way. As you get close to the marker, a rumbling starts. Immediately bolt for cover as an A.S.P bursts through the wall and starts attacking. If you retreat back to the wall near the fountain you can find an RPG launcher to help you take on the beast and the two warlords that emerge shortly afterward. Of course if you have the control core, you can just take command of it, use it to kill the two warlords that appear and wander through the hole it made without any problems. Gun and boom, or AI mind control. The choice is yours. Either way, dispose of the enemies and trundle through the hole.
Look to the left as you pass through the hole to find a HCXD Bomb Sniffer Robot. Climb up the stairs and wriggle through the hole that Hendricks opens up to find yourself looking down at a ridiculous number of enemy soldiers and robots all firing upon a safehouse. There are a total of four turrets (one to the left and right of the entrance of the safe-house, the others on balconies to the left and right of your position. If you have the control core you can use them to lay waste to the enemies scattered throughout the open area below. Failing that, you should still have your silenced sniper rifle or main weapon and plenty of enemies to shoot that don't know where you are. Be methodical here, the enemies aren't infinite and you want to make sure there are next to no enemies remaining before you drop down to ground level as there will be some surprise arrivals as you move up through the plaza.
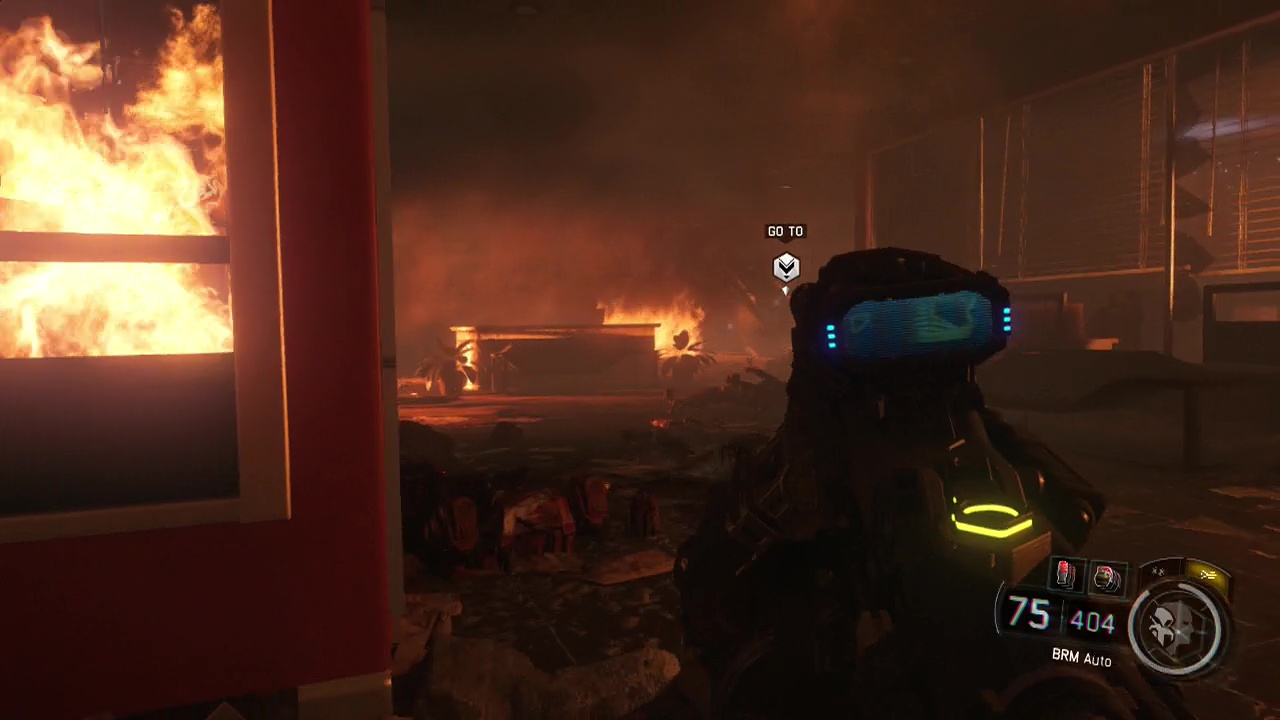
A P.A.W.W.S will appear down the street to the right of the safe-house entrance as you reach the halfway point of the plaza. Take cover immediately and use your control core if you have it to take it over. Otherwise you'll just have to open fire on it the old fashioned way. A warlord will emerge from the end of the street to the left when you reach the street in front of the safe-house. Use your sniper rifle and head-shots to bring him down fast. When the enemy appearance spectacular is over, approach the entrance to the burning safe-house and after a scene you'll be inside. You'll be taking on several robots in here, so EMP grenades or control core abilities will be extremely helpful. Race forward toward the marker at the end of the flaming hallway, taking cover to the left next to the ammo crate. Two robots will emerge from the wall of fire at the end of the hallway and start shooting. Shoot from this cover position to bring them down,
Carefully move forward along the hall, hugging the left wall. When you reach the corner, you should spot another trio of robots in the next room to the left to take care of. After dismantling them, reload and enter the room moving taking cover behind the bench in the middle of the floor as a pair of robots appear through the smoke on the stairs ahead, and another walks through the flames below the stairs. Travel up the stairs when you are done and take cover beside the hole in the wall at the top. A robot will start shooting at you through a hole in the wall to the left, so pick him off from your cover position.
At least four more robots will be on the left side of the same room as the robot you just shot, so move up carefully looking for the robots through the fumes and smoke. They may move towards you as well, so be ready to engage them point blank. When you are ready, move into the room and take the stairs to the left up to the level above. On a chair on the right side of this final firey room is a Dragon Necklace to pick up. Drop down on the other side of the walkway to avoid the fire and enter the marked hallway. Open the door at the end to trigger the ending scenes of this level. Phew, that was a bit dicey, but it looks like we made it through.