MISSION 07 – Rise And Fall
Core selection: If you haven't already, I seriously advise you to get the upgraded hijack ability on the control core and make sure it is equipped for this mission. You will be facing multiple A.S.Ps as well as hounds and talons during this level. Being able to use them against your enemies will make your life soooo much easier. But, as ever the call is yours and you can use EMP or chaos core abilities if you want instead.
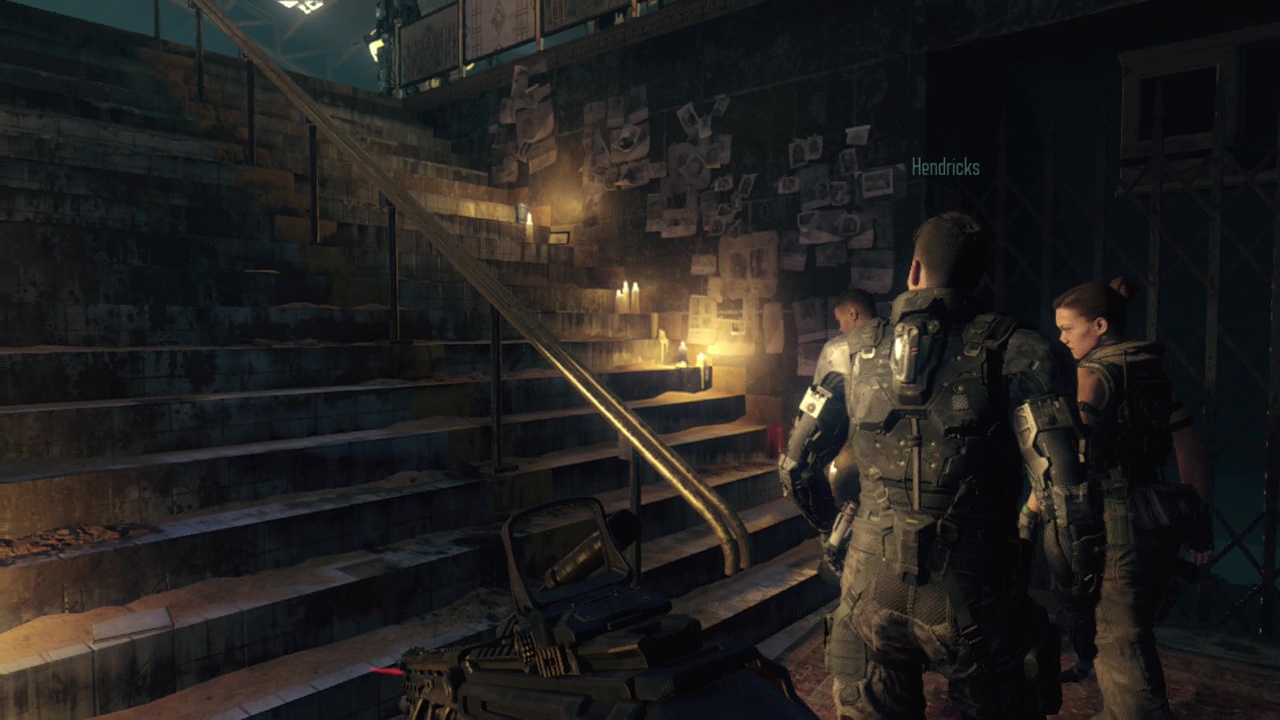
As the level begins, you'll find yourself in the Call of Duty version of the Half Life 1 intro (way shorter and with less atmosphere). When you gain control at the station, follow Kane and Hendricks as they head up the stairs strewn with memorials to lost loved ones. At the top you'll meet up with someone from your pre-enhancement days, (now lieutenant) Khalil. Watch the rest of the squad exchange pleasantries and then trail after the group as they move deeper into the base.
During the conversation, they'll drop a nice little mention of the enemy from the previous Black Ops game (Raul Menendez). An unexpected bit of actual continuity between the titles. When you reach the interrogation room, turn right and look on the desk next to you for an NRC Helmet. When you have that, open the door to the interrogation room to trigger a scene. After a couple of minutes, the interview will be interrupted and you'll leave the room with Hendricks. Looks like enemy forces are on the way and it's up to your massive army of two to stop them. Jog after Hendricks, opening a door along the way for a short scene followed by being thrown into a firefight. Hope that five minutes of not shooting people was a long enough break for you, because you aren't getting another.
When you regain control, back up and to the left straight away to take cover behind a pillar. From here you can start engaging the incoming R.A.P.S (the rolling death balls) on the other side of the room as well as the robot squad. EMP grenades or control core abilities will serve you well here in quickly beating them down. When the roof caves in and suffuses the air in front of you with dust, move up to the next line of pillars. From here, you should be able to take on the next lone of incoming robots. You can use the crates next to the pillars as larger cover as well if the robots manage to start flanking you.

When the bullets that shoot overhead start lessening, sprint up the escalator on the left and take cover with the rest of your squad behind an ornamental garden. Hugging the left wall you will find Broken Stained Glass on a desk. You can use the decent cover along the walkway to move up, finding a turret along the railing you can use to clear the place out faster. Just be careful on higher difficulties as the combined fire from below may kill you before you can take out all the enemies. Descend the escalator on the far side of the balcony and approach the pile of wreckage blocking the way out.
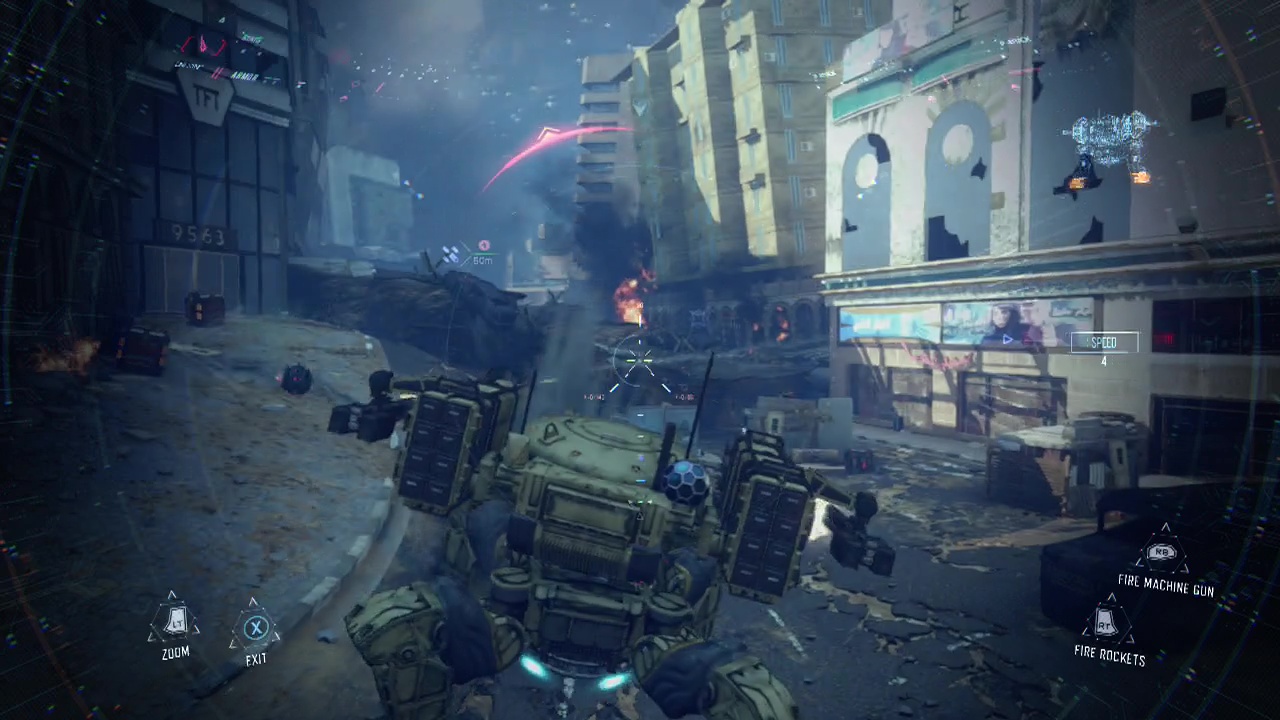
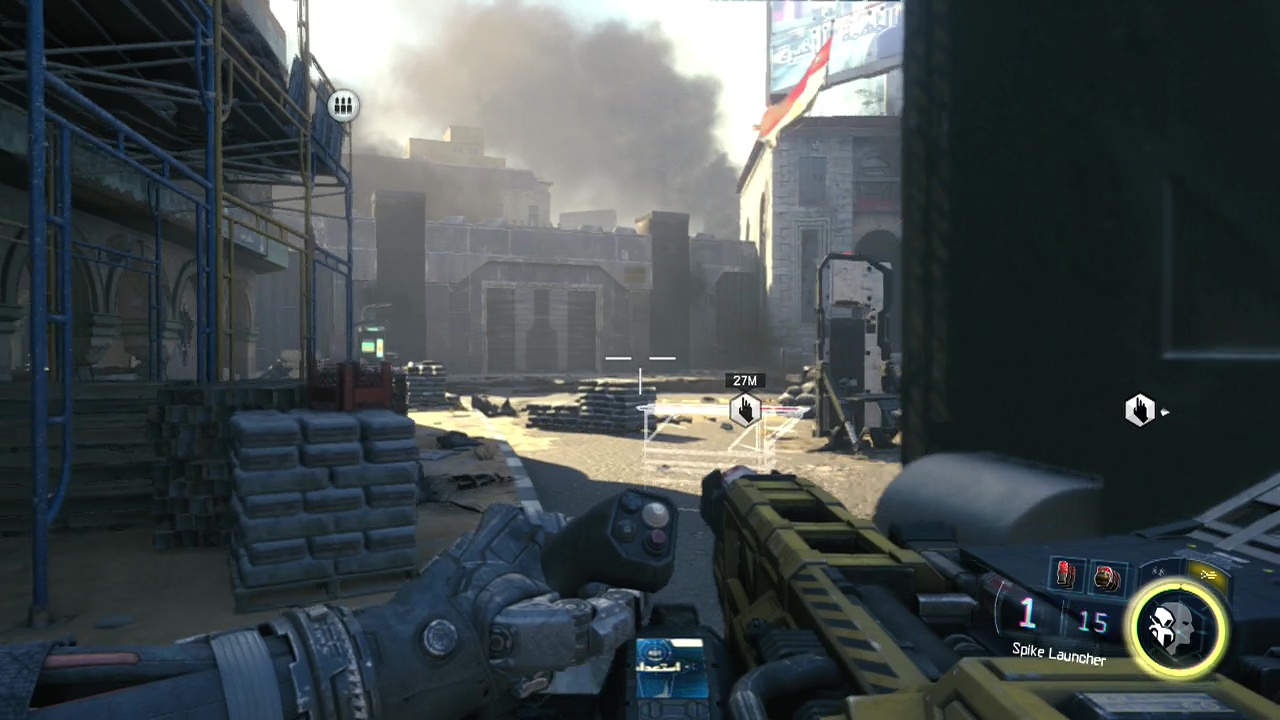
When the prompt appears, move the rubble out of the way for everyone and move out into the aftermath of a battle. Follow the group to the nearby technical and mount up behind them when the prompt decides to show up. The screen will fade to black and you'll be teleported to the front lines. As you get down from the vehicle, you will obtain a spike launcher. This little toy allows you to fire spikes that can be manually detonated at walls, the ground oh, and enemies for your vindictive pleasure. The purpose of the spike launcher though is to plant spikes into five key locations and detonate them in the area just beyond the wall ahead, before retreating. Before you wade into the battle ahead, pass through the gate/ gap in the deployable wall and turn left to spot an NRC Propaganda Poster to collect. The enemies are infinite, so you will need to be careful as you move up. Just keep in mind that you are invulnerable once the spike planting animation begins. Be methodical, clear the area around each plant location and use the ammo crates to refill your weapons and spikes. With patience, you should get all the locations spiked and blown. Haul ass back to the wall when all the locations are done, climbing up the ladder on the side of the wall and interacting with the datapad on top of the wall to trigger a scene.
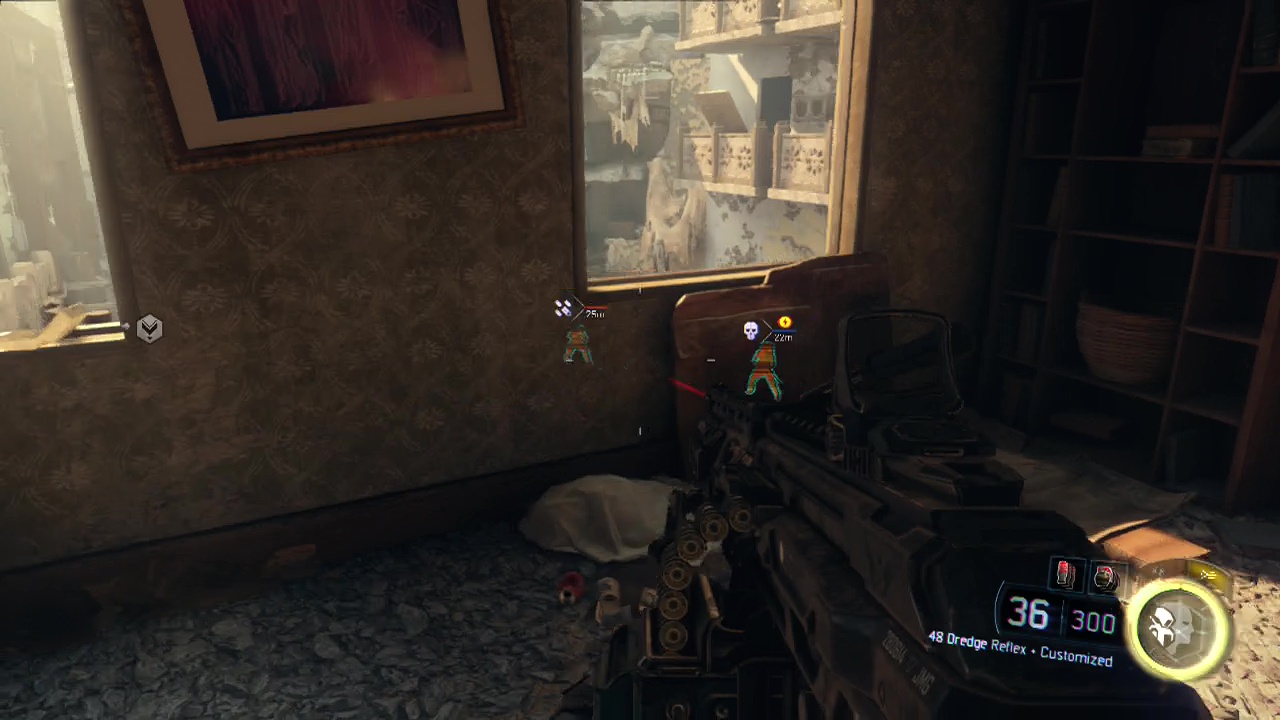
When you regain control, you'll be on your way to another firefight. Follow Hendricks as he sprints through the partially demolished buildings, until you reach a crumbling ledge overlooking an alley below. You'll be flanking the unaware human and robot enemies, so carefully move up and lob a grenade into the midst of the line of enemies shooting down at the street before retreating to cover. From your cover position, start dealing with the enemies on the upper level of the building opposite, as well as any stragglers out in the open. A pair of talons will also be floating around, so make sure not to let them fly over your position or you'll end up like Swiss cheese, full of holes.
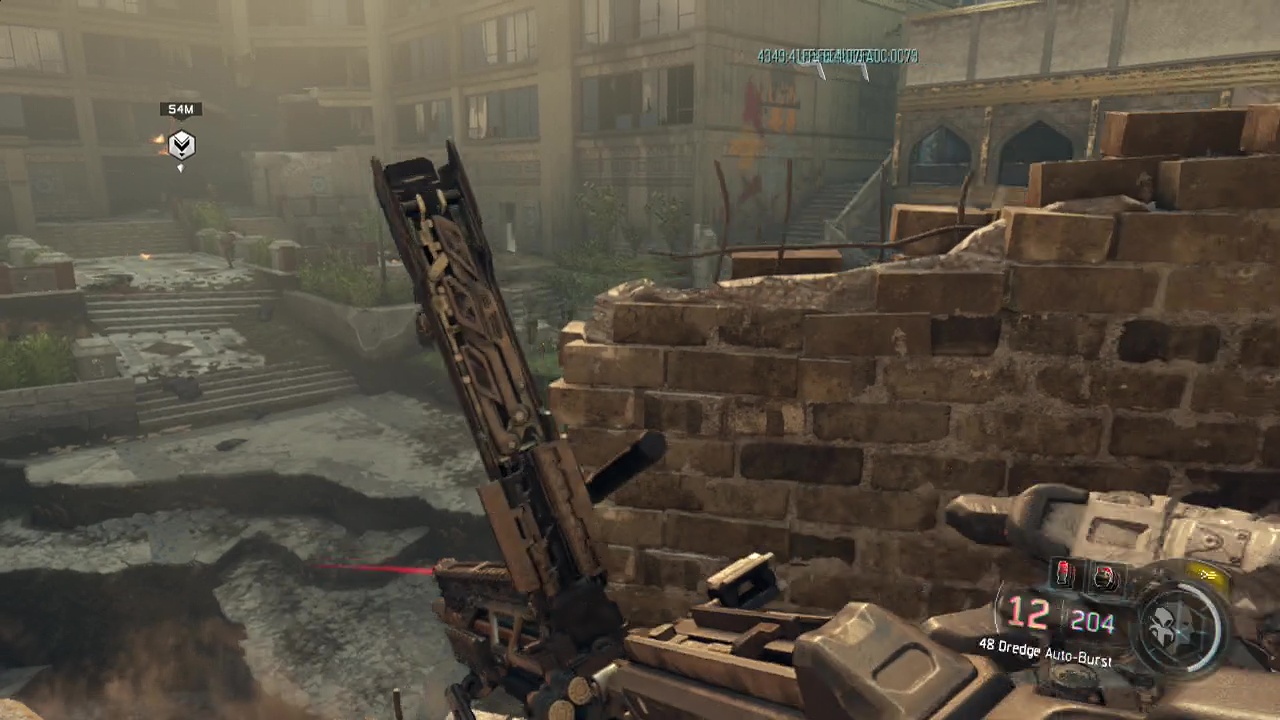
When the opposite building is free of enemies, follow Hendricks as he moves up along the balconies, dropping down from the building opposite. Inside the lower level of this building is a Military Officers Sword for you to grab as well. Jump across the gap in the walkway and immediately take cover on the other side as enemies open fire at you from further along the street. You can shoot through the windows of the small room here to start thinning out the enemy numbers, just be aware of the enemies at street level shooting up at you as well.
Drop down through the hole in the wall to the left and follow the walkway along to reach another small room with windows you can shoot out through, however I found it better to fire down from the walkway leading off on the left side of the room, ducking back inside when I took damage. There are a couple of hounds amongst the human and robot soldiers that you can take command of if you have the control core, bringing chaos to the enemy ranks. Those things really pack a punch. You can also take over the talons floating in the middle of the area as well if you wish. If you don't have a control core, use immolation or EMP grenades to help deal with the robotic enemies among the forces shooting at you.
Descend to the middle of the area when the fight is done and cross the cracked plaza to reach the building on the far side. A downed VTOL will be waiting for you inside the building, make sure to turn right and grab the Piece Of Broken Statue off the chair before entering. When you get close to the VTOL a scene will trigger. Watch the scene play out and at the end of it, you'll regain control in the main square below in the middle of a massive battle. A hound is on the ground near you and enemy soldiers are everywhere around, so take cover straight away. Note the XM-53 RPG leaning against the barrier to your left, make sure to grab it, especially if you don't have a control core.
Before you start participating in the battle, look directly across the road to the building with open second floor windows (straight ahead and slightly to the right of your starting position). At the back of this second floor on a table is an Etched Glass Bottle to nab. In this sequence, you will be fighting a massive number of troops, as well as dealing with three consecutive A.S.Ps, For those with a control core and the ability to hijack enemy robots, this last fight is a joke. Simply take control of the A.S.P and lay waste to all the enemies in the area, including the two new A.S.Ps that show up until the mission ends. For those that don't have those cores, this will be a fairly long sequence of shooting the A.S.Ps from cover with your main weapon and using your RPG to damage them, while trying to avoid being shot by the surrounding enemy forces. I'd advise camping behind cover close to an ammo crate/ box while you do this is possible as you will probably run low on RPG shots otherwise. When the final A.S.P falls, a scene will take over and the mission will end.