MISSION 08 – Demon Within
Core selection: The control core is nearly useless in this level (as you cannot control the robots that do appear), so you are better off selecting the martial core for it's camouflage abilities or the chaos core for it's fireflies against human opponents. Another thing, make sure you bring along a thermal scope on your weapon as you will be facing nearly 100% non-robotic enemies here, so it will be extremely useful for picking enemies out.
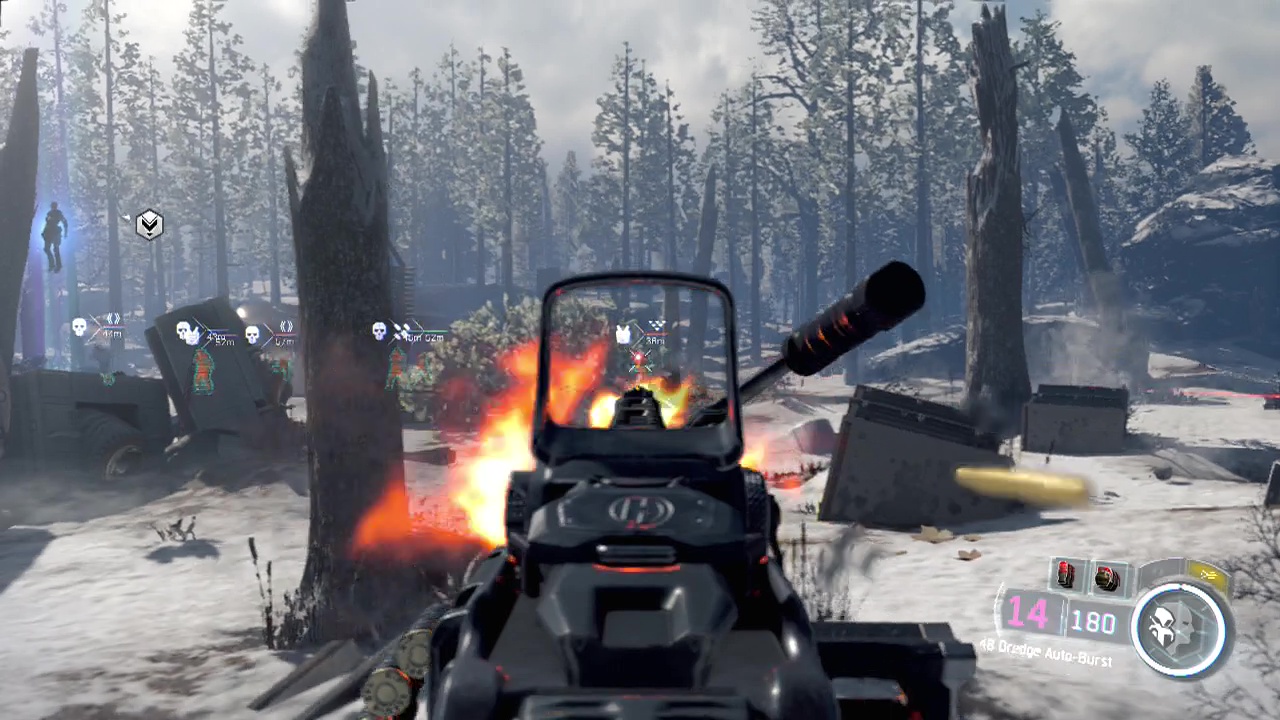
Watch the opening scenes of the level play out until you have boots on the ground. You'll be facing off against a manticore here (for the first and only time). This machine is like a P.A.W.W.S on steroids, as it leaps around, fires exploding spikes and bullets from a mini-gun. The manticore moves around fairly quickly and will chase you down relentlessly if you draw it's attention by dealing a lot of damage. The best strategy here is to hide behind one of the burned out APCs or other large pieces of cover, circling around it as the manticore gets close to make sure it can't get line of sight. The exploding spikes take a few seconds to detonate after they are placed, so you should be able to sprint to a new piece of cover or to move out of the way if they land at your feet.
After taking certain amounts of damage, the manticore will leap up onto the face of a nearby building and will fire down at the area below. This is your opportunity to unload your weapon at her from cover, ducking down if it starts targeting you. The manticore (obviously) cannot be affected by hijack abilities of the control core, so don't bother. Kane will call out the remaining health of the manticore as the fight goes on. When you finally damage the mech enough, it will clatter to the ground exposing the pilot.
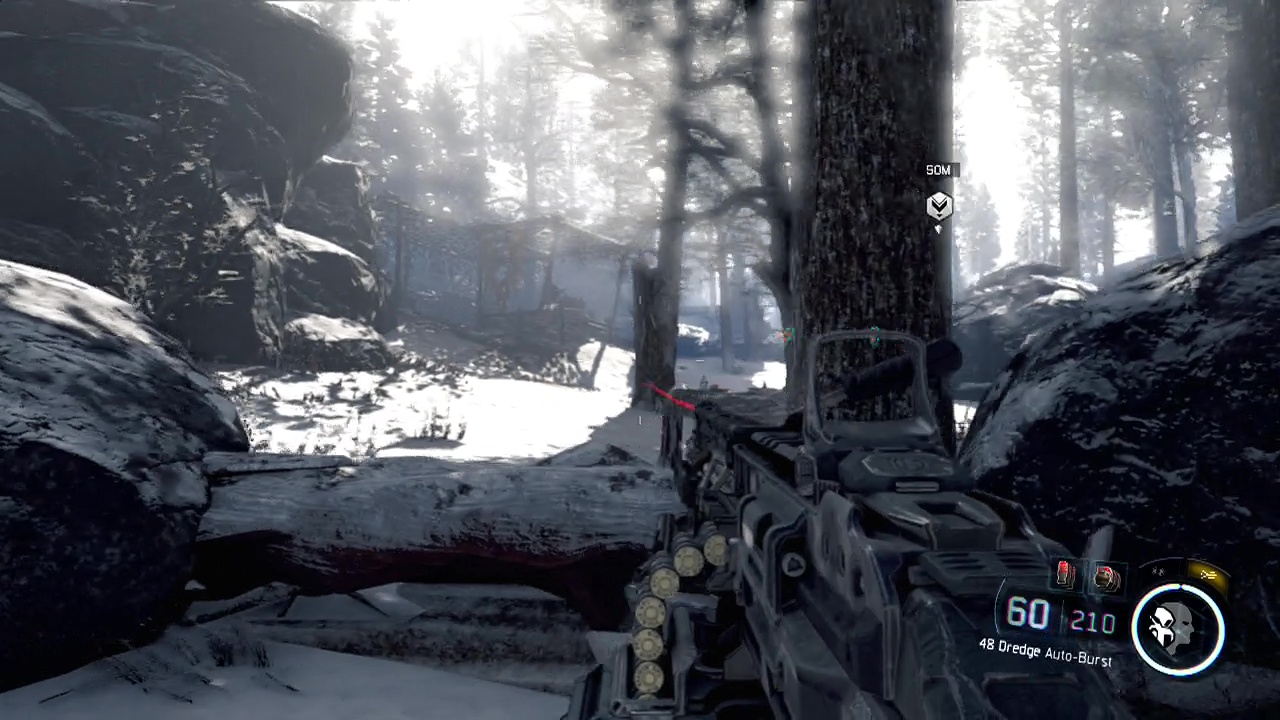
Approach the downed pilot and interact with them to enter into what seems like a dream. Follow the line of lit trees all the way to the end and pick up what you find at the end to trigger another scene. After a fair bit of exposition, you will be dumped into a snowy battlefield. Your job in the following sequence is to keep following the dreamer, fighting your way through the enemies that get in your way. When you are in control once more, move past the ammo crate and loadout box to hug the right wall, finding a small bunker with a Shell Casing inside. With that done, return back to where you started and then go forward and to the left to take cover behind some rocks, using this position to scope out the battlefield ahead. You'll want to stick to the edges of the area (I chose the left), firing inwards at the enemies in the center. This will help you avoid being flanked. Move from cover to cover along the left side, using your tactical view and/ or thermal scope to pick off the enemies in your line of sight.
Be careful as you move up as you will likely encounter this mission's biggest screw you attempt. Enemies have the ability to spawn out of nowhere (during the rewind effects, like trees standing back up or explosions going in reverse) in this level, meaning you may think you are safely in cover but new enemies have spawned behind/ beside you, suddenly firing out of who knows where. So make sure to watch for nearby rewind effects, shooting any enemies you see rising up out of the ground before they can react. Note that this happens more frequently as the level goes on.
Keep to the left side of the map, moving along the wooded paths and fighting your way past the enemy outpost. The allied forces will continue to move up with you, acting as occasional bullet sponges and distractions. Take your time, taking out enemies one by one until you come across another outpost, where enemies are firing a turret towards your allies. From your position to the left, you should be well placed to flank them and remove them quickly. Be warned that nearby enemies will run into the outpost to replace the downed gunner, so be ready to take out the reinforcements as well before moving up. When the coast is clear, enter the second outpost to find a WWII US Field Radio.
Moving on, restock at the nearby ammo crate and stay to the left, looking for another immobile enemy ahead who is on a turret. You don't want to get blindsided by this guy as he won't appear on your tactical view until he moves, until it's already too late. Trudge through the snow up the slope and suddenly it will become late evening as the sky darkens. Follow the dreamer around the next corner in the path to see more enemy forces ahead. Be cautious as you move here as the terrain will move around you, changing the line of sight of nearby enemies (some of them rise up, allowing them to shoot at you). Polish off the first group of enemies and then head down the slope after the dreamer, being careful to pick off from cover any enemies that appear from rewinds, as the darkness and unexpected enemy spawns can make this section extremely dangerous and frustrating to replay. As usual, stick to the left path when possible as it has less trees blocking your view.
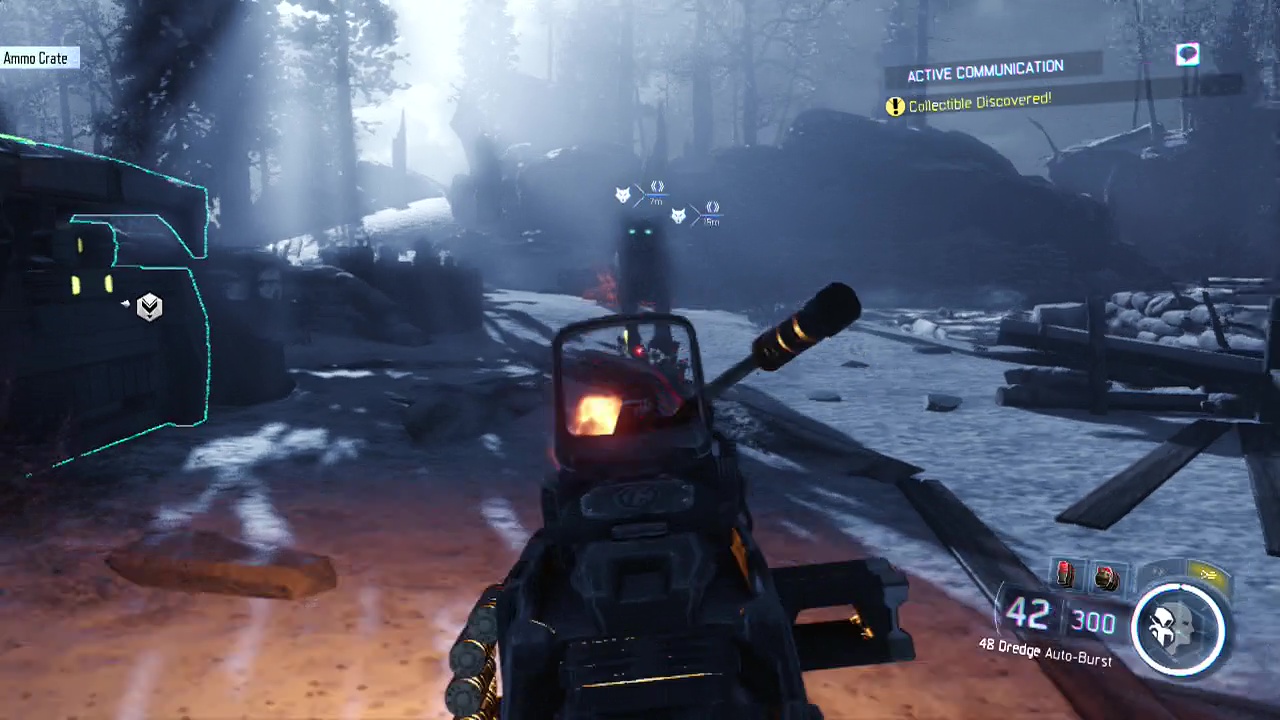
When you finally catch up with the dreamer, they will mention the dire wolves. Shortly afterwards, a stream of wolves with glowing eyes will appear from the area ahead of you and start charging forward to attack relentlessly. They all appear on tactical view, so use this to locate them quickly and eliminate them as they appear. They deal large amounts of melee damage if they reach you, so play defensively here, bringing them down from a distance. Don't forget to swap to your secondary weapon if you don't have time to reload, as it could save your life. Next to a car in the middle of this area on a crate are some Field Binoculars.
Move up slowly, taking out the dire wolves from range as they appear. When the supply of wolves eventually runs dry, follow the lone path, shooting any new dire wolves that appear until you finally meet at the bottom of the slope. After a brief conversation, a bridge of floating rocks will form nearby for you to cross. Enter the glowing orange light on the other side and follow the strange corridor until another scene takes over. You'll observe some of the events that happened to the other team before returning to the snowy battlefield.
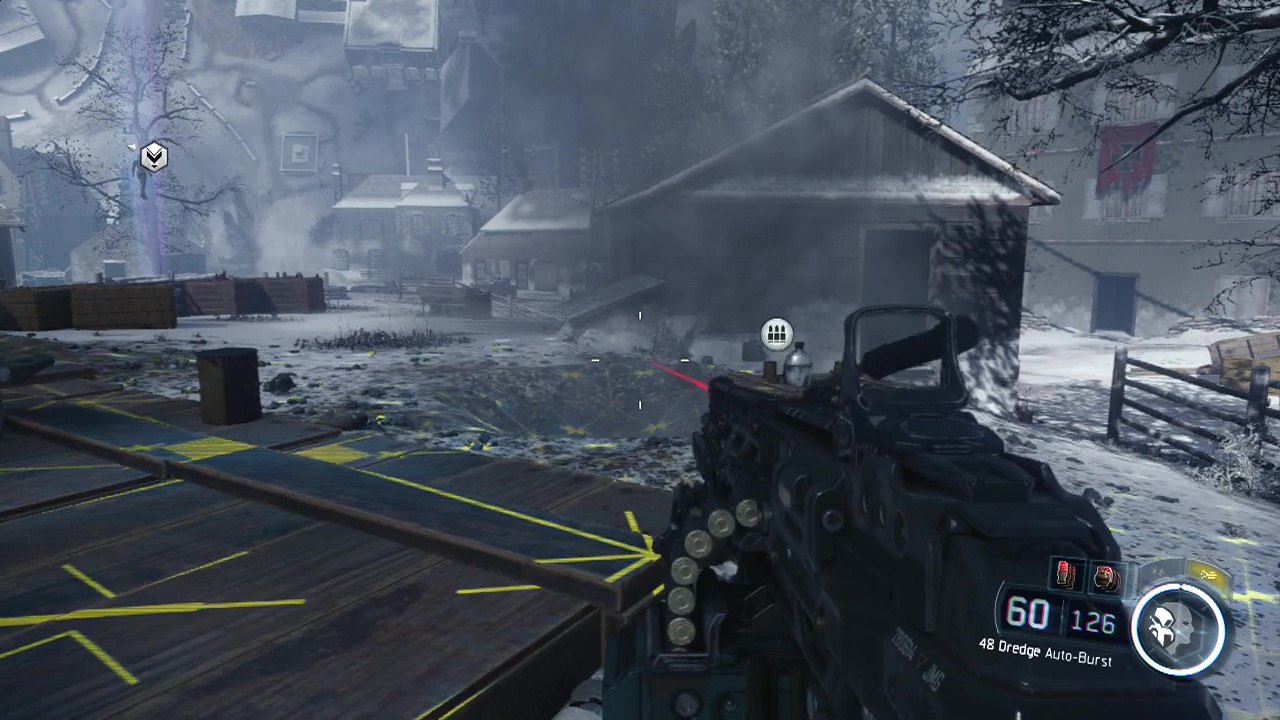
Be ready to immediately open fire as the dialogue ends, when three enemy troops rewind into existence in front of you. As you leave the building, you'll once again be part of the charge across the dangerous fields of battle. The strategy is pretty much the same here, take your time. Use your tactical vision to locate threats in advance and stick to the buildings and cover along the left side of the area (using your enhanced vision to check the darkened buildings for enemies before moving inside). The second beuilding on the left hand side has two levels, on the top floor you can find a Russian Field Compass up there. In the building on the left side of the area just before you reach the objective marker (the hole in the wall), you'll find a Russian Hat. There are only human troops in this sequence, so it's just a matter of being observant and moving up until you reach the objective marker on the far side of the field at the hole in the wall.
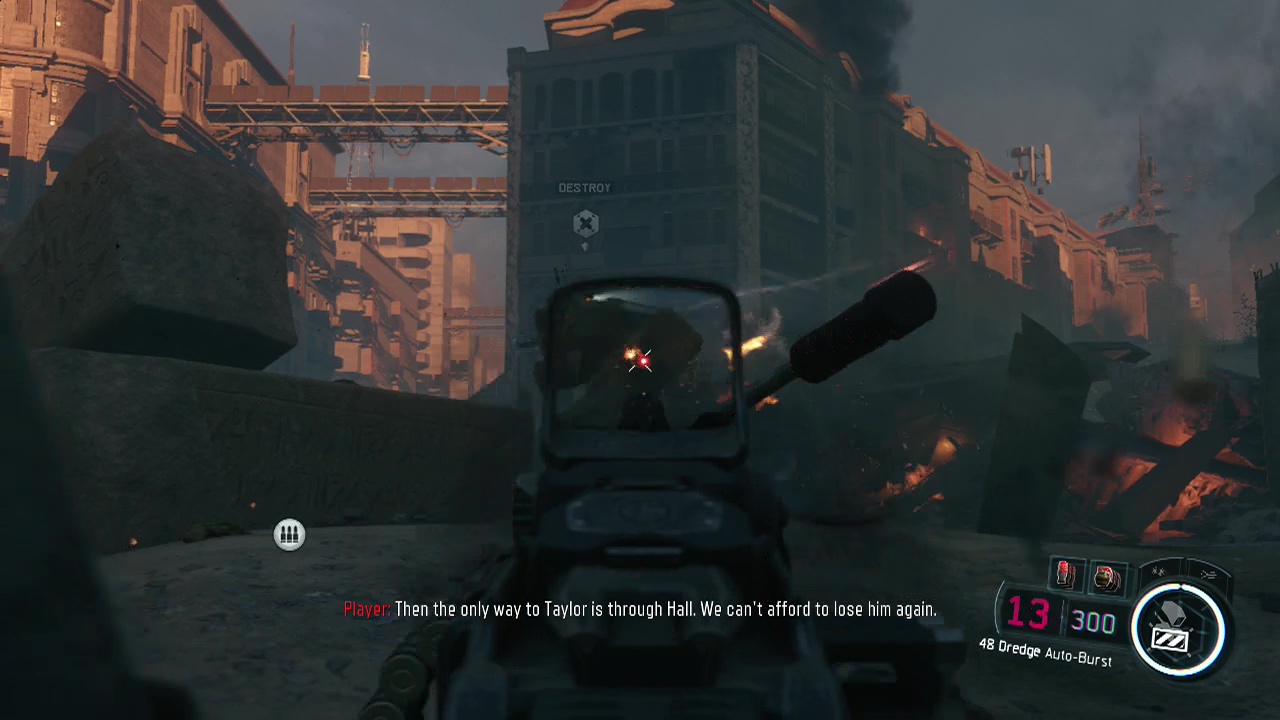
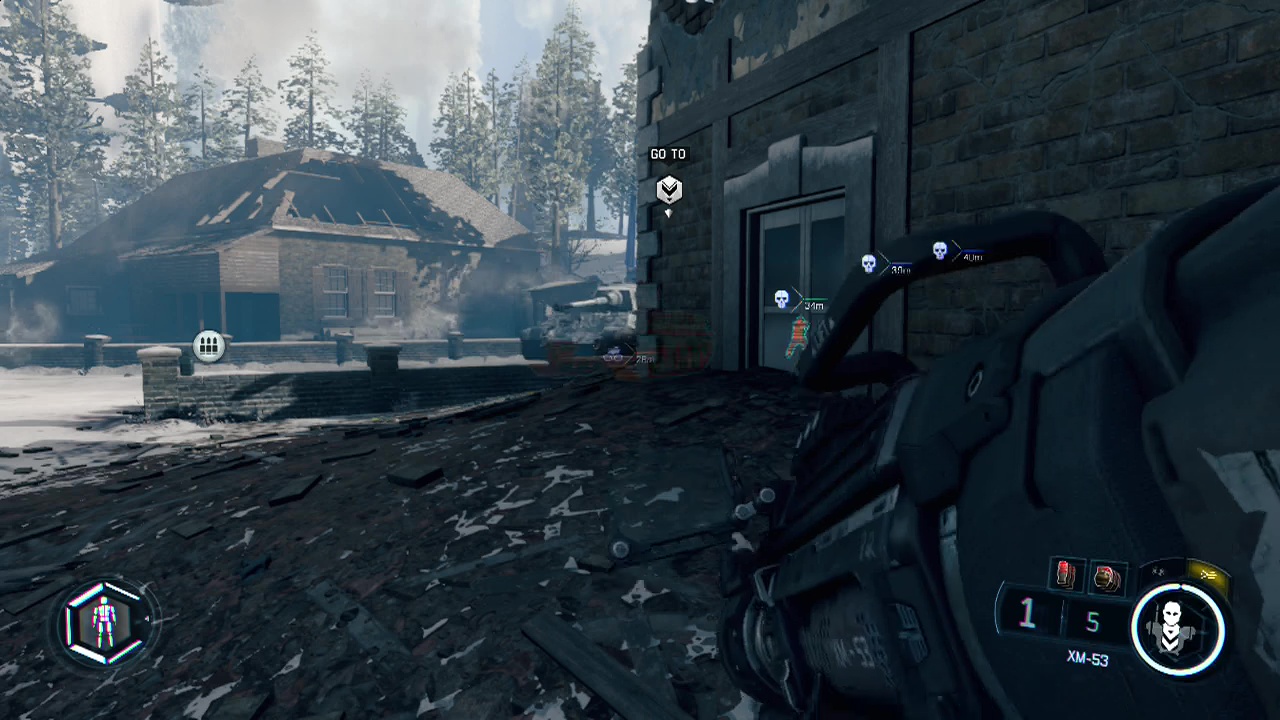
Another short scene will play out and you'll be on a different part of the battlefield. Before moving out of the building get to cover behind the vehicle against the wall then turn your tactical view back on and take out as many troops as you can see from it including the sniper on the roof opposite. When you can't see anymore enemies from your position, sprint across the snow to the doorway in the building opposite you (follow the wall), to find an XM-53 RPG launcher leaning against some rubble inside. A tank, as well as a wave of enemy troops surrounding it will appear outside, The tank is only vulnerable to RPG rounds, so don't bother firing your normal weapon at it. Line up your shot with the launcher from the hole in the wall and fire at it for it to vanish in a puff of smoke. For now.
Stay in this position while you deal with the human enemies of the wave, making sure to check for enemies on the second level as well as the roof, then follow the wall along the side of the building when the coast is clear. You'll find the tank waiting for you again just around the corner of the building. Fire off another RPG at it and it should vanish into the smoke again. The roof on the building opposite will rewind, revealing a sniper, so immediately take him out with your regular gun. Now you can take cover at the corner of the wall, methodically taking out everyone one by one. To the right at the corner is a slope covered in rubble, leading inside the shelled building. Head up in and into the building, turning right into a small room to find a Wagner Gramophone Record.
Be careful as you move into the next room from here as the tank and a group of enemies will have appeared on the street below. Take cover on the left side of the crumbling wall and take out the snipers and enemy soldiers to the right and straight ahead first before concentrating on the tank. It will be moving back and forth below your position, so pop out and fire down on it for it to disappear again. From this positon, pick off as many enemies as you can in the graveyard opposite before dropping down through the hole and crossing the street to the left to move up along another brown brick building. Enter the front door of the building and climb the stairs inside to find a room with a pair of windows with a good view of the graveyard area ahead.
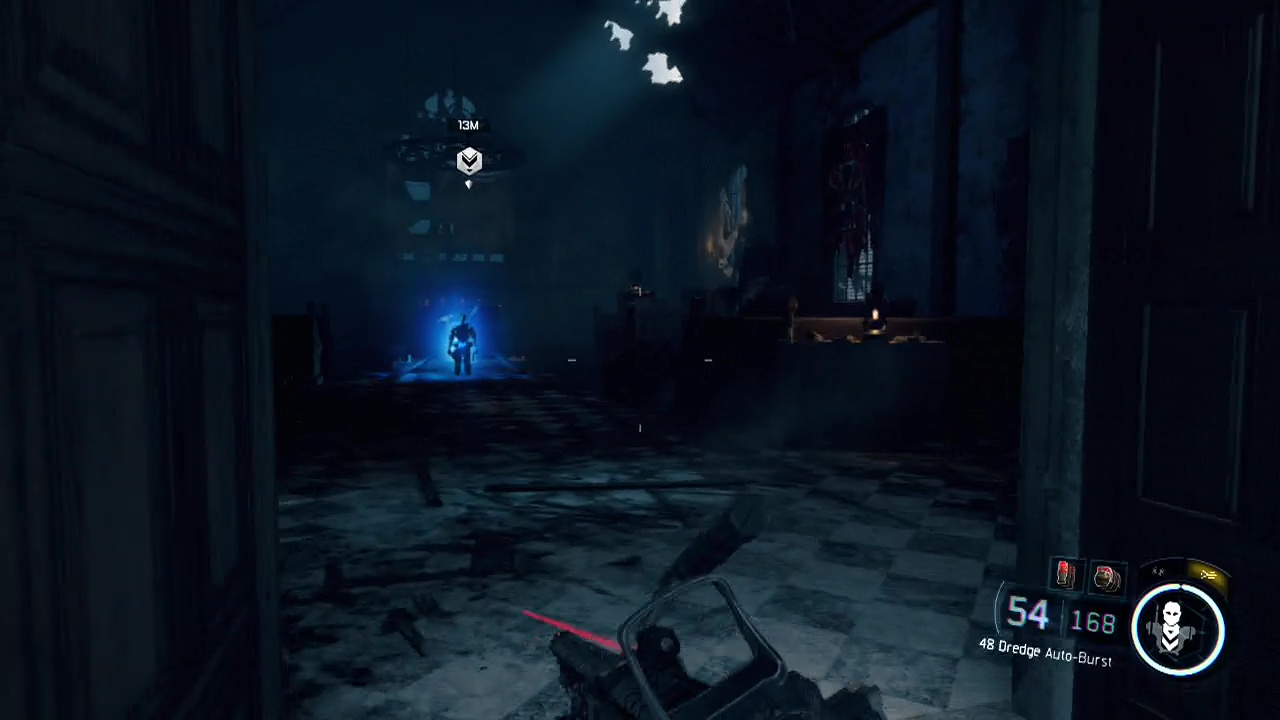
From this position you can shoot a few of the enemies you couldn't hit earlier before jumping out the left window and taking cover behind the brick wall in front of you. More rewinds will take place in the graveyard, so you'll need to take out a few enemies before running for the mausoleum on the left side of the area (near your position). Use the left wall of it for cover as you shoot the enemies that appear in the center of the area, making a run for the next mausoleum in front of you when you think it's safe enough. From here you can either make a dash for the church doors (the church has glowing blue light coming through the windows) around the side, or take your time and eliminate all the enemies in the graveyard before entering the church.
After some scenes play out and the tank reappears (in the form of an A.S.P), immediately head up the stairs behind you and to the left when you regain control. You should still have the RPG launcher from the previous tank battle, but there are a fair few against the railings on the upper level. The idea here is to stay on the upper level to avoid the A.S.P's rocket and machine gun fire. You will have to deal with swarming human enemies, but the upper level is safer in general. To move forward, you need to defeat the A.S.P (which causes the remaining enemies to vanish), so focus on using your guns (on the defensive shield) and your RPGs (on it's core) to bring it down). Only fire at the human enemies if they are close enough to shoot at you. When the A.S.P goes down and the room is clear, approach the dreamer at the far back of the church.
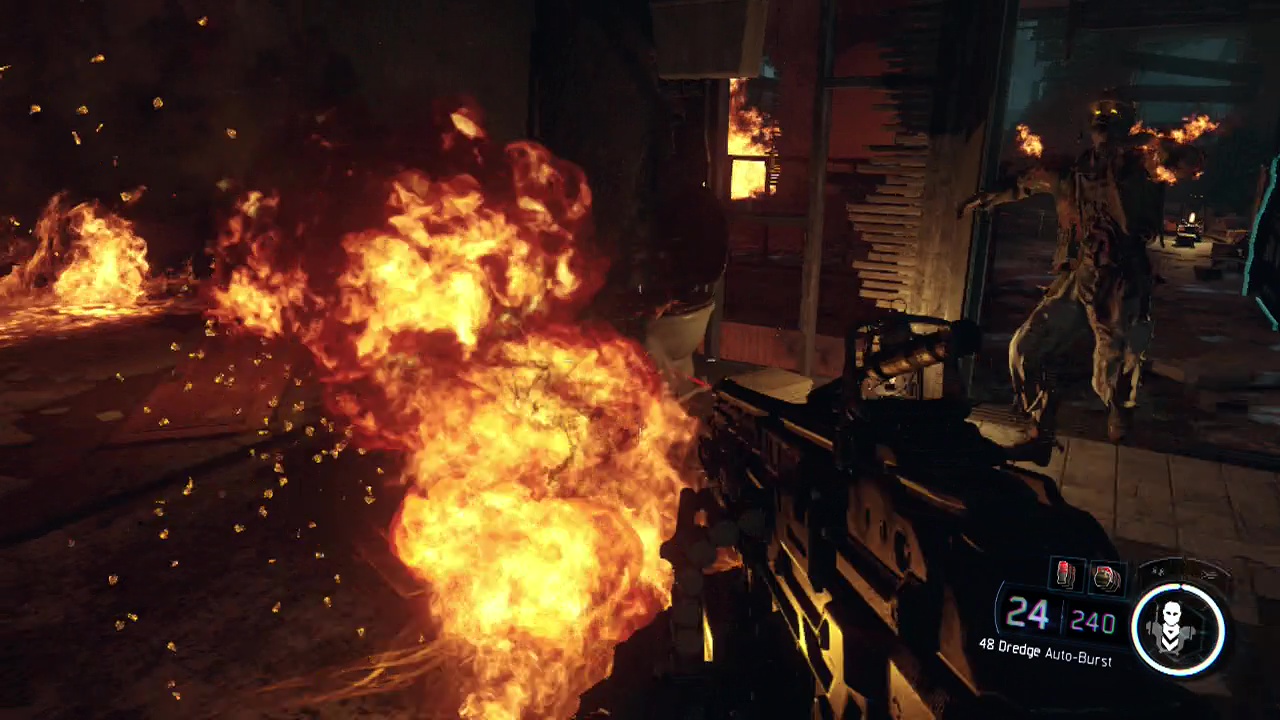
You'll trigger more scenes and another few seconds where you watch the other team before landing inside another building on the snowy battlefield once more. Wait, is this still the campaign? You'll hear screeching from nearby, shortly followed by zombies entering the building through the windows and holes in the walls. This is a fairly long sequence, with a large number of zombies to kill. I would advise you to avoid the upper floors as fire starts to sweep through the house from the back, bathing the upper level and half of the lower level in flames (it moves forward whenever the screen flashes white). Stay close to the ammo crate in the left corner of the lower area, patrolling along the front hallway for enemies so you can restock at any time. Also be vigilant for zombies falling through holes from the upper floor. There is an accolade for getting through this without being hit by a zombie. All I can say is, good frickin' luck.
When the waves finally end, the dreamer will ask for your help. Shortly afterwards an objective icon will appear. You can use grenades (restock at the ammo crate) for an accolade, or just shoot the objective to finish this long level and watch the final scenes play out.