
MISSION 11 – Life
Core selection: During this entire mission, you will be unable to use the skills from the control core that allow you to hijack or change threat detection of mechanical enemies. However, you can still use mass paralysis and damaging abilities from the control core. This means the chaos core with it's ability to destroy robots and human enemies outright is generally much more useful in this level. Of course if you are playing a stealth class, you can stick to the martial core.
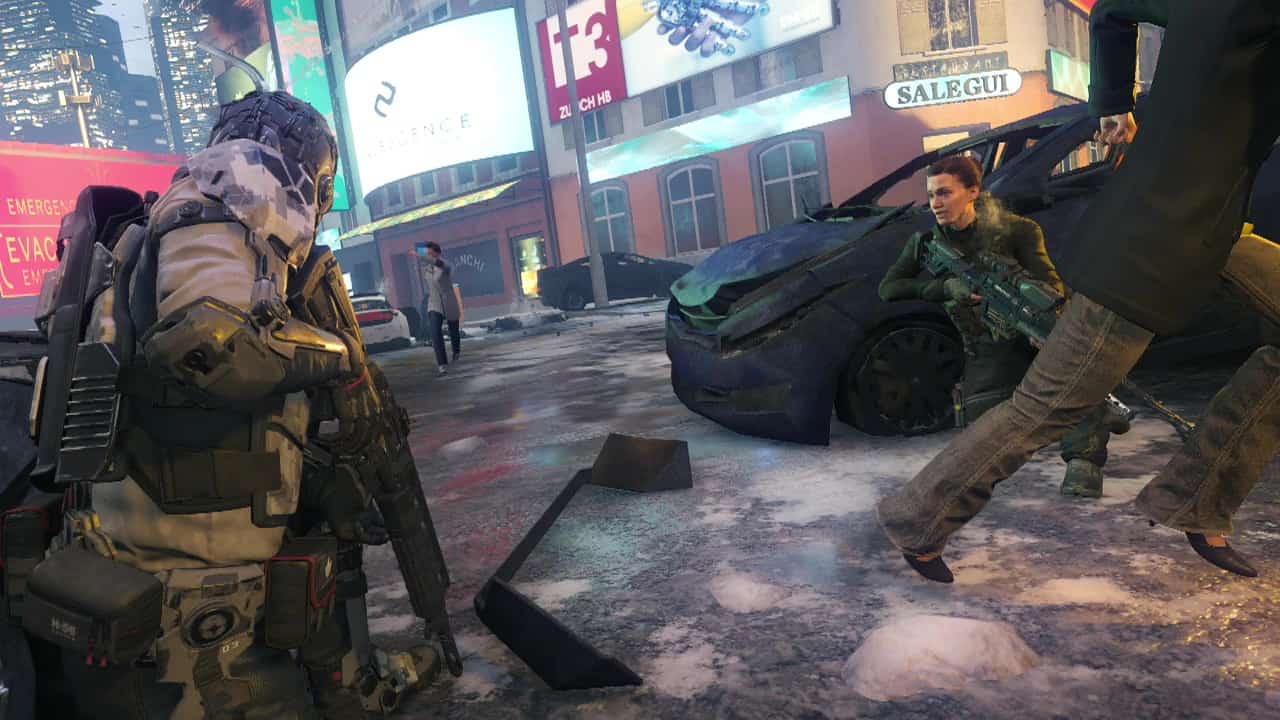
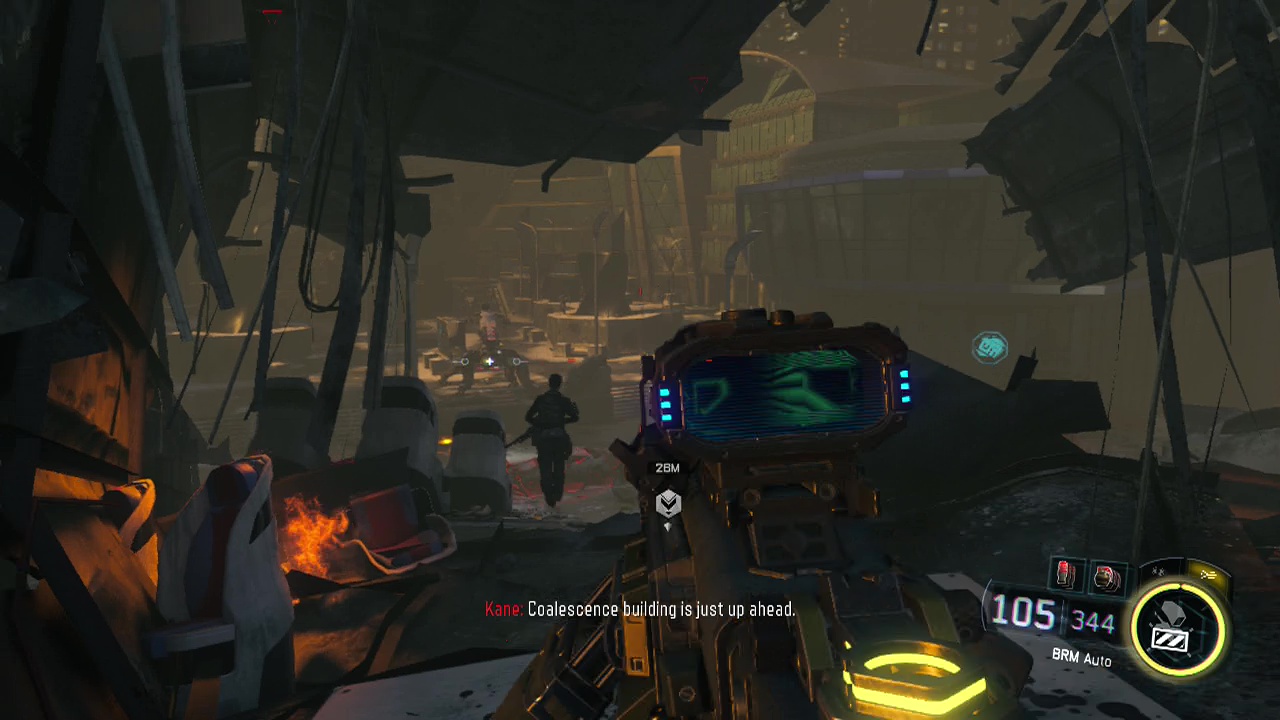
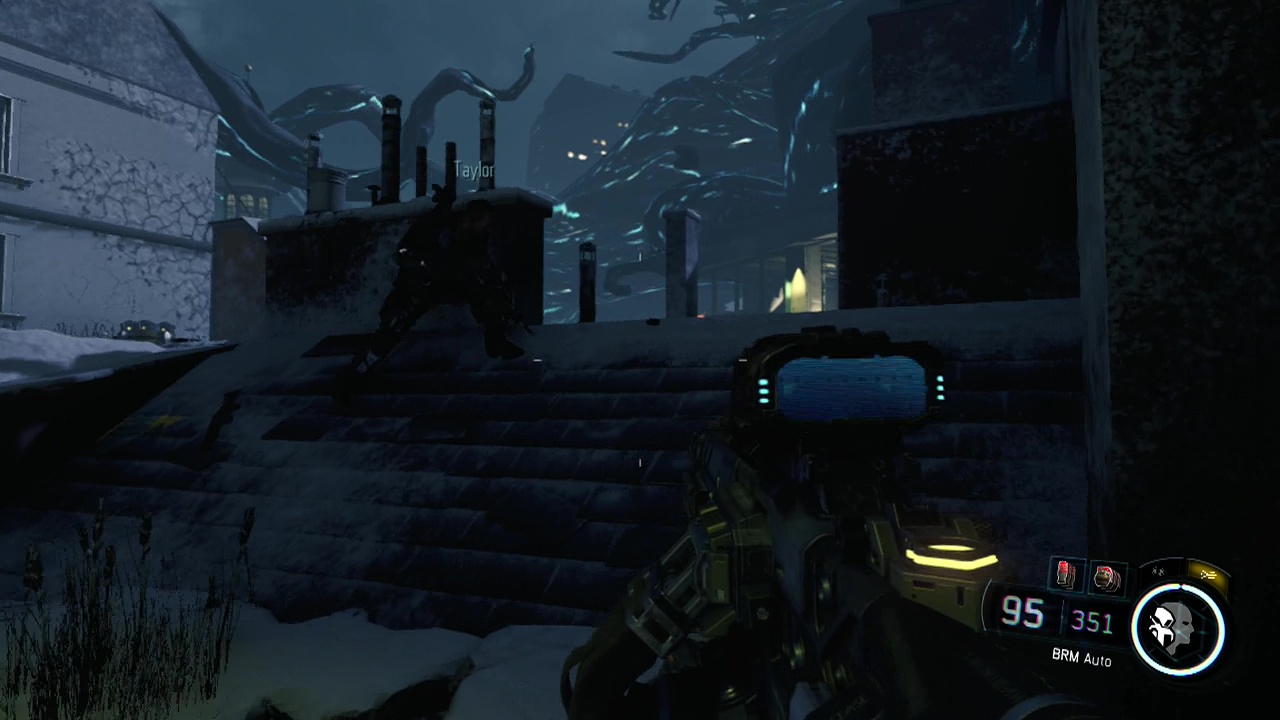
You'll end up on the streets of the city as the mission begins, as Kane talks to the local allied forces. Shortly afterwards, your gun will pop up and you'll be in control once again. Turn around and look on the cafe behind you to find a Promo Poster. Take cover behind the car on the left beside the soldier, firing around him at the advancing robots down the street. The two or three robots should go down in short order with the combined fire of you and the local forces, leaving the street clear for you to continue onwards. You'll see an unkindness of ravens (yeah, that's actually the collective name for a group of ravens. I didn't believe it either). flitting across the rooftop, then abruptly form into a person, vanishing a second or two later. So what level of sanity is our character operating on here?
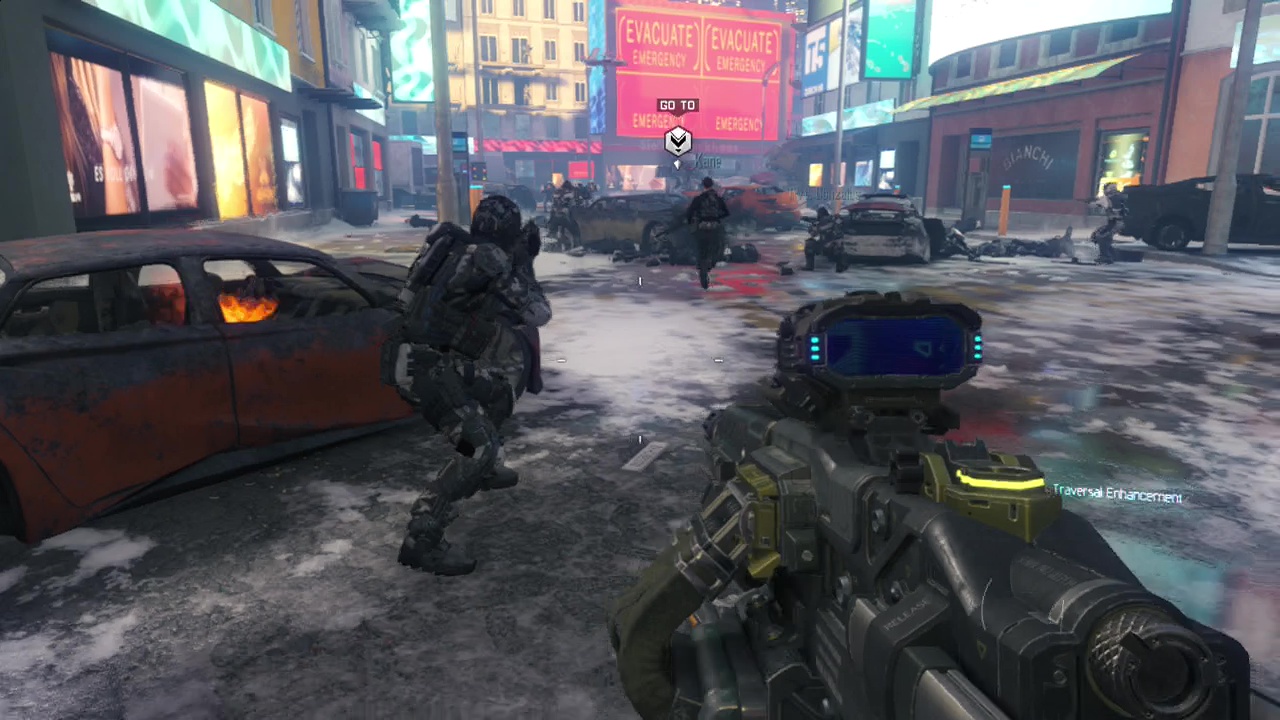
Follow after the figure along street level poking your head around the next corner (where a line of allied soldiers are firing nearby), to see more robots moving down the road. Be very careful about moving out of cover here as you will be bombarded with rockets and bullets. A small group of talons will be flying overhead to add to your troubles (these cannot be taken over with the control core, mass paralysis however does still work). More bots will drop out of the side of the building, turning to attack you if you are close by. More robots and talons will move towards you from the end of the street as the fight goes on. Stick to your cover and take your time and they shouldn't pose too much of a threat.
When the street is clear, Kane will move forward and call for you to follow. Jump into the hole in the side of the building one of the emerging robots created earlier to continue along after her. You'll see a couple of robots get wiped out by a car, leaving about four for you to engage in battle. Take cover behind one of the parked cars nearby and bring them down, Another one will drop down from the level above, but one of your allies should take care of him without you needing to do anything. Your allies will clamber up some nearby shelving/ scaffolding. Make sure you look up to the level above before you start climbing up as there is a lone robot at the top waiting to take you by surprise.
As you reach the next level up, you allies will be abruptly separated from you (and their mortal forms) by a series of explosions. Look to the right to spot the incoming group of robots. You can crouch behind one of the concrete barriers or nearby cars to start laying into them. Talons and more robots will appear inside and around the shaft to the left of where the first group appeared. Be careful to avoid flank attacks here as you move from cover to cover. Especially be the pair of melee robots that sprint out of a nearby hole in the wall towards you at the far end of the parking structure. Follow after Kane as she runs through the missing segment of wall, after all the enemies are finished off.
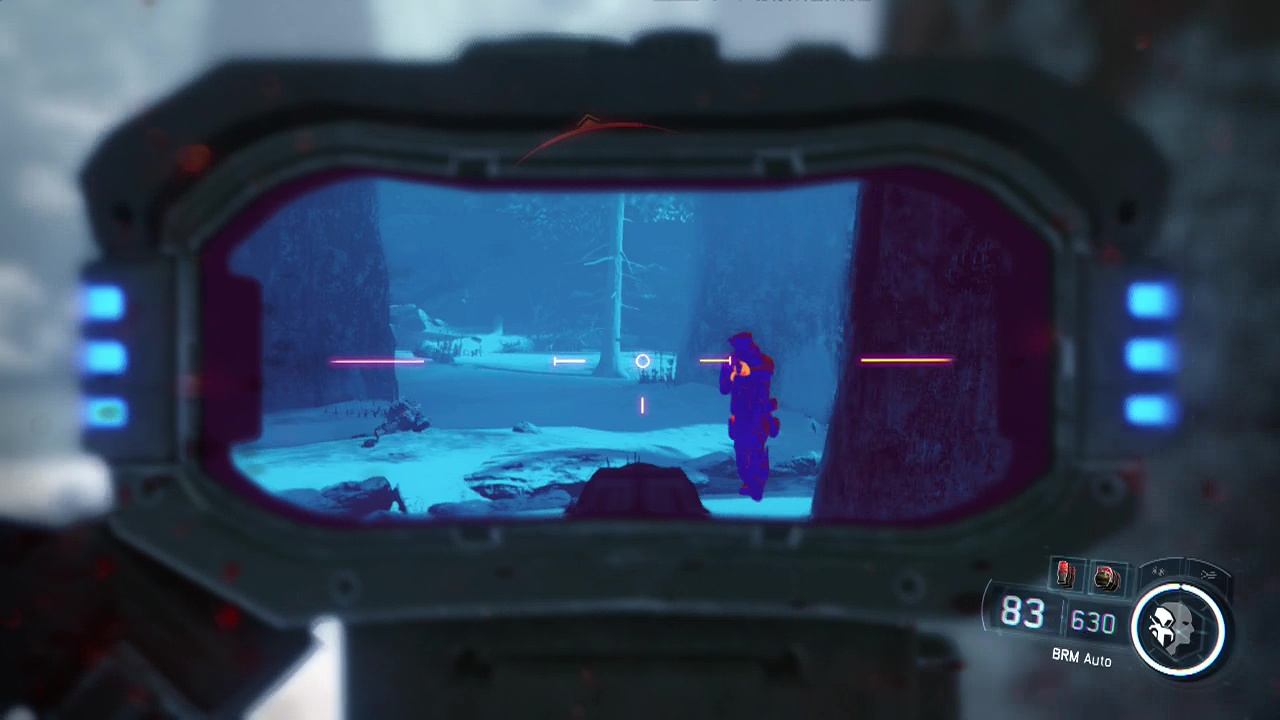
Drop down a couple of ledges outside and cross the snow covered pavement. At the top of the next slope, you'll run through a crashed plane. As you see an opening at the rear end ahead, you should start seeing the robots in the area below. You can use this position to pick them off from range, or drop out of the end of the plane and fire from a position that's a bit closer. You'll actually be dropping into one of the biggest firefights in the game here. An A.S.P will be patrolling the middle of the circular courtyard ahead, flanked by P.A.W.W.S on the left and right edges of the area. There will also be a liberal sprinkling of robotic enemies scattered across the area too. Keep in mind that if you are using a thermal sight, the A.S.P and P.A.W.W.S won't be visible (highlighted) through it.
You'll see XM-53 RPG launchers leaning against the armoured vehicles forming a ring of cover ahead of you, so immediately make a beeline for a safer position and improved ordinance. The robot soldiers are infinite so don't bother them unless they get too close to your position. Instead focus all your attention on bringing down the A.S.P and pair of P.A.W.W.S. You can refill your rockets at the nearby ammo crate or just grab another launcher from the stack against the vehicle. The end goal of this battle is to get through the security door on the other side of the courtyard, but you'll have to deal with the killer mechs first (shown by the objective marker). Replacement P.A.W.W.S will appear and start moving around after the A.S.P falls (did you spot the large raven erupting from it when it blew up?), so be ready to start targeting them as well.
Oh look, now a wraith supported by talons appears in the middle of the courtyard to make life difficult. Despite this, you can bring it down fairly fast with the launcher after a few locked on shots. Mop up the talons afterward with gunfire or one of the micro-missile launchers lying around the area. When the objective marker no longer appear (when the wraith goes down), it's time to head for the entrance of the building. You're going to need to circle around the outer edge of the courtyard (I took the left side) as going through the center is suicide. Use the garden walls and railings as cover as you move around, eliminating the robots on this side of the courtyard. Halfway around you should enter a small room/ building you can enter for a quick breather (as long as you take out the melee robot inside).
When you reach this halfway room, another A.S.P will appear in front of the main entrance to the building as well as two more P.A.W.W.S on each side. Don't despair, as there's an ammo crate inside this room which gives you infinite firepower to bring down these new menaces. Shoot through the doorway of the small room to damage each of the machines in turn, keeping an eye out for roaming talons and robots. As soon as the A.S.P goes down, an icon will appear on the panel next to the main doors ahead of you. You're going to need to make a dash for it, activating the panel and then dashing through the (left) door as it closes behind you. Damn, that was the most enemy mechs in a single battle for the whole campaign. Catch your breath, you've earned it.
You'll have a few enemy free seconds as you move across the foyer inside the building. Follow Kane through a nearby door to the right and get ready your tactical view warns you of incoming enemies, Robots will be clunking across the walkways ahead of you, firing down at you. Take cover behind a nearby wall or desk before returning fire. A handful of the robots will be hiding behind heavy cover, so you'll need to move to the side of the room and carefully engage them at the top of the stairs to bring them down safely. From your position at the top of the stairs, you can move over to the marked hole in the wall when the place is robot-free.
The marker you see ahead of you when you drop down is a P.A.W.W.S so be extremely wary as you move forward. You should still have your launcher, so it shouldn't take too much to bring down. Another P.A.W.W.S will appear from further down the corridor when you dispatch the first one, so don't bother to move forward yet. After the second one is gone, robots will start moving from the far end of the corridor, firing towards you. By now you should be a master of bringing these mechanical menaces down, so do your thing. Another bot is waiting on the upper level (you should be able to see it with your tactical view), so make sure to take him down before he blindsides you.
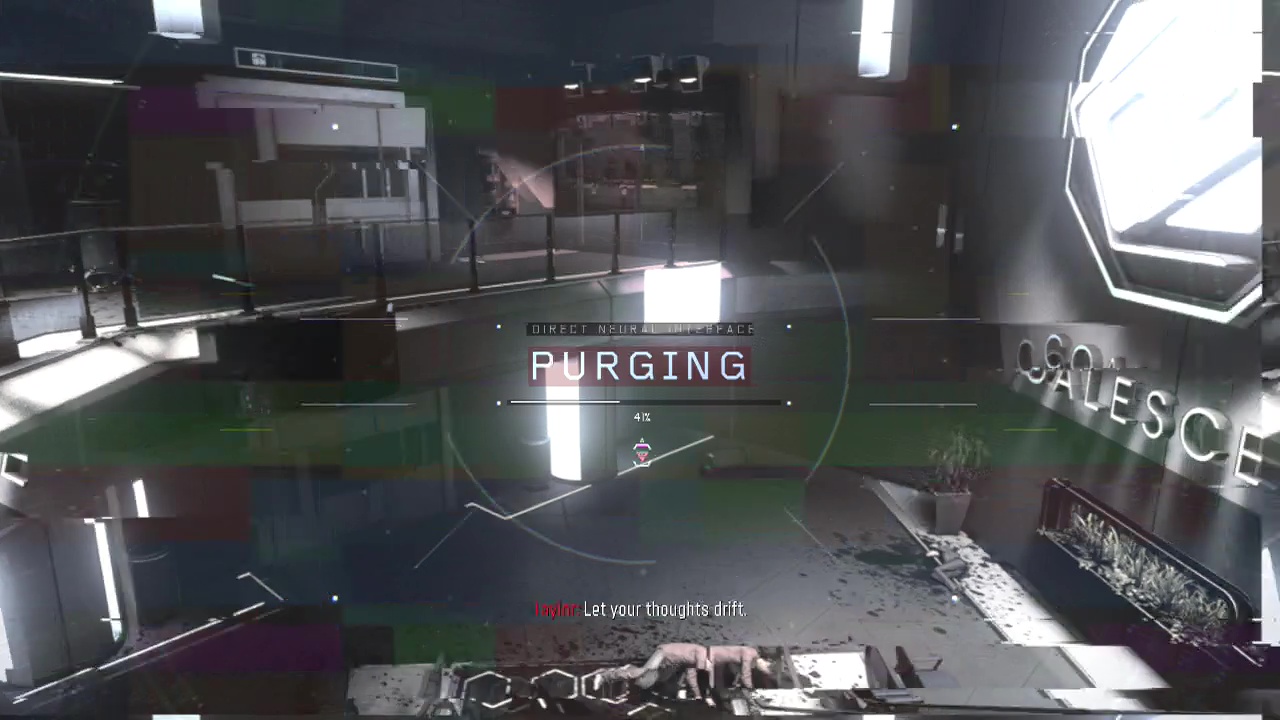
Cross the room and pass through the marked door to find a hole in the ground ahead leading straight down. Drop down and walk along the short hallway to experience a moment of deja vu. Turn right and enter the small room to reunite with Kane. Pass through the door when it opens, following her down the corridor until you reach a laboratory. Turn left when you enter to find a Prototype Robot Part. After Kane finishes talking, interface with the nearby terminal and watch the scene play out.
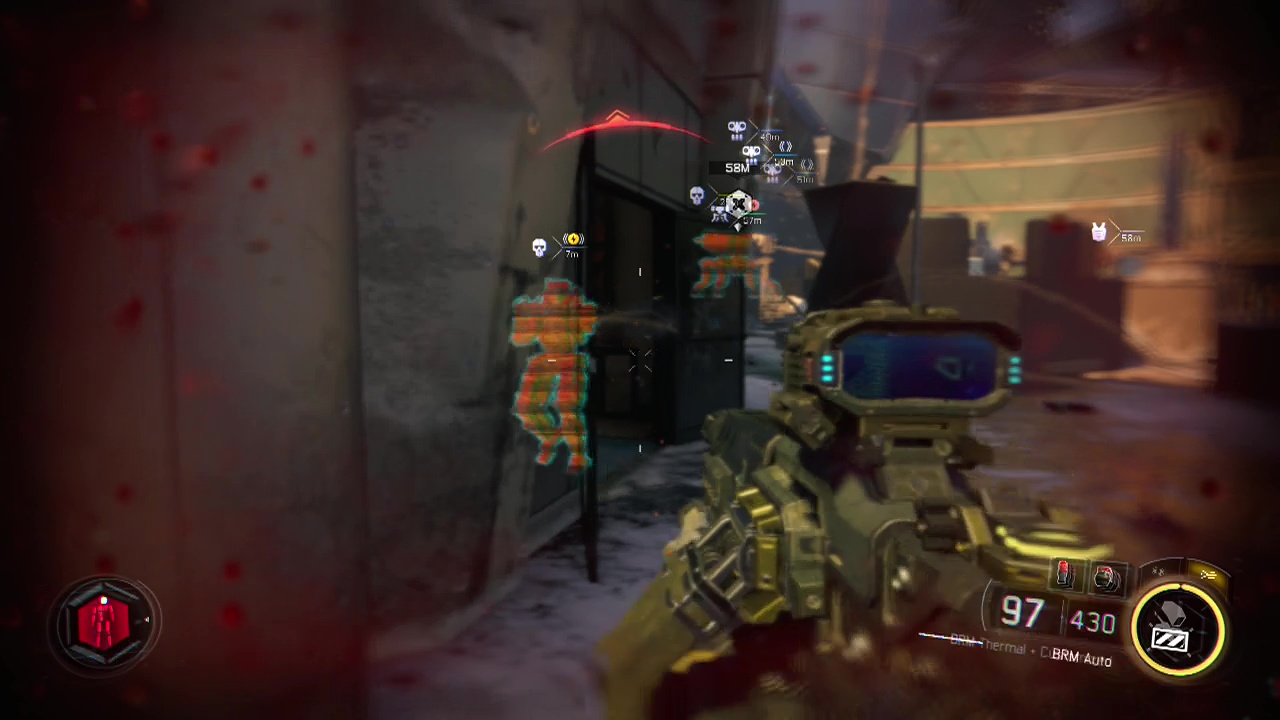
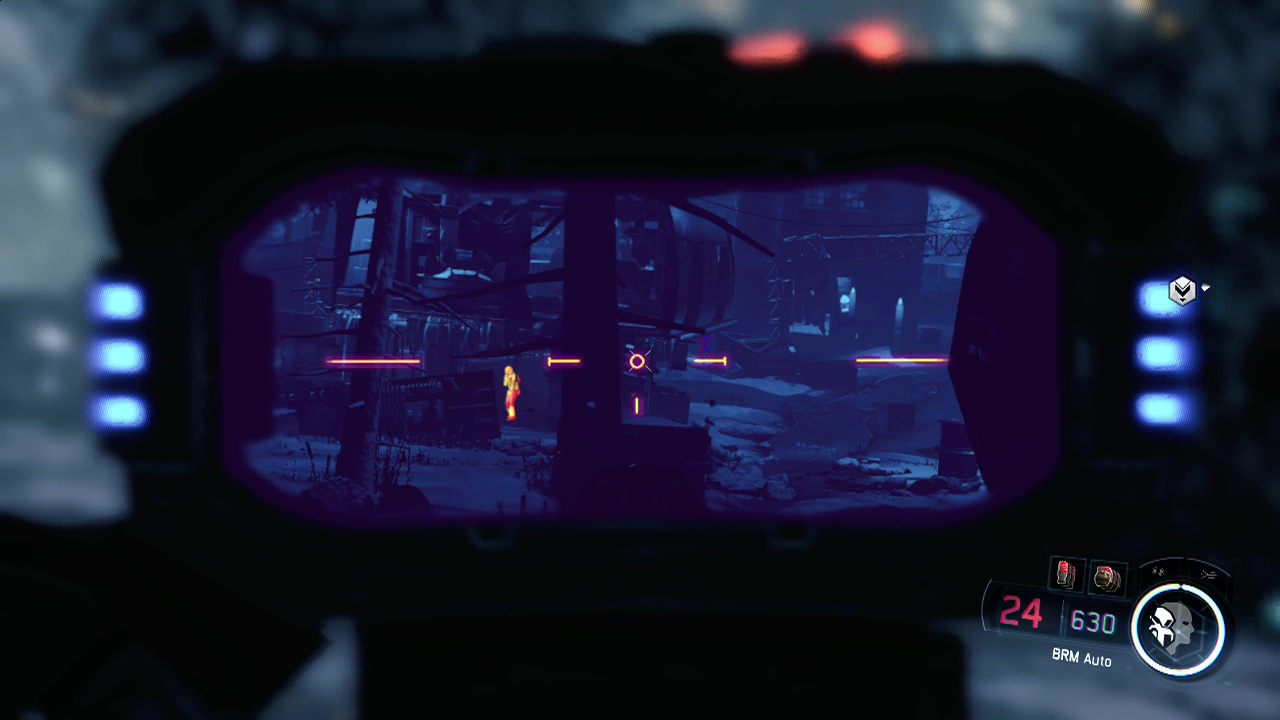
When you regain control after the scene, leave through the nearby doorway and head down the ramp to hack a door panel. This will bring you straight to Hendricks and into a long scene. Get ready as the scene plays out, because as soon as it ends you will be under attack by soldiers. Sprint to your right and take cover behind one of the massive trees. From here you can circle around to fire at the spawning enemies with relative safety. Also note that some of the enemies are wearing thermal reduction gear (they show up dark red instead of orange on a thermal scope). They are still visible, just not as easy to see.
After finishing off the enemies in the ring of trees, start moving up the only path carefully as more enemies will appear out of nowhere. Use the rocks as cover positions while you keep pressing forward, eliminating anything in your way. This is also the point where enemies will start having 'multiple lives,' meaning they will burst into a cloud of ravens and then respawn a second or two later in a different position. Get used to this now as it's going to happen for the rest of this level. If the ravens coming off the body go anywhere but straight up, the enemy will respawn. Sometime you need to kill the same enemy up to three times.
More scenes await at the end of the path, after it ends follow the floating man by sliding down into the lake below (lovely spot for a dip isn't it?). Take cover behind one of the closer icy rocks when you splash down as enemies will start rising up out of the water a couple of seconds later. When the waters are clear of enemies, approach the tangle of vines at the back of the area and interact with them to open up the path. Walk up the small slope for yet more scenes.
You'll be presented with three paths here (the order is fixed so no real choices), Tromp over to the one on the right and set the vines ablaze to be thrown into another scene. Afterwards, you'll be walking in a strange mix of forest and robotics. Any time you try to deviate from the main path, a wall of vines will rise up from the ground to stop you. So, follow the main trail towards the objective marker until bullets start flying your way. Each one of these routes is a gauntlet of respawning enemies for you to kill your way through. You'll want to grab some cover and take most of the enemies ahead down before moving up into the small building on the left side of the area. From the back of this, you can shoot more enemies that spawn to the right. Then drop down and take cover behind the wall ahead as you move along the left edge of the area.
Take cover behind the half destroyed truck as even more enemies appear amongst the turmoil further on. Pick them off the walkways above and off the snow below. They will keep spawning in for a while, so you'll be emptying a few magazines here. When the area seems free of enemies, jump up over the railing of the building with the catwalk around it next to your position. From here, check the walkways and your tactical view for any remaining enemies ahead. Moving beyond this point, you will enter the ice maze. It's a very simple maze. Just keep looking for car headlights that show where the gaps are you can pass through.
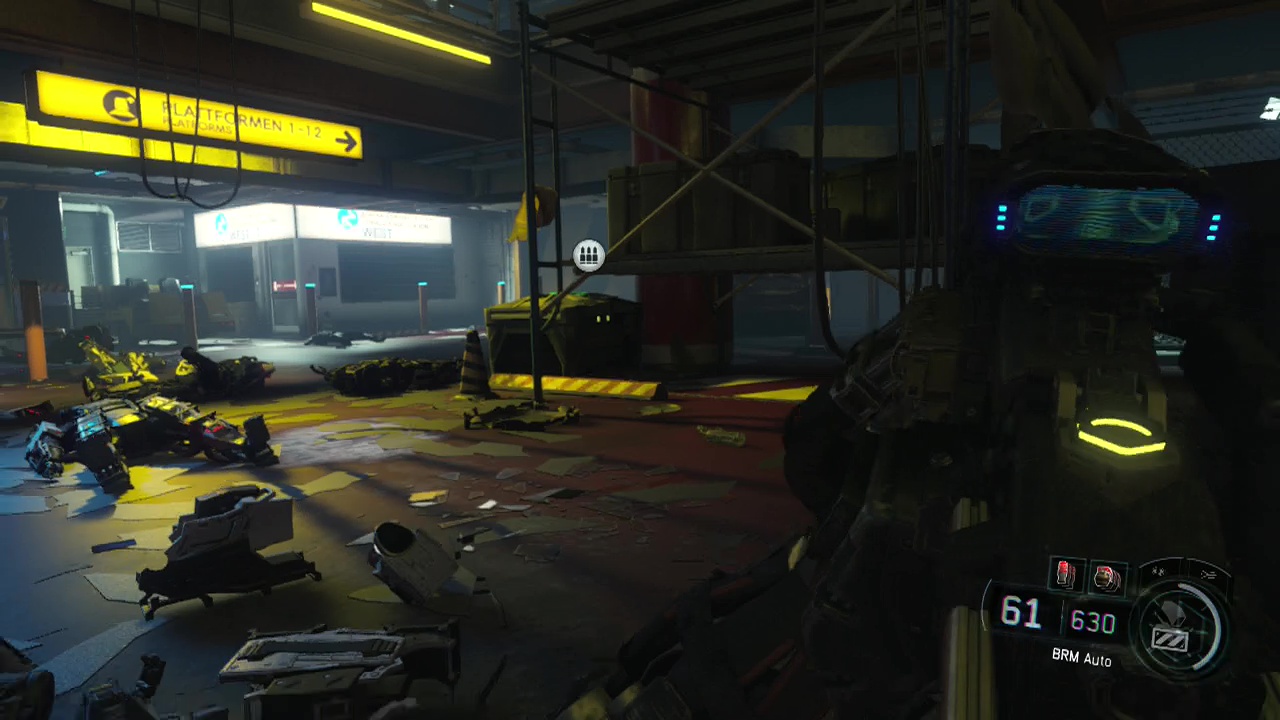
Be wary as you exit the maze however, as enemies will spawn and race towards you. Race over to the yellow and green building on the right (it's a train car from earlier in the game by the way) for cover as you start chewing through the enemies in the area. Leave the large well-lit train car and enter the darkened smaller one next to it. From here you should be able to take out a couple of additional enemies that appear in the area up the rooftop (rooftop on the ground) ahead. Move up to take cover behind the wall with chimneys on top as you take the fight to the remaining enemies. Vines will clear the way for you on the other side as you enter the building.
This will take you to a warped and twisted mechanical corridor with glowing blue light all around. There are several talon further along, so be ready to bring them down when you see them. At the end of the corridor, you'll find an object you need to interact with. Do so and you'll be back at the path split. Yep, you've got two more of these to go. Each one is pretty much the same (just set in a different locale) with the same type of enemies, so simply keep moving up from cover to cover sticking to the sides of the area when possible to prevent flanking, take your time and make sure to stay alert for respawning enemies,
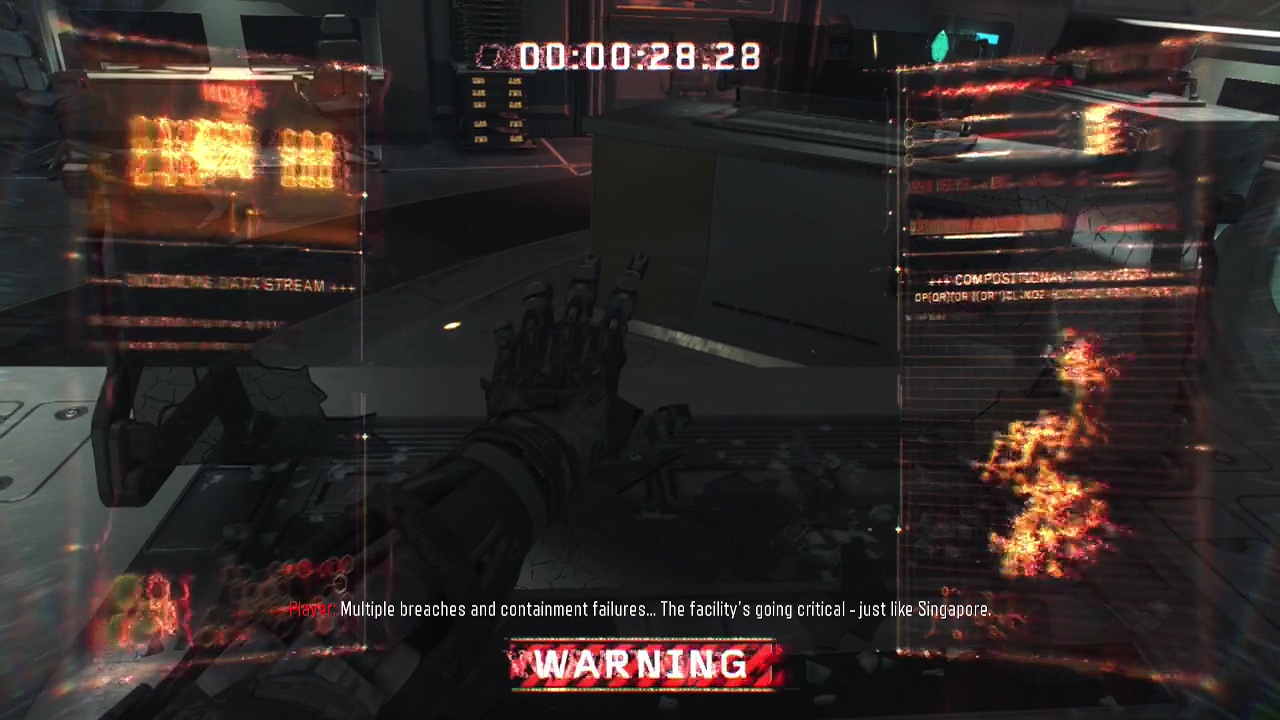
The only major thing that changes is the enemies in the corridor at the end of each area. The desert one will be full of R.A.P.S, while the water one will require you to swim upwards, destroying depth charges in the crimson water. One other thing to note is that when you are passing through the desert area, you will move between two buildings/ large structures. Climb to the top of the left tower to find some Fulgurite (is this the game's way of making a Killer Instinct reference?) When then the third object is burned, a series of scenes will take over and you'll have to stumble out of the facility. On the way back, look for a desk sitting underneath a Coalescence sign and you'll find a Raven Feather sitting on it. When you get outside, the credits roll and the game ends. Congratulations, you've finished Black Ops III as well as most likely unlocking nightmare mode, which readjusts the campaign levels and populates them with the walking dead.