
ZOMBIES – Shadows of Evil
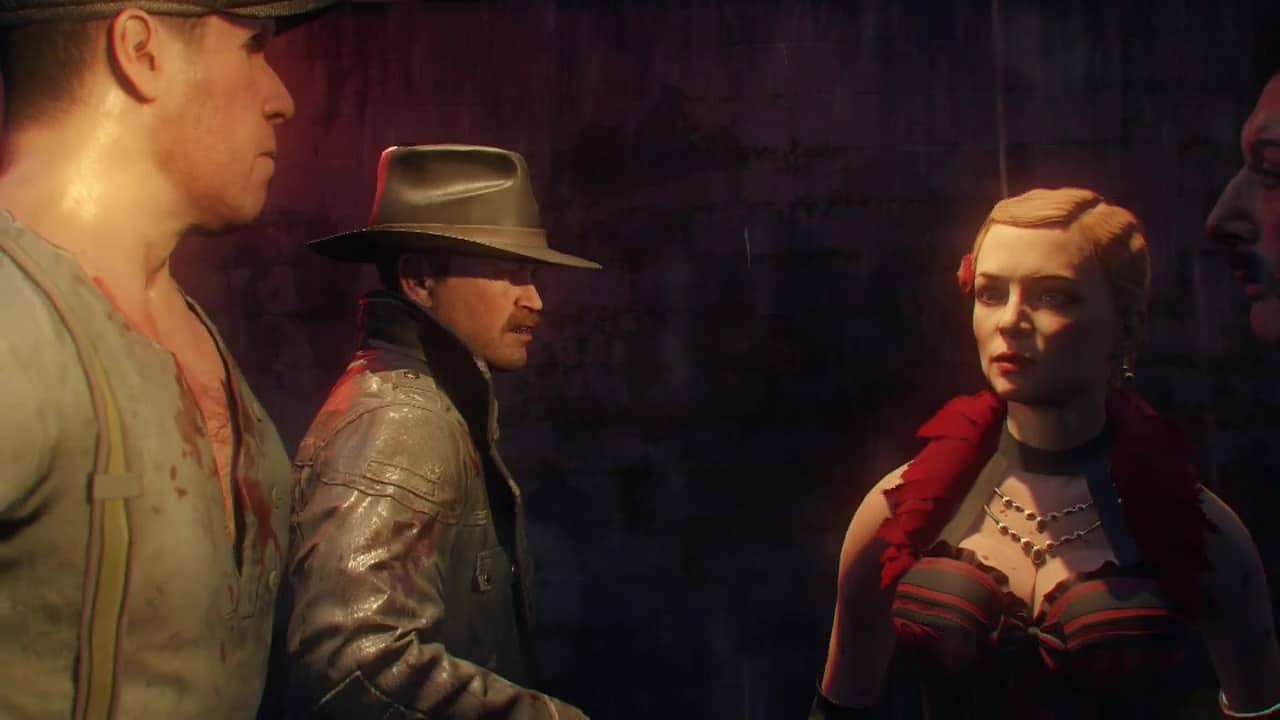
Welcome back to the grisly world of the undead once again. This time Treyarch have developed a very film noir story revolving around four disparate and desperate characters: The corrupt cop, the failed magician, the sultry seductress hoping for her big break and the cheating prize fighter. Each time you start the mode you will control one of these characters at random.
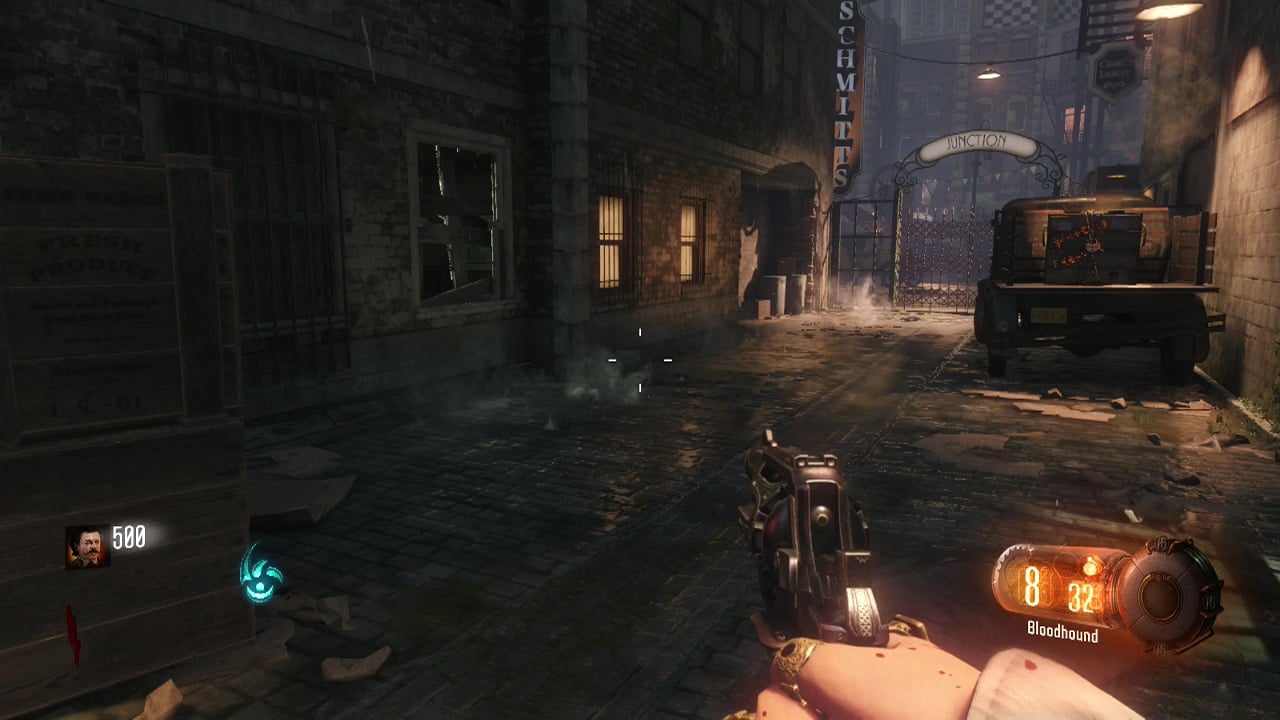
Each character begins with a weak pistol (bloodhound), a couple of grenades and 500 points which can be saved or spent on upgrading your arsenal. Like previous zombie modes in the series, you must face ever increasingly numerous and dangerous waves of the undead while trying to accomplish a series of objectives to complete the mode successfully.
The goal is to find four items (each item belonging to a specific character). When you find these items, you can perfom a ritual at a site significant to the character to proceed.
Character Item Ritual location
Detective (Canal area): Detective badge –> Strip club
Magician (Junction area): Golden pen –> Magician's home
Boxer (Waterfront): Championship belt –> Gym
Seductress (Footlight area): Producer's toupee –> Theatre
There are a lot of things to take into consideration when you play this mode. Determining if you are planning for an efficient run or just trying to survive to a high wave number. It should be possible to do this successfully with a coordinated 2-4 players without reaching higher than wave 10.
Maximizing point potential:
One of the most important things in this game is getting the most points possible out of everything you do. This is so you have more to spend on better weapons and unlocking new areas so you can reach all of the key items and the ritual sites. Keep these things in mind when playing to stockpile those points as best you can:
- Barriers – You may be used to barriers in previous Black Ops games. These slow down zombies and can be repaired for additional points. A really good idea is to return to the starting alley (Easy street) at the start of each new wave. This means the spawning zombies will break all four barriers again giving you an additional 50-60 points per window. It may not sound like much but it adds up.

- Max shots/ stabs – To get the maximum amount of points out of a zombie, you need to shoot/ stab it until it is just about to die and then finish it off with a stab or head-shot for maximum points. Zombies get tougher as the waves progress, so you can land more body shots as the wave count goes up. A good general rule is start at 1/2 body shots + 1 for each additional wave (depending on solo or co-op). So instead of getting 130 points for killing a zombie with a single head-shot, you can get 170+ for getting in those body shots as well. While it may drain your ammo, you will be switching guns/ buying ammo/ finding ammo reload specials too often for it to matter much.
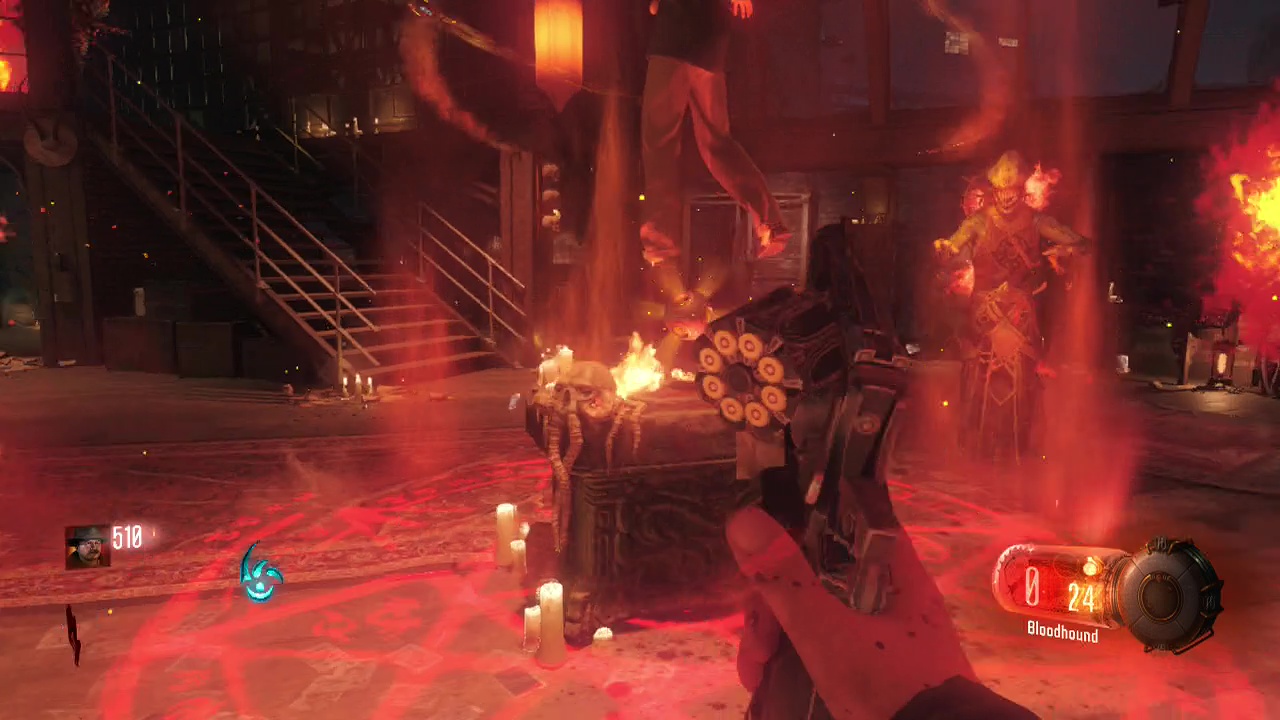
- Wraiths at rituals – Whenever you trigger a ritual, wraiths will begin spawning from portals spread out in the area around the altar. These wraiths will continue to spawn until a set timer runs out. Killing these wraiths gets you points and keeps you alive (the exits will be blocked off during the ritual so you can't escape). Use your best weapons to mow down the wraiths quickly (shotguns, SMGs and LMGs work extremely well for this as they rush straight towards you). More kills, more points.
- Plants vs zombies – The fumigator is an item you can normally find in the back of one of the cars on Easy street or on the crates next to the first beast transformation font. They are also scattered around most areas if you don't find one easily in the starting location. These special items allow you to harvest the bulging plants scattered around the area. Approach one of the balloon shaped pods with the fumigator in your inventory and you will find one of the following: bonus (score multiplier, nuke etc), a weapon, an enemy or nothing. Even finding an enemy is beneficial as you can kill it for more points, so take advantage of this awesome little item.
- Score multipliers – While the most random way of obtaining additional points, they are extremely beneficial. These multiply your score earned over the next thirty or so seconds by two. This includes repairing barriers or killing enemies. You can find score multipliers in plants, dropped by enemies upon death and inside beast doors (doors that can only be opened in beast form). If you are lucky enough to find one of these take full advantage of it.

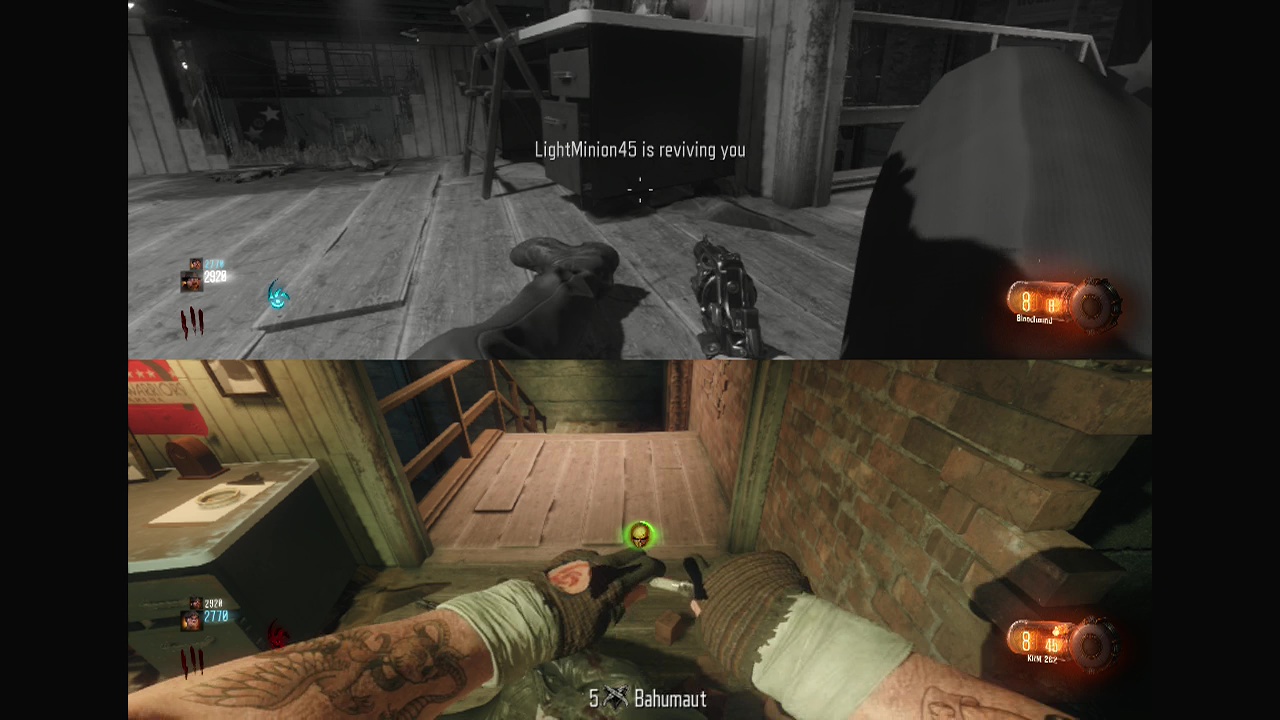
- Point swapping – While you are unable to directly give points to your allies, you can deliberately die to remove 30-40 points from your total that is given to the person that revives you. In this way you can swap points if someone is just a little away from buying something important.
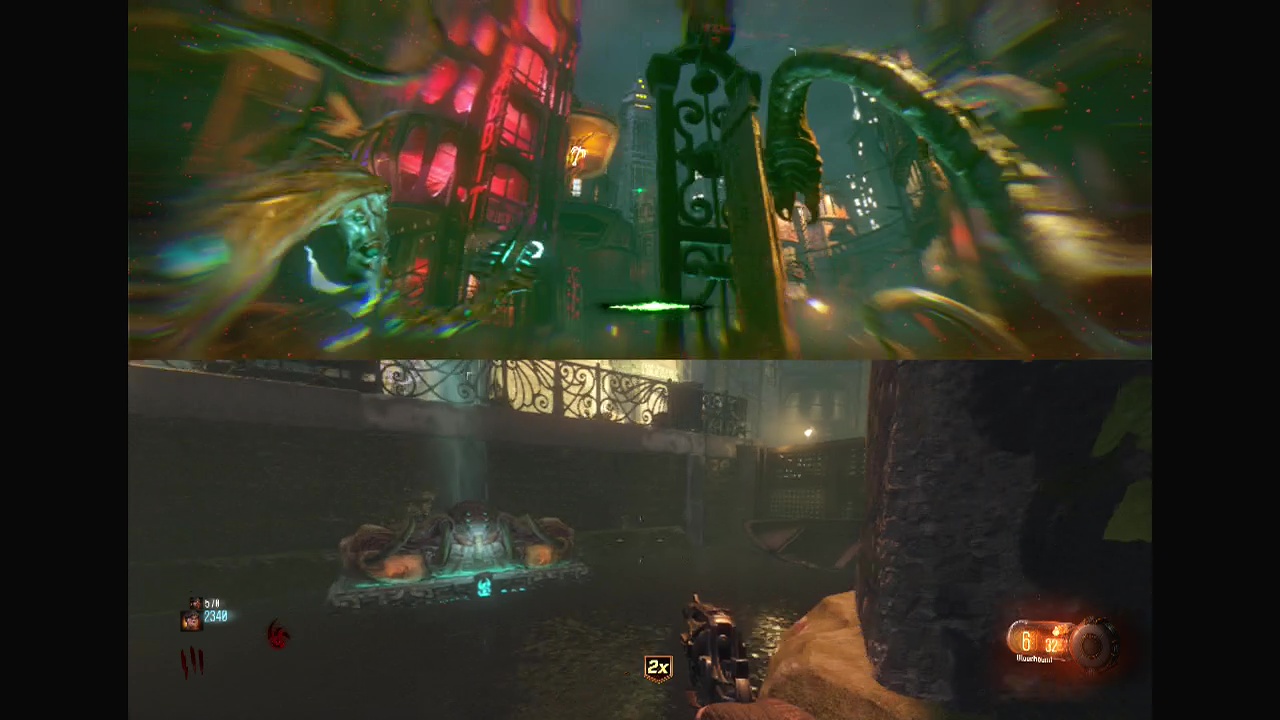
Beast Mode:
Beast mode is a new mechanic introduced for this iteration of zombies. By interacting with one of the beast fonts (small stone plinths with purple flames coming out of the top), you transform into a beast for approximately thirty seconds. When you are in beast form your movement speed increases dramatically, enemies ignore you and you gain additional powers. These include:
- Melee (R3) – this does significant damage to enemies. But is most useful for breaking objects with the melee icon (a tentacle with an impact star at the end) that glow red when you are in beast mode.
- Grapple (RT) – this allows you to pull enemies towards you for a grapple kill. It is also useful for gripping onto overhead grapple points that are inaccessible to anything else.
- Lightning (LT) – This can be used to zap zombies for damage. You can also use it to power generators/ devices on the wall that trigger nearby electronic devices (such as vending machines or doors).
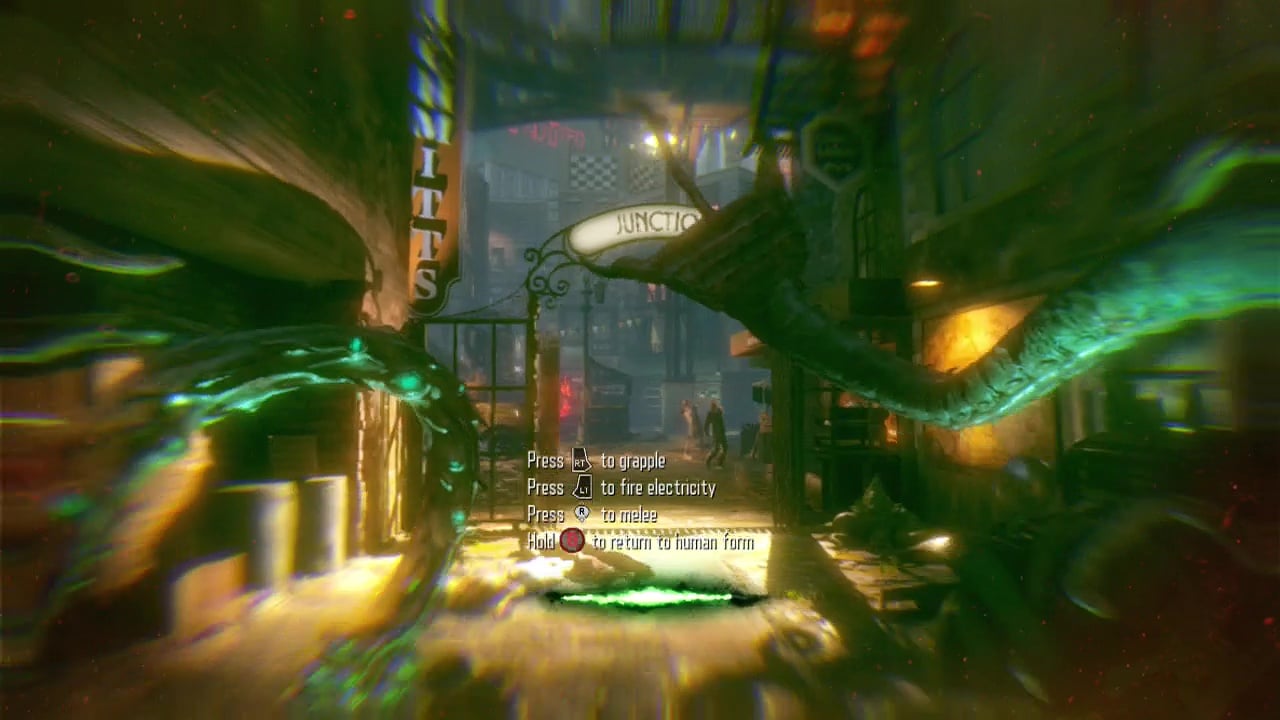
As you can probably tell from the power descriptions, most powers have other uses besides attacks. The limited number of beast transformations per wave makes it vital that you use these transformations to their fullest. Maximizing how much you get done during each transformation is the key to keeping the wave count low and making survival easier. With solo, you get three transformations initially and then an additional one per wave. In co-op, each player gets one transformation per wave. Focus on your objectives first before using beast mode to go kill crazy.