
SOE GUIDE:
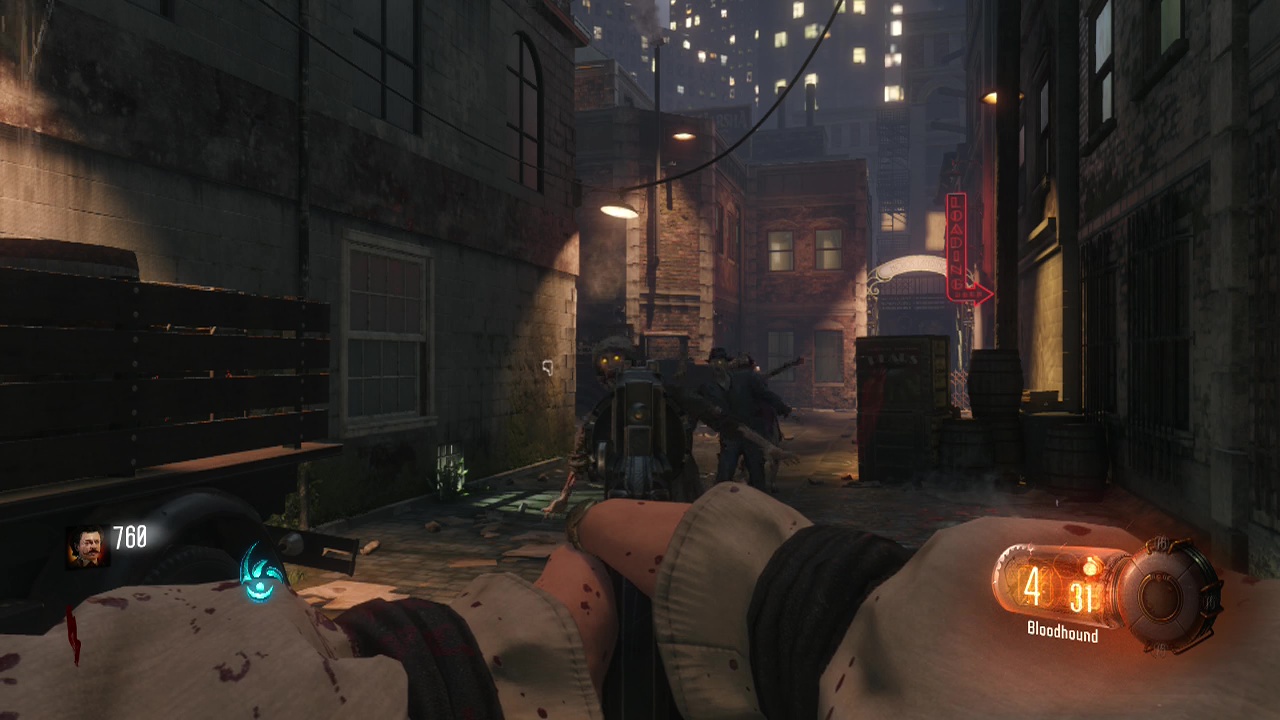
When you begin, you will control one of the four characters at random, holding a bloodhound pistol with a total of fourty rounds of ammunition as well as two frag grenades. You'll notice a blue glowing symbol at the bottom left corner of the screen. This represents that you can activate beast mode if you interact with a beast font (stone plinth with purple flames). You also start with 500 points, which is enough to open up the gate at the end of the starting street you are on (Easy street) which you can open when you are ready to move on.
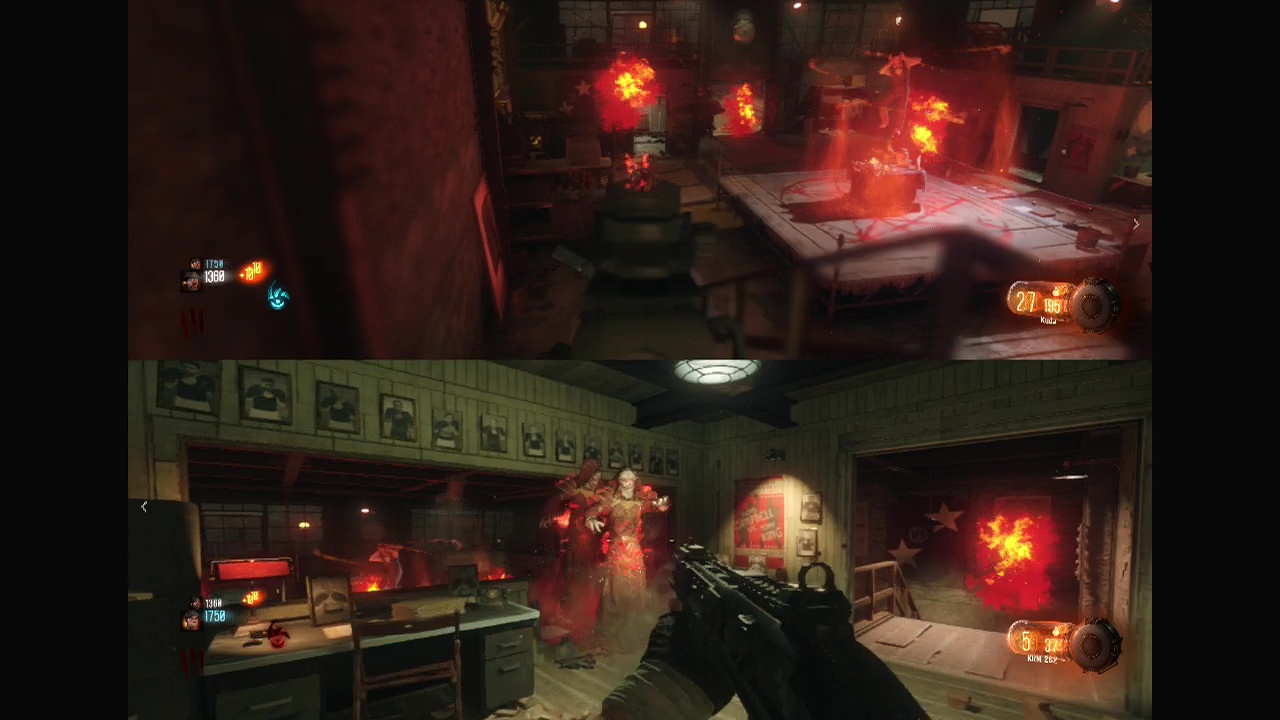
Magician's House
Now to the actual process. This method revolves around keeping the waves as low as possible and prolonging them for as long as you can to explore in relative safety. To do this, you need to leave the last two zombies of each wave alive. If you only leave one, they will transform into a sprinting zombie about 30-60 seconds later, making it impossible to explore safely. So your initial goal is to kill all but two zombies from the first wave, maximizing your points for each zombie by performing two body shots followed up by a stab.
It's also a good idea to grab the fumigator if it is present as that allows you to obtain free weapons/ bonuses early if you are lucky by harvesting the plant pods scattered around. Also take note of the map next to the metal gate leading out of Easy street, these maps (there are several scattered around) keep track of your current progress in finding items and completing rituals.
Avoid the remaining two zombies from the wave as you repair all the broken barricades on easy street.Then open the gate at the end of the street to gain access to the large circular central Junction area. When you're done, it's time to trigger beast mode for the first time. Before you do examine the following in Easy Street, the crate with red runes in the back of the truck, a door covered in chains near the far end and a power meter on the wall next to an inactive machine that lets you purchase revives. While the only necessity for you to trigger/ break is the crate on the truck for a summoning key, you might find a bonus behind the door and can purchase revives if you activate the power meter on the wall. These can be done during either of your first two beast transformations.
The main focus of your first transformation is gaining access to the magician's house with it's ritual site. It is generally best to do this one early as it allows you a chance to increase your points total by killing wraiths during the ritual, it also doesn't cost much to access and uses your initial beast transformations without wasting them. Remember that the transformations are timed, so you will need to be quick. Note that if you are really quick, you can power up the crane, smash the crate holding the summoning key and navigate through the magician's house to zap the power box all in one transformation.
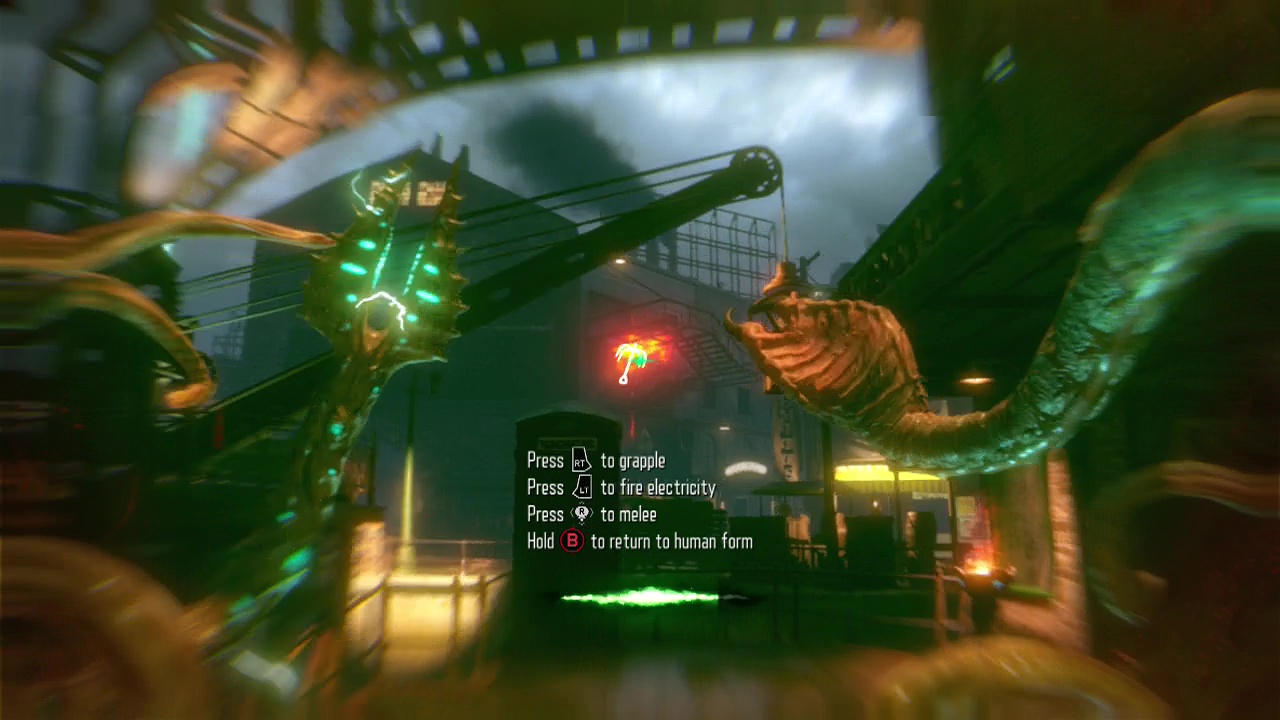
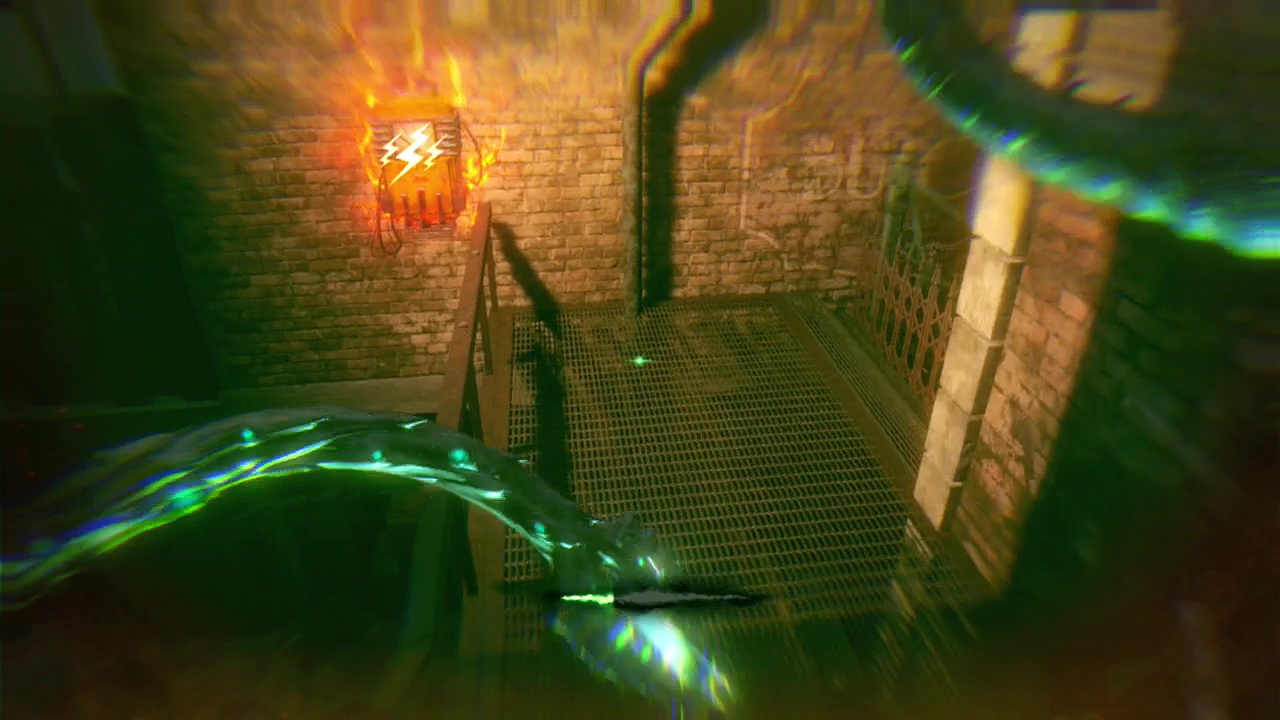
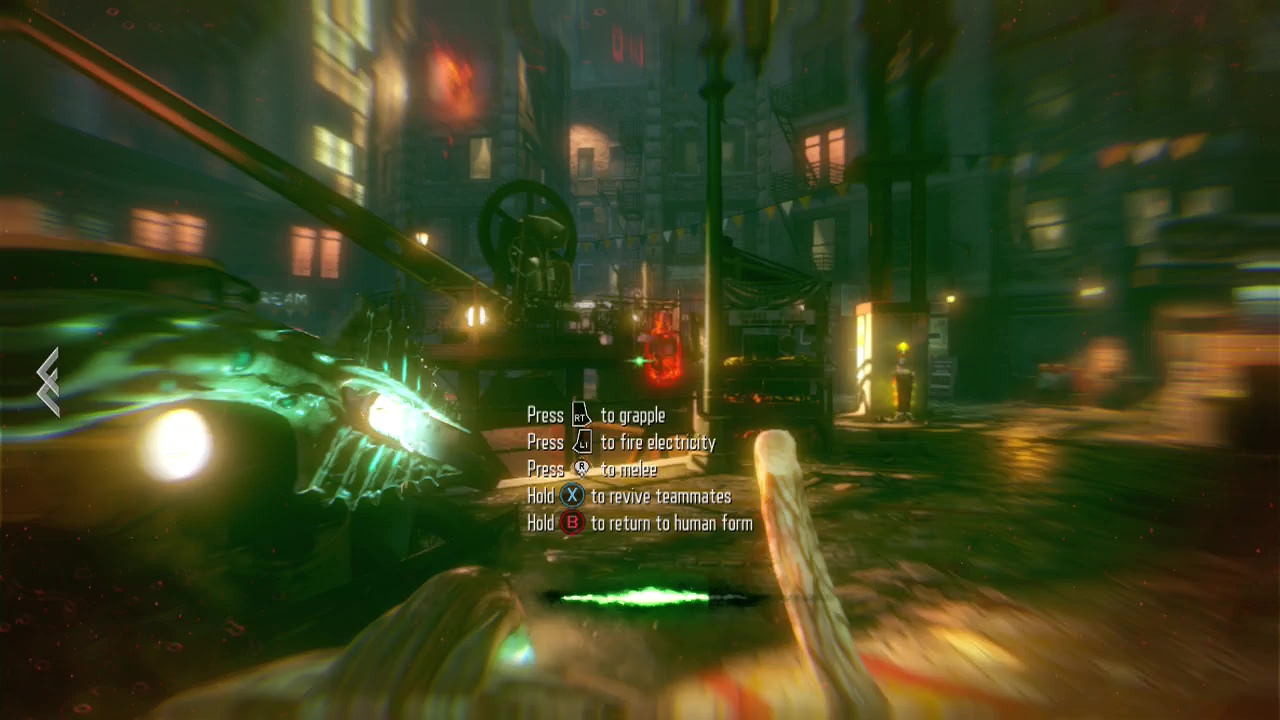
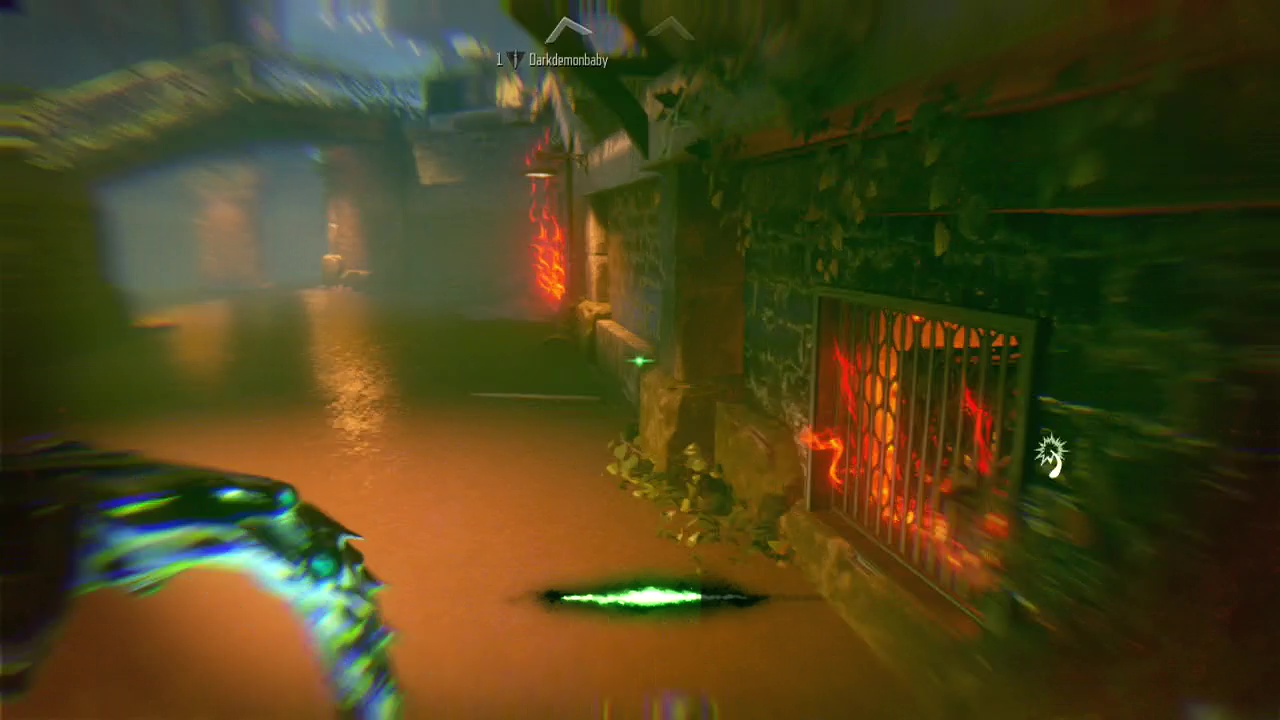
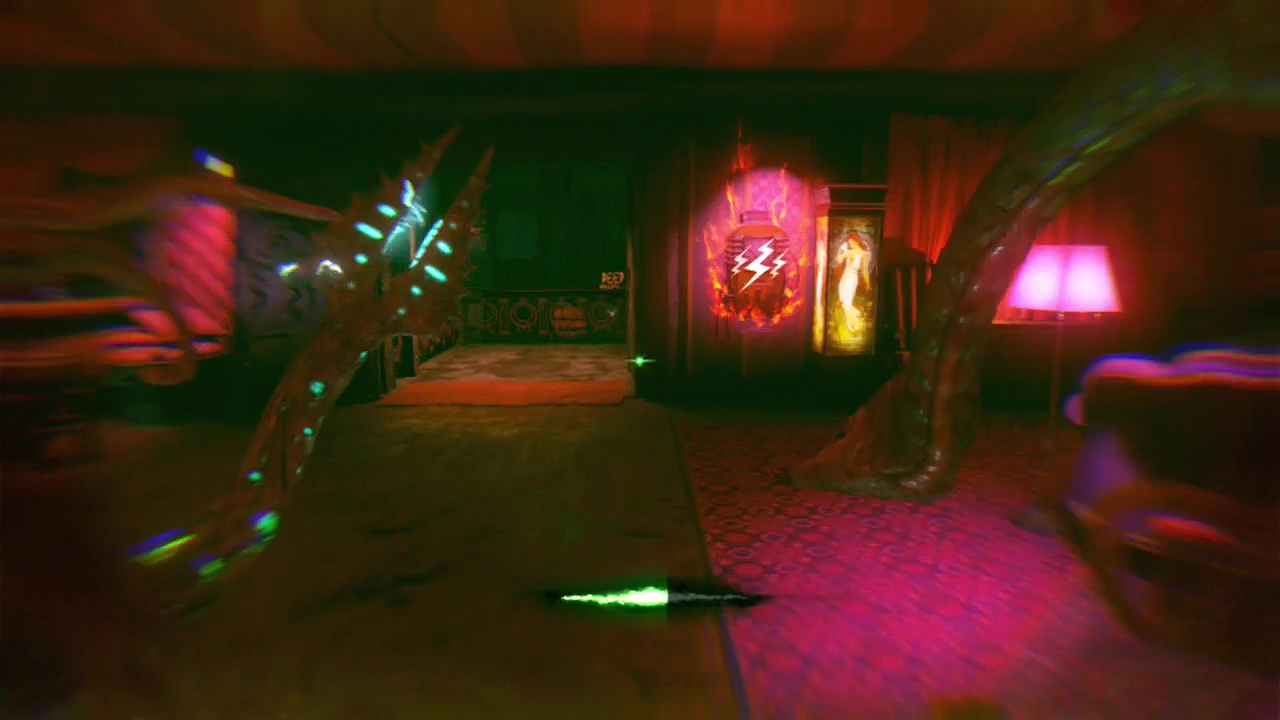
To gain access, you need to grapple to a catwalk above the gate you opened to leave Easy street. When in beast mode, you'll see a glowing red point on the building above you with a grapple icon in white if you have proper line of sight. Press RT to grapple up onto the catwalk and race upwards into the house. Immediately sprint down the stairs and through the door on the other side of the room straight ahead. Quickly turn right and weave across the walkways (the path is linear but turns twice), until you find a set of stairs with a glowing power box on the wall halfway down. Use LT to fire your lightning to unlock regular access to the magician's house. If you still have enough beast bar remaining, you can finish descending the stairs and interact with the objects in easy street I mentioned earlier.
Golden Pen
Now that you've successfully unlocked the ritual site (the altar in the middle of the magician's house), you can turn to finding his item. This is located inside a box held by a crane over the water in the middle of the junction area just outside of Easy street. To get the item, you need to trigger beast mode again (or one of the other players if you are playing co-op). There is a power box on the wall next to the lone beast font in junction that triggers a vending machine next to it. To find the power box for the crane however, you will need to hug the right wall (closest to the water in the middle) to find a power box amongst the crates and other debris.
Hit this with LT (lightning) to activate the crane. If you still have enough beast bar remaining, you can sprint back to Easy Street and interact with the objects I mentioned earlier.The crane will turn and drop the crate on the ground close to the water adjacent to the entrance to Easy Street. Be warned that when you pick up the item, two wraiths will appear from portals nearby and attack, so be prepared to gun them down as knifing doesn't work very well against them.
Ritual One (Magician)
Now that you have the location and the item, return to Easy Street and climb up the now open stairs at the far end, following the walkways until you reach the Magician's house and the ritual site inside. Make sure you are prepared (harvested all accessible pods for weapon upgrades and make sure your guns are reloaded) before interacting with the altar twice to begin the ritual. When you do, around five portals will open up inside the room. Two portals will also block the exits so you can't escape. You will need to gun down a decent number of spawning wraiths that enter via portal.
Be careful about moving to upper areas during any of these rituals as wraiths can hover up and over rails to attack you from behind. Staying on the lowest level of the fight is generally recommended unless you have multiple players watching all the angles. When a certain amount of time has passed (usually around 15- 20 seconds) the screen will flash white and the wraiths and portals will vanish. A gateworm will spawn above the altar which you can collect. You will need four of them to finish this map.
Note: From this point on, you can head for the items and ritual locations in any order. The listed order below is based on the difficulty of the ritual locations. This means the hardest locations are done first so that you can deal with them while the wraiths are still weak (their strength is equivalent to your current wave). Leaving the easier ritual locations for later when your wave count is higher.
The order I recommend is: Magician's house –> strip club –> theatre –> gym
Detective's Badge
This item is located in the Canal district, but you'll probably want to end the current wave at this point for some additional points and to replenish your beast transformations (unless you are playing with 3-4 players). Return to Easy Street and kill off the final two zombies in wave one. You want to spawn each wave here if you can so you can repair the barricades each time for more points. This time you'll need three shots to the gut followed by a stab for each. Remember to leave the final two zombies of wave two alive so you can continue to explore safely.
Still easy but you'll likely be running low on ammo unless you found a gun in one of the pods. By killing wraiths in the ritual and clearing most of another wave, you should have enough for at least one player to buy a shotgun or SMG off the walls. Sniper rifles are near useless in this mode unless you have more than two players, as you often won't have enough distance to be effective.
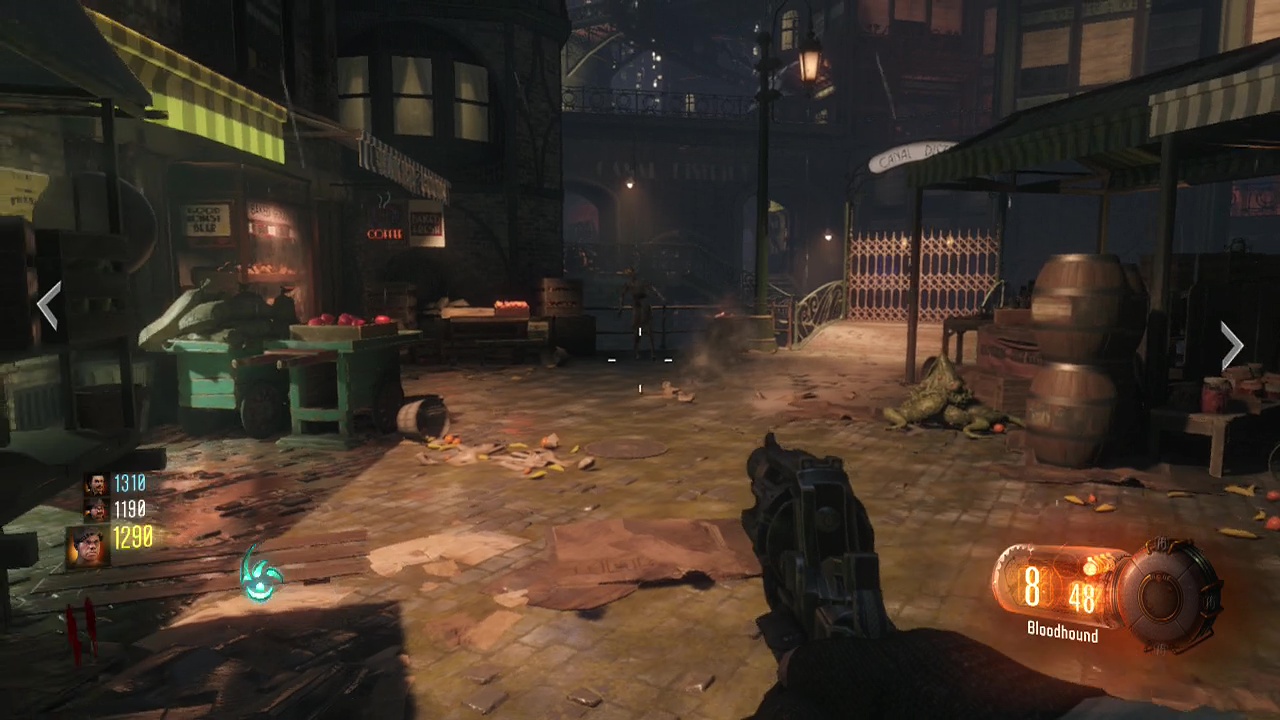
Return to the entrance of Easy Street looking towards the Junction area and travel left from here to find a gate that leads to the Canal District. Have the person who didn't buy a weapon unlock the gate to advance. You'll see a beast font just past the gate as you move into the district. You'll also see a canal with several bridges over it blocked by gates further in. You will need to cross these later, but for now, your main focus should be the canal itself.
At one end you'll see a small vent (behind which is the Detective's badge) with a large door covered in chains next to it with a glowing white rift inside. These act as portals to other areas. This one leads to an underground area beneath Junction that we will need to visit after completing all the rituals. At the opposite end of the canal is a boarded up section of timber with a symbol painted on it. You can pass through this in beast mode to use lightning on the power box inside.
Now you are on wave two, you should have your beast power back. Return to the beast font near the start of the canal area and transform when you memorize the locations in the canal you need to interact with. Drop down through the nearby railing into the canal and use melee (R3) on both the vent and the chained door. Then race down the waterway and pass through the now glowing wooden panel at the far end to use your lightning (LT) on the power box. When you return to human form, drop down into the canal and retrieve the Detective's badge from the now open vent. Two wraiths will spawn when you grab it so open fire on them when they emerge from portals nearby.
Strip Club
Depending on your point situation, you may need to finish off another wave to pay to open the gate across the bridge to reach the far side of the Canal District. If you're only a few points off, you can return to Junction or Easy Street and look for barricades that need repairing. Or you can open up the plant pods in the canal are to hopefully spawn a zombie to kill.
Or if you are only a few points off and are playing in co-op, you can let one of the lower point total players die and then revive them to swap thirty or forty points over to you. If none of that works, you'll need to use the usual strategy (4 gut shots this time) on a new wave, leaving the last two zombies alive.
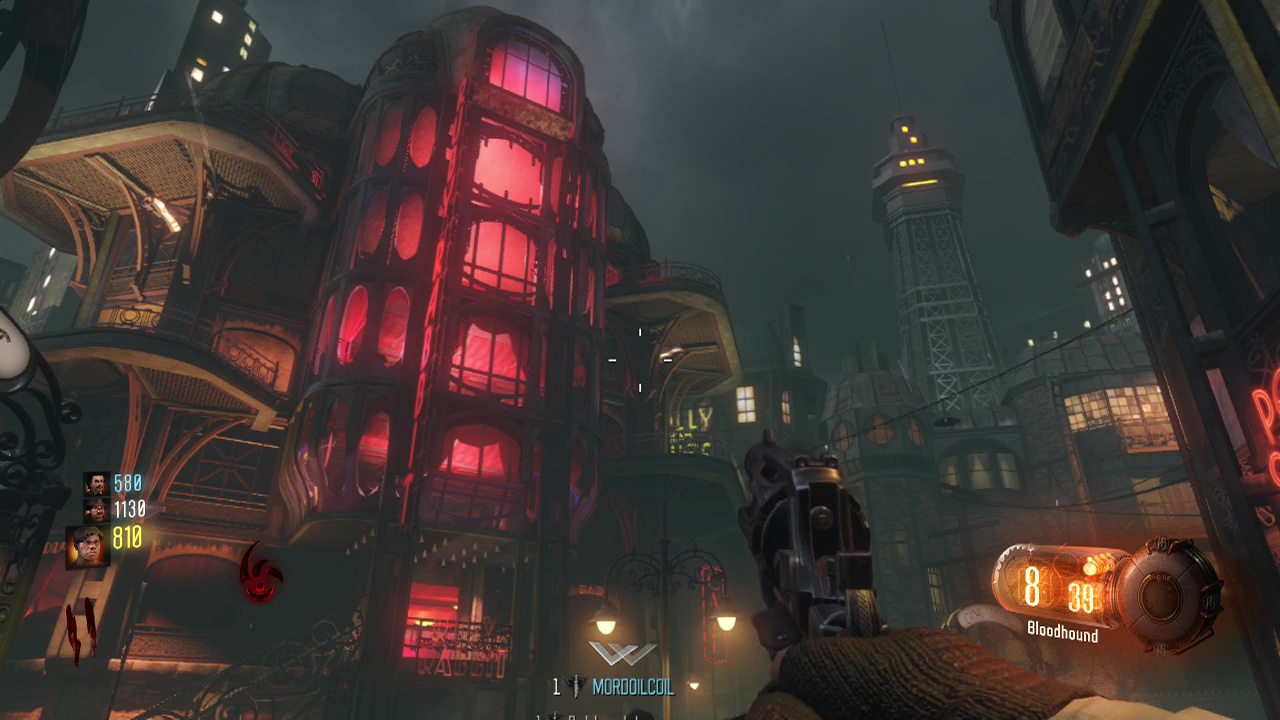
Either way, pay the toll to cross the bridge. To get into the strip club, look at the beast font next to one of the bridges and then back up onto the bridge to see the bright purple lights of the Strip Club. There is a grapple point on the building overhead that will take you up to the top floor of the place when you're in beast mode.
This time you only have to worry about one thing, getting to the power box on the wall next to the main door on the ground floor of the building. Transform and drop down through the gap in the railing, crossing the floor and taking the stairs downward. On the ground floor, you'll see a large wooden reception area, to the right of this on the wall next to the door is the power box that opens up the stairs to the club.
Ritual Two (Strip Club)
Now the place is open and you have the item, make sure you are prepared (make sure at least two players are armed with upgraded weapons and that everyone has reloaded) before heading up to the top floor of the Strip Club and triggering the altar to begin the ritual. I would advise each player to take a corner if there is more than one of you as staying on the balcony overhead is suicide due to wraiths floating up over the railings. Move to avoid the wraiths if you need to, but keep spraying bullets at them.

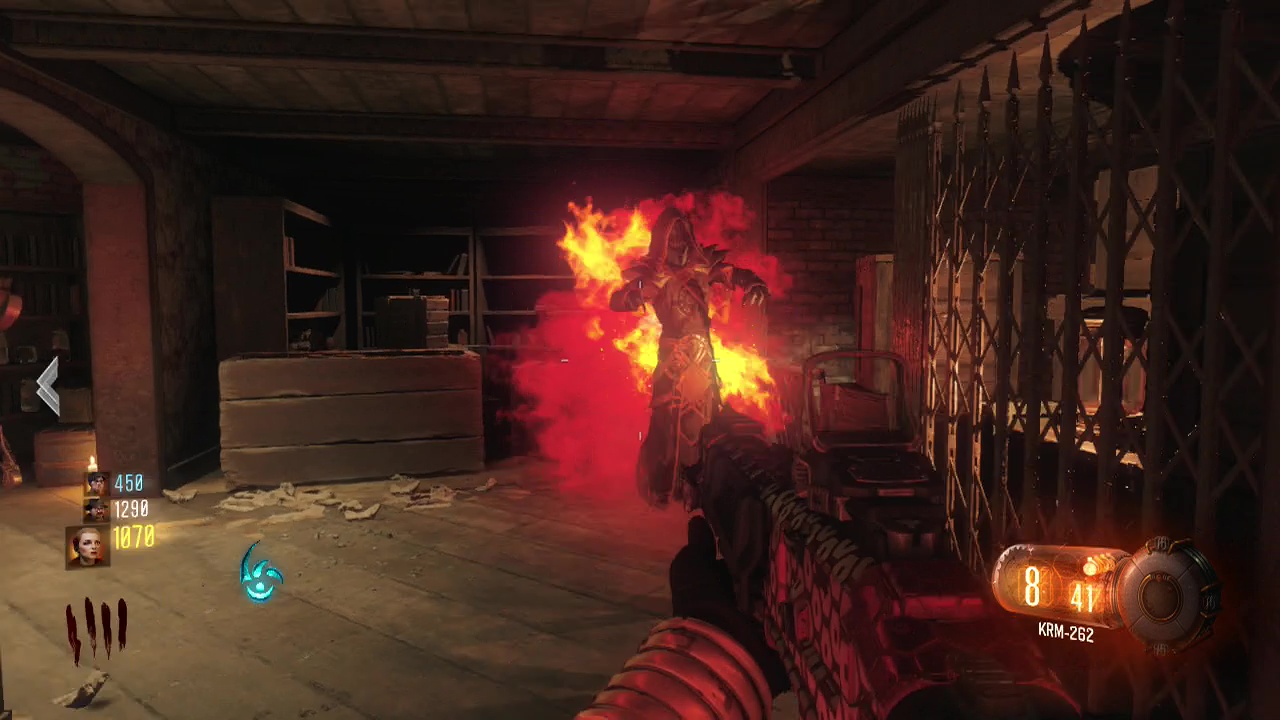
After the time limit expires, a gateworm will descend onto the altar, then a strange purple glow will appear in front of it and a three headed demon with tentacles called a margwas (almost a bulked up version of your beast mode transformation) will spawn and start trying to kill you. His obvious weak point is the yellow glow from his open mouth. You need to land shots in the mouth of each of the three heads to successfully kill this guy. Make sure you don't get blindsided by the two remaining wave zombies while you race around trying to kill the demon. Keep in mind that this will happen each time you complete a ritual from now on, so be warned. Remember that the portals are gone now so you can move freely in and out of the Strip Club once more. When the demon dies, you can grab the second gateworm and the second ritual is complete.
Producer's Toupee
This one is a little bit trickier than the previous items. Return to Junction and head past the gobblegum machine to a gate with the sign Footlight District above it. After opening the gate, you'll pass a chain trap at the first corner. In the relatively small rectangular area beyond, you'll see a gate to the right with Footlight District Highstreet on it, while one straight we can ignore for now. Look on the wall behind the right gate to spot a grapple point you can use shortly to get the gate open for free.
Transform into a beast at the nearby beast font and grapple up past the gate, leaving you on a high ledge. Immediately drop straight down and the power box to open the gate should be right in front of you awaiting a zap. Climb the stairs and immediately turn left to see a wooden ramp. On the wall opposite this ramp is a ledge with a wooden crate at the end covered in runes. This holds the Producer's Toupee. Sprint and jump across the gap running along the ledge to close the distance, then smash the crate with a melee swipe and the toupee will fall to the alley below for you to pick up. When you do, kill the wraiths that appear as usual.
Theatre
Now to reach the large area packed with cars that is the back area of the Footlight District you can take either the gate on ground level or continue up the stairs past where you had to jump across the gap onto the ledge to reach the toupee to find another gate at the end of a long walkway. I would recommend the first option however as there is more room to move around and avoid enemies on ground level. The narrowness of the upper path makes it easy to get trapped and killed.
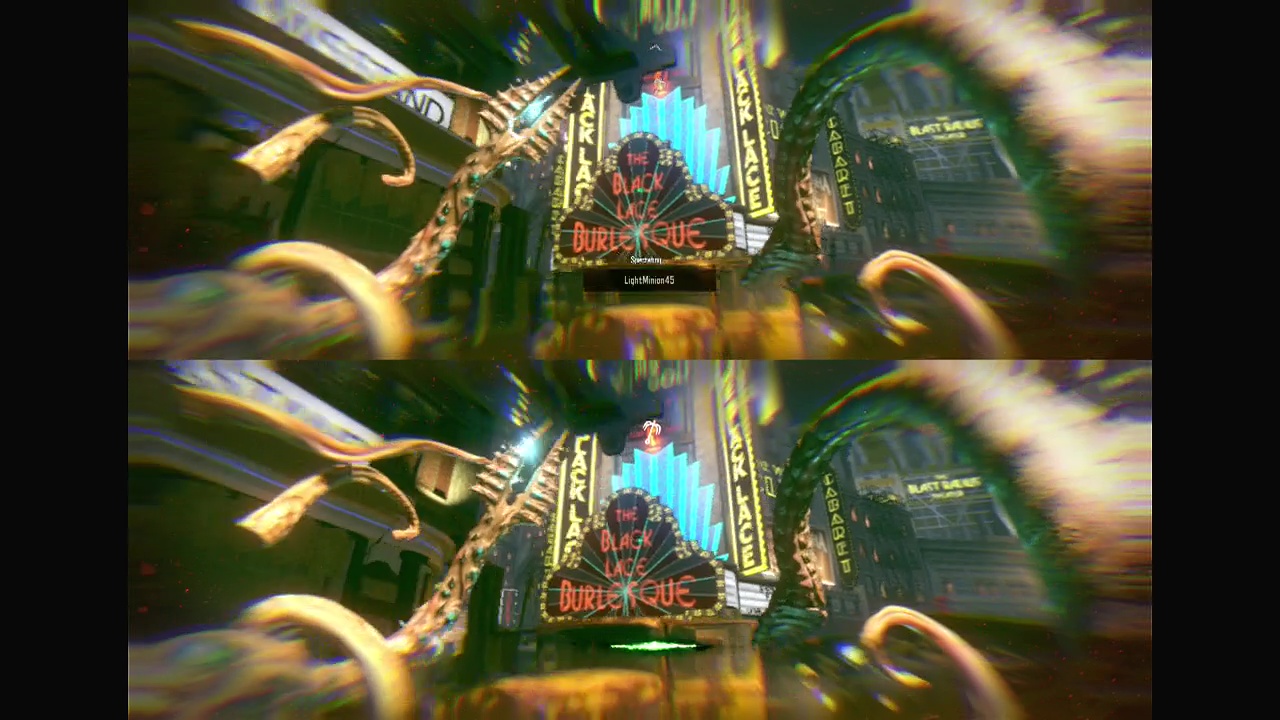
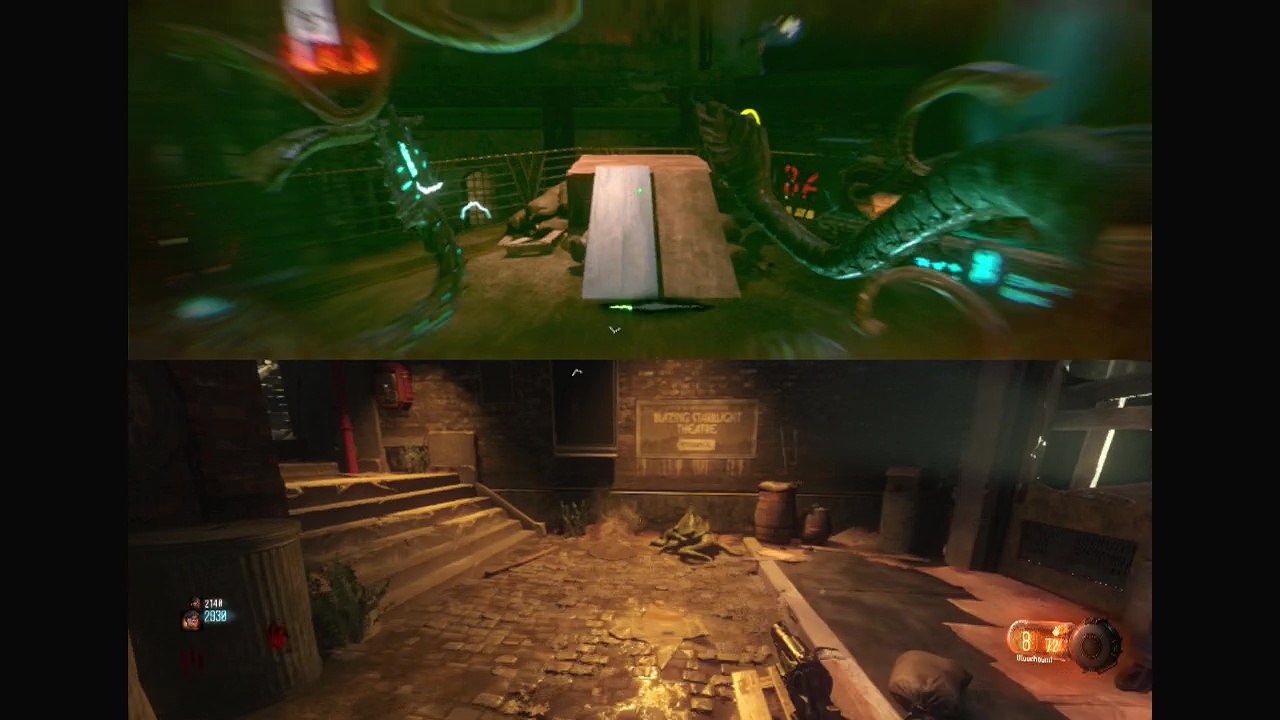
When you reach the massive open area filled with cars, look around until you spot a large glowing sign on the front of a building reading 'The Black Lace Burlesque' in big red neon letters. Directly above the sign on the wall is a grapple point which will land you on top of the entrance when you use it in monster form. Turn around when you land after grappling to find a power box you can zap to open the main doors of the theatre below your tentacle-like appendages.
Ritual Three (Theatre)
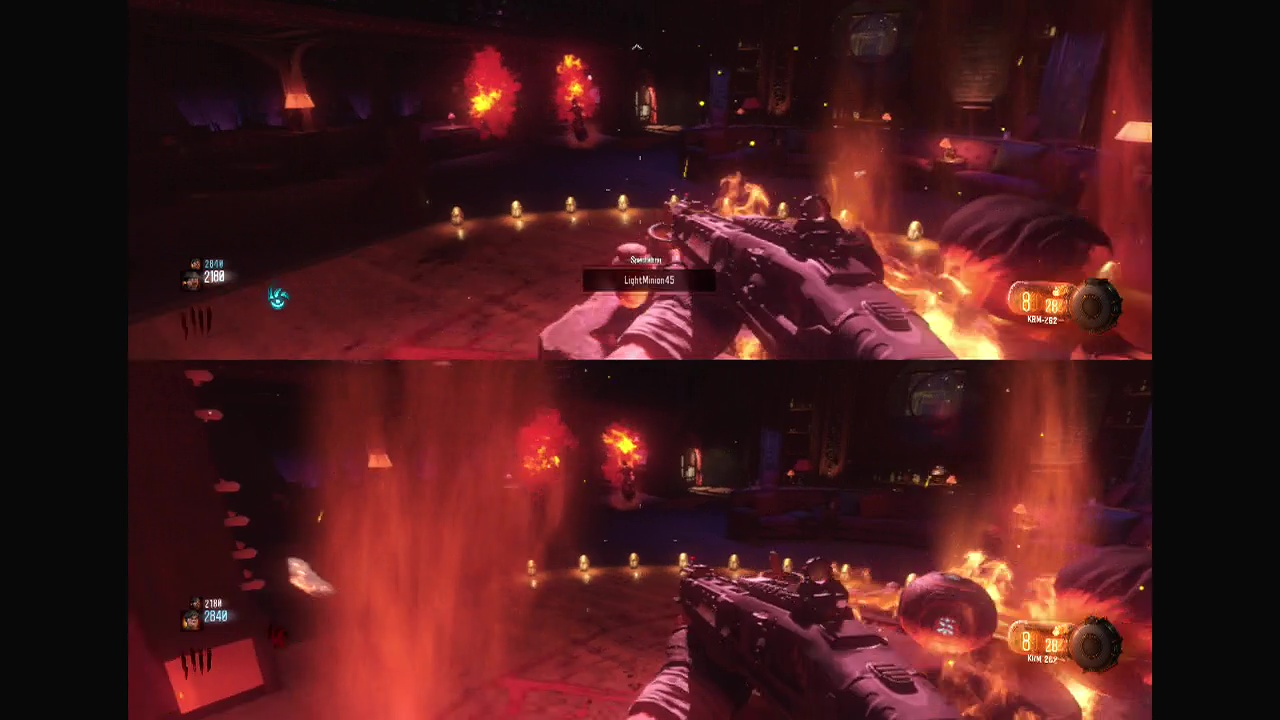
Now that the theatre doors are open, head inside and you'll find yourself where everyone lost consciousness in the opening cinematic. On the stage is the altar just waiting for you to begin the ritual. There is a decent amount of room here, but be careful about being caught in the long entry corridor as it fairly narrow and zombies can still enter the main doors, catching you off guard from behind if you aren't careful. Fend off the wraiths for the required amount of time to obtain the gateworm and meet our good three headed friend Mr. Chompy again. Once you blast off each of his heads, it's time to move on to the last ritual.
Championship Belt
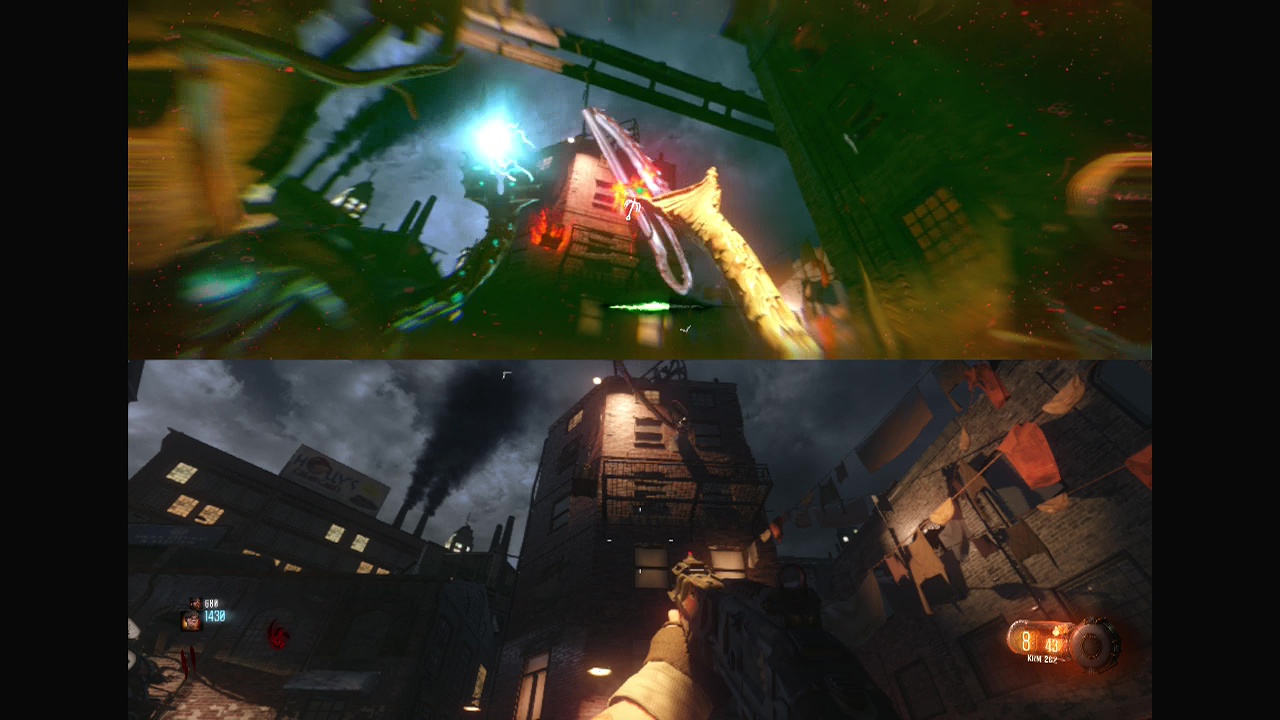
When you're ready to head for the final area, return to Junction and find the gate with the Waterfront district sign over it. Pay to open the gate and enter the alley beyond. Pass the kuda SMG outline on the wall and when you turn around the next corner, look up to see a metal wire balcony overhead with a crate on it. Inside the crate is the Championship Belt you need.
To start with, return to the font near the start of this alley. Looking down the alley with the entrance (gate) behind you, you should be able to see a grapple point on the left hand side wall directly in front of you. Trigger beast mode and grapple up to it to land on a wooden bridge above the alley. When you hit the bridge, turn right and cross the bridge to find a power box you can hit with lightning (LT), this opens up stairs next to the box that allow pedestrian access from the alley below.
If you are quick, you can also get the belt in the same transformation. If not you'll need to use the beast font in the room directly behind you when facing the power box that opens the stairs down. Race down the newly opened stairs, go past the outline of the kuda SMG on the wall and look up at the metal balcony overhead that I pointed out before. Use the grapple point above it to reach the balcony and then smash the crate next to you with a melee swipe (R3) to release the Championship Belt, which will fall down to the alley below the balcony for you to retrieve when you return to human form. This (as usual) releases wraiths for you to gun down.
Gym
At the end of the alley you are in (next to the area underneath the balcony), you should see another gate with Waterfront District above it. This leads to the area holding the Gym. Pay to enter the gate, note: you can open the gate in the rooms behind the power box you used earlier to open up the upper area of the alley, both lead to the same area (next to the beast font at the rear area of the Waterfront district).
Descend the steps toward the water and you'll pass the outline of a HVM-300 on the wall with another beast font next to it. Keep following this pathway and you'll find a well lit beast door which is the main entrance to the Gym. To get inside, you'll need to backtrack to the beast font you just passed, transform and then rush down and break down the door with a melee strike (R3).
Ritual Four (Gym)
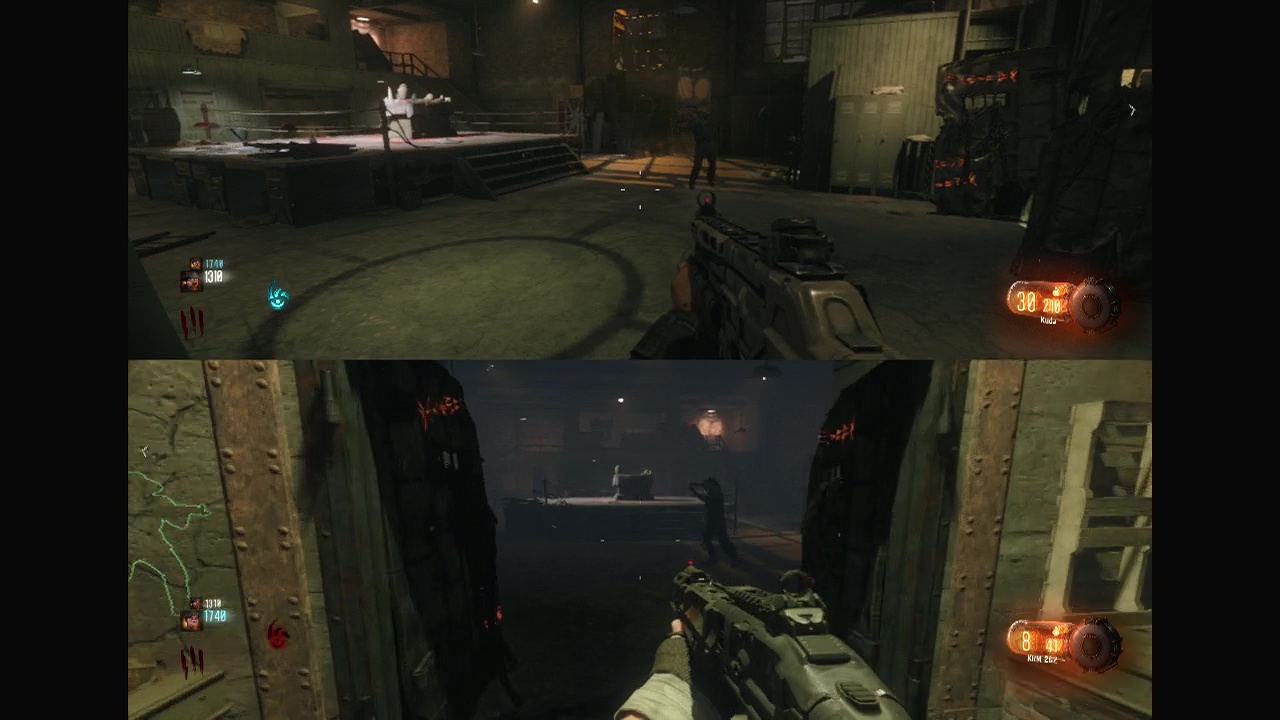
Enter the gym to find the altar for the ritual in the center of the boxing ring. Take the time to scope out the place. The walkway at the back of the gym is a good position if you have more than one player as it offers good line of sight inside the building if you have other players covering your back. Otherwise if you are solo, you are better off staying near the ring so you can move around to avoid the wraiths. When you're ready place the belt on the altar and start the ritual.
Despite the difficulty of the wraiths (due to having a higher wave number), this is the overall easiest ritual location to take on as there is generally good line of sight and a circular layout for you to kite in. Take on the wraiths with shotguns or SMGs to get rid of them quickly and then ready yourself for the incoming three headed tentacle monster when the ritual ends. Try to avoid gunning down the last two wave zombies if you can as you should have enough points from the ritual wraiths. Circle around the area, blasting each of the glowing heads of the tentacle monster until it falls. Make sure to grab the gateworm from the altar when you're done.
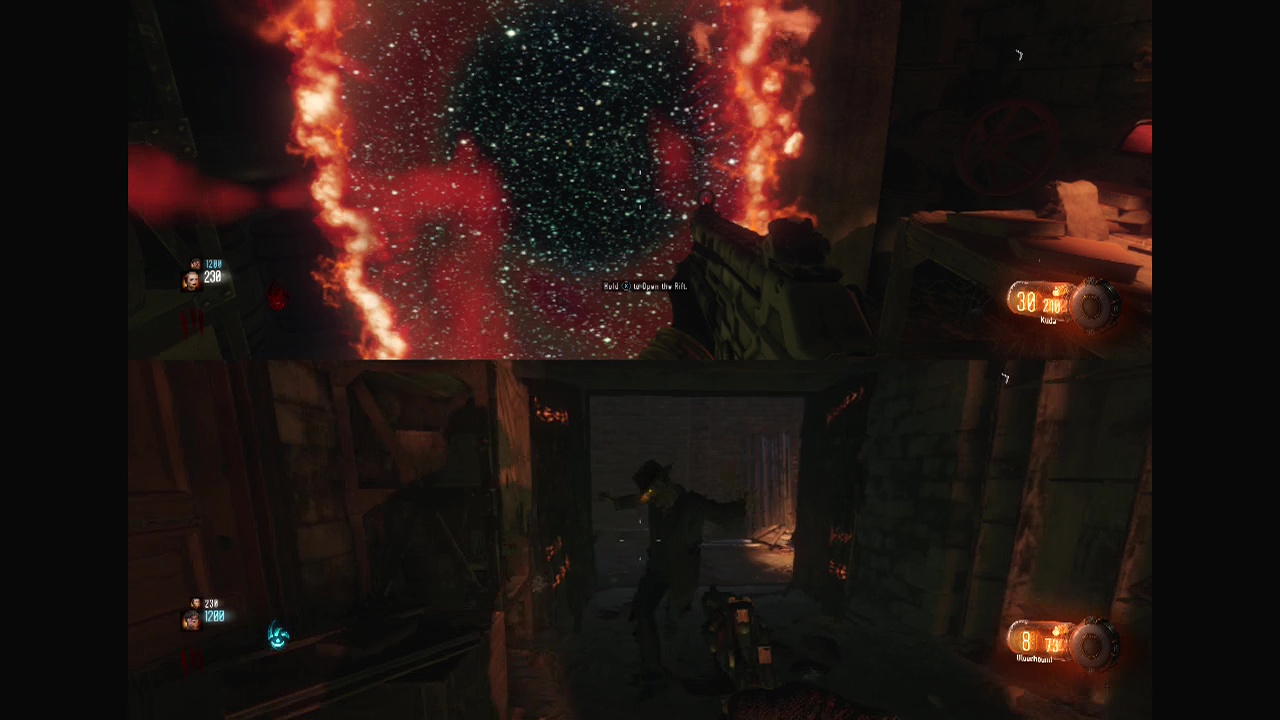
The Rift
Now that the four rituals are complete, you need to backtrack to the Canal District, down into the canal in the center of the first area (with the bridges), where you picked up the Detective's Badge earlier. Beside the vent where the badge was should be a beast door you opened earlier with a rift inside. Interact with this to get teleported to an underground area beneath Junction. You'll find a wall in the lowest area of this new location with five symbols on it (one for each ritual plus one additional one). Approach the wall and it will open, you'll see four plinths/ podiums here that you can place gateworms on (you will have to wallrun to the final two). You'll initiate an Easter egg here and meet the Shadowman face to face, unlocking the pack a punch machine in this room for future playthroughs as well.