
Now you are back in the present day in the alley we left behind oh so long ago. Use your newly acquired mist power to pass through the fence. The fan nearby can lift light things into the air, ergo… Mist again. A magic font will be waiting for you up here so be sure to stock up. Climb up the nearby ladders and travel along the grapple path until you are in the wind path of the fan. Turn into mist again to get through the grating. Head into the next room to see a riot police officer drop a mine on the ground. Key point: walking on these is bad.
Memorial: Next to where the riot police officer threw the mine.
Challenge Item: Head back to the last room and turn into a rat. Use the nearby grille and travel all the way to the end to find the pile of sacrifice.
Void Gem: From the last collectible, head back into the duct and drop down the other exit. Follow this new duct to the end for the pain box. You will need to circle back through the level again though.
To avoid the mine, use your mist powers or just throw a projectile at it. Drop down from the ledge and engage the three riot police and accompanying possessed civilians. Bats are handy for distraction here or you could try out your new mist powers to lure enemies onto the mines. Choose your method and go to town on them.
A grapple point is on the building that the police appeared from so grapple over the wall. Follow the linear path until you enter a small room with a giant grated manhole cover on the ground, Mist through it and use the lever next to the elevator to restore the power. Hop in the lift and you will arrive in a large indoor area with a large staircase.
Chaos Gem: Mist through the metal bars to the right as you enter.
As you head up it, multiple possessed civilians (one with a grenade launcher…. yes you read that right) will attack. Make sure to stun the grenade launcher opponent to kill the others in peace.
Void Gem: After this fight, keep ascending the staircases and you will find this.
Head back down to where you came in and mist through the grated door to find a lever for the power. Flick it and head back to the main area. Head up the stairs again and to the left side to find some bars you can mist through.
Memorial: In this area against the wall
More possessed civilians will be in here so get ready to open hostilities. Both of them have shotguns so keeping your distance or keeping them distracted and on the ground are your best bets to avoid taking big damage. Use your mist form to get into the right elevator when you are done and head upstairs. Keep in mind that the power is on a timer here so if it is off by the time you reach the lift, drop back down, turn it on and sprint for the lift while ignoring any enemies that spawn. Keep in mind that the enemies will follow you upstairs though.
Memorial: As you exit the elevator, head right and find it against the inner railing.
Travel left as you exit the elevator (dealing with any enemies who try to stop you). You will find a grate in the floor that you can mist through. Use the grapple points on the opposite wall to climb up and then head along the walkway. If you have done this fast enough, the elevator will still have power and you can ride it to the top floor.
Life Gem: Before following the arrow out of the area, look to the crumbling walkway platforms and jump across to the stairs to find the pain box.
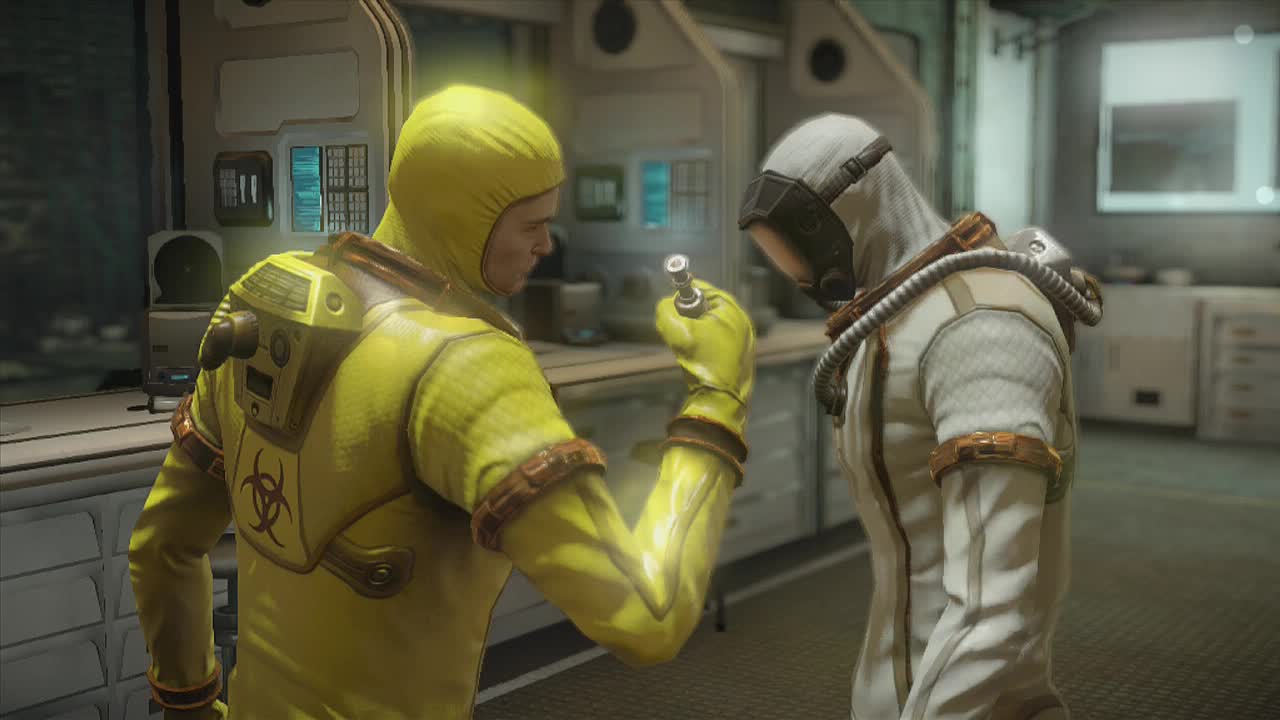
Head through the archway for a cut-scene. Looks like we've finally laid eyes on the antidote. The stealth is actually pretty easy. Use the nearby shadow portal to turn into a rat, then wriggle through the grille. Head to the right of the guard to where the elevator is, bringing up the scientists and use the portal next to it to revert. Wait until one exits the elevator and sneak up behind him to possess. Waddle over to the eye scanner and head inside. Cut-scene and boss fight.
_________________________________________________________
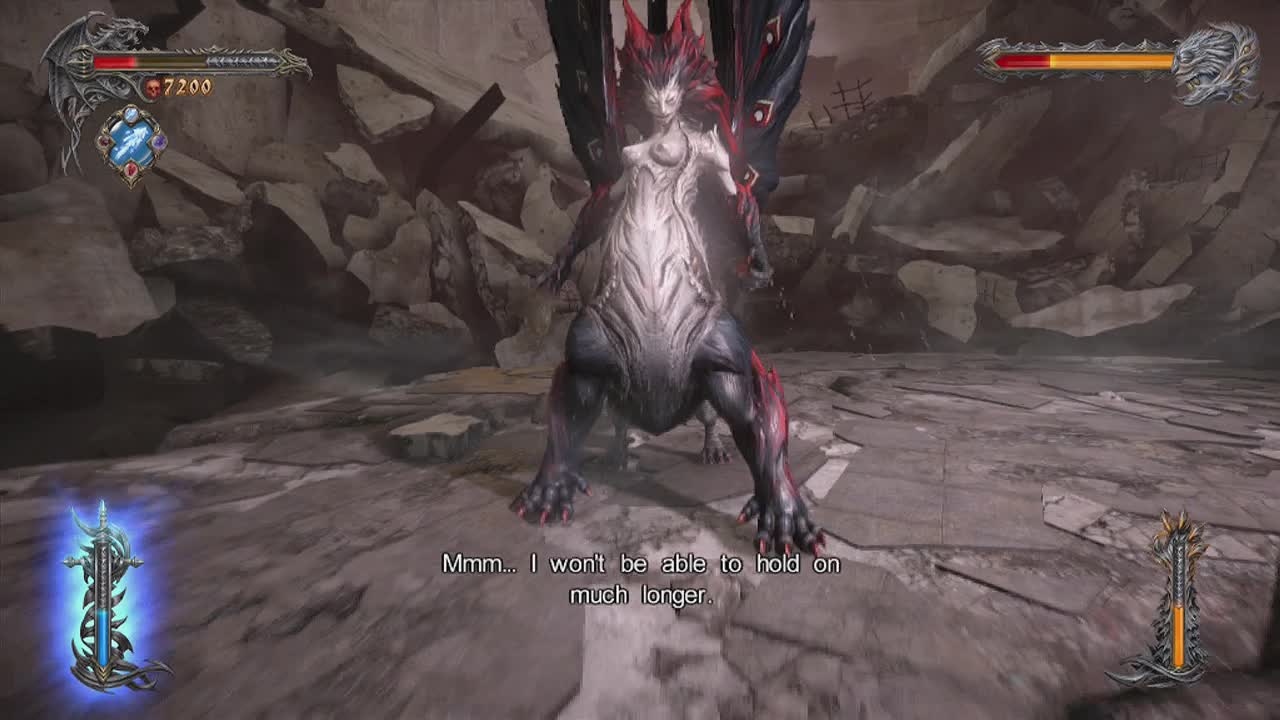
Boss: Satan's Daughter
Attacks – Regular Form
Power Wave: She will shoot a wall of pink power in a straight line (smaller in width but longer than fire wave). Dodging left or right will let you avoid it.
Fire Waves: She will create a long wall of pink fire that rushes towards your position. Due to the length of the wall, side dodges must be timed well to avoid it.
Projectile Barrage: She will jump onto a spire of rock above the battlefield and rain homing projectiles on the field below. Run and dodge together to stay ahead of the deadly rain.
Charge (Both Forms): An unblockable symbol will appear on her body and she will charge in a straight line to wherever you were when she initiated the attack. This can do serious damage so dodge to her sides to avoid it.
Wing Flap – Both Forms: She will bring both her wings together quickly knocking Dracula back if he is near. Does little to no damage but can be dodged by moving backwards.
Tail Spin (Both Forms): She will spin in place and damage anything in a 360 radius. Jumping is the only way to avoid this attack if you are in range of it (or quickly dodging out of range).
Attacks – Mouth Form
Tongue Grab: She will extend her tongue towards Dracula and if it connects, drag him back to her gaping maw. If this happens you must complete a quick time event to escape. You can dodge to the side to avoid this attack.
Lunge: After an unblockable symbol appears on her she will pounce forwards and damage anything in the way. Dodge sideways to avoid this.
Tongue Whip: She will spin around in a 360 with her tongue out. Simply jump over it or dodge out of range to avoid this attack.
Tornado: She will actually use her tongue to whip up a homing tornado. It doesn't last long and moves slow but if you get hit by it you are held in place and need to pass a QTE to get out. Move away from it to avoid.
Stomp: She will stomp her feet into the ground creating a shockwave around her. Damages and knocks Dracula back slightly. Dodge away or jump into the air to avoid it.
Depending on your dodging skills, this can either be a very easy or very tough battle. She has a massive variety of attacks compared to the previous bosses so learning what to do when can be a nightmare. When she is in her regular form, most attacks can simply be dodged away from (in various directions). In tongue form you need to air dodge to keep out of range of most of her attacks. Your regular whip will deal fair damage to her and can rack up the damage pretty fast, as long as you can avoid the flurry of blows.
If you haven't used them before, this is a good time to remember that you have usable items. Sacred tears is especially useful here as it replenishes your health completely. Don't bother with the chaos claws here as they don't do any extra damage and are slower than your other weapons. Same with the void sword projectile. The freeze lasts a couple of seconds and wastes valuable healing potential. Keep pounding away at the beast and you will start to get her pattern down. Once this happens the damage will rack up rapidly and she should go down pretty quickly. No phase changes or different forms for a change.
_________________________________________________________