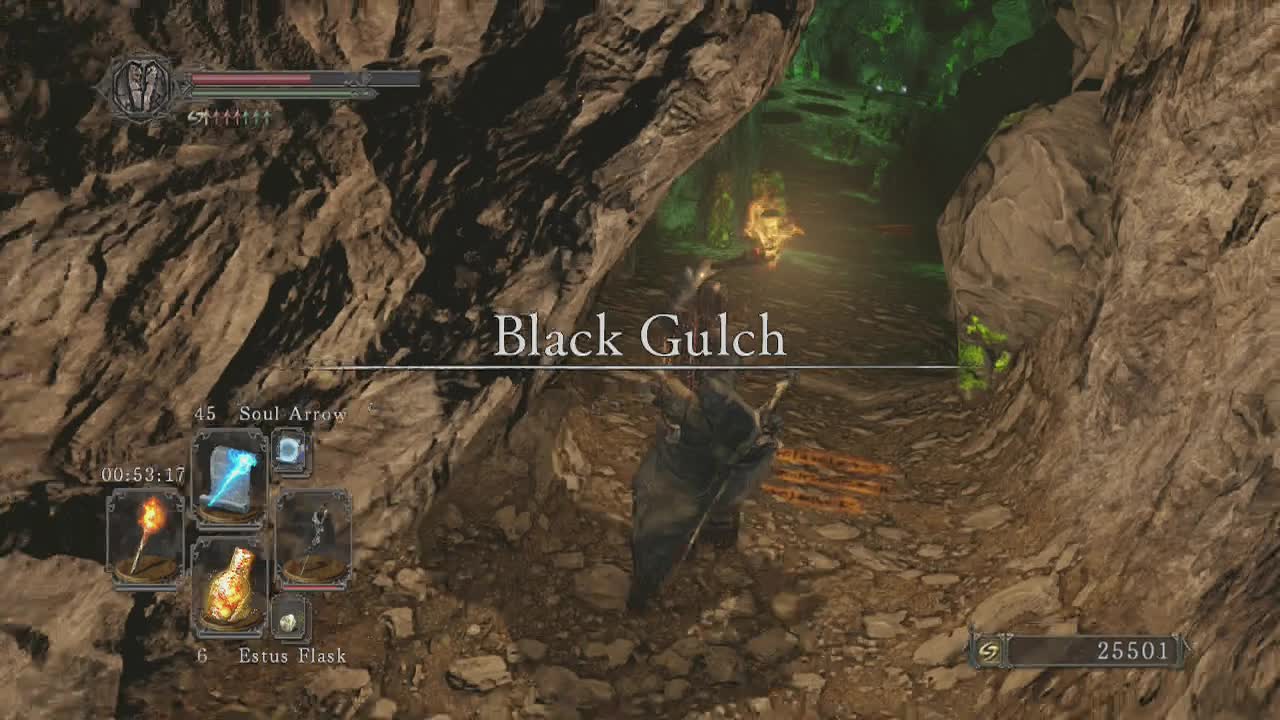
Black Gulch can be reached by climbing down the Pit and traveling through the Gutter, so make sure that you've made it through them before starting off here. At the end of the Gutter you will find a mist door waiting. Walk through it and take the first left to find the first bonfire of the area. Black Gulch is filled to the brim with poison statues, so make sure to carry poison curing items or equipment that reduces your susceptibility to the status. It may be a slow process, but destroying the statues as you go is the best way of progressing forwards. They will only reset if you die or travel between bonfires, so this generally makes progress quite a bit easier.
From the bonfire, head back out to the main tunnel and look ahead to see the path lined with poison statues. Due to the masses found here I'm not going to constantly repeat the fact that they should be destroyed, so if you see one, break it. That simple. Make your way down the statue boulevard to the first more open area. A word of warning about the pools found in these open areas. Large claw like monsters hide in those pools (not all but some of them) and will reach out and try to latch onto you to drag you back and damage you. The pools themselves damage your equipment so try and avoid the pools altogether. The weakness of these things is fire. Using a fire weapon or spells will set the pools and monsters on fire. Even holding a torch and rolling through will set them ablaze. Melee characters may want to equip the basic pyromancy flame and basic fireball spell (with it's low stat costs) to make clearing these pools and monsters easier. You can also look down the below on the right side of the path with a torch equipped to spot a small ledge you can drop down to. The ledge has a cave opening that you can enter to find Lucatiel again. Talk to her again and follow the tunnel to the end. You will come out on a small ledge on the left side of the open area behind a heap of poison statues facing away from you. This is a good vantage point for using pyromancy to flame the pits and destroying the statues that would normally be out of reach (although you can still approach the normal way).

At the first large area (following the main path), the first three pools on the right have monsters in them (think like the points of a diamond, only the left pool in the first four has no monster). Set them on fire and wait for the pools to evaporate from the fire (it takes a good thirty seconds to a minute but they do) to clear the open area. A small cave to the left has a chest with the Great Magic Weapon spell and a Shotel. Return to the open area and continue along the main path cautiously to meet your first giant worm. These hide in small caves in the rock wall and will rush out to attack when approached. They ram outwards, dealing heavy damage and can also swing from side to side to catch the unwary player who gets too close. Use ranged attacks or time your melee attacks very well to get past these annoying pests. On the path just before the worm are two corpses with items. Pick up the Soul of a Nameless Soldier, Scraps of Life spell and Torch from them before proceeding.
As you move on, look for another giant worm cave on the wall to avoid it's charge attack and defeat it in the same manner. Just before this second worm is another place you can drop down to but the item you need to unlock the door (the forgotten key) requires you to drop further down. You may want to reach the next bonfire and travel back here as the distance is shorter, but it's up to you. For those that want to go after the forgotten key, drop off the path near the second giant worm onto the ledge below (the ledge should have the door that needs the key). Head to the end away from the door to spot another platform to drop down to. The next platform will be behind you when you land. Drop down to it and you will be on a large ledge with the mouth of a cave taking up most of it. Travel along inside the cave for a little while until it opens up into a much larger room. Inside are two giants you will have to defeat to obtain the Forgotten Key. They will also drop the important item Soul of a Giant (these are used to weaken an optional boss later in the game (do not use it to obtain souls!).
The giants have massive swing arcs, but you can lure them back down the tunnel and hide on the ledge to lose them. Try to deal with one at a time (although this is difficult). Poison does work against them (arrows and weapons), melee characters will need to hit and run repeatedly until they are dead. Once they are gone collect your spoils. Straight ahead from where you entered the large chamber is a small room containing a chest with a Petrified Dragon Bone and a Ring of Giants +1. Search the walls to find another small room (on the left side) that leads to a room with jar containing a Silver Talisman and also an elevator that will take you back up. Return to the ledge with the door now that you have the key and open it to meet Grandahl. the person you must meet three times to join the Pilgrims of Dark and for those already in the covenant, an altar with a chasm of old path on it. Return to the main path when you are ready (through the giant's room or via a homeward bone.
Note: You can also now return to the door in the Gutter that was locked off before to obtain Havel's Armour set.
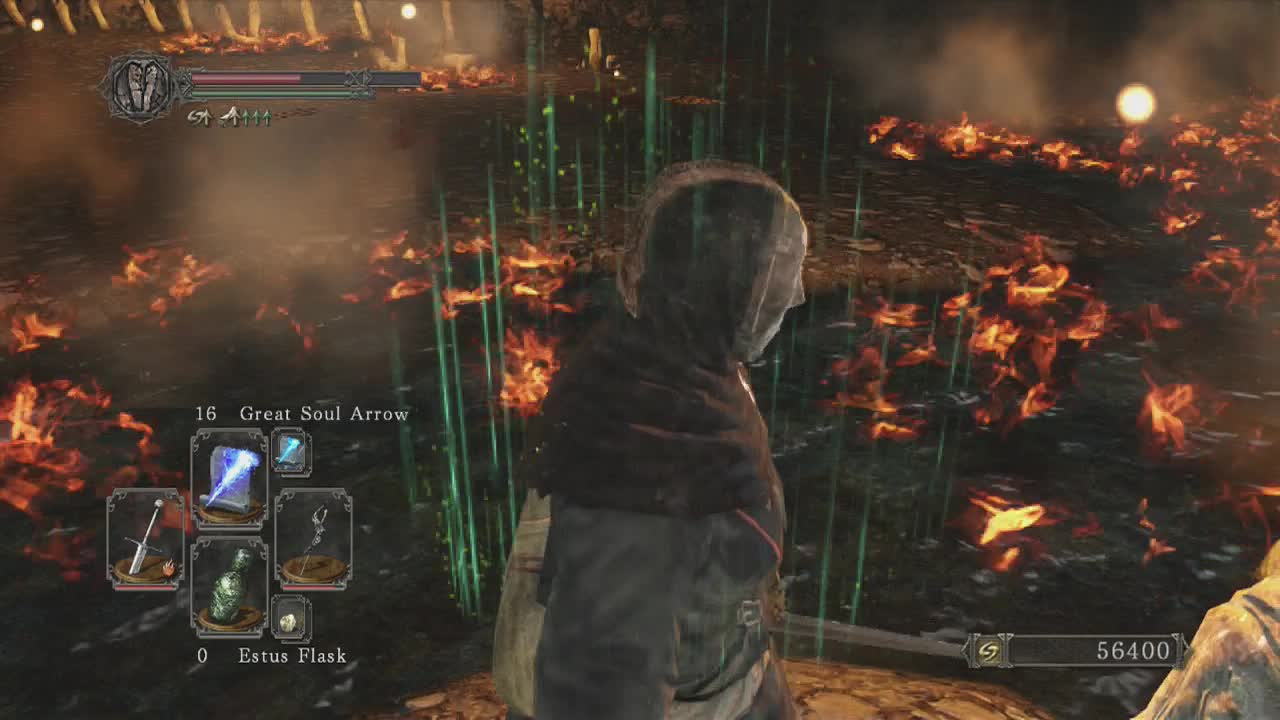
After the second giant worm, you will arrive at another open area. A narrow path will lead off to your right (look carefully) that leads to the final bonfire of this area (it is seconds away from the mist door of the boss, so it's a great spot). The downside is that monsters are lurking in the pools here. The pool to the immediate left of the vases has one in it as well as the one to their right. The closer of the two pits on the far right has one in it. Smash the jar to find a corpse holding a Radiant Life Gem. There is also a cave to the left of the vases that has a chest at the end that contains a Divine Blessing (don't worry about the pool underneath it, it's got nothing). That should be all you need to get the items from this open area and reach the bonfire (I didn't have enough fire spells to check all the pools, but I assume there are more monsters remaining). At the bonfire, look for a cluster of vases against the wall. Break them open to pick up a Pharro's Lockstone from a body within and to find a hidden tunnel. This tunnel bypasses the rest of the grabbing monsters and only has a few poison statues in the way of you reaching the mist door that leads to the boss. When you are ready, take the tunnel, smash a few statues and go through the mist door to face the area boss.
_________________________________________________________
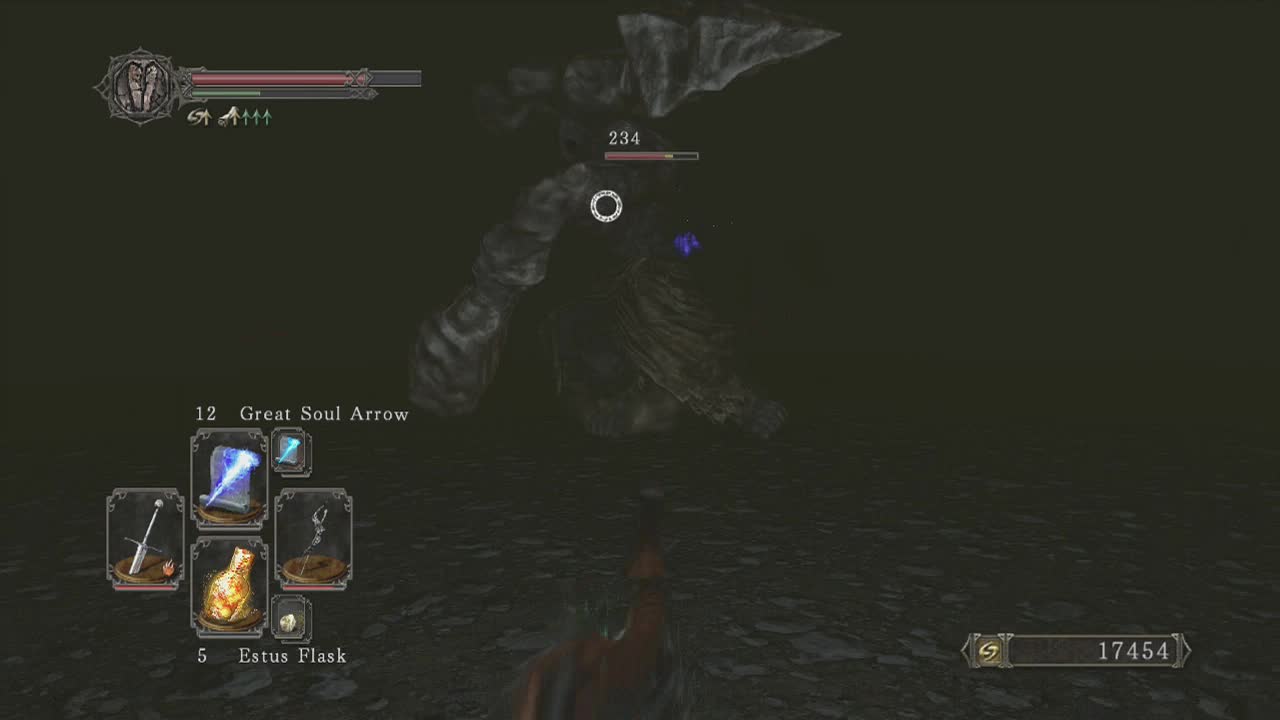
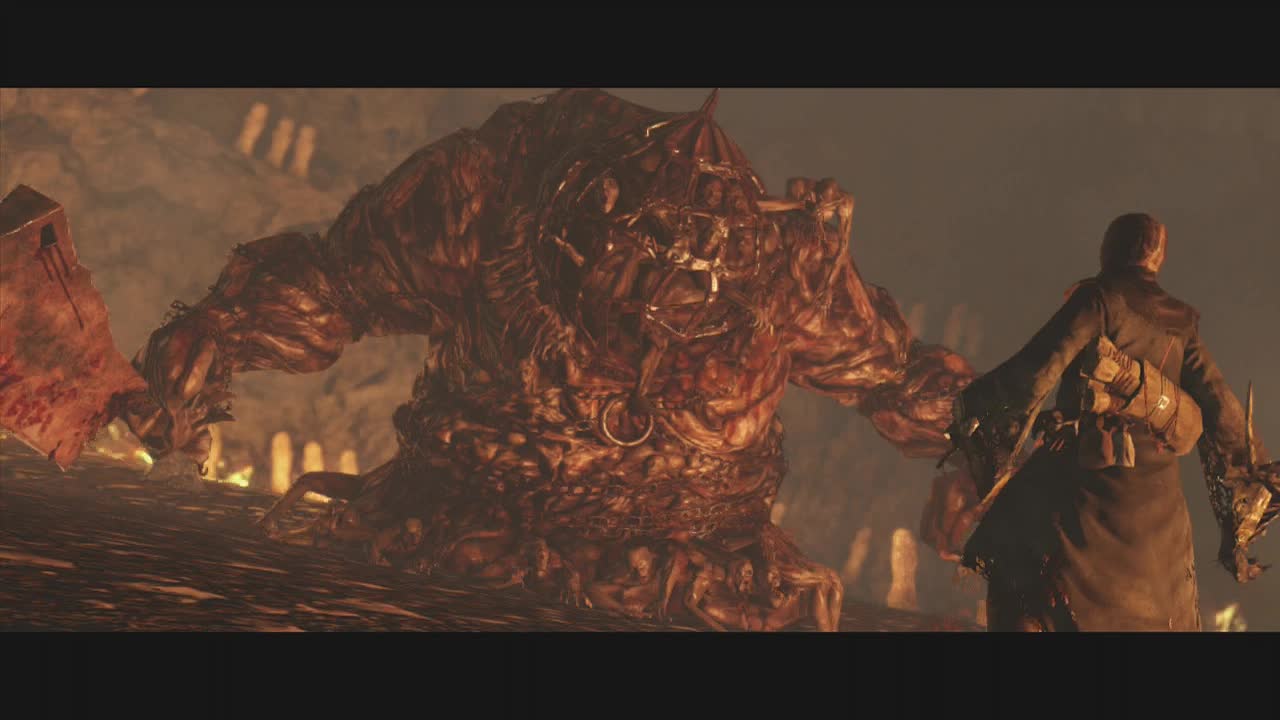
Boss: The Rotten
Personal Death Count: 12
Attacks –
Blaster Master: Very rarely, the rotten will charge up and then release a large wave of energy from itself. Back up to avoid the attack as quickly as possible (I personally never saw this attack so apologies for the slightly vague description). He also has a similar version of this attack where he channels it into his cleaver before bringing it down and exploding. When you see the charge animation back away as much as possible.
Dark Cleave: The rotten will slowly charge up dark magic in it's cleaver and then perform a vertical slice attack that realeases the energy in a line in front of the cleaver. Although more dangerous and slightly larger in area of attack than the regular slice attack, evading it is pretty much the same. Roll to the side to avoid the attack.
Grab: If you are close to the rotten, it will attempt a relatively slow grab towards the player (if you get hit by this, you were either out of stamina or not paying enough attention). Roll backwards to avoid this slow attack.
Ground Pound: The rotten will (if you are close) lift up it's left arm and then slam it down towards the player. Roll to the side or backwards to avoid this simple attack. The damage is still quite high so being hit will hurt.
Sideslam: The rotten balls up it's fists and slams them into the ground on both sides of itself. Dodge backwards or just move out of range when you see this coming. Mostly triggered when players are able to stand to the side of the rotten extensively.
Slice (Horizontal): The rotten will pull it's right arm (cleaver) behind it and twist around slightly (or bring it around in front of it to the other side if it is going for a backhand slash). This attack can go from left to right or right to left (depending on the wind up), so watch how he sets up to work out the best direction to roll. Generally it is best to roll backwards, away from him but sometimes that isn't possible (thanks to the fire pits). If you have to, roll towards where the blade starts to get underneath and past the swing.
Slice (Vertical): The rotten will pull it's right arm (cleaver) up and behind it and then bring it directly down towards the player anywhere from one to three times. This is probably his most common attack and timing your side rolls well is crucial to survival
The Sickness: The rotten will clutch it's stomach (I guess it's the stomach) and then spew black ooze at the player in either one or two globs. This doesn't do as much damage as his melee attacks but can still kill you. Roll to the side to avoid this attack.
Welcome to your first (if you have been following the guide in the set order) great soul boss battle. The Rotten is a mountainous being composed of strung together corpses. It's giant cleaver give it's melee attacks large swing arcs and it's occasional dark magic attacks can catch unwary players by surprise, leading to frustrating deaths. Something to take note of is the fact that you can actually cut off the rotten's arms, stopping it from wielding the cleaver or slamming you with it's other arm temporarily. Some players may want to use a strategy that specifically targets them in order to reduce the danger of engaging it. The rotten is weak to lightning damage, so those with lightning enchanted weapons or miracles will be at a great advantage here. No matter what strategy you use, take the time to learn the tells for his melee attacks at least as these are what is most likely to kill you over and over.
One strategy that people like to use involves equipping a piercing weapon combined with the old leo ring or using a long melee weapon (spear, halberd) and use hit and run tactics (run in, trigger an attack, move out of the way and then get in an attack or two). This is combined with a reduced equipment load to speed up movement allowing you to move in and out faster. Most players will want to stick as close as they can to the center of the area as it has the least amount of fire pools. Archers and casters can use the same tactics, but will want to avoid his melee attacks at all costs (as without good physical defense his attacks all do huge damage). If you have lightning spells, lucky you. Your spells will do nice chunks of damage to the boss and kill him quite quickly. For those that want to use summons, there are actually two available for this fight, Lucatiel (who was in the tunnel earlier) has a sign next to the second bonfire of the area and Schmidt can be found just to the left of the mist door leading to the boss. Use one of those strategies or use your own, but with enough patience and skill you should eventually overcome the rotten. When you do give yourself a pat on the back. He can be a real pain to deal with at times.
_________________________________________________________
After defeating the Rotten, you will obtain a nice chunk of souls and the first of the four great souls you need to open the gate at the Shrine of Winter to reach Drangleic Castle (Yay! Progress finally!). If you cut off the arm of the Rotten during the battle, you should be able to retrieve a Pharro's Lockstone from a corpse on the side of the area. There is also a Fire Seed on a body across a narrow stretch of flaming liquid. Sprint across and be ready to heal up on the other side. If you have a couple of estus flasks left you should be fine. A hole in the wall on the far side of the area leads to a short tunnel. Partway along there is a chest to your left that contains Sublime Bone Dust and just beyond that in a huge circular room is your first Primal Bonfire. This will teleport you back to Majula when you interact with it. Take the trip back when you are ready (it's like flue powder).