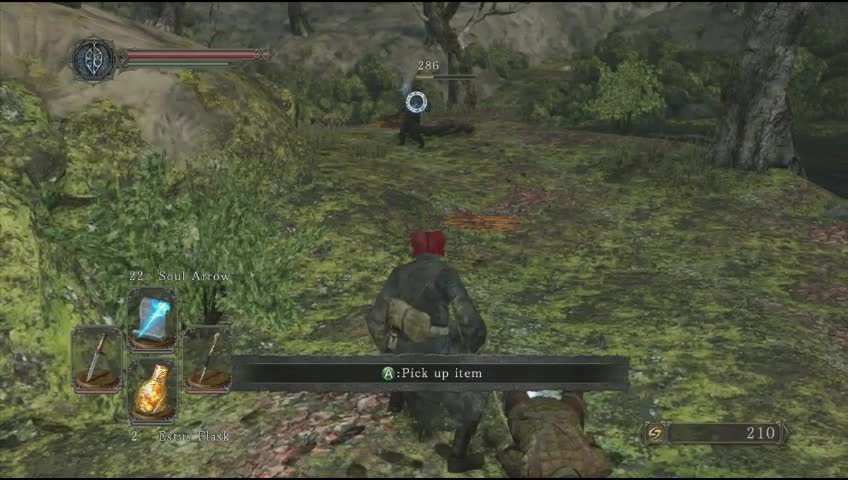
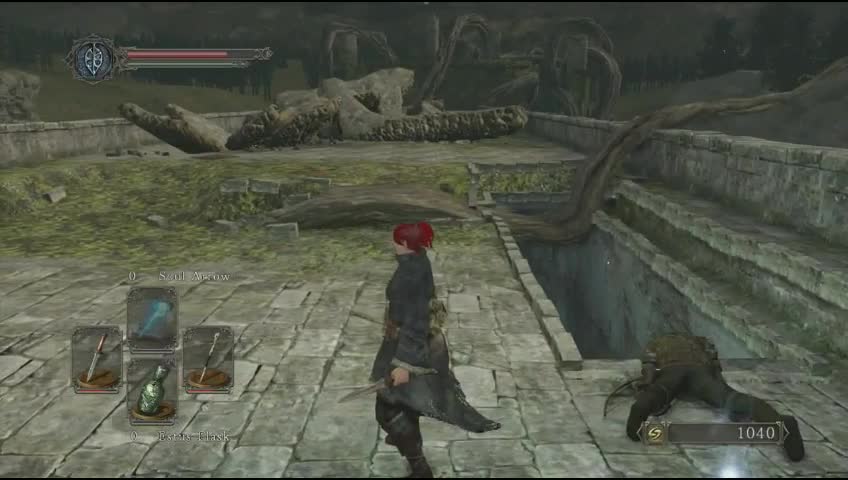
As you emerge from the tunnel, you will probably spot at least one hollow soldier in front of you. In fact there are seven total along the riverbank, so don't rush in and trigger them all. Try and deal with only the first two to begin with. This will leave you free to reach the bonfire hidden in a small clearing to the right across the river. Right next to the entrance of the bonfire clearing is a Life Gem to grab as well.
One of the new introductions to Dark Souls 2 is the idea of enemy respawn limits, this means that enemies will only respawn a certain number of times before disappearing permanently (unless you use the rare Bonfire Ascetic to reset their respawn limits). This item can also be used to bring back bosses as well. So after around fifteen kills of a specific enemy it will no longer reappear when you rest at the bonfire. This can be a double edged sword.
The upside is you can make more consistent progress and it makes boss approaches far easier if you are patient enough to clear the way before engaging them. It also promotes preserving your souls even more as each loss is pretty much permanent now. The downsides are that it makes infinite grinding impossible and makes the Deprived class nearly useless due to being unable to reach a point of gaining decent weapons before you run out of enemies you can defeat.
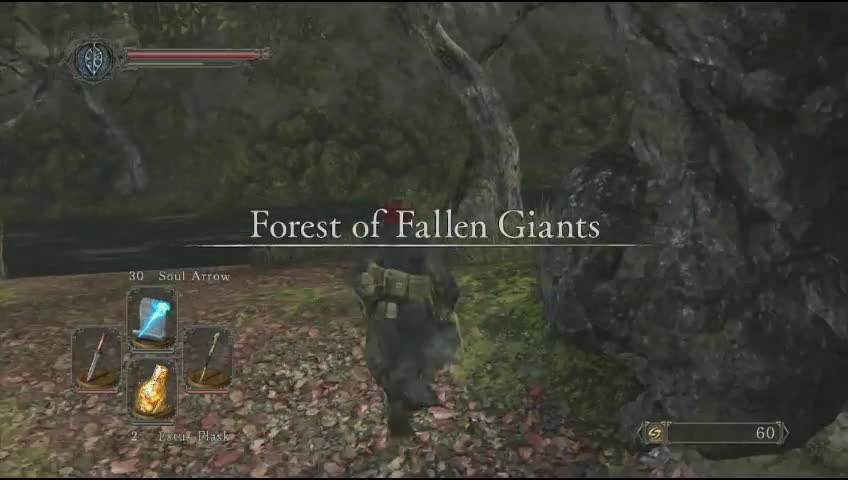
Now that you have reached your second bonfire, it is time to introduce the new fast travel system. You can travel between any lit bonfire instantly for free in Dark Souls 2. This is great mainly due to the fact that the only way to level up is to talk to the Green Herald in Majula. It also makes backtracking and swapping areas so much easier.
Now that's all out of the way, let's move on to the killing. Followed by light salad. There are as I mentioned before, seven enemies total along the riverbank. The first two hollows are armed with daggers, these can be lured pretty safely and their only real threatening attack is a five swing slash combo. Their single jabs are slow and easily avoided by stepping backwards or dodging back.
After those two are another pair to deal with on both ends of a log bridge. The one at the back has a knife and will be the same as the last two you fought. The closer one however is unarmed. This means he will try punch and (if he gets close enough) grab attacks. You should be able to bring him down quickly by keeping him in stun-lock with your weapon of choice. Make sure to lure them back around the corner though as an archer will take potshots at you from the back of the area.
The next pair is the obvious archer and a semi-hidden swordsman hollow in a small clearing to the right of the end of the log. Travel along the bridge (with your shield up – for the arrows) until you trigger him and then retreat back around the corner to fight him one on one. His three slash combo can be surprisingly dangerous if you aren't careful but after it ends, you can close the gap quickly and begin pummeling. Once he is down, that leaves the archer to deal with. Close the gap as quick as you can (he will put his bow away when you close on him and draw a knife). Hit hit with a flurry of blows before he can react and he should go down quickly.
The final enemy in this riverbed area is lying on the ground to the left of the ramp up to the insides of the tree, intending to backstab you if you follow the river to the item at the end. Stab him to get him up (he uses an axe which has a slow swing speed but can be very damaging). Hover in and out of range until he does his large overhead chop that ends up with the axe on the ground and him trying to pull it up for a few seconds. Then lay into him. Now the river is clear, head along to the end of the river and grab the Soul of a Lost Undead before ascending the ramp.
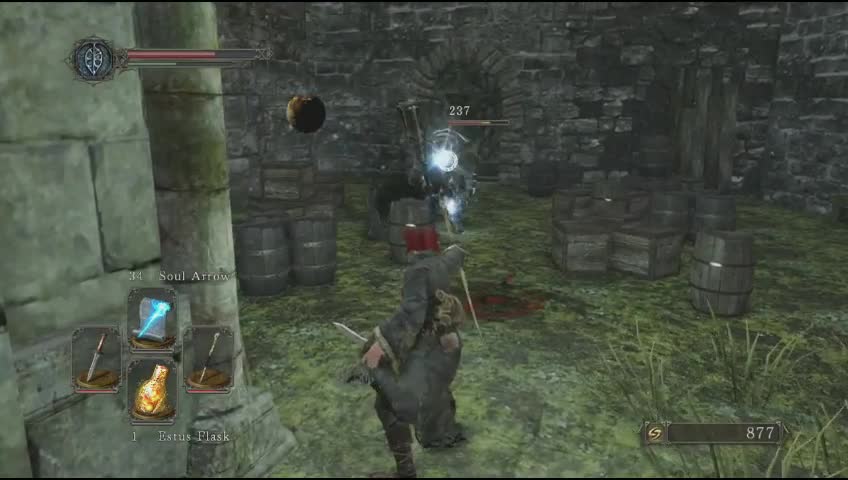
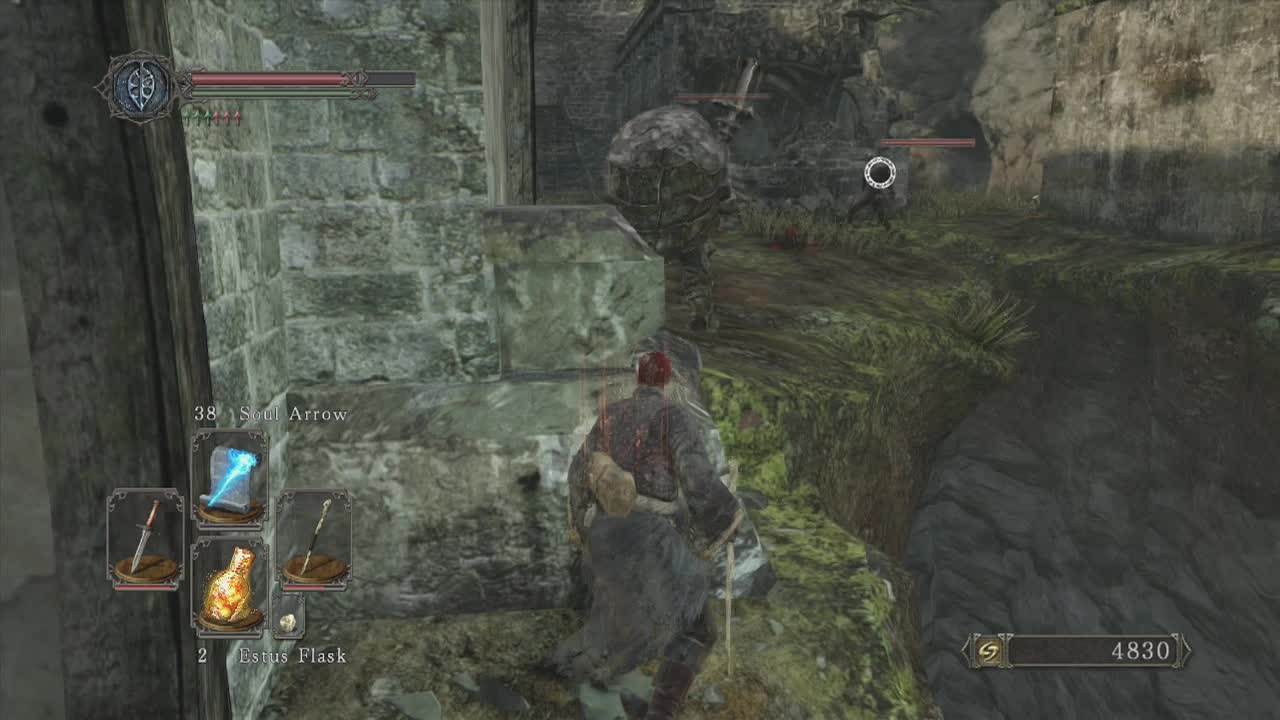
This next small area can be quite dangerous as it is a circular area with three wandering hollows (knife, sword and axe). There is also a hollow lying on the ground to your left at the top of the ladder, that if approached will join in the fun. There is also a Heide Knight at the base of the large tree who will not attack unless you attack him (spell casters beware accidental targeting). Lastly there is an archer hollow up on a ledge above, firing down at you. Great.
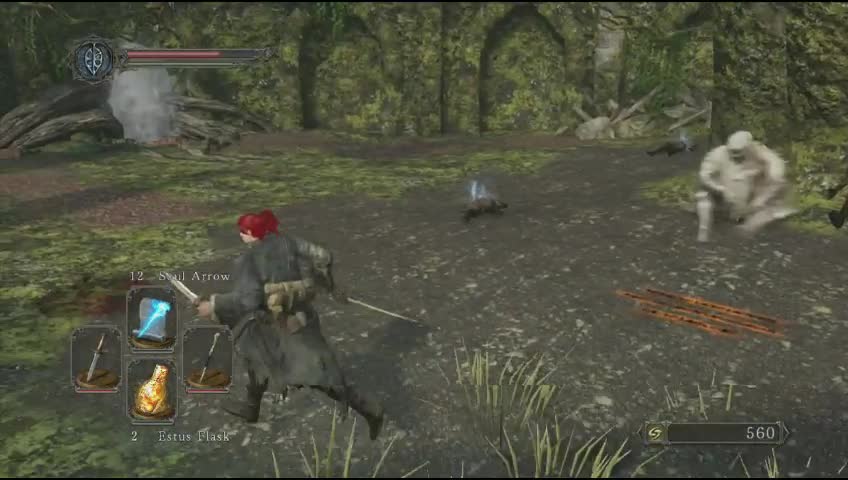
Casters will probably have the easiest time as they can retreat and attack from the cluster of flailing weaponry. Melee classes will need to pick their moments to attack carefully to avoid being hit by multiple enemies at once. Their fighting styles are the same as the ones you fought before but dealing with three at a time is exponentially more difficult. For those who have leveled up characters, you may want to defeat the Heide Knight to obtain his sword.
Once you are done, there will be a bit of stuff to grab, but remember to keep an eye on that archer (even casters can't lock onto him due to distance). Grab the Life Gem, Human Effigy and Broken Straight Sword from the corpses at the base of the tree. Head through the gap in the wall to the right (not the mist door yet). And you will find the base of a tower with a ladder going up it. To your right will be a lower platform that you can dash jump over to (hold down B to run and then push in L3 to jump). On the platform are Throwing Daggers for your trouble.
When you are ready to head up the ladder, keep in mind that there are two hollows up the staircase above. Use caution when climbing up the spiral stairs. Once they are dealt with and you are at the top, there will be a plank to the upper area that the hollow archer was shooting at you from. Show him the error of his ways and loot the Soul of a Nameless Soldier from the corpse nearby. You can also jump across to the small platform (killing the hollow waiting for you) and snatch the Short-sword and Soul of a Lost Undead from the corpse.
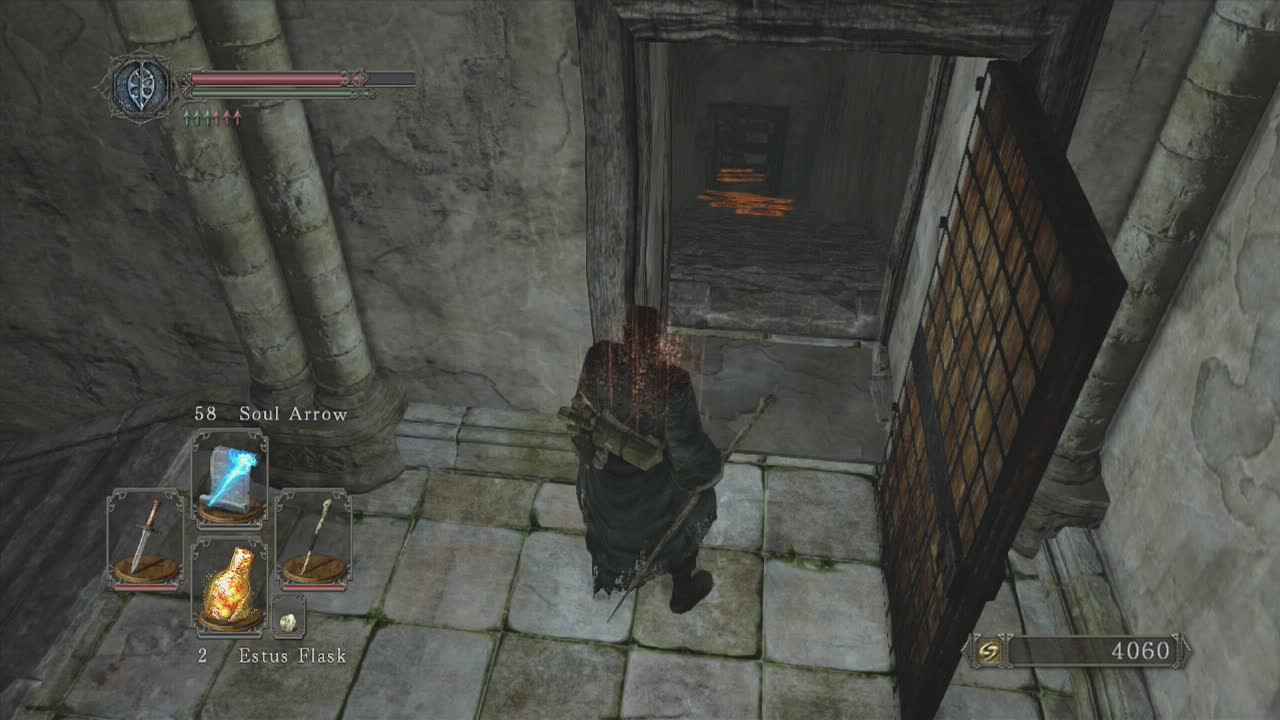
Head back down to the rotunda (circular area) and then through the mist door on the other side of the area. Inside is a narrow corridor with a hole at the end. You can walk up to the hole and peek inside to see a solitary hollow soldier (there is actually another on hidden out of view so be wary of that). Around the corner to the left is a hollow with an axe waiting to ambush you as well. If you deal with the two in the room first you can back attack the hollow in the hallway. Or do it the other way round. Whatever suits you.
In the room with the two hollows are some Wood Bolts (underneath some smash-able object). Head out into the newly hollow free corridor and move along until you spot a hollow soldier at the base of a set of stairs. These guys have more powerful weapons, more health and give more souls upon death so be cautious when engaging this new type of enemy. His large weapon is more of a liability in this narrow corridor anyway. Once he is out of the way, look up the stairs to spot an archer at the top, waiting to shoot you when you approach.
It you have no ranged weaponry, you will have to move up as quick as you can. Casters can just kill the enemy from the base of the stairs. The downside of the shield approach is that there is a hollow above and behind you that throws firebombs at you as you ascend. So you may just want to sprint up the stairs, tanking or dodging the arrow and kill the archer as quickly as possible. A melee hollow and the fire thrower will be waiting for you up here as well so turn to meet them quickly after dealing with the archer. Once you have cut them down, look to the back of the area (the direction the stairs descend) to find another hollow and a Buckler on a corpse next to it.
Now this small area is clear, you can use the nearby ladder to reach an upper area. Don't move to the end of this area, instead enter the large metal door on the right to find the second bonfire of the forest area, the Cardinal Tower. Next to the fire is Melentia a merchant who sells the key to the Blacksmith's shack for 1000 souls (how did she get it? Seriously). Nearby is another ladder that we will use quite shortly. You may want to fast travel using the bonfire to open the Blacksmith's shop and then return here. Head back out through the door after lighting it and to your right to find a hollow soldier to off, as well as a Witching Urn to collect.

Out the front of the metal doorway to the bonfire is a scaffold you can drop down to below which hides two hollows below. Now that you are restocked, you shouldn't have a problem dealing with them. Nearby is a hole that leads back into the hallway where the axe wielding hollow waits to ambush you around a corner (remember, if you rested they will be back) this is the only way back to the bonfire (you can also use the same exit by descending all the way to the bottom of the scaffolding and reaching the long ladder that takes you back to the top of the scaffolding).
There should be one more hollow on a lower ledge for you to take care of. Keep traveling down until you reach the large tree trunk. On it is a corpse with a Soul of a Lost Undead and a Torch to pick up. A large number of hollows will be patrolling the ground below, if you have a bow or are a caster you can take advantage of this and pick them off. Once you hit them, they will try to path find to your location, although amusing you can also shoot them while they travel all that way. If you are a melee character, you may want to hold the base of the tree trunk as it is very easy to get surrounded and killed if you run down to the floor below.
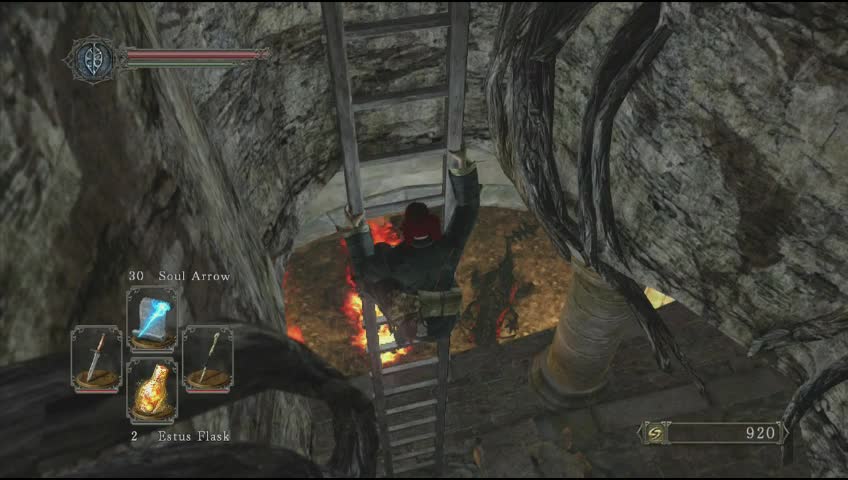
Once the area is clear, you can grab the Life Gem next to the extremely long ladder that leads back up to the bonfire. There is also a small cave to the left of the flaming one that contains a Hollow Soldier Helm on a corpse.
Optional Area (best explored after unlocking the shortcut back to the cardinal tower bonfire):
You may want to (at higher levels) investigate the Salamander pit. When you enter, look to the end of the tunnel to spot the flame sack of a salamander at the end, the salamander will start launching explosive fireballs down the tunnel towards you. Two hollow warriors will also appear from the mouth of the cave and attack you from behind, so be on the lookout for them. There is a Soul of a Proud Knight to pick up on a body on the floor here as well (you can do this safely as it is too far back for the salamander).
On the left side of this cave is a door that can be opened to find a chest with a Fire Longsword inside. while opening the door you should be safe from the blasts but roll inside as soon as you finish the animation. You can use this doorway position to fire arrows down the corridor (eventually killing off the flaming lizard. Continuing on in this direction (without significant fire resistance) or having killed off the salamander is pretty much suicidal due to the fireballs so I will detail another method of entering the salamander pit.
From the cardinal tower bonfire, head down the ladder and kill off the nearby hollow soldier and his chum slouched against the wall. To clear the room below, you will need to have opened the shortcut from the room with the huge sword coming through the wall (and the elevator to the boss). You will also need a good supply of spells or arrows (at least 200+) if you aren't a spellcaster. Also the Silvercat Ring or a high HP total to survive the alternate entry.
Now, this method will allow you to kill two of the salamanders without putting yourself at risk. From the base of the ladder use this vantage point to shoot the obvious salamander in the center of the area. These enemies have around 2250 HP each, so keep in mind you are going to be firing for a while (around 35 shots of soul arrow for mages, 45 iron arrows for lower level archers). You can snipe the second one (just) from the left elevator platform that leads down to the boss.
Stand on the outer ledge next to the chain and you should be able to target and fire upon the salamander guarding the passage below. After they finally die, make sure you pack a homeward bone to get you back to the bonfire (allows you to ignore the final salamander). Equip your silvercat ring and make sure your HP is as high as possible (you may want to use a human effigy just to be sure) and then move to the end of the platform where the ladder is, overlooking a heap of rubble and wooden wreckage. This will lower your fall impact a bit as it is slightly higher than the floor.
Now that you are down here you can grab the bonanza of items available. Grab the Firedrake Stone, Hawk Ring, Large Soul of a Proud Knight and the Flame Quartz Ring +1 (very useful if you intend to fight your way through the remaining salamanders). This is all you can access for now if you don't want to continue downwards (where the remaining two salamanders are) use your homeward bone to retreat.
For those who want to face the remaining salamander/s, head for the tunnel the second salamander was guarding. This winding passage will become your best friend in the next two battles as the salamanders cannot travel all the way up it. This leaves you the boring but doable method of hit and run tactics. The first salamander will be to your immediate right at the end of this tunnel. The second is in another tunnel that can be seen on the left wall at the end of the first tunnel. Hit the first salamander a couple of times, retreat up the tunnel for a few seconds (until it returns to it's regular place) and repeat. As I said, boring but doable.
After the first salamander is dead, you can access both of the items down here: a Red Cracked Eye Orb and a Rebel's Greatshield. Then feel free to use that homeward bone with impunity as there is nothing left to pick up down here. Congratulations on clearing one of the more dangerous areas available in the early game.
End of Optional Area (resuming at the cardinal tower bonfire):
Next to the bonfire is a ladder downwards that you can climb down to find a hollow soldier crossing a nearby bridge and another slumped against the wall. The mobile one will move towards you and attack with his halberd. After fending off and defeating this enemy you can attack the slouched soldier to finish him quickly. Now you have a few seconds to observe the area, you will notice a massive flaming pit with large red lizards at the bottom. These are Salamanders and can be reached from the area mentioned earlier next to the scaffolding outside or by jumping down into the pit here. This isn't advised however as there are four of them waiting down below. You can use the Silver Cat Ring to reduce the fall damage if you really must however. You can also target them with a bow and with enough arrows and the right positioning, kill two of them without risk.
On the left side of the tunnel is a door you can open to access a chest containing a fire longsword
For everyone else, our next location is the mist door and the walls and rooftops beyond. Head through the doorway to the left after killing the slouched undead to spot a mist door at the end of the room. To the right of it is another slouched hollow soldier swordsman. Surprise him and pass through the mist. After doing so, retreat back into the room as two hollows will now be making a beeline for you. They will drop down from the scaffold to the right of the mist door outside and enter the room. Take them to pieces and take cover behind the large trunk outside (this will protect you from the archers in the area.
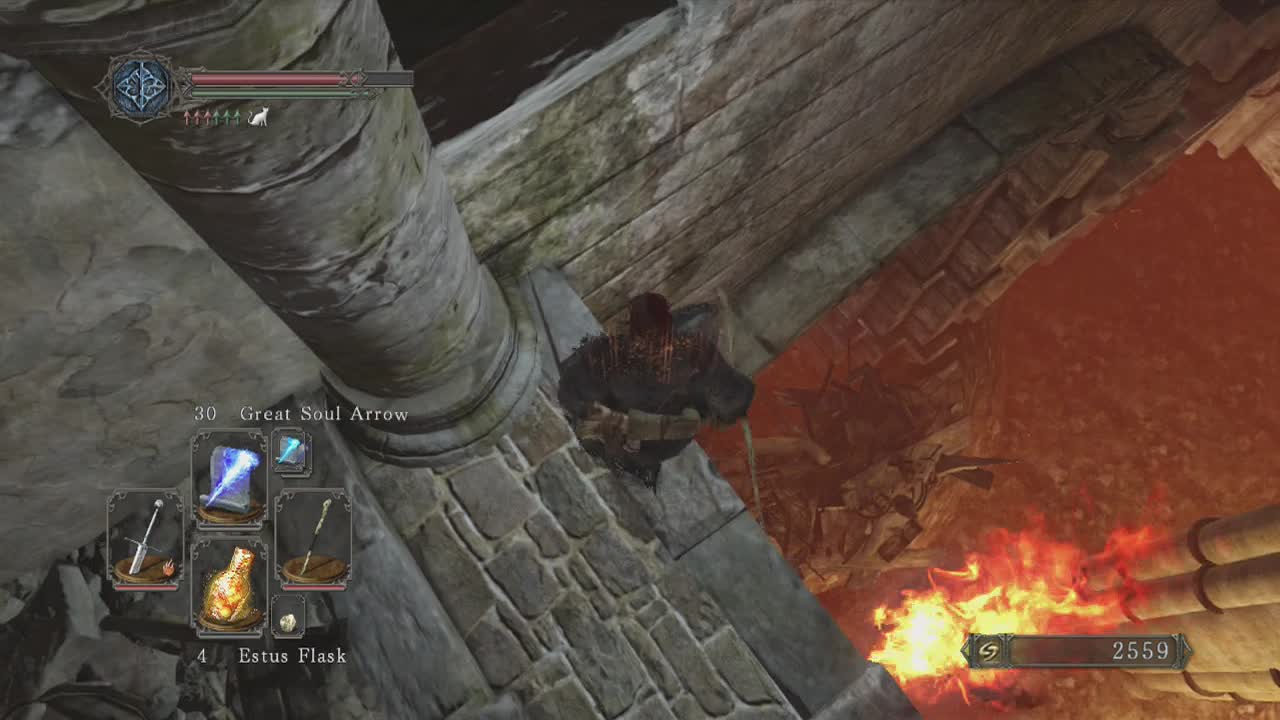
You can just run up to the top of the trunk to move on, but for those that want to get everything from this area, you can drop down to a platform from partway up the trunk. The drop will cause some damage so make sure you have some health before doing it. In front of where you land are three or so rooftops with archers and hollows spread out across them. Also, behind you is a drop down point into a room with a single hollow soldier that contains a torch.
You will need to use the planks between buildings and the ladders to move around a clear out all the enemies here. In the back of this area is a small cave with a boulder trap to avoid. Nearby is a human effigy to grab. Work your way up the ramp that the boulder came down and kill the hollow that may or may not appear to find Cale. Cale will give you the Key to the Mansion (in Majula) once you talk to him enough. Exhaust his dialogue and he will appear in Majula later.
At the end of the nearby passage is an Amber Herb to pick up. Don't drop down here. Instead, backtrack to the start of the cave and take the ladder onto the wall to the left. Walk to the far end (dealing with any remaining archers) and drop back down to the rooftop that lets you reach the tree trunk once more.
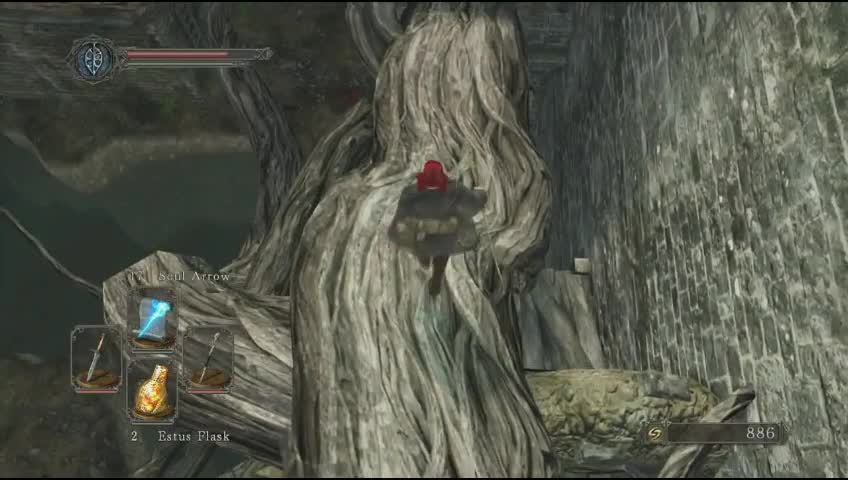
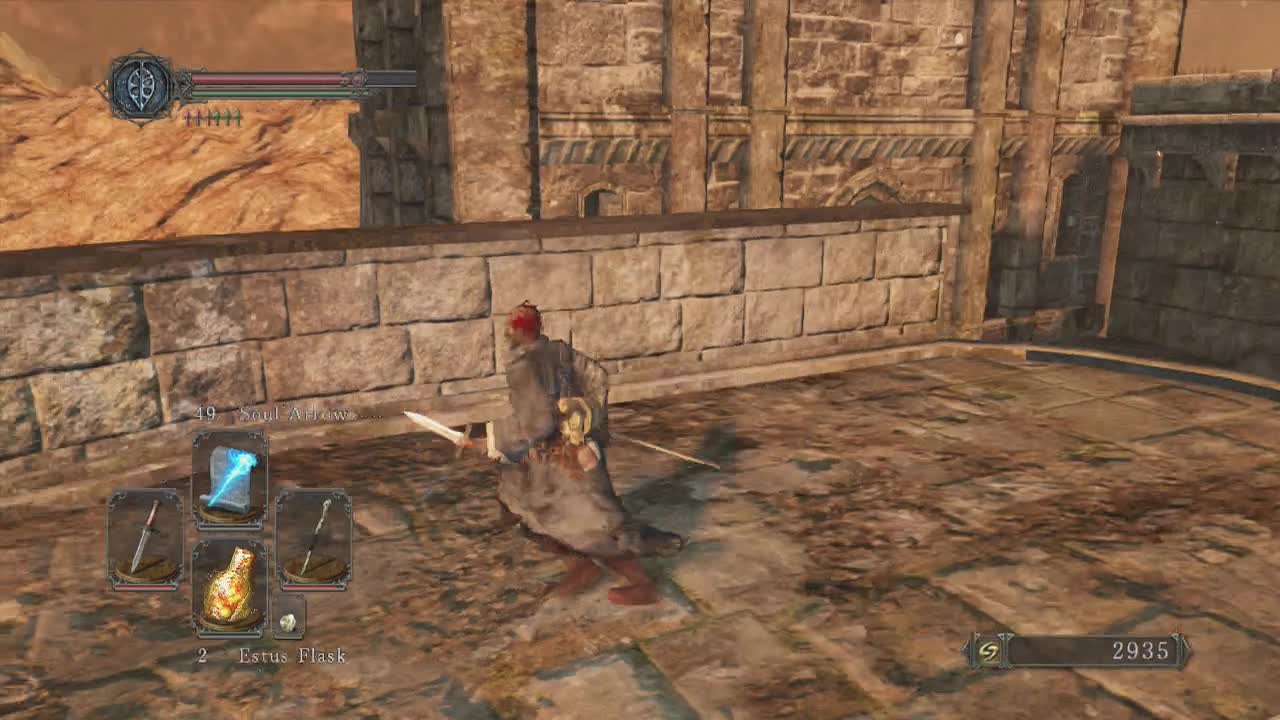
Back at the top of the tree trunk, step onto the ramparts and look to the left to spot two hollows hiding behind barricades. Back attack them to take them down quickly. If you look up at the corner of the area above, you can spot a firebomb throwing hollow and deal with him before he opens fire. The nearby ladder here will take you up to a large rectangular area. If this is your first time here the pursuer mini boss will make a dramatic entrance on a giant bird and engage you.
Note: If you leave down the ladder during this encounter, the pursuer will disappear and not appear here in the future. You can encounter him in other locations later and due to his difficulty in early game, you may want to leave him for later. If you do want to fight him now, look to the bottom of this section to find his information and battle strategies.
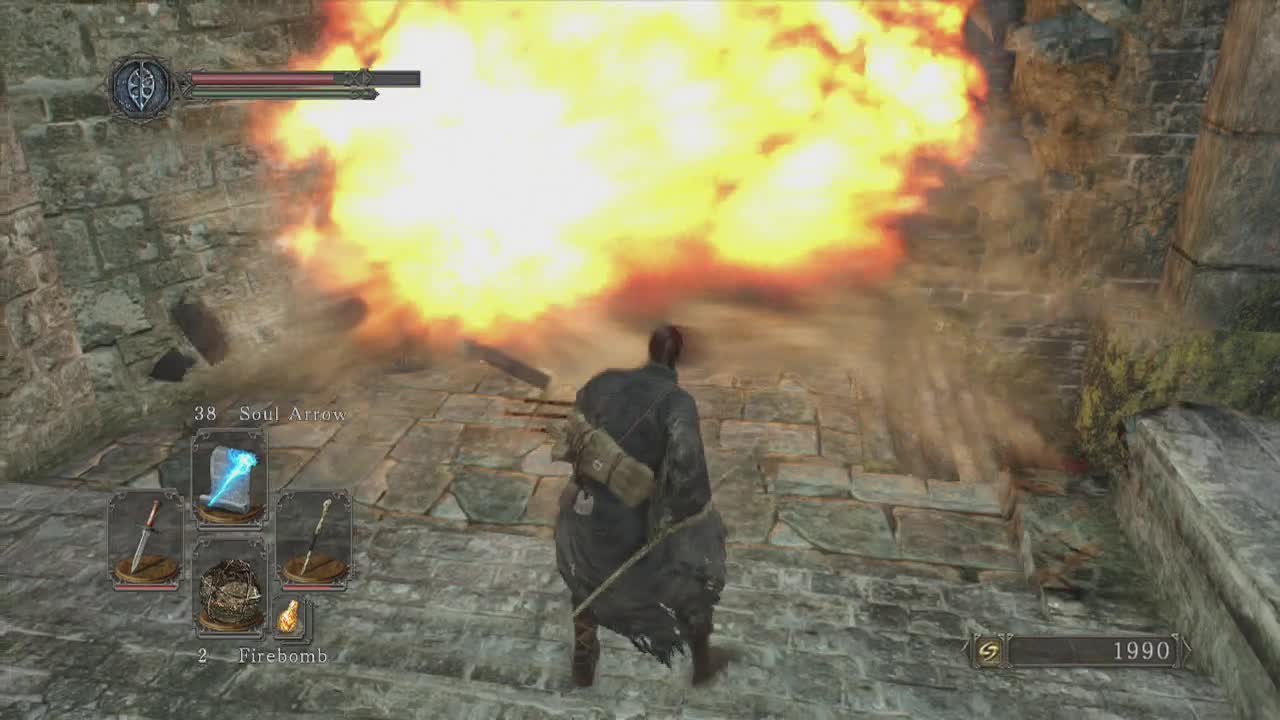
Near the fire bomber is a pile of explosive barrels that can be detonated with a firebomb to create a shortcut back to the Cardinal Tower bonfire. Next to this, down the steps are two hollow soldiers waiting (if you are a caster or archer you can pick these guys off easily from your superior position). Battle past these two is a ladder you can climb down and a corpse in a small alcove that has a Green Blossom to pick up.
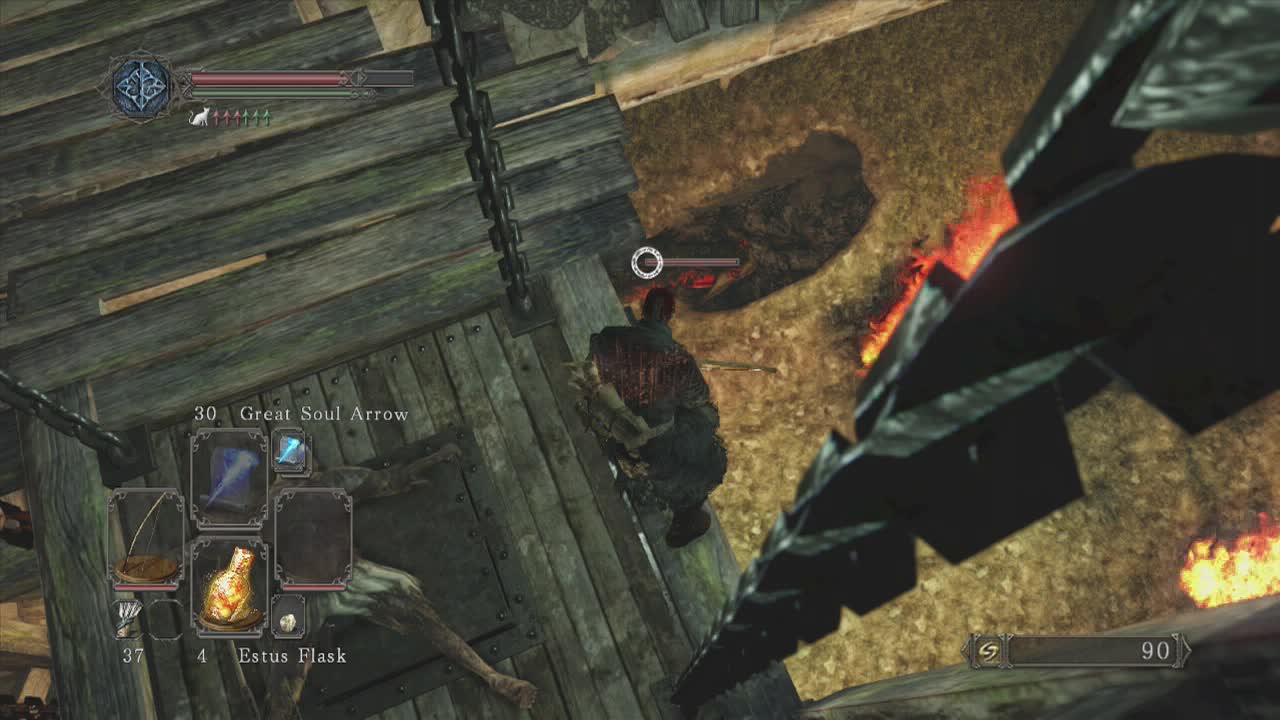
To your right as you descend the stairs is a hole in the wall which you should be able to see several catapults through. This is obviously a trap. Inside the room are four enemies waiting to ambush you as well, so the best tactic is to run in, trigger the trap (you'll hear it) and then quickly run out again. The bolts should kill at least one enemy leaving you with only three hollow soldiers to take out. You can also retreat back to the ladder and rain down pain from above if you have ranged capabilities.
The corpses on the floor of the room contain a Great Soul Arrow spell, a Large Soul of a Lost Undead and a Blue Wooden Shield. At the back of the room is a ladder down to a lower floor. In the middle of the room is a suspicious chest (it is trapped with poison gas and/ or arrows). Dodge roll away as soon as you open it (if it isn't poison keep dodging due to the arrows). Once it is clear, grab the Titanite Shard from inside.
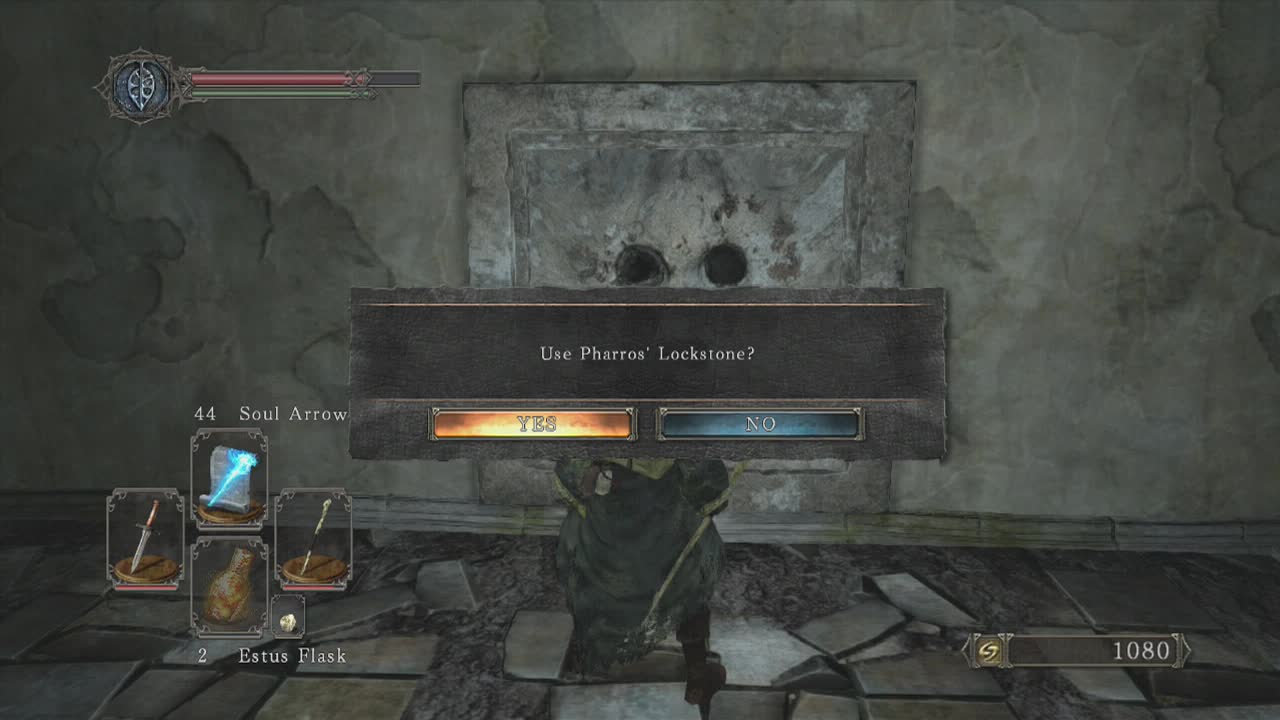
On the wall nearby is a point where you can use Pharro's Lockstone (looks like a face), these rare items reveal secret areas and activate certain contraptions. If you didn't choose one as a gift at the beginning of the game, you can also buy one from Melentia (the merchant who appeared at the nearby bonfire you just came from). Place it in the slot and a nearby wall will glow. Attack the wall and it will vanish, revealing two chests. One contains a Titanite Slab and the other has the valuable Chloranthy Ring (increases stamina recovery speed).
The nearby door can be attacked to lure out the three hollow soldiers within. Inside is a chest with a Life Ring and a Large Titanite Shard. That's all for this dark area so head back outside to the fresh air. Further along the wall here is Pate who is seated next to a raised portcullis. Pate will tell you what befell his comrade in arms and warns you about heading through. If you decide to, there are two hollows and an archer waiting for you. Quickly defeat the charging hollows while moving to avoid arrows and then deal with the archer. If you stay near enough to the portcullis it won't actually drop.
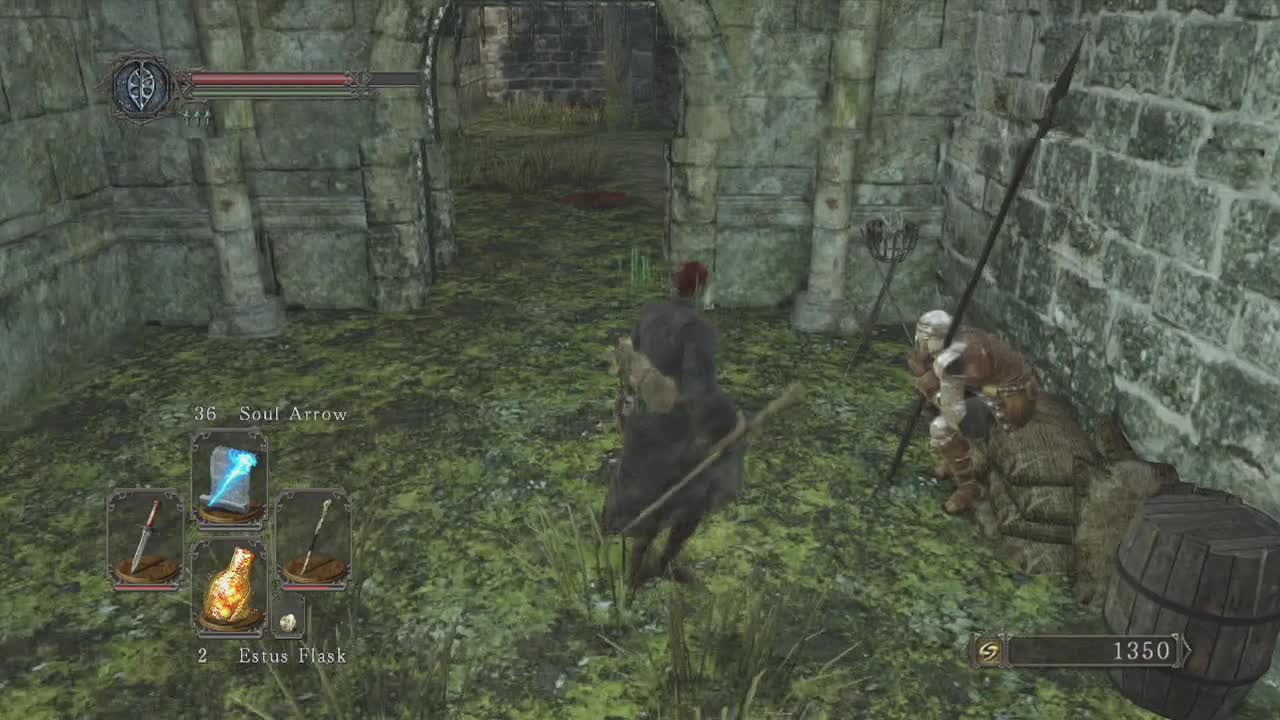
Head into the only accessible door and along the hallway inside. Slowly approach the end of the hallway and be prepared for three hollow soldiers to ambush you. Retreat back to the outer area and defeat them (more room to move around). At the end of that hallway is an Aromatic Ooze to pick up. At the top of the nearby steps there are two hollow soldiers and an archer to beat up. Be careful on the stairs as is can prove to be some players undoing.
At the base of the stairs you can press A on the wall to the right to reveal a hidden panel. Inside is a chest with a Sorcerer's Staff and an Amber Herb. At the top of the stairs you will be back on top of the wall above Pate. Drop back down and talk to him to obtain a White Sign Soapstone.
Opposite the ballistae room is an archway that leads to a small courtyard with a heavily armoured Old Ironclad guarding a door. Key point: Don't go out into the open courtyard and stand still! Two hollows above throw down firebombs so standing still leads to much pain. Magic users will probably find this guy relatively easy due to his slow movement and attack speed and his manageable magic defense, Roll into the courtyard, get a targeting lock and retreat back to the archway and open fire, he will take around ten or so hits to bring down but is relatively simple. Melee characters on the other hand can have a much harder time due to his heavy armour. You can actually lead him towards the ballistae room and fire a couple of shots at him to bring him down.
Through a small archway to the right you can find a small open area with a slouched hollow soldier that can be attacked before he reanimates. There is also another arch out from here with a half-giant half tree inside. Behind this tree is a Large Soul of a Lost Undead. Head back to the previous small area and climb the ladder to the battlements above. Up here on a corpse is a Light Crossbow to pick up and the two firebomb hollows who were attacking you in the courtyard below. If you have ranged attacks you can take them down in relative safety from the battlements, otherwise you will need to enter the arch into the structure and defeat them in person along with the additional hollow inside. Inside a chest where they were is a Mail Breaker and an infantry helm to collect. You can also jump across to a small ledge above this room to reach a Torch and a Souls of a Nameless Soldier.
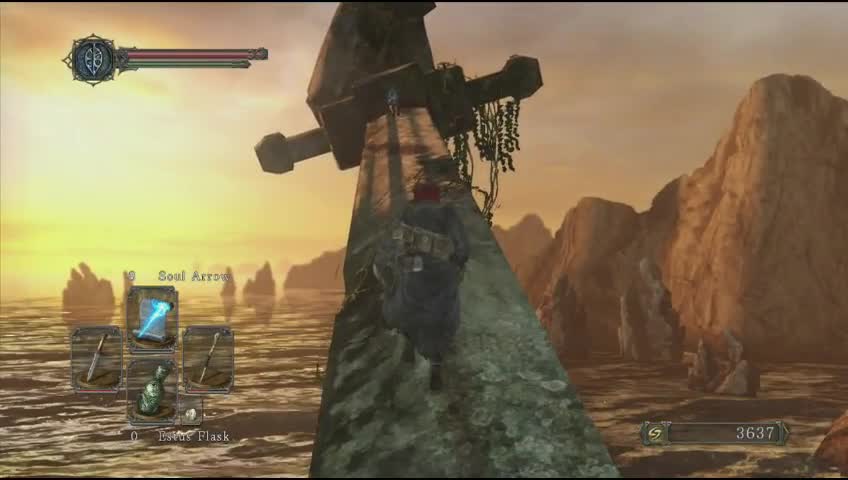
Head back to the small courtyard where the Old Ironclad was and enter the doorway he was guarding. To your left immediately as you emerge are two hollows to deal with. One of the other things about the room is you will probably notice the giant sword acting as a ramp up and out of the side of the room. To your right is a set of stairs with a corpse holding a Life Gem and a Homeward Bone. Head over to the sword bridge and attack the hollow lying on the ground that would reanimate when you were halfway up the bridge. You can also grab an Amber Herb from a body nearby. Now, the sword bridge. Once you move a certain distance up, a hollow will drop down on the bridge behind you from an upper level, sandwiching you between two enemies. This is very bad as dodging is likely to end in death because of the narrow area. Instead run up the bridge a bit and sprint back down to lure the hollow down and then fight both. Once they are gone, you can reach the Halberd and Soul of a Nameless Soldier.
Now that the room is clear, you can use the mist door to open up a shortcut back to the Cardinal Tower bonfire and gain access to a lift that provides access to your first proper boss fight. The Last Giant, where we will be heading shortly. Before that though, looting. In a side room near the lift is a crystal lizard that can be killed for a crafting material drop. Also in this room is a slouched hollow to kill and two items to loot. A large leather shield and a Life Gem are yours. You can also head back into the previous room to find some Fire Arrows.
Make sure you open the metal door and restock at the bonfire before heading down to take on the giant as he is quite a challenge to defeat. A single corridor leads to the giant's mist door, but keep an eye on the left wall for a hollow hiding in a doorway waiting to ambush you. When you are prepared, part the mist and face your first story boss.
_________________________________________________________
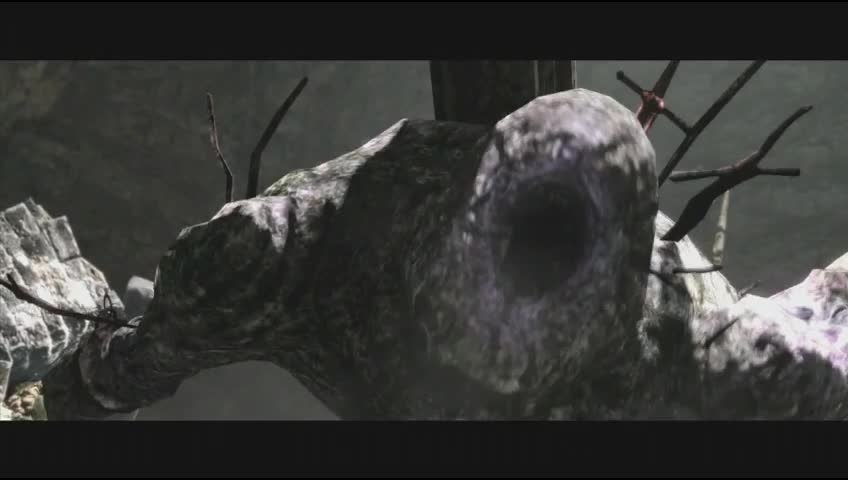
Boss: The Last Giant
Personal Death Count – 5
Attacks –
Backhand Swipe – The Last Giant moves his right arm to his left side and then swings it down at the ground below. This attack is quicker and covers a decent area so make sure to dodge backwards early to avoid it.
Enhanced Swipe Arc – After taking more than 50% damage, the Last Giant will rip off it's left arm and use it to increase the size of it's attack arcs. This makes the situation very dangerous as you only have a limited area to move around in. Dodge through the legs of the giant or sprint when you see him start to wind up his swipe attacks as these suckers hurt a lot.
Heavy Punch – The Last Giant will rear back slightly and then crash his fist/s down into the ground in front of him. This is a good time to get a few hits or shots in as it takes him a few seconds to recover from this attack. Dodge to the side or between his legs to avoid this attack.
Stomp – The Last Giant will raise a foot slowly and then stomp the ground three times. This attack is easy to dodge by rolling away from him. It is triggered by proximity to his feet.
Swipe Arc – The Last Giant will swing his arm behind him before slamming it around in a massive arc in front of him. This is his largest and hardest to avoid attack (especially when it becomes enhanced). You need to make sure you aren't backed into a corner because the only way to get away is to roll backwards, out of range.
The Last Giant is, despite his looks, actually rather easy. Your main danger in this fight is being backed into the wall and being destroyed by his Swipe attacks. Be very aware of how much room you have behind you and run between his legs when you are running out. Melee characters will be aiming to hit his legs, whereas ranged characters can hit his head as well. Finding time for healing is also pretty easy as most of his attacks have pretty long wind up times. Also note that the Last Giant is right handed, this makes rolling to the right far safer than rolling to the left. Why? Because the arm reaches the left side quicker than the right when he attacks. This gives you more to react and a better idea of where to dodge.
After he drops below fifty percent health, he will rip out his arm to extend his reach. This animation takes quite a while to play out, so use it to rack up some more damage. When the extra arm reach is in play, he can cover nearly half the area with his swings so you have to concentrate on dodging and your surroundings even more. After a rain of blows, he will eventually fall and the battle will end.
_________________________________________________________
When he finally falls, you will be rewarded with a Soldier Key and the Soul of the Last Giant. You may want to retreat back to the bonfire to restock before using continuing on in this area.
Return to the bonfire room to recuperate and then head back down the ladder. See the bridge that we ignored before? Now is the time to cross it. On the other side is a hollow soldier playing dead (kill it) and a locked door. However we now have the Soldier Key so we can open it. Head straight on to find a chest with a Ring of Restoration and a Torch inside. Head back the way you came and enter the room with access to the rooftop area across the bridge. Look in the corner of this small room to find another door your Soldier Key opens. A dark staircase descends downwards and you should too.
Before entering the room at the bottom of the stairs, it's time for a rundown. To your imediate left upon entering is a hollow soldier playing dead. In front of you (in the middle of the room) is an Old Ironclad enemy and behind him a patrolling hollow soldier. Kill the sleeping hollow soldier quickly and then lure the old ironclad up the stairs and if you are a ranged character or stay here and fight it out of you are melee. Once you are done a corpse is to the left of the room with a Homeward Bone and Black Firebomb. As you move further into the room, you will spot a second Old Ironclad guarding the exit door, along with another hollow soldier. Same as before, lure or duke it out.
As you exit out, immediately take cover by the crumbled wall to your left. This will allow you to spot the old ironclad and archer nearby without taking any cheap damage. If you have a ranged attack, you may want to deal with the archer quickly to prevent distractions. A second old ironclad will come to the aid of the first from a nearby alcove when you attack the first so be careful. You may also accidently lure another one from the nearby rooftop if things go badly. Two ironclads are up the ladder on the nearby building and are guarding the Soul of a Nameless Soldier and a Cracked Red Eye Orb. Downstairs hollows are also camping out so make sure you are prepared before entering. The hollows are guarding a Bastard Sword
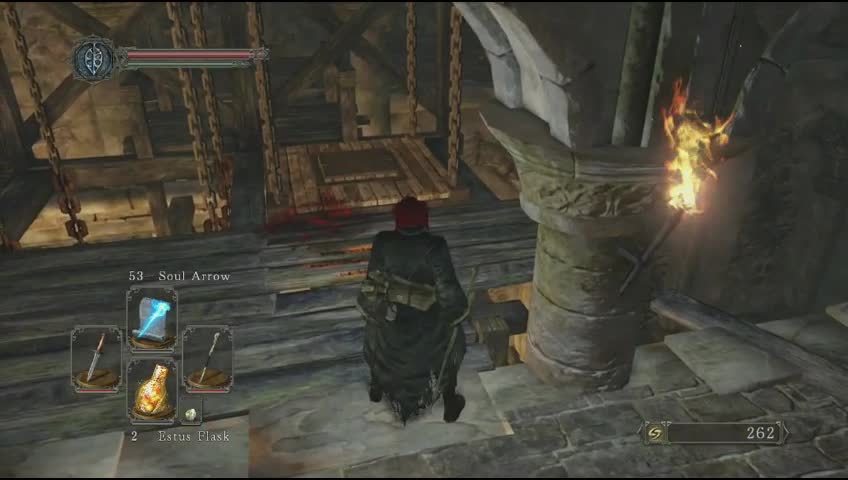
Be careful when reaching the end of this little building as an axe wielding hollow is waiting just around the corner. Once he is dealt with, grab the Amber Herb and Green Blossom from the corpse in front of the portcullis and take a left into the destroyed building. This allows you to safely reach the other side of the area and in an alcove inside the first door you come across is a bonfire to light. A nearby set of stairs leads up to a chest with a Full Hunter Armour Set and the Large Soul of a Proud Knight.
Once you have all that done, you can teleport back to the Cardinal Tower bonfire in the Forest of Fallen Giants to take on the other boss of this area, the Pursuer. Head back down the ladder to the room above the Salamander's Den and head for the room with the Giant Sword stuck through the wall that we went through to open the shortcut to the Last Giant. In this room is another door that can be opened by the Soldier Key. Inside are two sets of stairs with a hollow at the top of each. Another set of stairs awaits after that (thankfully hollow free) and a mist door also. Before heading into the boss fight, head up the stairs to the right to find a Soul of a Nameless Soldier and a Life Gem. Now, Gird your loins, traverse the mist and face The Pursuer.
_________________________________________________________
Boss: The Pursuer

Personal Death Count – 25+
Attacks –
1, 2 or 3 Slash Chain – The Pursuer will raise his shield and sword in front of him and then dash towards you. He will then swing at least once. This chain can extend to two or three hits, with the third being slow but particularly damaging. You will need to roll away from him once for every swing. Swing 1 – To the right. Swing 2 – Backwards and Swing 3 – Backwards. This is the most effective way to avoid this attack. Two proper hits with this attack can kill you.
Cursed Blade – The Pursuer's blade will change to a blue colour and he will draw it back slightly before jabbing it towards you. Being hit by this attack is extremely bad as it deals significant damage and inflicts the curse status. This dangerous status reduces your maximum HP to 50% until cured. This can only be healed by using an Effigy to become unhollowed. It also allows him to use his dark magic attacks against you. The attack is easy to avoid (roll backwards) as long as you see it coming. It is also a great time to damage him if you are a ranged character as you can shoot him while his long attack animation plays out. Melee characters will have to roll around to his side to hit him (or else risk being hit).
Smack Down – Similar to the slash chain above and can have up to three hits in the attack. The main difference is he doesn't have to charge to initiate this attack, so you have far less warning. Dodge away as soon as you see his arm move if he isn't powering up to charge.
The Pursuer doesn't have the largest variety of moves (unless he curses you), but they can be a pain to avoid. He is also far more difficult to deal with than the previous boss, due to his speed. One of his attacks (cursed blade) inflicts the annoying and potentially deadly curse status on you, so you need to be on the lookout for that, Dodge to the right for his initial charge attacks, always to the right. The Pursuer is right handed so you can best avoid his swing and have more time to react.
You need to play this one defensively, timing your attacks only after one of his attacks has missed. Casters and rangers will only survive two hits, so avoiding pretty much all damage is paramount. Warriors on the other hand may have more luck in taking hits, but their slower dodge can cause the damage to mount up. Stay frosty, single shot with casters after an attack. One or two swings with melee characters. Casters should also make sure they are using Great Soul Arrow if they have the slots for it. You will eventually wear him down and succeed in winning the battle.
_________________________________________________________
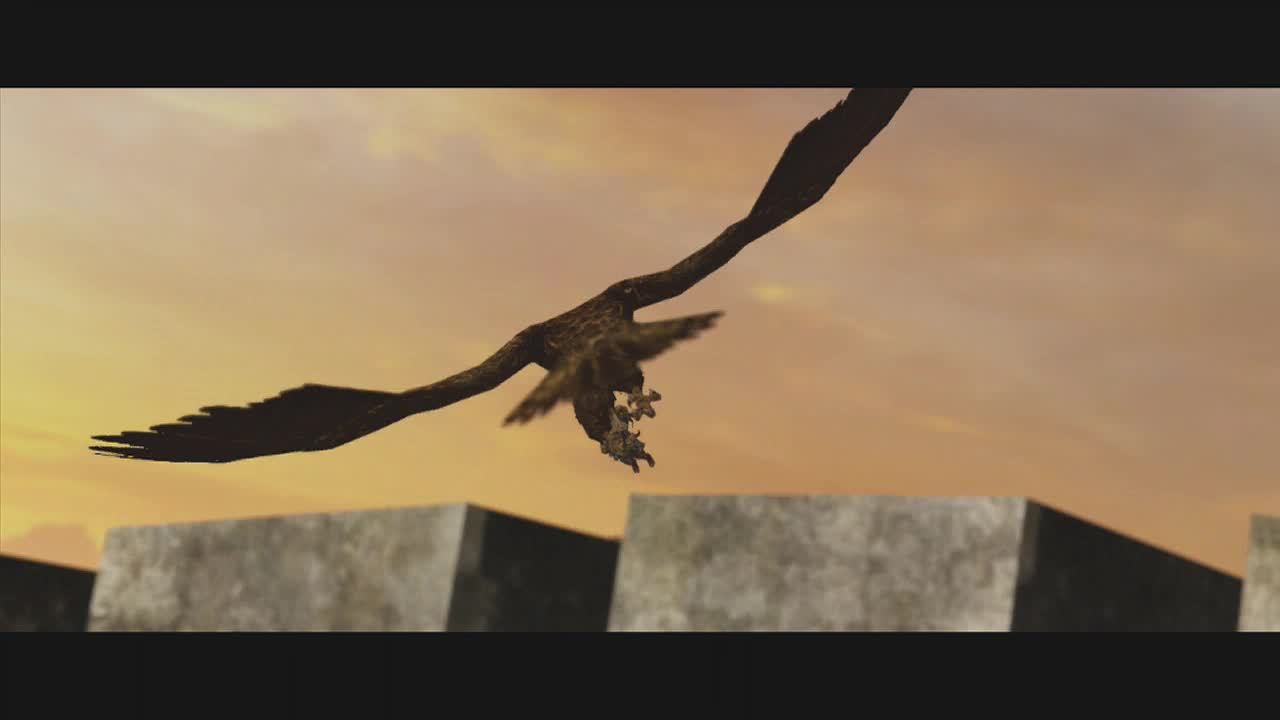
Once he is defeated, take your new items and souls back and cash them in. The path through the Pursuer's area leads to a birds nest that if you interact with a giant eagle will take you to the Lost Bastille. Take the ride there and light the bonfire when you arrive. Then teleport back to Majula because we are going to Heide's Tower of Flame next.