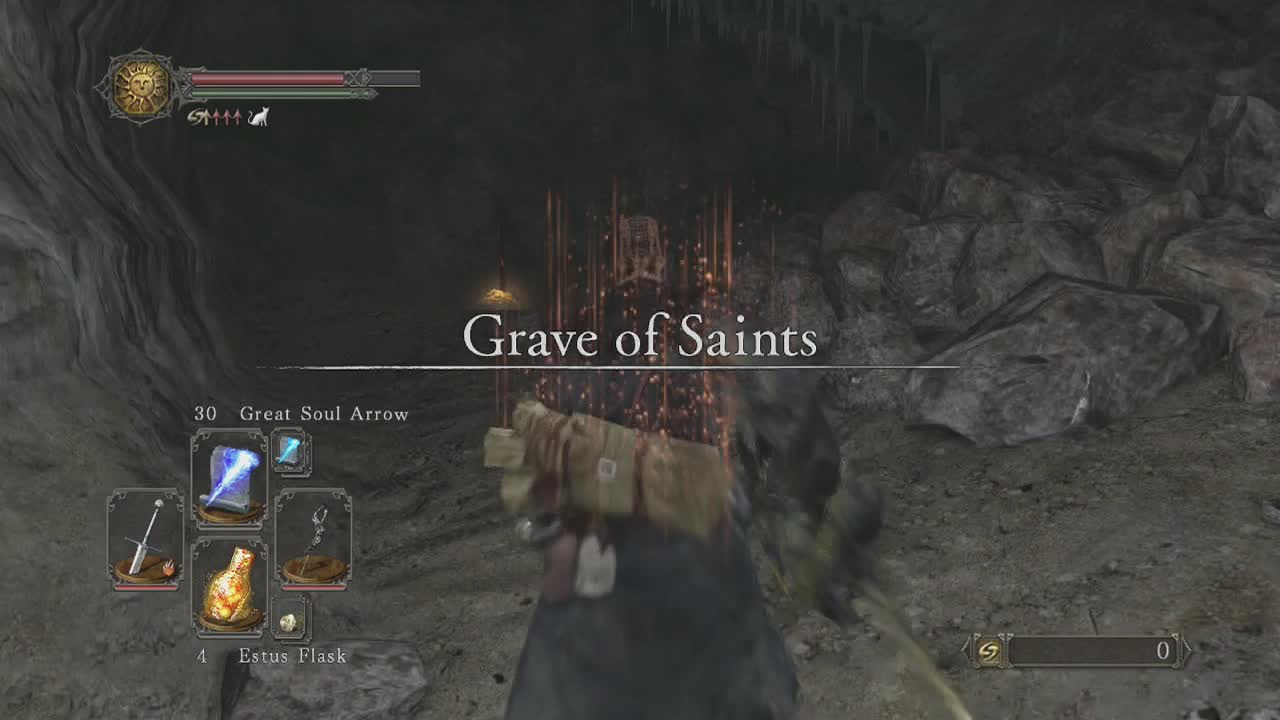
The Grave of Saints can be accessed via the pit in Majula (see the section for directions on how to reach it). Note: Most of this area is optional (similar to No-Man's Wharf) and can safely be skipped by descending to the lowest area of the Pit and following the last part of this area's guide. For those that want to explore the area thoroughly though, let's head inside. From the starting bonfire, head into the tunnel beyond (keeping an eye to the left wall for a slouched hollow to defeat). Slightly further on you will run into another hollow that is smacking a wall next to a doorway whose surrounding wall is studded with skulls. Through the doorway is large central fountain that dominates the chamber. You may see the item inside the fountain but you cannot access it yet. Of more concern are the three petrification status inducing rats that will begin spawning from the nearby walls when you enter (you will probably see the water splashes before seeing the dark shapes of the rats).
Back up into the tunnel you were just in to bottleneck them and finish them off quickly (shields work well against their attacks and ranged characters can just keep backing up and firing). Once they are dealt with, head around the back of the fountain to find a corpse with a Large Soul of a Nameless Soldier on it. Head for the lit up exit and up the stairs within. One important thing to note about this area is that it is filled with pharro's lockstone devices. Most of which are designed to be used by members of the Rat Covenant who are trying to stop players reaching the end of this area. This means the majority of them are not worth using stones on as they will be a waste. Any that you should use will be detailed in the guide.
As you reach the top of the stairs, look to your left to see a slouched hollow against the wall and to the right to see three approaching rats. Head back down the stairs to the fountain room to bottleneck and kill off the rats safely, then head back up and deal with the hollow. Next to the hollow is a body holding a Small Smooth & Silky Stone to grab. You may have noticed multiple pharro's device slots on the ground under your feet here. The only one you should really use is the device that is slightly to the right as you come up the stairs from the fountain room (opposite the huge raised bridge on the far side of the area). This lowers the bridge and allows you to cross to the other side.
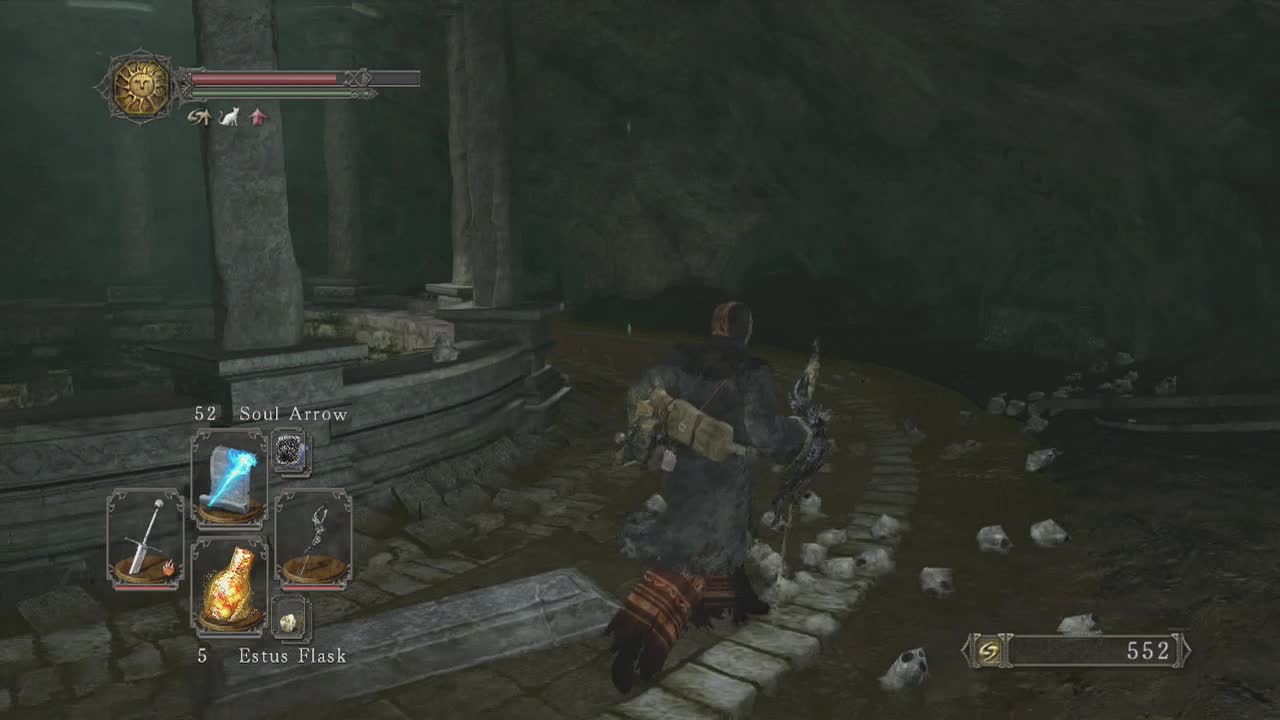
The small room across the bridge is filled with rat statues and a staircase leading up. As you approach the corpse at the back of the room (holding Poison Moss), rats will come out of the holes in the nearby wall to attack (they are triggered by proximity to their individual positions so all three may not appear at once). Retreat to the bridge to bottleneck and kill them. Head back inside and then ascend the stairs to find a skeleton with a Whisper of Despair spell and a Torch. Head back out and cross the bridge (ignoring the pharro's device in the circular room). At the end of the bridge (closest to the fountain room), take a left to find a ladder leading up on a nearby wall.
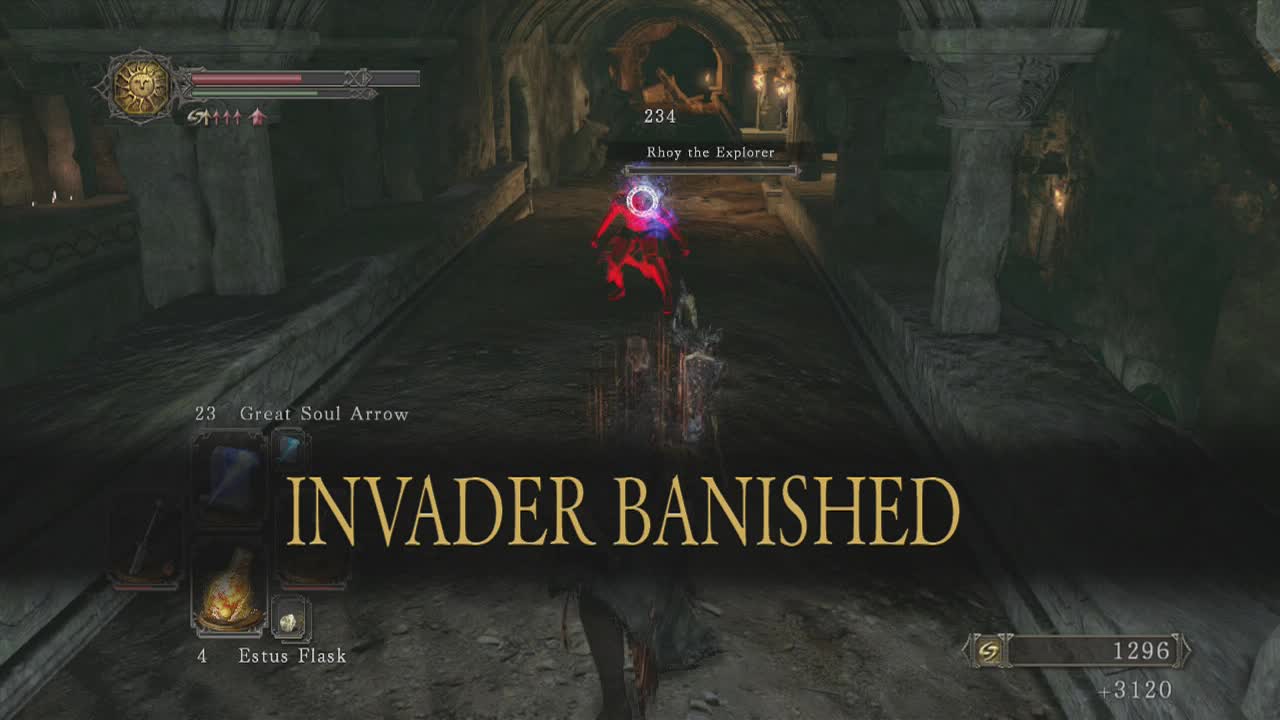
At the top of this ladder you will find an area that looks nearly identical to the one below. To your right as you enter the hall you may (or may not) see the red phantom Rhoy the Explorer (some people say he only appears if you are offline, but I personally was online at the time and he was present). Don't approach him yet as up to three rats drop down in the other direction (behind you if you are looking at Rhoy) so turn around and crush them first (some may not appear until you engage Rhoy). When you are ready, approach Rhoy to initiate the battle. Rhoy is the explorer class (obviously) who have quite a lot of useable items. This means that keeping your distance to heal or use ranged attacks may not always work as he will throw items at you. Melee characters will be able to simply get in close and smack him around until he dies. Ranged characters will want to stay far enough back to avoid his rapid rolls and dodge his thrown items (despite the odd thrown item connecting).
I personally didn't get anything from killing Rhoy, but others players have gotten a large variety of items so it seems like a matter of chance the loot you get. Now that he is out of the way, we can explore this hallway in peace. Head in the opposite direction Rhoy was in when we started (away from the mist door) to find a hole in the wall that leads to a tomb (don't worry about the skeletons, they don't get up for once). Pick up the Homeward Bone off the skeleton in the corner. Head back towards the mist door end of the hallway, light and rest at the bonfire before heading through the mist door beyond.
_________________________________________________________
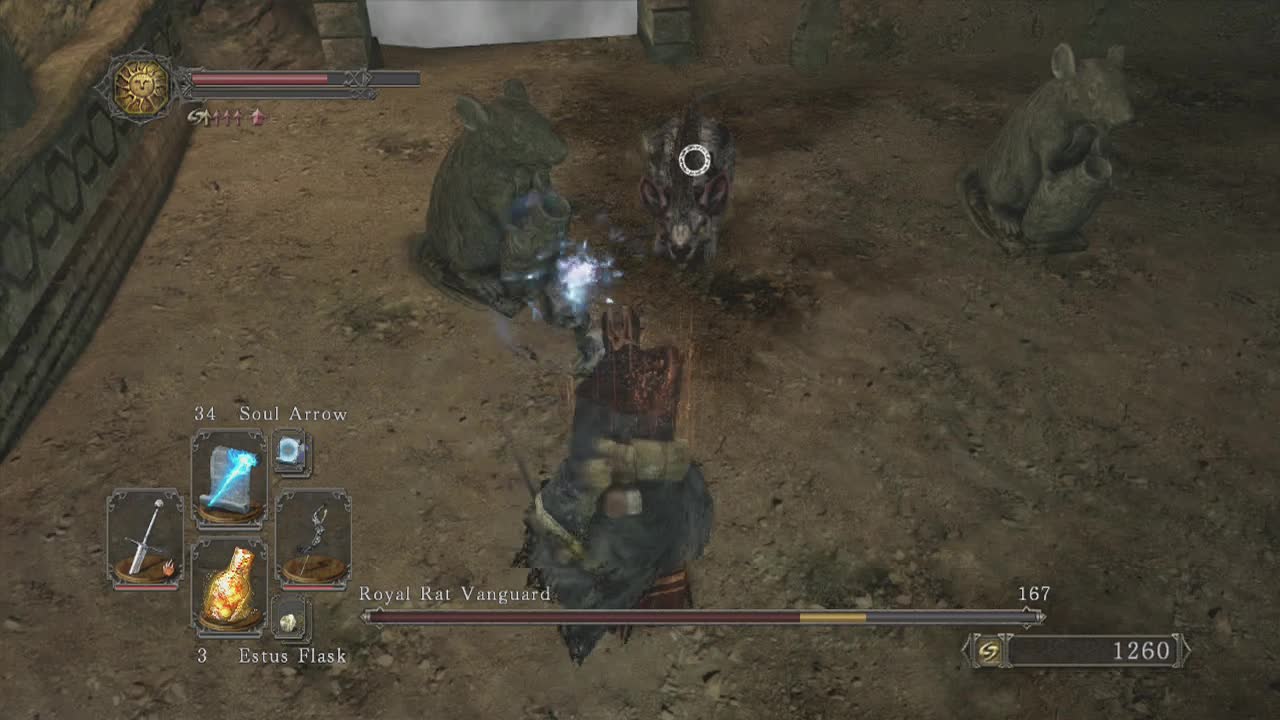
Boss: Royal Rat Vanguard
Personal Death Count: 7
Attacks –
Regular Rats
Bite: The rat will rear up before lunging towards the player. The bite can inflict petrification on the player. Roll away (backwards or sideways depending on your surroundings) to avoid the attack. Relatively low damage, but can be dangerous when multiple rats are attacking at once.
Leaping Bite: Similar to the regular bite attack, except the rat will huddle forwards for a brief second and then lunge towards the player. The bite can inflict petrification on the player. Roll away (backwards or sideways depending on your surroundings) to avoid the attack. Relatively low damage, but can be dangerous when multiple rats are attacking at once.
Royal Rat Vanguard
Bite: The rat will rear up before lunging towards the player. The bite will automatically inflict a full level of poison on the player. Roll away (backwards or sideways depending on your surroundings) to avoid the attack. Decent damage, and the poison can combine to kill a player in one hit. Ranged characters should avoid getting close at all costs.
Leaping Bite: Similar to the regular bite attack, except the rat will huddle forwards for a brief second and then lunge towards the player. The bite can inflict a full level of poison on the player. Roll away (backwards or sideways depending on your surroundings) to avoid the attack. Decent damage, and the poison can combine to kill a player in one hit. Ranged characters should avoid getting close at all costs.
A swarm of rats may not seem like a deadly opponent, but anyone without sufficient defense and stamina will be decimated in short order by the pure number of enemies without a decent strategy. But first a little detail on the progression of the fight. To begin with, the boss will not be present. He will not appear until ten regular rats have been slain. When that number has been killed, he will appear next to the mist door you entered from and join the fight. Killing him will instantly end the battle and the remaining rats will leave immediately.
The rats individually aren't much of a threat but for ranged characters, getting surrounded is a death sentence as you will be bitten to death rapidly. Melee characters will be able to put their backs to a wall and use their shields and weapon swings to kill several rats at once, reaching the ten kills quickly. Ranged characters will need to run back and forth from one side of the area to the other, to string out and inflict damage on the rats (see the video for how to do this). Once the Royal Vanguard Rat appears (near the entrance mist door) you will need to concentrate on taking him down as quickly as possible. He looks different to the other rats, almost like he has a massive line of fur running down his body (like a mohawk). With enough focused damage he should die in less that ten seconds, leaving you as the victor.
_________________________________________________________
After healing up at the bonfire, head to the door at the other end of the rat vanguard's room to meet the rat king. Now that you have defeated one of his most powerful warriors, you can talk to him to join the Rat King Covenant. He will give you a ring, the Crest of the Rat to show you have joined. One benefit of joining is that all the covenants and hollows in the area will no longer attack you. The downside is, we are nearly through the area so it won't be of much use.
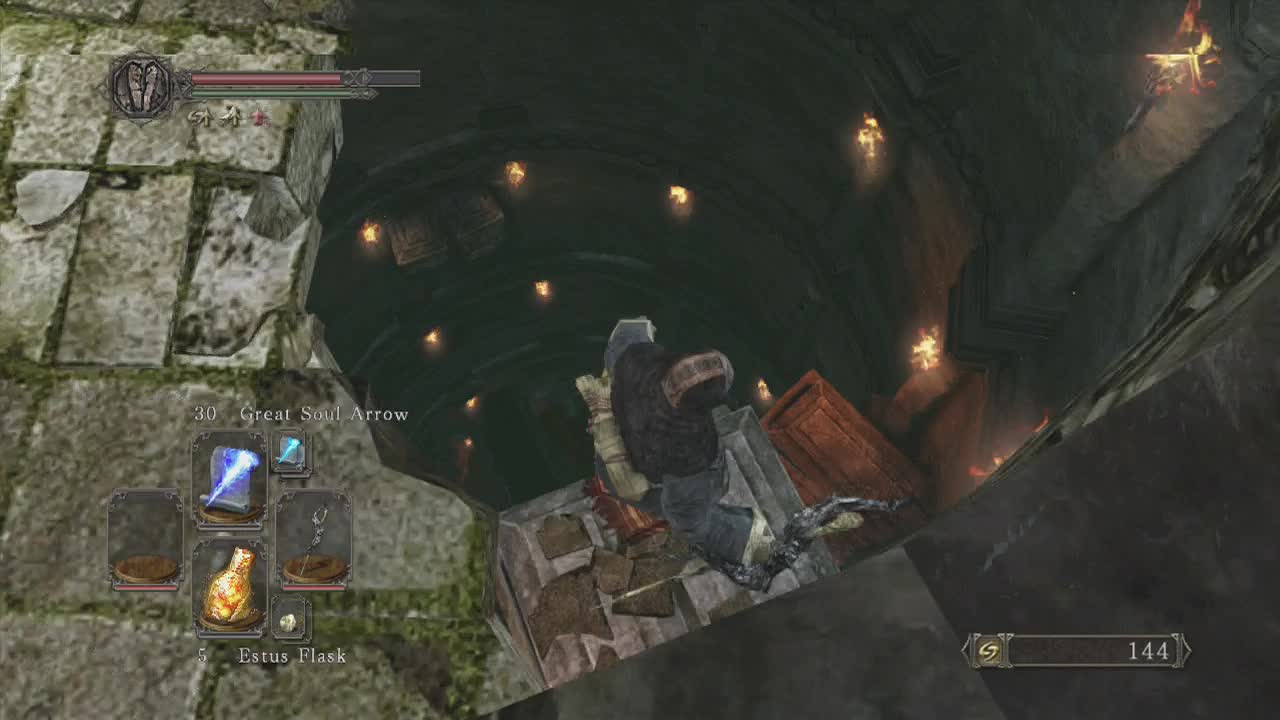
A hole in the tunnel beyond the rat king leads down to the fountain (the one we couldn't access before). A corpse in the fountain yields a Pharro's Lockstone to you. You will see a giant hole in the floor of the fountain that leads down to a set of 'steps' (giant coffins that can be dropped down to). At the bottom of these 'steps' is a large bridge with a wooden bridge below (the second bridge is where the bottom path in the pit comes out). Grab the bleed stone from the skeleton on this upper bridge. From this upper bridge you can jump down to a small ledge which has a Disc Chime on a corpse. Or you can just drop down to the wooden bridge below.
At one end of the bridge is a crystal lizard that can be killed for smithing items if you are fast. You can jump across the gap in the bridge to reach a chest containing an Ash Knuckle Ring. When you are ready to move on, drop down as close as you can to the land area below (the water slows your movement and can easily lead to death). Six small mummies (the ones that trip over and explode) enter from the two tunnel entrances nearby when you drop down. Get to the land area as quickly as you can and start dodging. These mummies (unlike the ones we met earlier in the game, die when they explode so you won't have to actually kill them (useful to know for melee characters). Once the swarm is no more, you can take the time to explore this lower area.
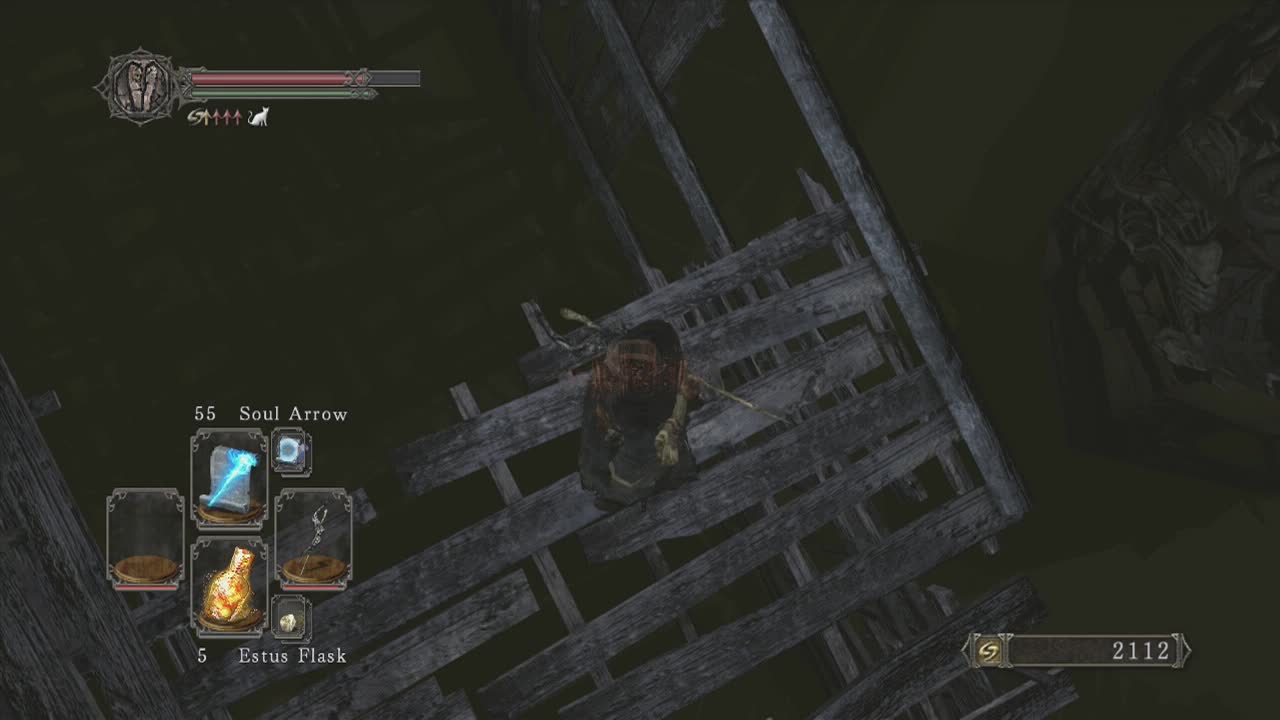
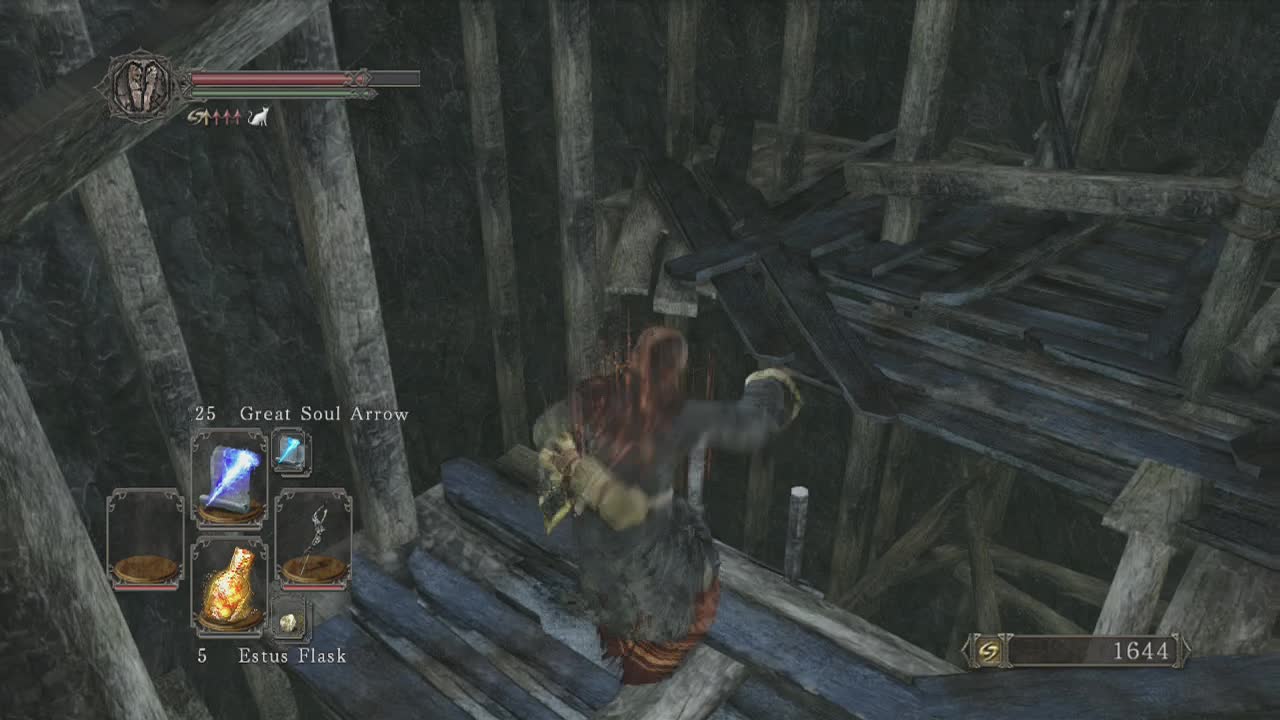
Take the waterlogged tunnel first to find a skeleton at the end holding a Great Heal spell. Back to the other tunnel now. This leads to a one way drop (down a very short ladder) that has a large set of scaffolding below. There are two items to grab on your way down the structure. A Human Effigy (take the right ladder immediately after falling down the one way ladder and then another to reach it). The second item is a Radiant Life Gem that is on the main path down (keep an eye out and you should spot it). When you reach solid ground, look amongst the posts to find a chest containing a Token of Spite.
A nearby tunnel leads to the entrance of the Gutter and a pile of poison spitting statues. I will continue this area guide to the next bonfire as there is no way back on foot. Destroy the poison statues and drop down onto the wooden structure below the ledge the statues are on. Down the small slope you will see a large hole has been made in it. Drop down through the hole onto the visible wooden floor below. As you move around on the lower end of this new floor, part of it will fall away. You can use this new hole to drop down to the first bonfire of the area (you should be able to see it through the floor below you). Light the bonfire to get back to Majula or continue reading on in the Gutter section.