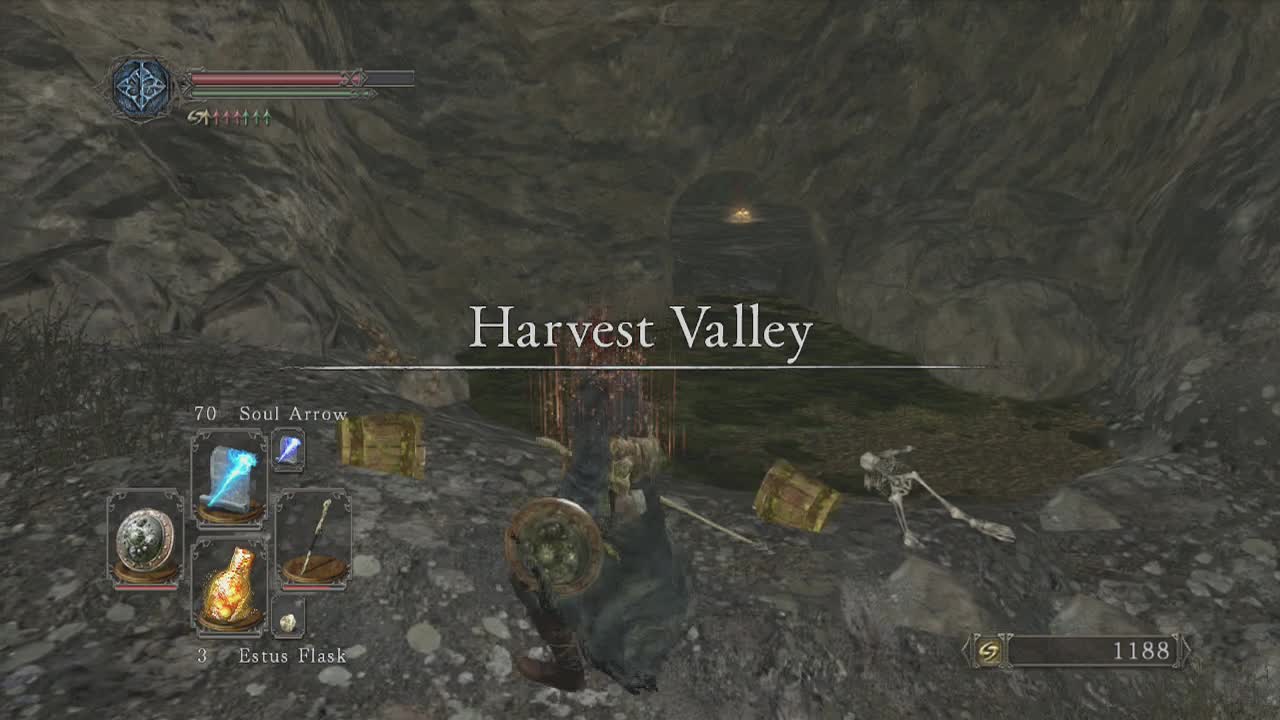
Harvest Valley can be accessed by defeating the skeleton lord bosses found in huntsman's copse and then progressing along the linear path from their room to the first bonfire of the area. Large portions of this area (and the following one) are bathed in poison, so bring along your poison moss and other poison resist / cure items as you are going to need them here. Beating the boss of the next area will actually empty the pool of poison in the way of accessing the bonfire. Head out and across the poison pool from the bonfire and take a right up the path to meet Chloanne. She deals in items for enhancing your weapons at the blacksmith. You can exhaust her dialogue to make her appear in Majula, just in front of the blacksmith hut.
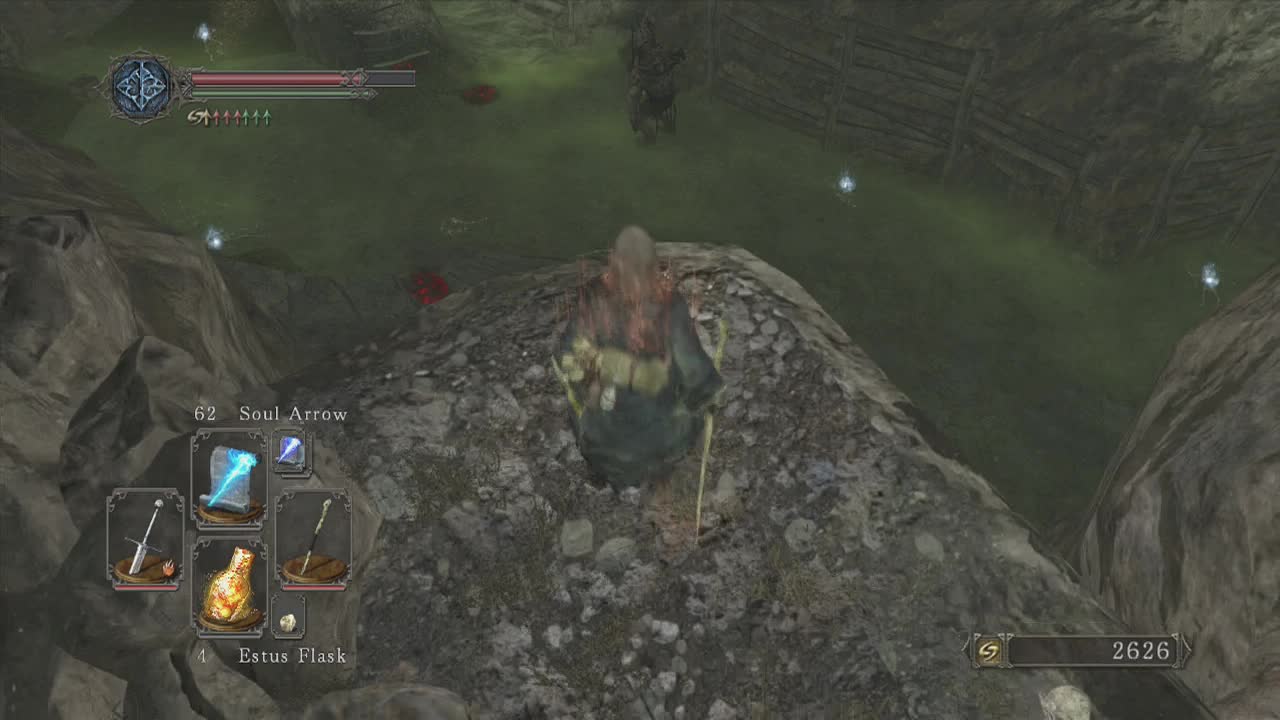
Continue on up until you overlook a huge poison pit with a dark giant standing in the center. Archery based characters can use this position to rain down shots on it without risk. The giants are generally powerless against ranged attackers due to the inaccuracy of their ranged attacks (a massive dark magic orb) that is easily dodged but generally whizzes by overhead as it fires in a straight line from their raised arm. Other characters will need to get closer to the lake to engage the giant. Take the path behind you to the left (from the poison lake overlook) and keep moving until you are standing in front of the poison lake. To your left you should see a corpse hanging over the edge as well as a pile of bones next to it. As you approch the corpse, the bones will assemble into a dual sword wielding skeleton. Quickly dispatch it (it is just like the ones found in the skeleton lord boss battle). Once you are done, rifle through the corpse to pick up a Lifegem.
Melee characters and casters who couldn't kill the giant before will need to engage it here. Casters can fire at the giant from the nearby ramp then retreat back to the safety of the poison free banks. The giant will be lured towards you and as he waddles over, you can finish him off. Melee characters can do the same but will need to walk into the poison to trigger him before retreating back up the ramp. There are is a skeleton waiting to spawn on the other side of the lake that may be triggered by your proximity so be aware of that as you gather up the items below. Equip your poison reduction / cure items and start picking up the haul of items. You can find: Fading Souls, Small Smooth and Silky Stone, Titanite Chunk, Poison Throwing Knife and a Titanite Shard on the poison lake bed. Head up the ramp on the far side to trigger the skeleton if you haven't already. A corpse next to the top of the ramp provides a torch to grab.
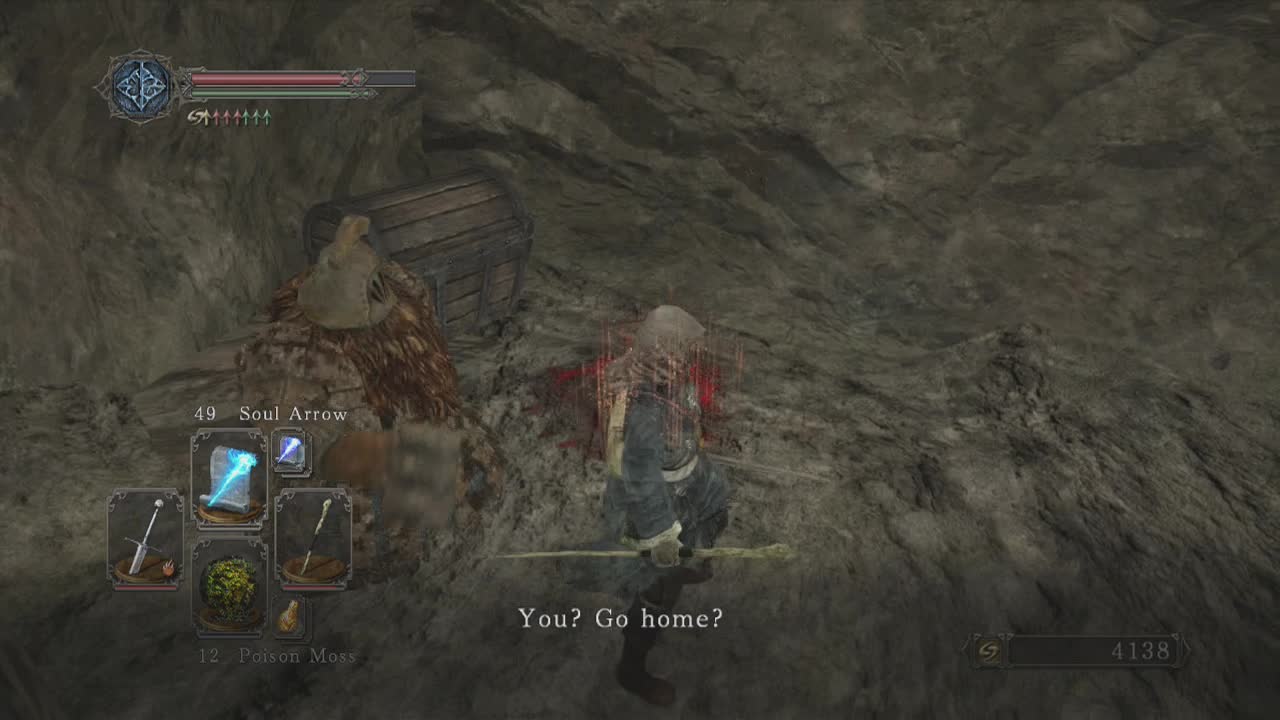
Now it's time to go back into the lake to pick up a very important item. From the base of the ramp, look to the left wall to spot a tunnel you can travel down. The upper level of the room within is poison free so you shouldn't need a poison cure item here. To your right as you enter, a sword skeleton will reanimate so be ready to deal with it. The nearby corpse contains the valuable Fragrant Branch of Yore and a Torch. These branches can be used to remove petrification from the people statues you've seen scattered around in several earlier areas (clearing the paths to other areas and bonfires). In the lower poison area next to the small ramp you should spot a hole in the wall that conceals a chest. Inside is a Fire Seed and a Divine Blessing to pick up. Get back out of the poison again A door sized hole in the opposite wall leads to Gavlan (poison item merchant) if you met him before at no-man's wharf. A nearby chest contains a Raw Stone to obtain.
Travel back outside and up the ramp to your right to reach the path above. A little further on you will spot two more dark giants. You are best off luring a single giant at a time with ranged attacks if possible and/ or using the nearby ramp to the right of the giants to gain a height advantage that lets you avoid their blasts easier. Just keep in mind that there is a hollow further down the platform that can be triggered if you get too close. Once the giants are gone, you can mop up the three easily visible hollows in the area. Another will be standing on top of the boarded up gate at the far end (can be hit by ranged attacks). A second one at the top of a ladder on the right side can be dealt with the same way from below. If you don't have ranged attacks, you'll have to deal with them when you go up the ladders shortly.
Now that the area is clear (or mostly clear), you can climb up the ladders. Take the one closest to the entrance you came in from on the right to find Hexing Urns. Drop back down and use the other ladder to reach the upper level. If you couldn't kill them before, two hollows will be waiting for you. Clear them out if you didn't already and pull the lever above the gate to open it up. Immediately past where the gate was, the path splits. To the right is a bonfire to light, ahead is the rest of the area.
From the new bonfire, head back to the split and take a right into the small area full of mining equipment. Several holes in this small area lead to a poison mist below, but we'll bypass those for now. Instead, look to the left wall for a gap in the rocks that you can travel along. The path will split shortly afterwards (straight ahead or right). For now we'll go straight ahead. You will see a suspicious boarded up wall dead ahead of you, that if you get too close a dark giant will break through and attack you. Instead of your usual reaction (slash or shooting away) lure the giant into attacking the wall behind him. He will need to perform a melee attack to break through so don't bother waiting for his energy blasts to break it. If you manage to pull it off, you will find a hidden hoard containing: a Radiant Lifegem, Smooth and Silky Stone, Torch, Soul of a Lost Undead, Old Knight Pike and an Old Knight Greatshield to scavenge.
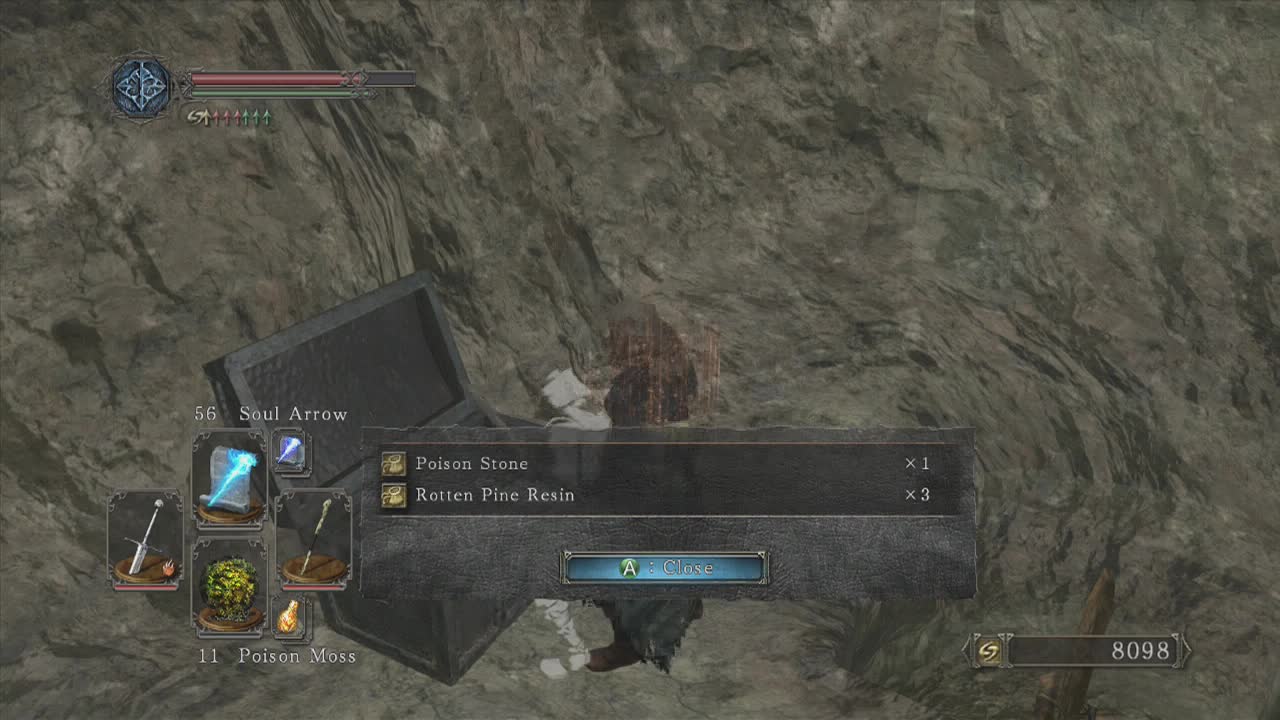
Head back out into the previous path and look to your right (as you access the giant's small area) to see a poison pit with a ledge around it. Prepare a poison cure / reduce item and then drop down onto the ledge next to the poison pit. You will find a chest that holds a Poison Stone and Rotten Pine Resin. The only way out of here is to drop into the poison pit. A tunnel here has a corpse with a Soul of a Nameless Soldier to pick up on your way back to the mining equipment area near the bonfire.
Head back to the path with the giant you just traveled to and take the right path this time instead. This is a one way drop, meaning you will need to take on four sickle giants (remember them from huntsman's copse?) without being able to retreat. This entails taking them down fast, using their poor path finding skills to your advantage and timing your dodges. You can use the ledges here to confuse their path finding (if you can reach them) which should help make it easier. If you manage to kill off all four of them you will find the walls of this area are full of boarded up mine shafts. You can escape using the ramp, but you will most likely want to stand tall and kill them all off in this area. A hollow on the ramp above may also try to get in your way. Any casters with the Yearn spell will find it very helpful here in keeping the sickle giants away as you pelt them with spells.
Now that the immediate area is clear, you can collect the spoils. Pick up the Green Blossom off the body in the center of the area and then proceed to smash the boarded up walls (keep in mind that one of the boards on the upper ramp conceals two hollows hiding within) also remember to take care of the lone hollow on the upper level if you didn't take care of it during the earlier fight. The boarded up holes contain: Life Gem, Simpleton's Spice, Large Titanite Shard, Large Soul of a Brave Warrior, Radiant Life Gem, Skeptic''s Spice and a Titanite Shard. One of the passages is far deeper than the others and leads to a split in the path. To the left is a crystal lizard that can be killed (but if it goes down the pit don't follow it as this will kill you). If you do kill it it will drop some rare enhancement items for use at the blacksmith. Turn around and take the other path now to find another valuable Fragrant Branch of Yore on a body. You can drop down from this ledge to return to the mining equipment area.
Restock at the bonfire and head back to the mining equipment area. Down one of the poison pits you will see a skeleton with an item on it. Prepare your poison cure/ reduce items and drop into the hole. Grab the Fading Soul from the skeleton and quickly move down the tunnel (it turns right, which can be hard to see). On your way you will find another body with a Simpleton's Spice to pick up. As you exit the tunnel, head up the ramp to your immediate right to get out of the poison. From this position you should be able to spot two dark giants in the pit nearby and a sledgehammer undead on a wooden bridge above. Ranged characters will be able to take care of these threats easily from their position of relative safety (the dark blasts from the giants cannot hit you on the ledge). Melee characters will want to trigger the giants one at a time and then plunge attack off the ledge if possible. Otherwise you will need to lure them to the base of the ramp and take them on there. The sledgehammer undead resists damage quite a bit but is slow moving and attacks like its moving through treacle.
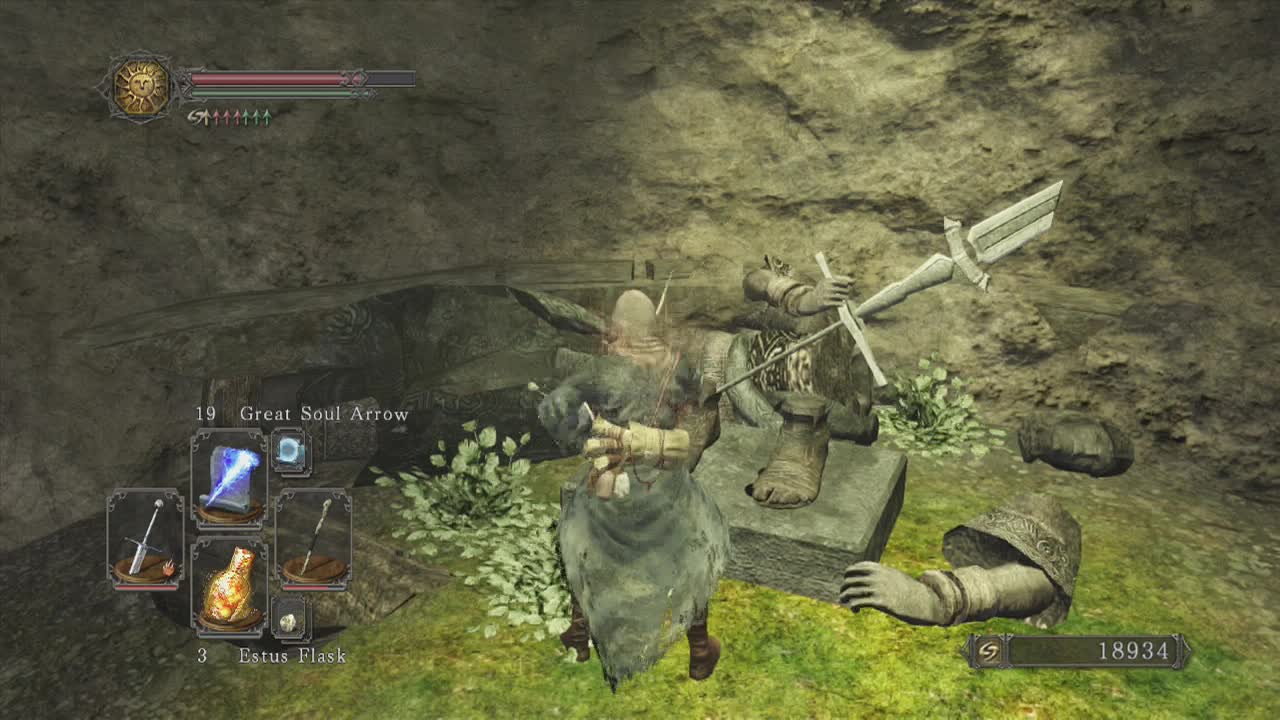
Now this small area is clear, you should have spotted the items in the pit below. Run in and grab the Human Effigy, Large Titanite Shard, Titanite Shard, a Soul of a Brave Warrior and the Chameleon spell. Head back out of the pit and cross the wooden bridge the sledgehammer undead was guarding. On the other side of the bridge, you will have a lower path to the left that passes underneath a couple of sets of windmill blades. You may see a sickle giant pass the mouth of the tunnel ahead (if not he will be further within the tunnel). Be on the lookout for the giant and kill him when you spot him. In the rear area of the tunnel is a sun drenched statue that you can interact with to join the Hiers of the Sun Covenant and learn the praise the sun gesture. Head back out of the tunnel and return to the wooden bridge.
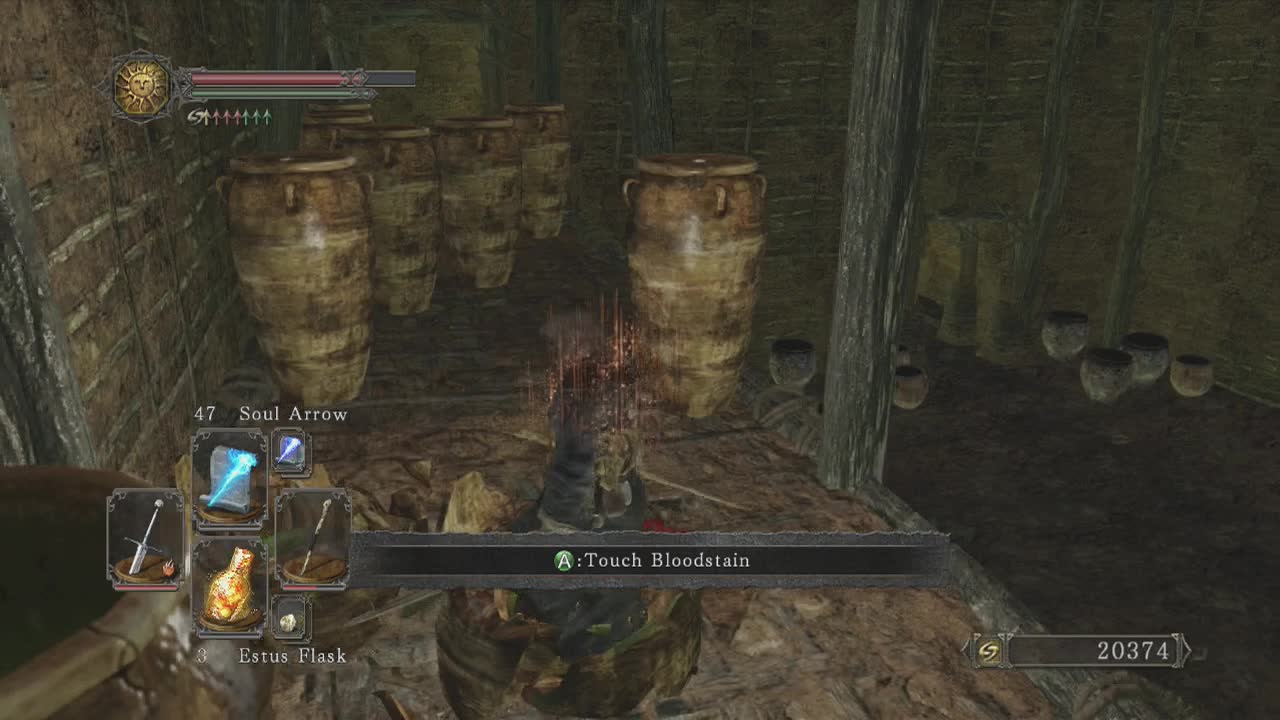
There are two paths you can take from here (not including the one we just took). The path straight ahead is where we want to go next. You should see a doorway with a heap of vases blocking the path. Hidden behind the vases is a sledgehammer undead who will smash through the vases when you get near to him. Retreat back to the bridge and take advantage of the poor path finding to quickly kill him off. The two sledgehammer undead below shouldn't even notice you (although if they do you will want to retreat over the bridge to deal with them). After the undead on the upper ledge is toast, you need to take the other path and take on the two sledgehammer undead you saw from the upper ledge. Be wary of the poison vases and you should be able to clear them pretty easily. The openings on the other side of the room (upper level and lower level) lead to the next area, Earthen Peak, read on in that section to see what awaits you within.