
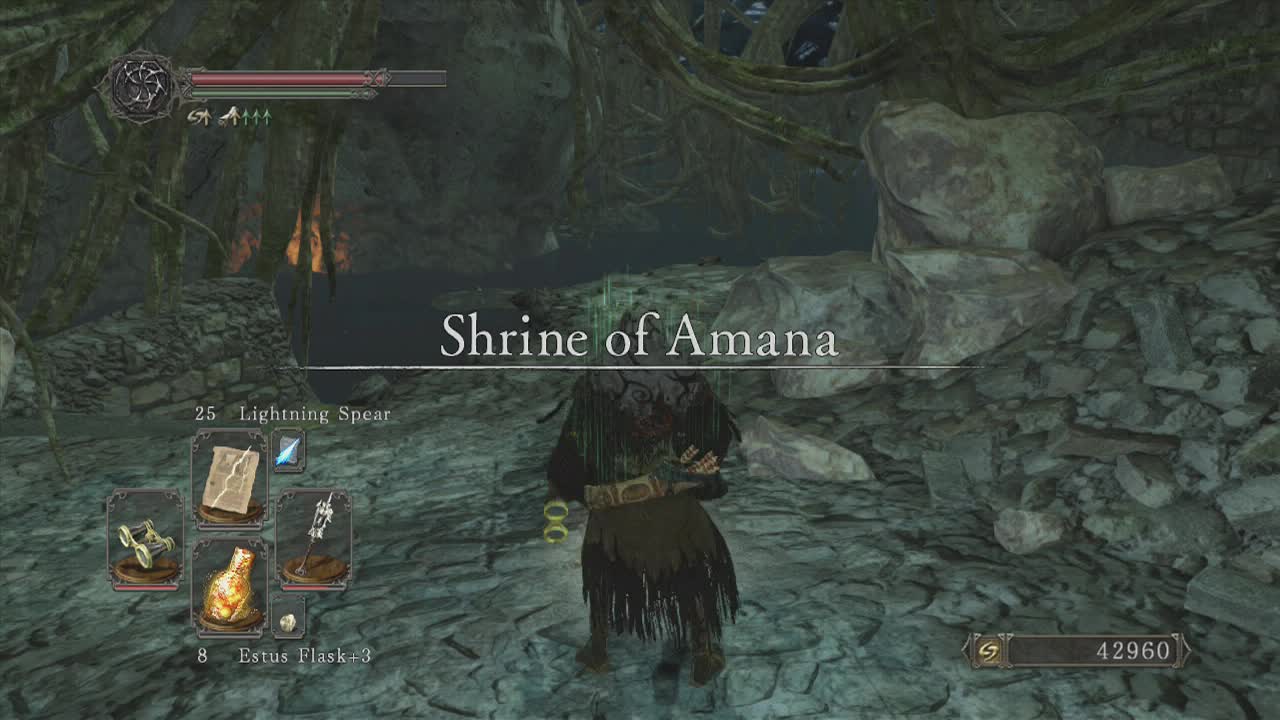
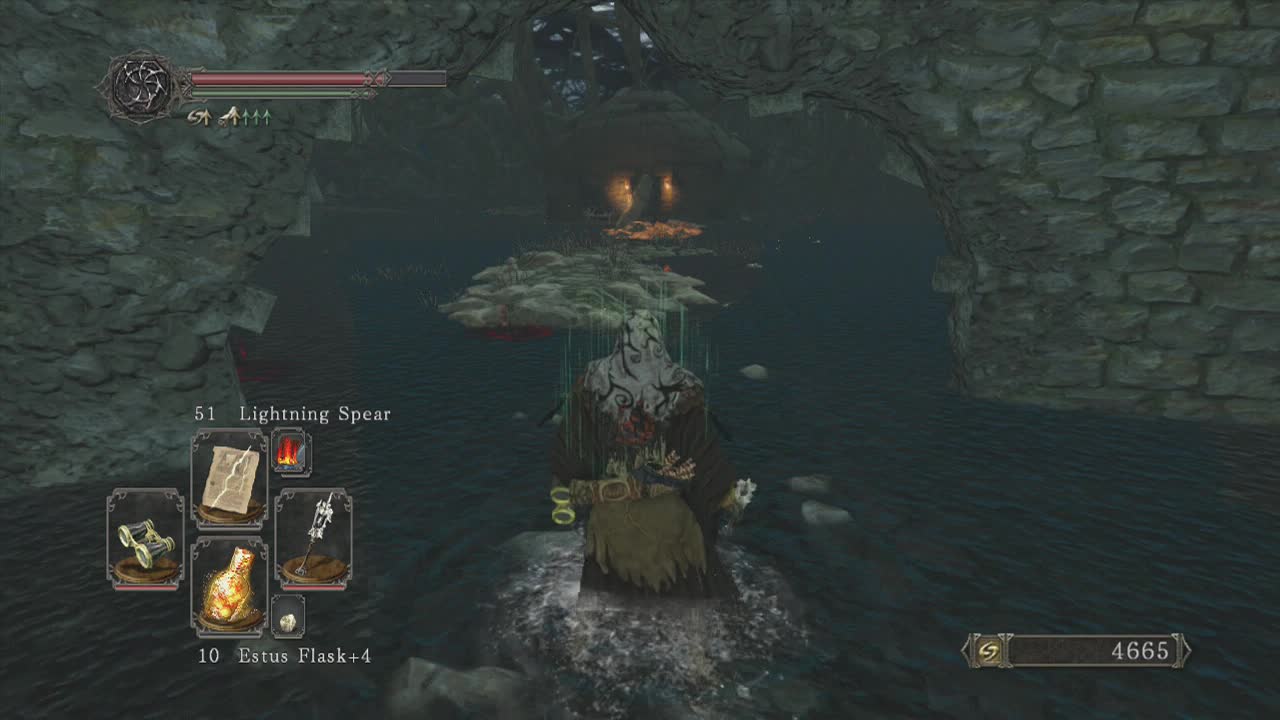
The Shrine of Amana is accessed via King's Passage after defeating the Looking Glass Knight. A little pointer before we begin, most of the enemies in this area are weak to lightning (especially the AoE effect of lightning spear in the water of the area). So prudent players will want to take advantage of this. After traveling through the boss room and reaching the first bonfire of the shrine, head down the nearby stairs and look for a nearby door on the first floor you reach. Open it up to find a short path with a body hanging from branches to your left that you can knock down to grab it's item later. Further along this path is a bunch of crates with a gas bug at the back as well as a chest containing a Wilted Dusk Herb and Skeptic's Spice to pick up. Head back to the stone tower and descend to the waterlogged level at the base of the tower. The water is an almost constant theme in this area, so expect to be slowed by it most of the time (making evasion more difficult). You may want to light a torch at this point to see the paths hidden in the water easier (depending if you want to lose your left hand equipment to use it and risk some enemies aggro range increasing), or tilt the camera angle so you are looking at yourself from above. This will help keep you from falling into the deep water. Look underneath the stairs on this level to pick up a Large Soul of a Nameless Soldier off the corpse hidden there.
As you exit the tower using the partially submerged path, an Archdrake Priest (robed lizard man with a warhammer) will attack you from the right, They attack fast, furiously and with the reduced movement speed you will want to engage him on raised ground to even the odds. As soon as he begins approaching, retreat back to the stairs at the bottom of the stone tower and engage him. Melee characters will be able to block him with a resist physical shield or use weapons with a large swing arc to keep him at a disadvantage. Ranged characters will be able to bombard him from the stairs and retreat up them if necessary. A word of warning before we continue along the path out of the tower. Submerged lizard men populate the waters of this area and will attack if you get near them or if they are scripted to attack, so if your auto-target looks like it's targeting empty water it is likely to be one of them (ranged characters should take them out as soon as this happens). They tend to have part of their head above the water, but not always. An effect of this area is that friendly NPCs known as Milfanitos continually sing, keeping the lizard men calm. However at certain points they will stop singing, turning the lizard men hostile again. This is one area you may want to turn the sound up a bit to get a heads up when this happens.
Return to the path out of the tower. Turn right as you exit the tower and carefully follow the safe ground near the tower to pick up the items from that corpse we knocked down earlier (Flame Butterfly and Twinkling Titanite). Return to the tower and take the other side this time, being careful to stay away from the deeper water. If you search carefully along the edge here you will find a chest with an Elizabeth Mushroom inside. The milfano's song will be in effect at the moment, so the three lizard men lining the path will be docile. As you pass the torch along this path (just before the first hut) the song will stop abruptly and the nearby lizard men will attack. Those using lightning based attacks will find the lizard men easy prey with their simple lunges easily dodged on land. Other elements will work like normal but will take longer to bring them down. Before entering the hut, circle around it to the right and deal with the lizard man there (and the curse vase if you wish). Another lizard man will be on the left side of the hut to take out. Open the door to the hut and do not attack the milfanito (lady in a green dress on the floor). If you rescue all three milfanito in this area, they will provide the service of restoring your humanity if you run out of effigies (a valuable service to be sure), so make sure to avoid killing them. Exhaust the milfanito's dialogue and she will give you a Smooth and Silky Stone.
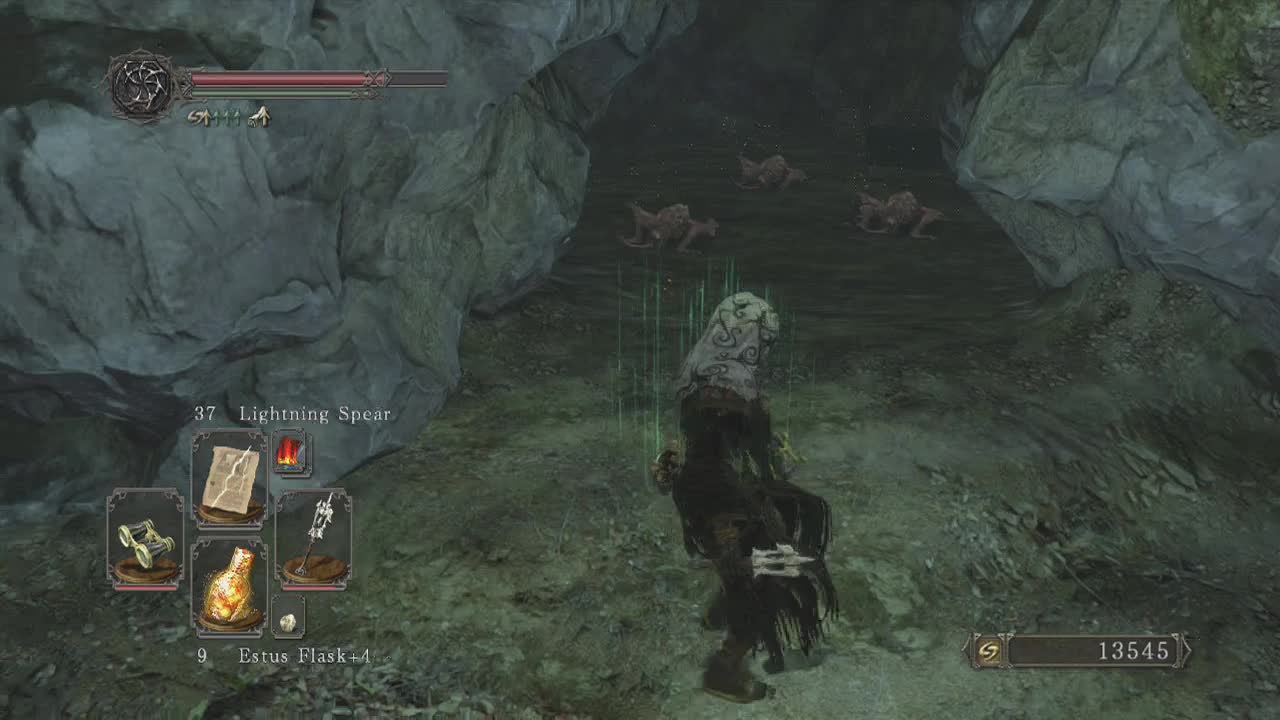
Head out the back of the hut (quickly if you didn't destroy the curse vase outside as it will effect the back room) and as you exit, turn around to spot a chest to the side of the hut (left if you are facing the hut). Open up the chest to pick up a Crimson Water. Resume traveling along the semi submerged path, looking out for the lizard men just past the next lit up post as well as the three archdrake priests on the small island ahead. Deal with the lizard men before engaging the priests (try to lure the priests one at a time so you aren't overwhelmed). You can then take on the lizard men surrounding the island or just ignore them. When the enemies are taken care of you can loot the corpses on the island they were standing on to pick up: Soul of a Lost Undead, Skeptic's Spice, Torch and Large Soul of a Proud Knight. Head a little bit further along the path until you approach the lit cave mouth and look at the jagged rocks to the left of it to spot a chest (with a hidden lizard man in front of it) that contains a Dragon Charm. Head into the cave and move forward until you see a lone gas bug with a small tunnel leading off to the left next to it. Kill the bug and look down the side tunnel to see four lizard men waiting. Thankfully they are out of the water here, so they should be simple to take down. The chest they were guarding contains Twinkling Titanite and a Smooth and Silky Stone.
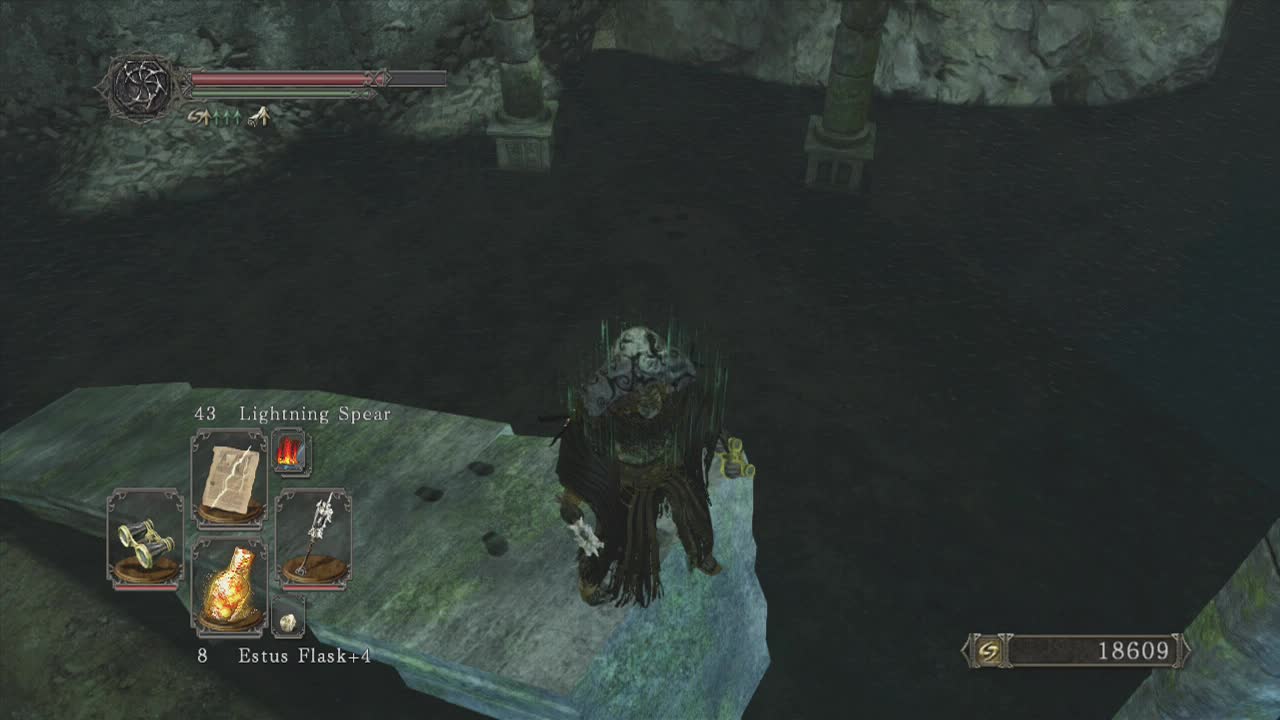
Head back to the main passage and continue along it to reach a mist door. Head on through to see a crumbled building with the second bonfire of the area inside. Before heading to it however, look at the small island to the left of the path ahead. Those with good eyesight (or binoculars) will be able to see a new type of enemy, the archdrake priestess. These (similar to the grave lord casters from Brightstone Cove Tseldora) fire damaging magic projectiles that home slightly towards you. They are often protected by surrounding lizard men, so be careful when approaching them. Ranged attacks are your best friend in taking down these annoying enemies. To reach the bonfire in the building, you will need to deal with two of them (the second is between some pillars a little further along the path from the first). Thankfully, these two don't have lizard men escorts. Head back to the broken down building with the bonfire inside and keep an eye open for the pair of lizard men at the back of the building waiting to ambush unwary players trying to light the bonfire. Light the bonfire and return to the path.
Head back to the small island the first priestess was on and look for a nearby rock that looks like a ramp rising out of the water (a lizard man will be in the water to the left, so take care of him early). You will need to jump onto the stone ramp (you can't just walk onto it). From the top of the ramp you should be able to see in the water below you to the left is a pharro's device. Use a lockstone to highlight a hidden door behind the nearby pillars. Attack the symbol to open the door and find a chest containing a Helix Halberd. Return to the path and continue forward. Ahead, a wall will block your view of the path ahead, so follow the curve of the path around to find a priestess with her back to you. Take advantage of this and kill her quickly. Immedaitely to the right of the small island she was standing on is a narrow corridor to the right (between the walls) that you can see a corpse with an item at the end of. Head down there and pick up the Fire Seed. Back at the small island, there is also another narrow path from here in the opposite direction. This path leads to a cave that can only be accessed after defeating Vendrick, an optional boss best tackled after finishing the story. You must also be human (not hollow) to access the treasures within. Inside the cave is the King's Soul and King's Armour set for those that can access it.
Back at the little island, look for an island to the right of the main path where the next priestess is waiting to attack from. When you move to the next raised part of the path, she will let rip so be ready. She will also have a couple of lizard men on the left side of the path just before her location, so be wary of that. To the right of the priestess is an ogre (remember those huge monsters found in Things Betwixt way back at the start of the game?). These enemies deal huge damage in melee, but move slowly and are easily defeated by ranged attacks. Melee players will want to lure them to solid ground to evade and move quickly. When you are done head towards the line of pillars next to where the ogre was standing (you will want to be careful moving along this lane of pillars as it is narrow and there is a lizard man partway along and two priestesses at the end of the path. The trip is worthwhile however as at the end you will find a corpse holding an Estus Flask Shard and a chest behind it holding the Sunlight Blade miracle. Make your way carefully back to the main path.
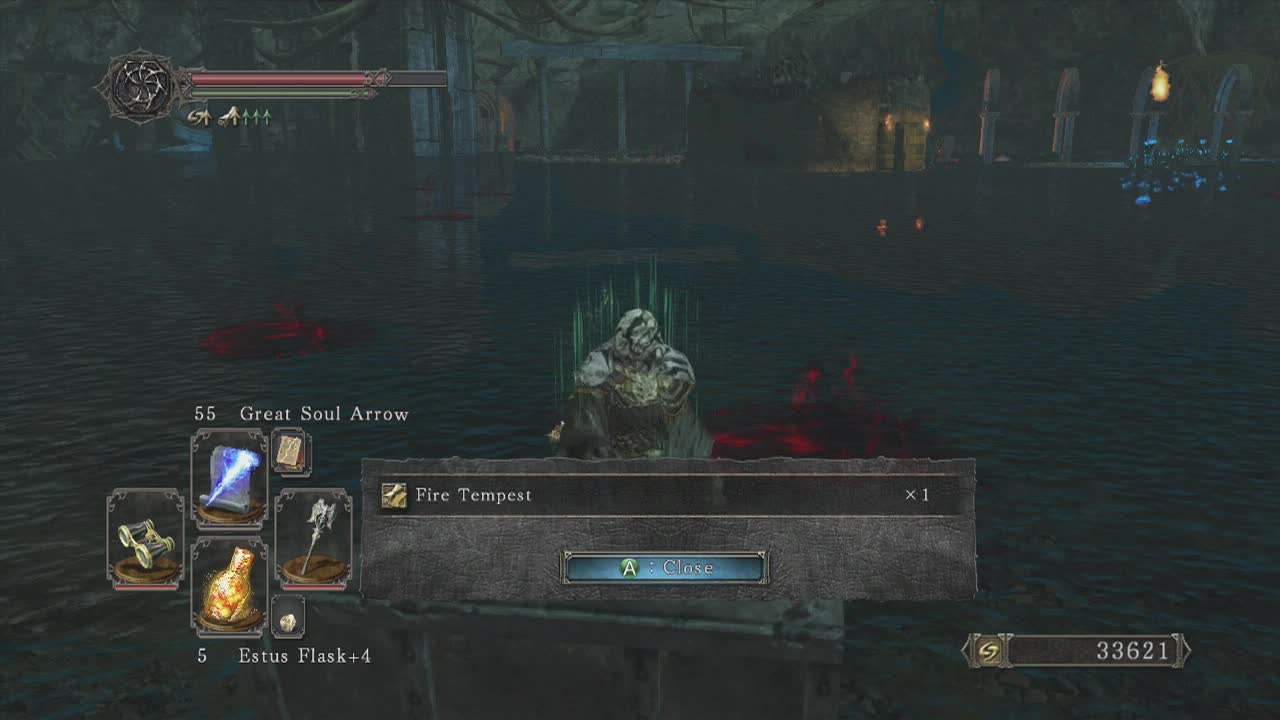
Just ahead on the main path is a second hut, so head inside. In this small building is a summon sign for NPC Felicia who will help you out in this area if you are able to summon her. A body in the second circular room contains the Large Soul of a Proud Knight and an Old Radiant Life Gem to loot. An archdrake priest will be just to the left as you exit the hut, so head outside and then quickly duck back in to engage him in the circular room where you have a safe space to fight. Exit the hut again and head to the right into the water, while looking for a lizard man and two curse vases at the edge of the shallow area. Smash the vases and follow that edge away from the hut until you find an underwater chest that holds the Fire Tempest Pyromancy.
Head back to the hut and engage the nearby priestess on an island to the left. Another priestess on an island slightly further on will also start attacking when you move towards the first one. A submerged walkway will make navigating the space between the first and second priestess difficult. The columns of the walkway make great cover against incoming missiles so be sure to take advantage of it. A gap just next to where the first priestess was standing will allow you to hop onto the walkway. At the end of the walkway near the second priestess, a lizard man will be hiding in the water so be ready to roll backwards along the walkway as you engage him. Now you can concentrate on the second priestess. Unfortunately as you approach her, yet another priestess will begin firing at you. Try and take her out without aggroing the group of archdrake priests on the island in front of the mist door. From the island where the second priestess was attacking from, look to the nearby wall to see a curtain of vines. Carefully approach (the ground here is pretty safe but check to be sure) and hack through the curtain to spot an ogre waiting behind another layer of vines ahead. Back up and use ranged attacks if you can to bring it down. If you only have melee, there isn't anything you can do to avoid the slowing effect of the water so you may be better off trying to use a shield to blunt his attacks and being aggressive in your attacks to bring him down quickly. Behind the ogre is another vine curtain with a corpse behind it containing a Singer's Dress and Life Ring +2.
Now it's time to head back to the main path and deal with the pair of archdrake priests and the priestess behind them that can actually cast healing magic (because she is so close). Due to this, you want to either lure them away from her one by one if you can or take them both out very fast so she cannot heal them. Once they are dead she poses little threat. Now that the main path is clear, look to the left from the island in front of the mist door to see a sloping stone with a corpse holding Alluring Skulls at the top. A thin path leads off to the right of the mist door as well that leads to a body holding the Soul of a Hero and a Divine Blessing. Return to the mist door and travel through. Four gas bugs will be lined up in front of you, use ranged attacks if possible to get rid of them safely. Just past them around the corner to the right are another four gas bugs to take on as well as a giant gas bug (who still goes down easily). Once the cave is free of bugs, look behind you to find the third bonfire of this area.
At the exit to the cave, you will find two archdrake priestesses who will open fire when they see you. The pillars here offer great cover and allow you to retaliate with ranged attacks if you have them. Melee characters will need to rush the priestesses but this is inadvisable as when you pass the pillars you will be invaded by the dark spirit Peculiar Kindalur. The priestesses also have around four lizard men hiding in the water in front of them who will react only when you get really near the lizard men. Once all the threats are dead, pick up all the loot near the priests: Skeptic's Spice, Soul of a Brave Warrior, Petrified Dragon Bone, Red Iron Twinblade and the Soul of a Proud Knight. Walk back to the line of columns and follow them (to the left looking back at the cave). You will circle around the edge of the area, picking up the Homing Crystal Sorcery from a corpse draped over a fallen column. Head back to the cave entrance and head left (facing the cave) along the narrow path here to reach a corpse holding the Large Soul of a Proud Knight and a Green Blossom. Return to the line of columns from the direction of the cave and head left (the only direction we haven't yet gone). A lizard man and priestess will be waiting and are your final obstacle before the boss of this area.
Follow the walkway past the final priestess and pick up the the Large Soul of a Proud Knight and Green Blossom off the corpse at the end. Head left along the raised path to the final hut of the area. Inside is the second milfanito who will disappear when you interact with her (it's ok, she's meant to do that). At the back of the next room is the mist door to the boss of the area. Head on through when you are ready to confront it.
_________________________________________________________
Boss: Demon Of Song

Personal Death Count: 2
Attacks –
Body Slam: The demon of song will lift himself up on his back legs to his full height and then slam down in the direction he was facing when he started to rear up. Walking to the side or rolling to the side (depending on urgency) will allow you to avoid this damaging but slow attack.
Body Slide: The demon of song will crouch down and then slide towards the player quite fast, this attack hits a large area and can be a pain to avoid. Roll to the side of where the boss is heading to give the best chance of avoiding the attack.
Grab: If the player is close, the demon of song will attempt to grab you with both arms dealing heavy damage. Roll backwards to avoid this.
Swipes: When he is close to you the demon of song will raise his arms and swipe towards your position. He may also slap the ground depending on your movements. This is generally a two hit attack but can end on a single strike. Roll to the side to avoid this attack.
Water Bomb: The demon of song will rear his head back slightly and then lean forward, firing four water orbs towards your position. Roll to the side to avoid this relatively slow attack.
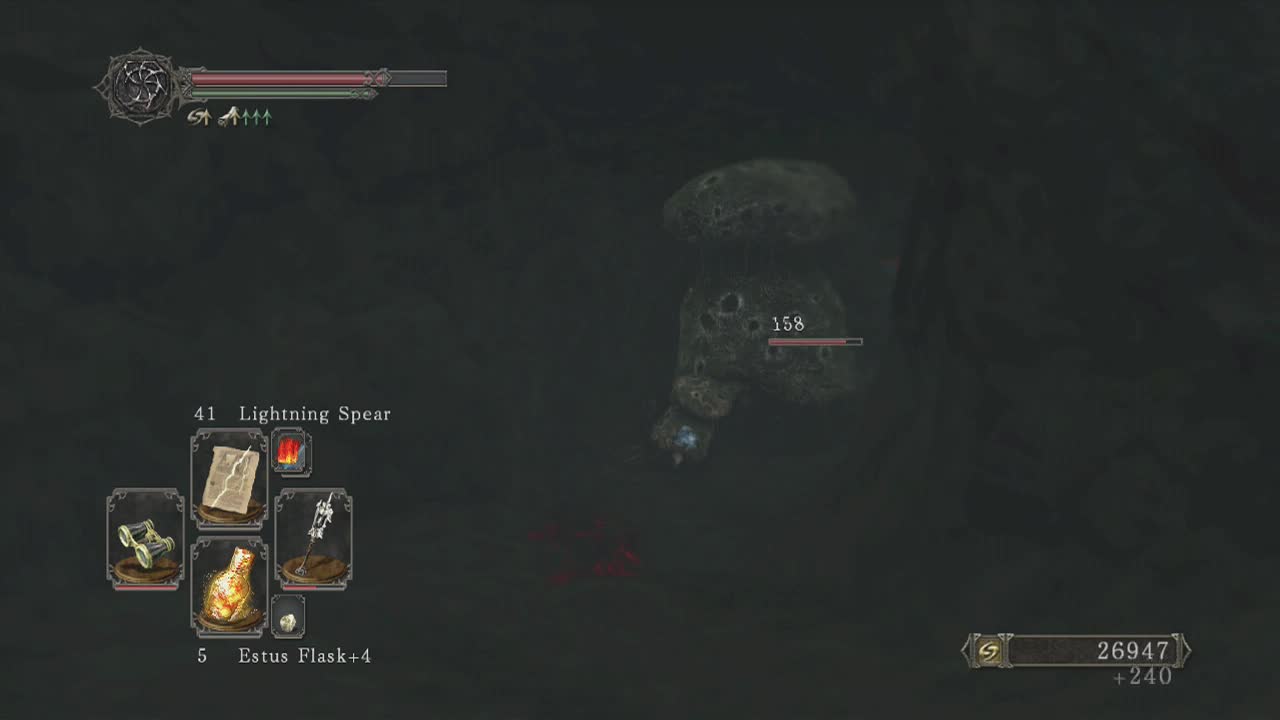
The demon of song (despite it's "scary" name) is just a big frog. It's face is inside it's mouth and is the vulnerable point of this boss. It can open and close the jaws protecting it's face as well meaning you cannot attack it all the time. This means that melee characters will need to get right in it's face when it is open to deal damage. Melee characters will want to put on equipment with high physical resist (as the attacks of the boss are mostly physical based). Get close (within arms reach and bait the bosses melee attacks. After dodging the second swipe attack (or occasional water bomb) get in close and attack his face a few times before backing off and repeating the process. The boss isn't particularly tough HP-wise and should die relatively quickly. If you have lightning imbued weapons, you will massacre him due to his lightning weakness. With summon support (you can find an NPC ally at the second bonfire of the area but getting Felicia to the boss fight can be a real chore) he will fall really quickly.
Ranged characters will want to use lightning attacks if possible (imbued weapons or lightning spears) to down the boss quickly as he is very weak to that element. Circle the boss until he opens his jaws and then bait an attack. When he does, back up and spell him in the face. Repeat this a few times and he should go down quite fast.
_________________________________________________________
Note: Defeating the boss saves the third and final milfanito. When the boss is finished (and you obtain the key to the embedded – remember you can go back and visit him in drangleic castle to get your reward from the woman in his cage, or you can simply use the key as a weapon – it is a rip on keyblades after all), take the path out of the area that heads up a small hill and follow it until you reach a small hall with a large metal door that has a star emblem on it (this is the entrance to the next area we want to explore, the Undead Crypt) but we have a few items to get first. Head to the pillar on the right nearest the door and enter the water there to step onto some safe terrain. You should see a crumbling stone tower nearby. A path winds around the outside of this and will take you a staircase that leads inside. Before going in, head to the right of the stairs to find a chest in the water containing Magic Arrows. When you enter the tower, the final bonfire of the area will be directly ahead of you. A staircase winds upwards to an upper floor and a door that can only be opened by players who are hollowed and have saved all three milfanitos. Immediately inside are three undead worshipers (crawling hollows) who are easily dispatched. Further along the path is an Aldia Warlock (identical to the prowling magus from Brightstone Cove Tseldora). The warlock will send dark orbs towards you as well as performing a knock back spell if you get too close. If you must use melee, stick to the side of the path that isn't a sheer cliff to prevent the knock back spell knocking you over.
Past the warlock is a chamber with a fire in the center and the milfanitos inside. The milfinato next to the fire will give you a Divine Blessing and a Smooth and Silky Stone if you listen to her ramblings again. You can also return to human form here any time if you have no human effigies and are not hostile with the milfanitos. Head down the nearby stairs to find a lower floor with a hole in the wall you can find a corpse in that is holding a Fire Seed. A door will lead outside back to the water area on the other side of the room. Head out and look down and left to see a chest right next to the stairs. Carefully head out the gap between the pillars nearby and open it to obtain the Manslayer Katana. On the other side of this walkway is a very narrow path that leads to a Bonfire Ascetic. With that done, you can head all the way back to the Undead Crypt door whe passed in the previous paragraph. Back at the Undead Crypt doorway, head through and use the lift inside to descend to the crypt itself. At the bottom, head down the nearby hallway to reach a room which is the entrance to the Undead Crypt proper. To the left of the stairs here is the first bonfire of the area. Read on in the Undead Crypt section to continue the guide.
