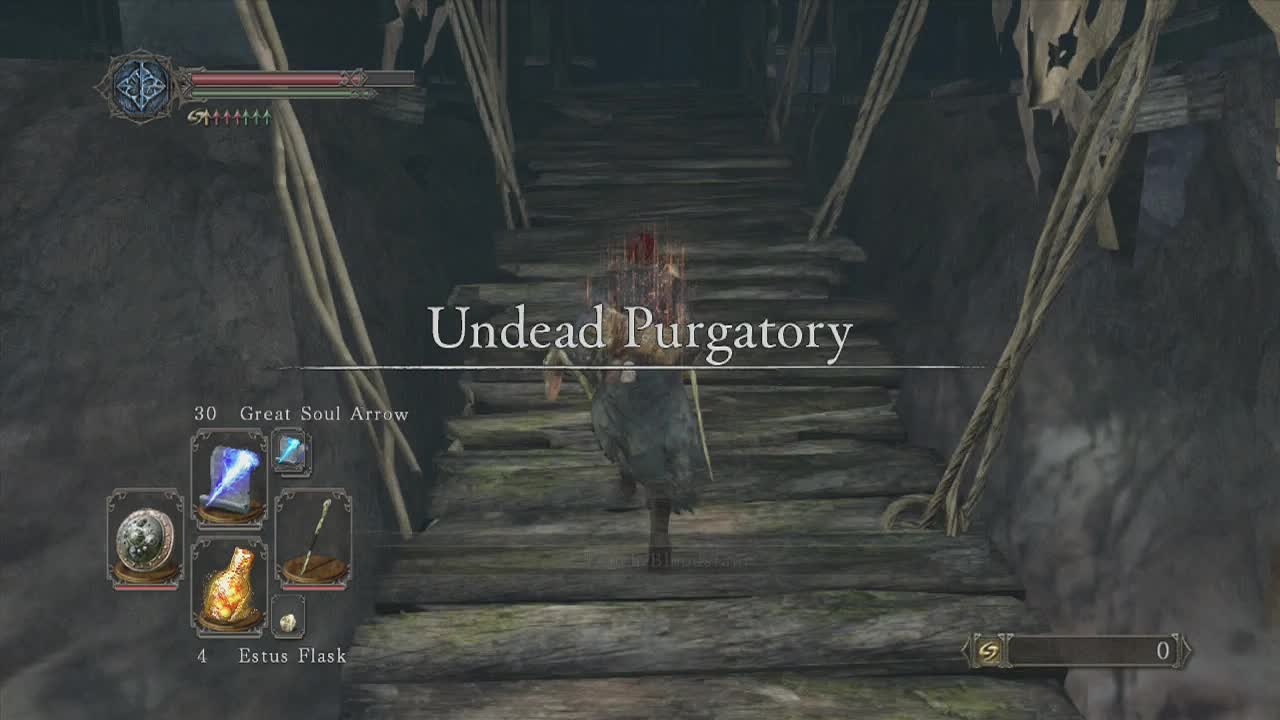
Can be accessed by traveling to the second bonfire in the Huntsman's copse area and traveling through the nearby canyon and across the massive bridge (see path to undead purgatory section of Huntsman's Copse). At the end of the bridge you should enter the new area with a mist door directly ahead leading to the boss.
_________________________________________________________
Boss: Executioner's Chariot

Personal Death Count: 65+
Attacks – (After running into the metal gate)
Charge: The horses will lower thier heads and then race towards you before rearing up. This attack can do significant damage, but thanks to the obvious tell it is pretty easy to time your dodge to the side or backwards and continue your attacks.
Stomp: The horses will rear up and wait for half a second or so before slamming down towards your position. Timing your sideways dodge roll for this is crucial because if you dodge right away the horses will adjust thier aim and land on you as you finish rolling. You need to wait a little bit before rolling to prevent them targeting you properly.
Black Mist: One or more of the horses will lift thier head and then lean forward before launching a wave of black mist towards you. This attack has quite a decent range, but melee characters can make use of it (due to it's long recovery time) to roll to the side of the horses and heal or inflict damage.
Ranged characters will probably want to back up out of range of the cloud and lay into the horses from a distance instead. Dodge past the horses or backwards (and keep backing up) to avoid taking damage.
Headbutt: If you are close to the side of the horses, they may thrash thier head to the side to quickly catch you off guard and damage you. Move backwards or roll out of the way to avoid this attack.
Kick: If you position yourself behind the horses, they may lean forwards on their front legs and kick backwards at you. This attack can be avoided by staying out of the way of their rears or rolling to their side when you see them move in this way.
Poison Arrow strategy:
Deal with the first group of skeletons and thier controlling necromancer without triggering the next group further on. Once you have gotten rid of the necromancer in his alcove, take cover inside and use this position to fire poison arrows at the passing boss.
This will slowly drain it's life as it laps the area. After taking the it's health down to 25%, you will hear the screech of the horses as they fail to clear the jump properly. This will leave them clinging to the edge of the pit and a single shot will knock them down into the gaping darkness below, winning you the fight.
Stationary ranged strategy:
Similar to the poison arrow strategy above, you will need to deal with the first group of skeletons and thier controlling necromancer without triggering the next group further on. Once you have gotten rid of the necromancer in his alcove, take cover inside and use this position to fire attacks (via arrow or AoE spells) at the boss as it circles around.
After the boss has taken 75% damage, you will hear the screech of the horses as they fail to clear the jump properly. This will leave them clinging to the edge of the pit and a single shot will knock them down into the gaping darkness below, winning you the fight.
Yearn strategy:
This spell (in conjunction with the recommendations from the general strategy section can make reaching the boss fight phase so much easier. The advantage? It distracts all the annoying minions (leaving them to get run over by the chariot repeatedly) leaving you free to quickly defeat the necromancers controlling them. This makes getting through the mobs to reach the lever that activates the gate triggering the second part of the fight far less dangerous. This leads to more attempts on the boss itself.
Basically when you reach the cluster of skeletons, fire a yearn spell into the opposite wall and watch them all get run over trying to look at it. While they do this, nip up to the necromancer controlling their respawning ability and smack him around. This leaves you in a safe alcove, far enough along that the skeletons don't even chase you. Repeat this twice and you will have reached the boss (read about fighting him in the general strategy section). To see how this strategy is used successfully, watch the boss video above.
General strategy:
One thing you may want to take note of is that you can actually roll underneath the spikes on the wheels of the chariot if you time your roll perfectly. This becomes far more difficult on corners however and should only be used as a last ditch option. Players may want to use their first few attempts at where you enter the mist door, getting their timing down (not triggering the skeletons and just practicing those rolls) as it may save your life and your sanity later on.
Once you are ready to begin the proper fight, keep in mind that you will have to get past two necromancers and their skeletal minions in order to enter the (legitimate) second one on one fight with the boss. As soon as you enter the mist door, you should see three skeletons in pieces on the ground to your left. As you move towards them they will begin to assemble and then start attacking you. The first step is to time thier activation so they get hit and you reach the safety of the second alcove on the left before the chariot flattens you. Normally this requires a count of around seven before sprinting for the second alcove (watch the start of the video to see how this works).
Players who are using the yearn technique will want to fire off a spell at the opposite wall before taking on the necromancer in the third alcove on the left. Casters will have to either use a highly damaging spell to kill it off in two shots (soul spear or powerful pyromancy spells spring to mind), or avoid the skeletons and retreat to the previous alcove before returning to finish the job. The biggest danger (besides the chariot of course) is being blocked into your alcove by the minion skeletons, meaning they turn you into luncheon meat. This means you have to time ducking into the alcoves very carefull (normally at the last second) use the sound of pounding hooves to work out when to take cover.
Melee characters will be able to get into the same alcove as the necromancer (or stand just outside and swing away, hitting the minions and master at the same time. You can then quickly duck in when the necromancer is dead to avoid the chariot and then emerge to finish off any remaining enemies. You are now in a relatively safe position but ahead lies an archer in the next alcove on the right and the dangerous corner (in which it is harder to roll under the spike of the chariot). Three more sword wielding skeletal minions are around the corner as well as the necromance in an alcove on the right wall opposite the lever (under a well lit torch on the left).
Yearn users will want to trigger the archer (to lure him out into the path of the chariot and then retreat back to the previous alcove). This will give the other skeletons time to catch up and means they are bunched together enough to follow your yearn spell. Fire it off now. After the chariot hits the minions (again), move up and quickly deal with the necromancer in the alcove in the wall opposite the lever. Other players will have to use the same strategy they used with the earlier necromancer (move into the alcoves very late to ensure the minions get hit and quickly kill the necromancer off via ranged barrage or swinging away into the alcove and then hiding in it as the chariot rattles by.
If you managed to do all that successfully, you now have the opportunity to face off against the boss without his rolling instant kill attack. But first you need to pull the lever opposite (pulling the lever takes at least four seconds so move just after the chariot goes by). Ahead you should see a metal gate slam down and the boss run into it. This knocks the rider on the back off and damages the horses for a couple of hundred hit points. This leaves you face to face with the real boss, the horses of the chariot.
These are actually far easier to deal with than the necromancers and the instant kill attacks prior but a moments lack of concentration can send you back to start over. Melee characters will want to stick close to the sides of the chariot as this allows them to attack rapidly and prevents the chariot using it's charge attack and black mist attack so effectively. It also gives you plenty of opportunities to heal if you need it.
Ranged characters will probably want to back up away from the horses (just be careful of the pit in the area) to fire off thier arrows or spells and have enough time to react when the horses charge. After enough tries learning the tells listed above and dealing enough damage (the horses don't actually have that much in the way of HP compared to most bosses) you should come away with the win. Watch the video if you want to see how to deal with the chariot horses.
_________________________________________________________
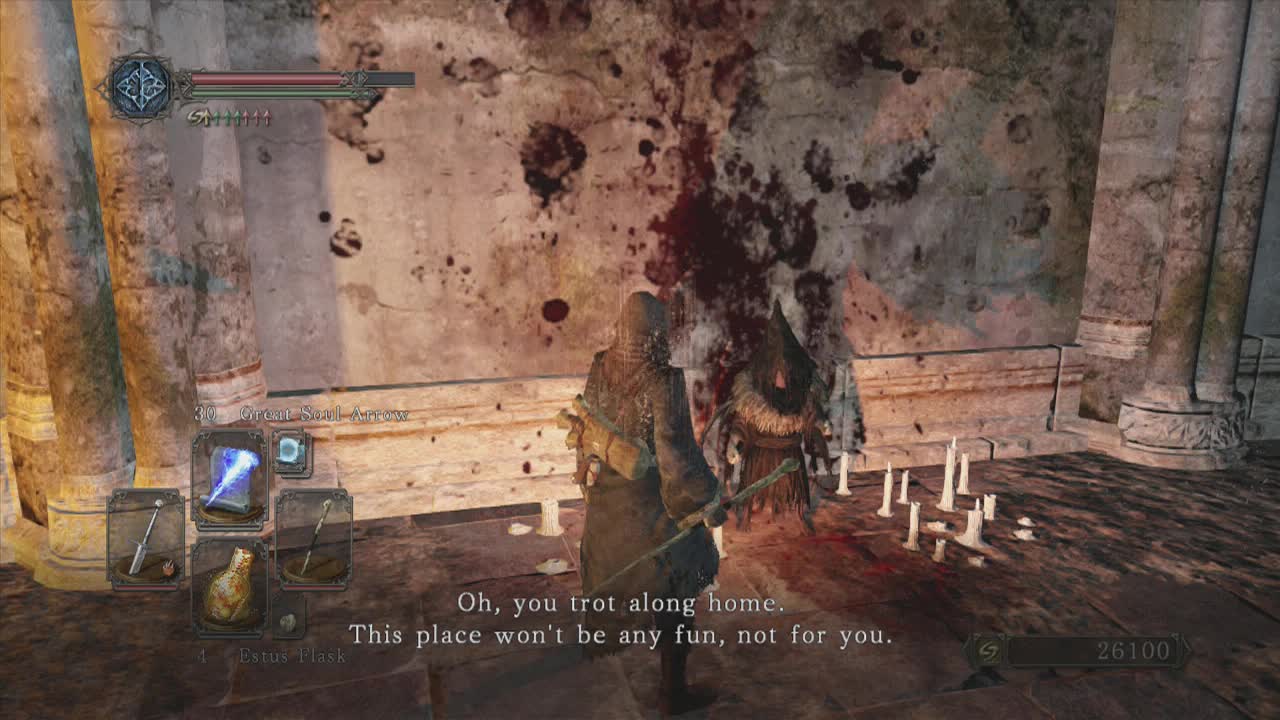
Now that the boss is finally dead you can go along the circular hallway and pick up all those items you were running past before. On the bodies you should find a four Fading Souls and the Soul of a Brave Warrior on a corpse overhanging the hole in the floor. Use the nearby doorway to find a set of stairs to climb. Activate the bonfire at the top and turn around to face the stairs. You can shimmy along the ledge to reach a small platform with a corpse holding a Cracked Rey Eye Orb.
Return to the bonfire and move further past it to meet Gren, the covenant representative for the Covenent of Blood. Similar to Targray (the blue sentinel covenant) who will only deign to talk to you if you have a token of fidelity. Gren will only talk to you if you have a token of spite in your inventory (from invading other players worlds and killing them). That's about it for this small area, your next destination (following the walkthrough) will be Harvest Valley via the second path in Huntsman's Copse. Flip back to the second bonfire and the second path in the Huntsman's Copse section to continue onwards, or just travel to Harvest Valley if you have unlocked the bonfire there.