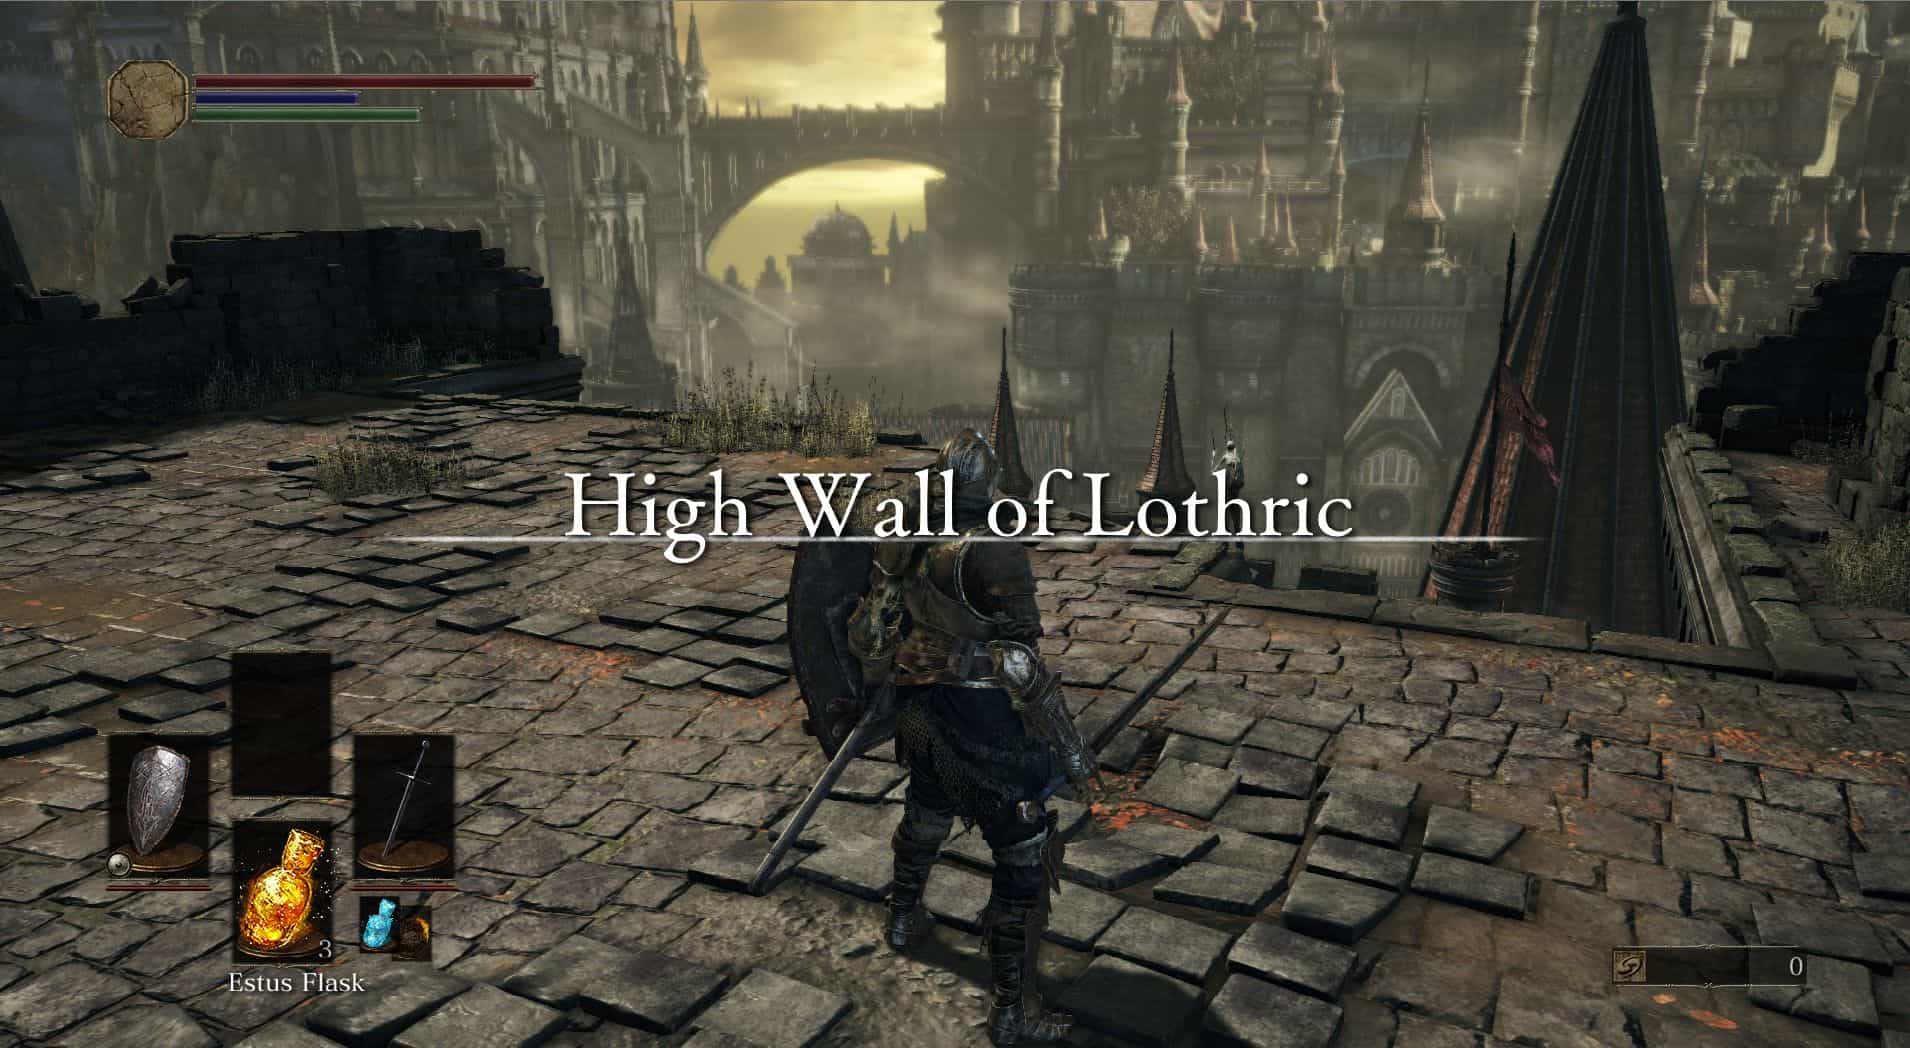

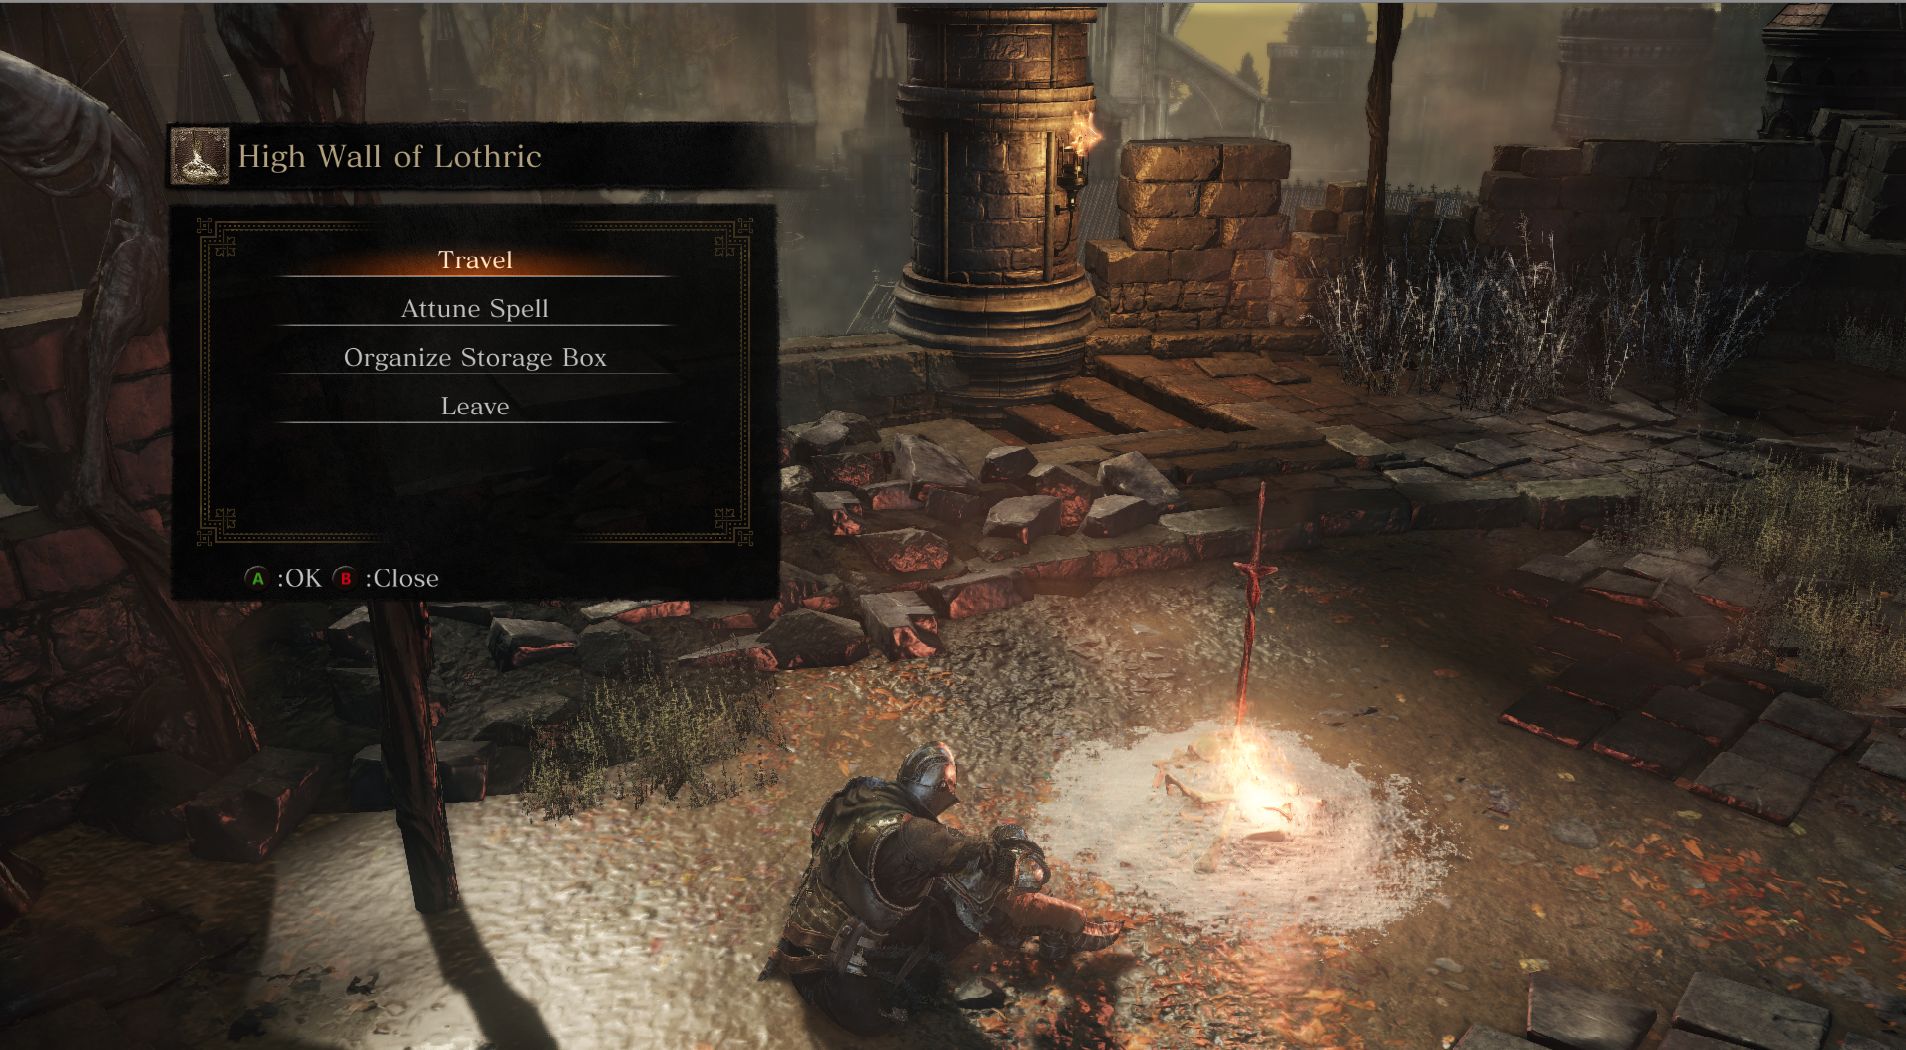
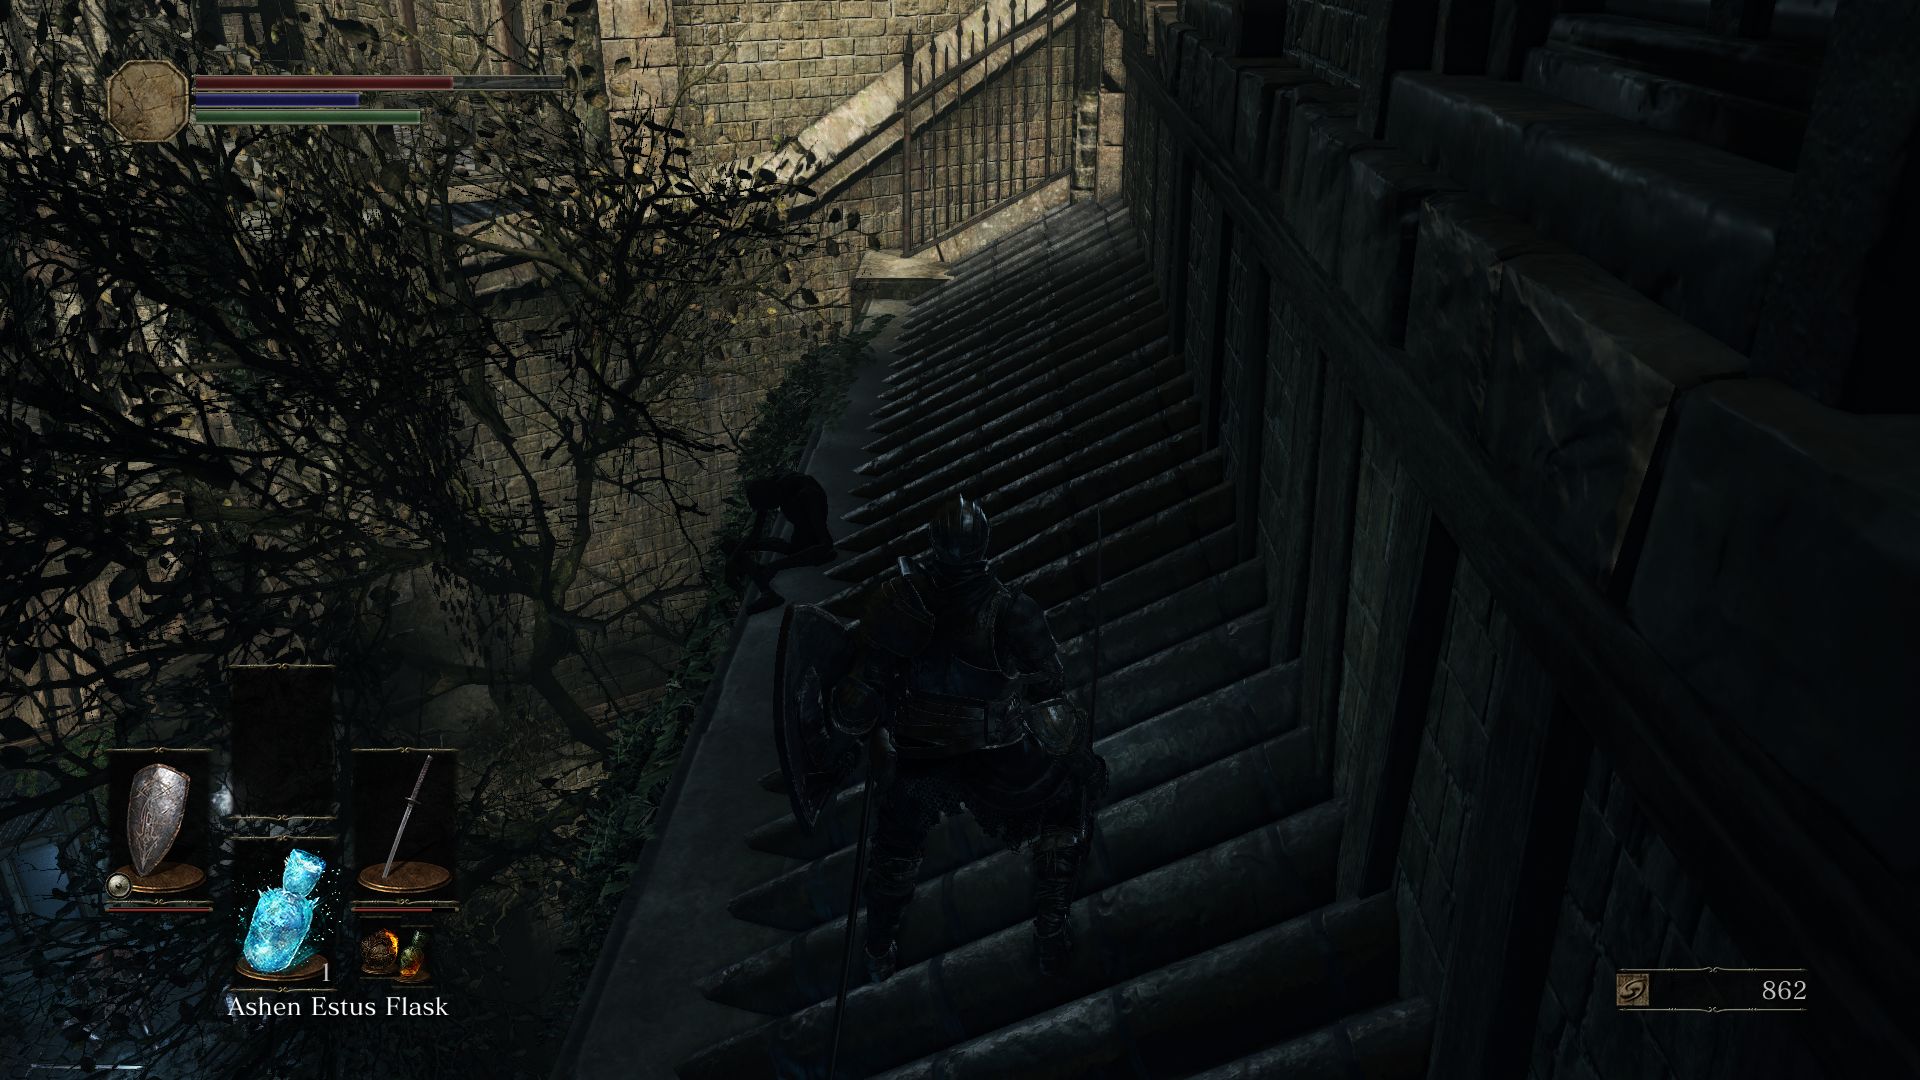
You start in a small chamber. Go through the door to enter the High Wall of Lothric. Descend the stairs to light the High Wall of Lothric Bonfire. You’ll notice two sets of stairs. The closest one is just to the left of the bonfire. The one to the right is a bit farther away. For now, head to the right.
Find small gap between the walls before you head down the stairs. There’s a ranged enemy lurking here. Take it out before proceeding, or it will be raining bolts on you.

As you descend down the staircase, you will face two patrolling hounds. They are fast so be on your guard. Dodge their leaps and strike them down. Also patrolling this area is an enemy with a long ax. He is slow, so it’s easy to avoid his attacks and land some quick hits to strike him down.

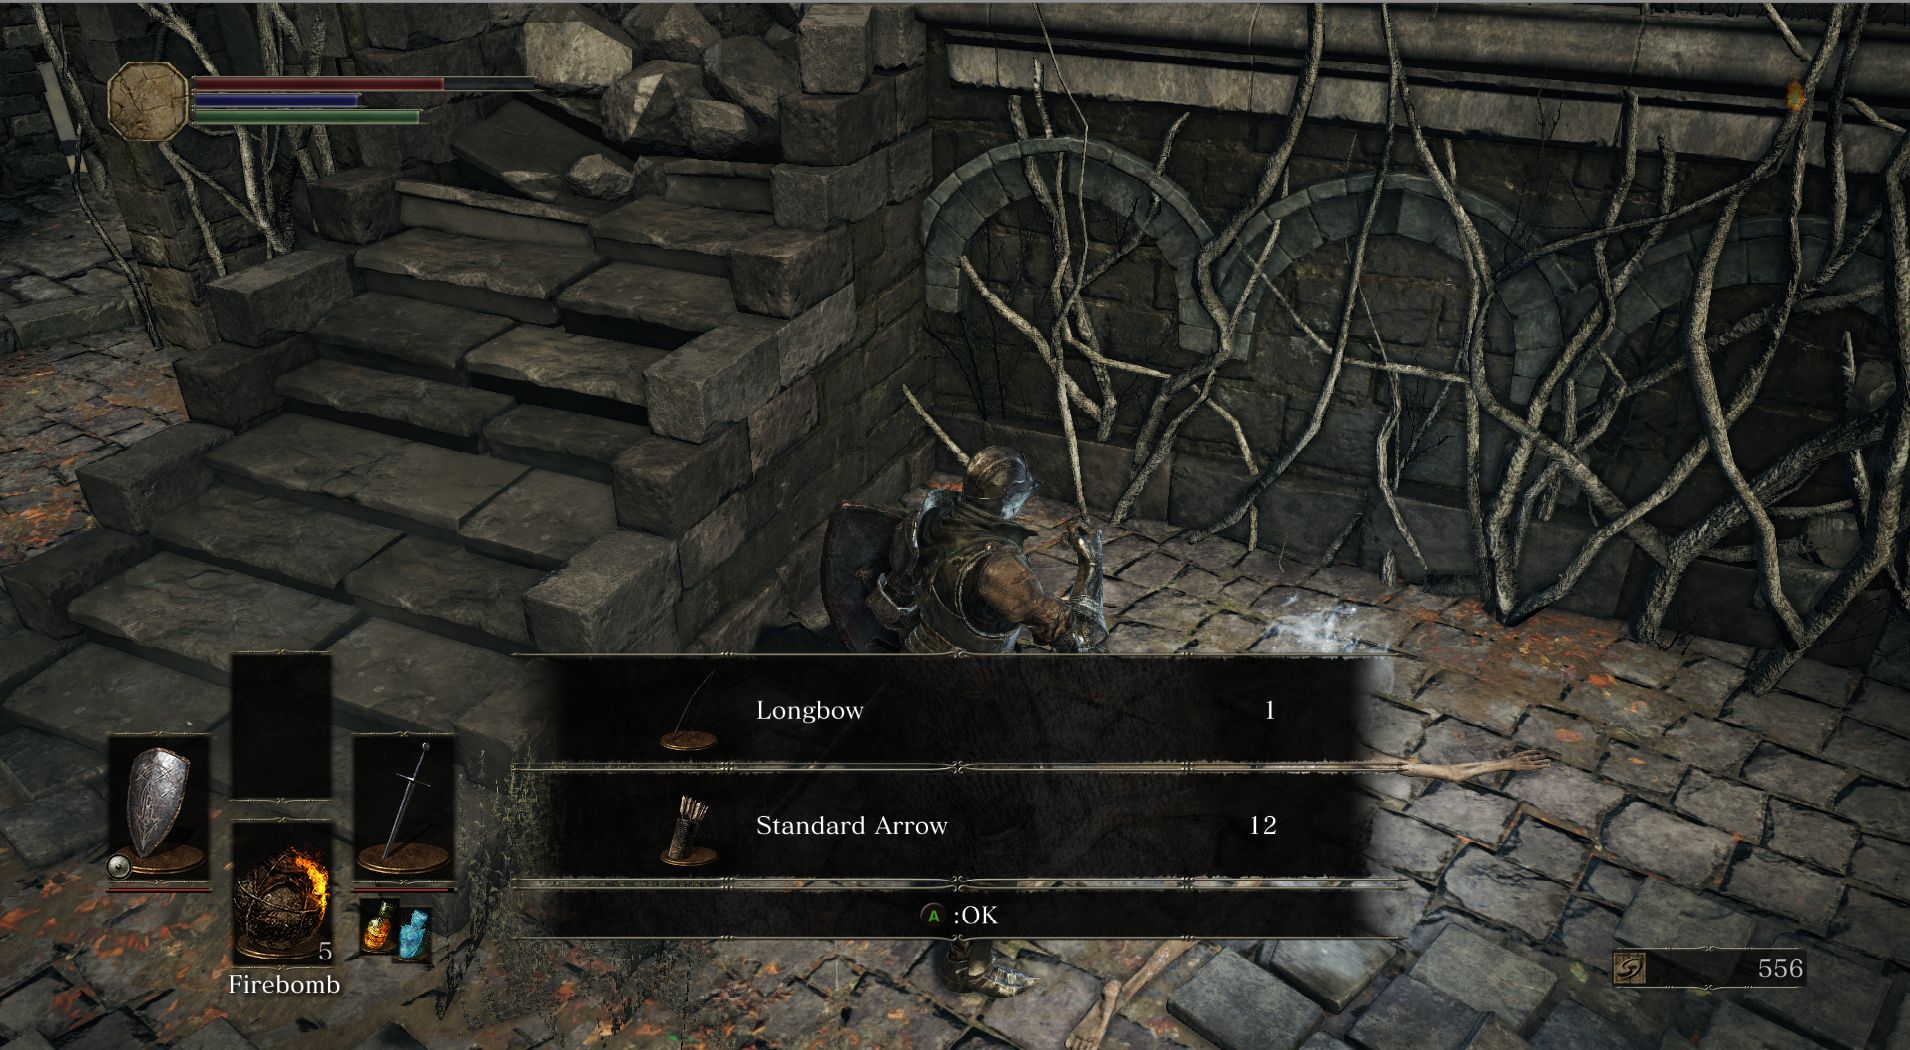
Continue moving forward and climb the stairs to come to a small area. Have your shield up as there will be an archer waiting to shoot at you. You can take it down with some quick hits, and as you do so, kill the Hollow just beside it. This enemy is in the process of mutation, so kill it before it transforms (it will die in a hit or two). If it does transform, you have to be careful and dodge its attacks. Move around it and take it down, or use firebombs from afar. Pillage the orb to find a Longbow (need 14 points in Dexterity to equip) and Standard Arrows (more arrows can be purchased at the Firelink Shrine from the Handmaid).
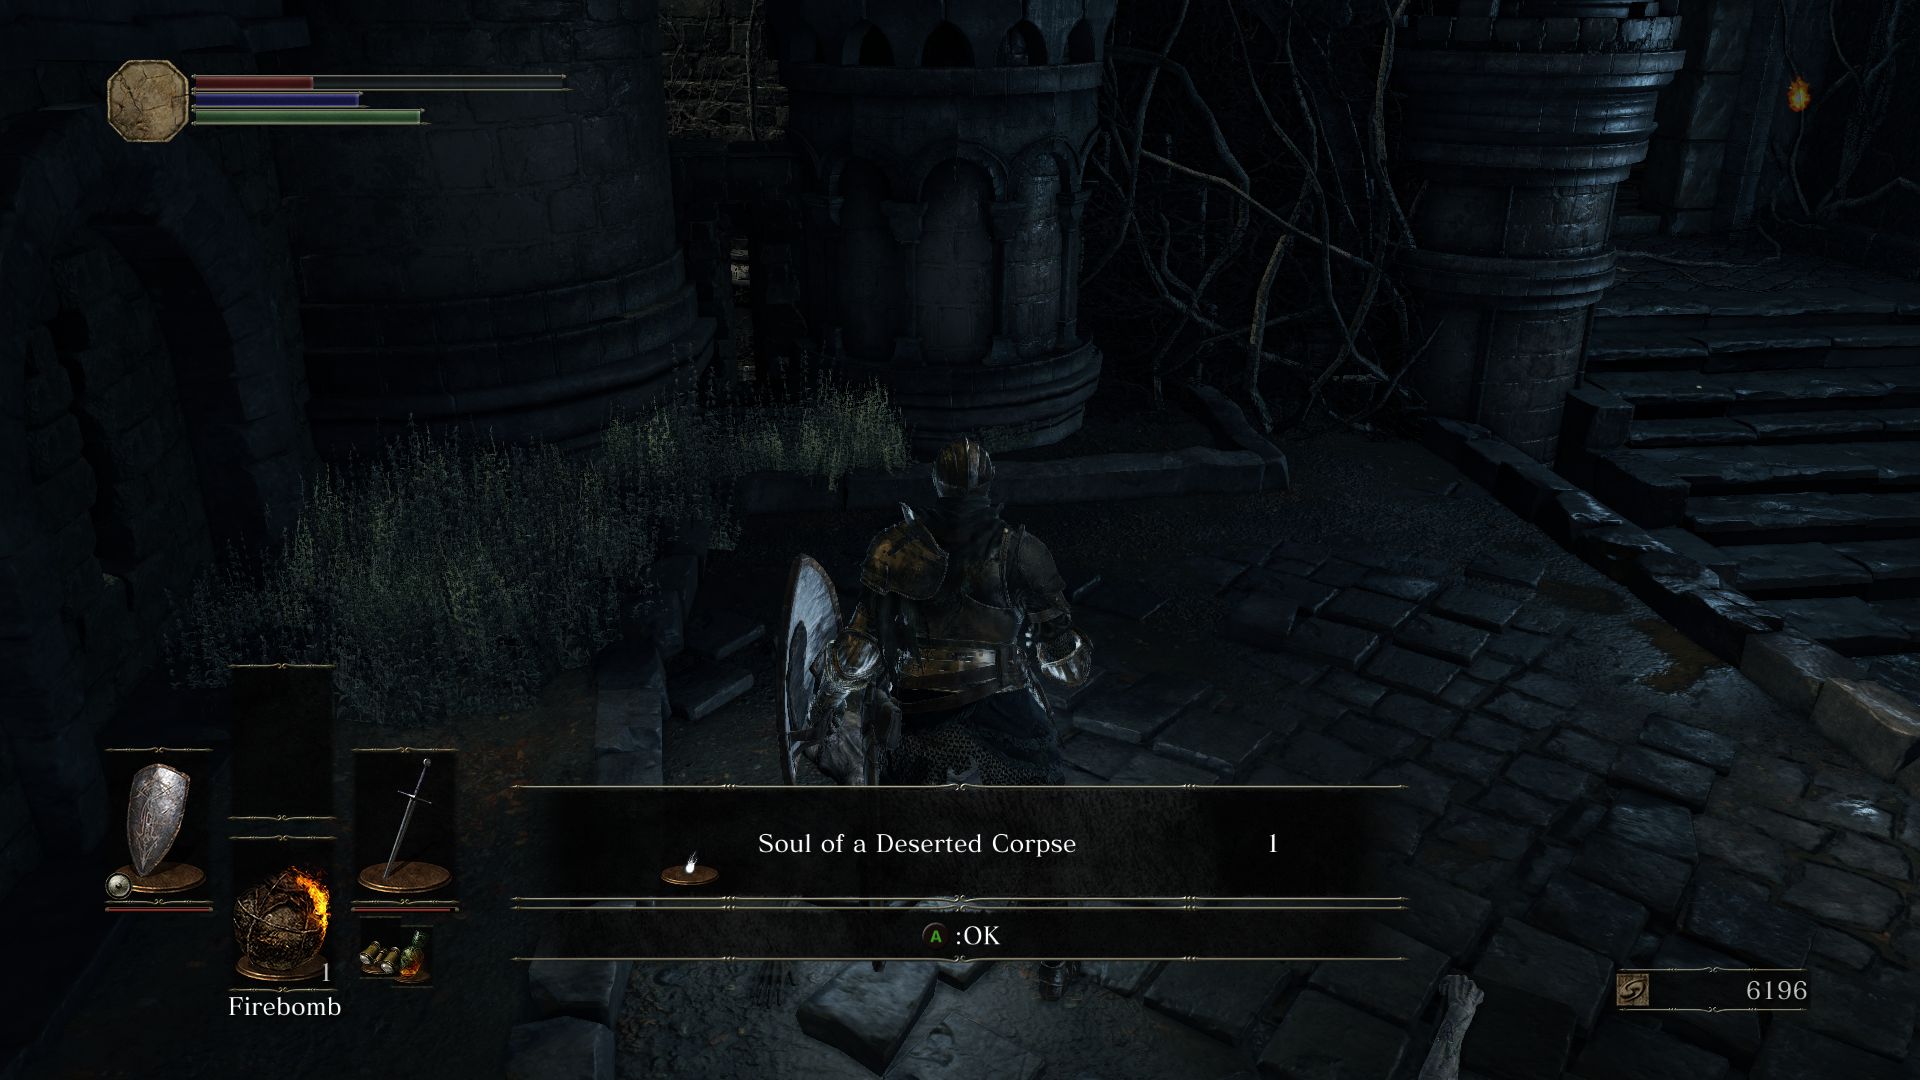
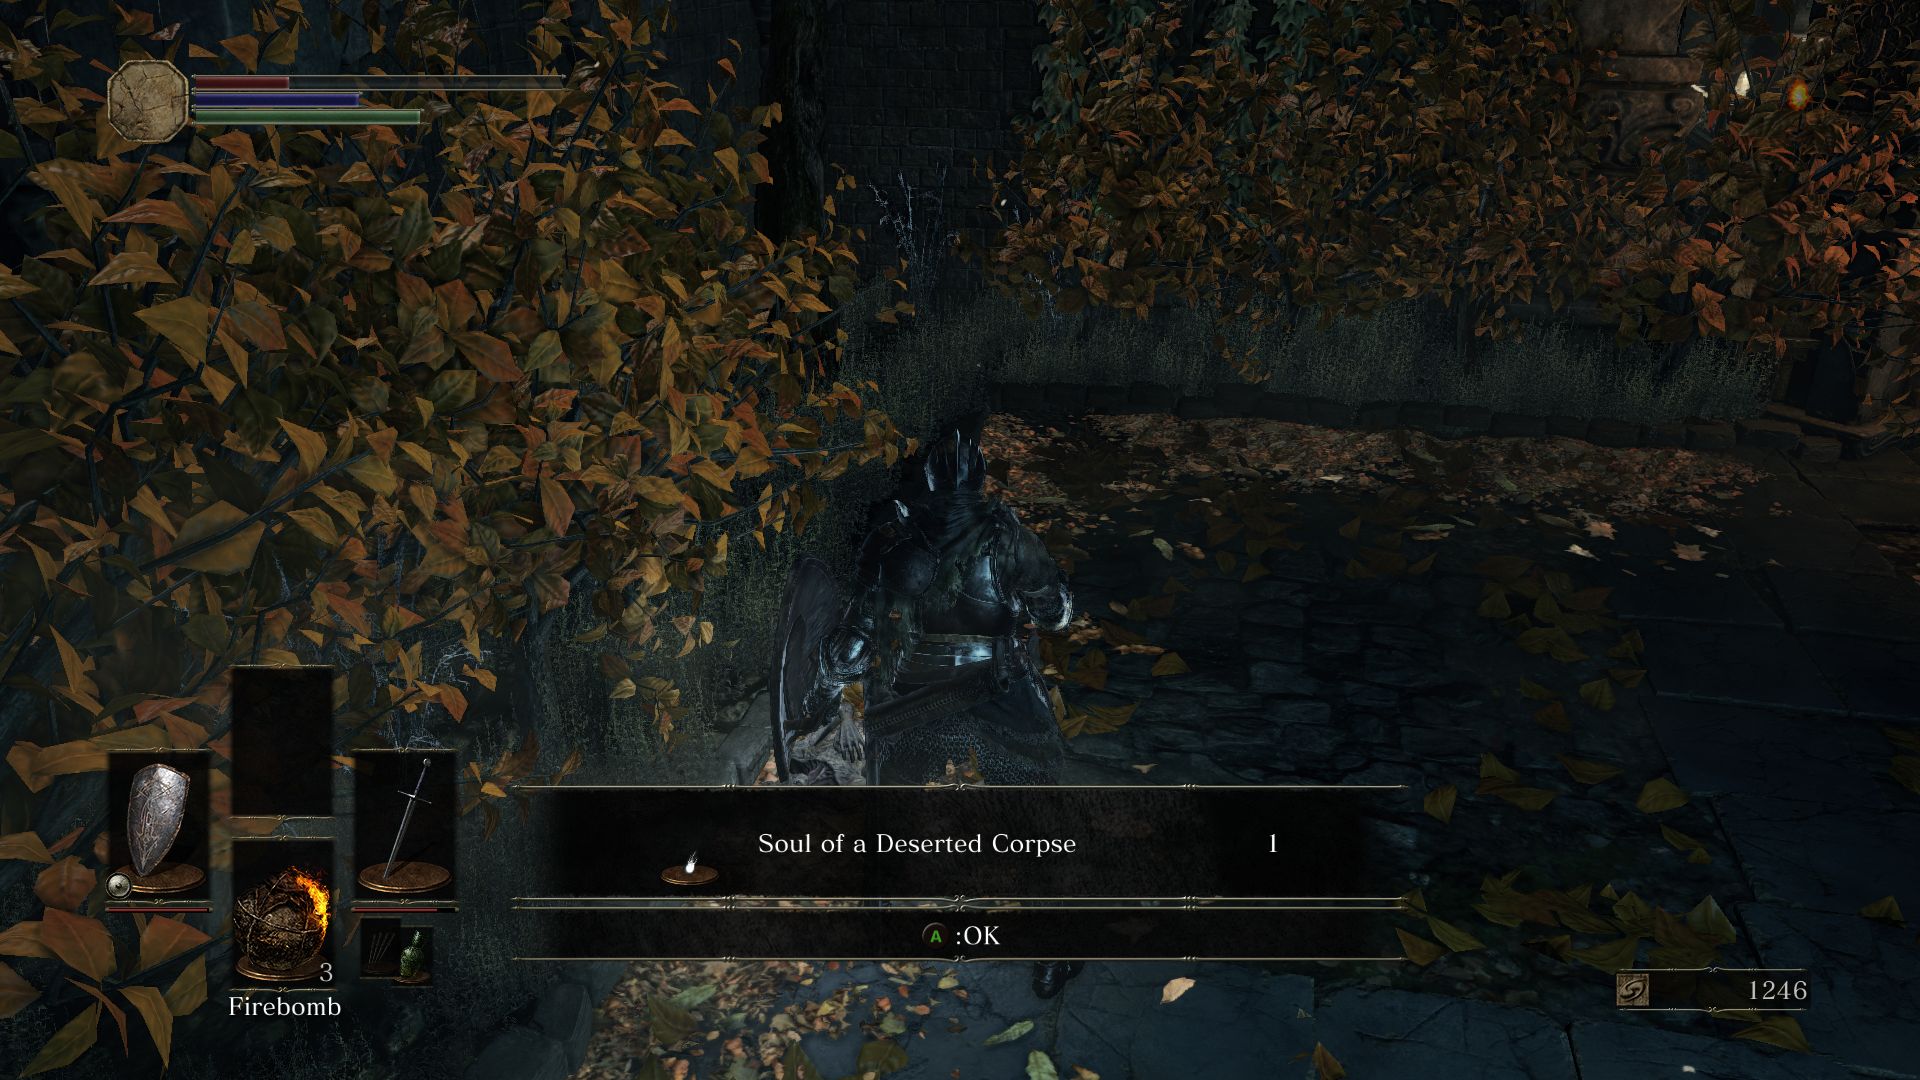
Descend the staircase to return to the area where the hounds were patrolling. You will find a staircase leading down to the right. At the bottom of the stairs, turn right to find an orb. An enemy who is seemingly dead will rise and attack you. Quickly take it down before looting the orb. You will obtain a Soul of a Deserted Corpse. There is a door here that won’t open from this side. So head back to the bonfire and rest if you have to recover your HP or replenish your flasks.
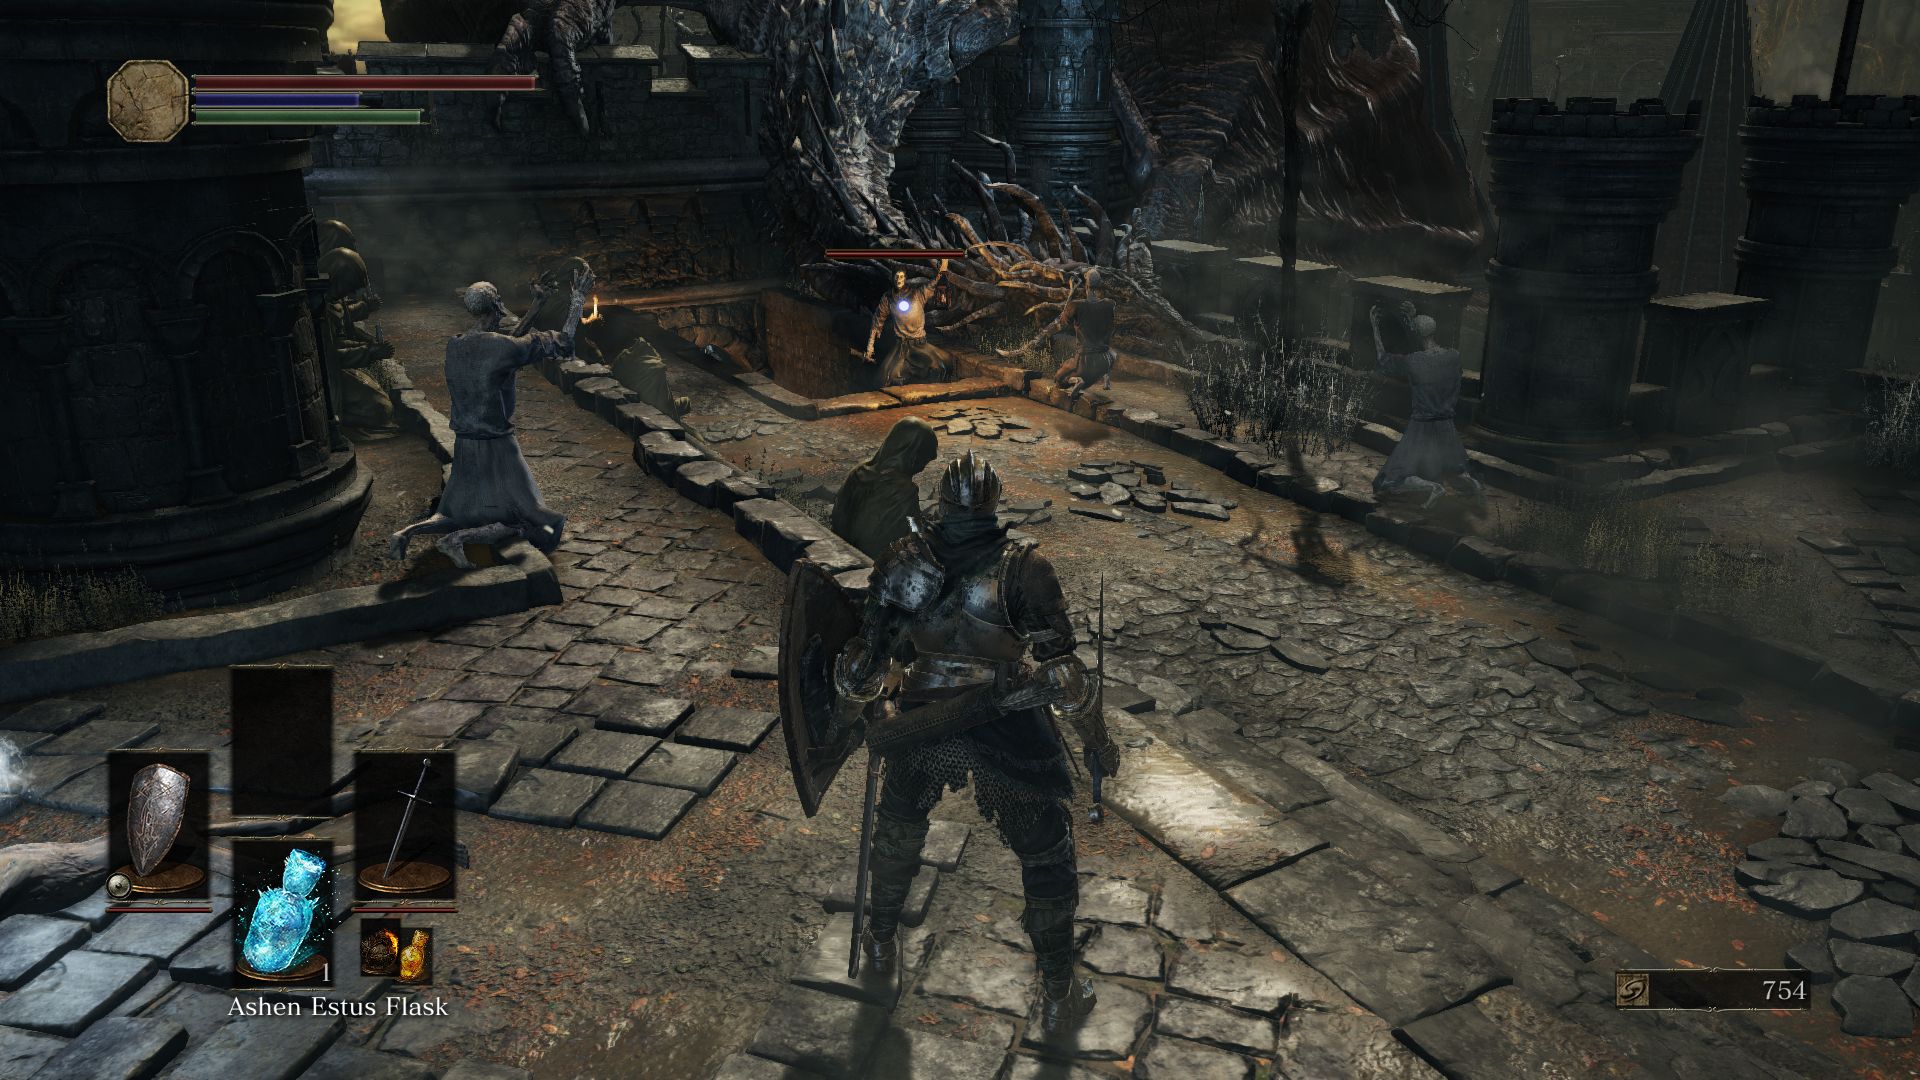
From the bonfire, take the staircase to the left. You will notice many undead worshipping a fallen dragon. These worshippers won’t attack you and the dragon is merely a corpse. There is an enemy soldier patrolling among the worshippers, however, so kill it and then pillage corpse in the middle of the room for a “Soul of a Deserted Corpse.”
A Hollow wielding a lantern (watchman) will be walking up the stairs. This enemy rallies others around it, so try to take it down fast by charging at it. If it does alert others, you’ll see another Hollow from the left side of the room come to his aid along with another one from behind the stairs. In case the lantern-wielder has alerted the others, try to take down the enemies one at a time. Proceed to kill the worshippers around you for some easy souls.
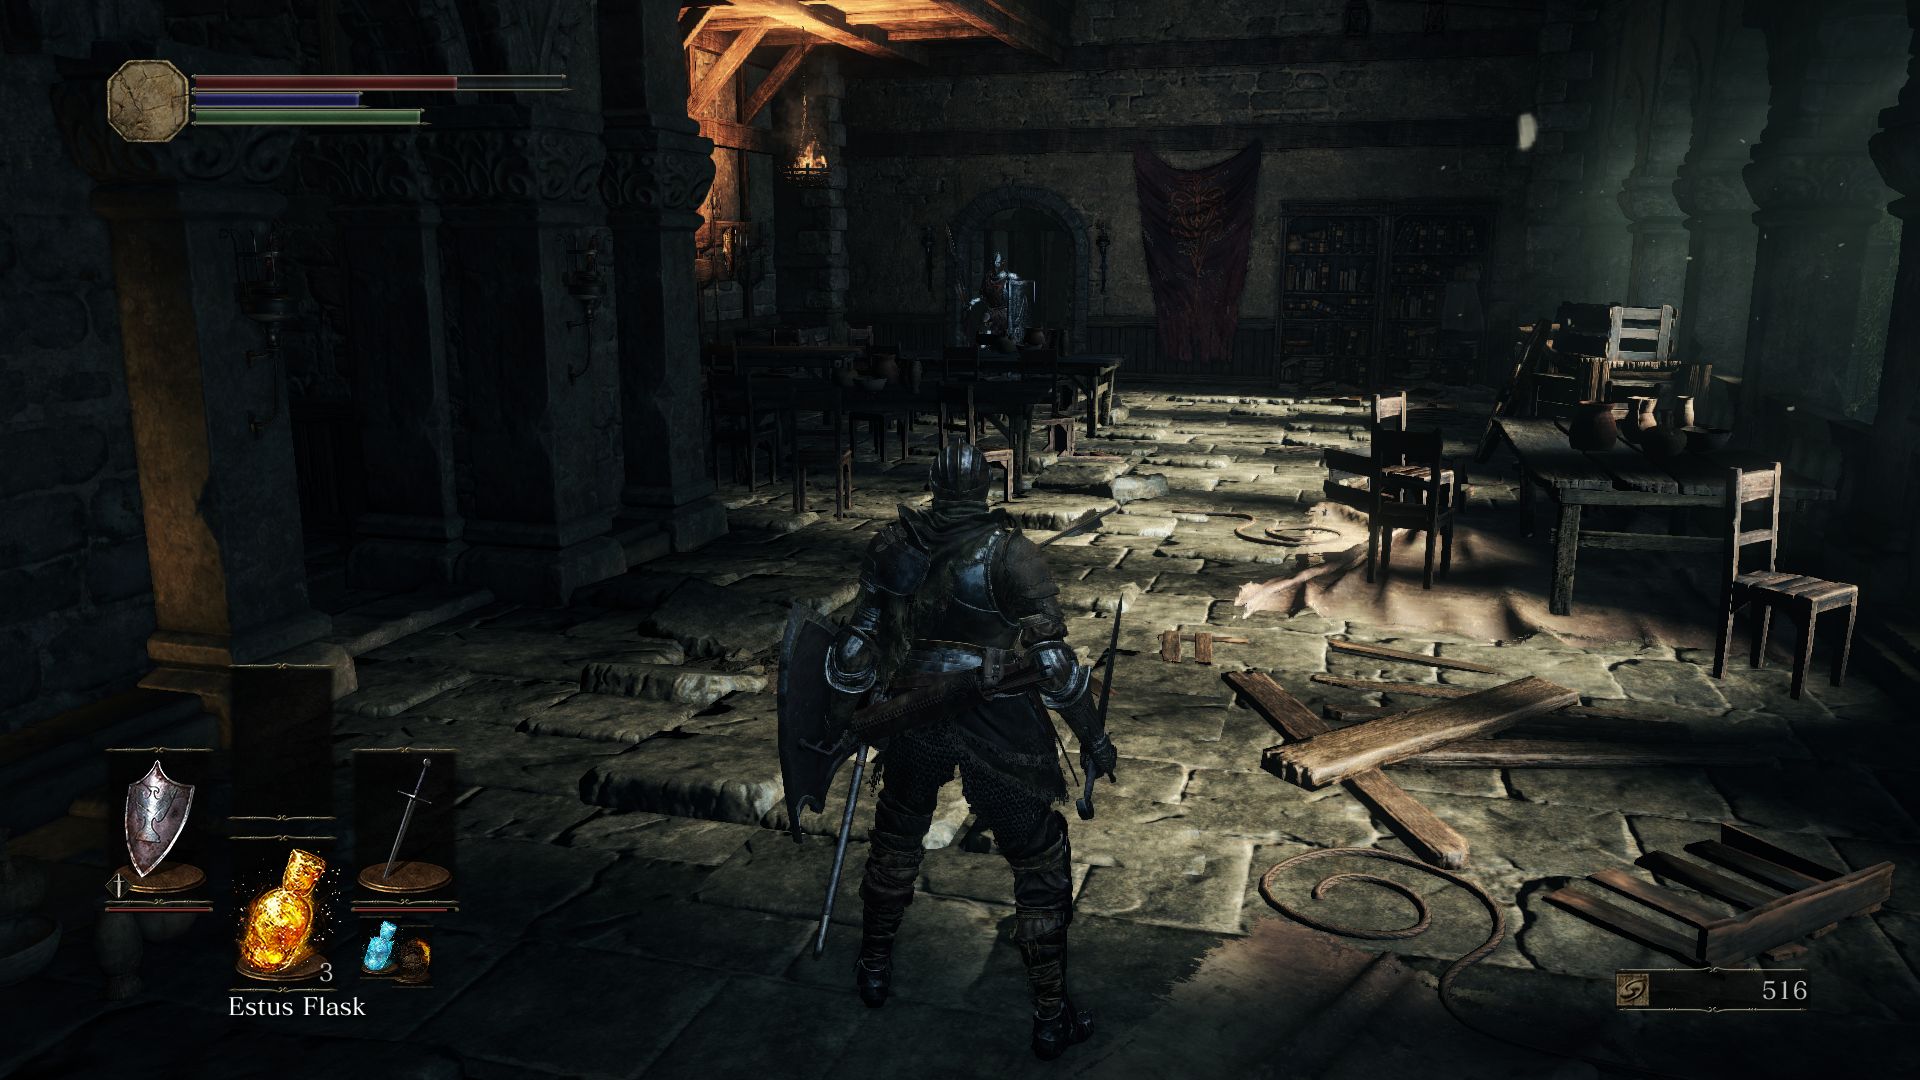
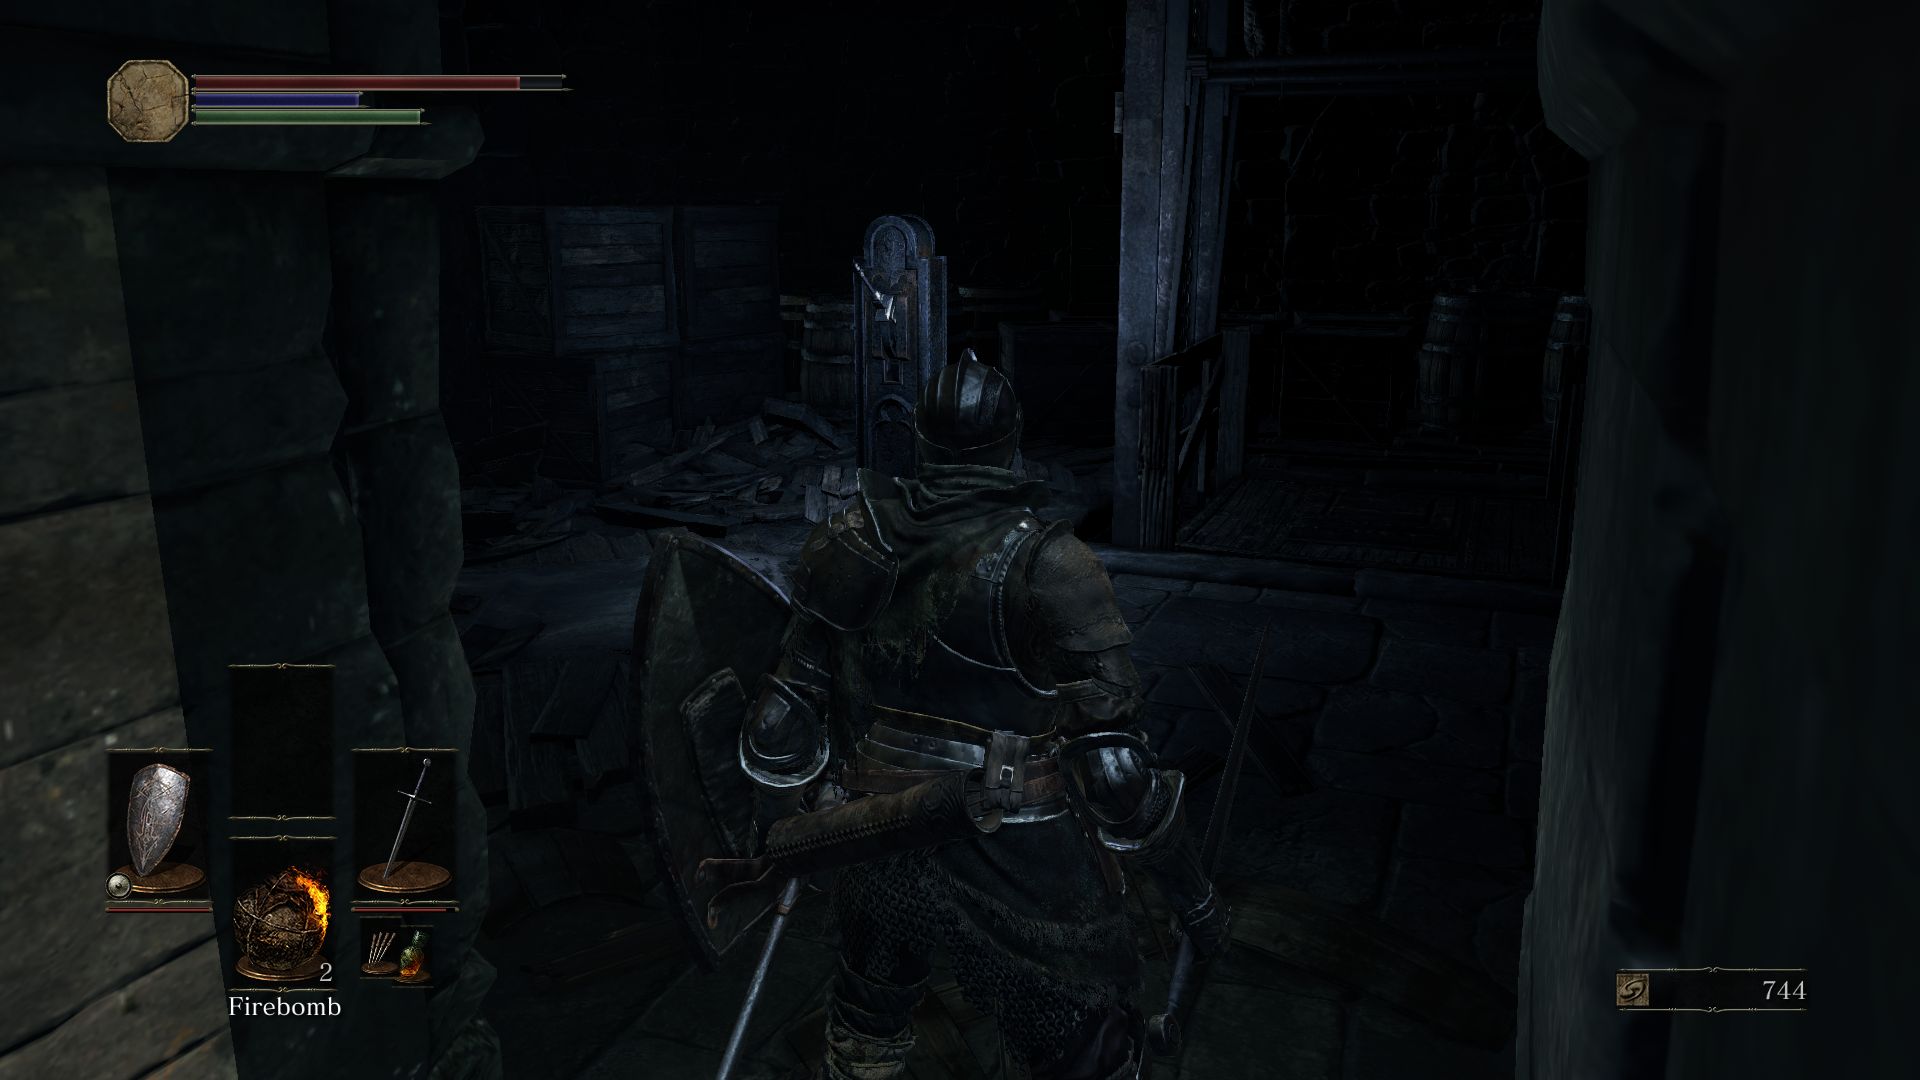
From here you can either go up the stairs to the left, or descend the stairs straight from where the watchman had emerged. If you proceed to go straight, you’ll enter a dimly lit room with an enemy soldier to the left. You can strike him down before he reacts. There is yet another enemy waiting to ambush you from behind some crates to the other side of the room. You can walk around and take him down before he can attack you. But he’s got the jump on you, fight him off. There is a corpse with an orb to the right of the stairs, but you can’t reach it from this room. So go back up the stairs on the wall. There is a ladder descending below, but you can come back to it later.
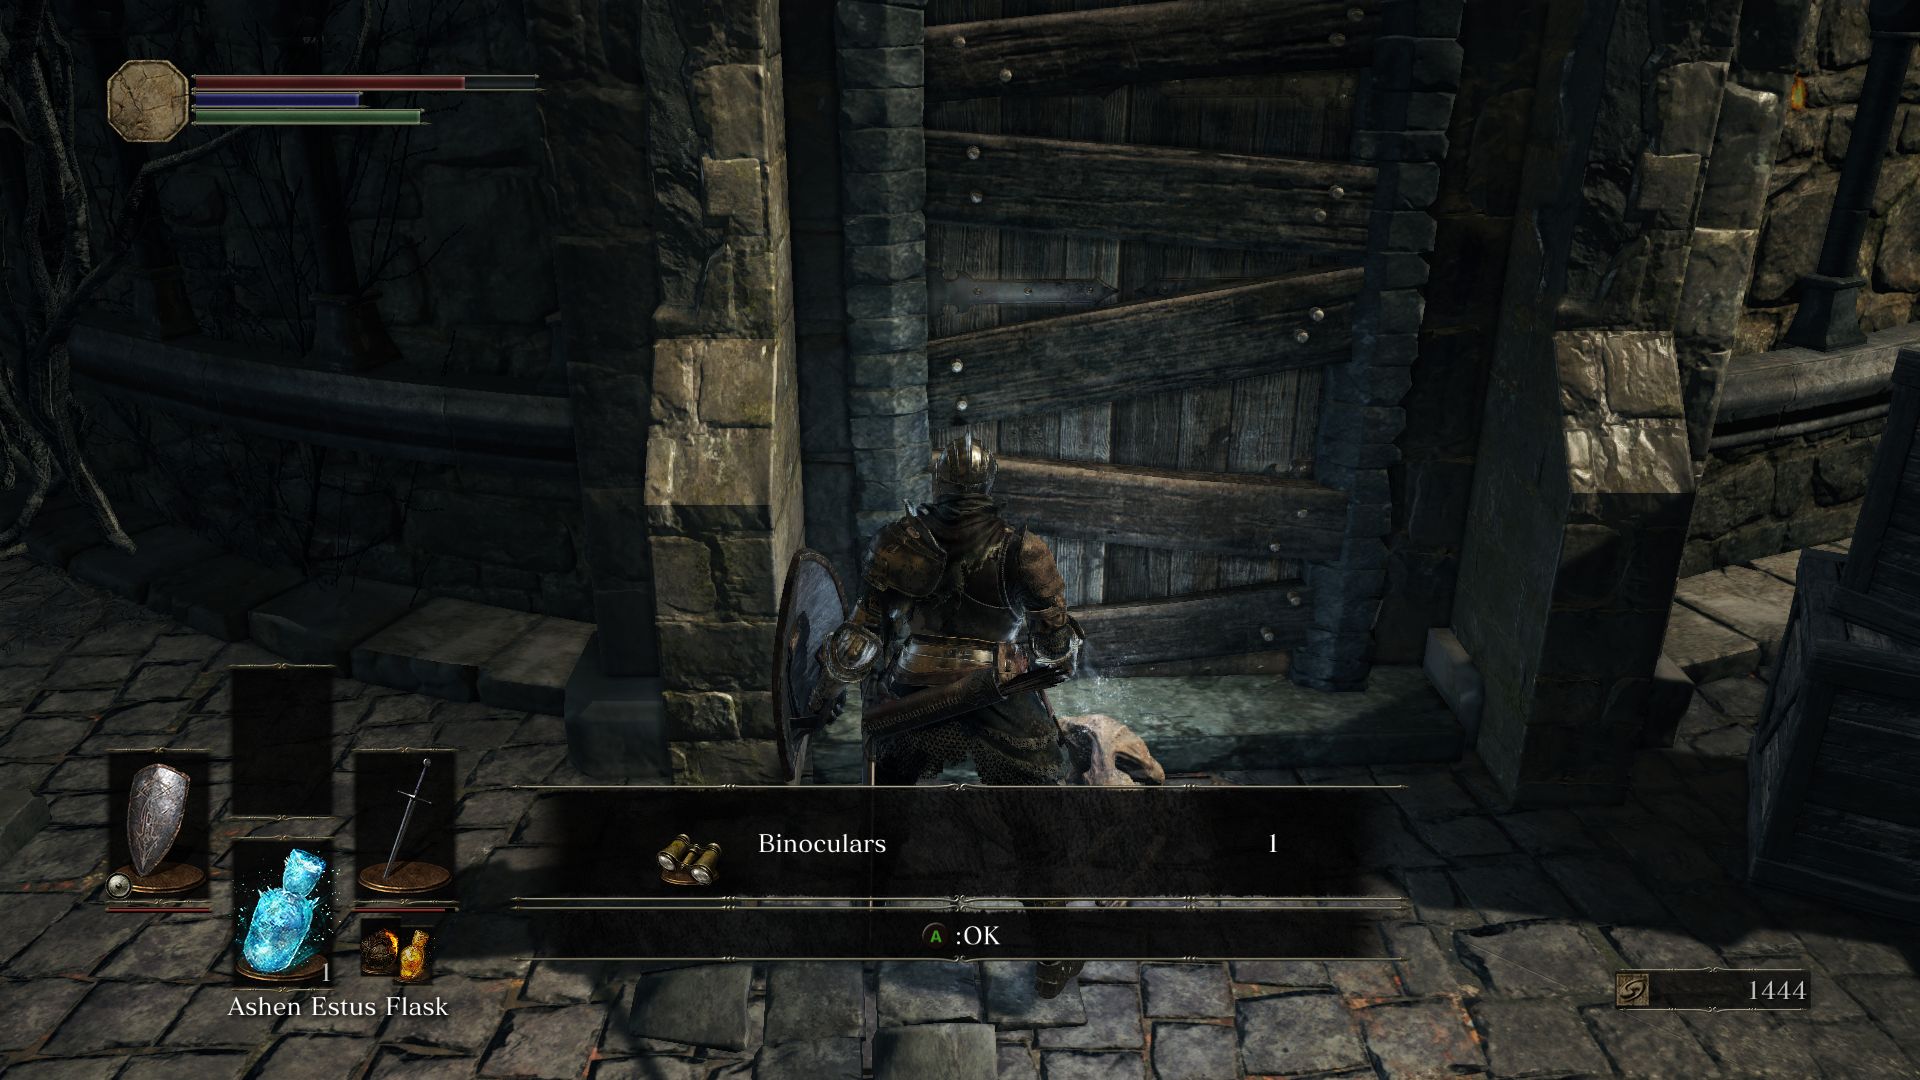
Once you go up the stairs and the stairs to your right now, you’ll find yet another watchman patrolling the area behind the dragon’s corpse. Charge at it and kill it before it can alert the nearby enemies. If you’ve killed the watchman on time, you can proceed to kill the enemies sitting down among the dragon’s corpse. When you attack them they will fight you, but it’s fairly easy to take them down before they react. Walk up the stairs to left to find two soldiers, one of them sitting down, and kill them. Loot the corpse on the tower to find a pair of Binoculars.
If the watchman had alerted these enemies, however, it could be a bit difficult to deal with all of them at once, specially since the two from up the stairs will shoot firebombs at you. Feel free to lure the enemies one by one down the stairs to take them down individually. Once you clear this area, walk around the dragon’s corpse and move towards its left wing. Drop down the ledge and you’ll find the alternate entrance to the room you were in a few minutes ago. Pillage the corpse to find 2 Gold Pine Resin. Drop down into the room and descend down the ladder.
Loot the Soul of a Deserted Corpse in the lower room and head out the side door. Two enemies await: an archer farther away and a hollow with spear and shield. Lure them towards you and take them out. You’ll notice a stairway to the left heading up and a narrow corridor to the right. This is where things get interesting.
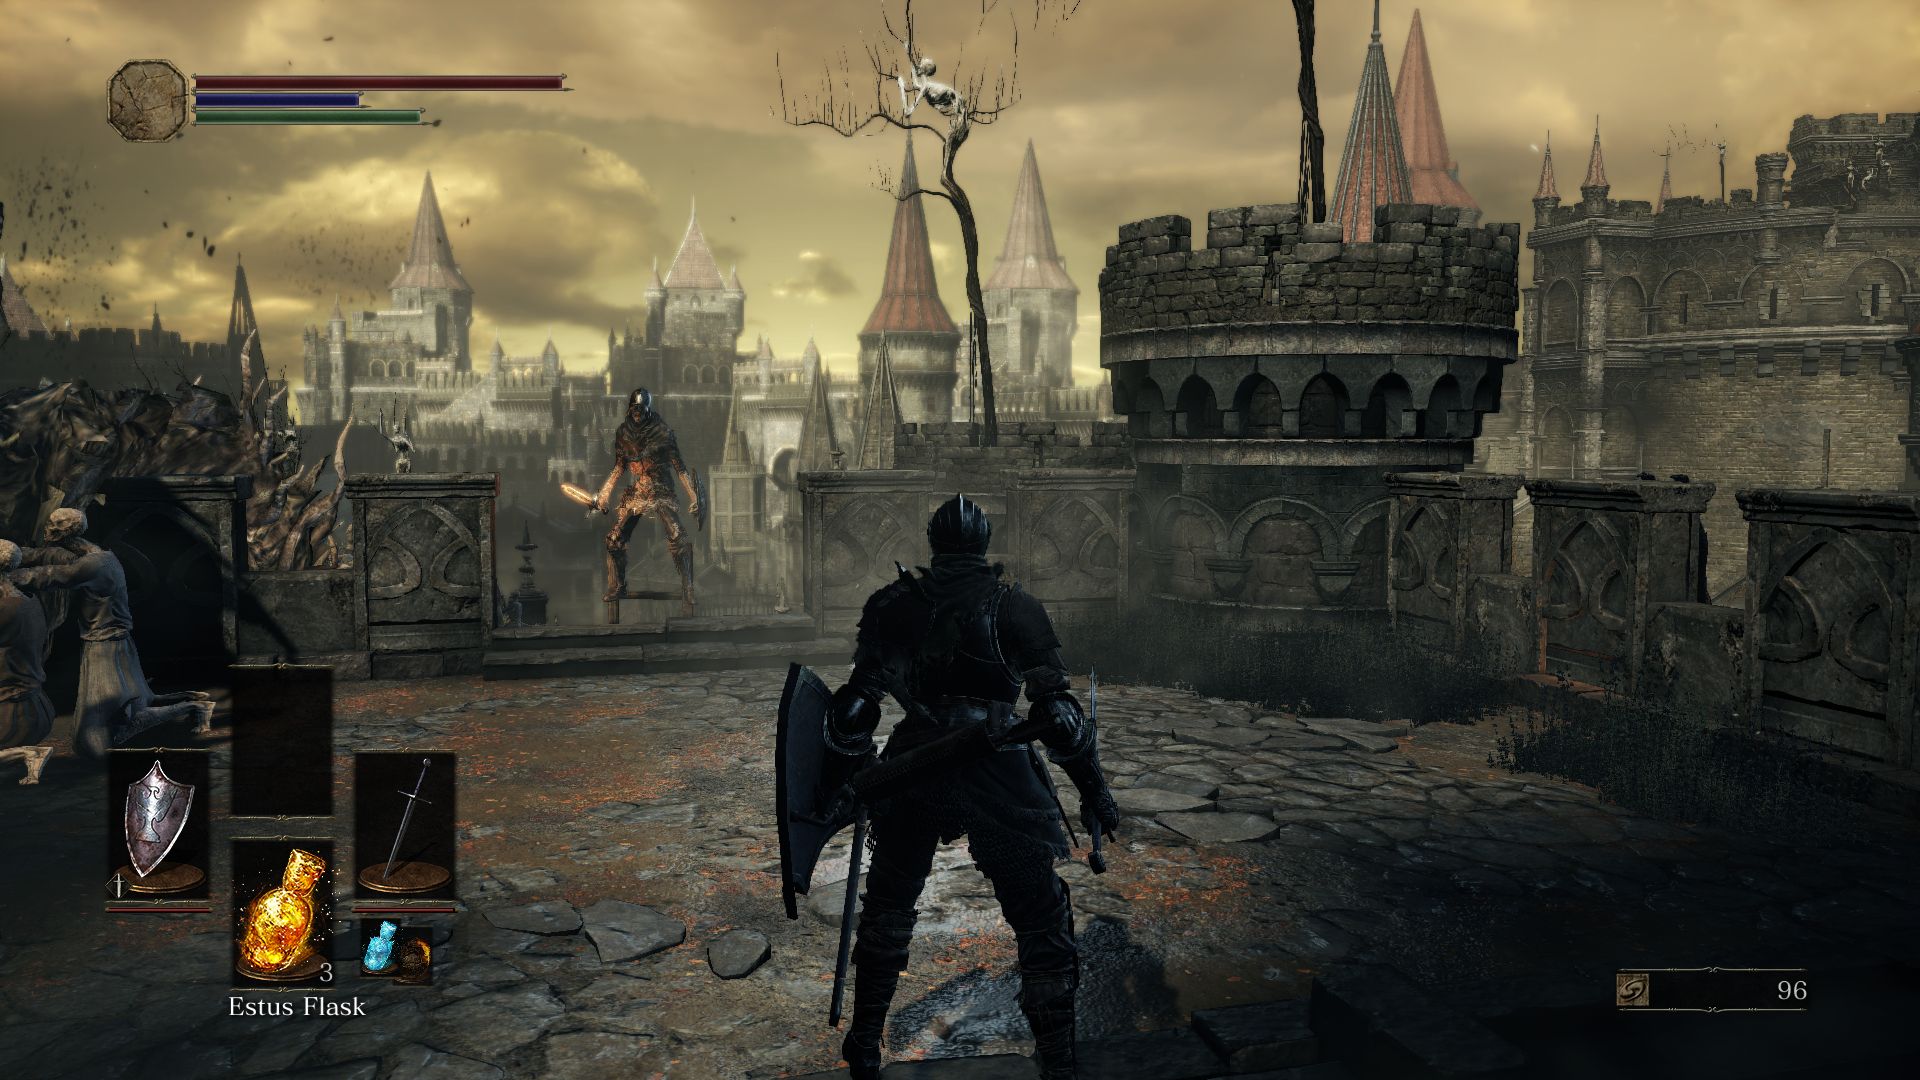
As you walk up the stairs you’ll notice a lot of enemies up ahead. However, a real live dragon is going to land on a tower in front and blast a breath of fire. This will kill all the enemies beyond the staircase. If you go back down and move towards the corridor, the dragon will blast its fire breath on the enemies there as well. Make sure you run back to safety so as not to get burned.
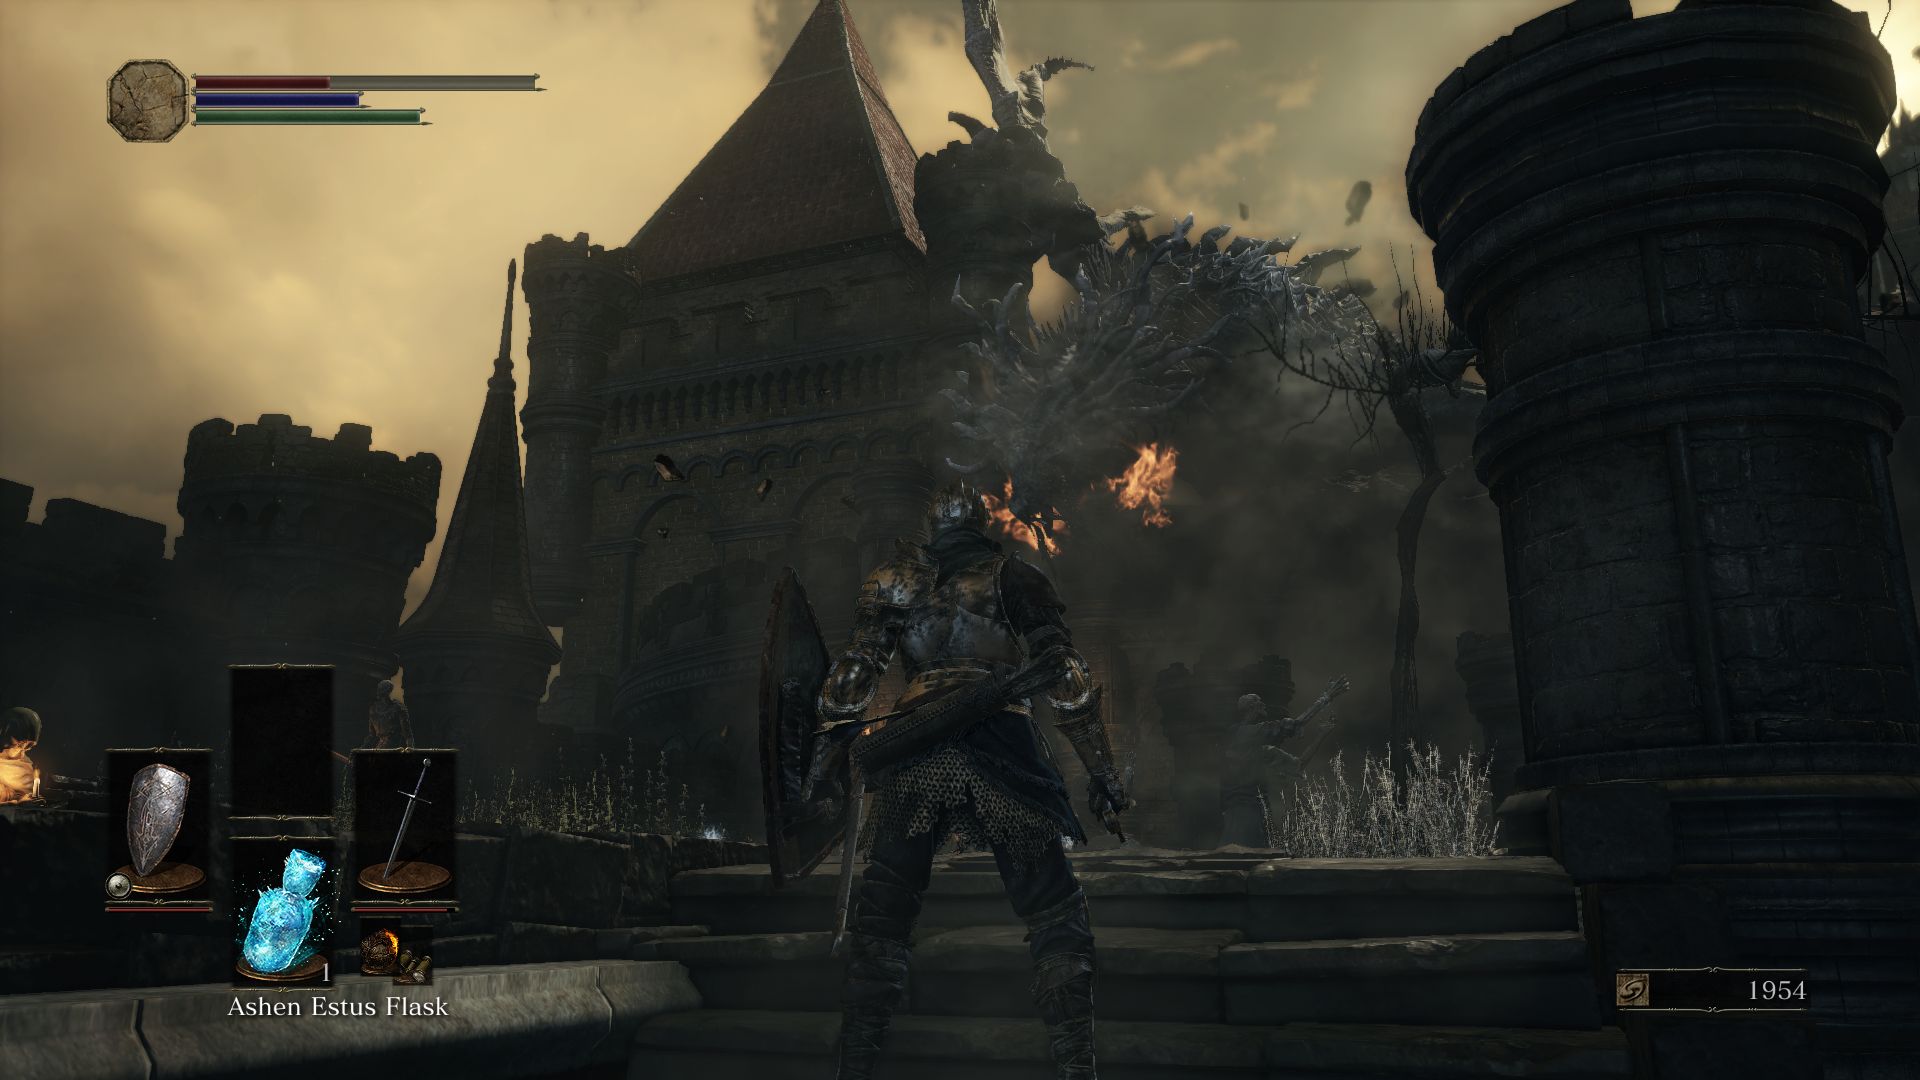
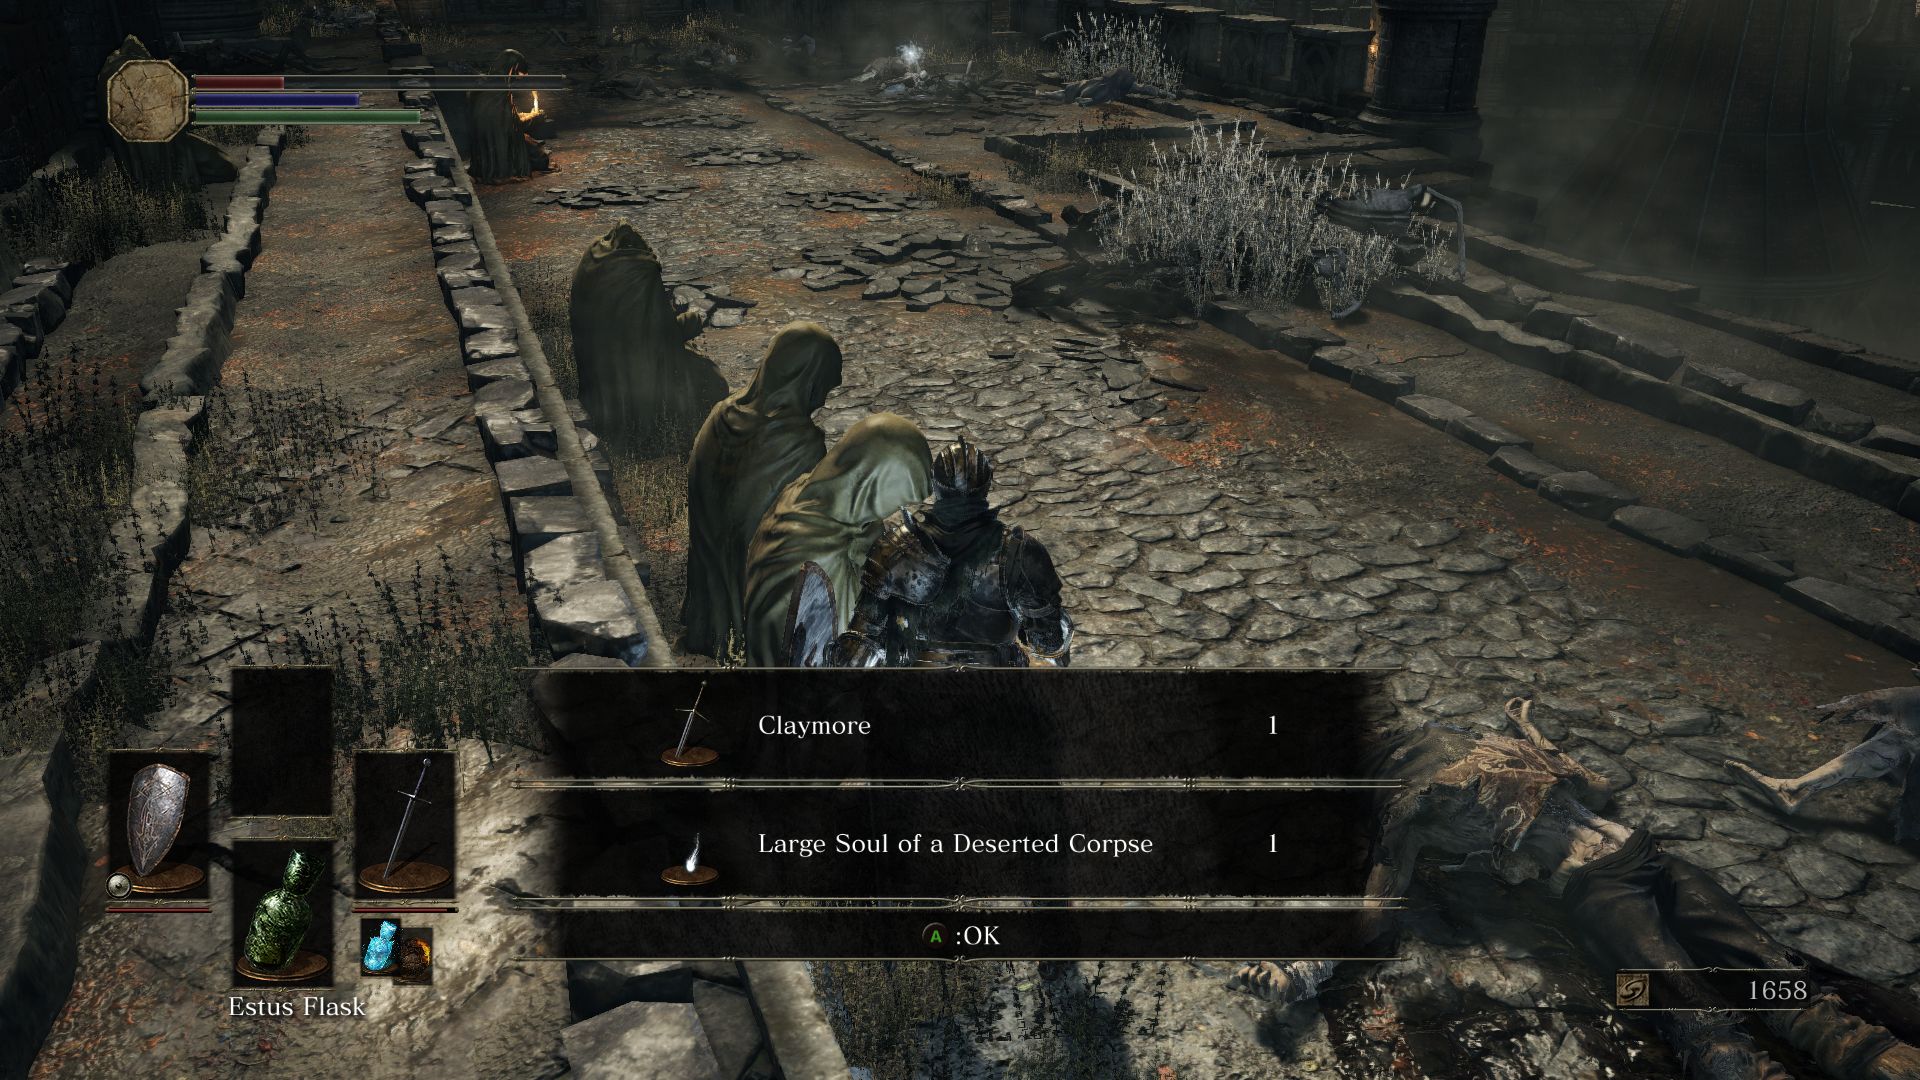
With the enemies dead and the dragon still breathing down fire, you’ll notice four lootable orbs in the upper platform. It is very tempting to go for them since you will get an Ember, a Large Soul of a Deserted Corpse, a Claymore, and a Club. The trick is to charge towards the other side of the stairs towards the door underneath the dragon where it’s safe from its fire. From there, you can make a mad dash for the items in between its fire breaths. It’s as dangerous as it sounds. You’ll take a lot of damage if you’re caught directly in a fire blast, and you’ll take ongoing damage if you’re walking on the ignited floor. So proceed at your own risk.
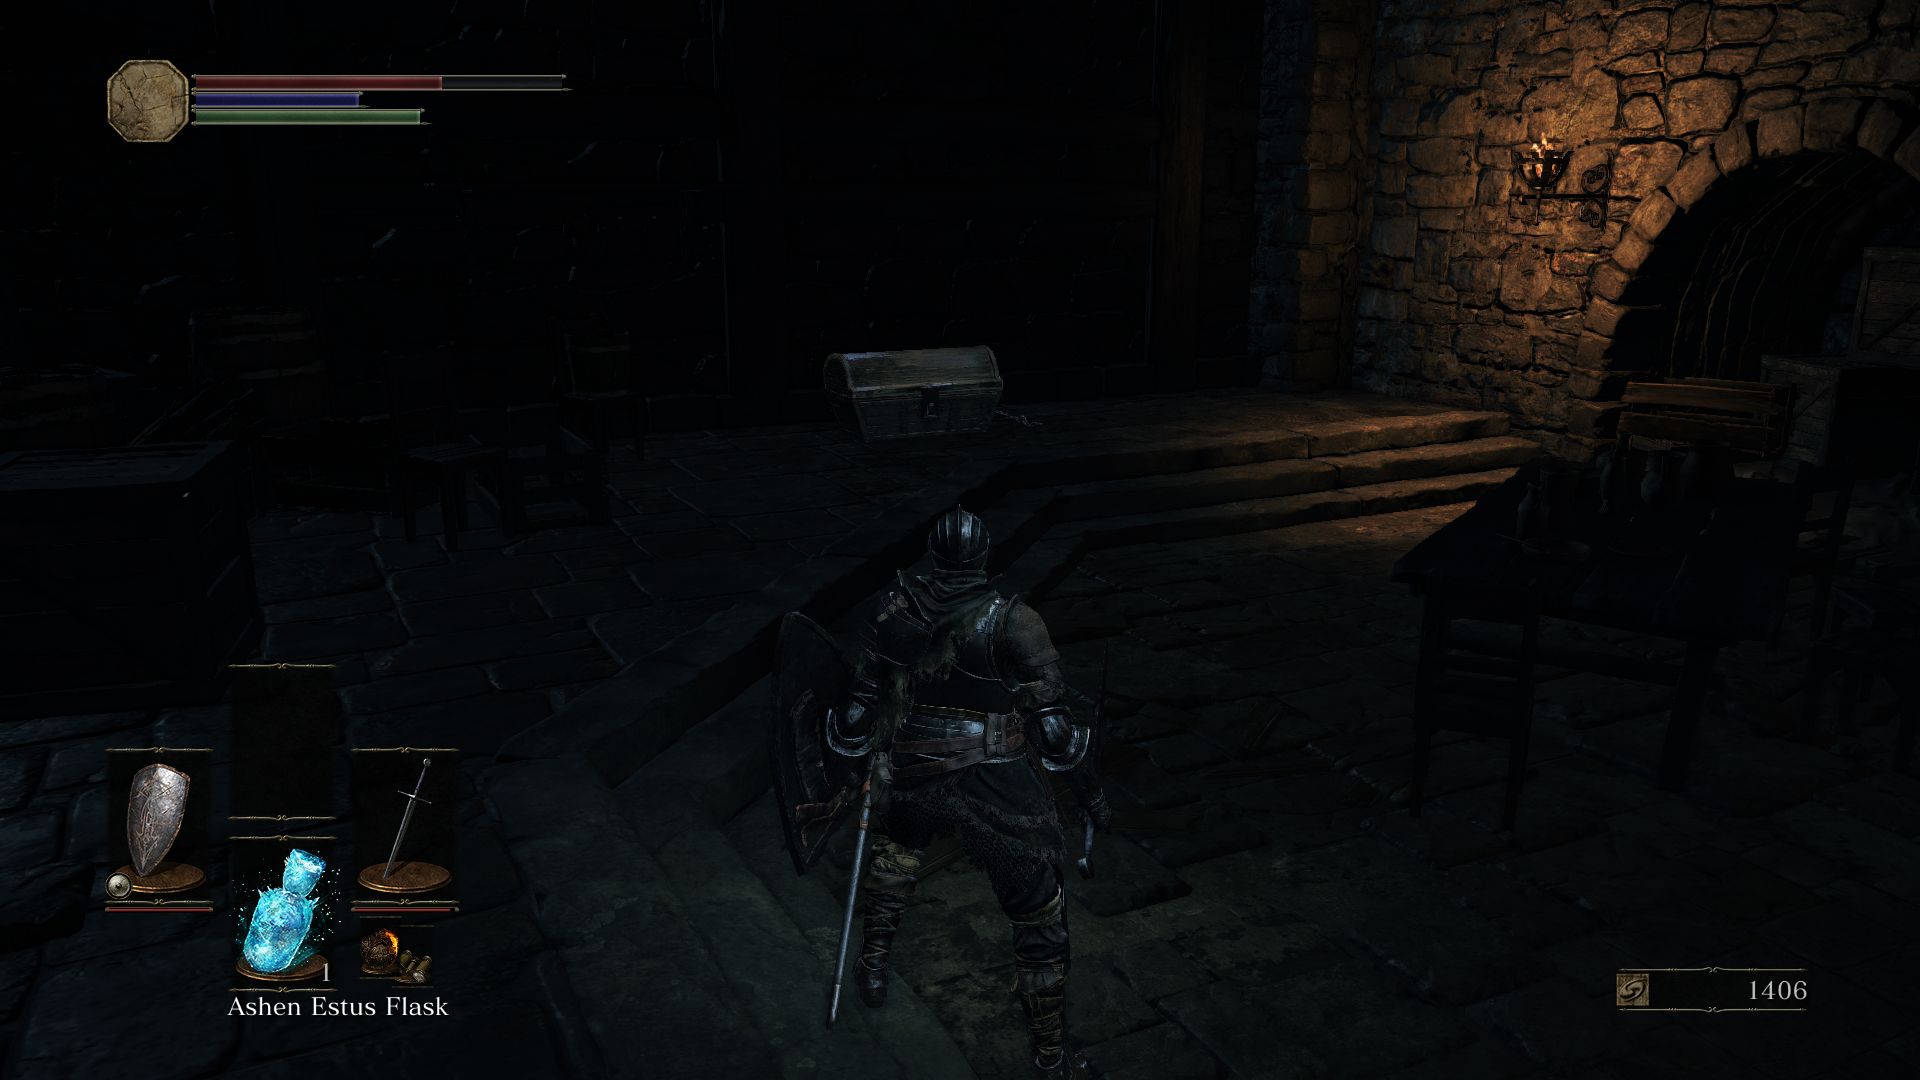
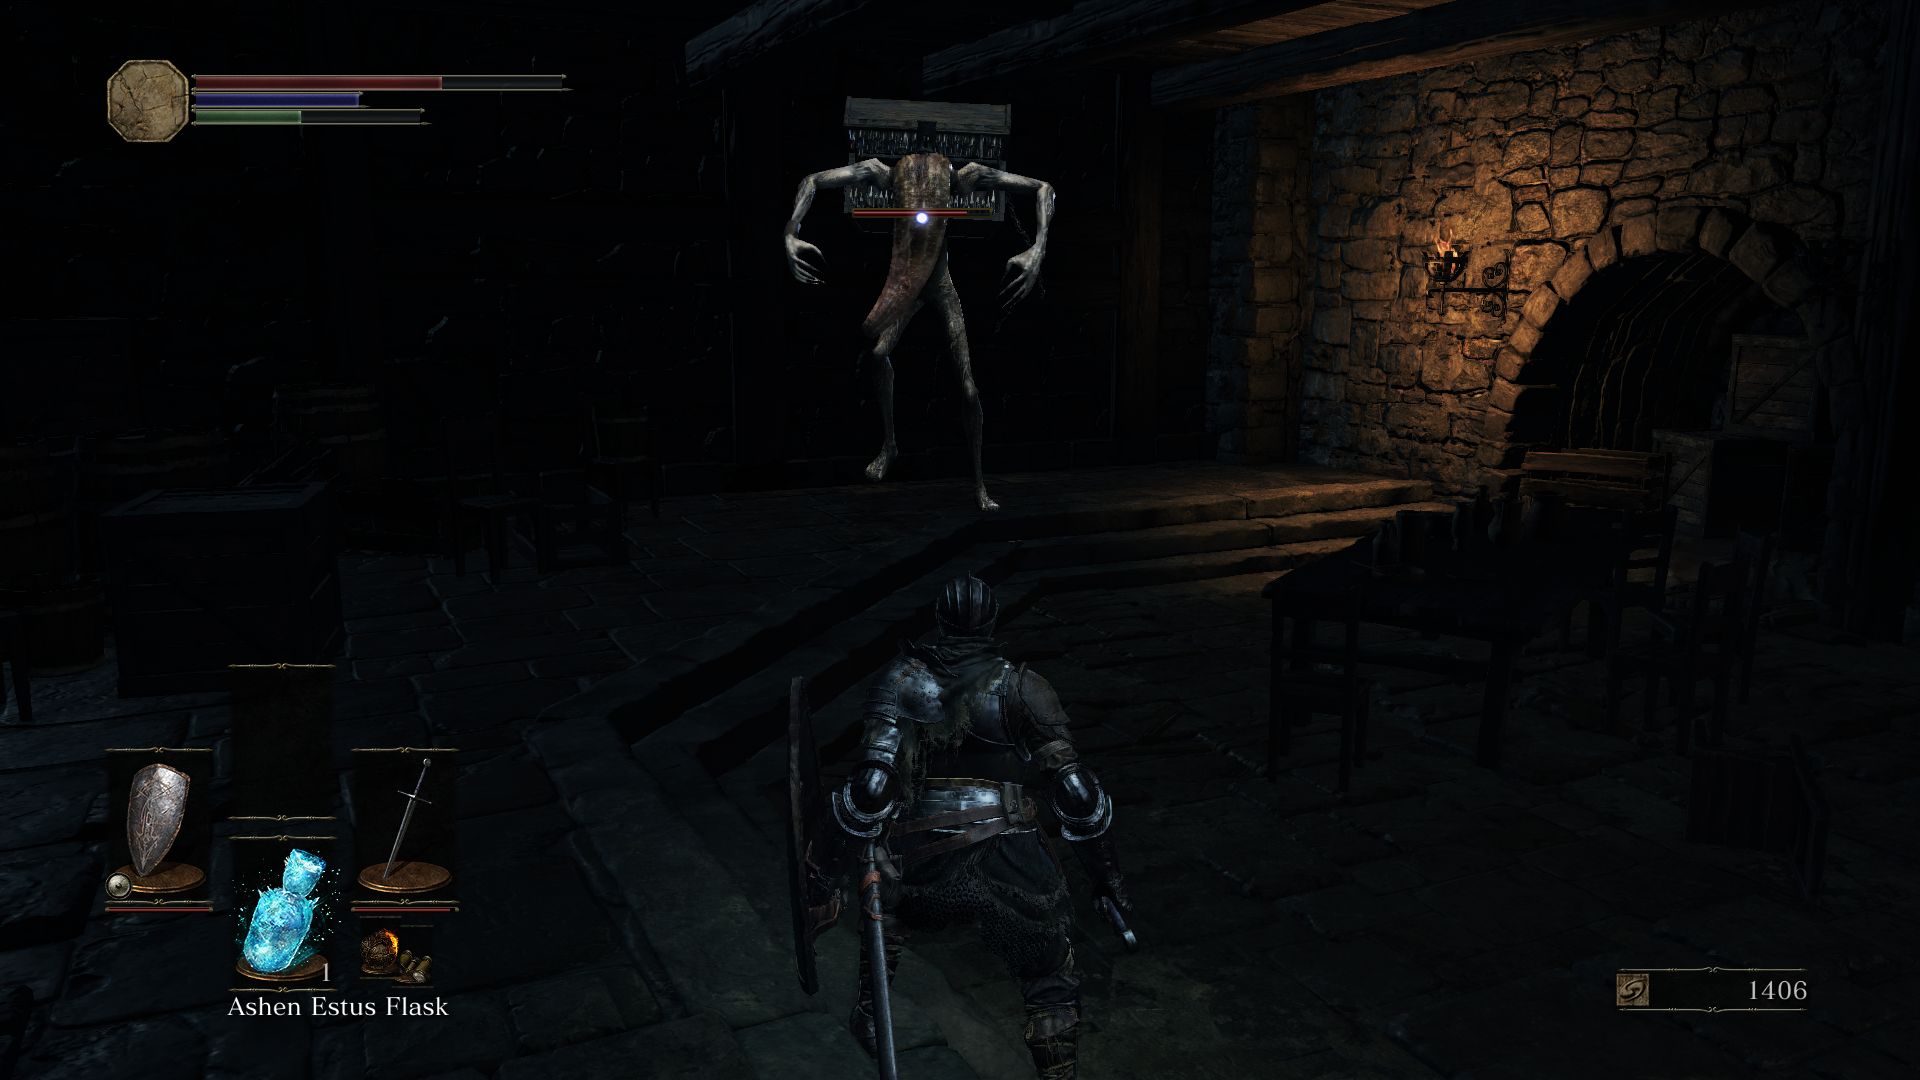
Once you’ve looted the items, dash towards to the room underneath the dragon. This room will appear empty at first, filled with crates. But as you go down the stairs, to the far right, you’ll spot one chest by itself. This is a Mimic in disguise.
It won’t attack you unless you attack it. It can be fairly challenging but if you defeat it, it’ll drop a Deep Battle Axe. The Mimic will attack you with kicks and swipes which you can dodge to the side and follow up with some attacks. If you’re too close to it, it’ll try to grab you (you can tell when it raises its arms above its head), in which case dodge backwards. You can also use ranged attacks like Firebombs arrows or spells to take it down.
Climb the ladder to find the exit to the room to enter a small area. Just outside the door are two sitting soldiers. Take them out first. A Lothric Knight is also patrolling the area so be very careful. He’s another challenging foe that will test your skills. His combo is long so you have to maintain your distance or keep dodging them. If you try to block too many of his attacks, he’ll break your guard. He’ll finish each sequence with a lunge. If you’re too close, he’ll bash you with his shield as well. Watch for the opening when he pauses momentarily after a lunge, this is your time to strike a few times and wait for him to do his combo again. Another trick may be to lure him to the corridor where the dragon is still raging fire breaths and get him burned. Once you defeat the Knight, loot the corpse nearby for a Soul of a Deserted Corpse.
There is an interesting trick here if you want to fend off the dragon. You can equip your bow to shoot the dragon from afar, but you’ll need to max out your arrows and shoot him over and over. When the dragon has about 25% HP left, it’ll fly away and you’ll get a Large Titanite Shard.
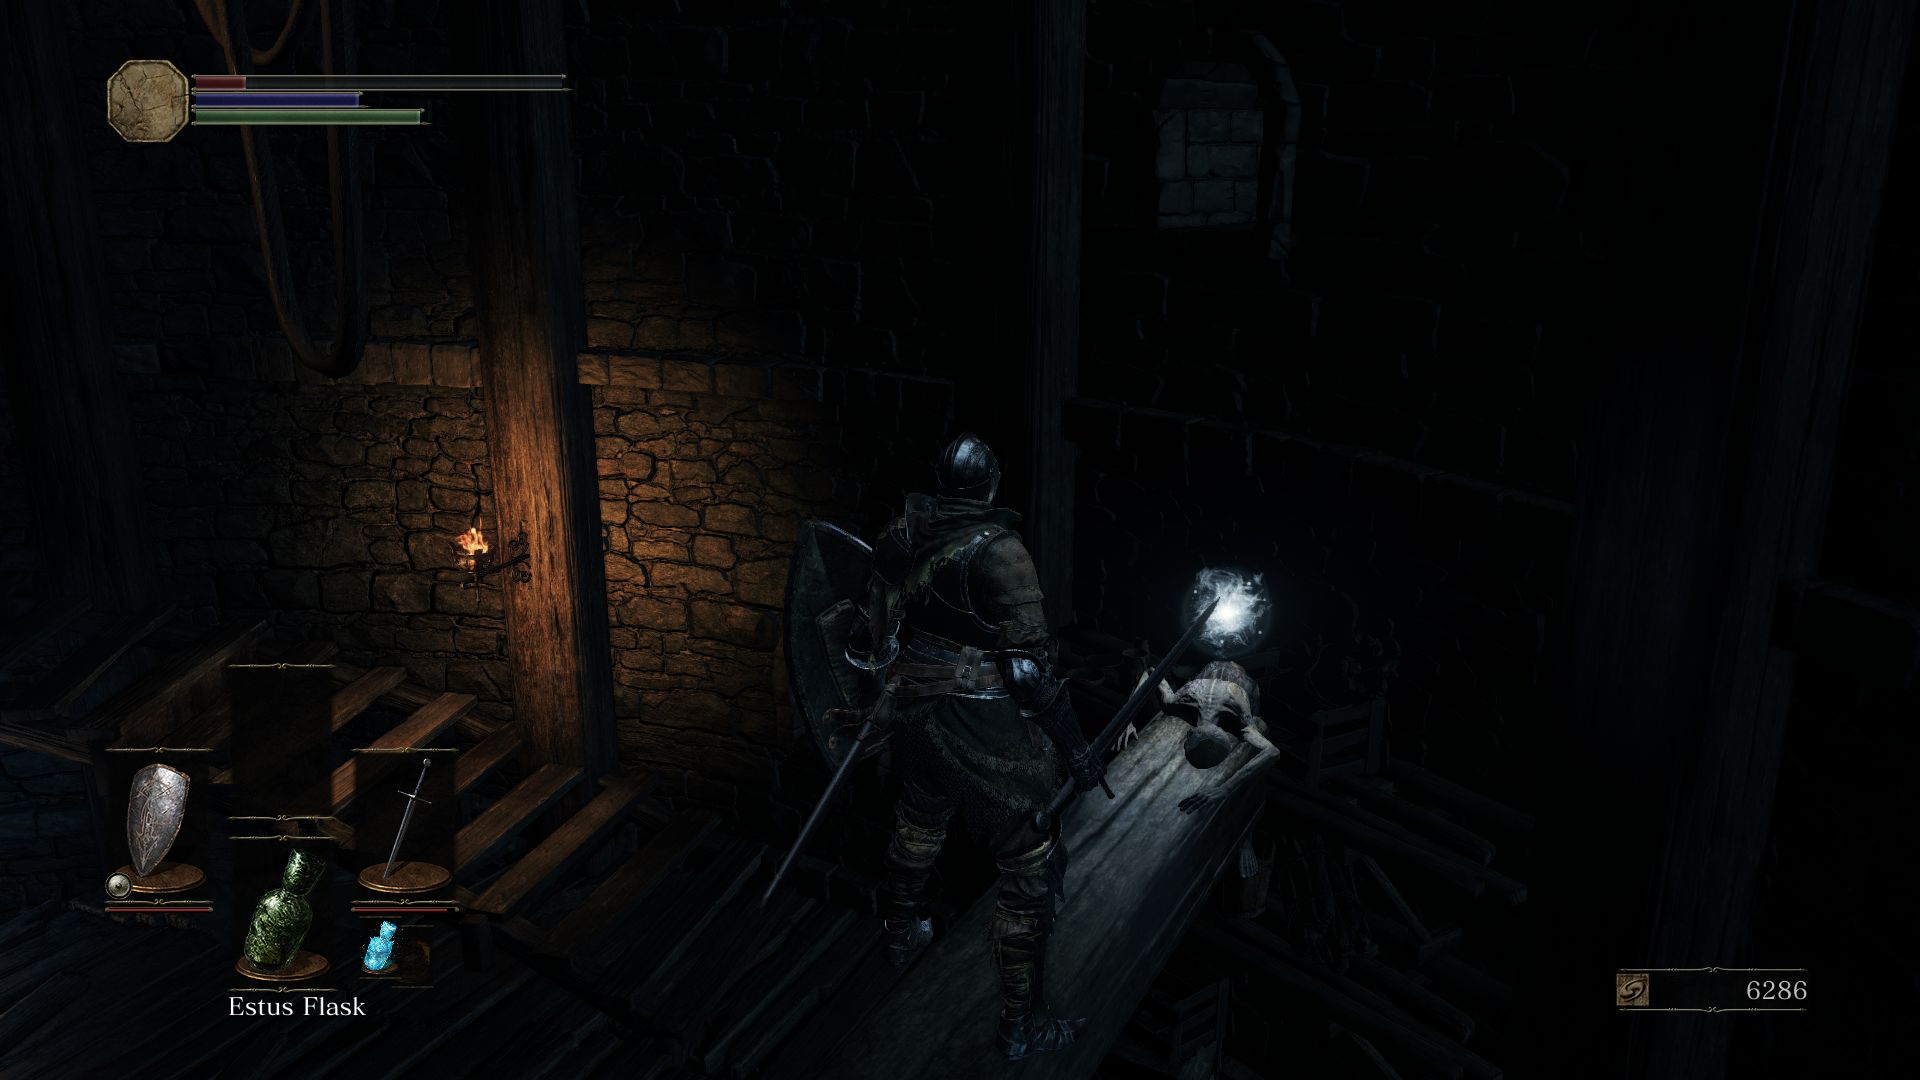
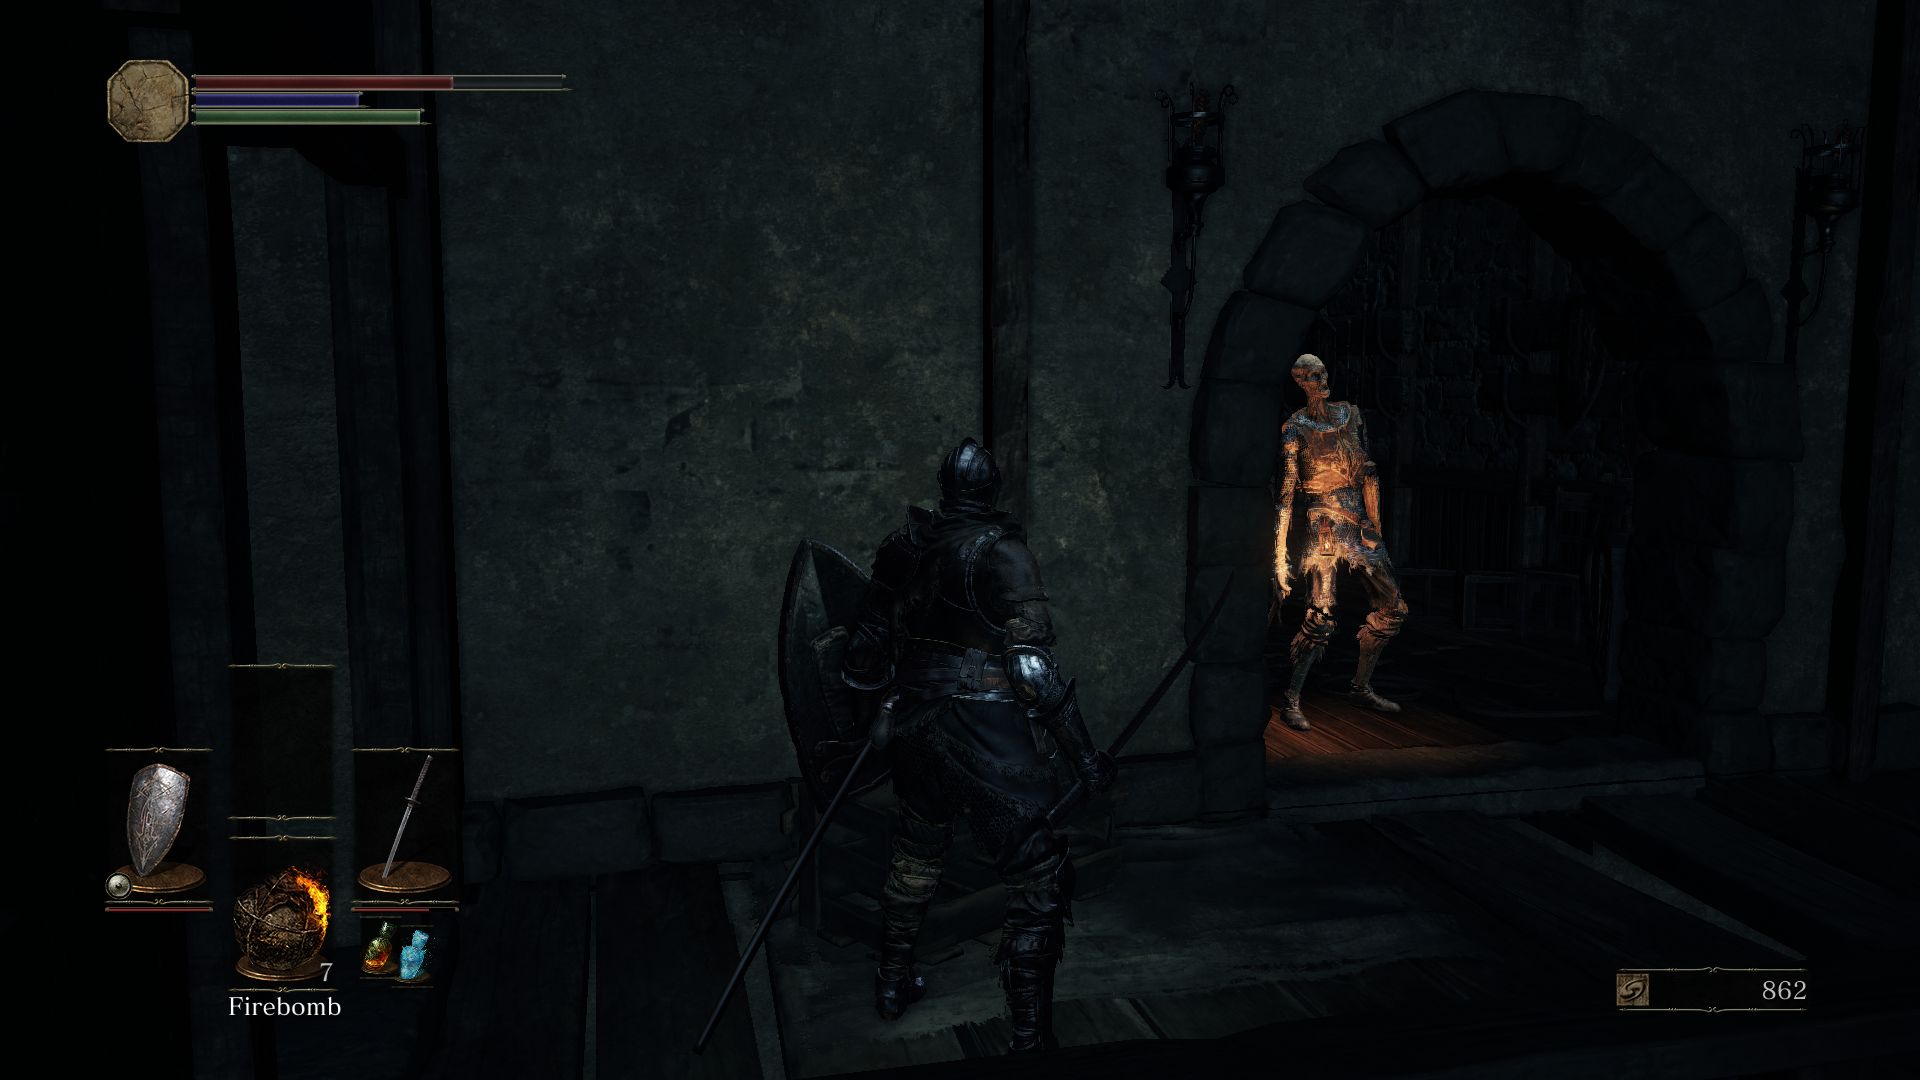
Proceed towards the door where the Knight had come out from. It’s fairly dark inside and first thing you may notice is a corpse with a glowing orb dangling on top of a beam up ahead. But be careful as there is a Hollow Thief lurking to your left. He lunges forward fast and throws knives from a distance. So be prepared to dodge or parry its lunge and strike back. It has no defense so it’s easy to kill as you close in. Loot the corpse for some Firebombs.
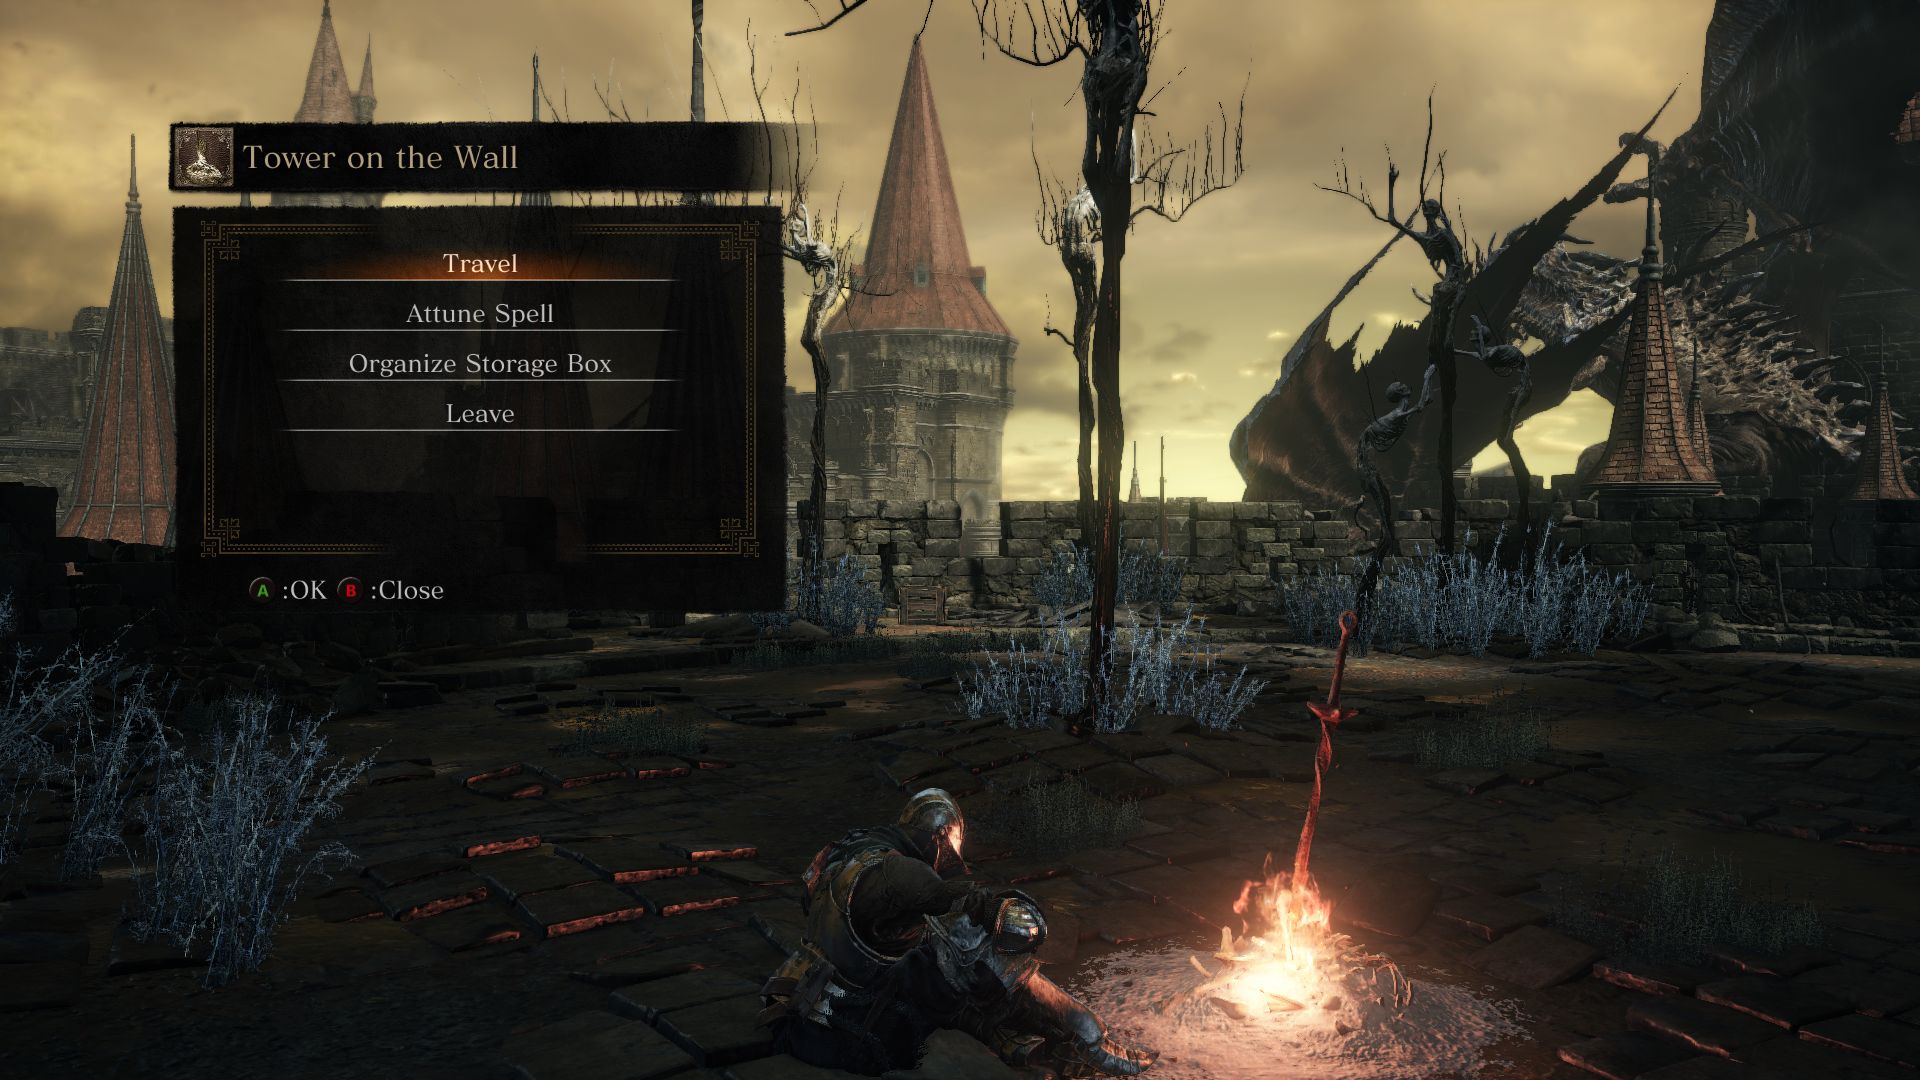
Don’t go down the stairs yet. Look to the right of the room for a door leading up to the Tower on the Wall Bonfire. Just around the corner on this tower is a corpse that will give you a Titanite Shard. Rest at the bonfire and travel back to Firelink Shrine if you want to level up or stock on items.
Go back down the stairs inside the building after you’ve rested. Keep in mind that any killed enemies respawn after resting at a bonfire, so the Hollow Thief you had dispatched off earlier should be up again. Dodge its throwing knives and close in to kill it. From here you can either take the stairs down at the other side of the room or drop down on an enemy Hollow Thief below from the wooden beam to kill it instantly. There is another Hollow Thief down below so prepare to fight it as well.
After you’ve killed the two Hollow Thieves, descend down the ladder before you exit through the door. You will find a Hollow equipped with a long Halberd. It’s sluggish so you can kill it if you strike it with a fast attacks. Or you can simply dodge its attack and backstab it. You will notice a locked door to your right (more on this later) and another exit leading away from the room.
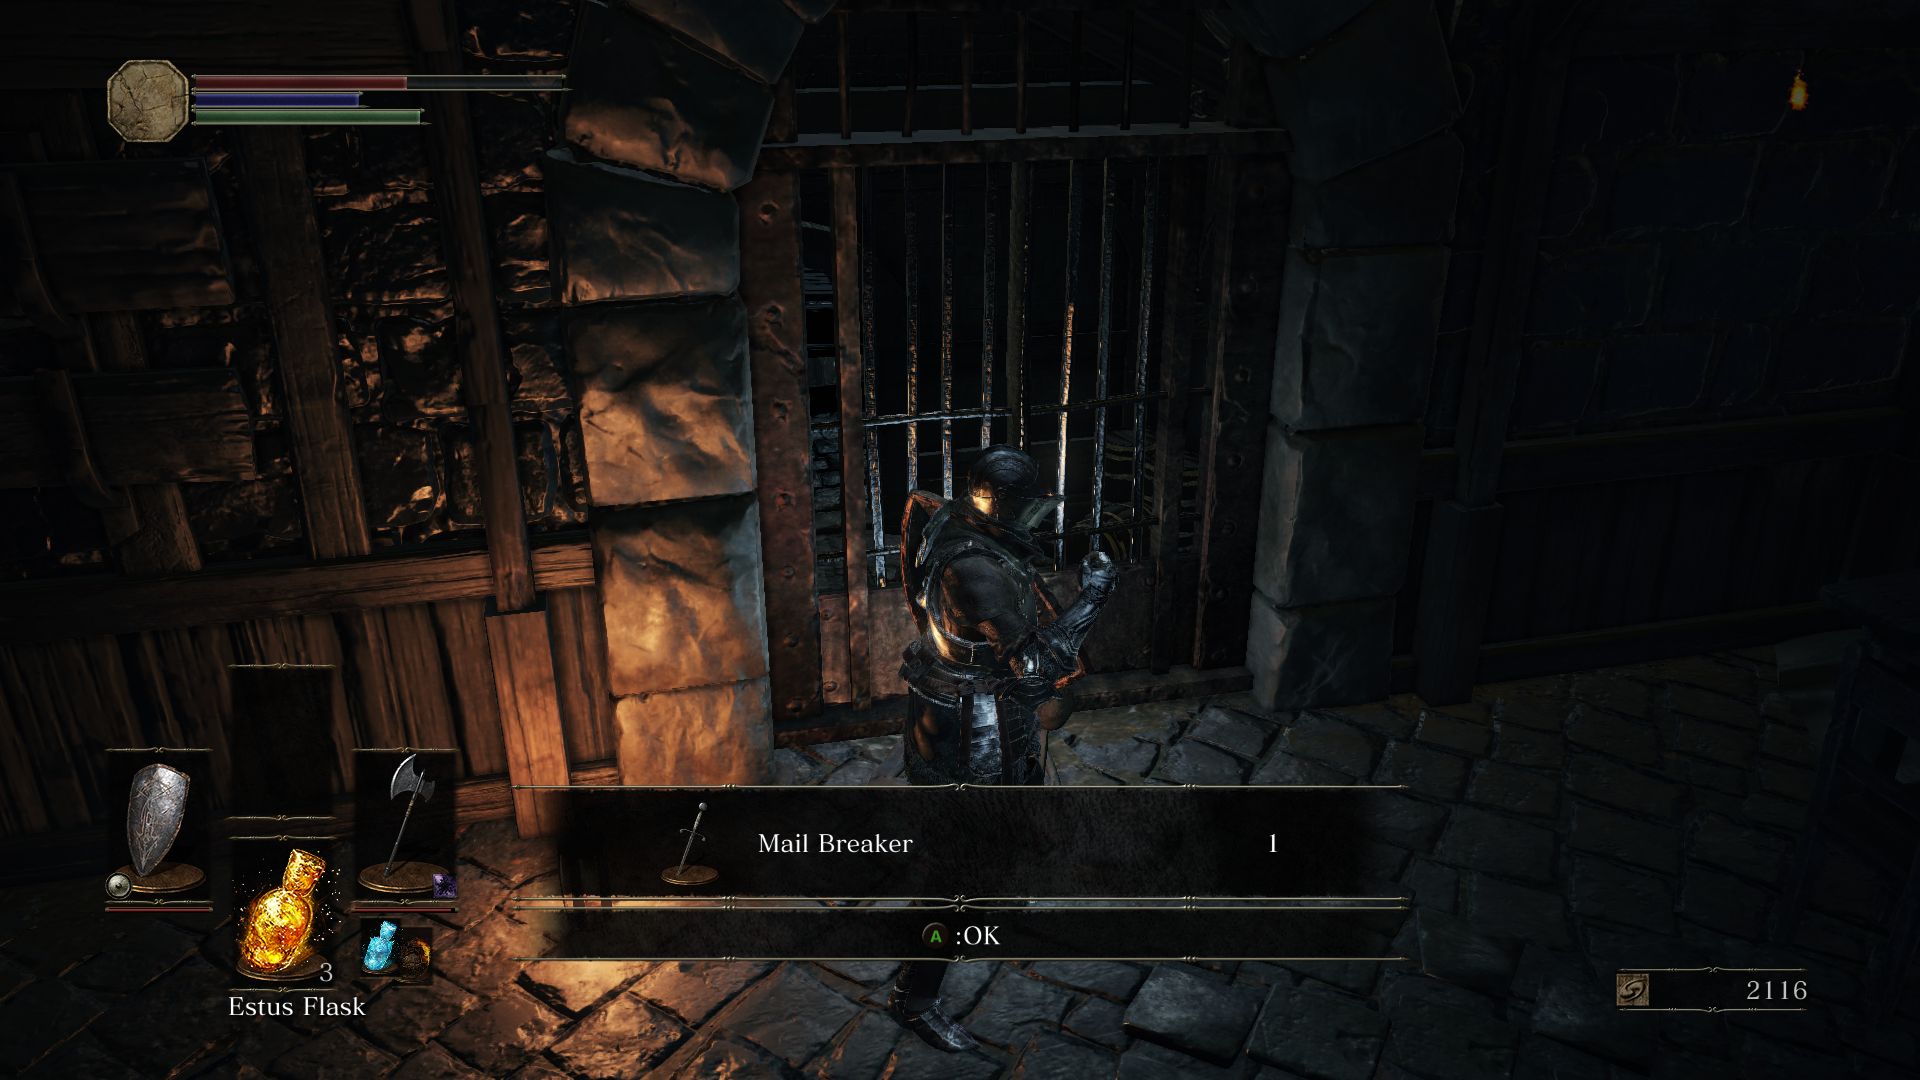
Once you enter this room charge at the Hollow at the other side of the room. It will throw a Firebomb at you which explodes the barrels around. To the right side of the room you’ll find a corpse with 8 Throwing Knives. Proceed through the door and kill the Hollow Thief to your left before it can attack you. Loot the corpse in front of the door to obtain a Mail Breaker.
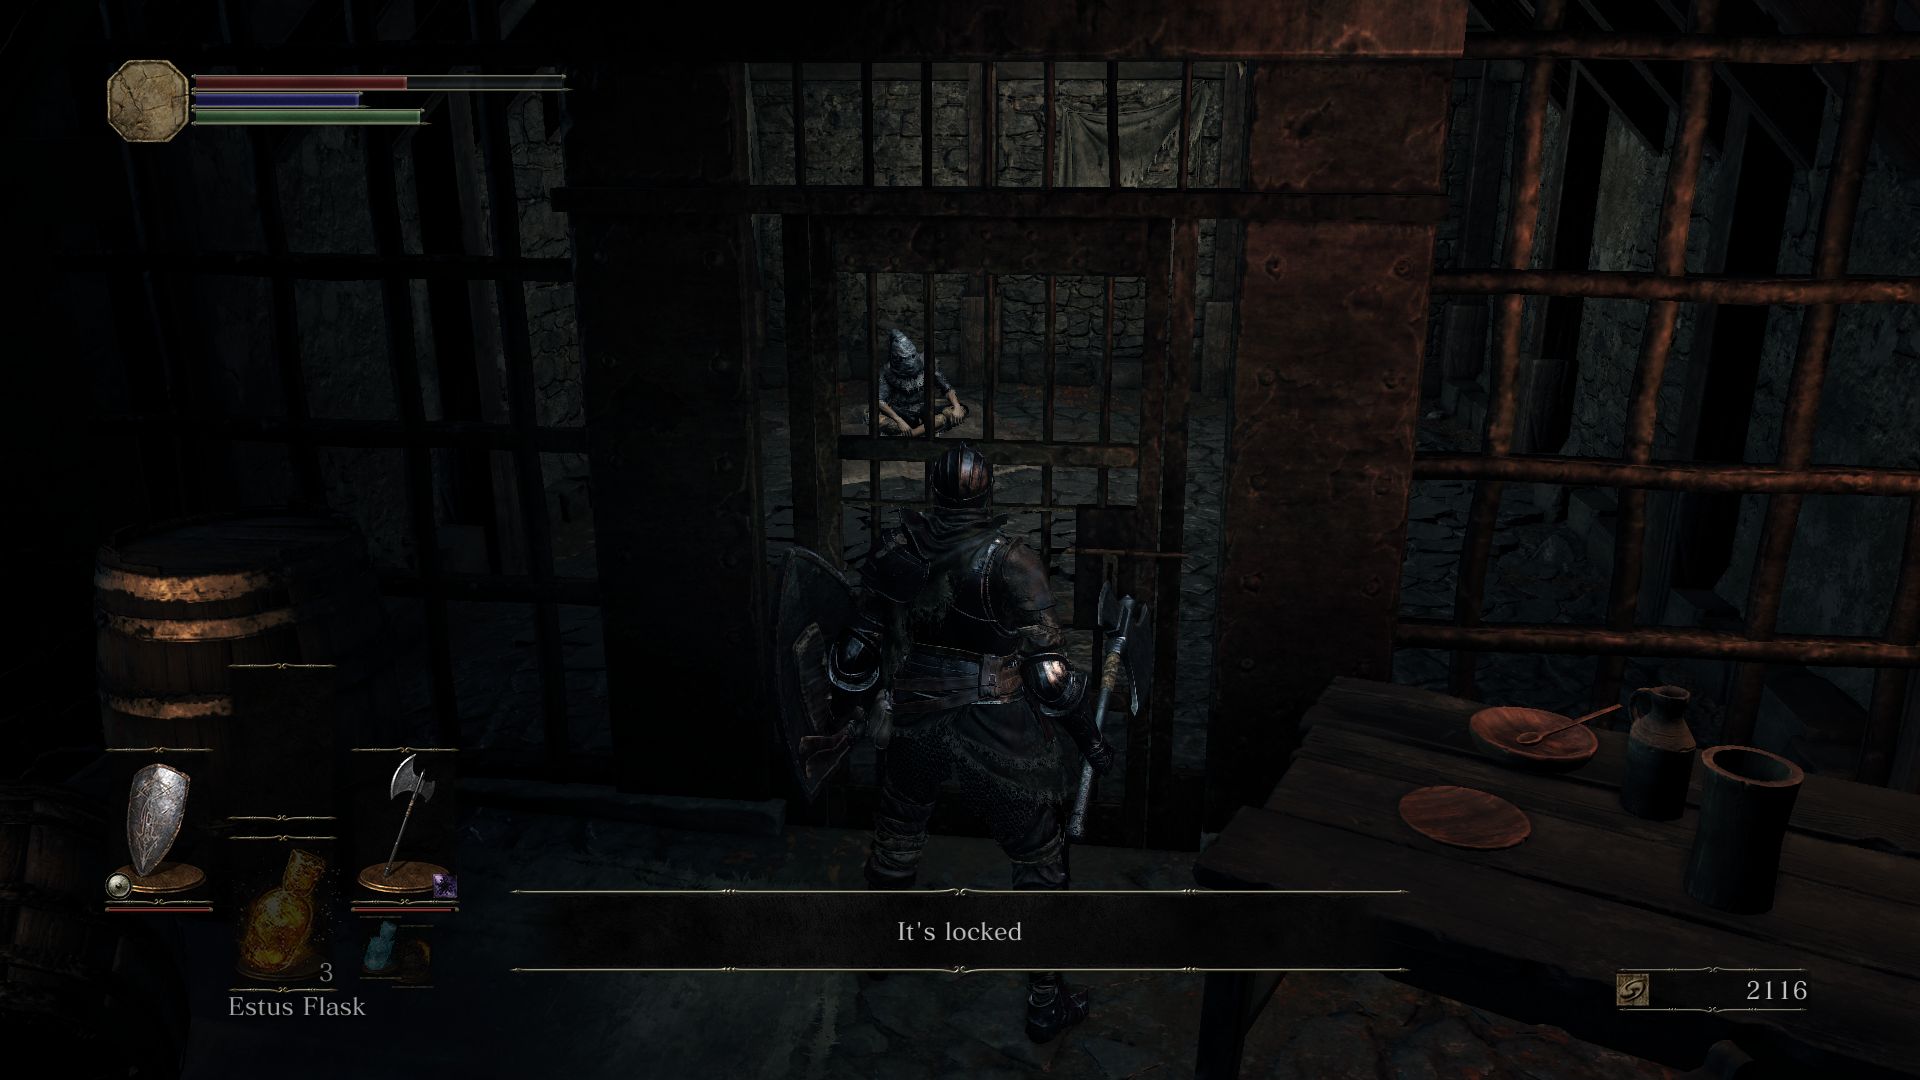
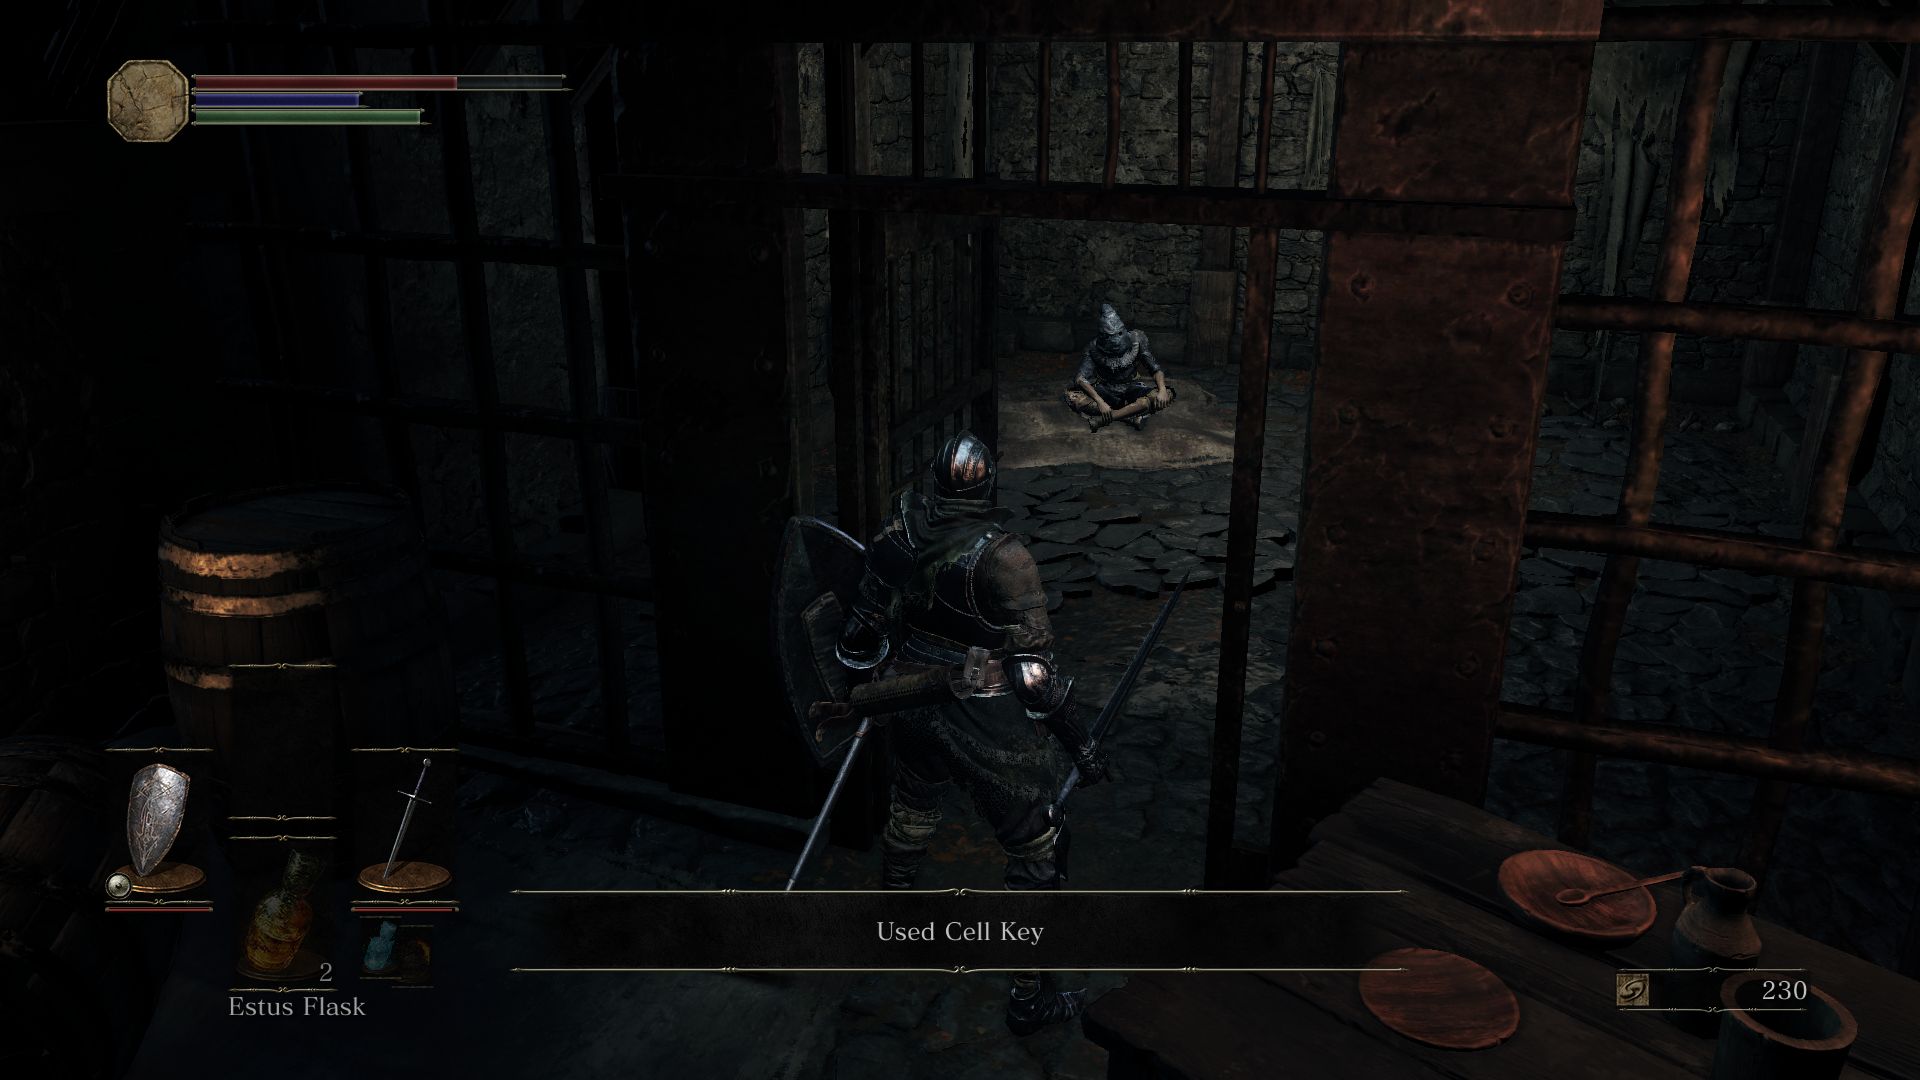
This door is locked so take the pathway to the right and descend the stairs to find a prison with an NPC inside. This is Greirat and we’ll cover later how to release him from prison so that he may take residence in Firelink Shrine.
For now, go back up to the middle of the tower where you had fought the two Hollow Thieves earlier. Take the exit and you’ll see two worshippers in front of a dragon corpse. As you approach them, an enemy will ambush you from the right after hopping over the wall and another from the front after climbing a ladder. If you’re fast you can take them down before they can prepare to attack. Kill the worshippers for some free souls, pillage the corpse to your right for a Soul of a Deserted Corpse, and descend the ladder to make your way across the rooftop.
You’ll see a bunch of worshippers up ahead, but be very wary. One of the worshippers is ready to mutate like Iudex Gundyr, so you want to take it down as fast as possible, or you will be in for another tough fight. This worshipper is the one with both his arms raised, and he is the only one that will stand up as you approach them, so it’s easy to tell which one to strike down.

If he does manage to transform, be prepared to dodge and attack and evade its close ranged attacks. If you have Firebombs, they deal a good amount of damage. If you’re having trouble, run back to the ladder and shoot it down from safety with arrows or firebombs. But be warned that if you’re too close to the edge, its attacks will still hit you. If you defeat the mutated form, you’ll be rewarded with an Ember and a Titanite Shard.
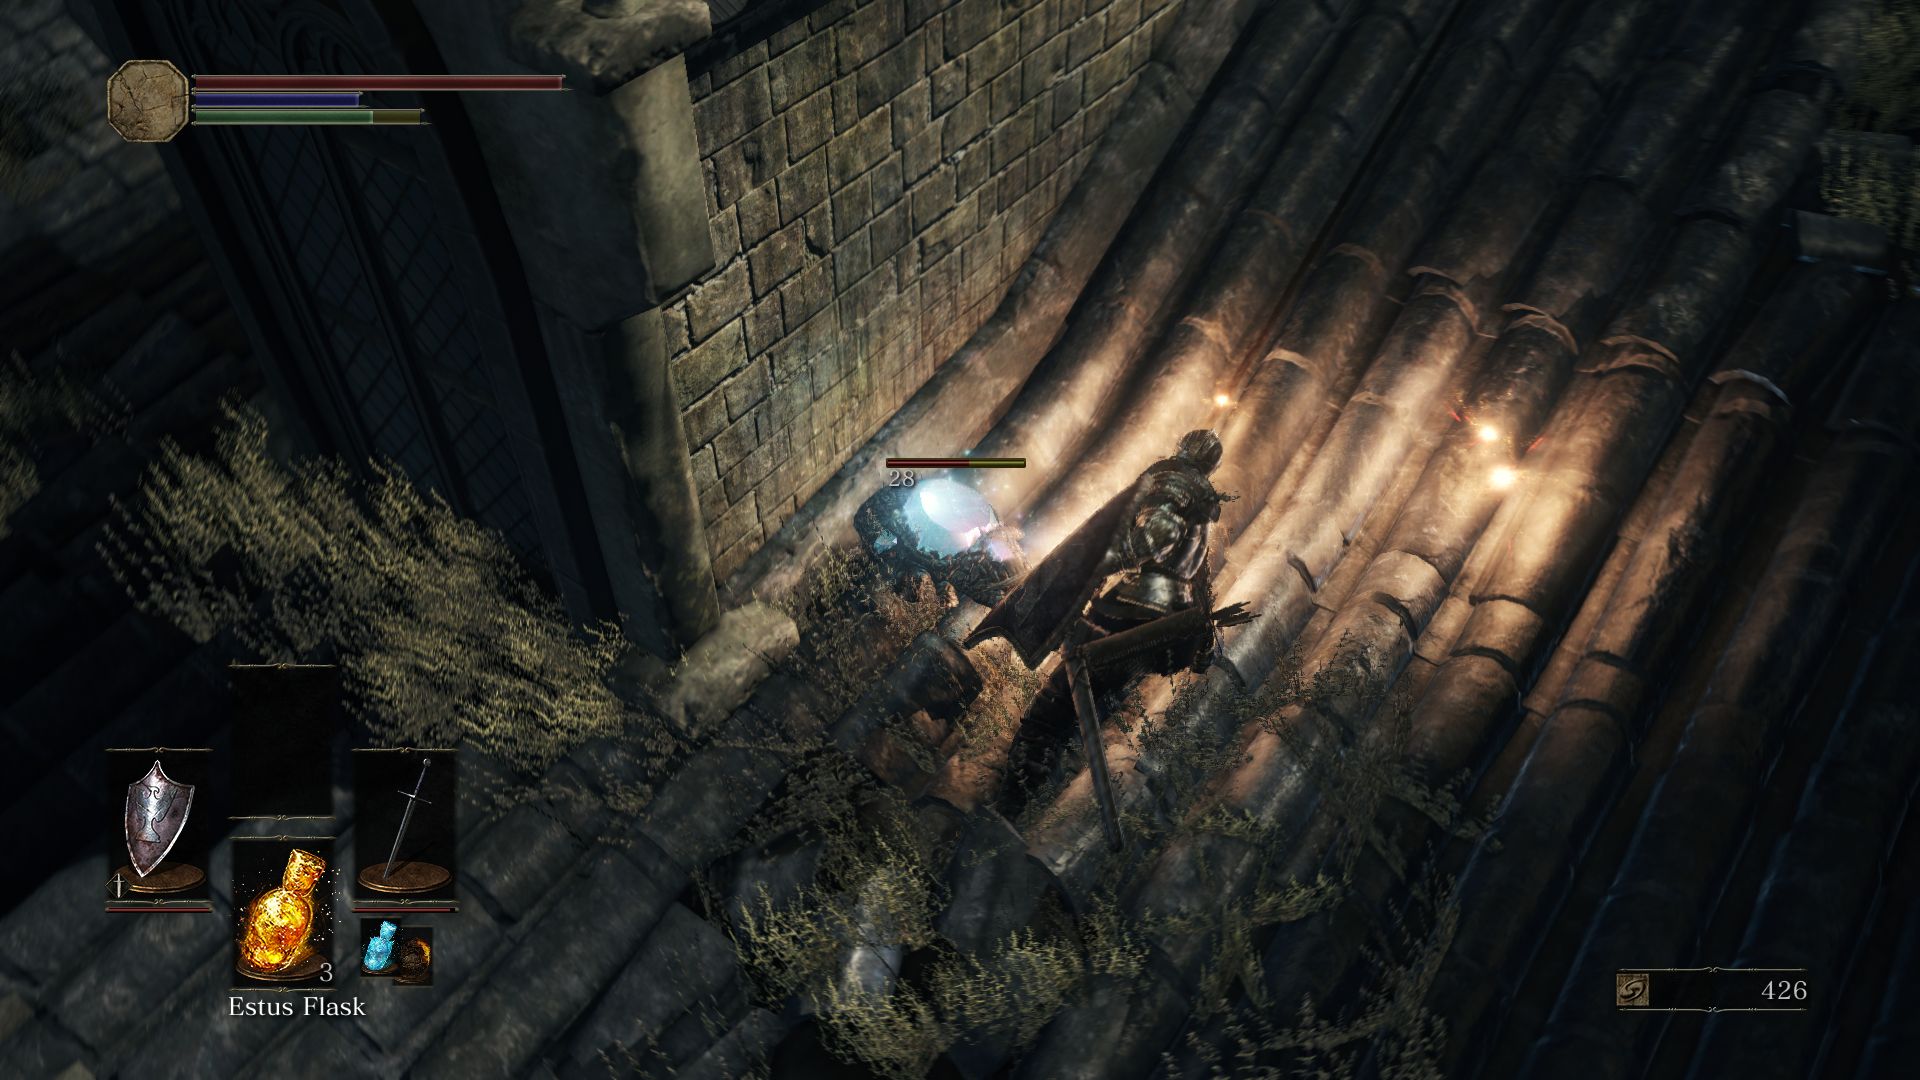
Once you’ve killed all the worshippers here, you’ll find a ladder up ahead to your right (assuming the dragon corpse is behind you), but don’t take it yet. Look to the left and you’ll find a corpse dangling off the roof. Loot it for a Large Soul of a Deserted Corpse. Keep moving to the corner and you’ll see a small Crystal Lizard behind a window. This creature won’t attack you and moves rather fast. Kill it before it runs away from you and disappears and you’ll be rewarded with a Raw Gem. If you fail to kill it the first time, don’t worry. It’ll respawn when you die or light another bonfire, so you can always come back to it.
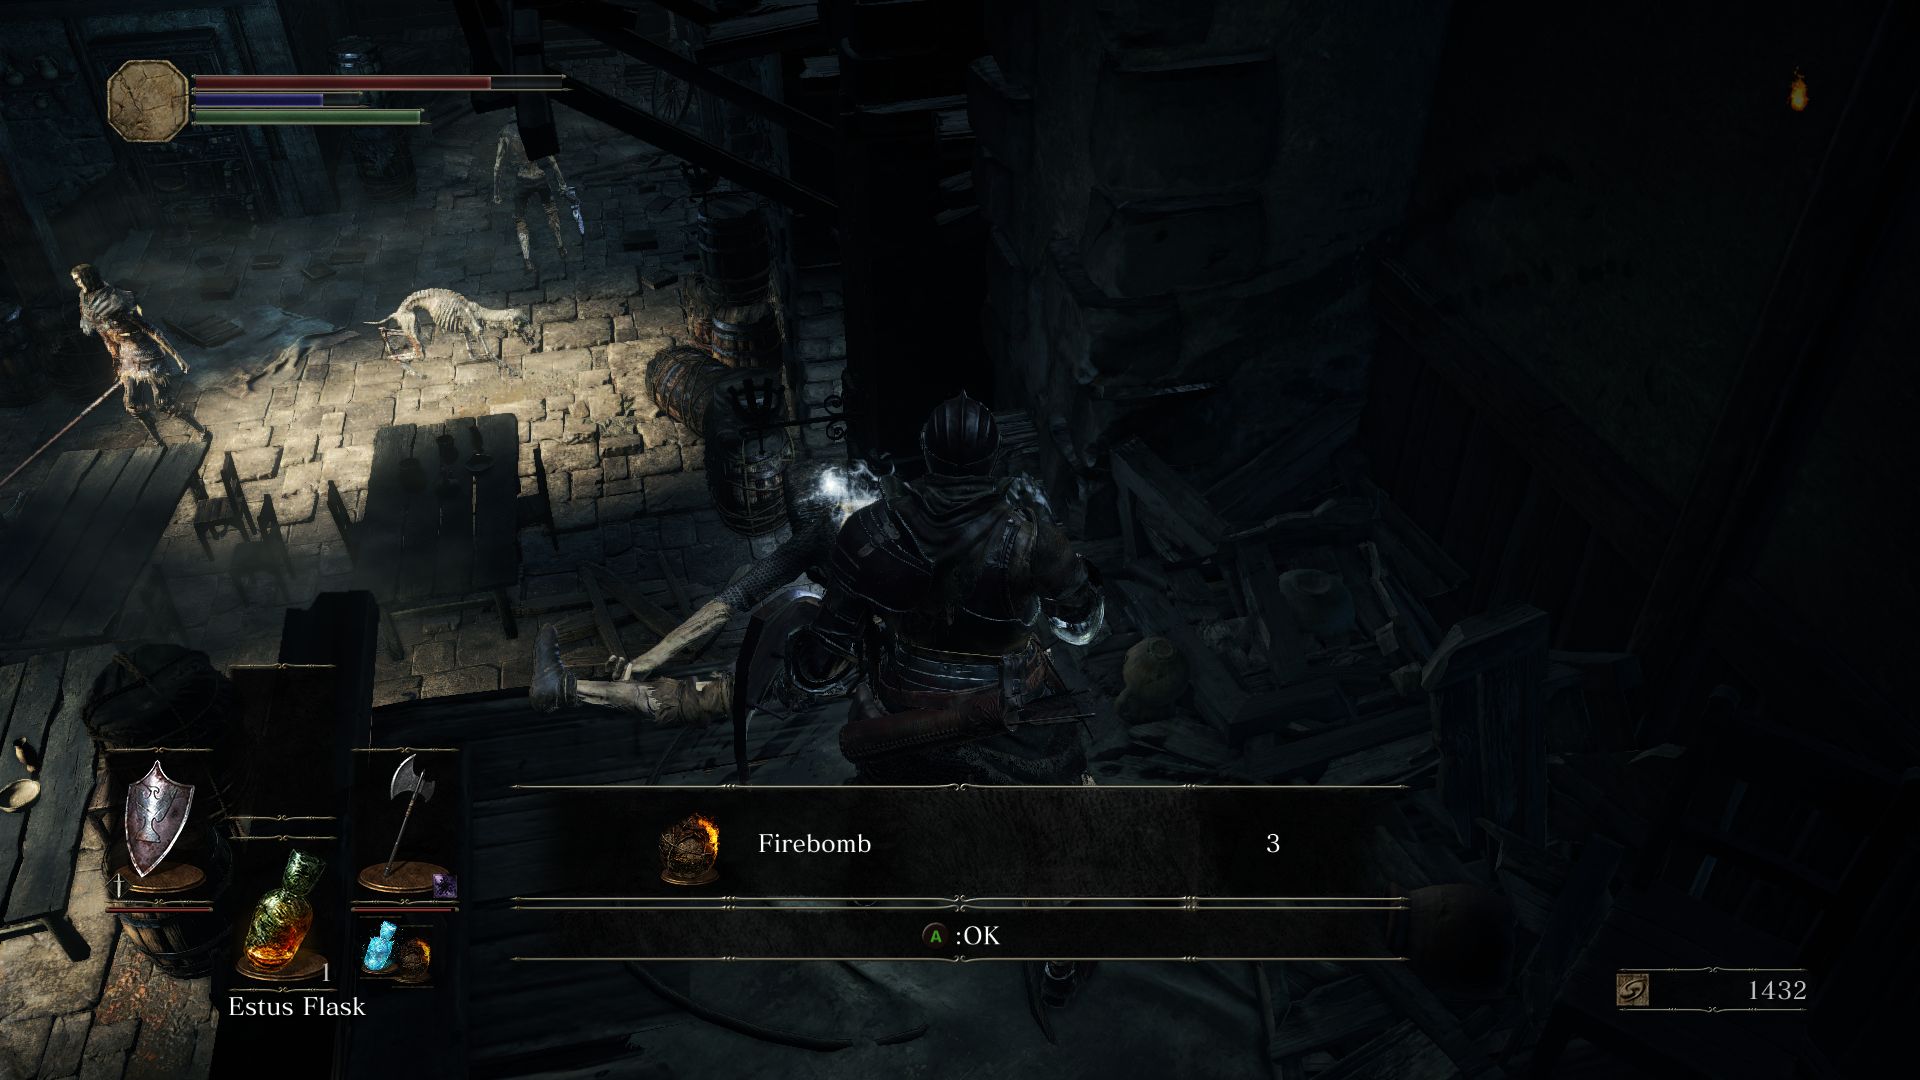
Descend the ladder to the far right of the rooftop and be ready to block or dodge a bolt: there are two skeleton archers on a platform near you. As you approach the archer farther back, two more enemies will climb the platform to attack you. If you’re overwhelmed, lure them away one by one to take them down. Loot the corpse behind the second archer to get some Firebombs.
You’ll notice that there are three paths to take from the point you descended the ladder. With the ladder on your back, if you go left to a narrow portion of the rooftop you can find a corpse holding 3 Black Firebombs. Don’t drop down into the plaza below, or you’ll have to face a rather difficult enemy, the Winged Knight. Go back instead.
There is another ladder leading down from where you the archers were. Once you descend all the way, be prepared to take down two Hollows that immediately attack you. Once you take them down, if you look ahead through the archway, you’ll see the patrolling mini boss, the Winged Knight. We won’t take on him yet, so climb back up the ladder where you came from.
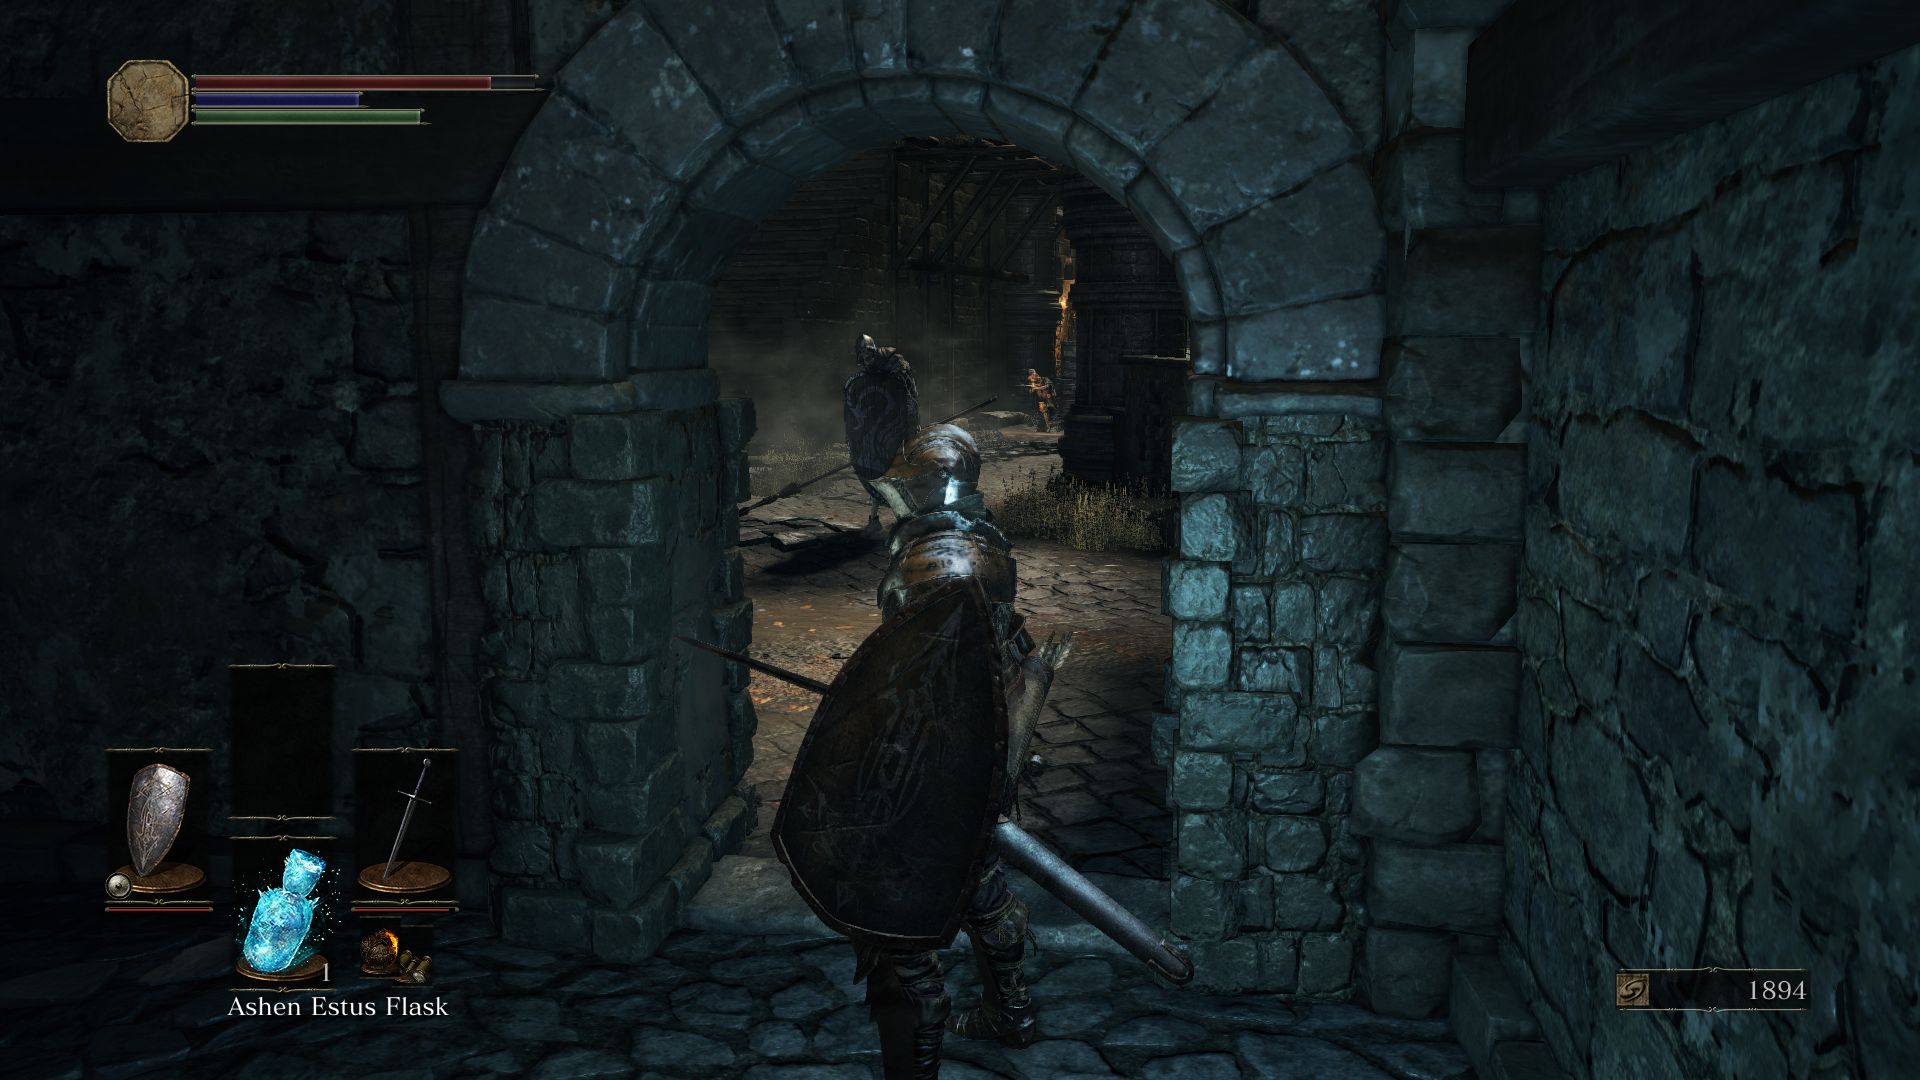
Once you are on the platform again, enter the door behind the ladder you had initially climbed down from, where you will find a patrolling Lothric Knight, this one wielding a long spear. He’ll attack with stabs and bash with his shield if you’re close. You can dodge to the right when he stabs and backstab him or you can wait for an opening every time he raises his hand just a tad before he attacks. Use that opening to strike him a few times which will cancel his attack. After you kill him loot the corpse in a corner of the room for a Soul of a Deserted Corpse.
Before you proceed forward, enter the alcove to your left. An archer awaits so have your shield up. Take it down and be prepared to charge at a watchman nearby as well. If you don’t kill the watchman on time, it will alert a nearby enemy hiding behind some urns. If the watchman died before he could alert, the undead will still be sitting behind the urns, so destroy the urns and kill it before you can react. You will also be able to pillage 2 Undead Hunter Charms here.
As you walk up the stairs in the alcove, you’ll find a Hollow Thief to your right and a corpse to your left that will give you a Titanite Shard. Go back to the room where the Knight was patrolling and proceed through the doorway into a corridor. Before you move past the second archway, look to your right for a wheel and other debris. Strike it down to clear the path.
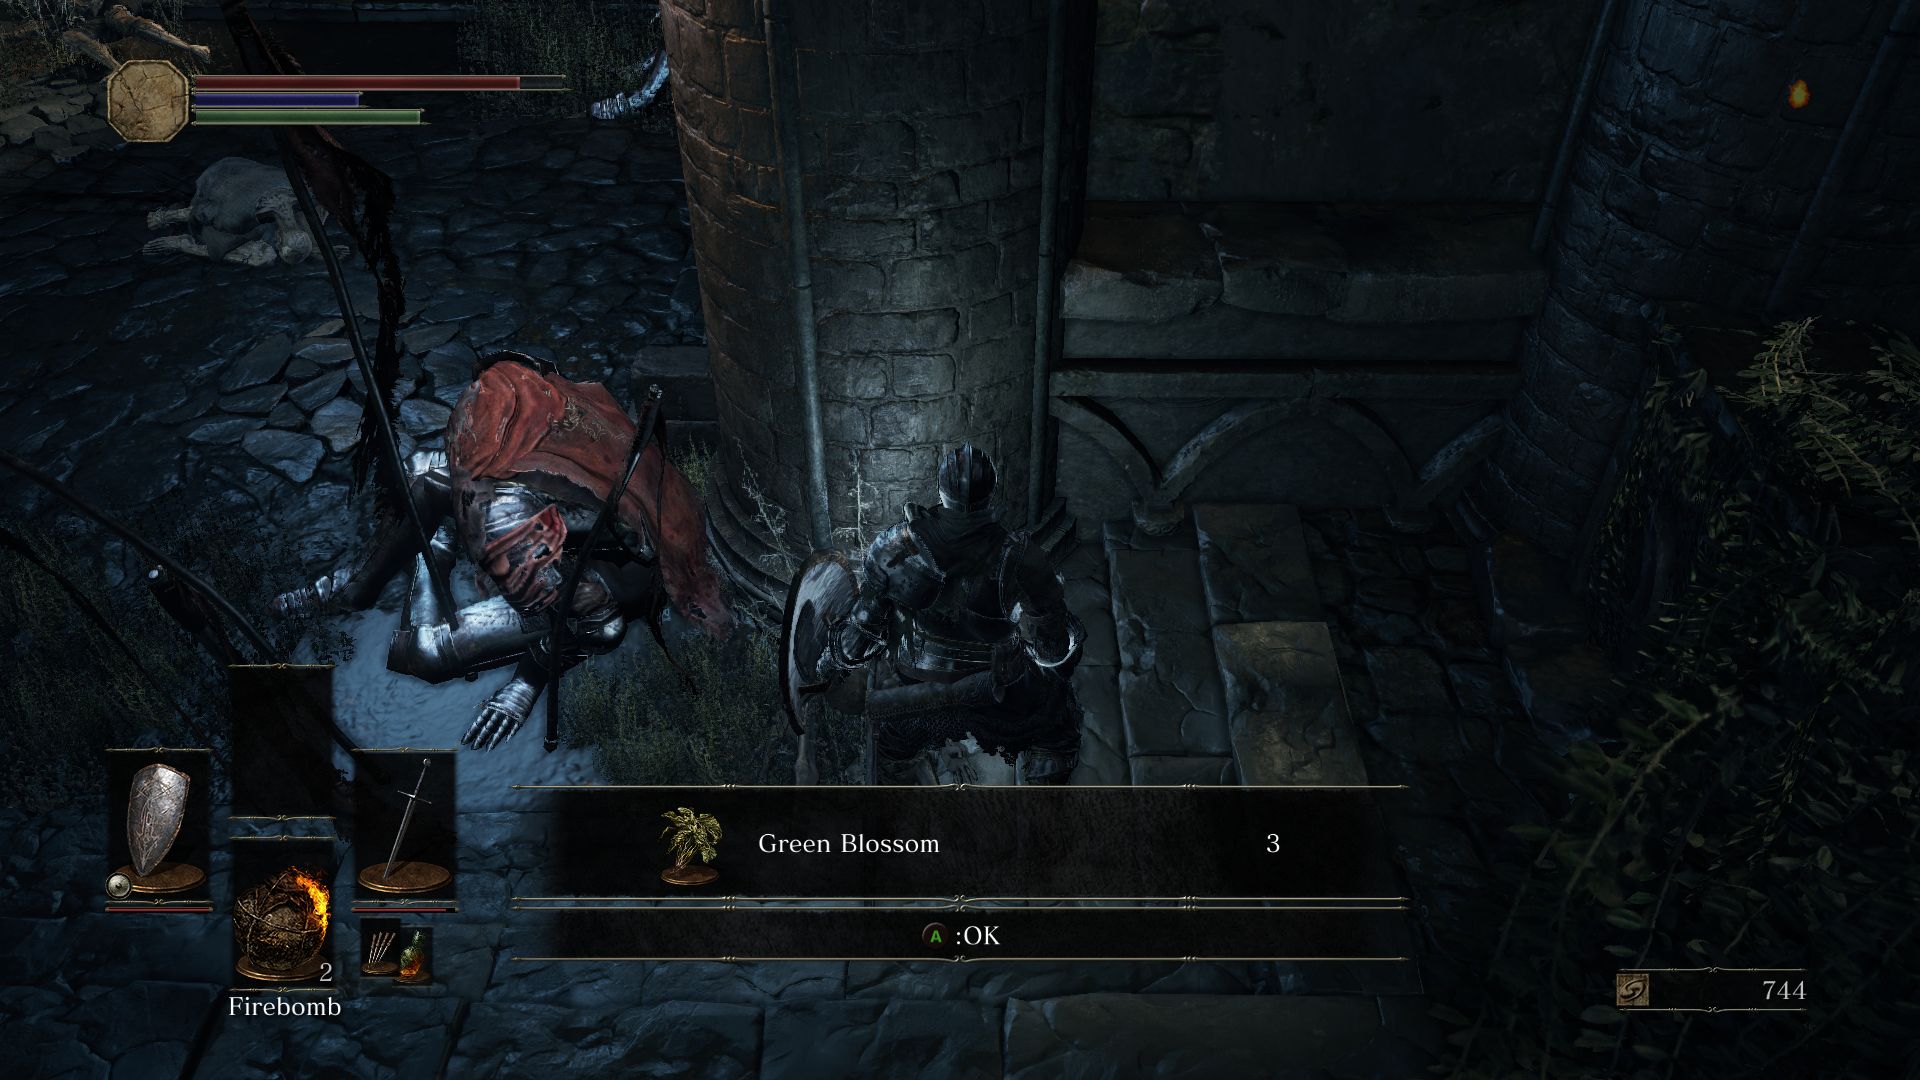
Continue through the narrow path and you’ll come to a dead end with a corpse holding 2 Green Blossoms. Go back to the corridor and continue ahead, but be wary for the soldier to your left that will ambush you. In this alcove you’ll find a corpse behind some crates that holds a Broadsword.
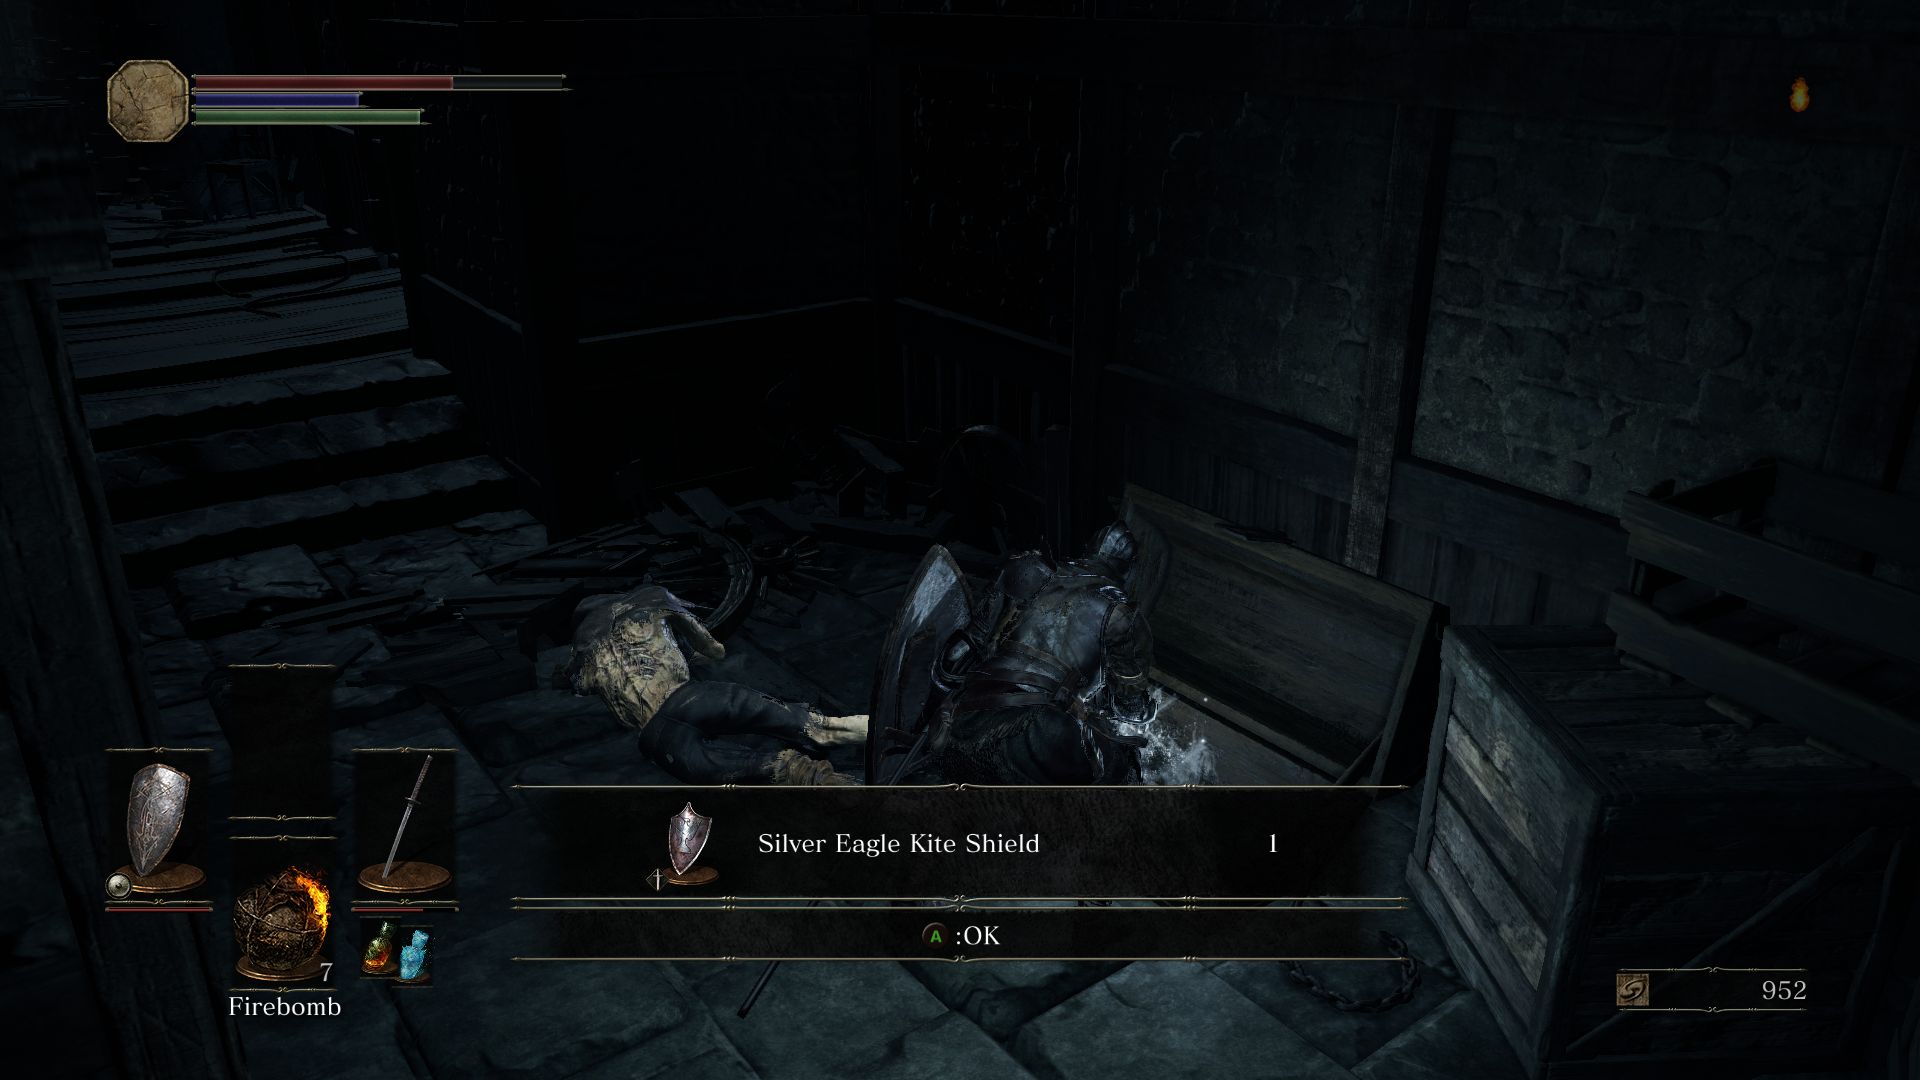
Exit the alcove and proceed through the hallway onto the stairs. Go down the stairs and you’ll find yourself in the second floor of a large room. Before you head downstairs to the bottom floor take a right and go around the balcony to find a Hollow Thief who is guarding a chest. Kill the Thief and loot the chest for a Silver Eagle Kite Shield.
You will see another soldier sitting at the edge of the balcony. Take it down so that it doesn’t rain firebombs on you once you are downstairs. This enemy should drop some Firebombs.
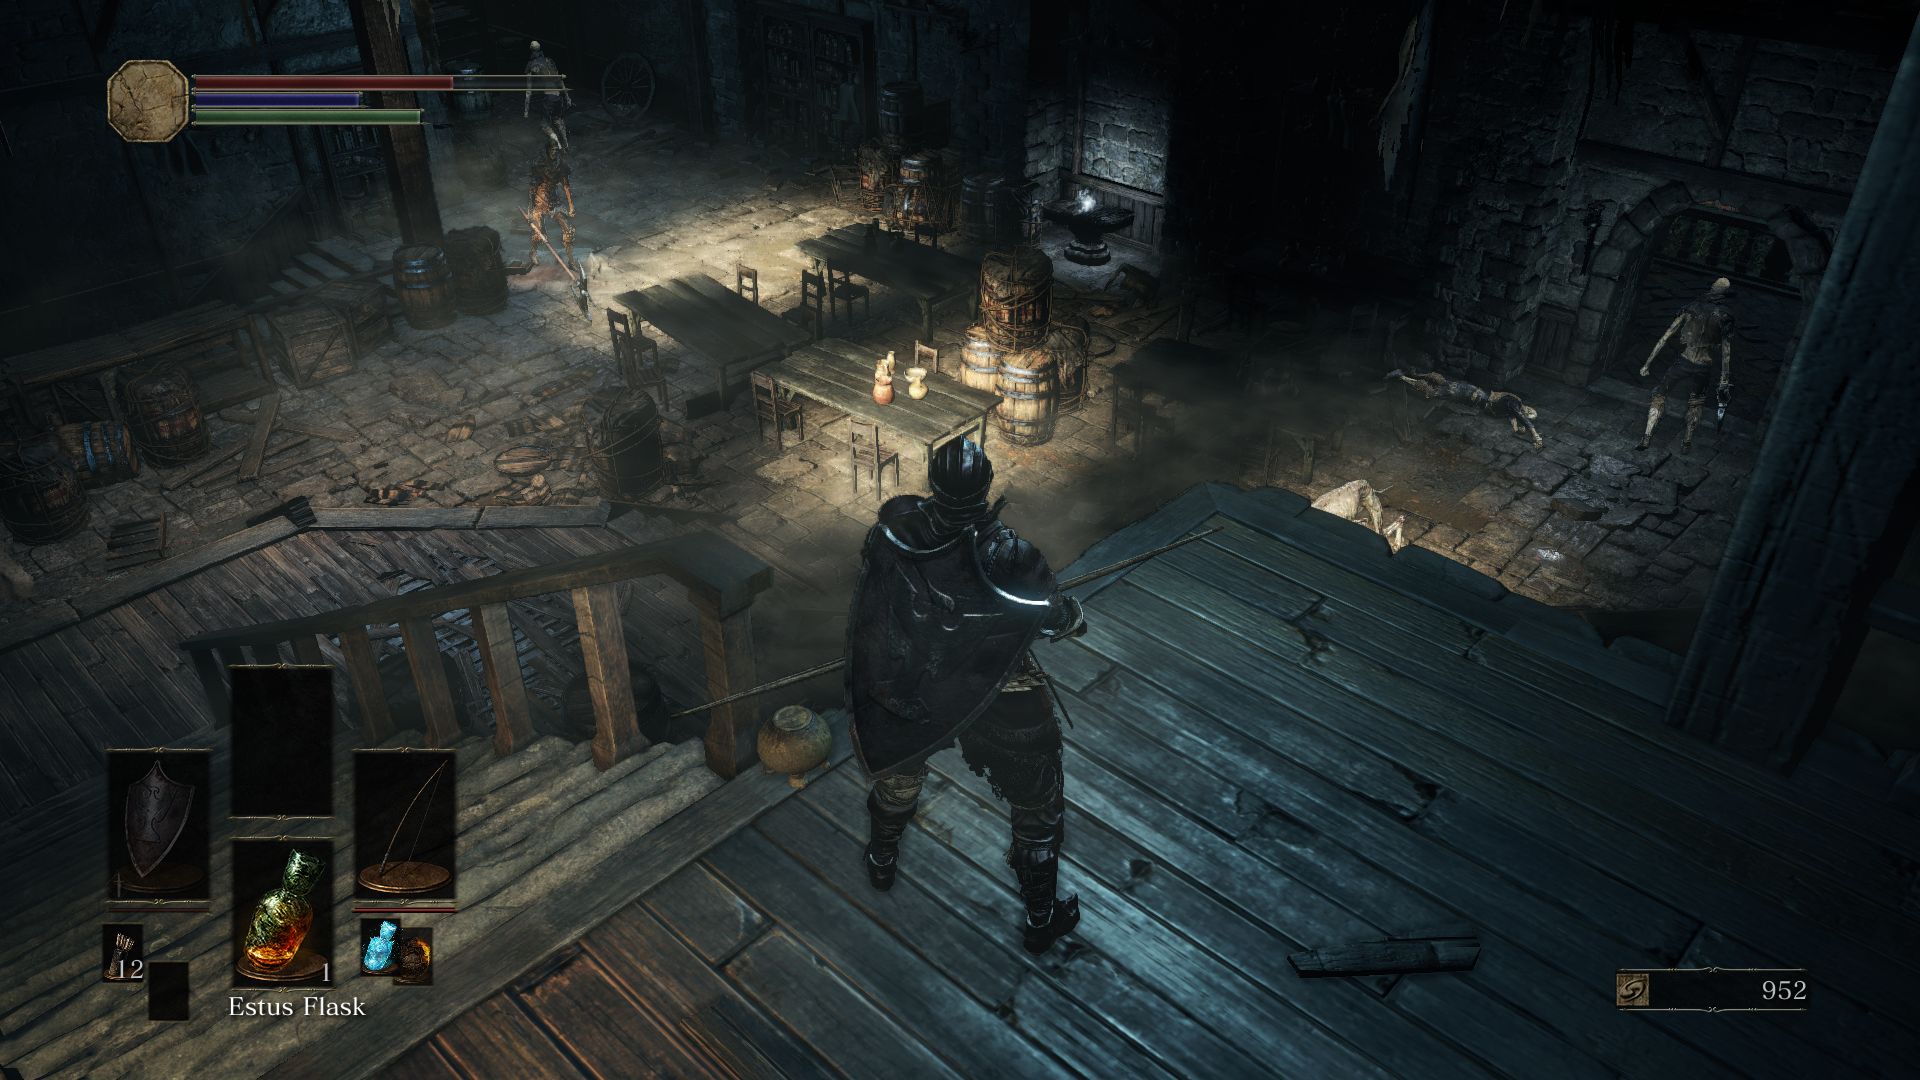
Now go back around to the stairs and scout the area. You will see three patrolling enemies and a Hound. You can draw attention of the enemies one by one so as not to get overwhelmed. You can choose to deal some ranged damage first, such as the arrows, firebombs, throwing knives or spells. The Hound moves fast, so it’s best to lure it first and kill it. To the left side of the room you will find a Hollow with a Halberd and another with an Axe. The Halberd soldier moves up and down the stairs, so you can wait until it has moved to the bottom of the stairs (where another Hound awaits) to lure the Axe-wielder. Lure it to the stairs so you can fight it one on one and kill it. Proceed to lure the Halberd-wielder to take it down as well. There is another axe-wielder in the right side of the room, so go ahead and deal with it now that the other soldiers in the room are dead.
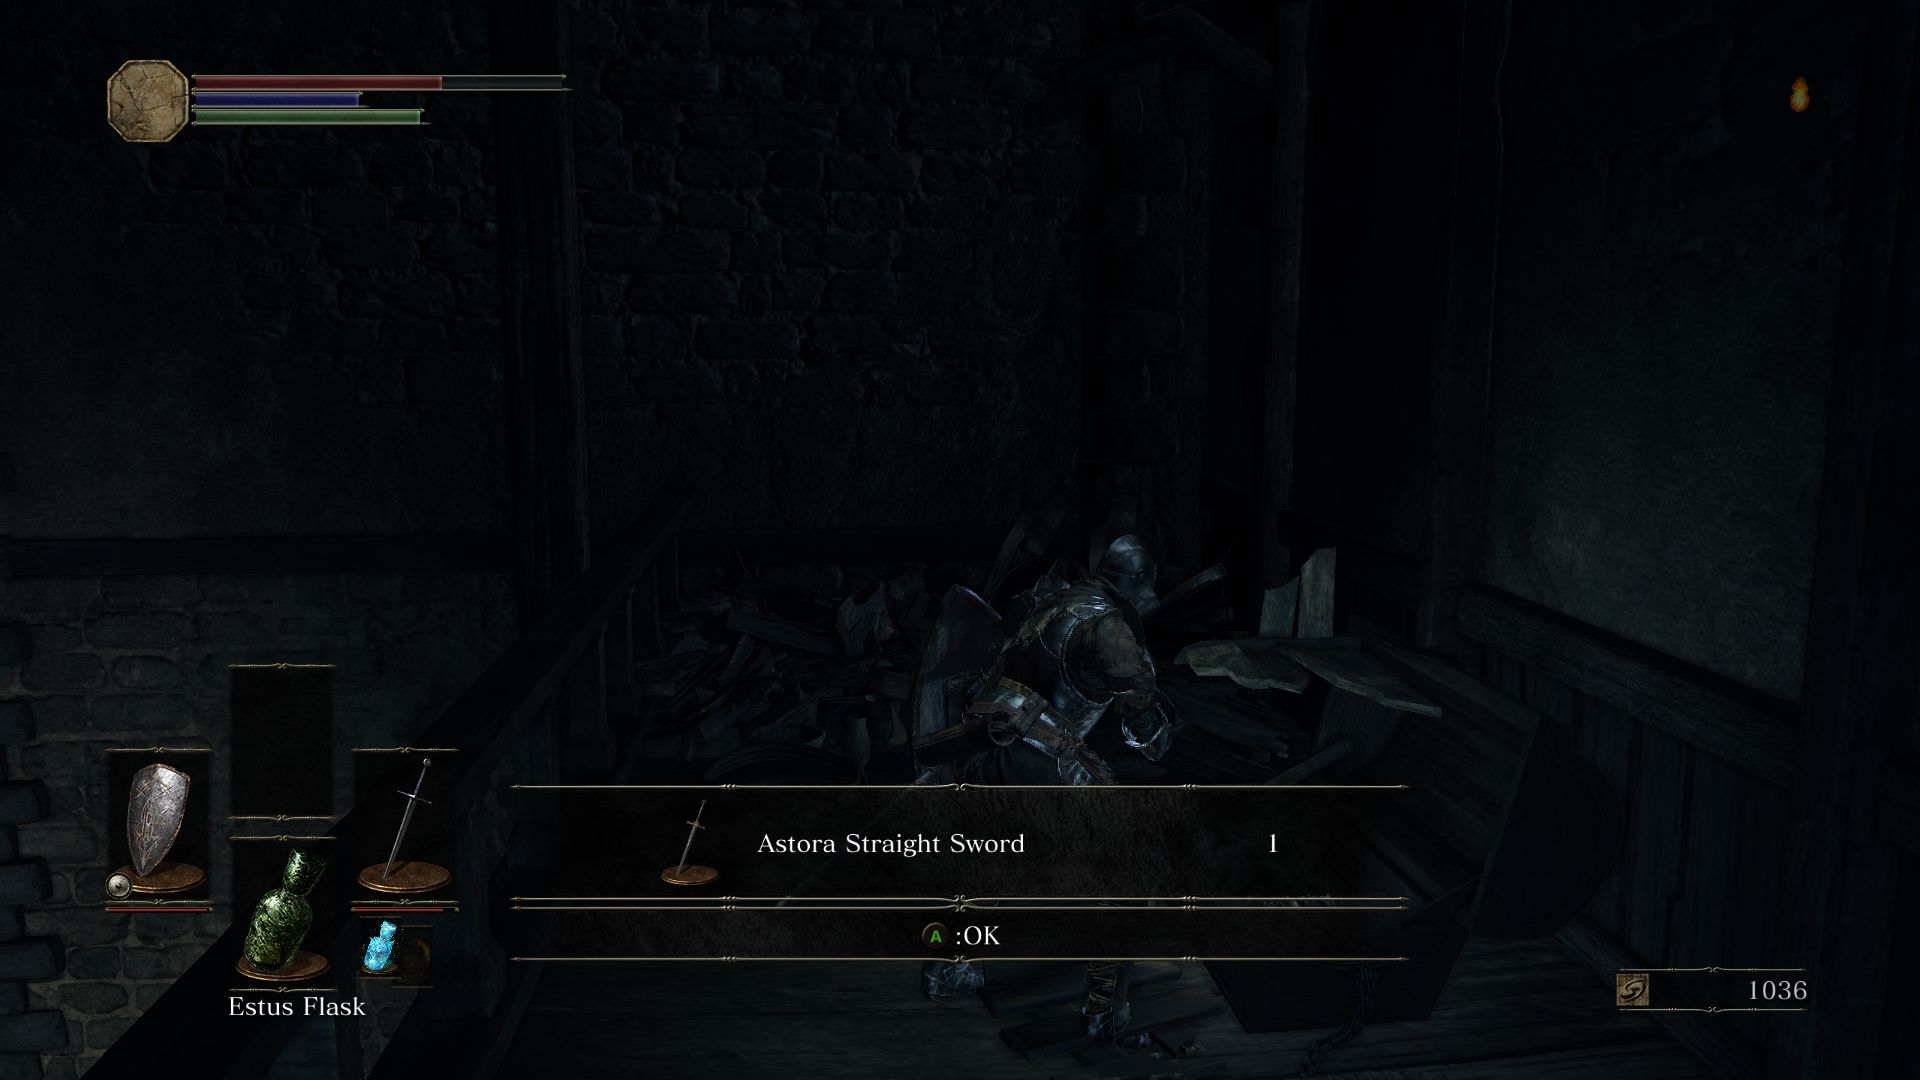
Once the room is clear, it’s time to get your loot in this area. Go back up to the third floor where you had obtained the Green Blossoms (behind the wheel and debris). Move to the end of the balcony and clear some more debris to be able to drop down to the second floor balcony. Loot the chest to obtain an Astora Straight Sword.
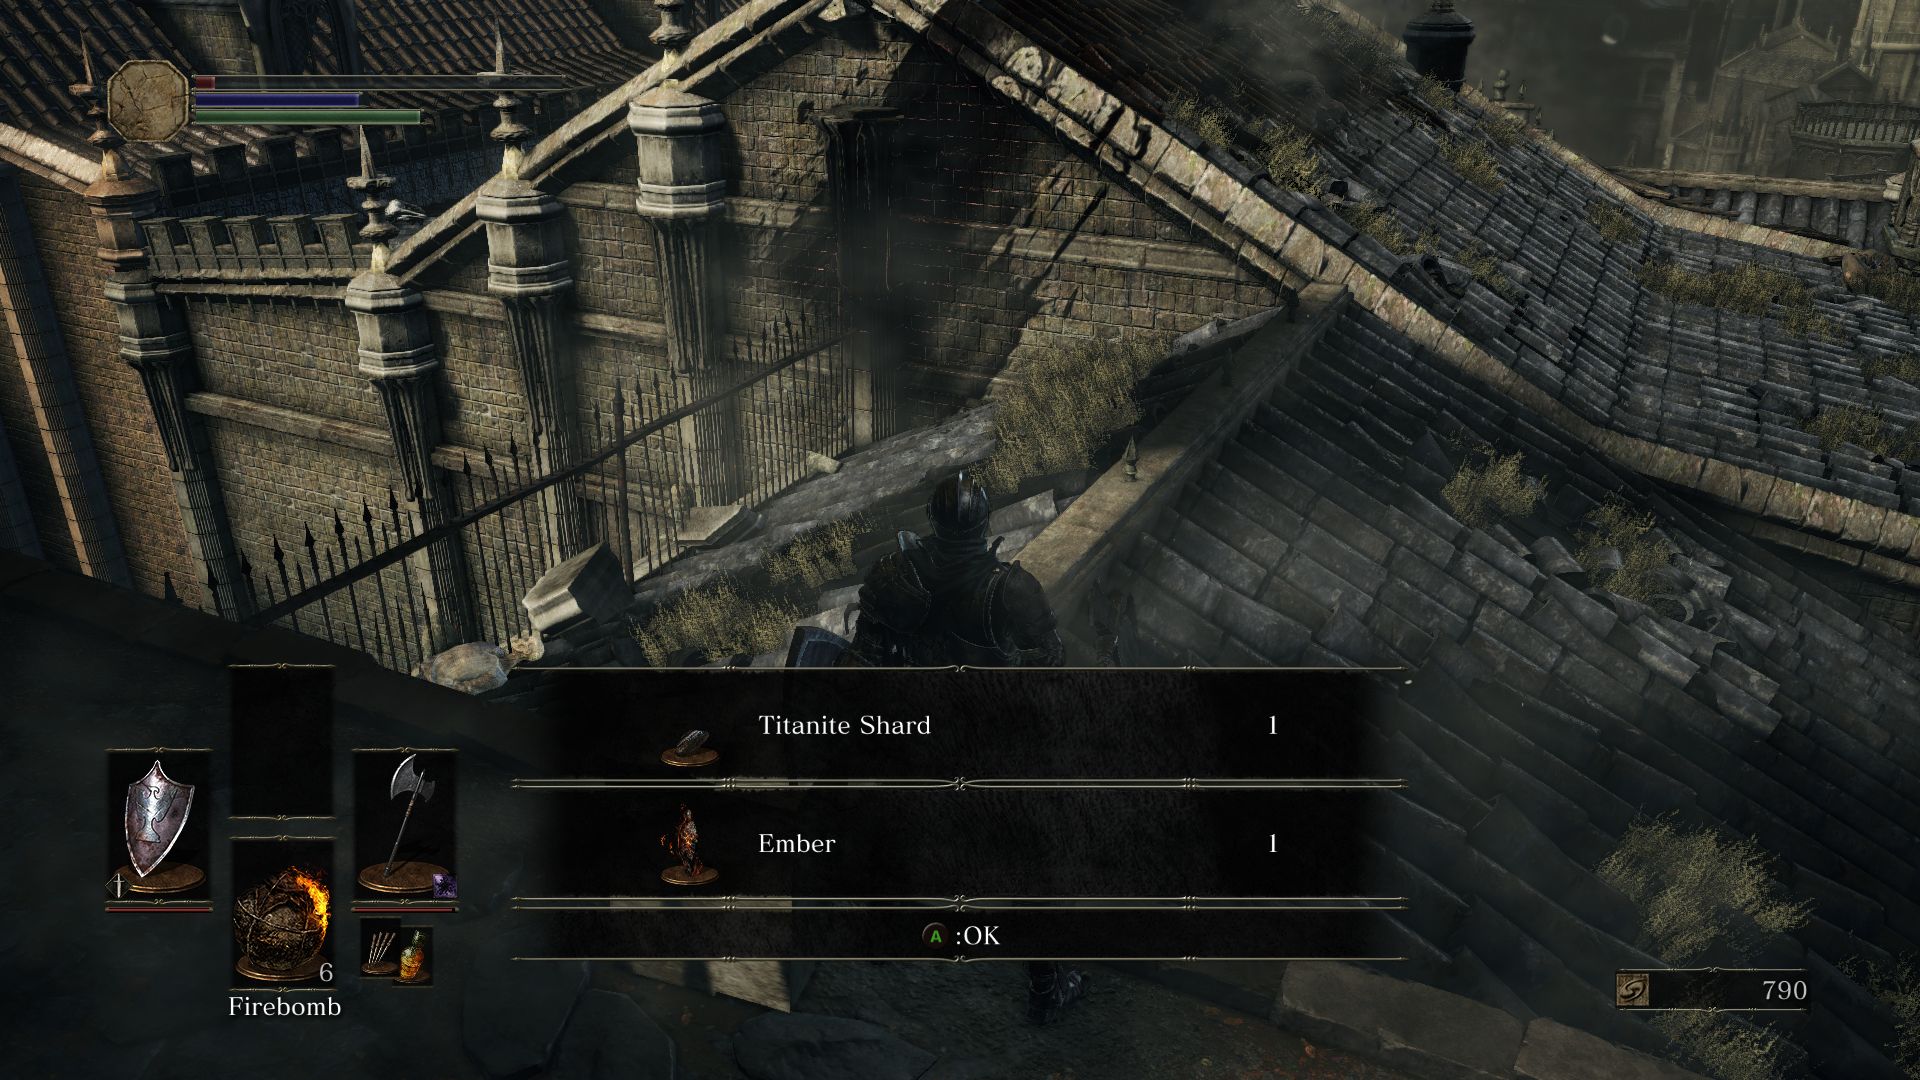
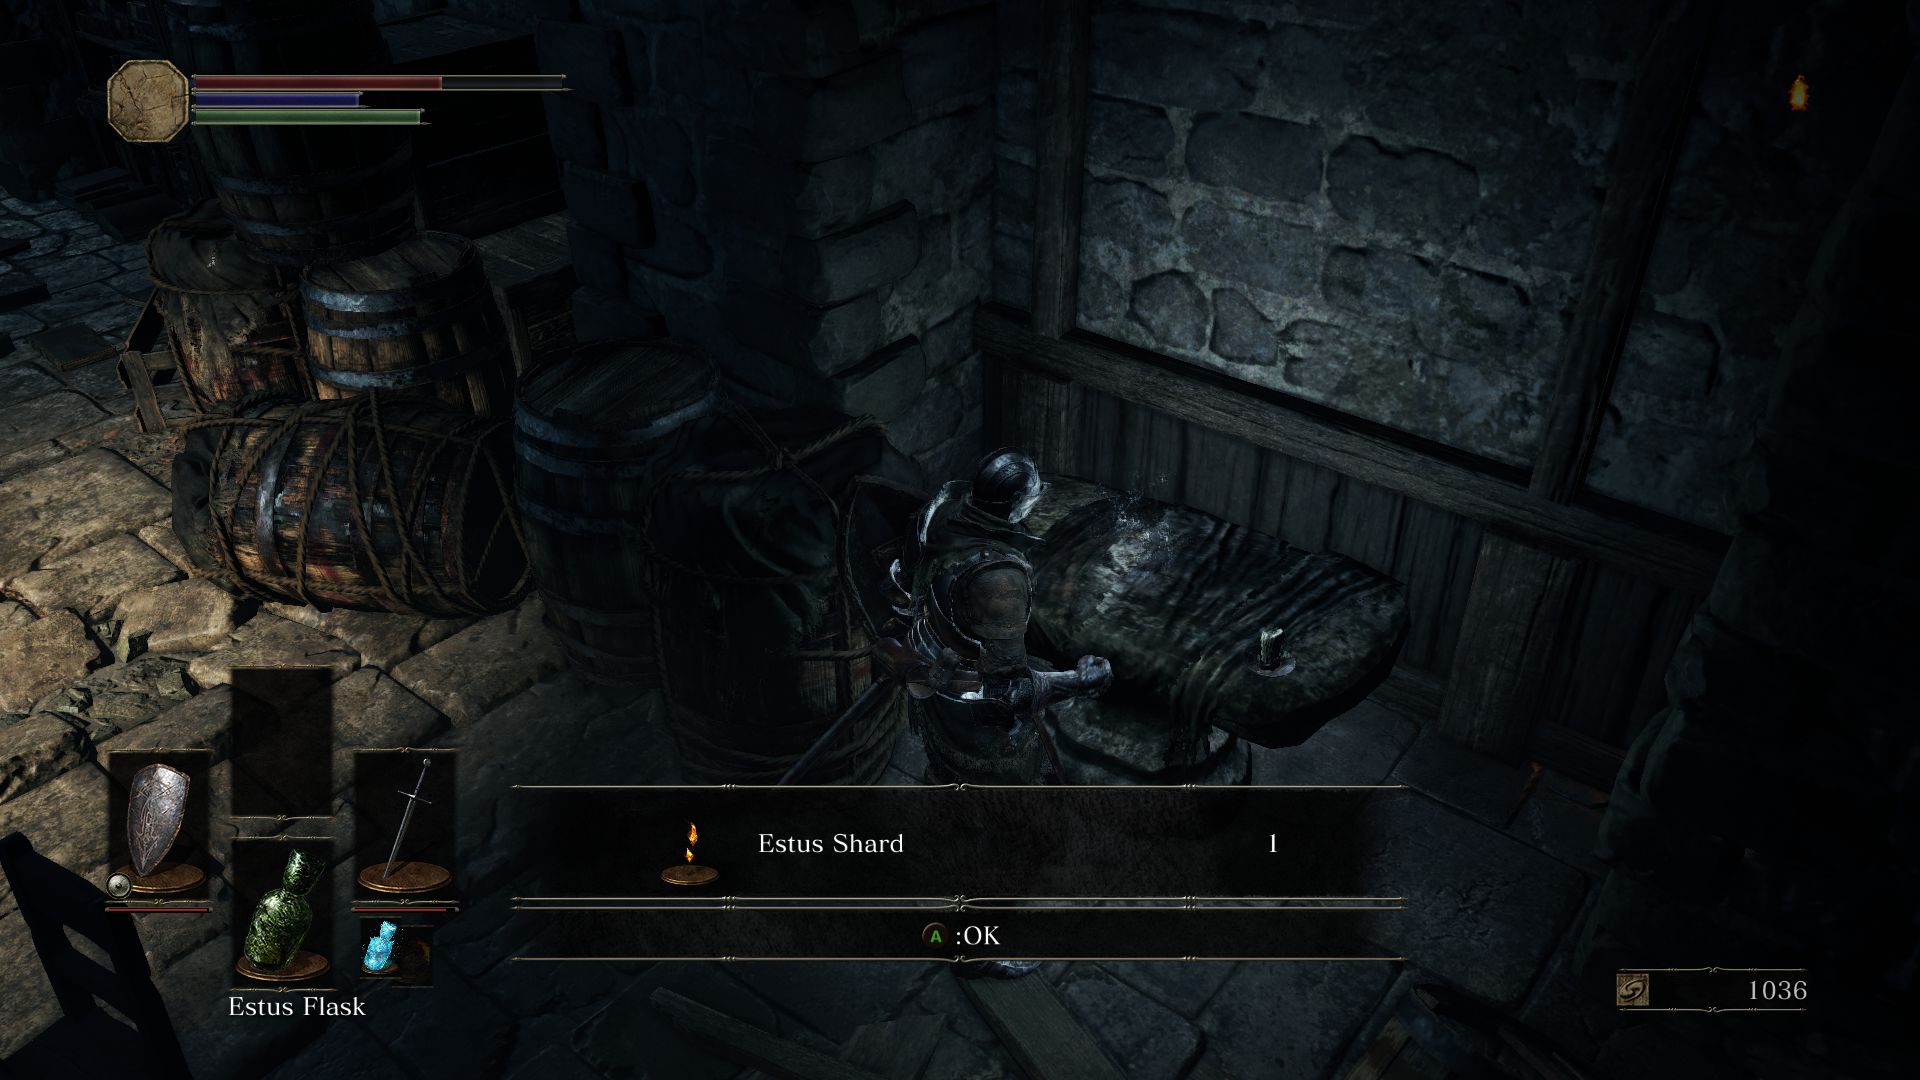
Walk around the balcony to drop down to the bottom floor once more. Scout the area to find an orb behind some crates to pillage a Titanite Shard. There is another orb on an anvil that will give you an Estus Shard (Talk to Blacksmith Andre to increase amount of Estus Flask usage when you visit the Firelink Shrine).
Go down the stairs where the axe-wielding Hollow was patrolling to kill a hound and loot the corpse holding a Cell Key.

RECRUITING GREIRAT: Remember the NPC Greirat from earlier who is imprisoned in the tower? This Cell Key is used to free him. You may choose to backtrack your way to the prison (if you had used a bonfire or died since you had been there, keep in mind that the enemies would have respawned by now, so take a look at the earlier part of the walkthrough on how to get there). After you talk to him, he’ll ask you to seek out Loretta in the Undead Settlement and give her a Blue Tearstone Ring. He assures you a reward, so it’s worthwhile to accept the quest. After the conversation, Greirat will disappear and take residence in the Firelink Shrine.
Back to the barracks. After the room has been cleared and pillage, it’s time to face the Winged Knight. You can either take a shortcut by dropping down from the balcony (take the door beside the anvil) onto the Winged Knight or backtrack to the ladder area we mentioned earlier. For this guide, we will go back to the ladder area with the two archers.
When you descend down the ladders, take down the two Hollows immediately and proceed to enter the plaza. The Winged Knight patrols a fountain, circling it constantly. Since this mini boss doesn’t have a guaranteed loot, you may choose to simply sneak past him without confronting him. It is possible to loot the two orbs around the fountain to get 2 Embers. Just wait for the Winged Knight to be out of range and walk to the orbs to loot the corpses.
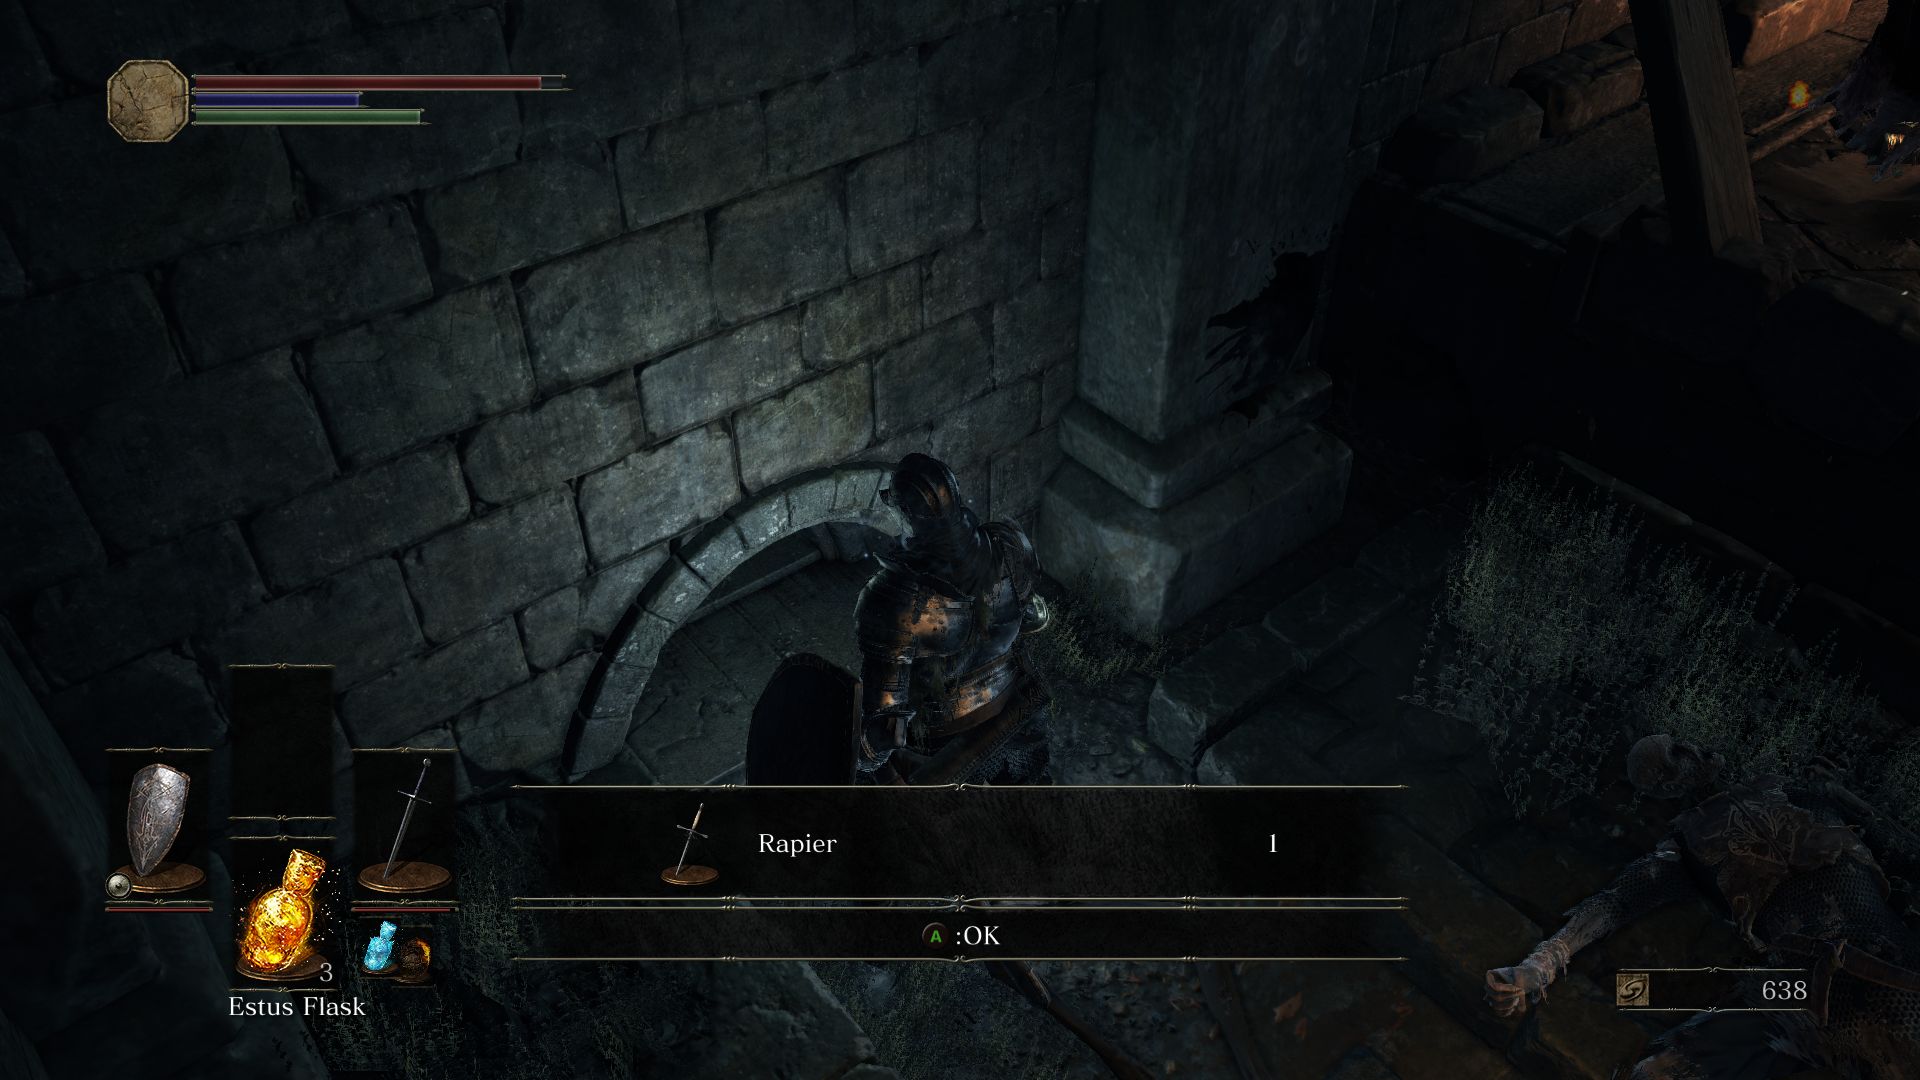
Just below the Barracks drop off you’ll find another orb which has a Rapier, but as soon as you approach the orb a Hollow will stand up and attack you, so take it down as it rises.
Now assuming you choose to fight the mini boss Winged Knight, this is what you need to know. He will attack with his Halberd in wide arcs so you have to be on point to block or dodge his attacks. He also does lunges that you can dodge to the side to follow up with some attacks or position yourself behind him to do some massive backstab damage. Be wary of his weapon arts attack: he swings his halberd around him in a whirlwind and charges at you. Run back when you see him prepare this attack. Another thing you need to look out for is when he starts glowing. Rush back immediately as he brings forth some lightning strikes around him in random spots.
After you take down the Winged Knight, loot the area for the Embers and Rapier and proceed towards the other side of the plaza to enter a fairly large open area. To your right you’ll find an archer up some stairs and a soldier close by. Block the bolts and take down the enemies. Opposite to the stairs you’ll find an orb containing a Soul of a Deserted Corpse.
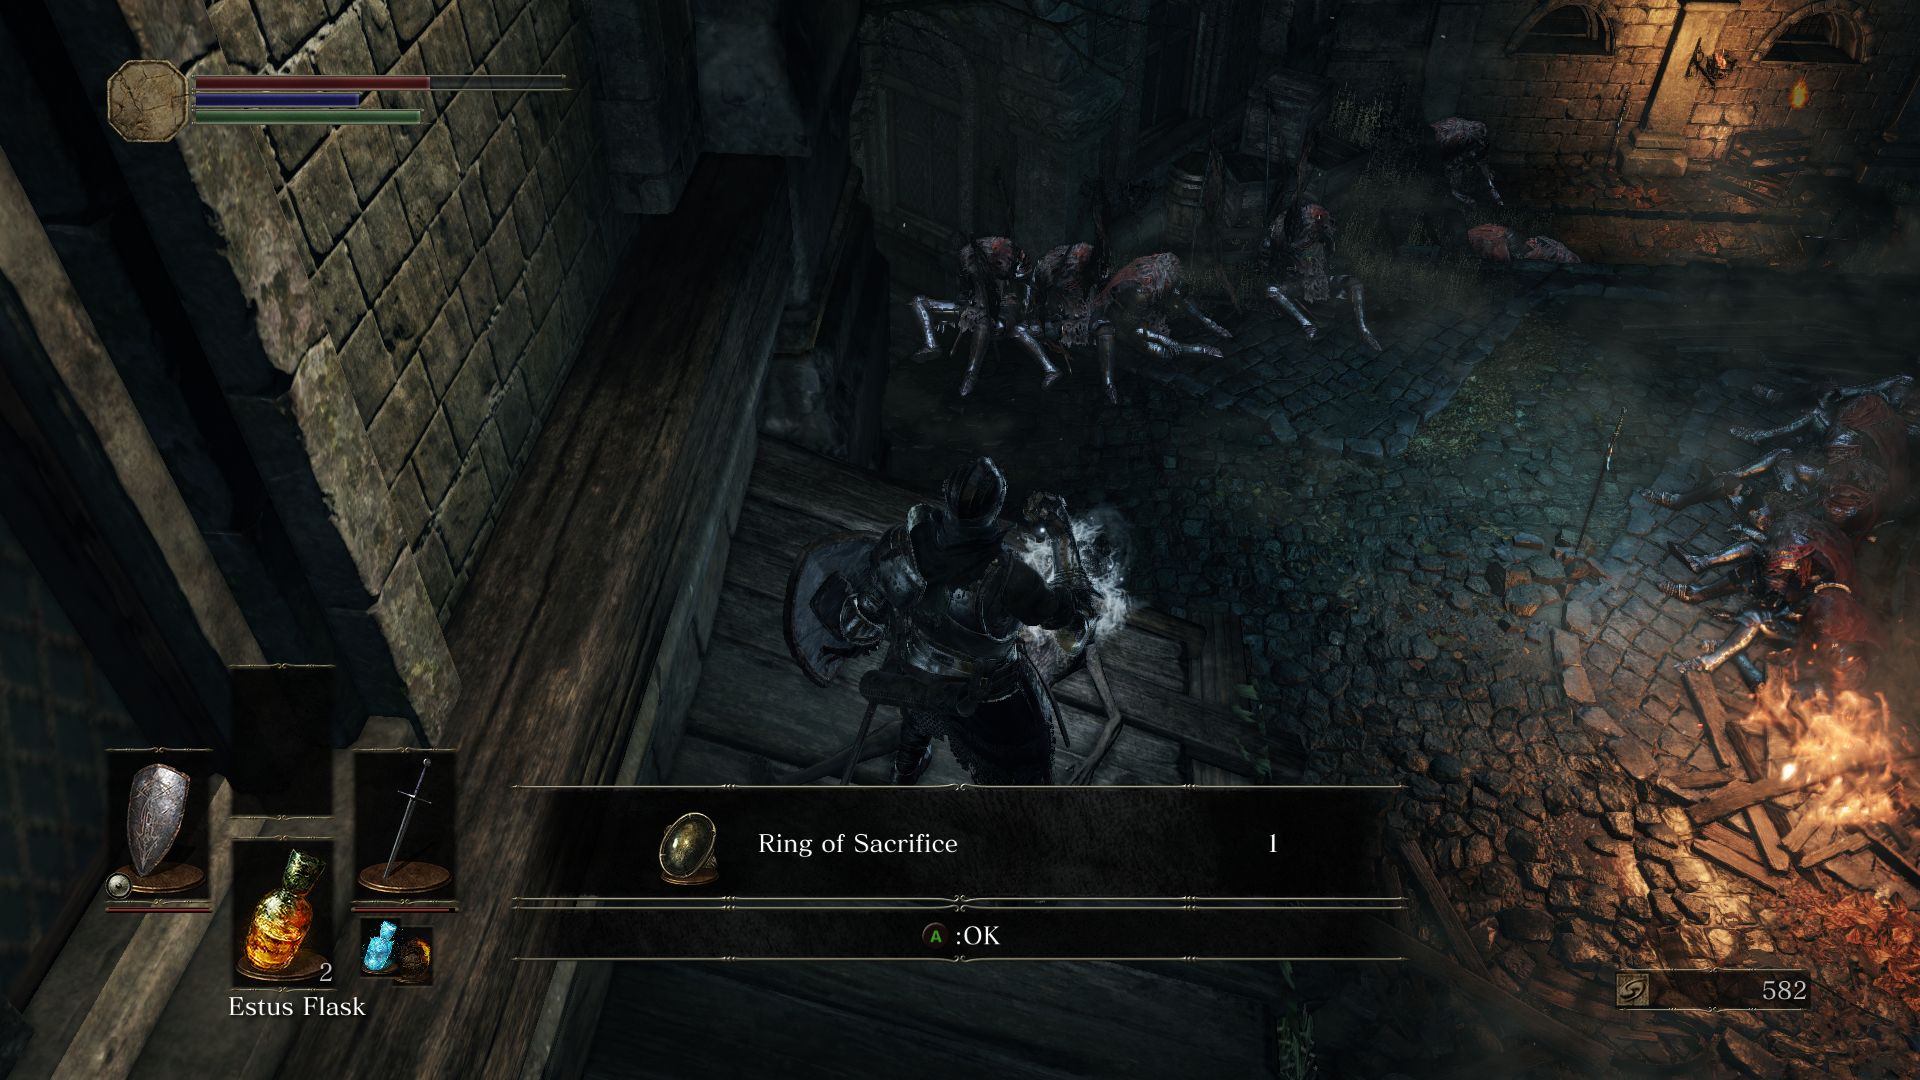
Up ahead in the open area you will see quite a bit of enemies, but don’t head in that direction yet. We want to establish a shortcut to the High Wall of Lothric Bonfire first. Go up the stairs where the archer was positioned. Just past the stairs, go right onto a rooftop. You’ll find a Large Soul of a Deserted Corpse. You will see another corpse nearby but to reach that you need to dash towards the edge of the rooftop and jump onto the other roof. This corpse holds a Ring of Sacrifice.
Jump down and move back to the staircase to the right after exiting the plaza. If you had sneaked past the Winged Knight, be careful not to draw his attention. Moving past the first flight of stairs, you’ll pass through a corridor and onto another flight of stairs. You’ll notice one Hollow soldier, but as you approach him, 4 more weak Hollows will emerge from behind him. Dispatch of them and search the area to the left of the door you had entered through for 3 Green Blossoms.
Proceed to the other end of the pathway to find an elevator. Ride the elevator to the top floor and loot the corpse behind for some Throwing Knives. The door leading from the room is the one that leads to the High Wall of Lothric Bonfire that you couldn’t open earlier. This creates a shortcut that you can use for later. But be cautious as the enemies behind this door have respawned again by now. Once you’ve established the shortcut from upper bonfire to the boss, it’s time to go back to the large open area leading from the plaza.
You will notice 2 Lothric Knights, one wielding a spear and another a sword. Try to lure them back one by one instead of drawing attention when they are close together. Watch their combos and time your dodges or parries to eliminate them. If you head down to the right, you’ll approach the boss, but we aren’t going that direction yet.
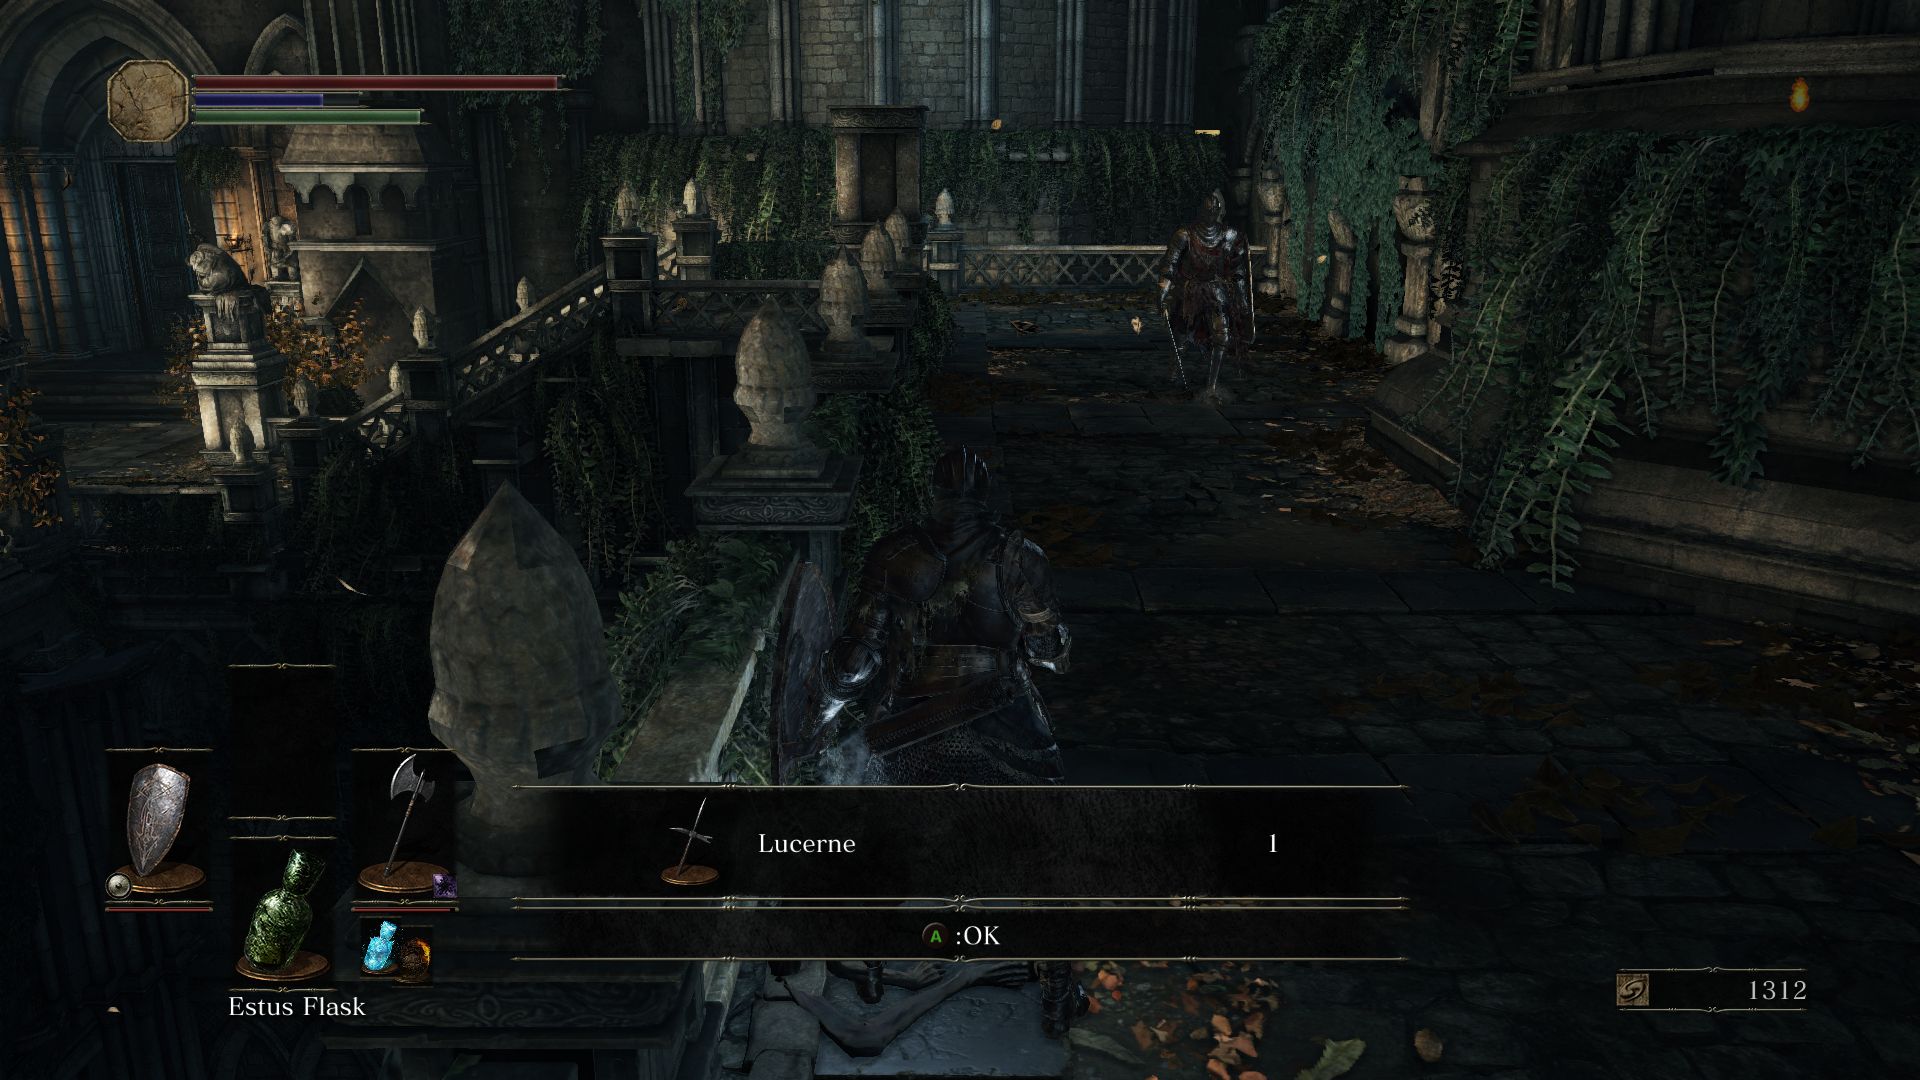
To the far side on the right is another Lothric Knight patrolling a narrow pathway with a corpse holding a Lucerne weapon. You could either try to take on this Knight to loot the orb for the weapon, or wait for the Knight to walk away so that you can sneak up to the orb to pillage it and run back to safety.
Back to the courtyard where there were two patrolling Knights. Move towards the chapel away from the boss area. To your left you will see yet another Knight but this one is dressed in blue. He will enchant his weapon to do improve his abilities so watch yourself while he has his enchantment up. You can use the opening when he is enchanting to land a few hits. Killing him rewards you with a Refined Gem.
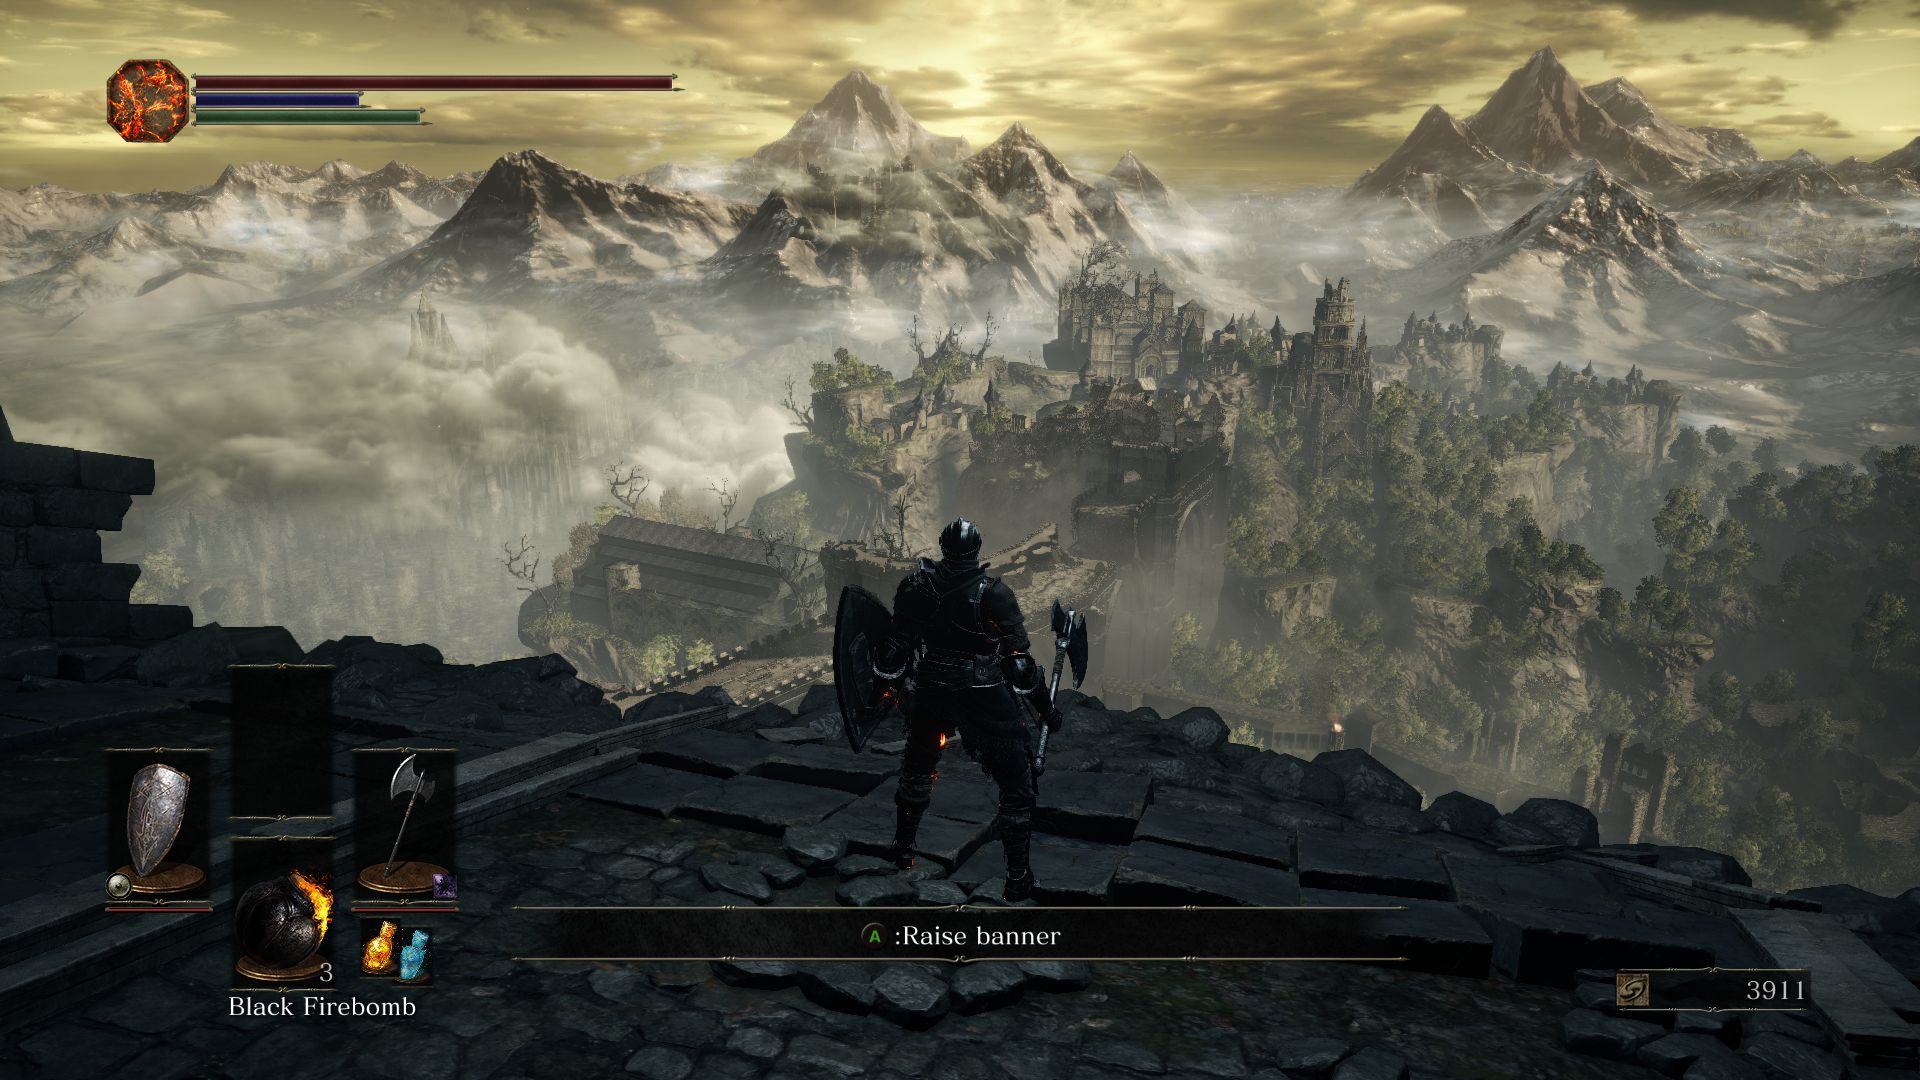
COVENANT WAY OF BLUE: Walk inside the chapel to find an NPC sitting at the far end. This is Emma, The High Priestess. She will give you a quest to raise the Small Lothric Banner outside the castle gate. If you talk to her again she’ll give you Way of Blue Covenant insignia. This lets you join the Way of Blue covenant.
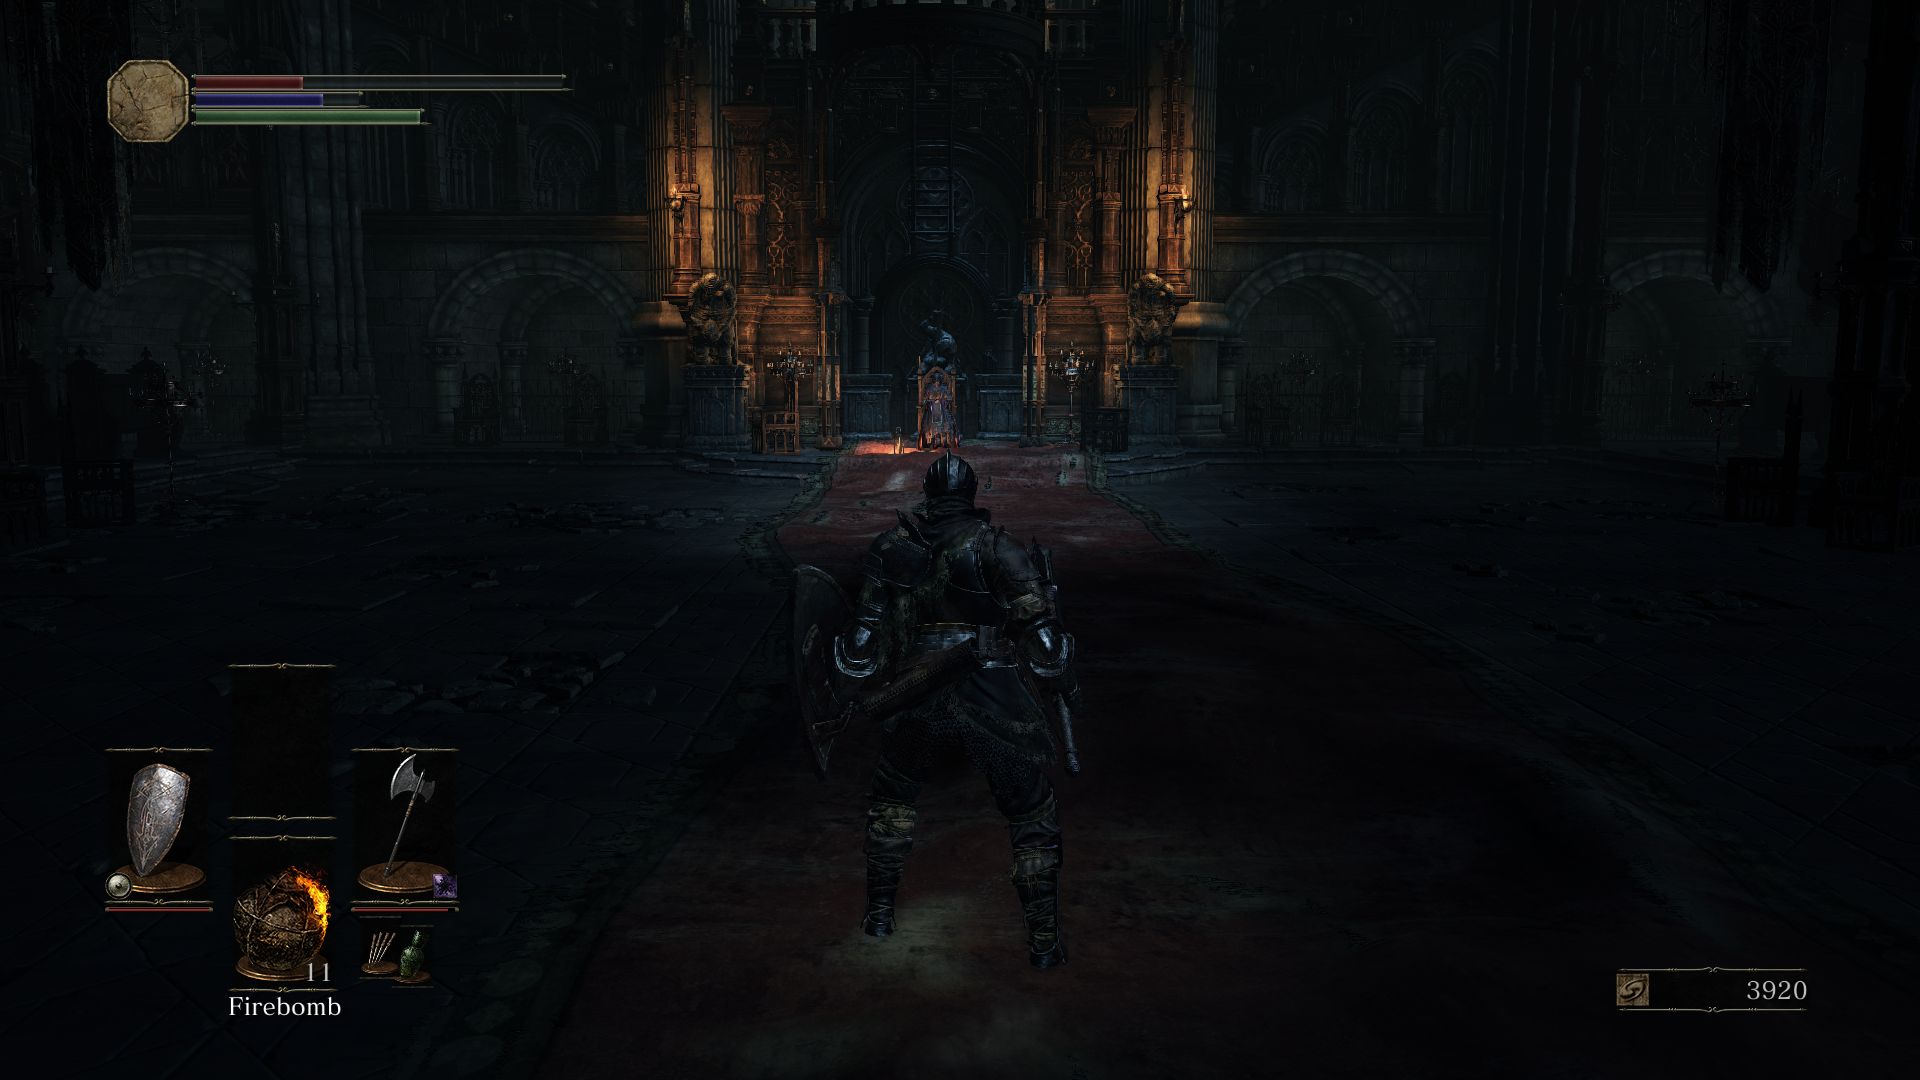
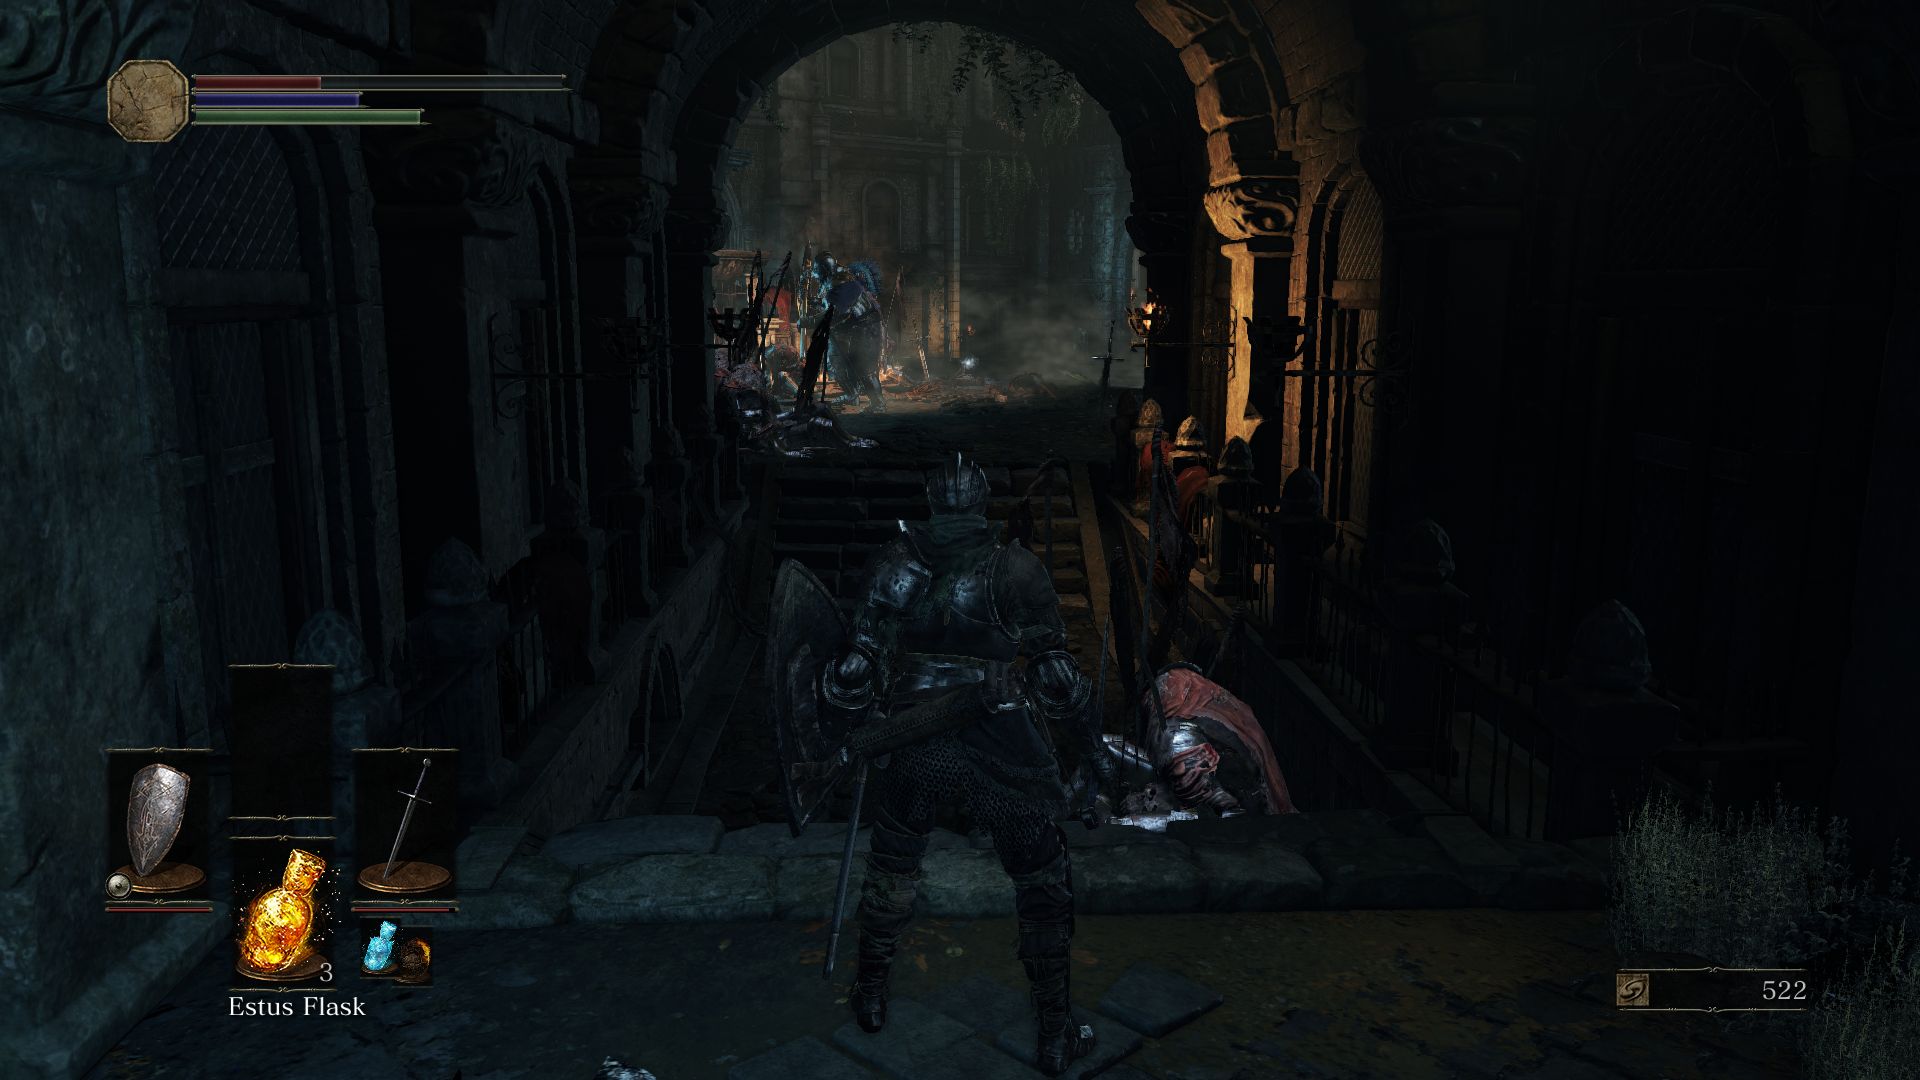
Exit the chapel and move to the other end of the courtyard for the boss fight. Before you can reach the boss, though, you will face two Hollows on the descending stairs, and another Hollow Archer to the right. Take them down and proceed to the gate. Should you have to return to the boss fight again but do not want to tackle the Knights, you can jump down from the railing above where the Hollow Archer is sitting.
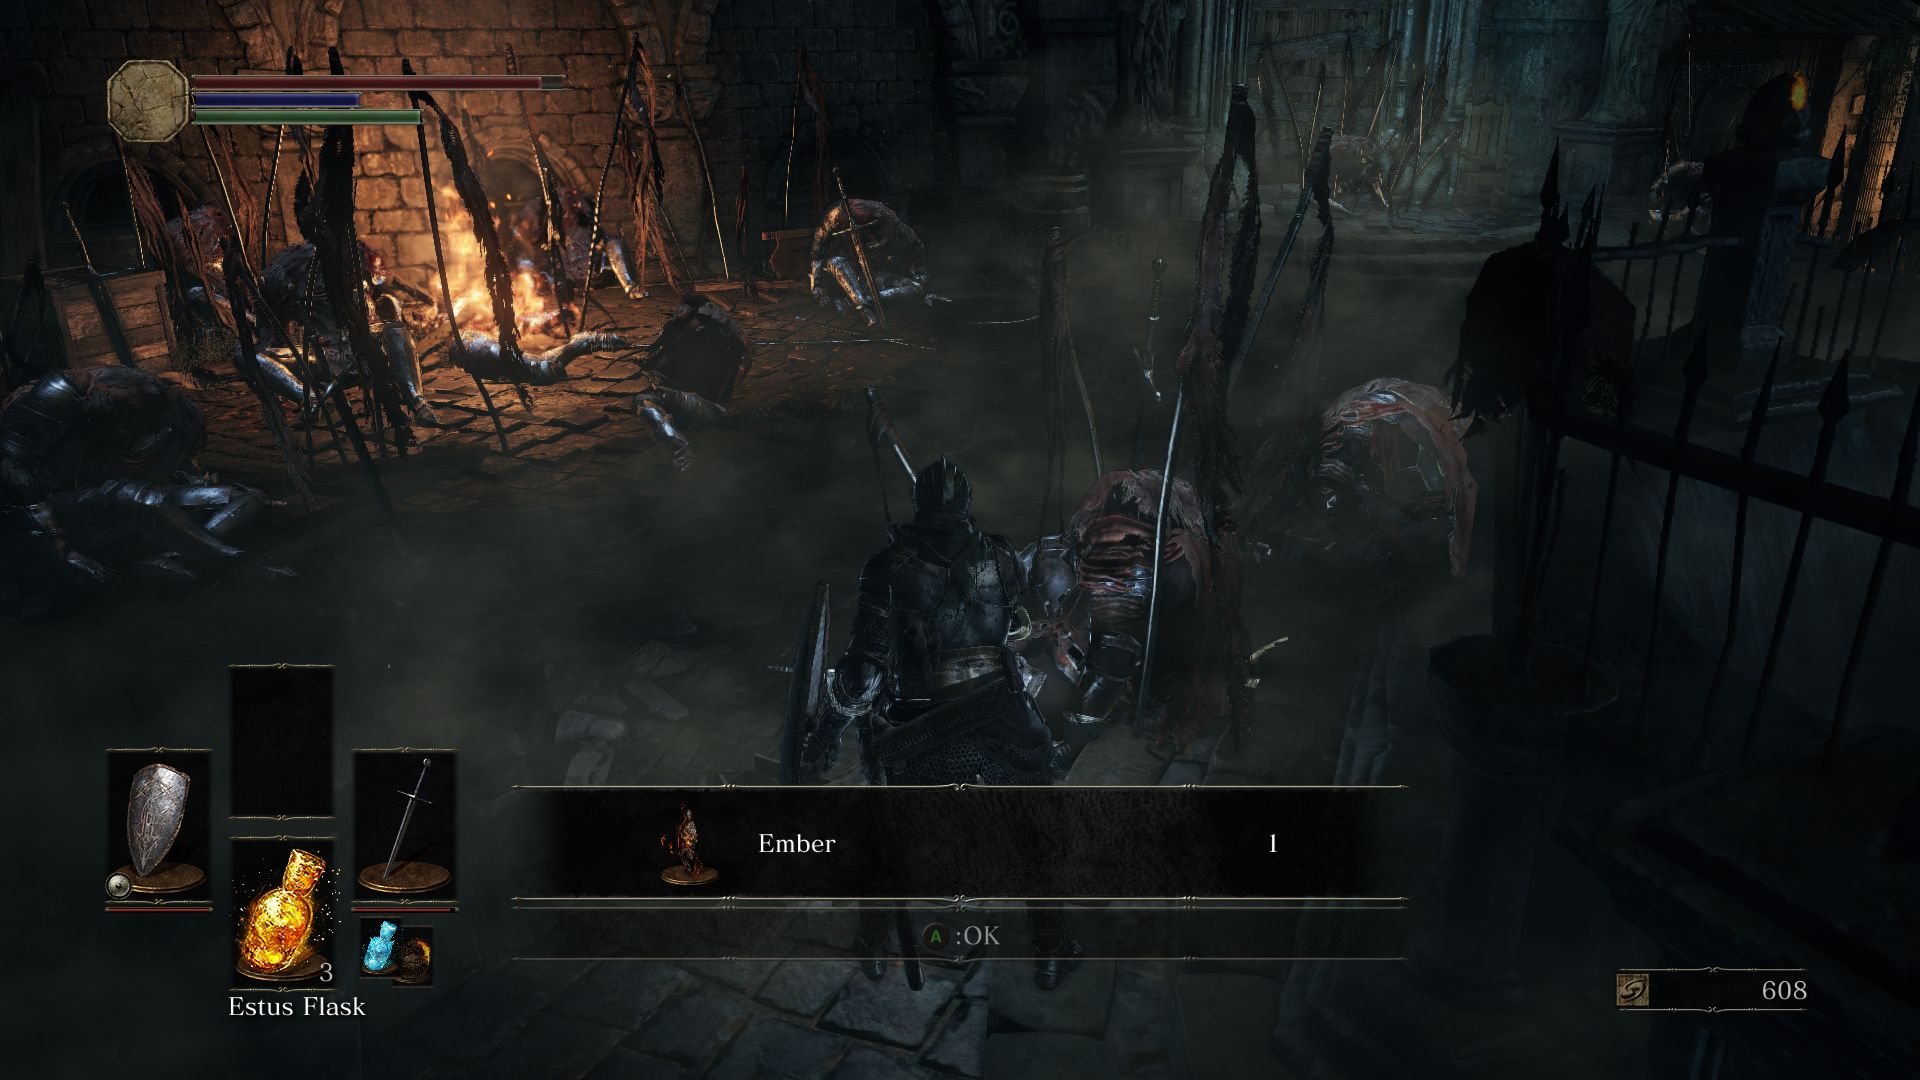
Use an Ember before the boss fight. If you had defeated the Master Swordsman outside Firelink Shrine earlier, then you will be able to summon him here (watch for the white summon sign on the floor). Head inside and open the sealed gate to start your next boss fight.
Boss Fight: Vordt of the Boreal Valley
Vordt is a mace-wielding huge monster that moves on all fours. His attacks include swinging his mace in a wide arc, charge back and forth and apply frostbites with his breath. The trick to killing this boss is to stick under him and behind him while inflicting continuous damage. As such, it’s easier for melee classes to take this boss down. Mages can use the same tactic as well since the boss doesn’t seem to have any attacks to target players under or immediately behind him.
Don’t overstay your welcome though. Be ready to move out of the way should it prepare to charge. If you see it draw its mace backwards, dodge the incoming swing and try to get behind him again. Use Fire spells and Firebombs to inflict good amount of damage as the boss is vulnerable to Fire.
Mace: The boss will sweep its mace in an arc. You can dodge it.
Charge: The boss rears back momentarily before charging like a rampaging bull back and forth a few times. Dodging towards him is preferable. After it’s large charge move close to him to attack him from behind.
Frosty Breath: His mouth will start glowing as he charges up a spell and breathe icy particles in front of him. If you’re caught in the arc you may be frostbitten, which greatly reduces your defenses and movement speed. You can attack him or use a ranged skill such as a Firebomb to interrupt this skill.
Buff: At about 50% HP, he’ll buff himself with a bluish glow and attack in a frenzy. Using the above strategy, you have to be careful because when he’s buffed himself he applies frost damage around him.
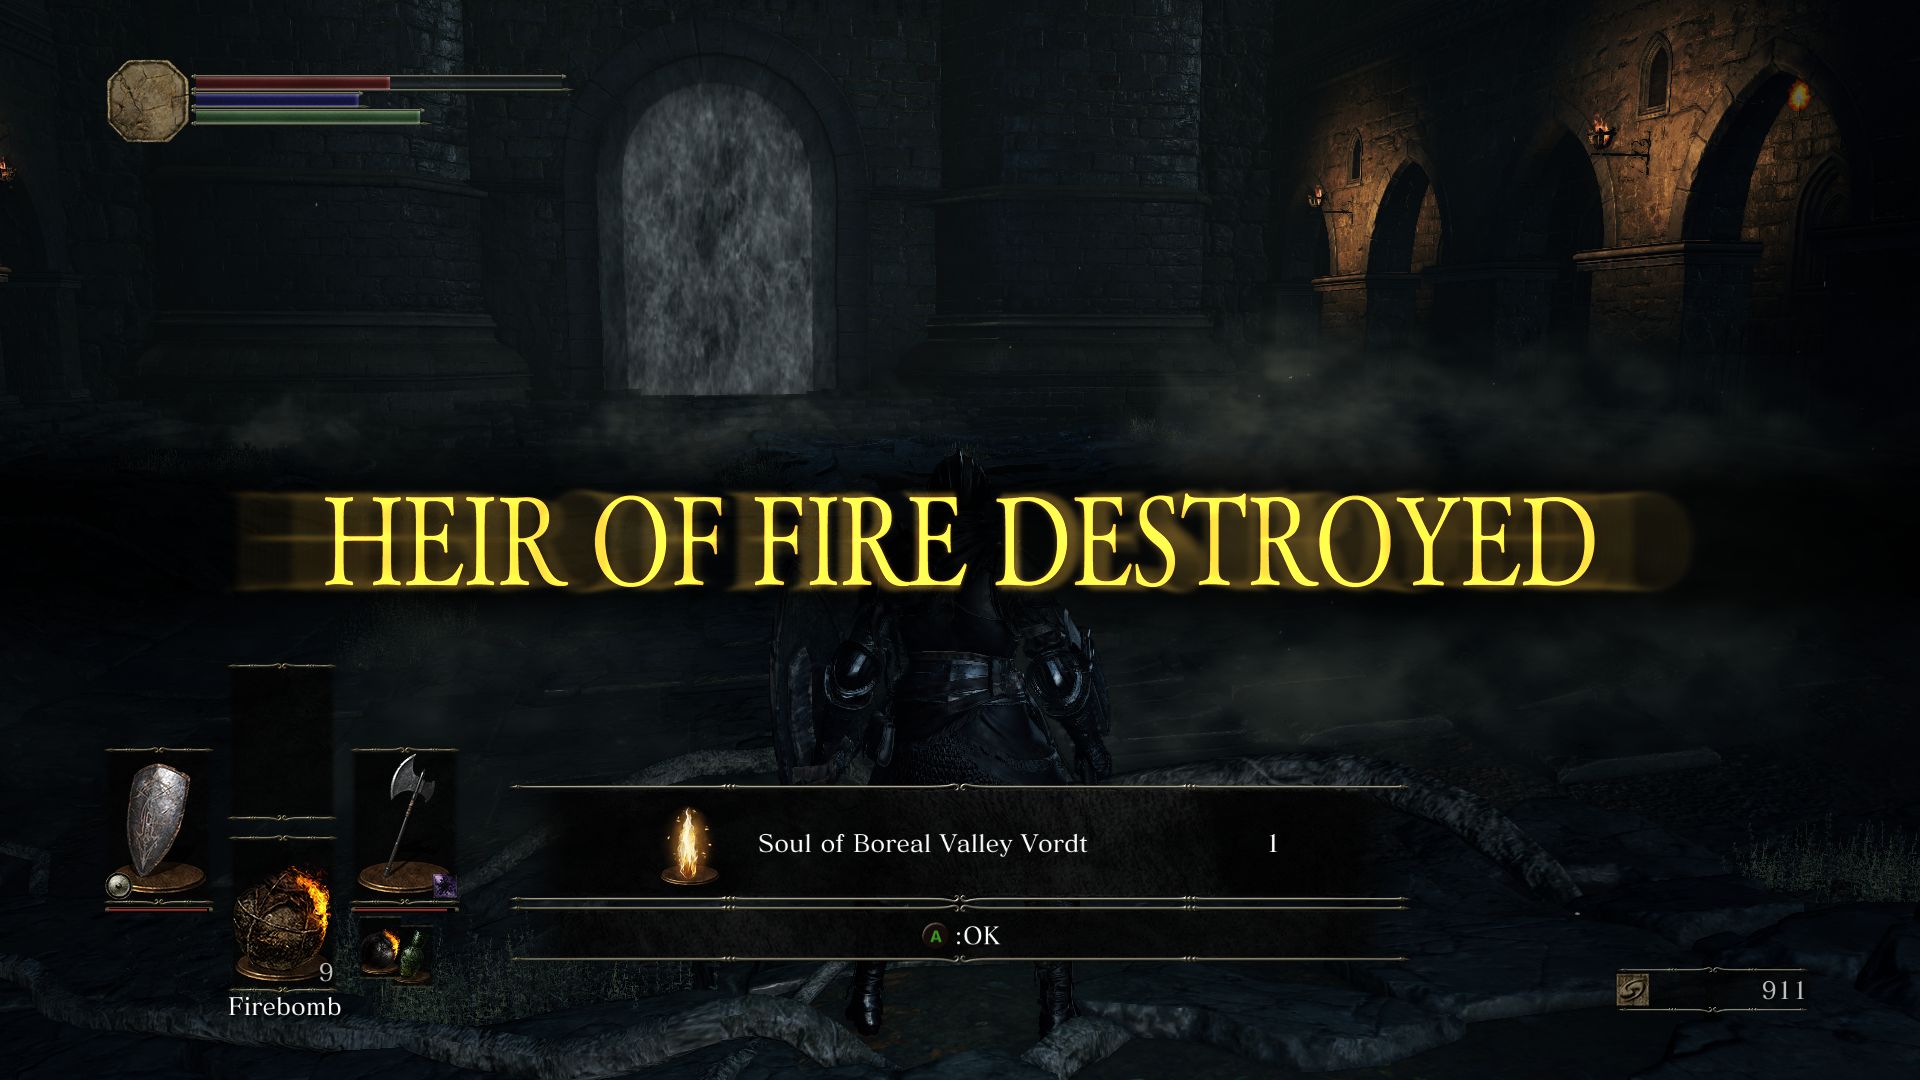
After you kill Vordt, you will obtain the Soul of Boreal Valley Vordt, but DO NOT use this item to gain souls. You will need it later.
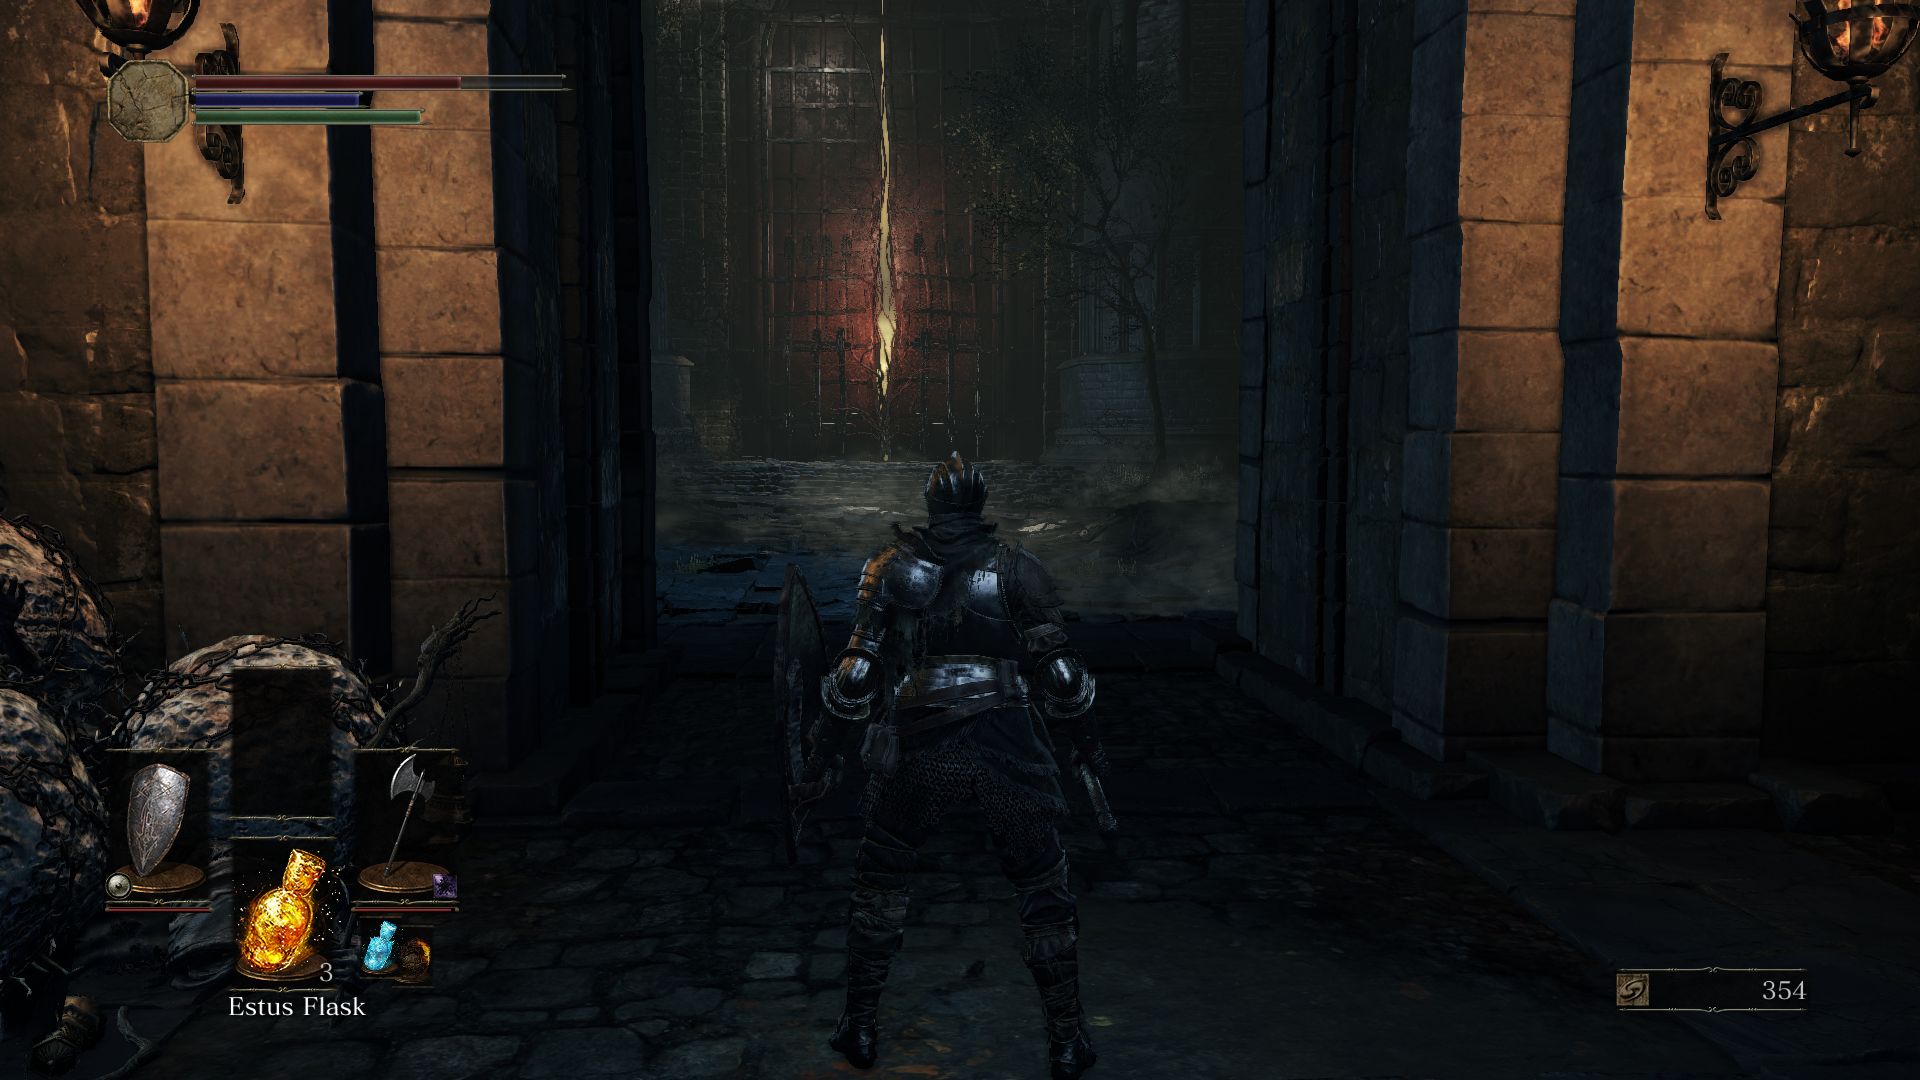
Light the Vordt of the Boreal Valley Bonfire and exit through the now open gate. Raise the banner that you obtained earlier to start a cut scene. When the cutscene is over, you’ll find yourself at the start of the Undead Settlement.