
To access Lothric Castle, you have to defeat the other Lords of Cinder first, then defeat the Dancer of the Boreal Valley. You will then have access to a ladder inside the Cathedral that leads inside Lothric Castle. Going left would lead you to the Consumed King’s Garden, an optional area. Going straight will take you deeper into the castle.
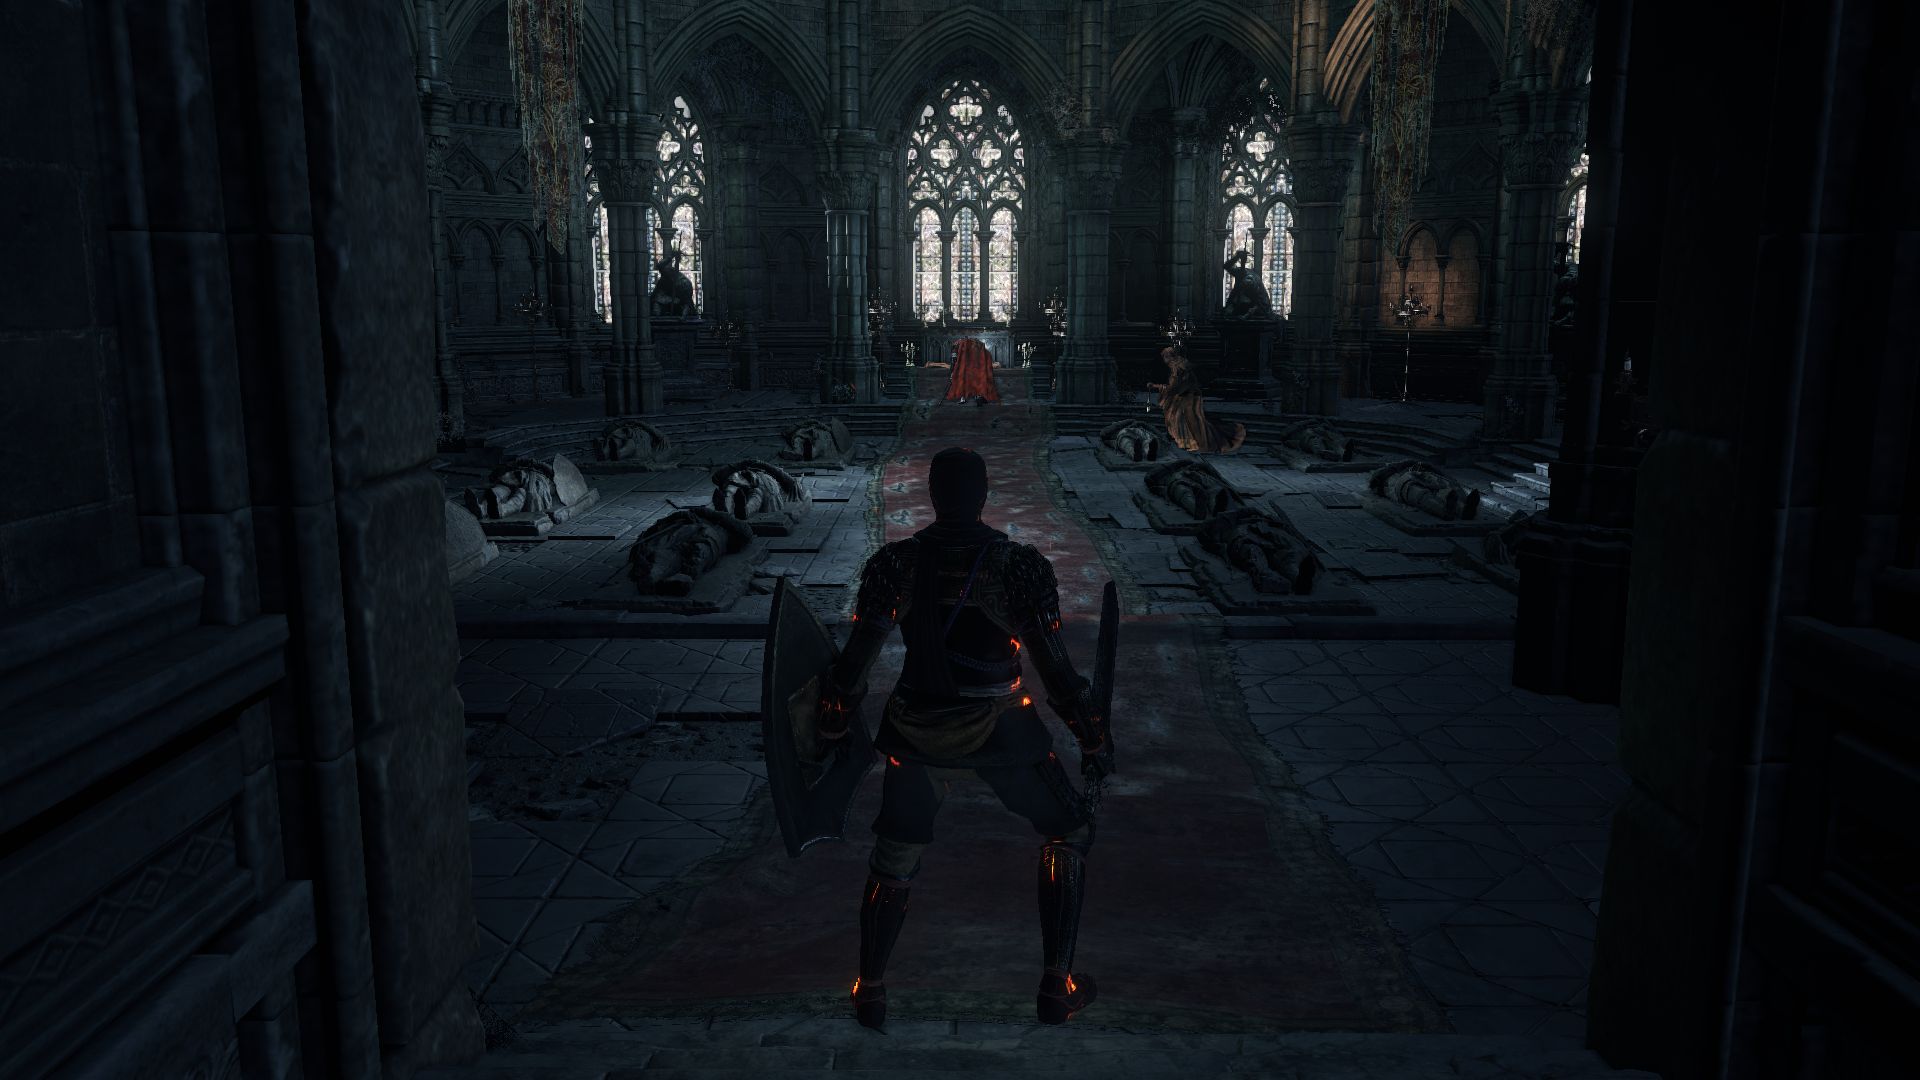
You will find yourself in a tomb with a cleric and a red-eyed Lothric Knight. Lure the cleric first if you can. If you somehow pull both enemies, take out the cleric first before he can buff the Knight. Check the area for a Soul of a Crestfallen Knight before moving on.
There’s an elevator to the left, but it doesn’t work at the moment, and you will eventually be able to make it work later to create a shortcut. Head right and you’ll find 2 more Lothric Knights. Lure one of them back to the tomb before taking on the other, and try to take out the first one fast because the other one will soon join in. There’s also a cleric a little bit ahead. If you draw its attention too, it could be troublesome since he will buff the knights.
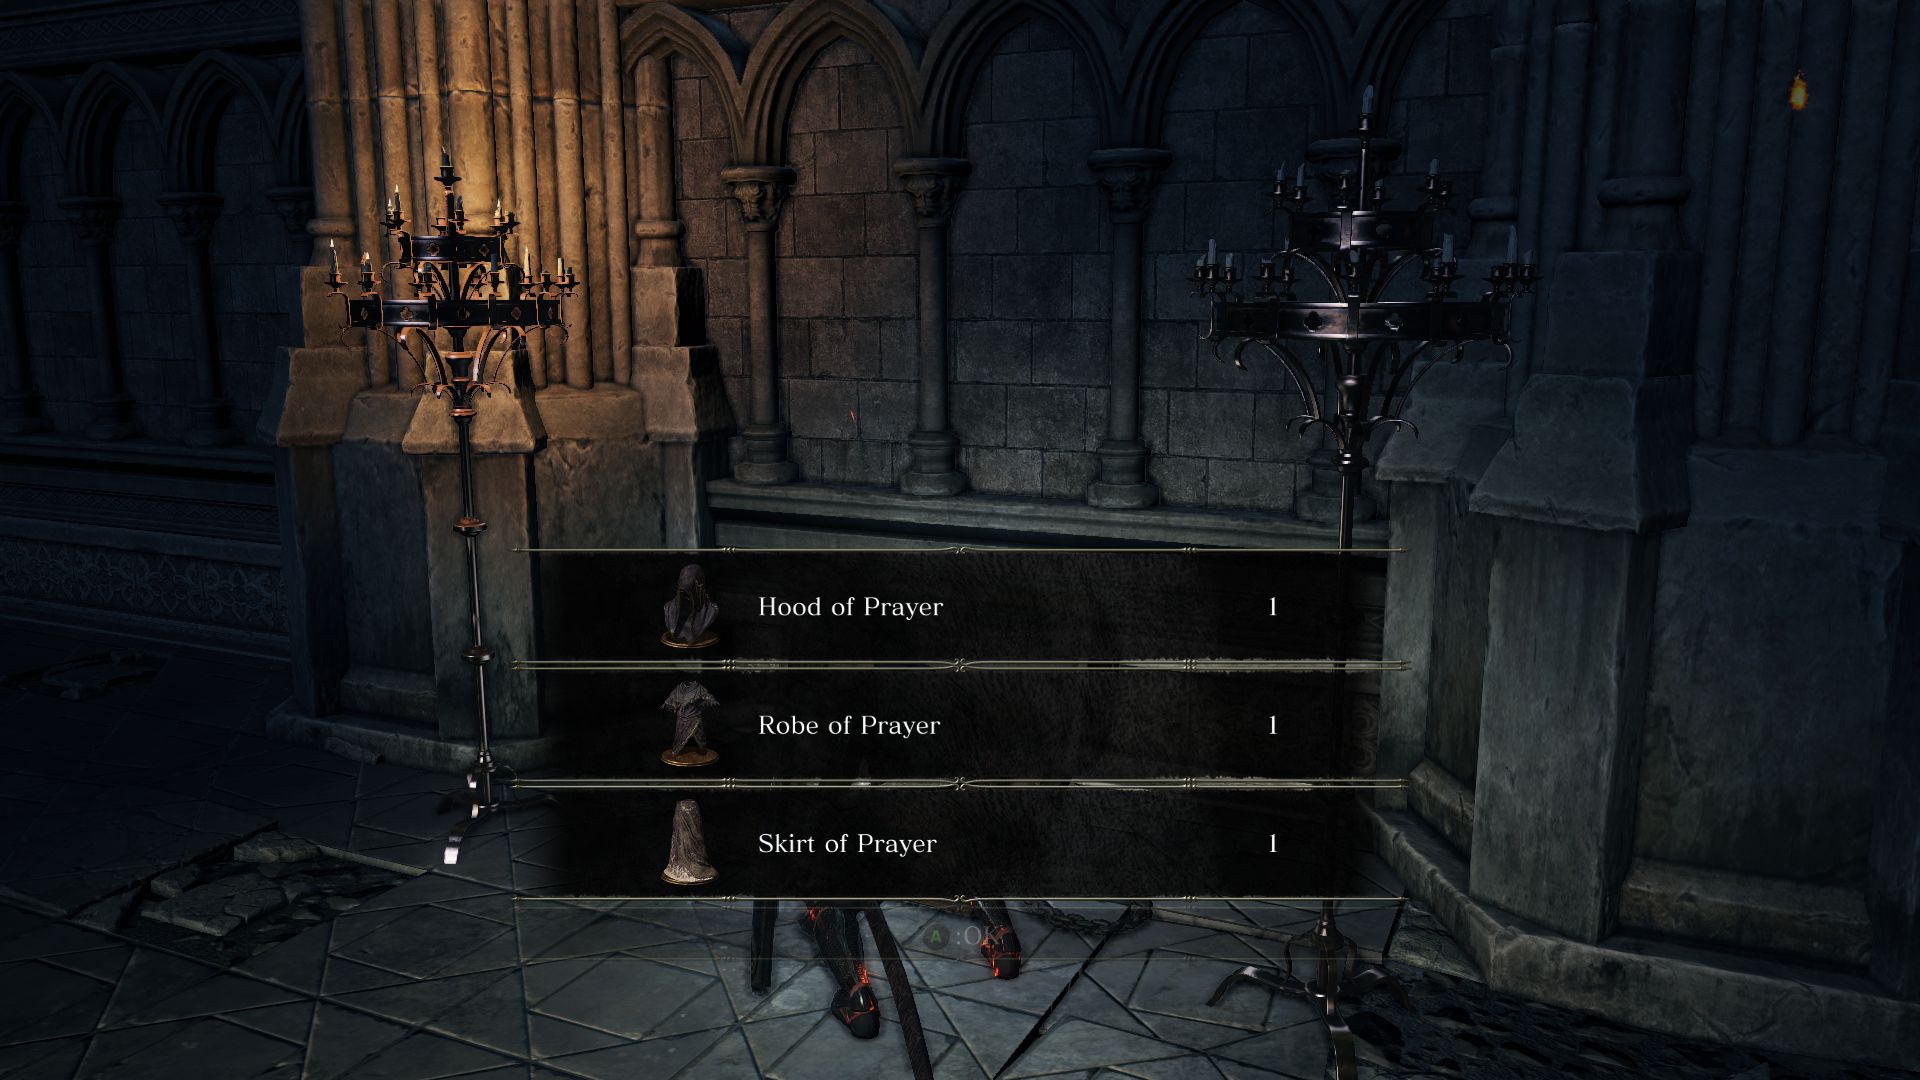
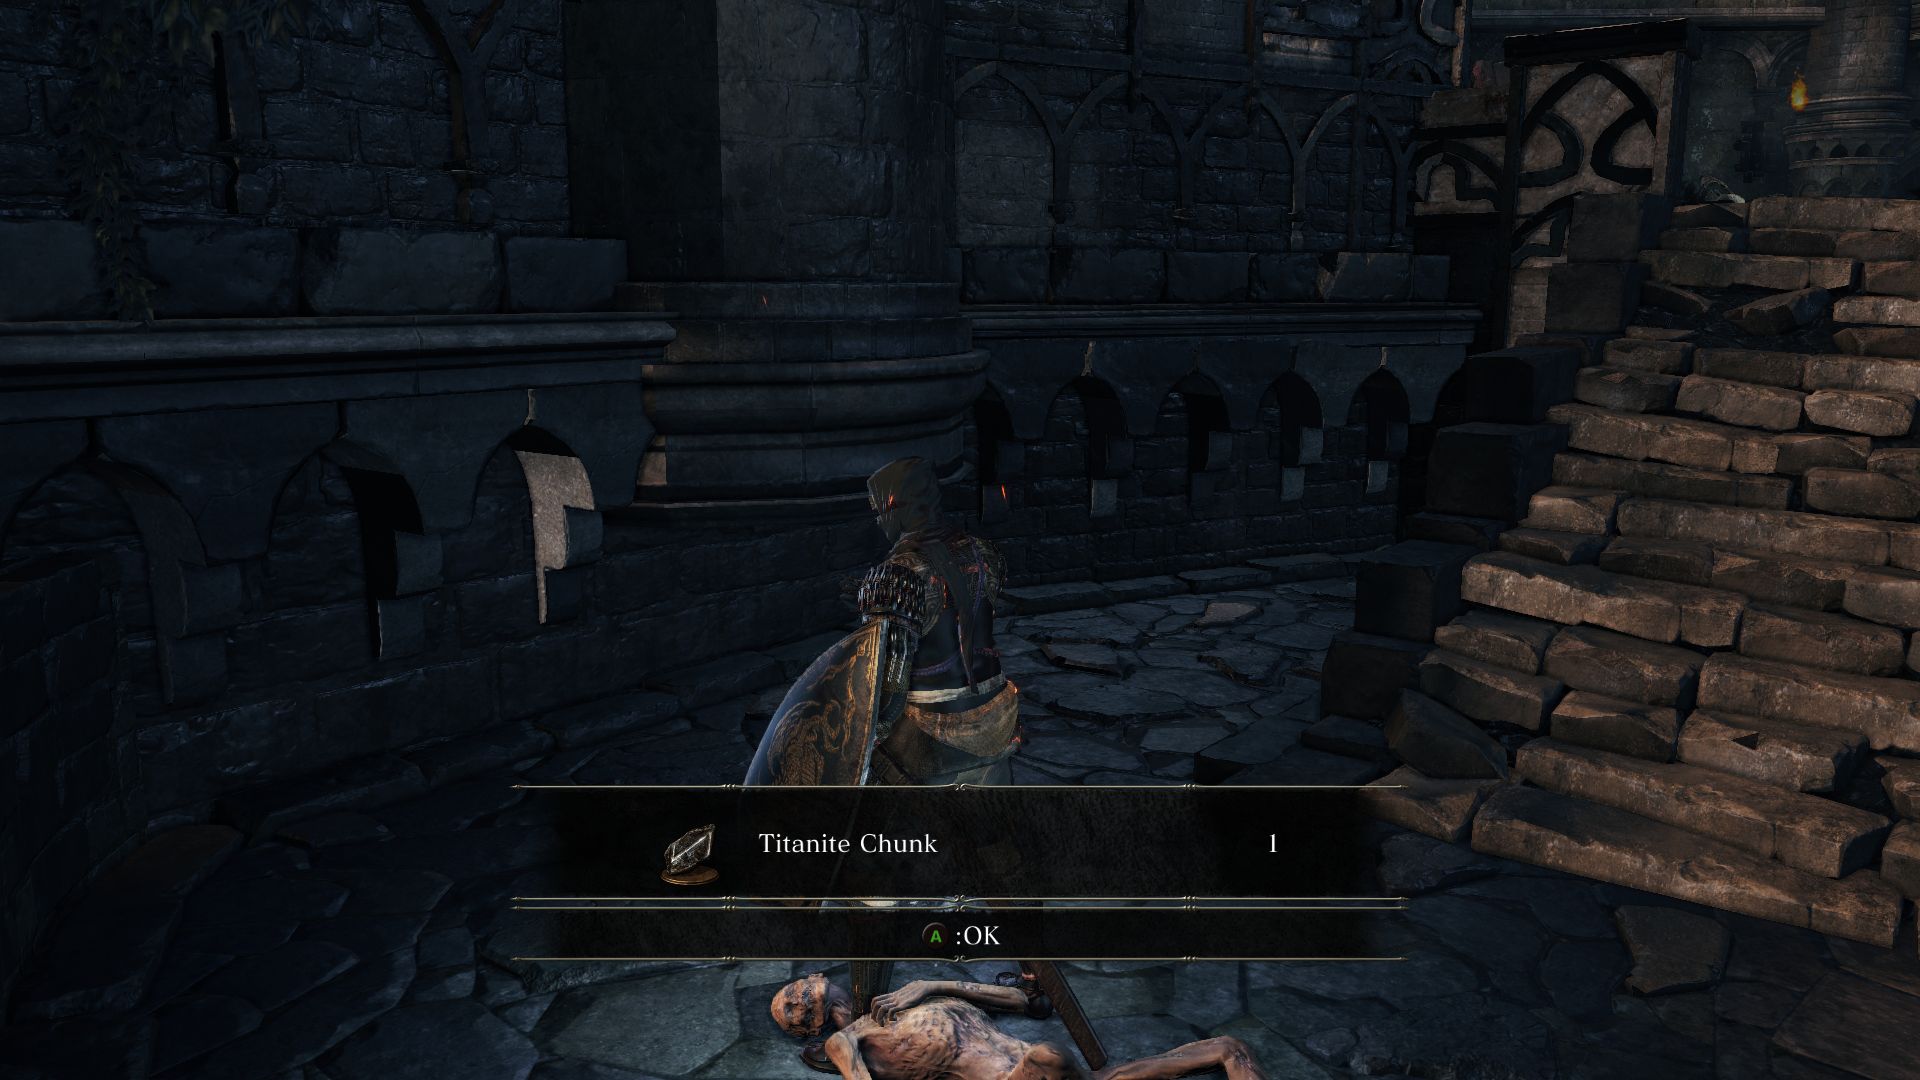
Take out the knights and head forward. There’s another cleric bunched up by the doorway who may ambush you, so be wary. You will now have access to a new bonfire and a shortcut to the previous one. In the next room, a chest contains the full Set of Prayer. Take the path to the left to come onto a balcony and loot the Titanite Chunk.
As you move on you’ll face many Hollows that are stronger than the ones you faced earlier. Up the stairs you’ll notice ramparts and barricades, with an archer to your left and a Hollow hiding behind a barrier. Kill these hollows and look behind the barriers for another Titanite Chunk. As you try to loot this, three weak hollows will hop over the railings to ambush you, but they can be taken out easily.
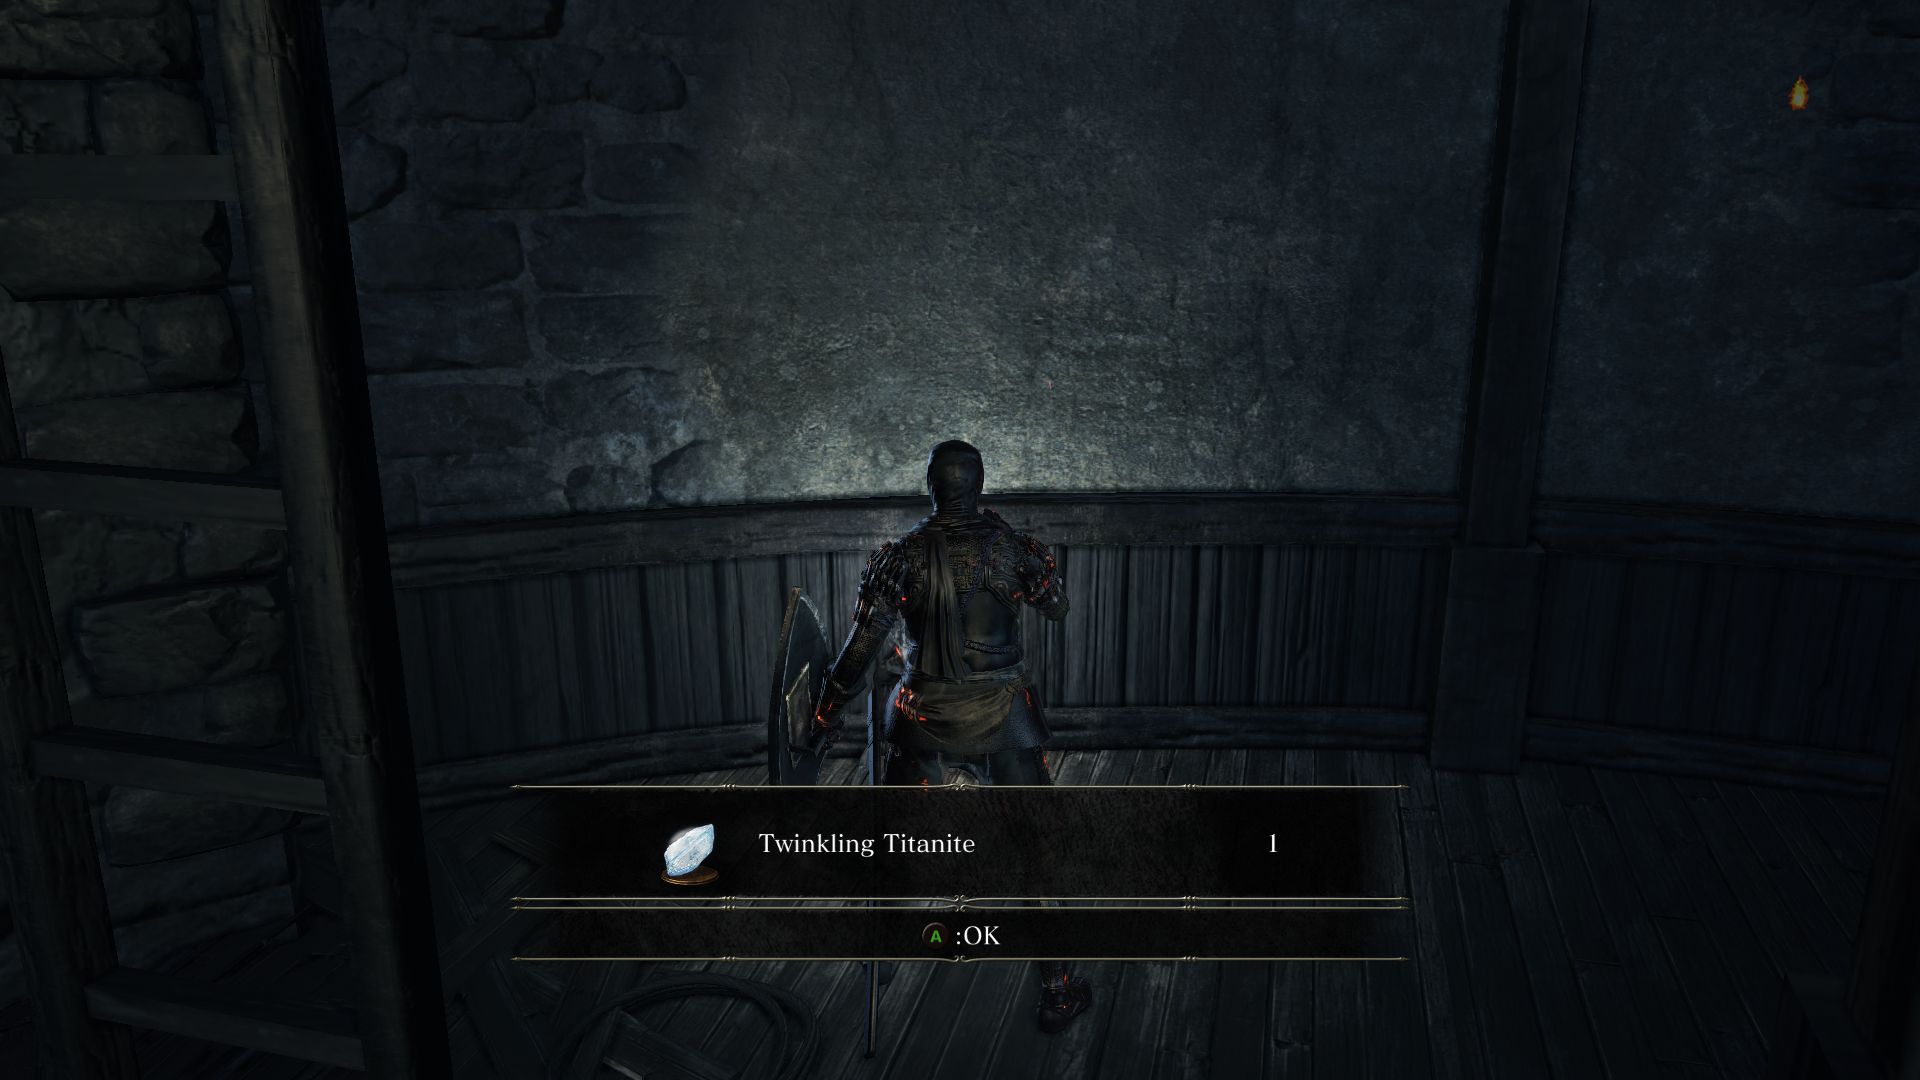
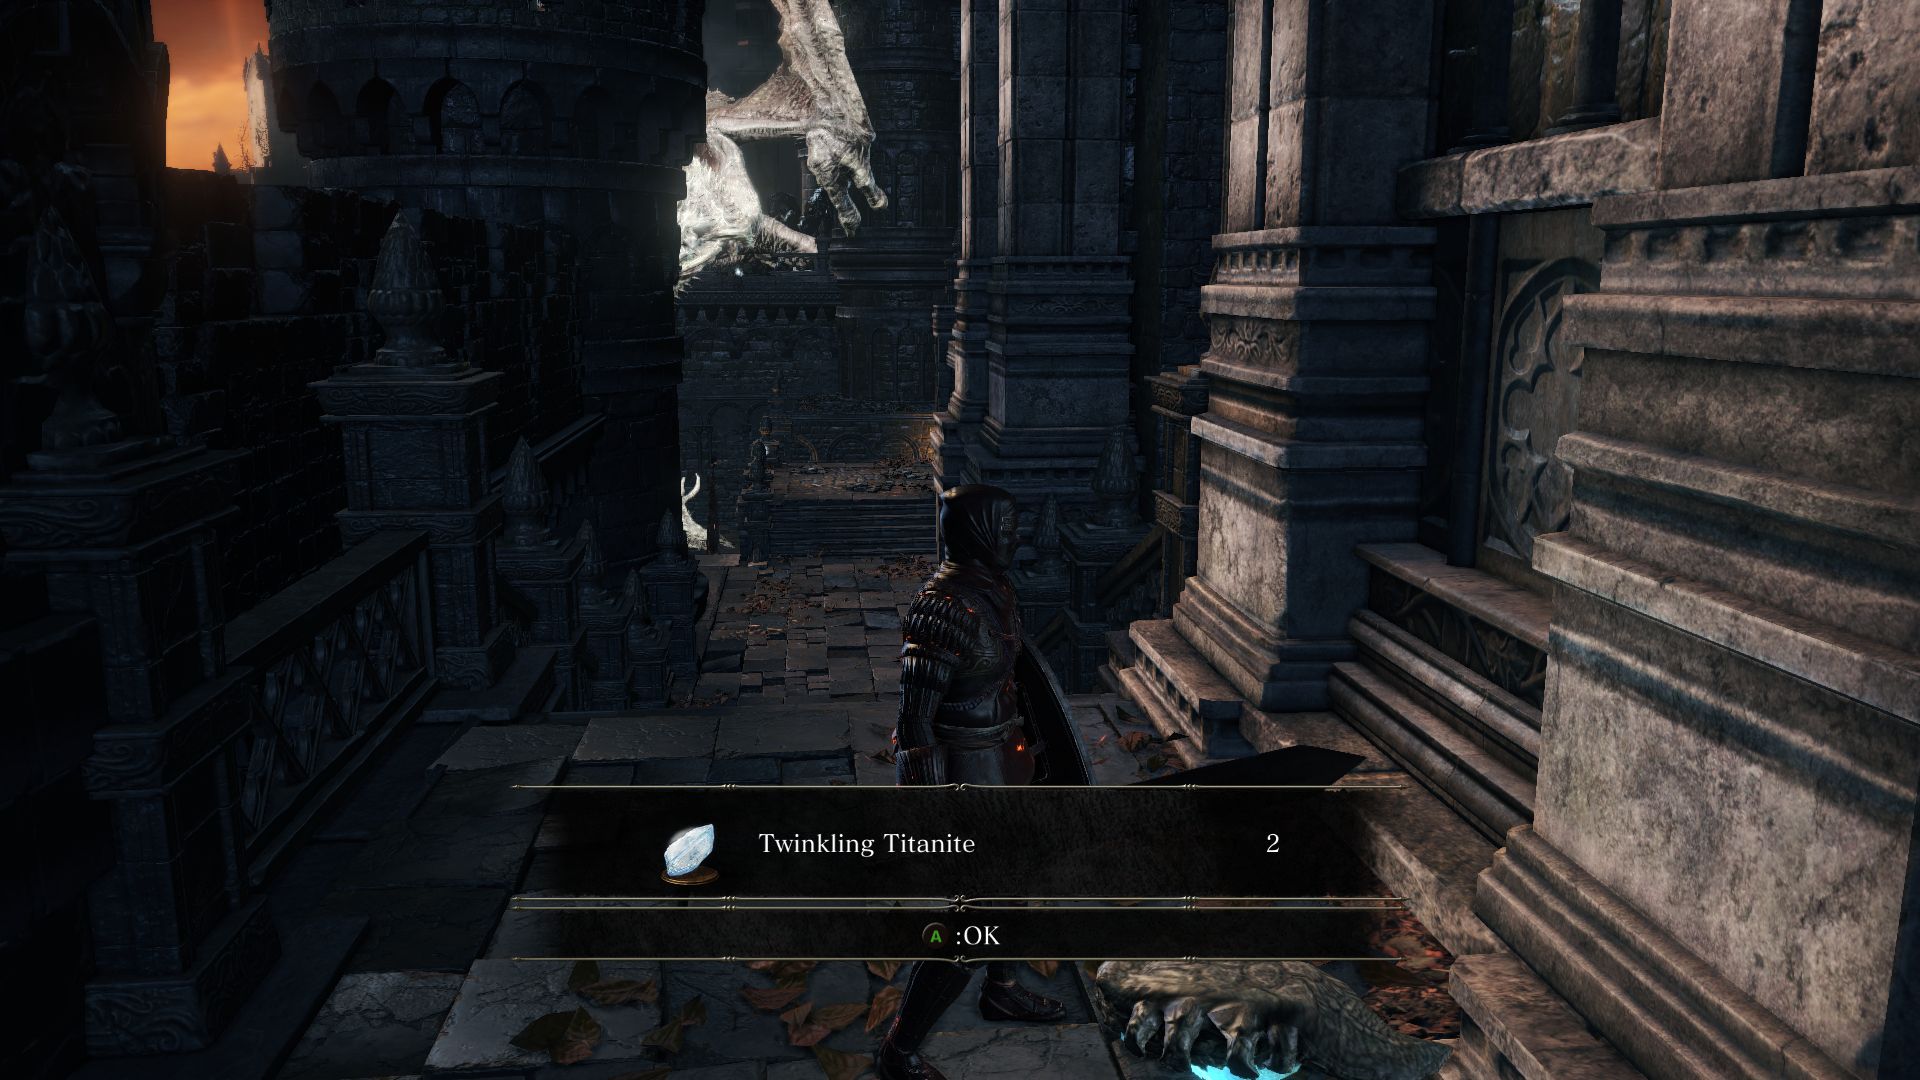
Go inside the room to your right instead of going up the stairs. But use caution because a Winged Knight awaits up on a platform. As you reach for the ladder he may jump down to attack you. Lock on to him and strafe around to try to land backstabs. As before, be careful when he starts glowing for he’s about to summon a lightning storm. After killing him, loot the Twinkling Titanite behind the ladder and go up.
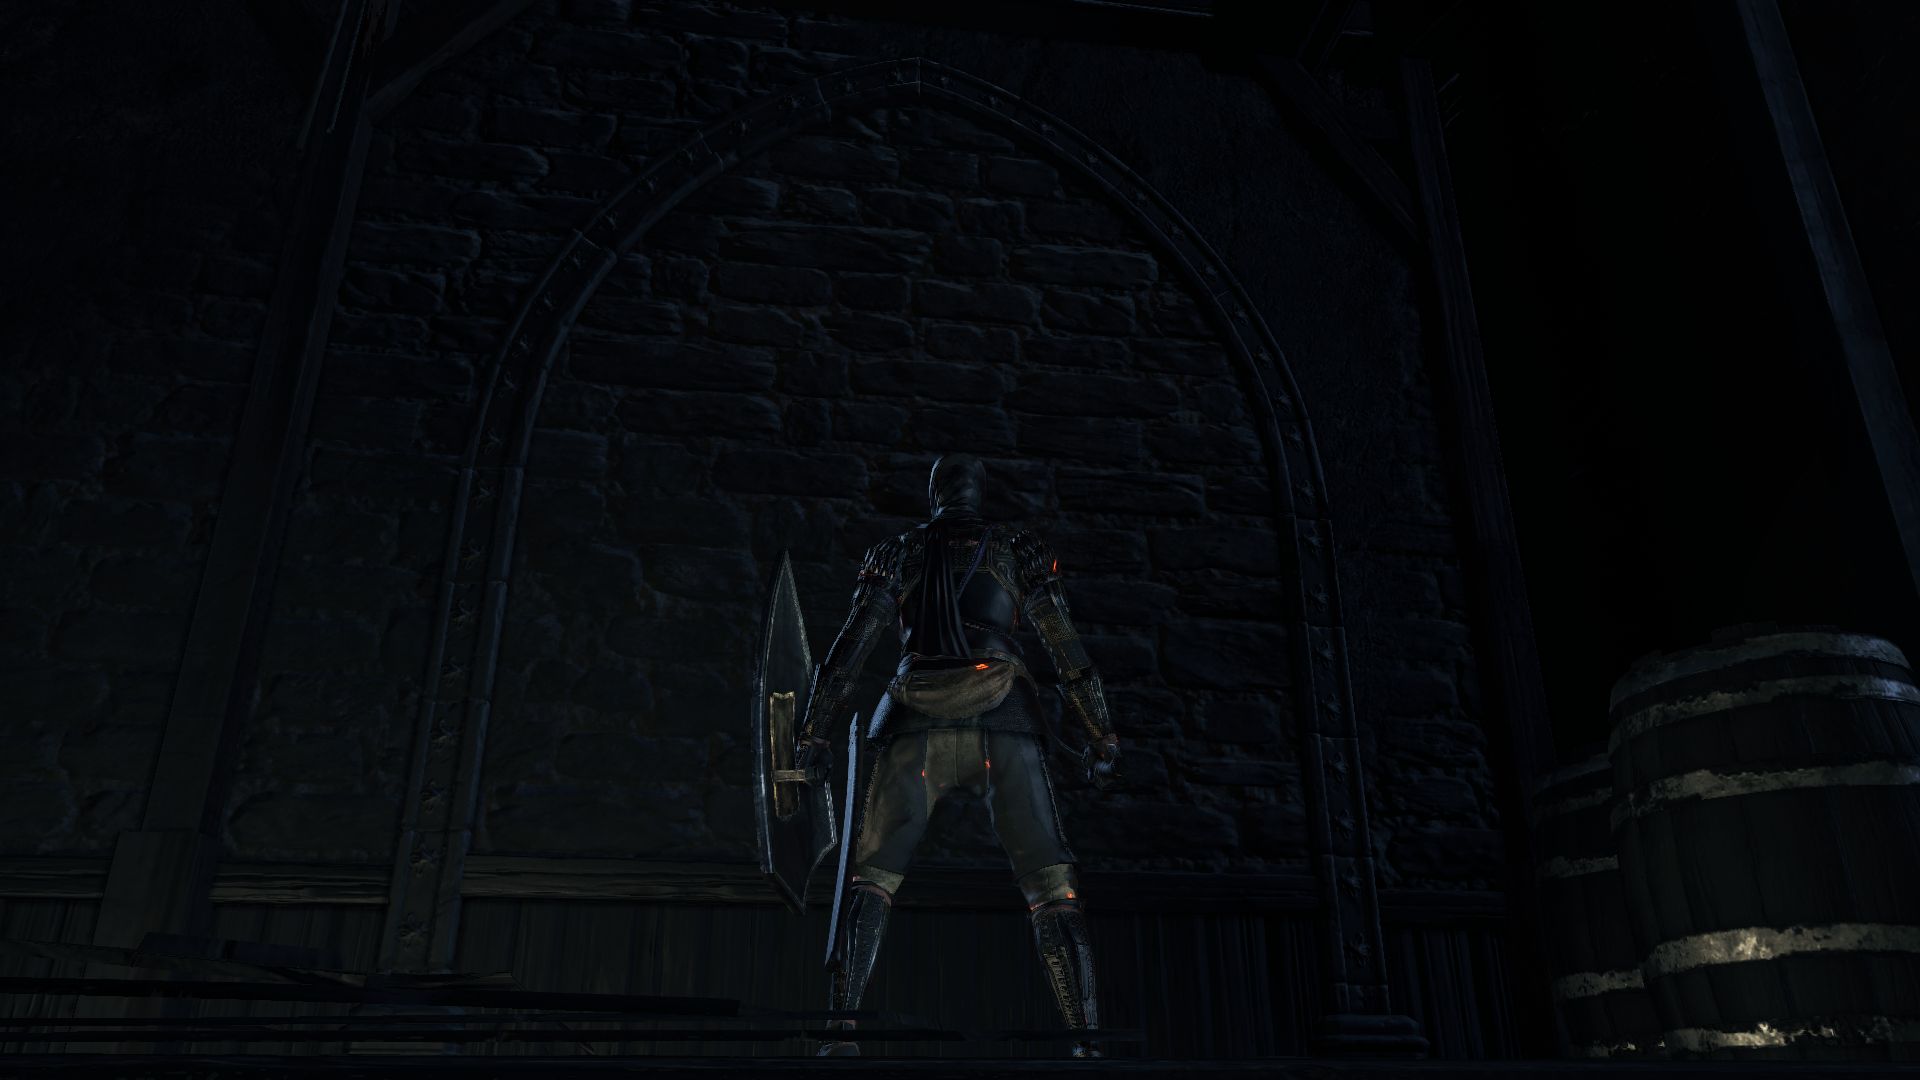
Strike the wall that seems to have an outline of a door to reveal an illusory wall that leads to the full Winged Knight Set and the Sacred Bloom Shield. Now return to the ramparts.
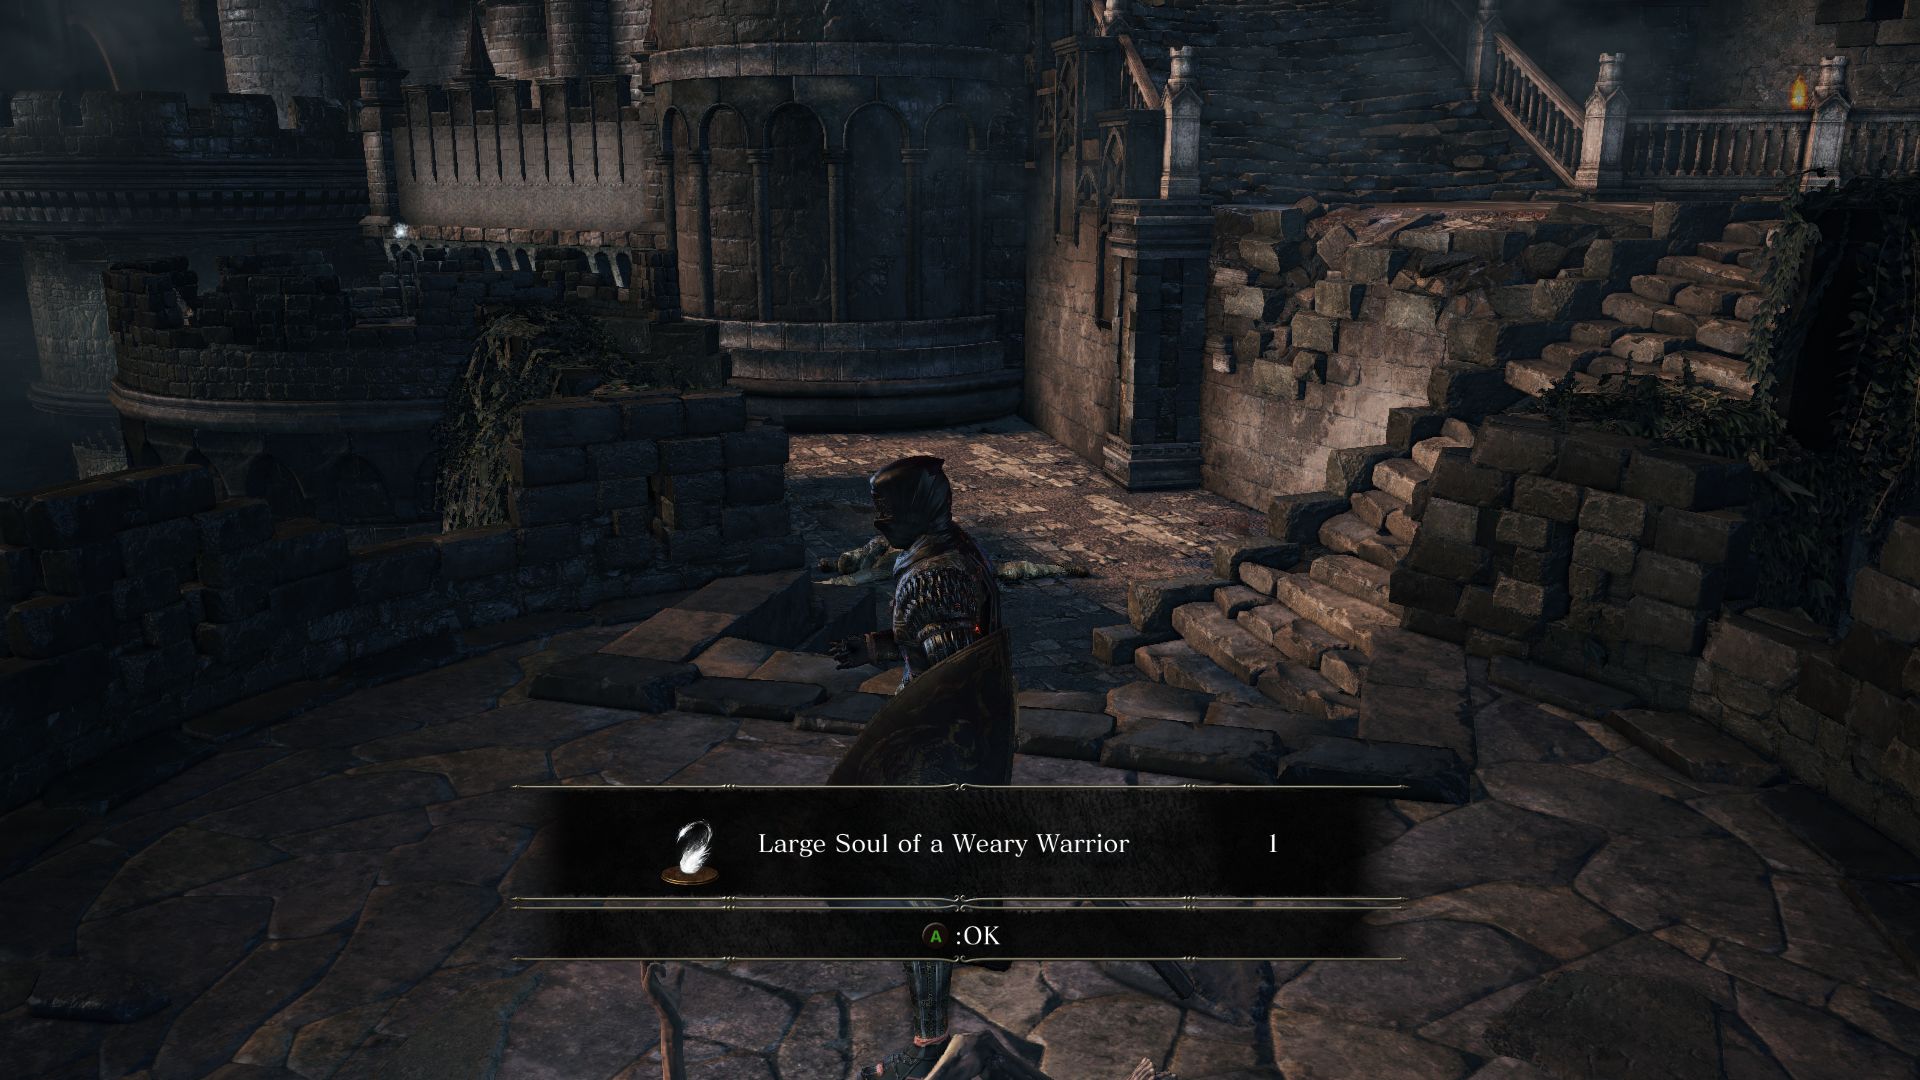
Be careful as you move forward for a Hollow will be throwing anti-healing bombs at you. To your right you’ll find 2 archers and a greataxe-wielding Hollow. Defeat them and go down to the lower walkway to face two more Hollows, one with a sword and the other with a halberd. Clear this area and loot the Large Soul of a Weary warrior on the left and 2 Titanite Chunks to your right. Keep going forward and you’ll come to a new bonfire with an Ember close by.
You can go left or right from here but either will take you to the main moat of the castle that’s being guarded by a dragon. Head to the left and be prepared to take on a red-eyed Lothric Knight. Kill him and loot the Greatlance he was guarding.
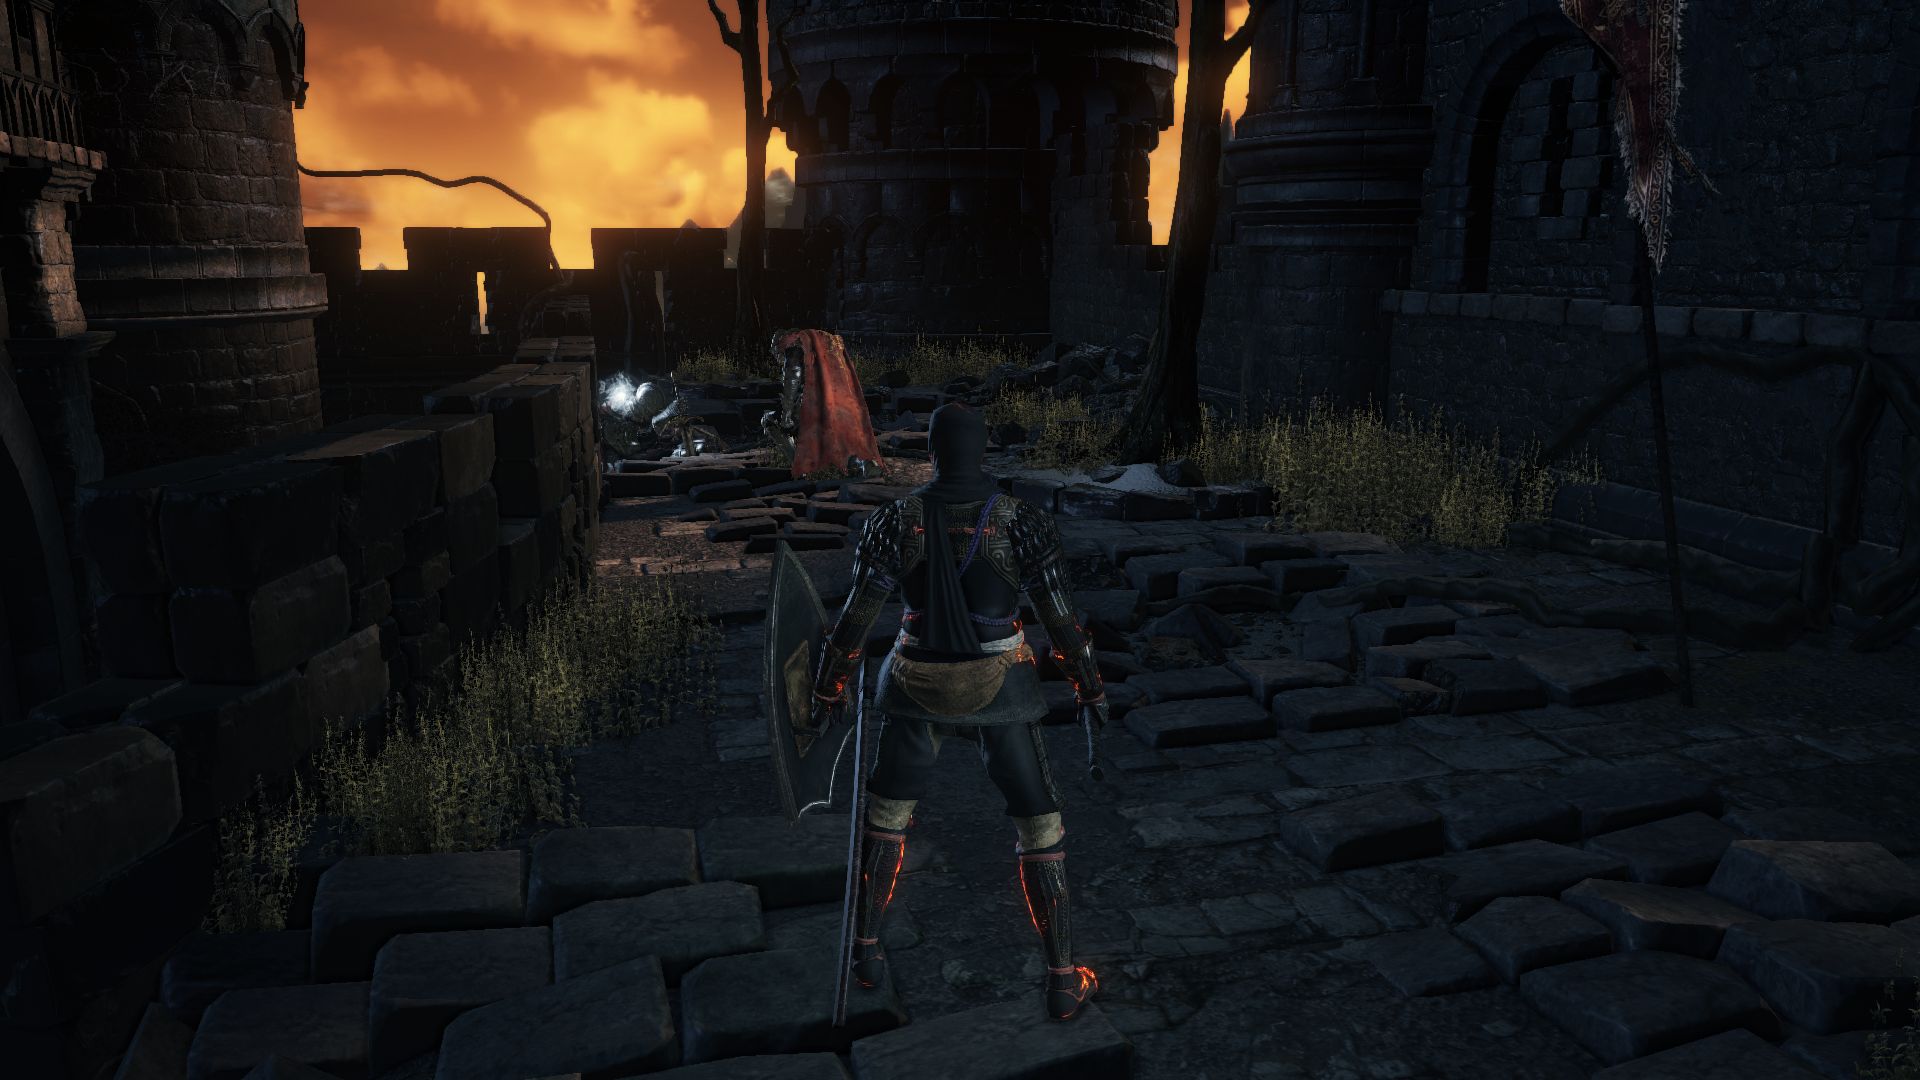
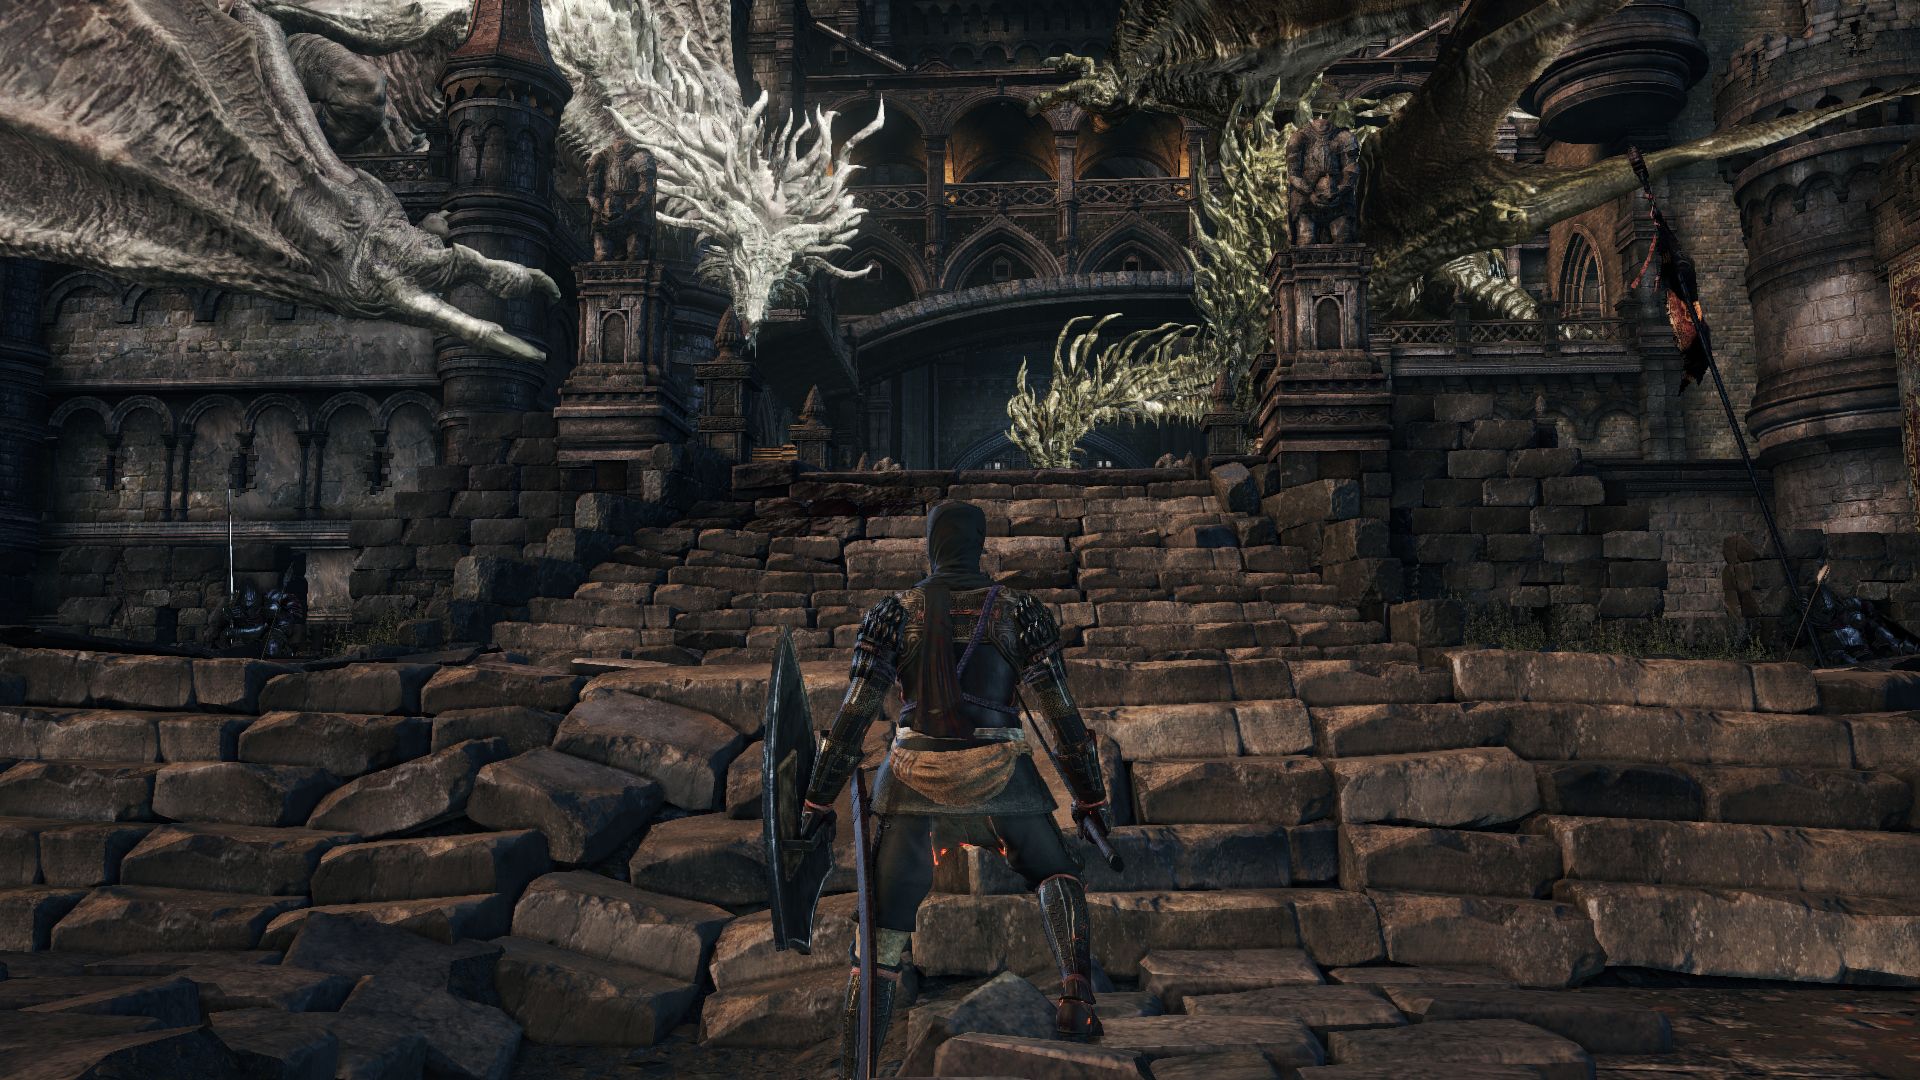
If you look ahead you’ll see one dragon perched above the moat, but as soon as you approach the bridge, another dragon will fly in and both of them will start breathing fire over the bridge, essentially blocking your path ahead. So jump off onto the upper ledge of the moat and under the bridge where you are safe from the dragon fire.
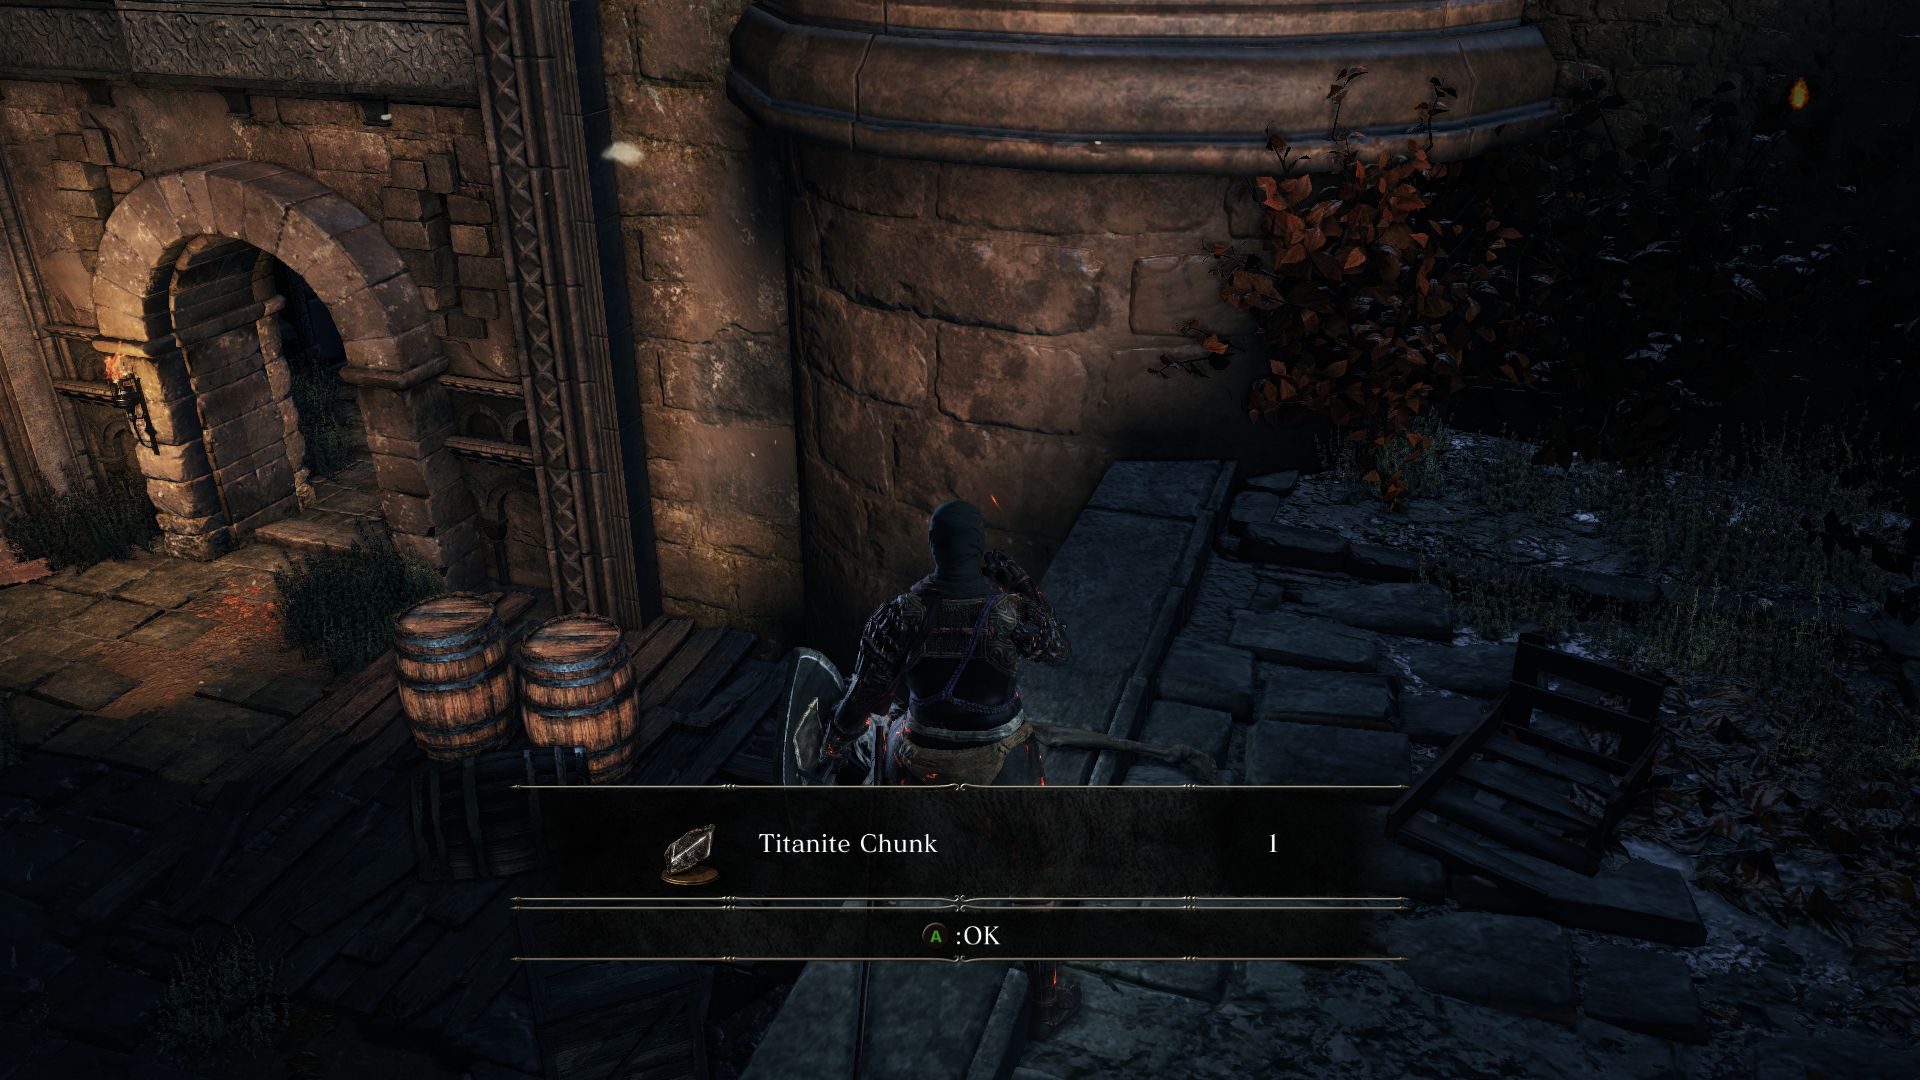
From here there are a couple of paths. Staying on the upper part of the moat you can go left and jumping down onto the lower part you can go right. Before you jump down, head right and grab the Titanite Chunk. When you jump down, make sure to charge at the Hollow in the corner before he can mutate.
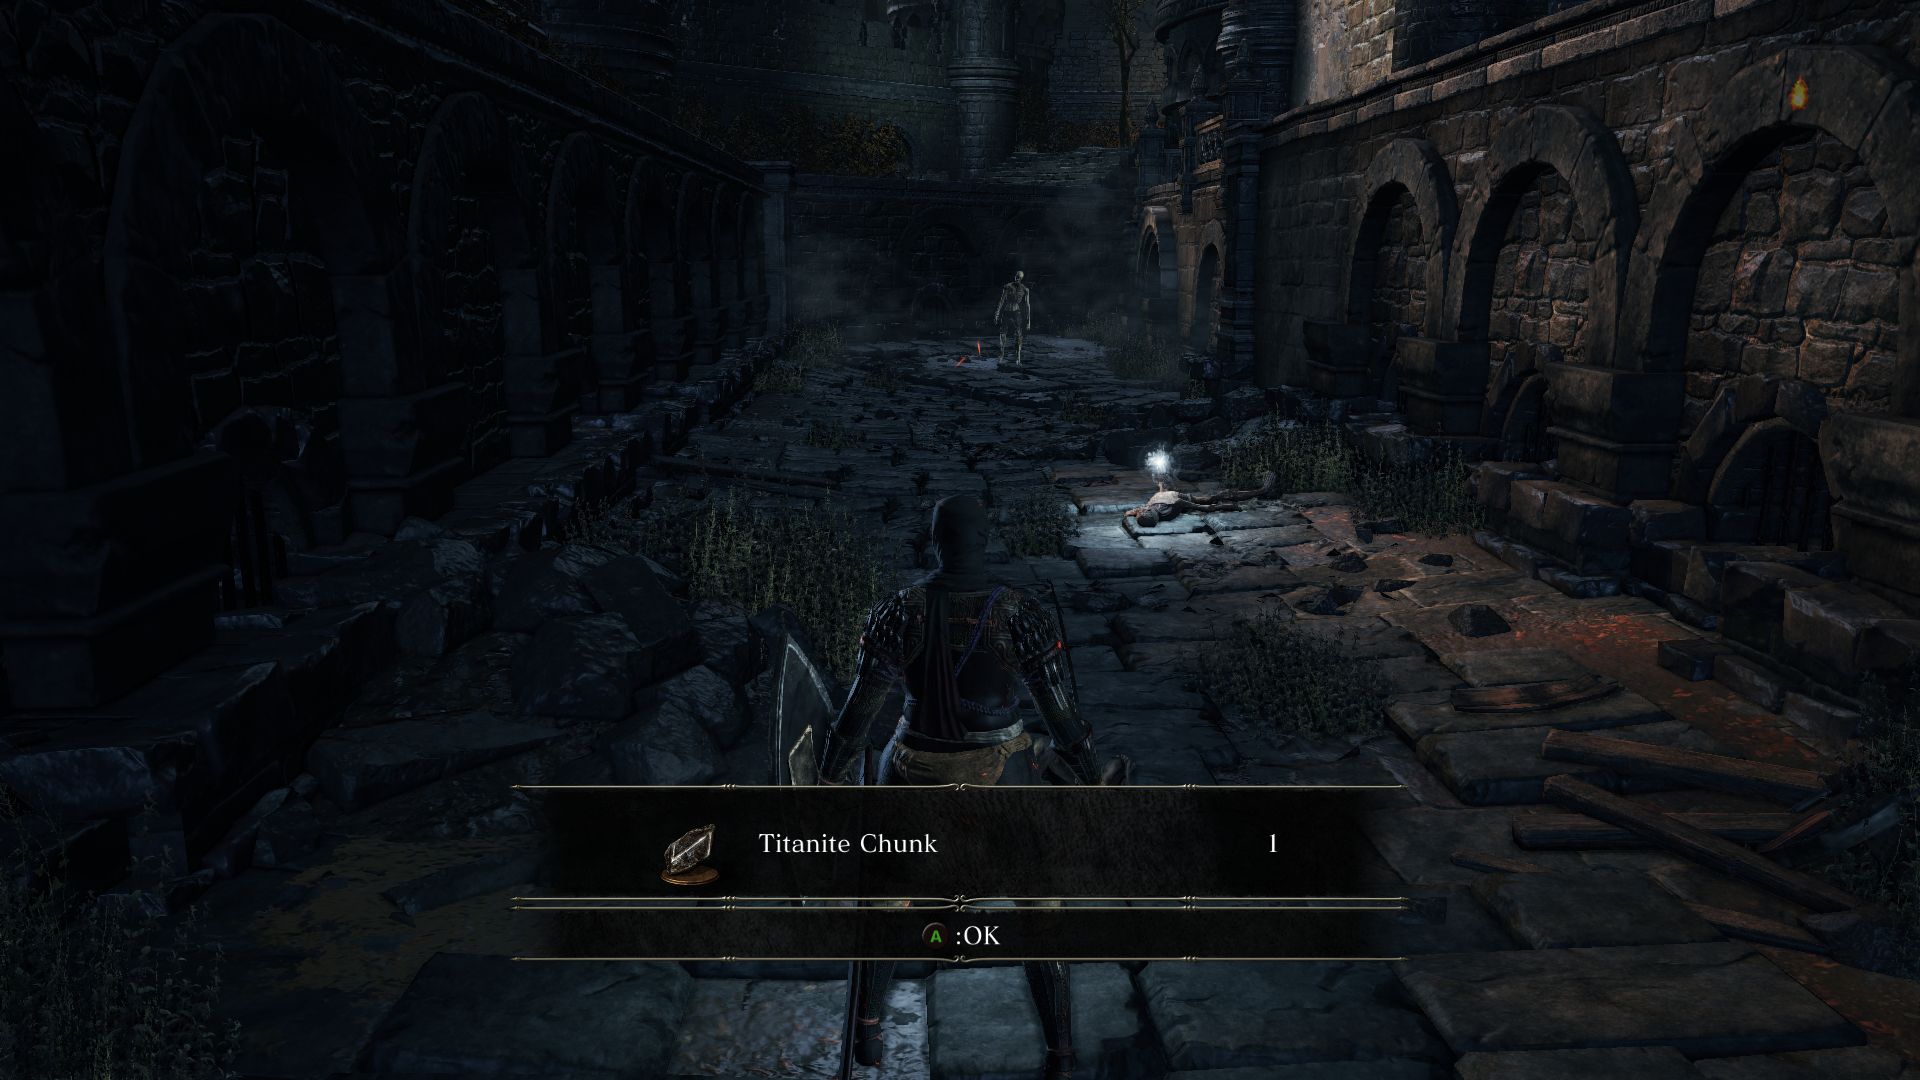
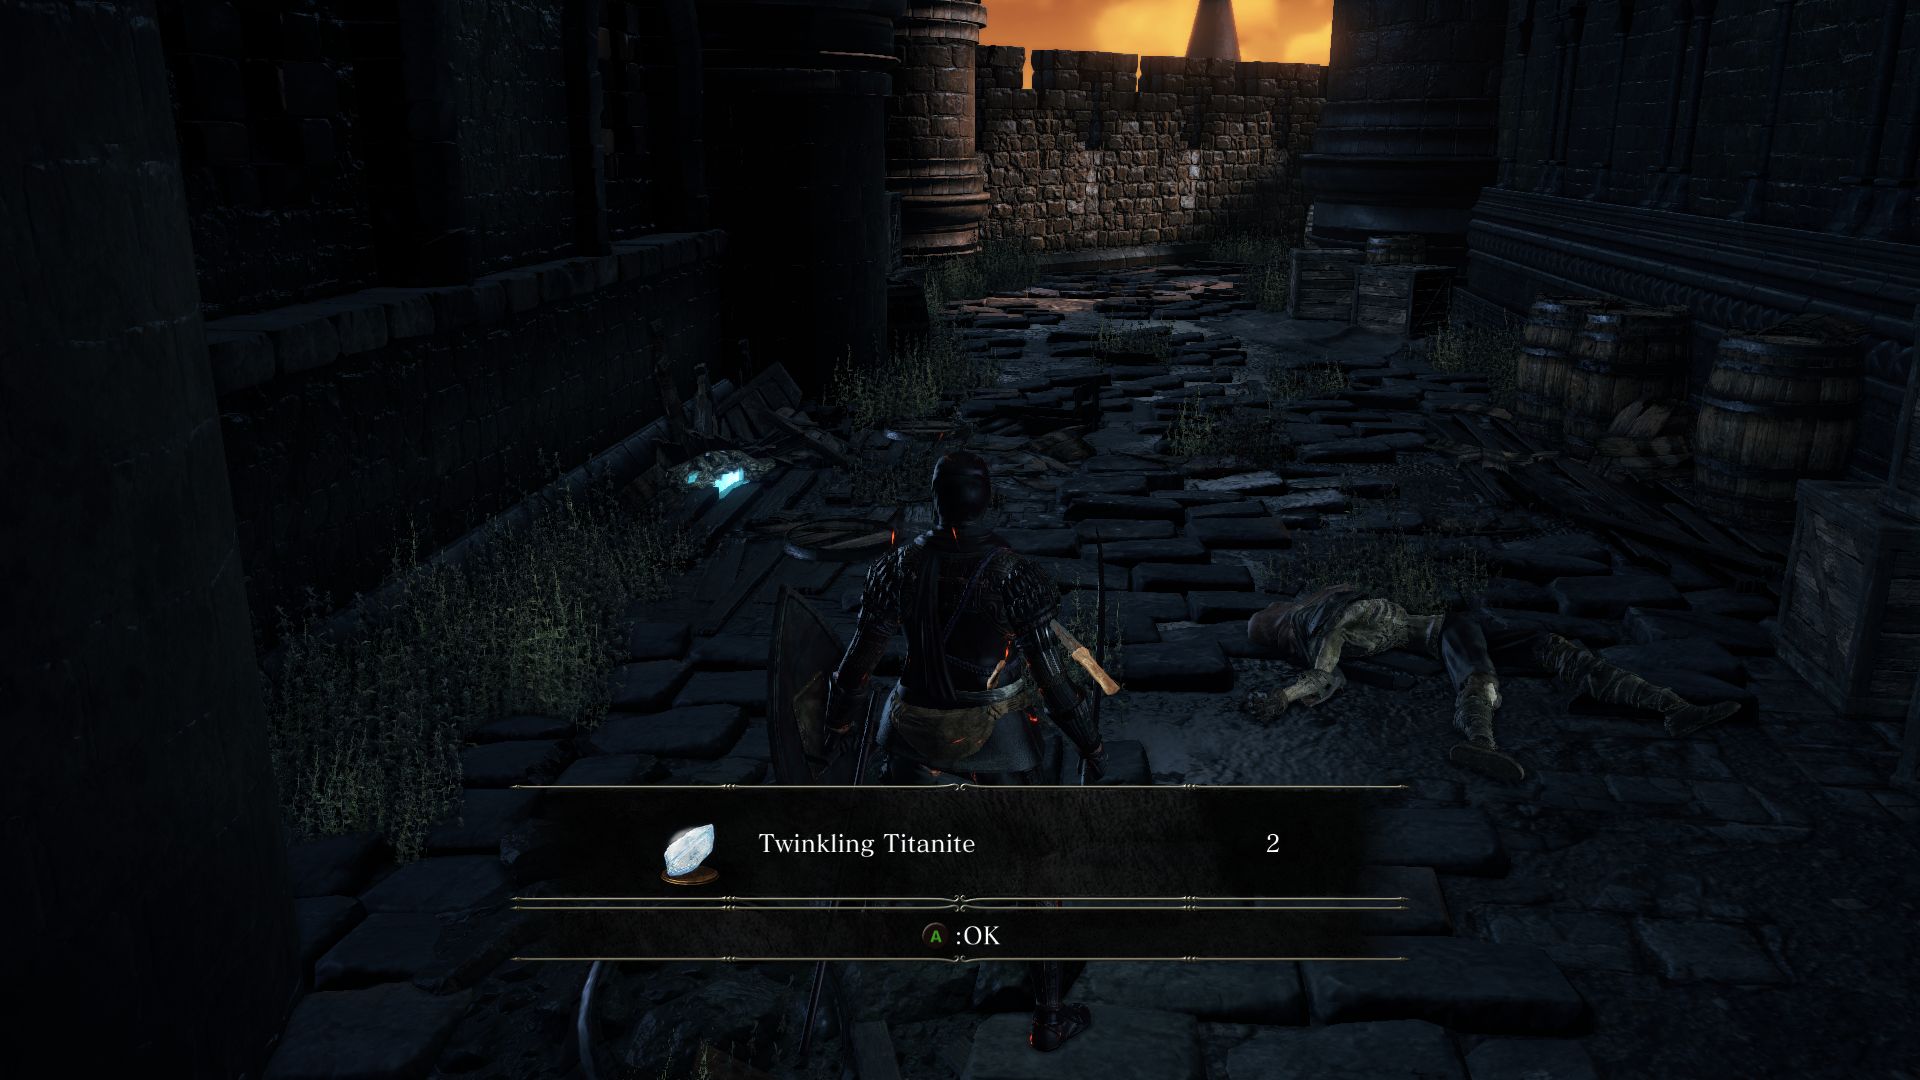
Another Hollow patrolling to the left will do the same, so take it down as fast as you can. There should be 2 Titanite Chunks in the middle and 2 Twinkling Titanites on the other side.
Enter the small hall and go up the stairs where you will find 3 Lightning Urn behind some crates. Exit the corridor to find a Crystal Lizard to your left that will drop 2 Twinkling Titanite. A Hollow Thief awaits on your right. As you approach him, another Thief will come to his aid. As you keep moving forward, two more Thieves will try to ambush you from behind and another will attack from the front. Kill them carefully before moving onto the rampart. Loot the Large Soul of a Nameless Soldier and ascend the ramparts to fight the Winged Knight along with a Hollow. Kill them both and loot the Sniper Crossbow and Sniper Bolt.
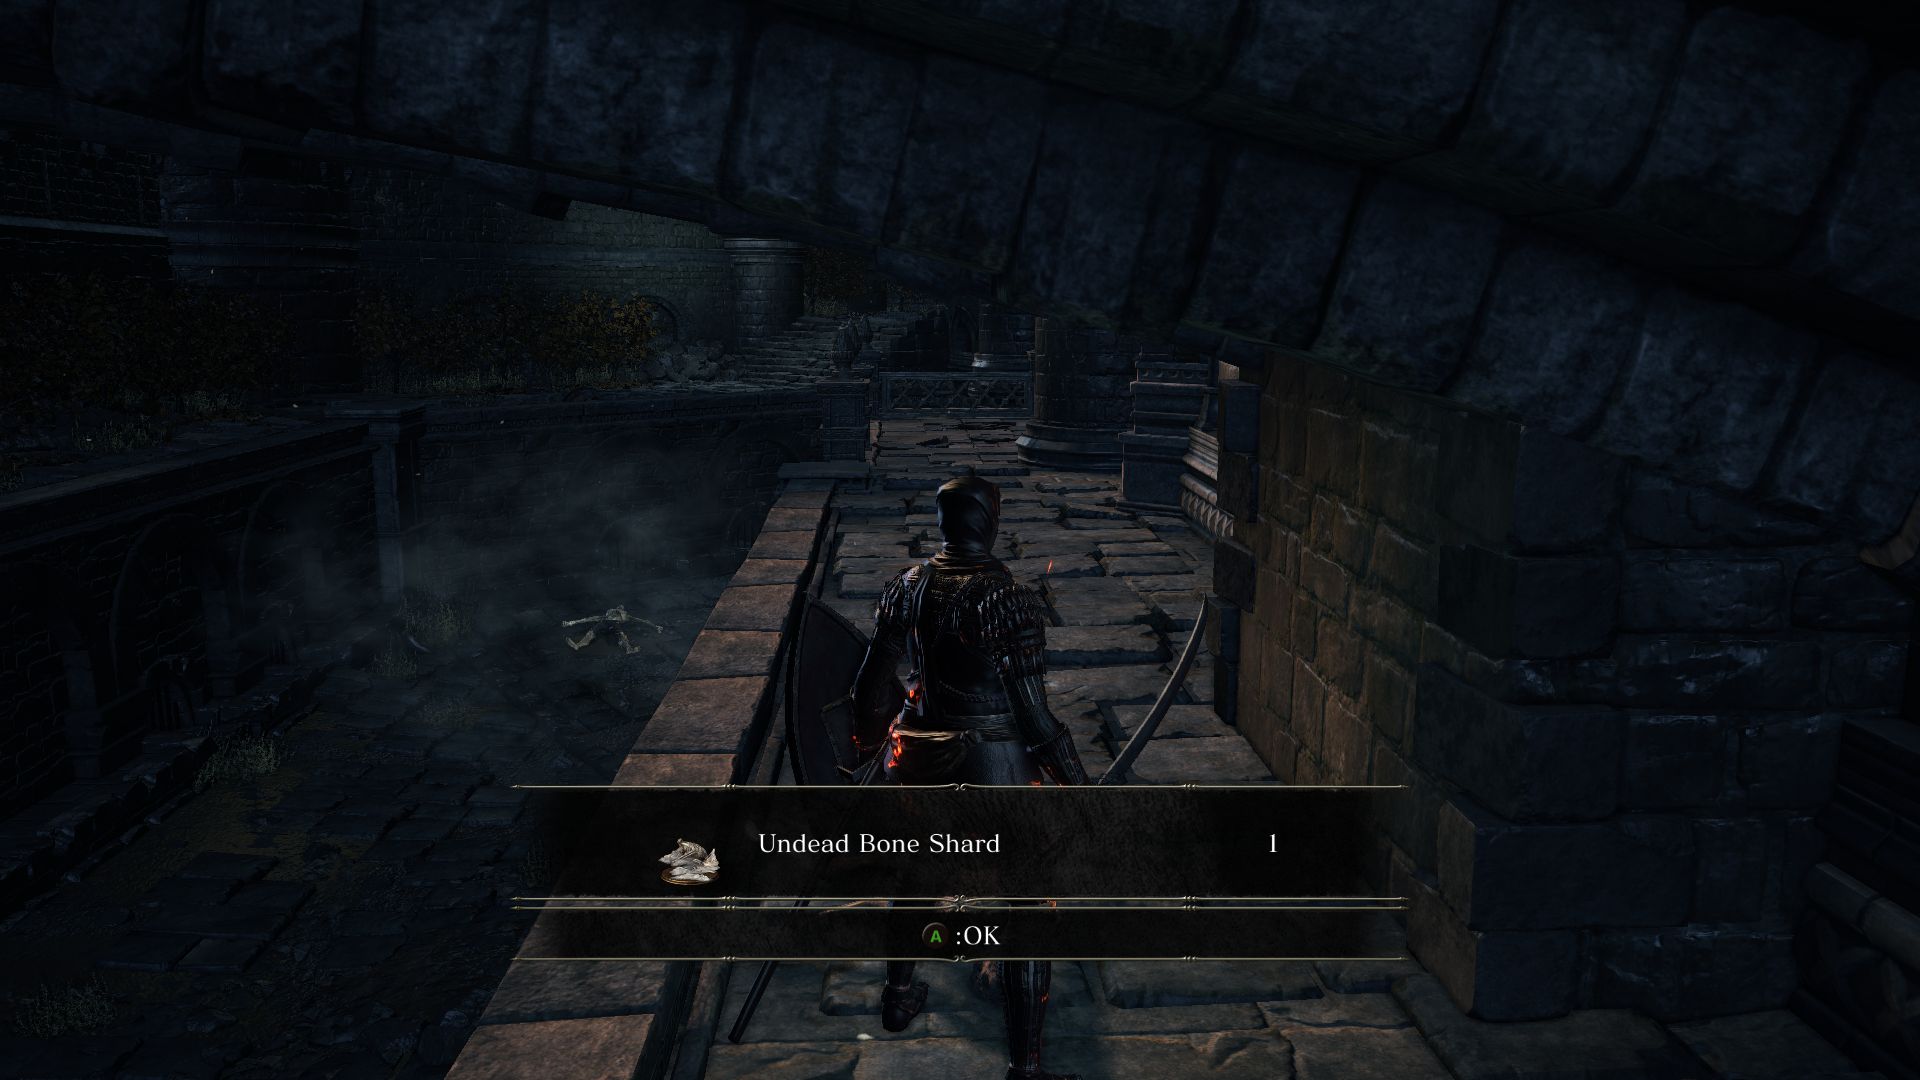
Now it’s time to go back to the moat. Before you explore left, you should try to run a bit into the bridge before you drop down onto the upper moat on the other side which you hadn’t been able to access before. Here you will find an Undead Bone Shard!
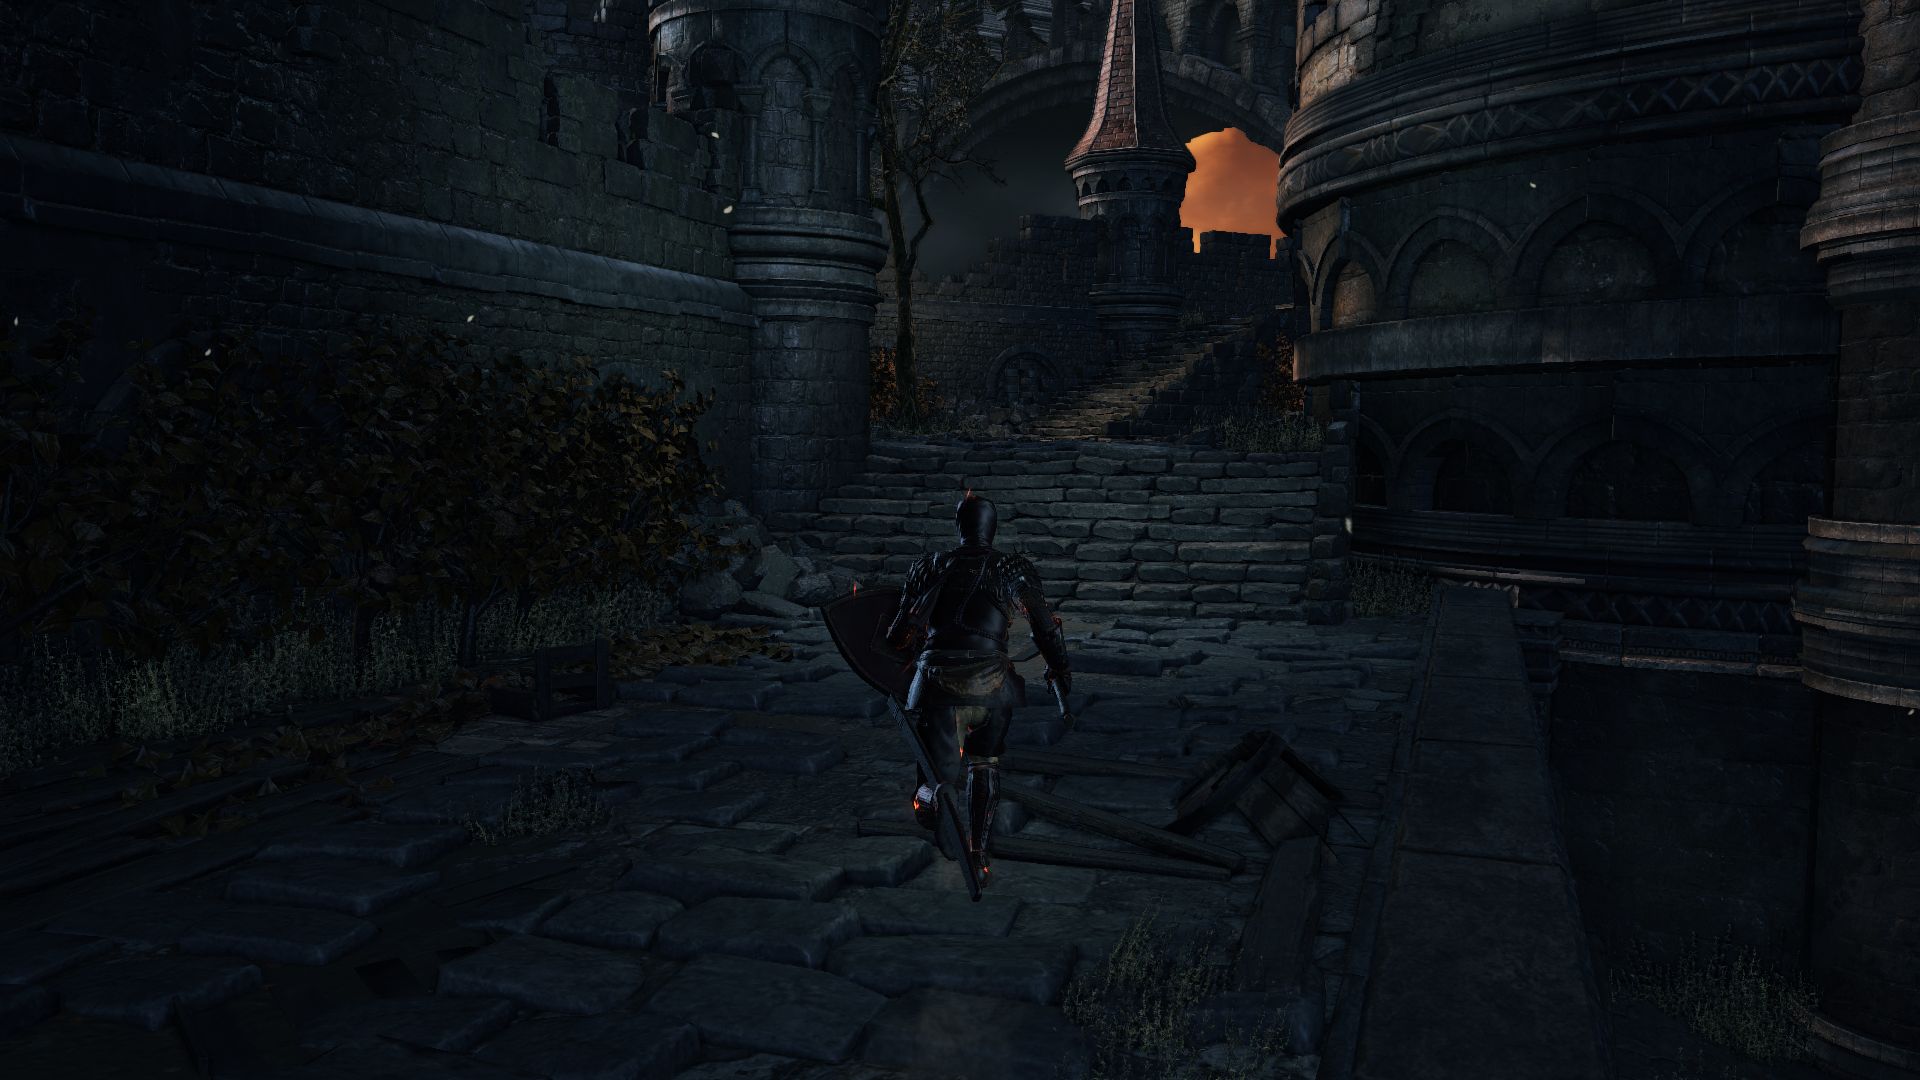
Now back to the upper moat closer to the bonfire, head left and go up the stairs but keep your guard up. A crossbowman will shoot bolts at you from a ledge while another Hollow throws those anti-healing bombs. Two more Hollows will charge at you, one with a halberd and another with a greataxe. Don’t try to fight them in the range of the archer. Pull them back and take them out before going for the archer.
Before you take the small stairs to head into the building, go a bit further ahead to find two Lothric Knights. Again, try not to charge into both. Pull one with a ranged weapon or throwing knife and take it out solo. Then go back and kill the other one. Notice the item above, which you can’t reach from here. But when you do go for that item, you won’t have to jump onto two Knights anymore.
Now go back to the small stairs and head inside the room to find some stairs to your right that leads down, and a closer view of the dragon ahead. Loot the Large Soul of a Nameless Soldier and the Raw Gem on the balcony before taking the stairs down.
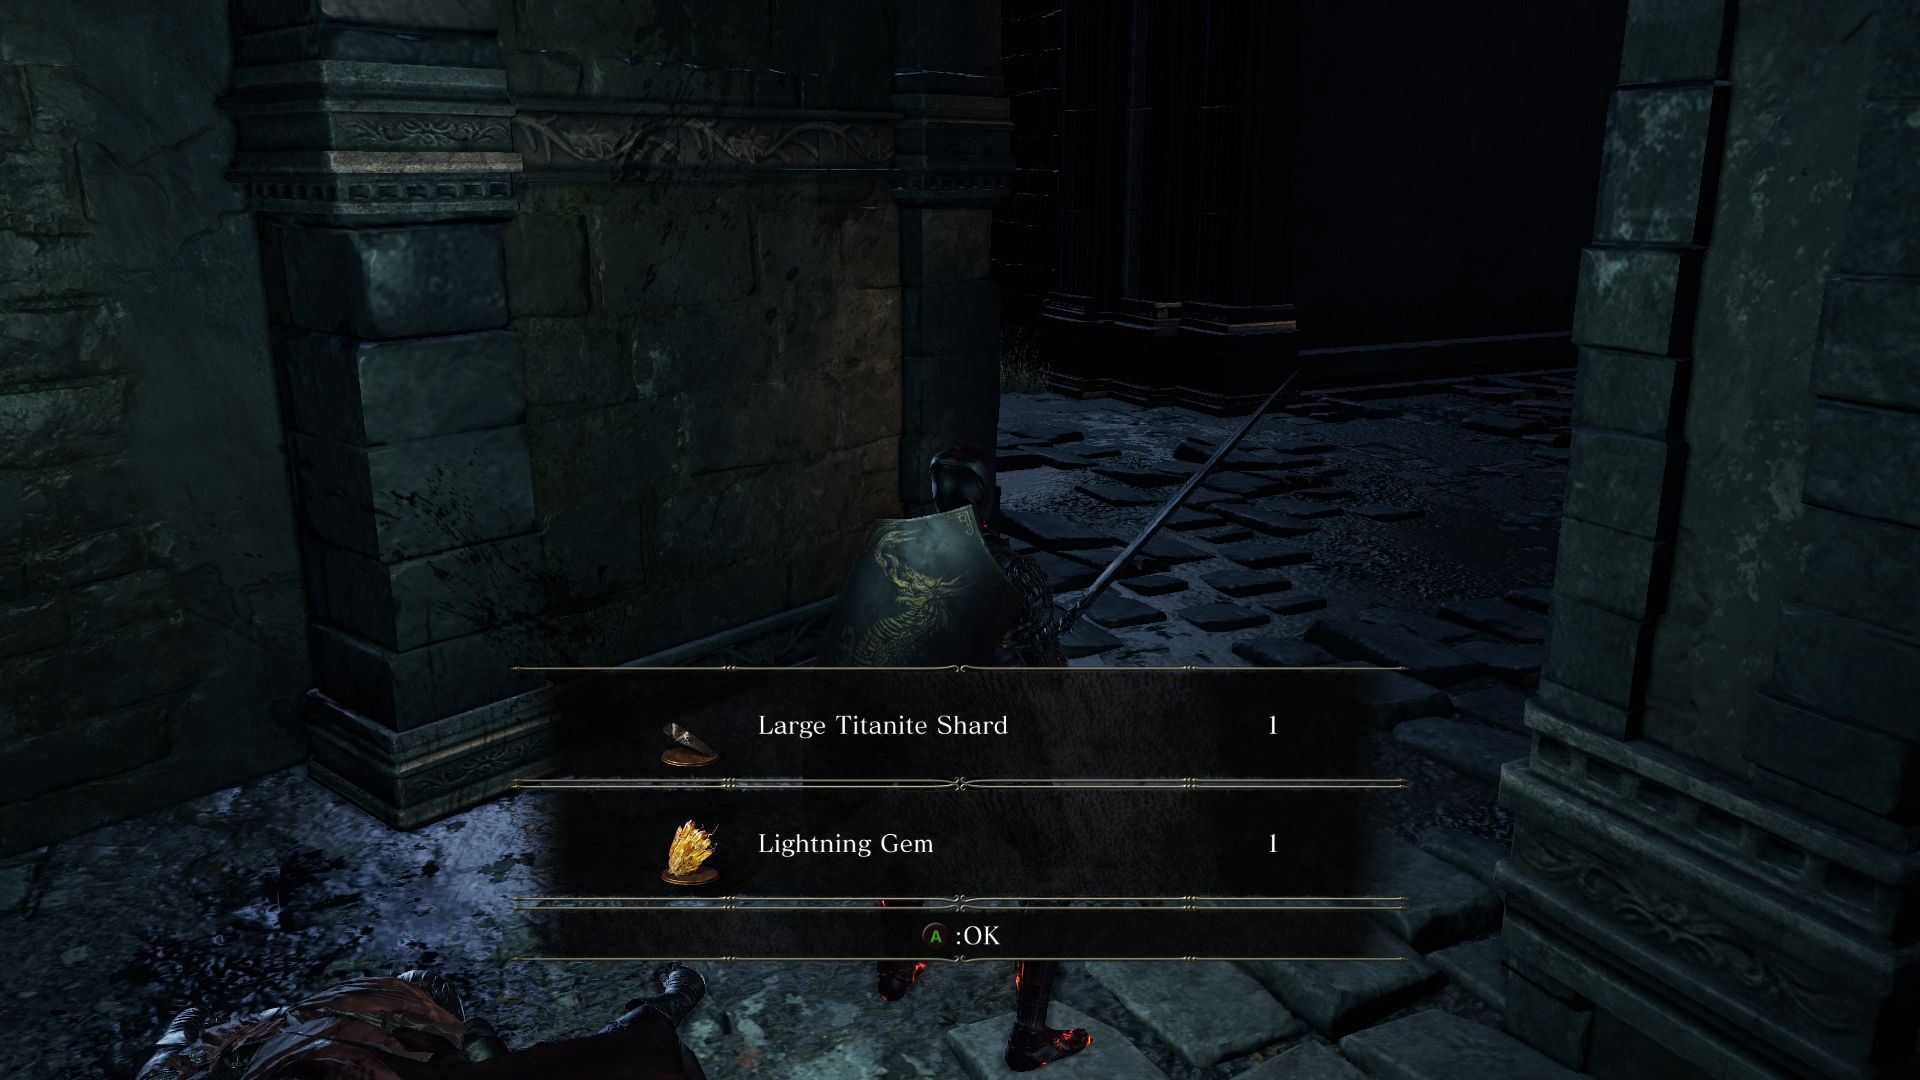
Be careful though, as you will soon face an Outrider Knight. Even though he is stronger than the one you had faced before, the strategy to take him down remains the same. Try to position behind him and keep rolling out of his lunging slashes. Defeat him to obtain the Irithyll Rapier, which is a very useful and fast item. In this area are four chests containing 3 Twinkling Titanites, a Titanite Scale, and a Spirit Tree Crest Shield.
Go back up the stairs and get ready to sprint like crazy. You have to wait for an opportune moment when the dragon isn’t blasting fire to head to the other side and into the doorway. Ignore the loot scattered here for now, you can get them later safely.

The room is dark and filled with Hollows. There are also some explosive barrels around so be careful not to linger near them as the Hollows from above will toss firebombs at you. There’ a ladder to your right but don’t worry about climbing it now. Move forward and onto the stairs to fight the Hollows throwing bombs at you. As you approach the first one, some weak Hollows will try to ambush you. Take them out and continue up the stairs to kill the other Hollow.
Go around to get to the other side with the ladder to kill the remaining Hollows and watch for the 2 that will try to ambush you from the balcony. Loot the Large Soul of a Nameless Soldier by the ladder.
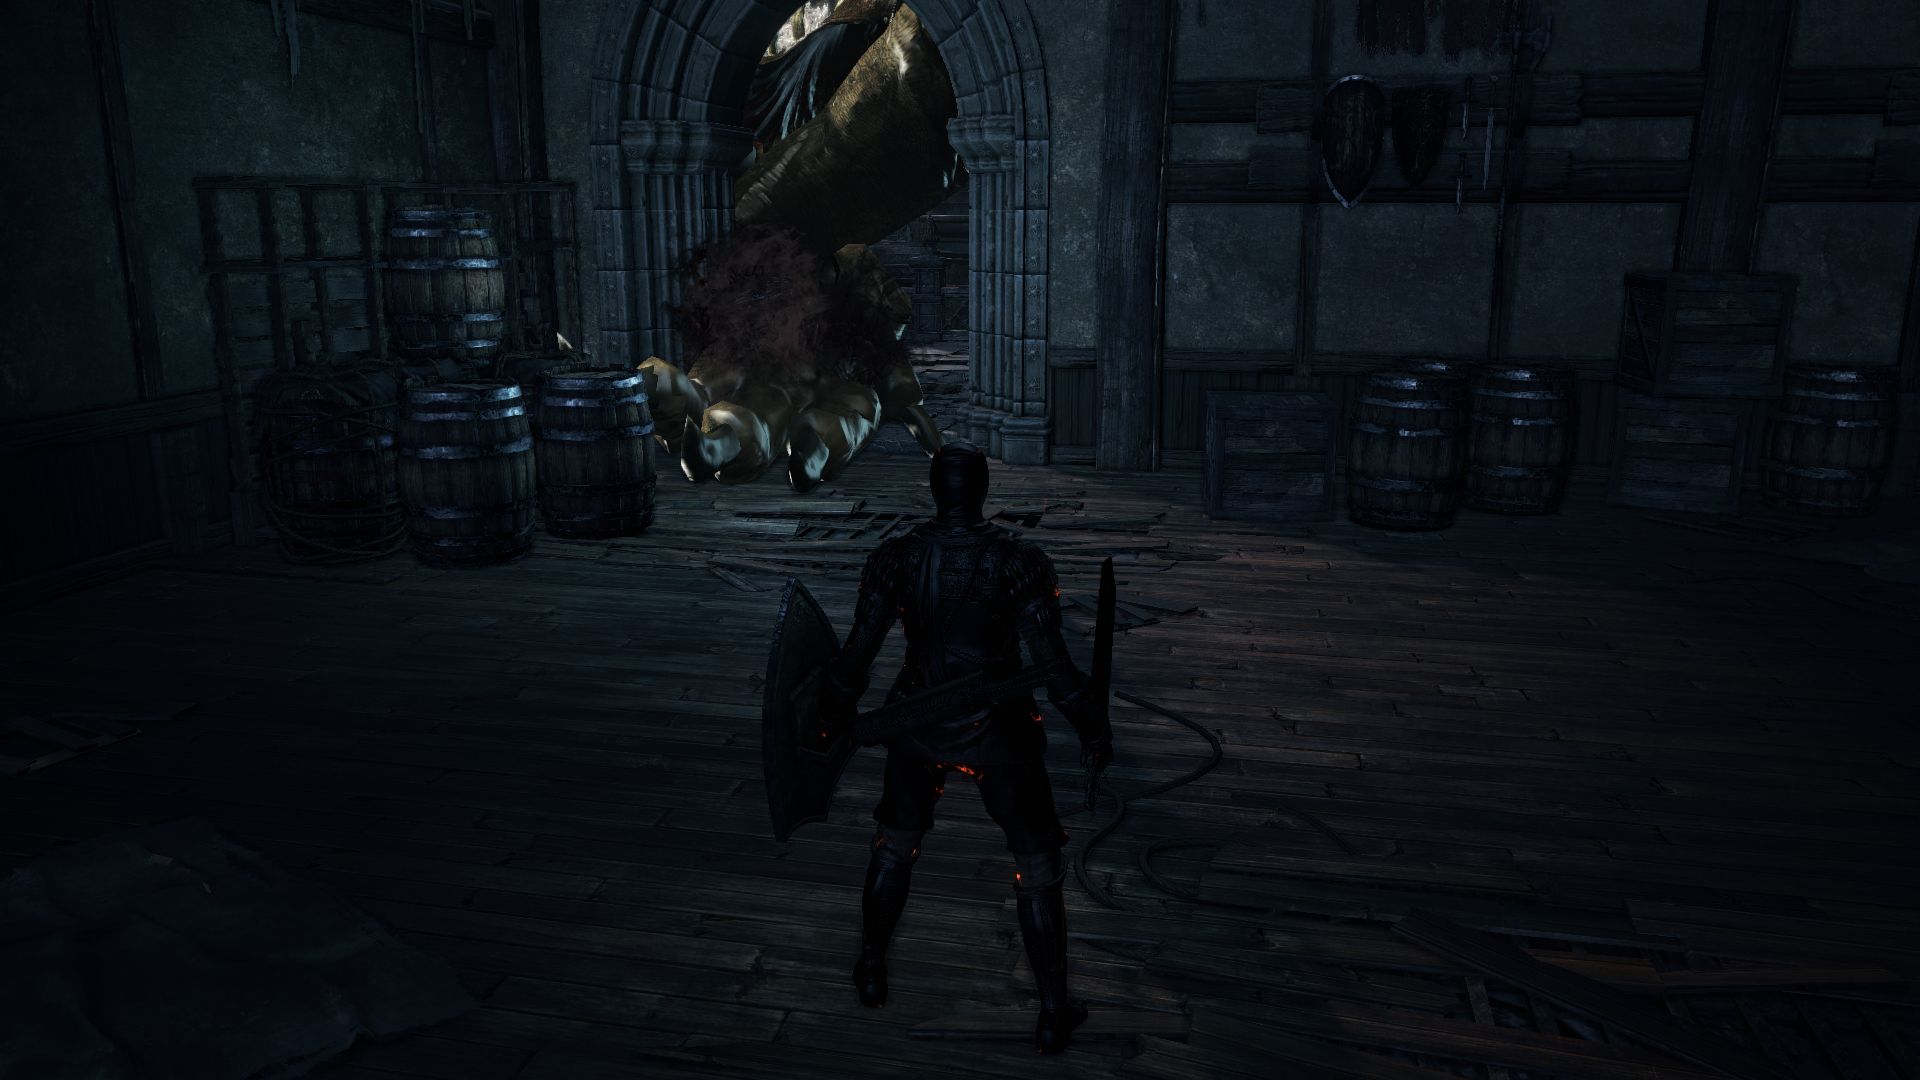
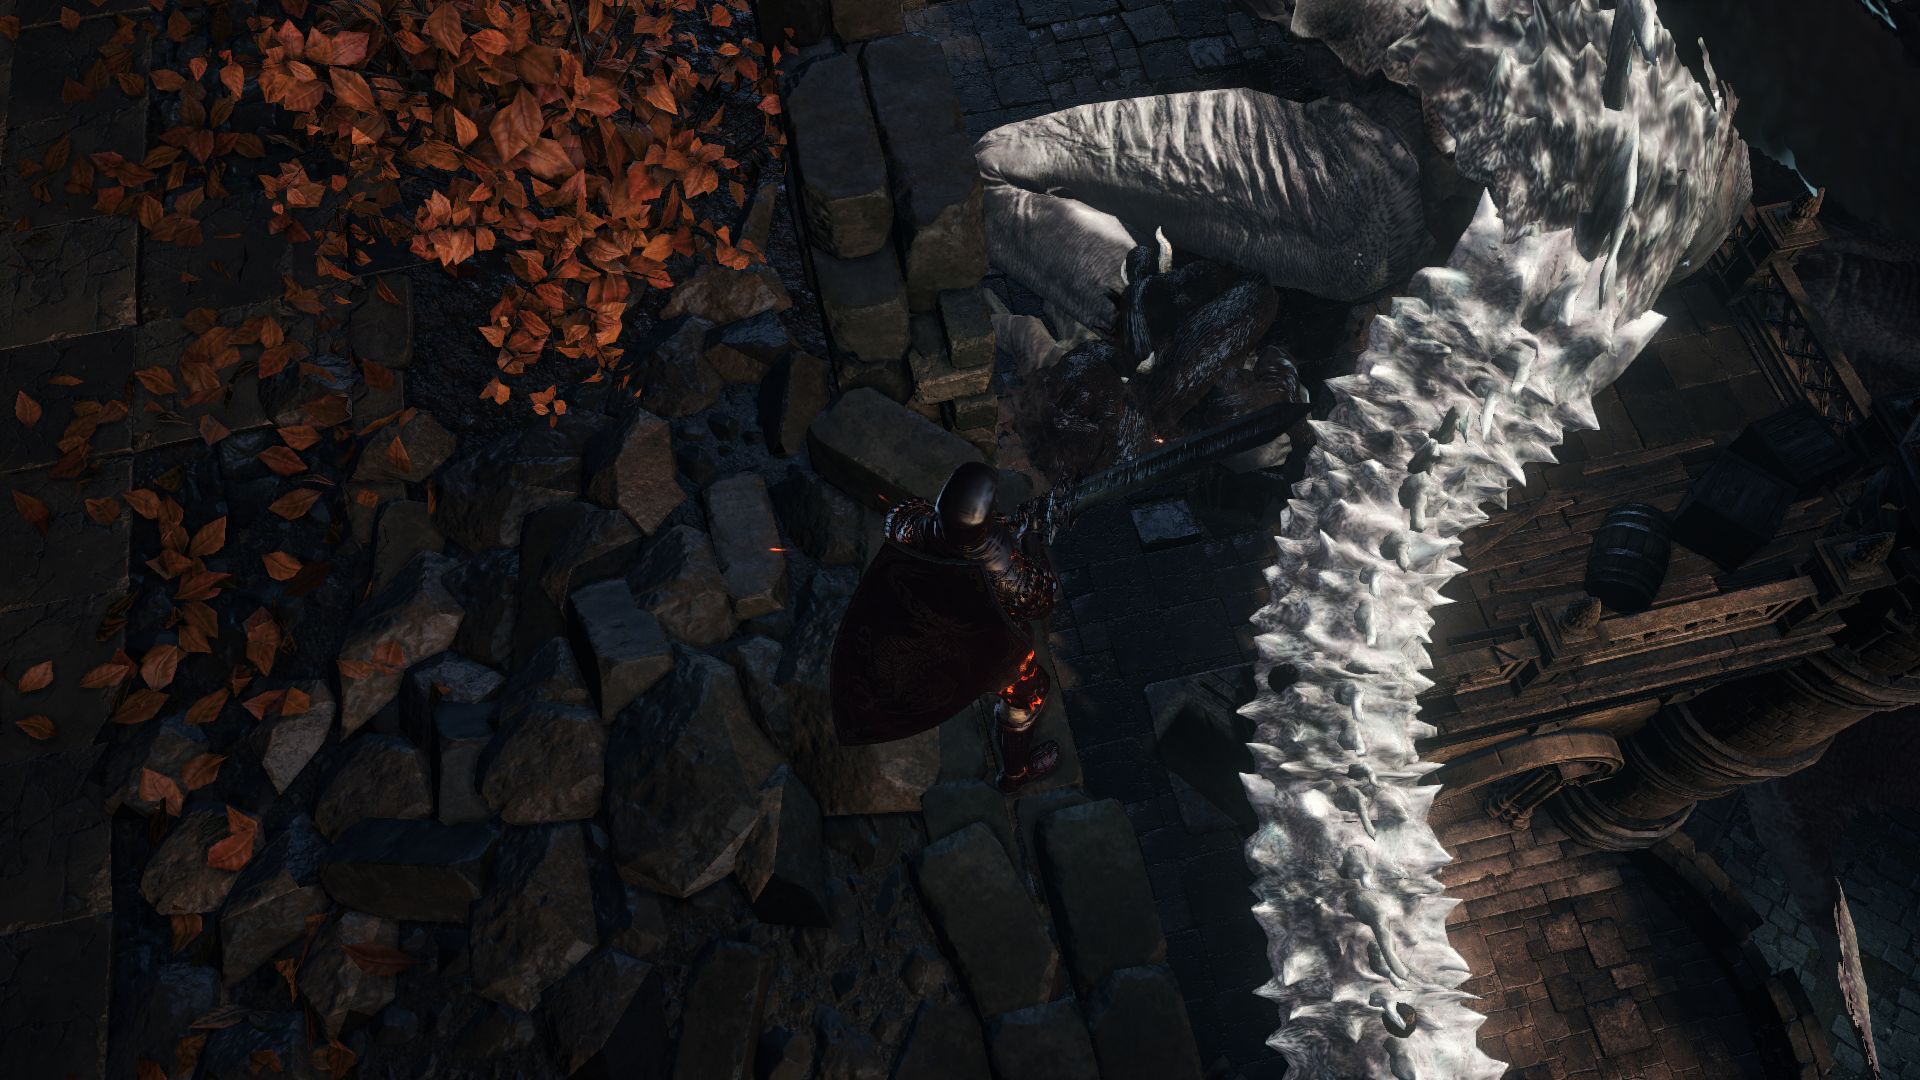
Now, notice the dragon’s claw in front of you poking through the doorway? If you observe closely, the claw is infested with the mutation. Hit the mutation and it will transform in the monstrosity. Killing this stationary mutation is the key to killing the dragon. Even though his monstrosity is not mobile, it will still attack you if you are close and spew curse clouds at you. Just like before, hit it with fire to stagger it and take it out. If you got flaming arrows or blots, use it. If you have pyromancy, it’s even easier. If you don’t have any of those, firebombs will do the trick too. Kill the mutation and watch as the dragon dies with it, leaving behind 2 Titanite Chunk and 2 Ember. After you kill the first dragon, the other one will stop breathing fire too, as it has been taken over by the mutation as well.
Move to the doorway opposite here and loop around the right side of the building to find a Titanite Chunk and a Crystal Lizard that will drop 2 Twinkling Titanite. This also will lead to a small platform where you can find a Titanite Scale and the other dragon. Drop down to get the loot that you couldn’t obtain before – 6 Lightning Urn by the dragon’s face, a Refined Gem and Ember near the stairs and an Ember by the main gate, which is closed, so we need to find another way.
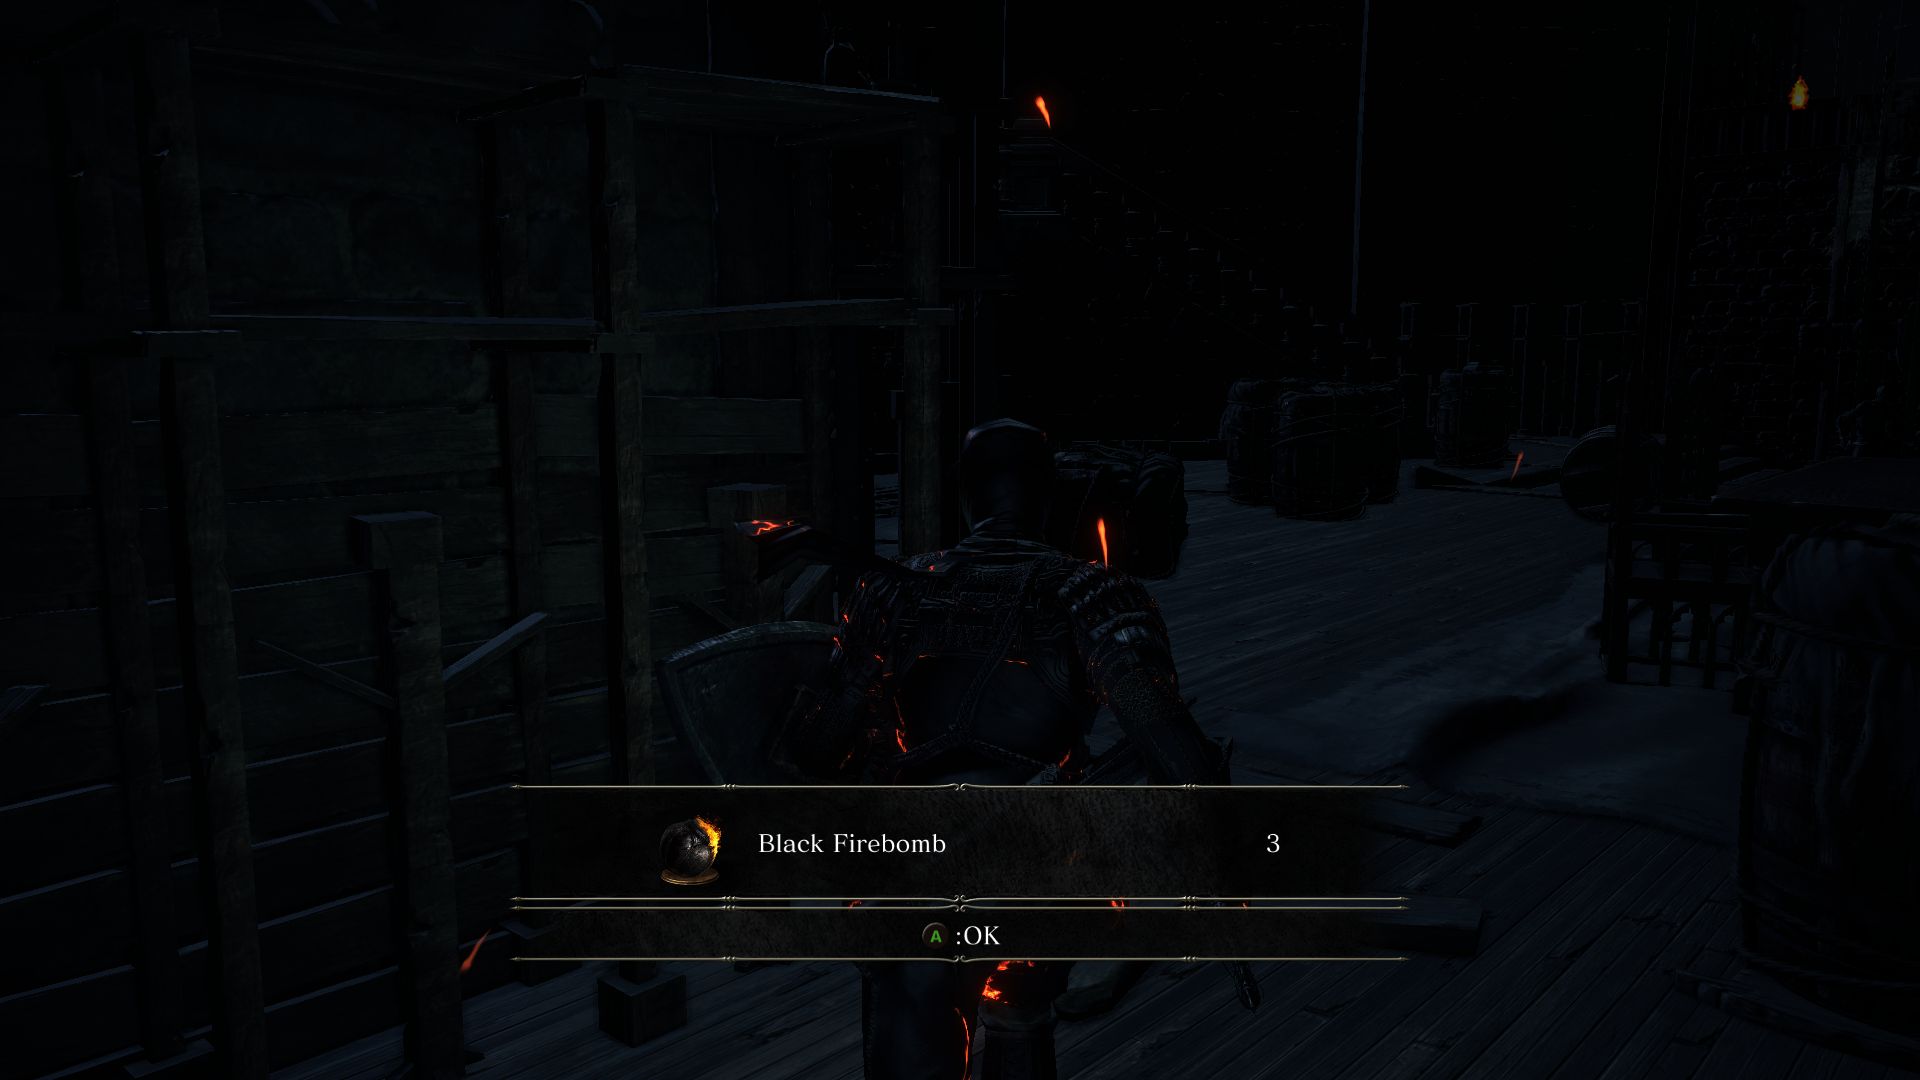
Return to the dark room and check the main floor for 3 Black Firebomb. Go up the stairs and proceed to the right side, but be wary of any Hollows lurking in the dark. Charge the Watchman Hollow to your right before he can raise the other Hollows to his aid. Clear the room and loot the Pale Pine Resin. The chest in the room is a Mimic holding a Titanite Scale. Go through the doorway the Watchman had come from to find a small area with 2 Hollow Thieves. Kill the thieves and loot the corpse for another Titanite Scale. Now go back and enter the other doorway to find yourself on the other side of the main gate.
Pulling the lever in front of you opens the main gate. If you want you could drop down from the ledge close from here (but loot the Large Soul of a Weary Warrior before you do), but this may put you in danger of facing a Lothric Knight and a cleric who will buff him up. Or you could head back out and enter through the main gate safely.
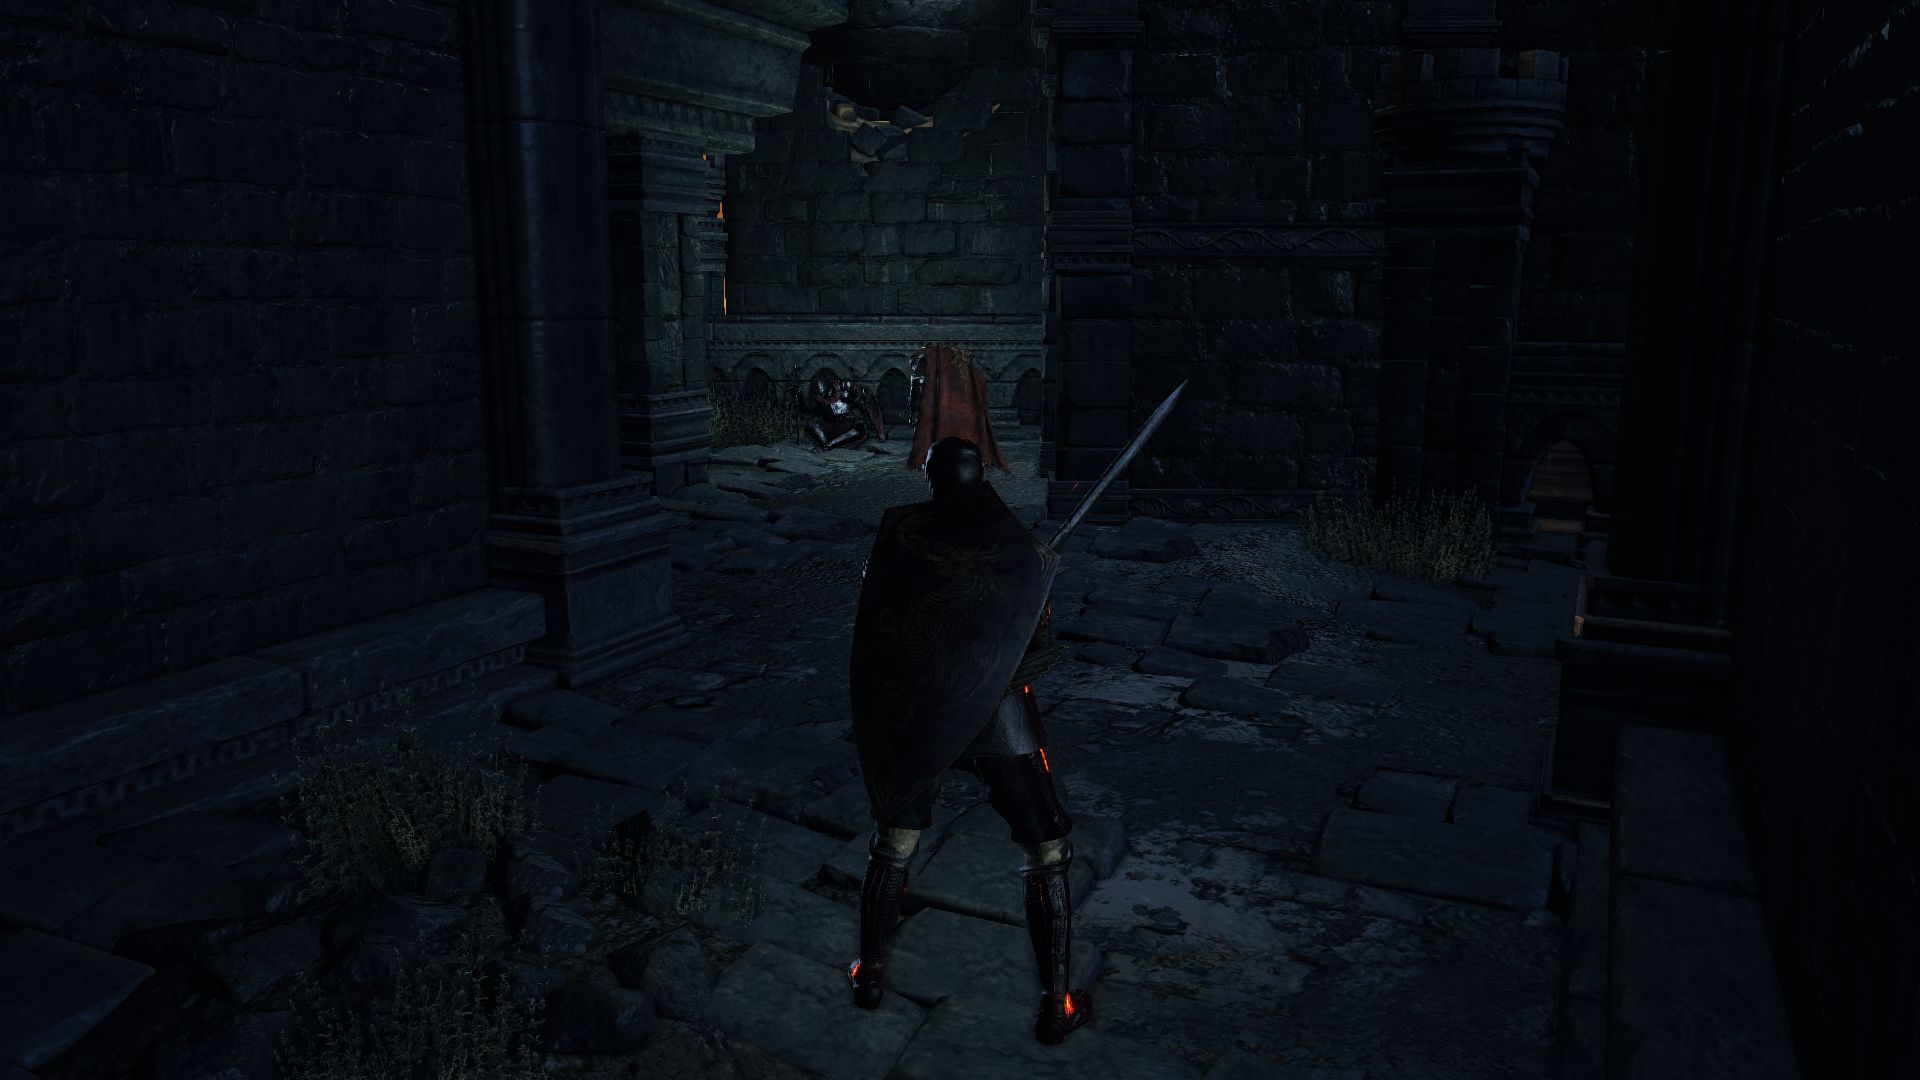
If you do, watch for the pairs of Knight and cleric, one to your right and one straight ahead. Don’t take on all of them at once. Try to pull the first Knight out of the room to take it on solo before you kill the Cleric. After you clear this area search the room for an Ember before heading up the stairs and entering the outer area of the castle.
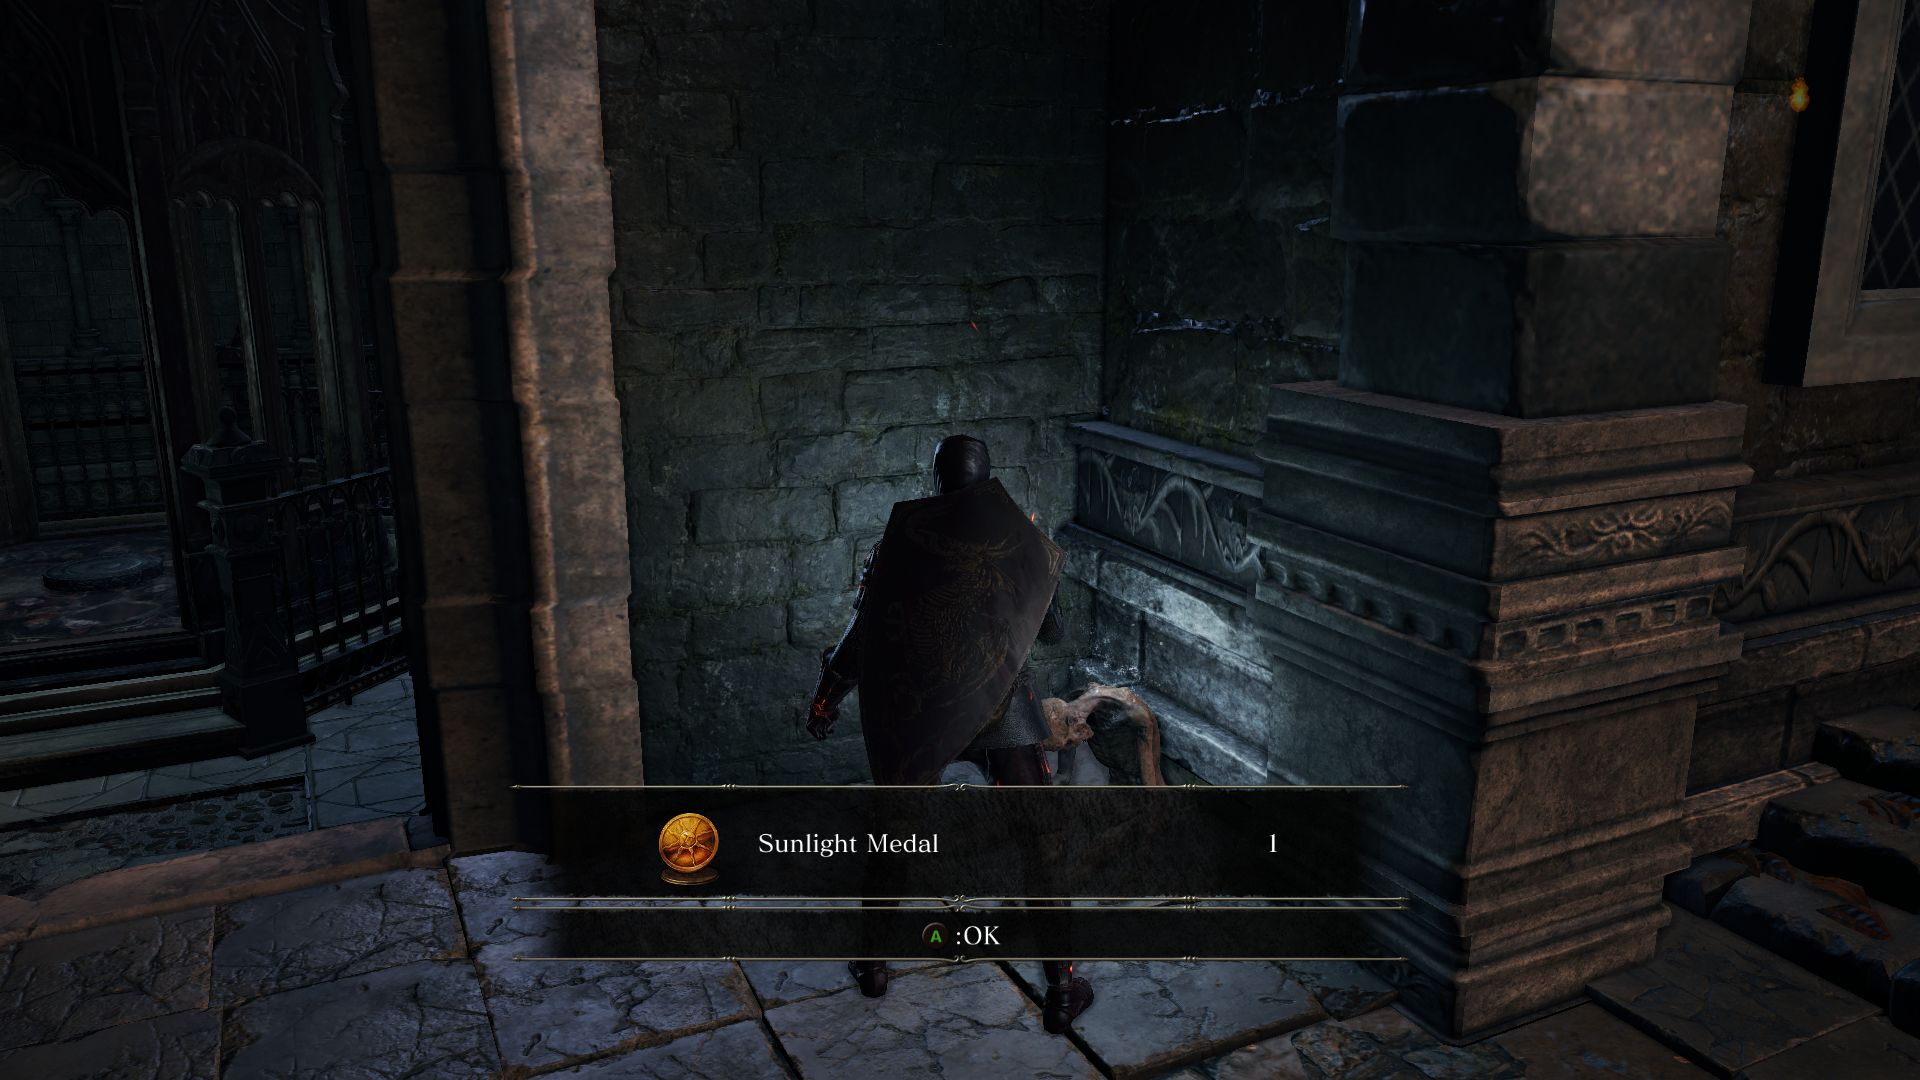
Up ahead you will notice the fog door leading to the boss area, but there are a few more things to do before. There’s a path to the right, and a lift and locked door to the left. Around the corner to your left is a ladder. Make your way to the left and loot the Sunlight Medal by the lift (which leads all the way down to the cathedral where you fought the Dancer).
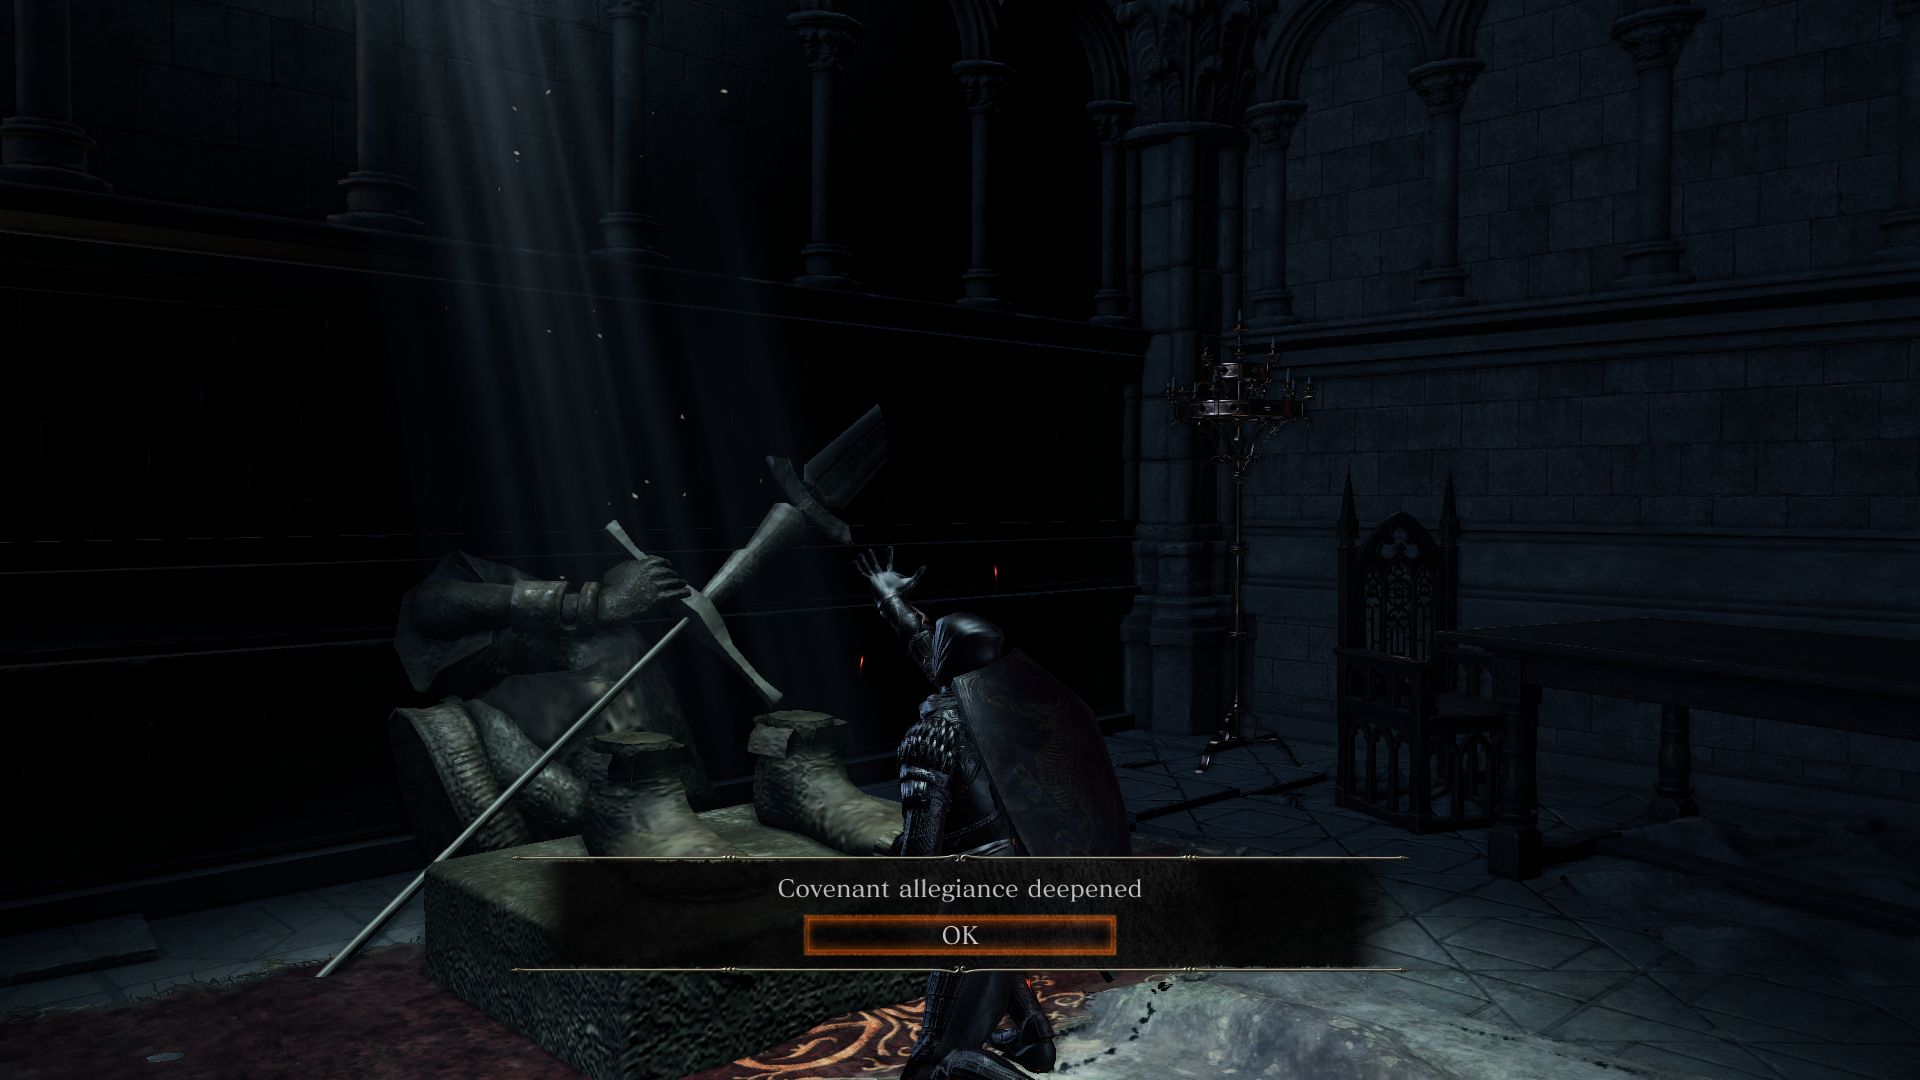
Climb the ladder in the corner onto the roof where you will find a Titanite Chunk. Proceed to the other side of the roof where you will face two enemies with crossbows and a Hollow wielding a greataxe. Behind them you’ll find a room with a leader going down. Loot the corpse for the Knight’s Ring and go through the doorway to face a Lothric Knight with a greatsword. Carefully take him out and enter the next room that has a broken down altar – the Altar of Sunlight. You can pray here to turn in Sunlight Medals. Doing so will earn you a Praise the Sun Emote. Loot the chest for the 3 Titanite Scale and go through the door that leads back into the open area.
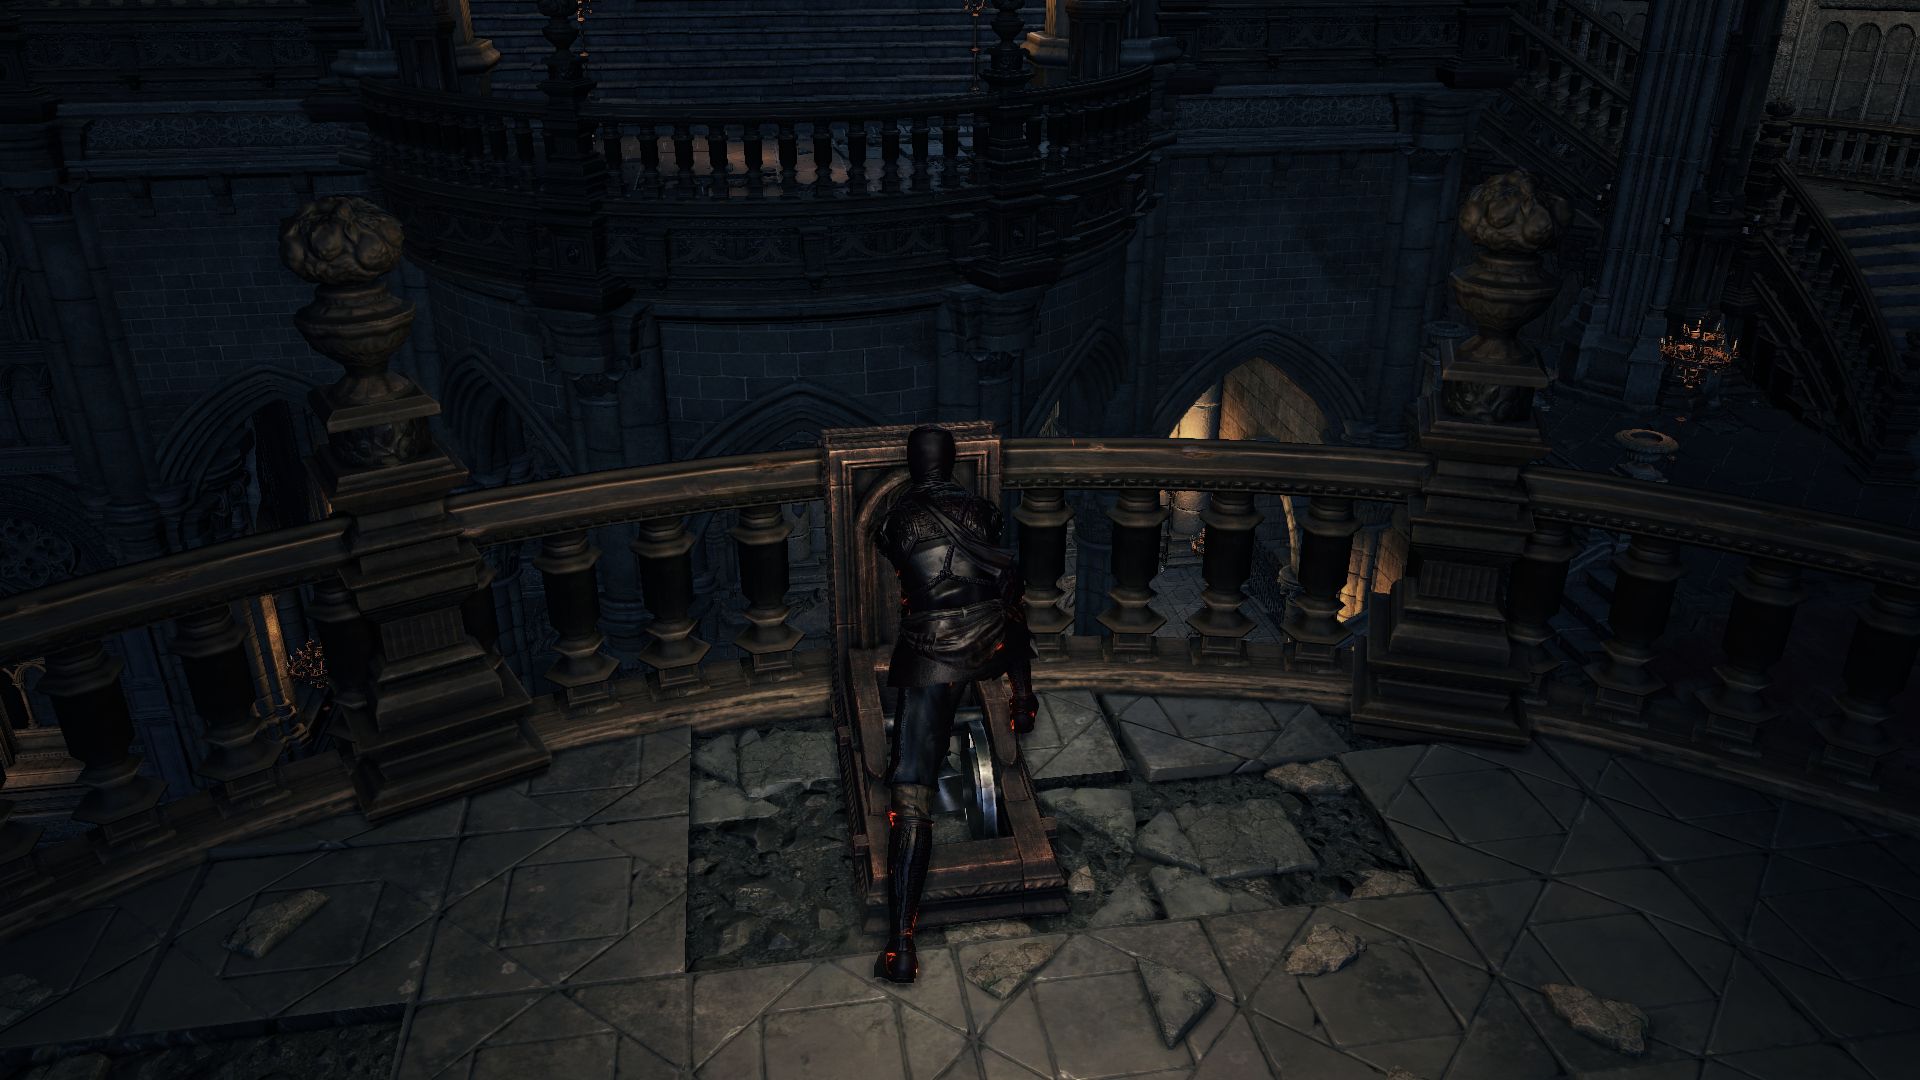
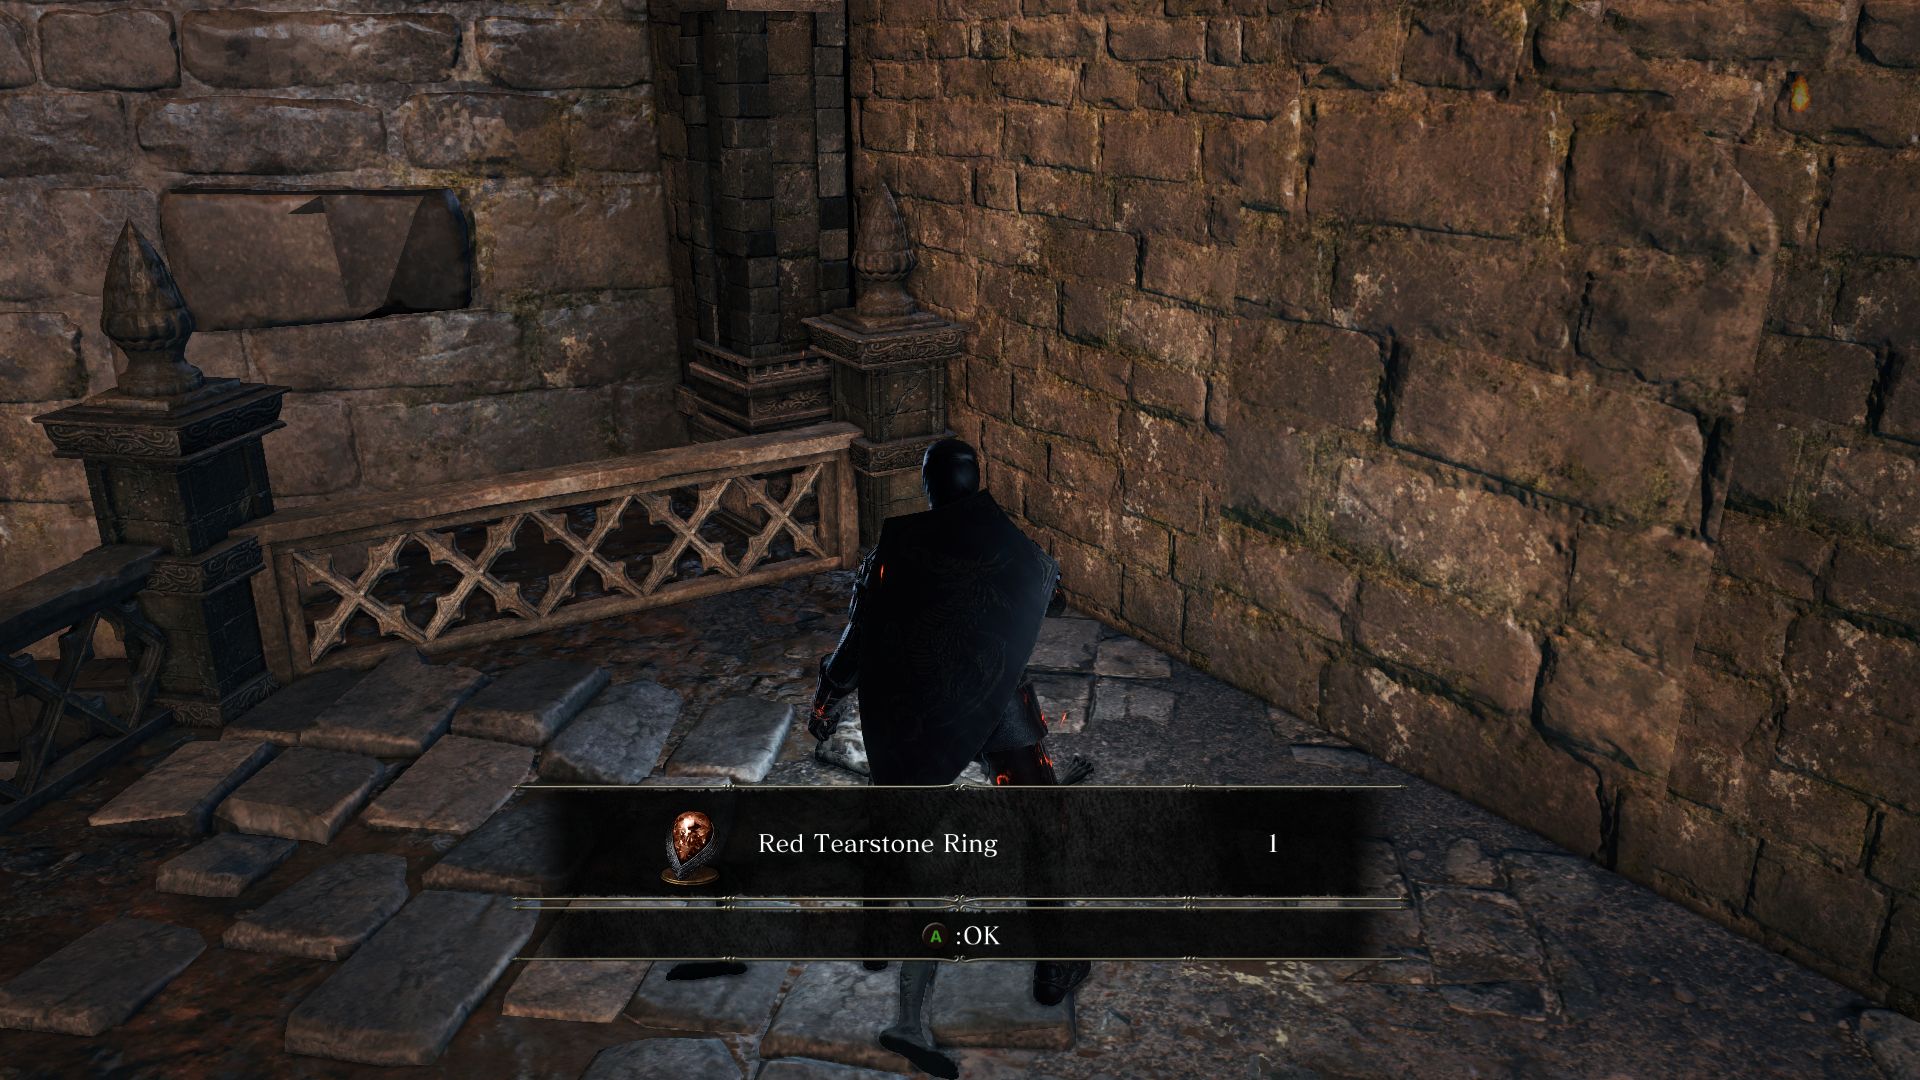
From here, go to the path on the right that will lead into a darkened area. Notice the summon sign for Eygon if you need help with the boss. Look for the corpse on the right for 2 Rusted Coins and a chest with a Titanite Scale. The lift doesn’t work (it’s needed later for a shortcut to the boss of next area) but search the balcony to your left for a Red Tearstone Ring.
You should also notice a broken section of the balcony from where you can jump below. It’s a long drop off, so wear a Silvercat Ring or make sure you have lots of HP. Loot the Caitha’s Chime and jump down. If you had taken care of the 2 Lothric Knights earlier in this alcove you don’t have to worry. Otherwise, be careful!
Now go back to the open area and head towards the ladder again. Look for the broken part of the railing where you can jump down. But beware! The mutation on the other dragon is down there. So take cover into the building as you jump down to avoid being too close to the mutation. Using the strategy as before, take out the mutation to kill the dragon with it. You will earn 2 Titanite Chunk and 2 Ember.
Now loot the Soul of a Crestfallen Knight by the ledge and head inside the building where you will find a Mimic holding a Sunlight Straight Sword. Go up the stairs and you’ll find a Braille Divine Tome of Lothric and a ledge that lets you drop in front of the gate.
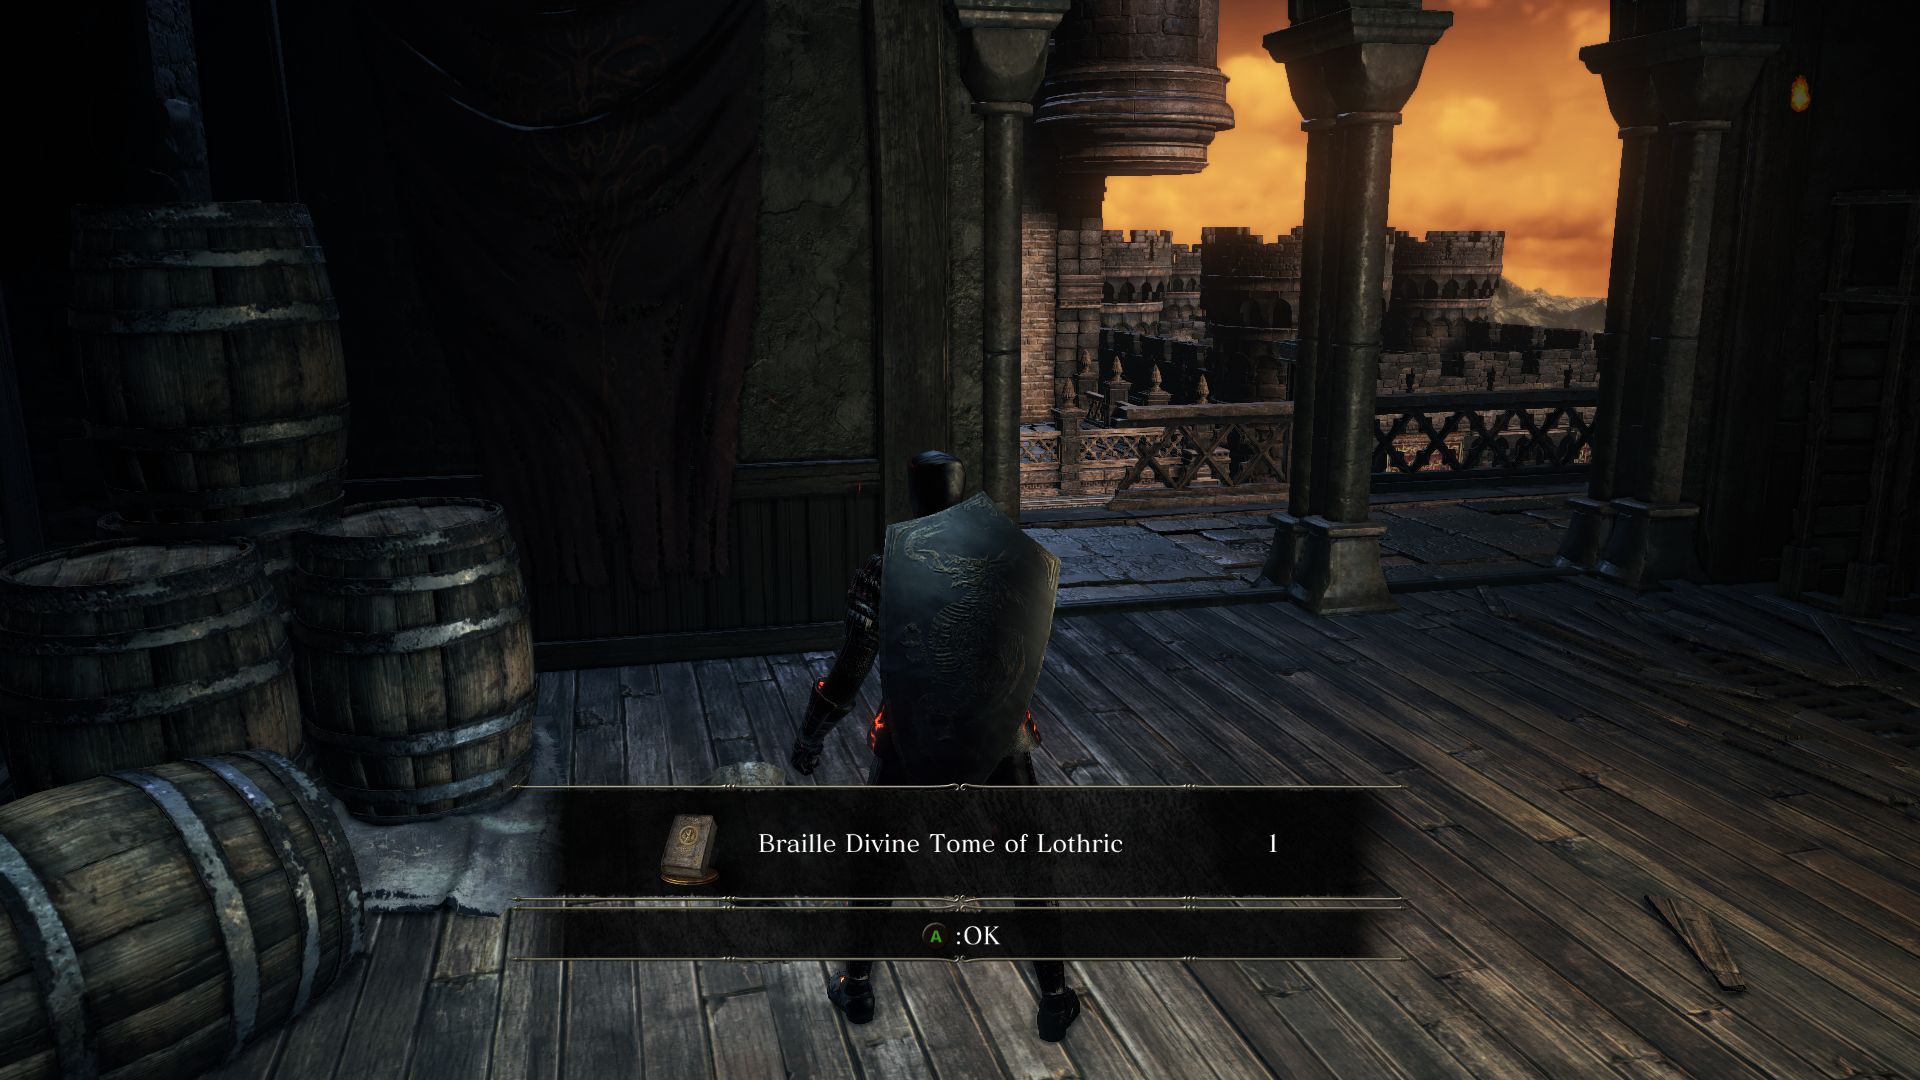
On a side note, if you want to make Irina a Fire Keeper, you can give her the Braille Divine Tome of Carim and Braille Divine Tome of Lothric. You will need to buy all her standard spells, along with Med Heal, Tears of Denial, Force, Bountiful Light, Blessed Weapo, and Magic Barrier. After you heal the world, she’ll move to the bottom of the tower to the left of Firelink Shrine and serve as a Fire Keeper.
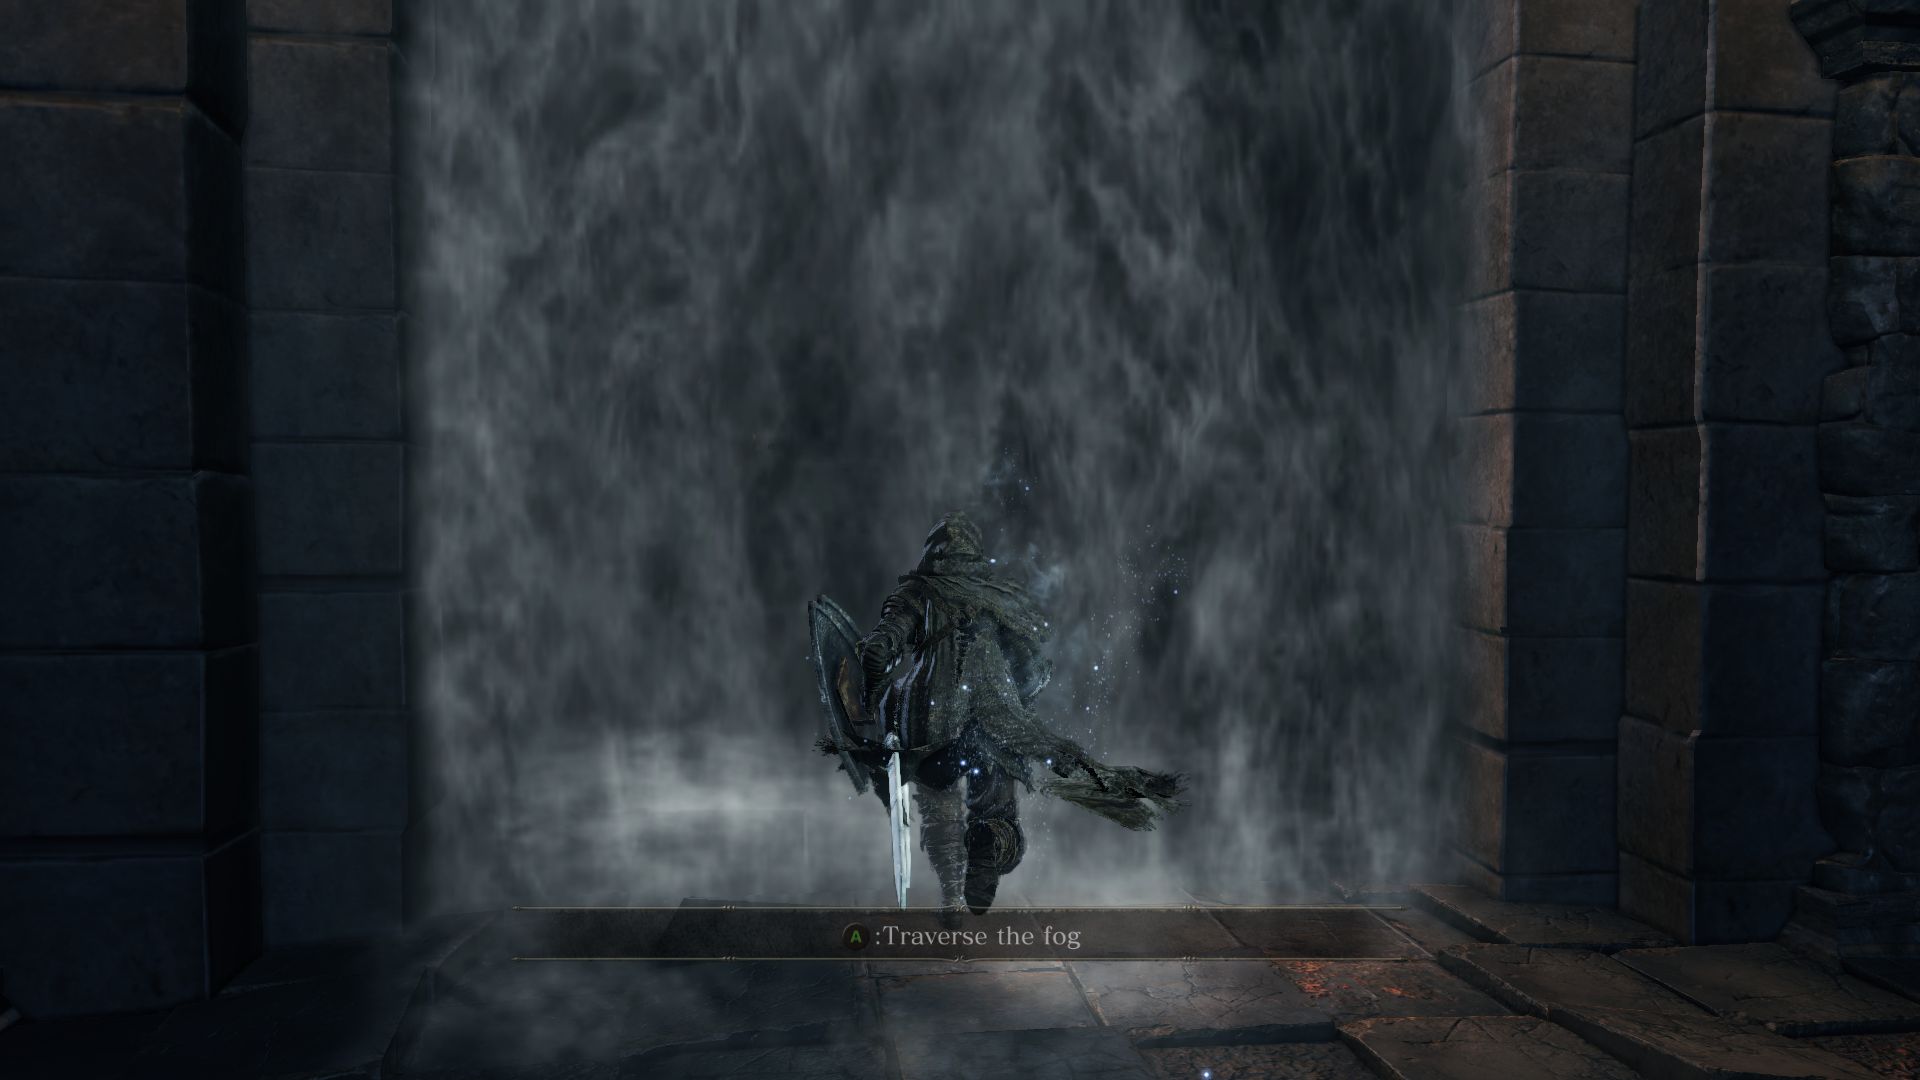
Now that you’ve explored the area, it’s time to face the Dragonslayer Armour. If you need help, you’ll find summon signs for Eygon to the right and Sirris to the left (if you had assisted her earlier). When you’re ready, traverse the fog for the boss fight.
BOSS FIGHT – DRAGONSLAYER ARMOUR
Dragonslayer Armour will take form as you enter the bridge. Armed with a huge axe and a greatshield which he uses frequently to bash you, this boss is resistant to dark and lightning elements but weak to frost damage. The fight itself isn’t too difficult if you treat it like a Knight fight after you learn its attack patterns.
The boss likes to do 2-3 hit combos and leave some openings in between those combos. You just have to watch out for him to turn and use his shield to bash you. Rolling away from his attacks is highly recommended as his attacks aren’t that fast, but the boss does pivot rather fast with sweeping attacks to retaliate. The boss will sometimes put his shield away and raise his axe above him to do significant aoe damage around him, so sprint or roll away when you see that attack coming. He’ll also equip his weapon with both hands to lunge at you, which you can easily roll past and follow up with a few hits. These lunges may either end in a smash on the ground or a sweeping arc, so watch for the movement to roll in the correct direction. Like Knights, he will also plant his weapon on the ground and drag it forward ending in an uppercut. You should roll to your side when he does this.
If you want to stack defense, consider lightning resistance as the boss’s attacks are lightning based. Use rings, armor and shields that provide resistance from lightning damage if you have those. A reinforced Irithyll Straight Sword or Irithyll Rapier is very effective if you’re a melee character. A few hits will usually stagger him, but don’t get too greedy with your follow up attacks, because he will recover and retaliate if you linger close to him for too long.
Phase 2 starts at around 50% HP, which is when the boss’s controllers will shoot flaming projectiles at you. When you see these projectiles, just keep rolling away and don’t fight the boss during that time. When the ranged support stops, that’s when you should focus on the boss again. If you notice a flash of light on the floor aimed by the pilgrim, roll away to safety as it will explode soon. Essentially, you have to be mobile constantly during Phase 2 while engaging the boss.
Another added danger phase 2 creates is the Dragonslayer Armour’s tendency to smash the railings of the bridge while he is hitting you, creating ledges, which you should be very careful to not to roll over. If you get knocked back through these broken railings, you may fall to your death as well.
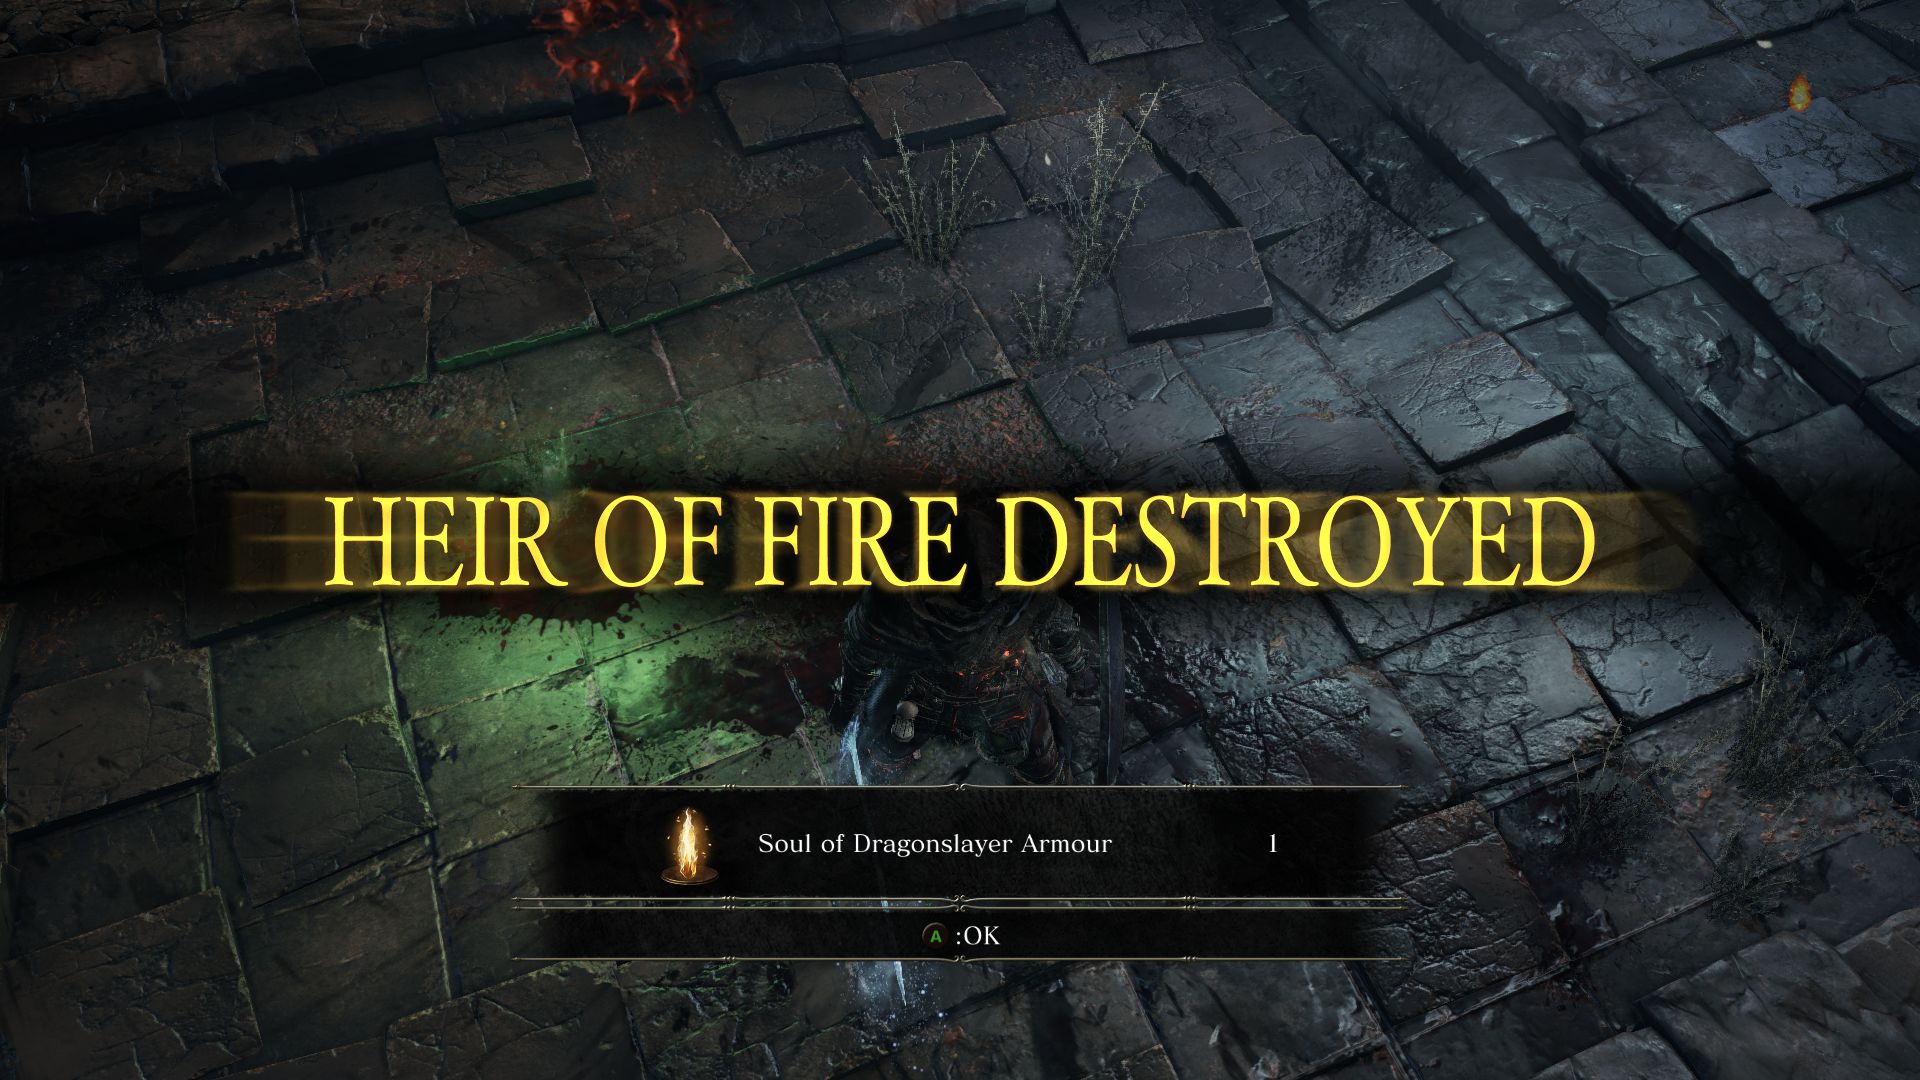
Defeating the boss rewards you with the Soul of the Dragonslayer Armour and a new bonfire. The gate on the other side leads to the Grand Archives that ends with a fight with Prince Lothric himself.
As a side note, if you return to Undead Settlement where you initially found Eygon, you will find him there dead in front of Irina’s Cell. You can loot his body for the Moaning Shield and Morne’s Great Hammer. The Firelink Maiden will also sell you Eygon’s Armor. However, if you gave Irina the Londor Braille Divine Tome and Deep Braille Divine Tome, and bought either of the following spells – Deep Protection, Gnaw, Dark Blade, Vow of Silence, or Dead Again – then she will disappear temporarily from the Shrine. You will find her outside the Iudex Gundyr bonfire area where Eygon will be hostile to you as he thinks you’ve killed her. Upon killing Eygon, you will find that Irina is still alive but she is succumbing to the corruption. This also allows you to purchase Morne’s Armor.
After Irnia returns to Firelink Shrine and you decide to buy all the Dark Miracles, she will become entirely corrupted and stop selling you items. If you still want to purchase the items she has to offer, you could equip Morne’s Gauntlets which leads her to believe you are Eygon, at which point she will ask you to kill her. Doing so will allow you to obtain her ashes that you can give to the Shrine Handmaid who will now sell all of Irina’s miracles.