
As you exit through the bottom of the prisons in Irithyll Dungeon, follow the path until you find a corpse holding a Large Soul of a Weary Warrior. As you try to cross the bridge ahead a huge stone gargoyle will block your path. Don’t fight it on the bridge. Pull it back onto the open area where you have more room to maneuver. Watch out when the Stone Gargoyle jumps in the air to dive at you; roll behind it before you press the attack. It will often attack you with multiple jabs which you should avoid as well. Lock on to the Gargoyle and strafe around it to find openings and finish it off.
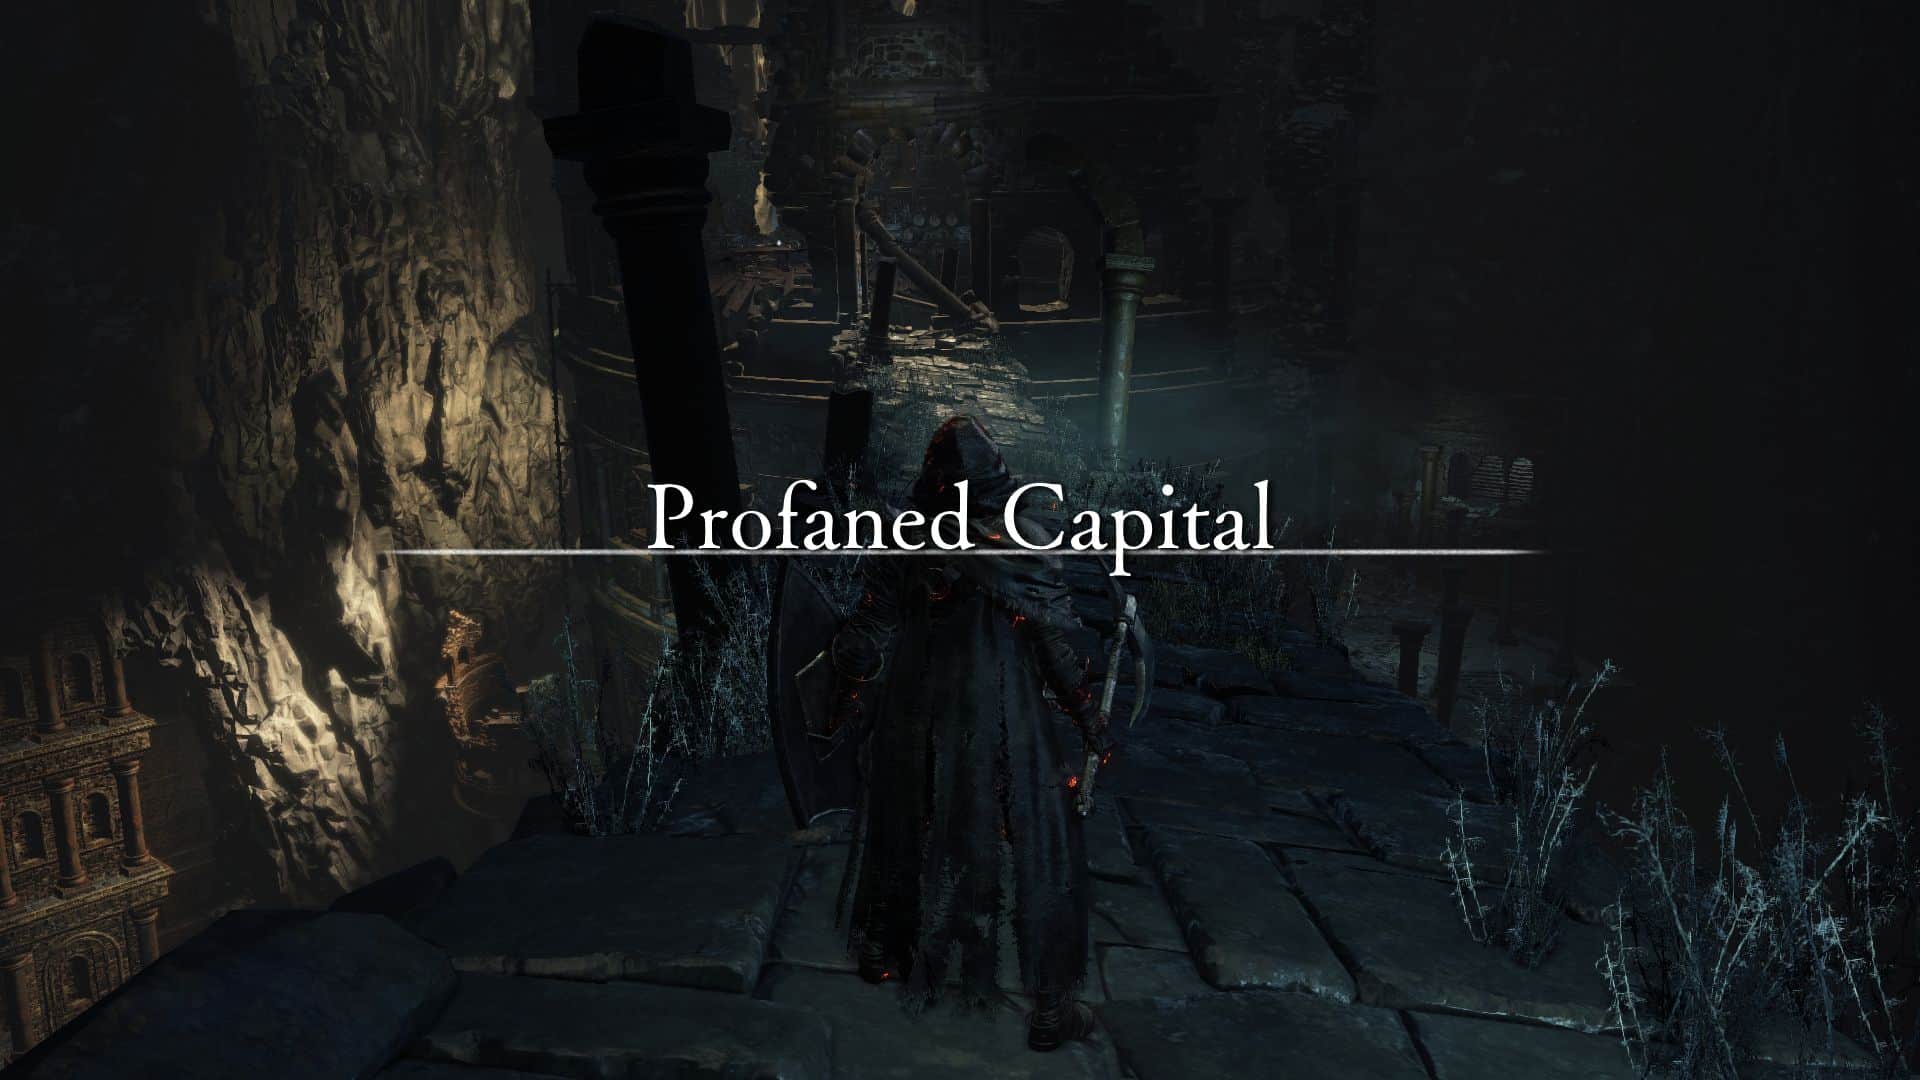
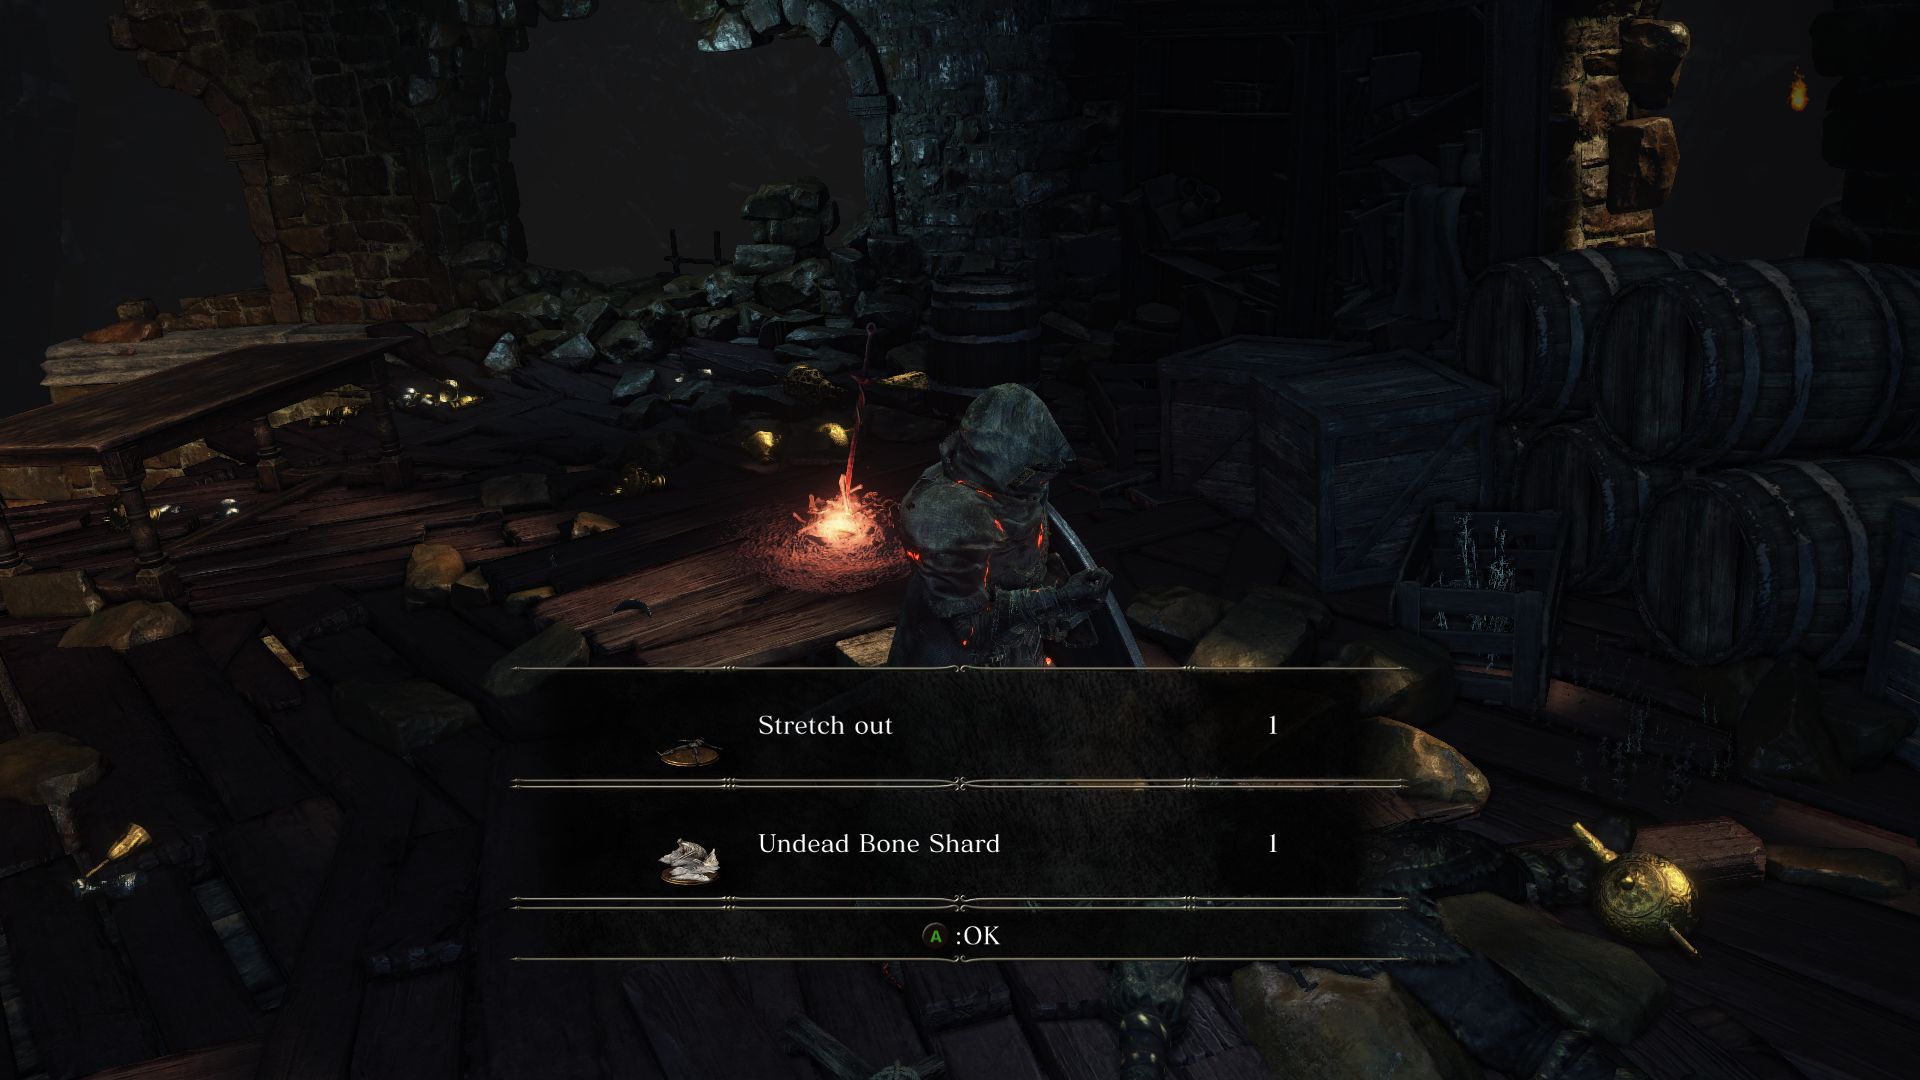
Cross the bridge, enter the tower and head to the bottom floor. A ladder here takes you to the Profaned Capital bonfire, where you will also find a corpse holding an Undead Bone Shard and the Stretch Out Emote. The ladder outside will take you to the Profaned Capital, but there’s more of the Irithyll Dungeon to explore. Go to the floor of the tower and look for an opening in the wall to exit through.
Ignore the statues as they are harmless. As you approach the ramp to your left you will be blocked by another Stone Gargoyle. This one has a flaming staff, but you can use the same tactics as before by waiting for it to lower its wings so you can attack it.
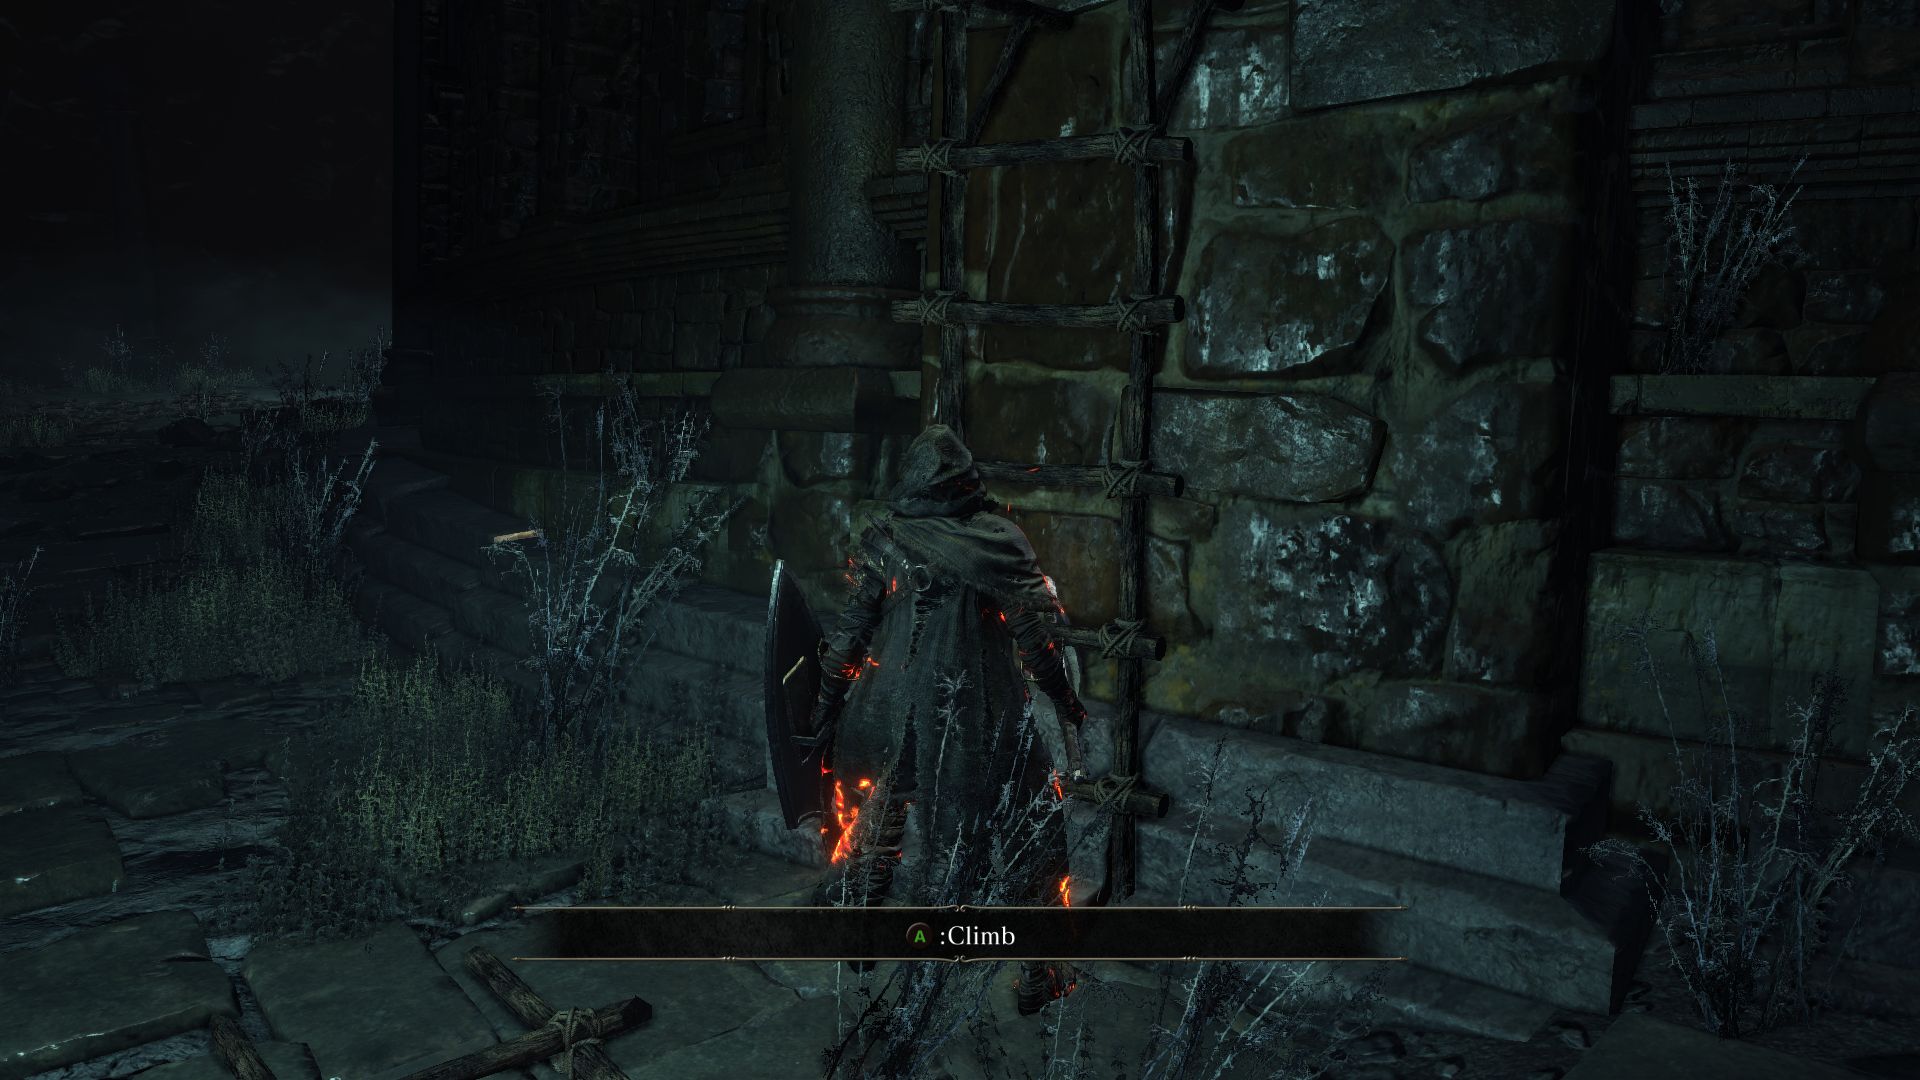
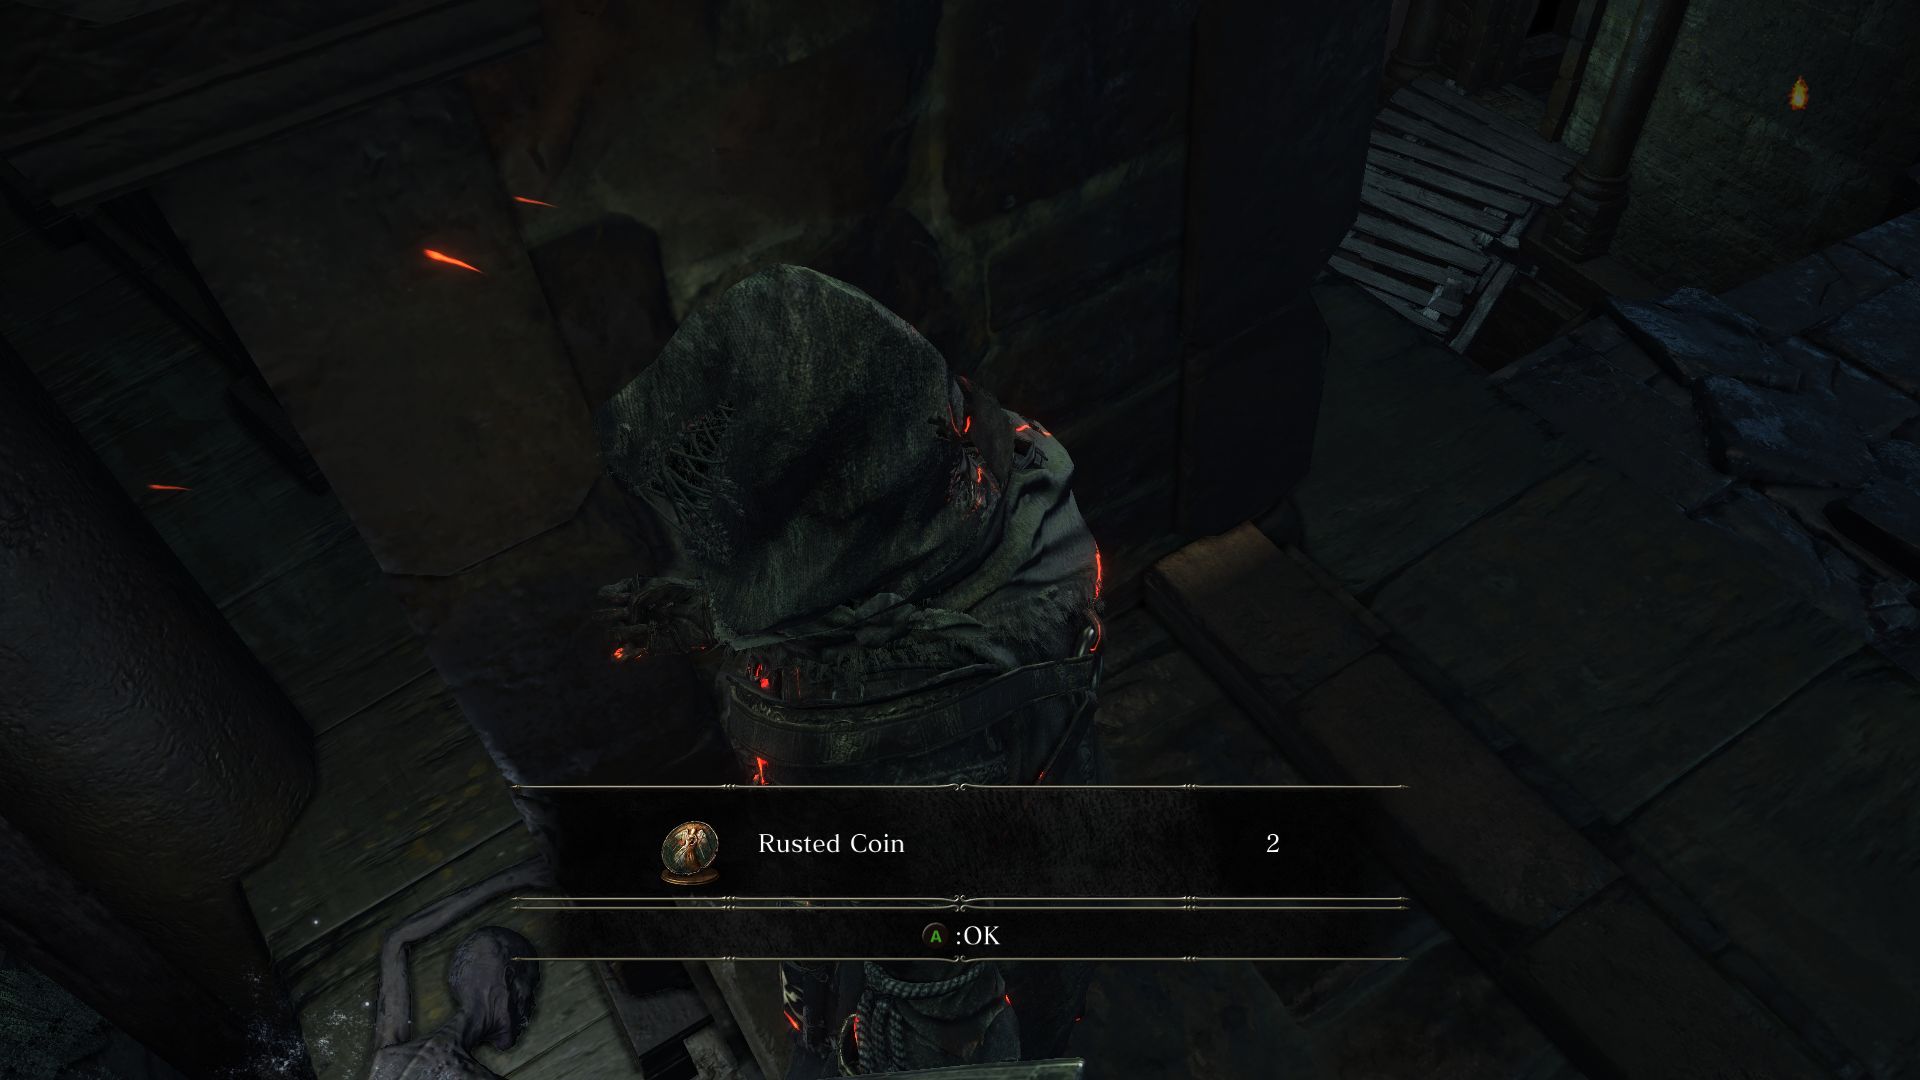
Defeat the gargoyle and take the ladder nearby that will take you to a portion of the tower with a corpse holding 2 Rusted Coin. Go back down and move along the ramp to enter the prison again.
Don’t be tempted to rush at the crystal lizard ahead, as you should know better by now. Look for a left turn up ahead followed by a right turn, and you’ll find yet another crystal lizard. This one you can chase down to obtain a Twinkling Titanite. There’s a pit blocking this path, so find the corridor to your right leading to the other crystal lizard, which will yield another Twinkling Titanite. From here you can go around to reach the body you had noticed a few moments ago to find a Rusted Gold Coin.
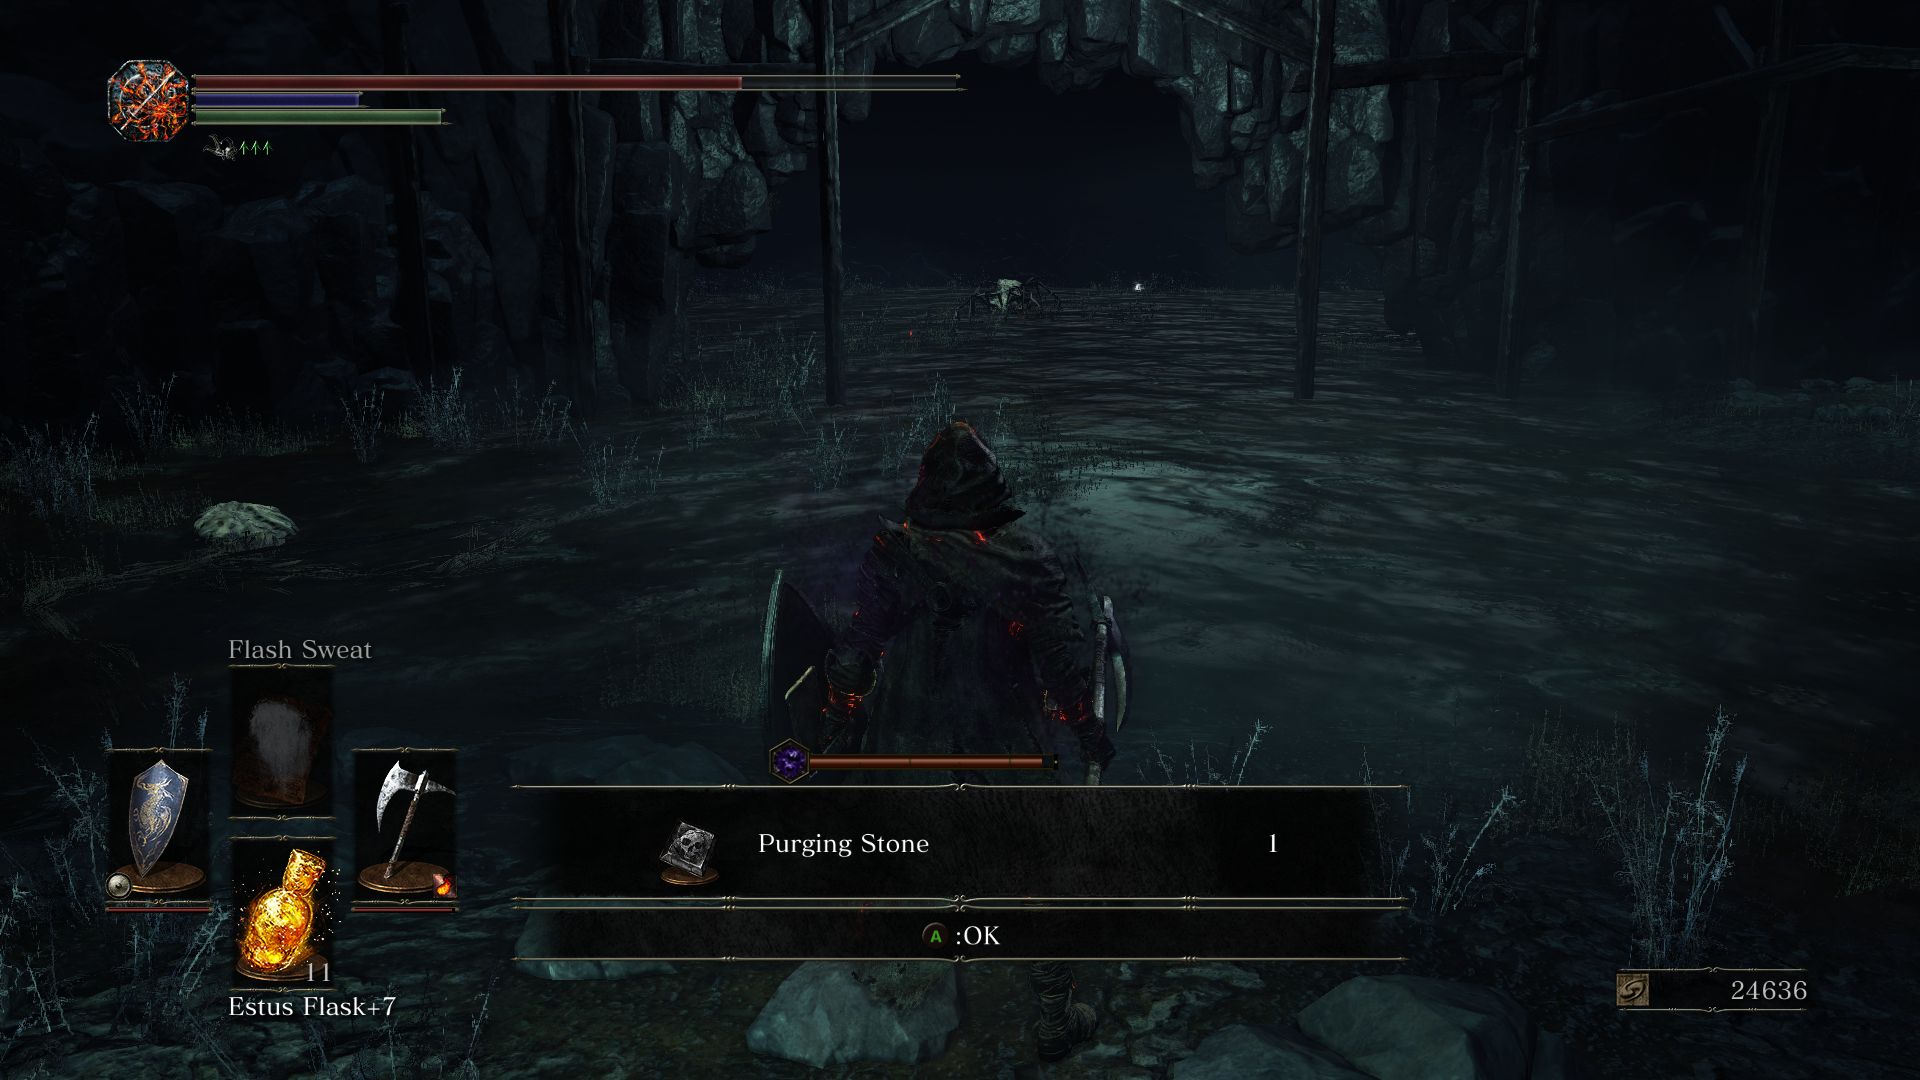
If you fell down by any chance in either of those pits, you are in the waterlogged area below the prison where you will face the same skeletal spider-like creatures as you encountered back in the river of Irithyll. If you took the exit from the top, make sure to loot the body holding 3 Blooming Purple Moss Clumps before you jump down into the watery area.

The muck here is toxic, so you’ll want to run from island to island to avoid toxicity buildup. The Blooming Clumps you had just picked up are going to be useful here. Loot the corpse on the island close by to obtain a Purging Stone. If you’re feeling brave and have the urge to loot everything, you will find a Cursebite Ring and a Poison Gem in the waterlogged pits, but you’ll most likely fill up the Toxic meter by trying.
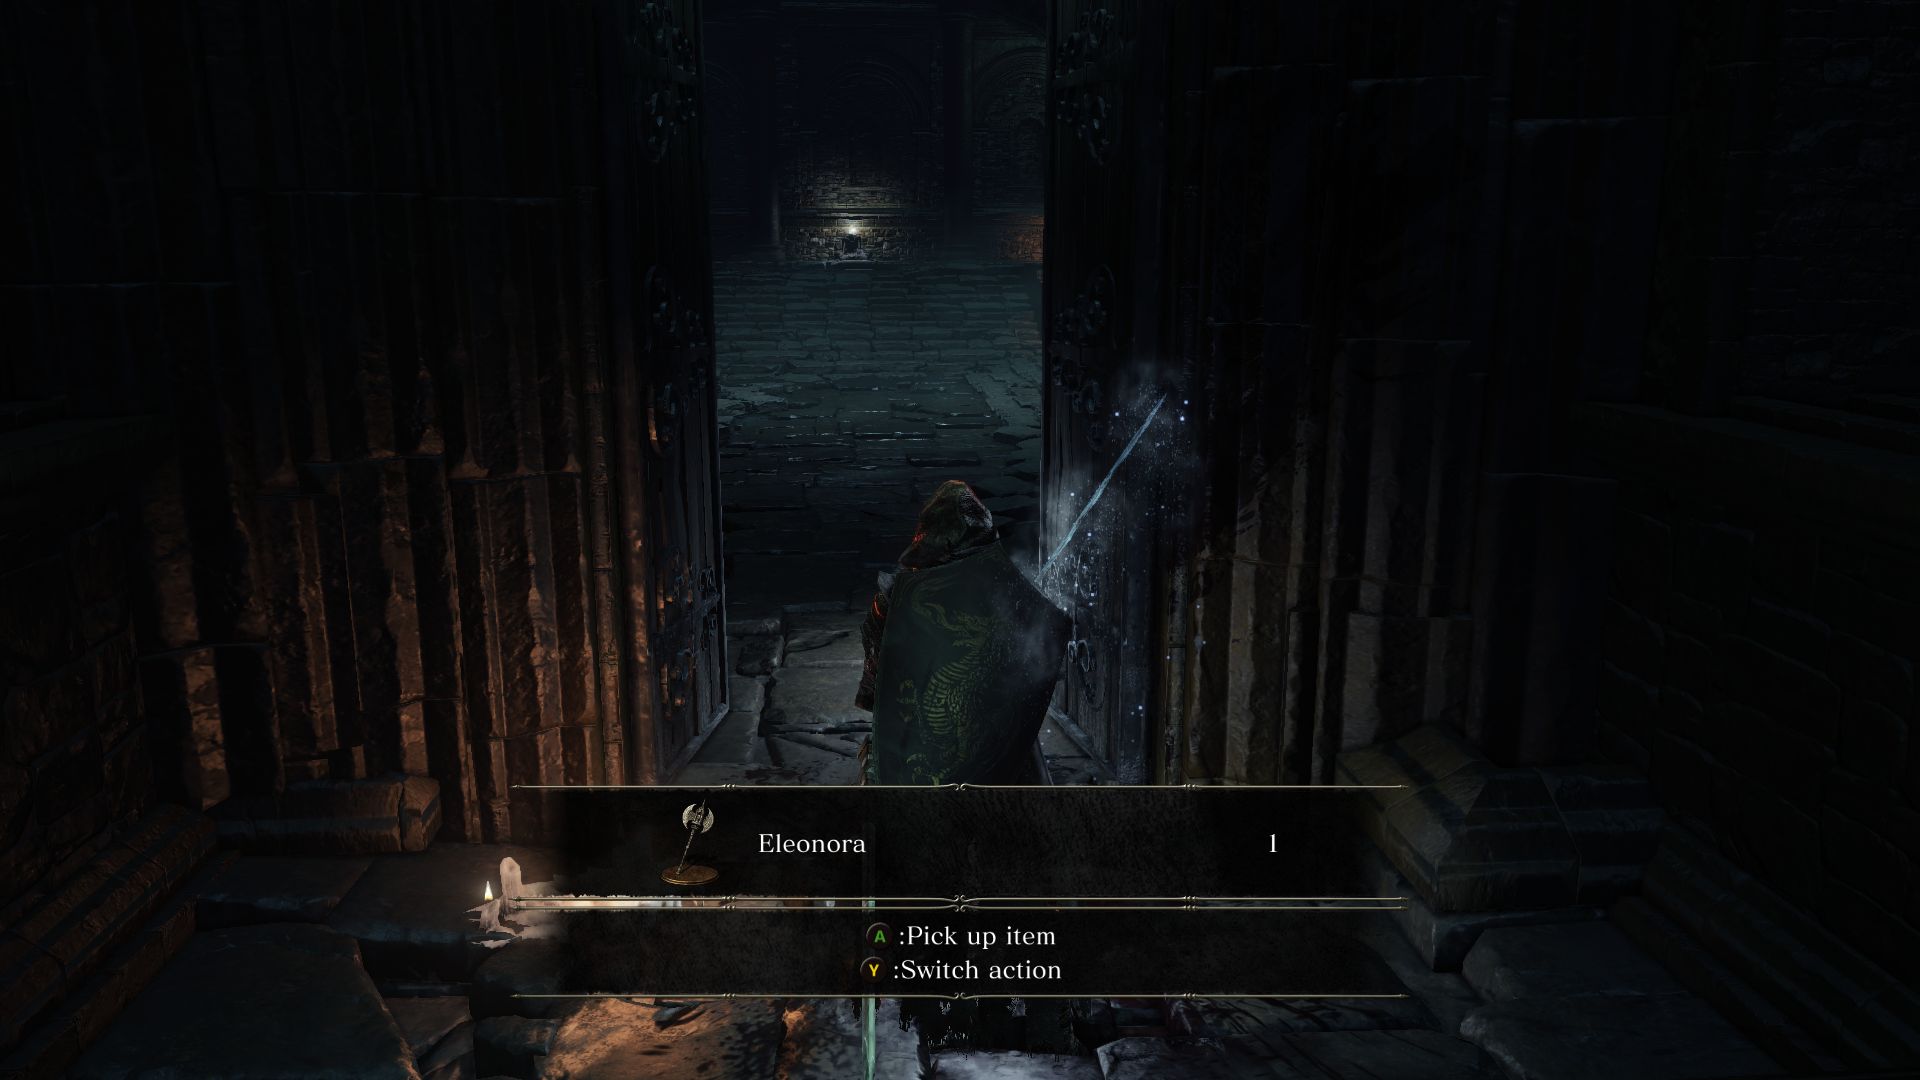
The eventual goal from here is to head up the ladder by the side of the building. But there’s a bit more to explore here. Go around to the other side of the building to find a body holding a Shriving Stone and the same enemy guarding it. Open the door here and enter to find a new type of enemy, ogres with giant hand-heads! These enemies have a lot of defense so it may take a while to take them down. While they are slow, they pack a lot of damage. Don’t let them grab you, so be mobile. If you try to position behind them, they will slam back into you. If you’re having trouble taking them on, pull them back to the entrance and they may get stuck on the door. Killing these hand-head enemies will reward you with the Eleonora Axe. There should also be 3 Purging Stones in the room.
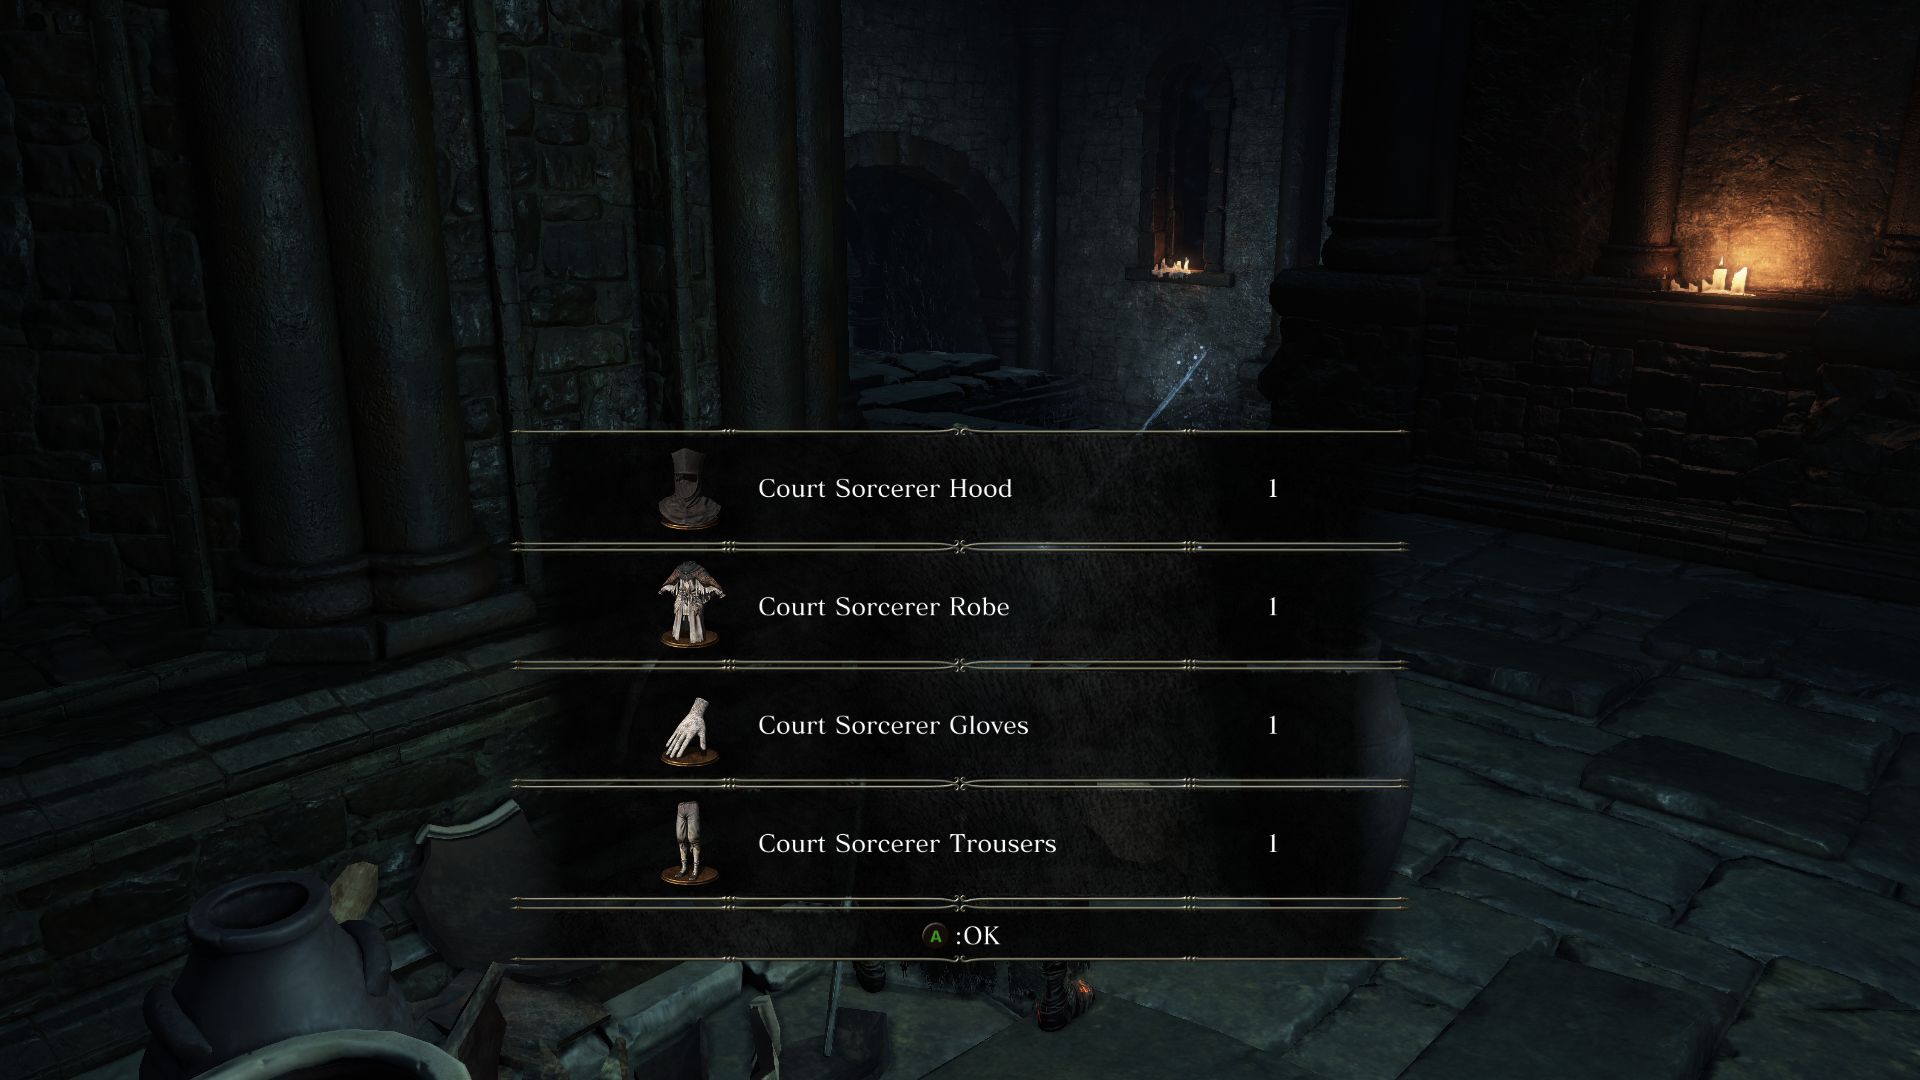
Now go back out and sprint to the ladder to proceed to the rooftops. Look for the opening in the wall that leads to the room up here with another Hand-Head Ogre. After you defeat it, loot the corpse behind the urns to find a full Court Sorcerer Armor Set. Behind the platform is a Mimic which holds the Court Sorcerer’s Staff. The stairs on the right lead to another broker window where you can find some Rubbish.
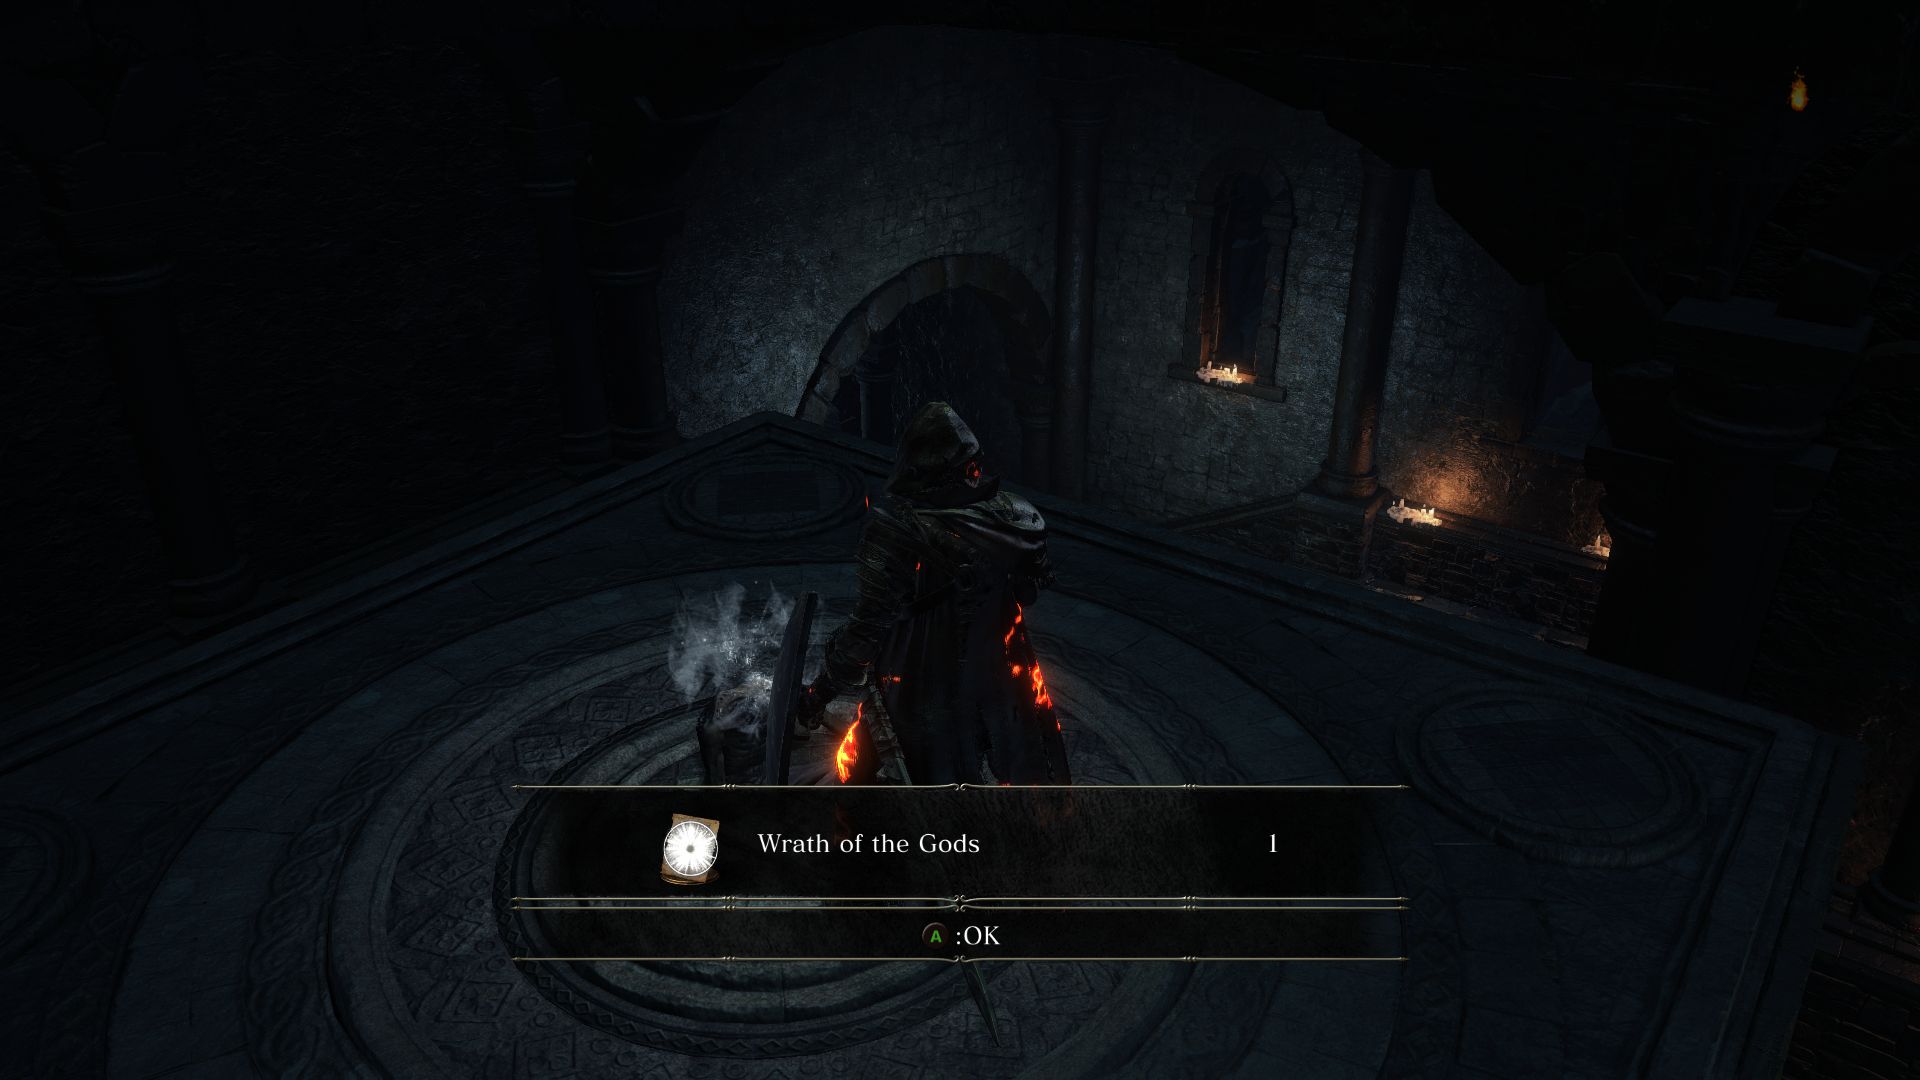
Head back to the roof and move up the stairs where you will be ambushed by a Court Sorcerer. He will use soul arrows and soul masses from a distance, so it’s best to close the gap fast and strike him through his low poise. But be careful when he smashes his staff on the ground as it will send out exploding flames to stun you. Killing him rewards you with a Logan’s Scroll. Search the roof before you leave to find 18 Poison Arrow. You will have to drop onto a lower platform below to loot the Wrath of the Gods.
From the rooftops also notice the barred windows on the other side. Do you notice one particular window with no bars? You can dash towards the window and jump into it with proper timing. If you open the door there with the Old Key, you will find none other than Siegward of Catarina. You can free him now if you wish, or come back later.
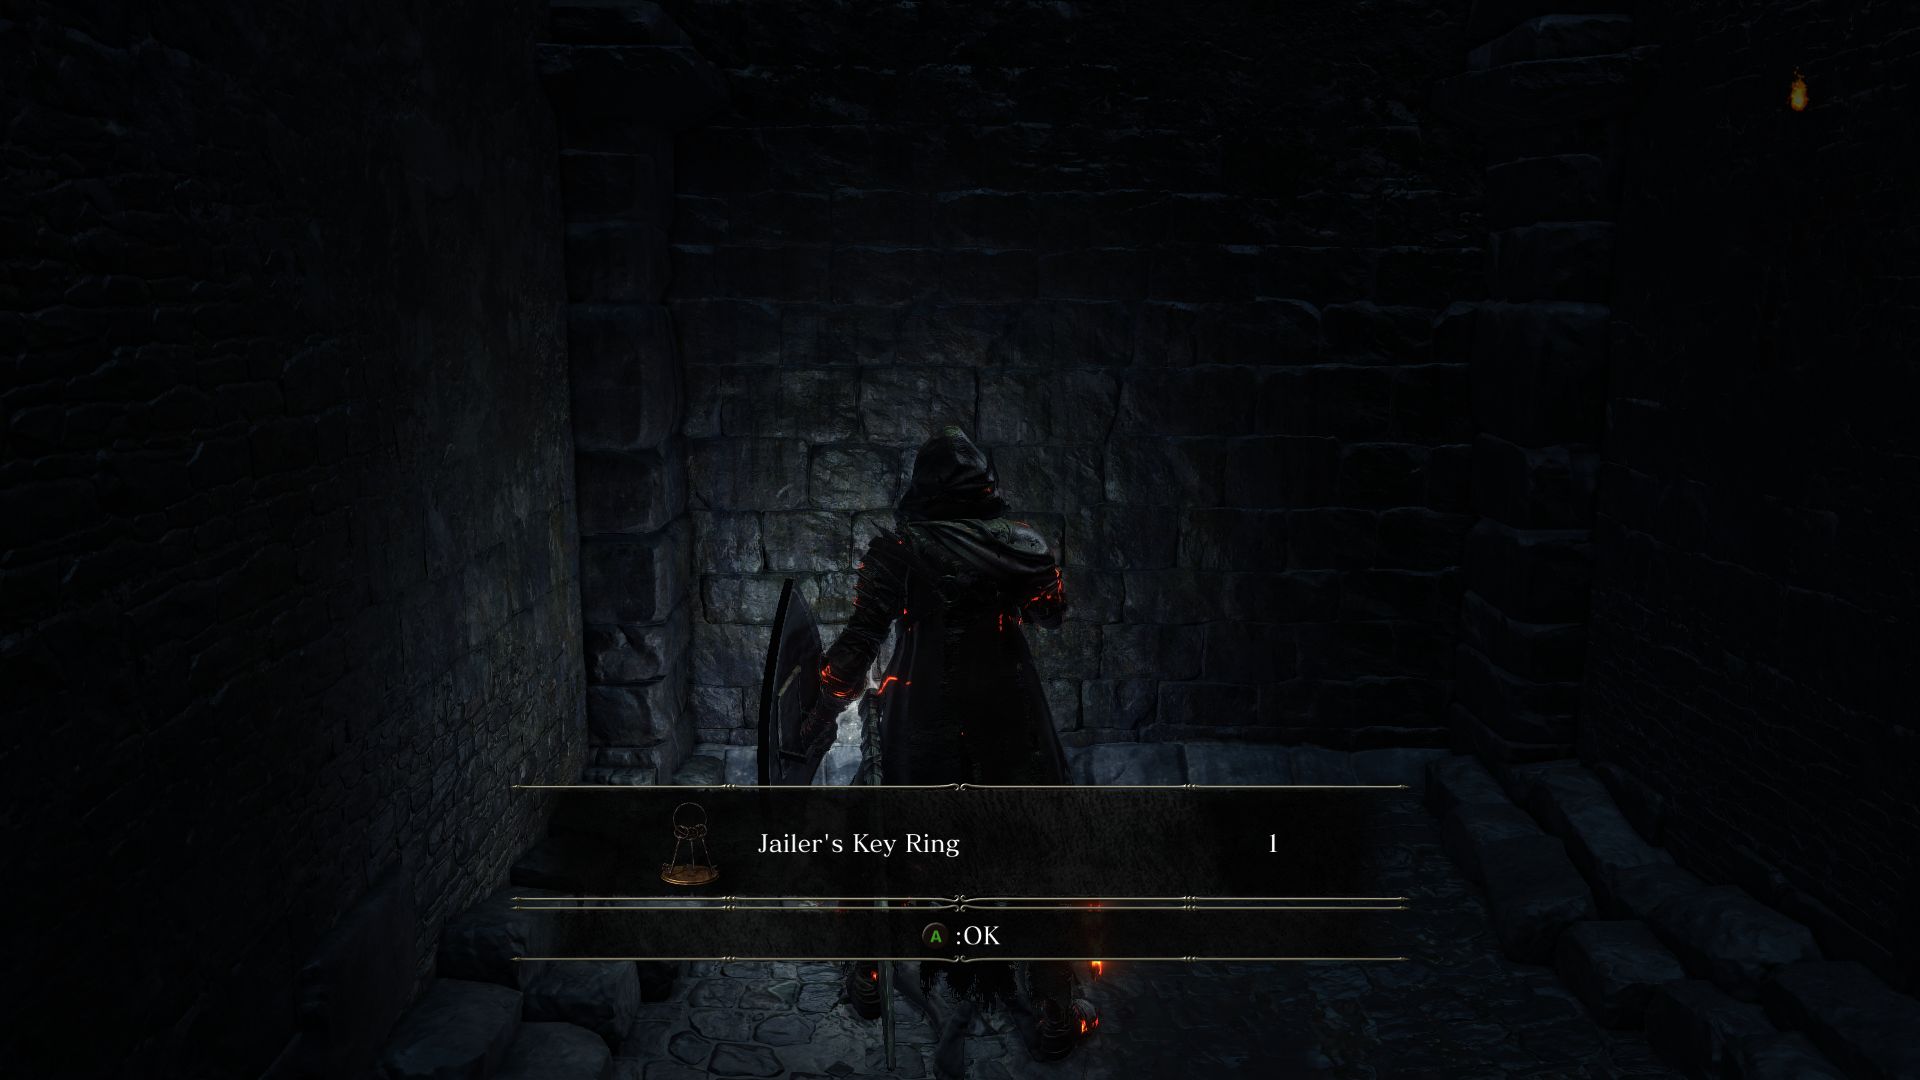
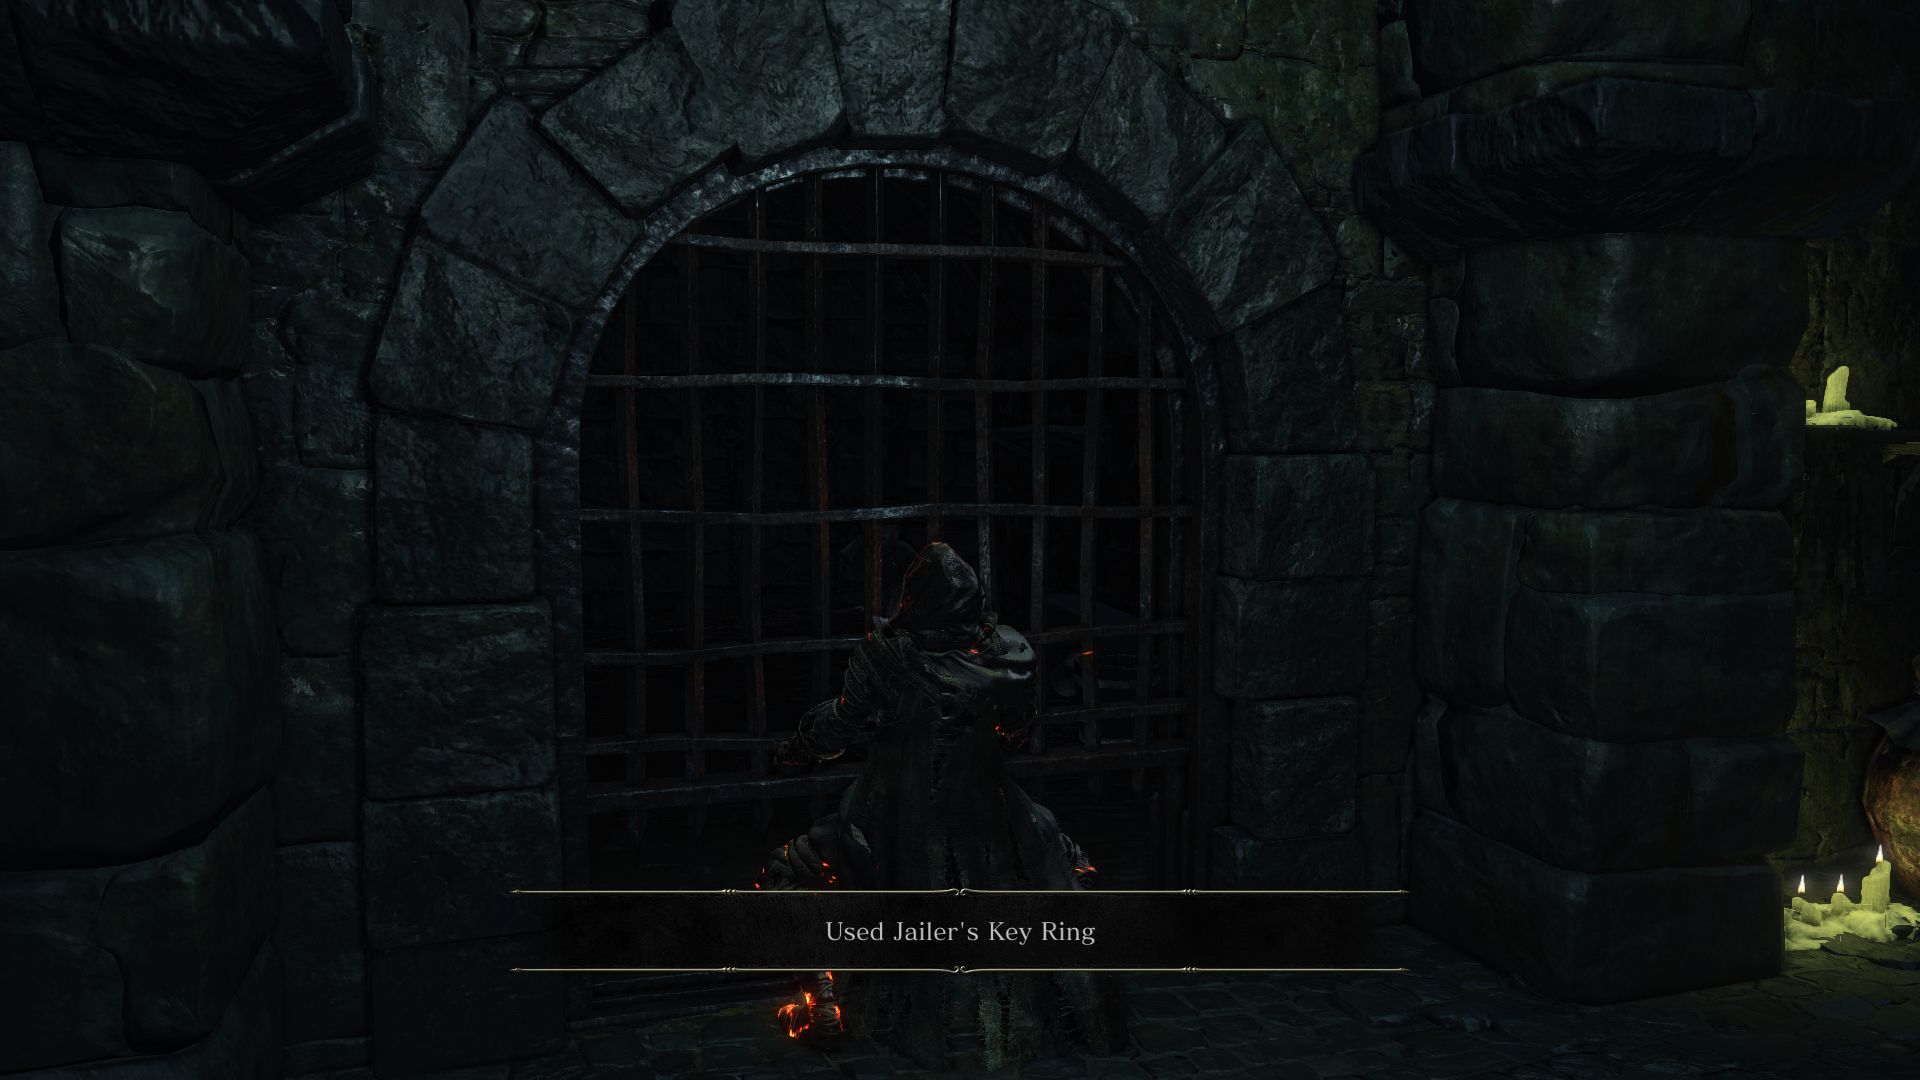
Now head up the stairs on the rooftop to come back to Irithyll Dungeon. You’ll find yourself in the Giant’s prison. Two Jailers await you here which you should defeat as fast as you can. Then proceed down the corridor from the opening to the cell to obtain the Jailer’s Key Ring! This will allow you to open many of the locked doors you had encountered earlier.
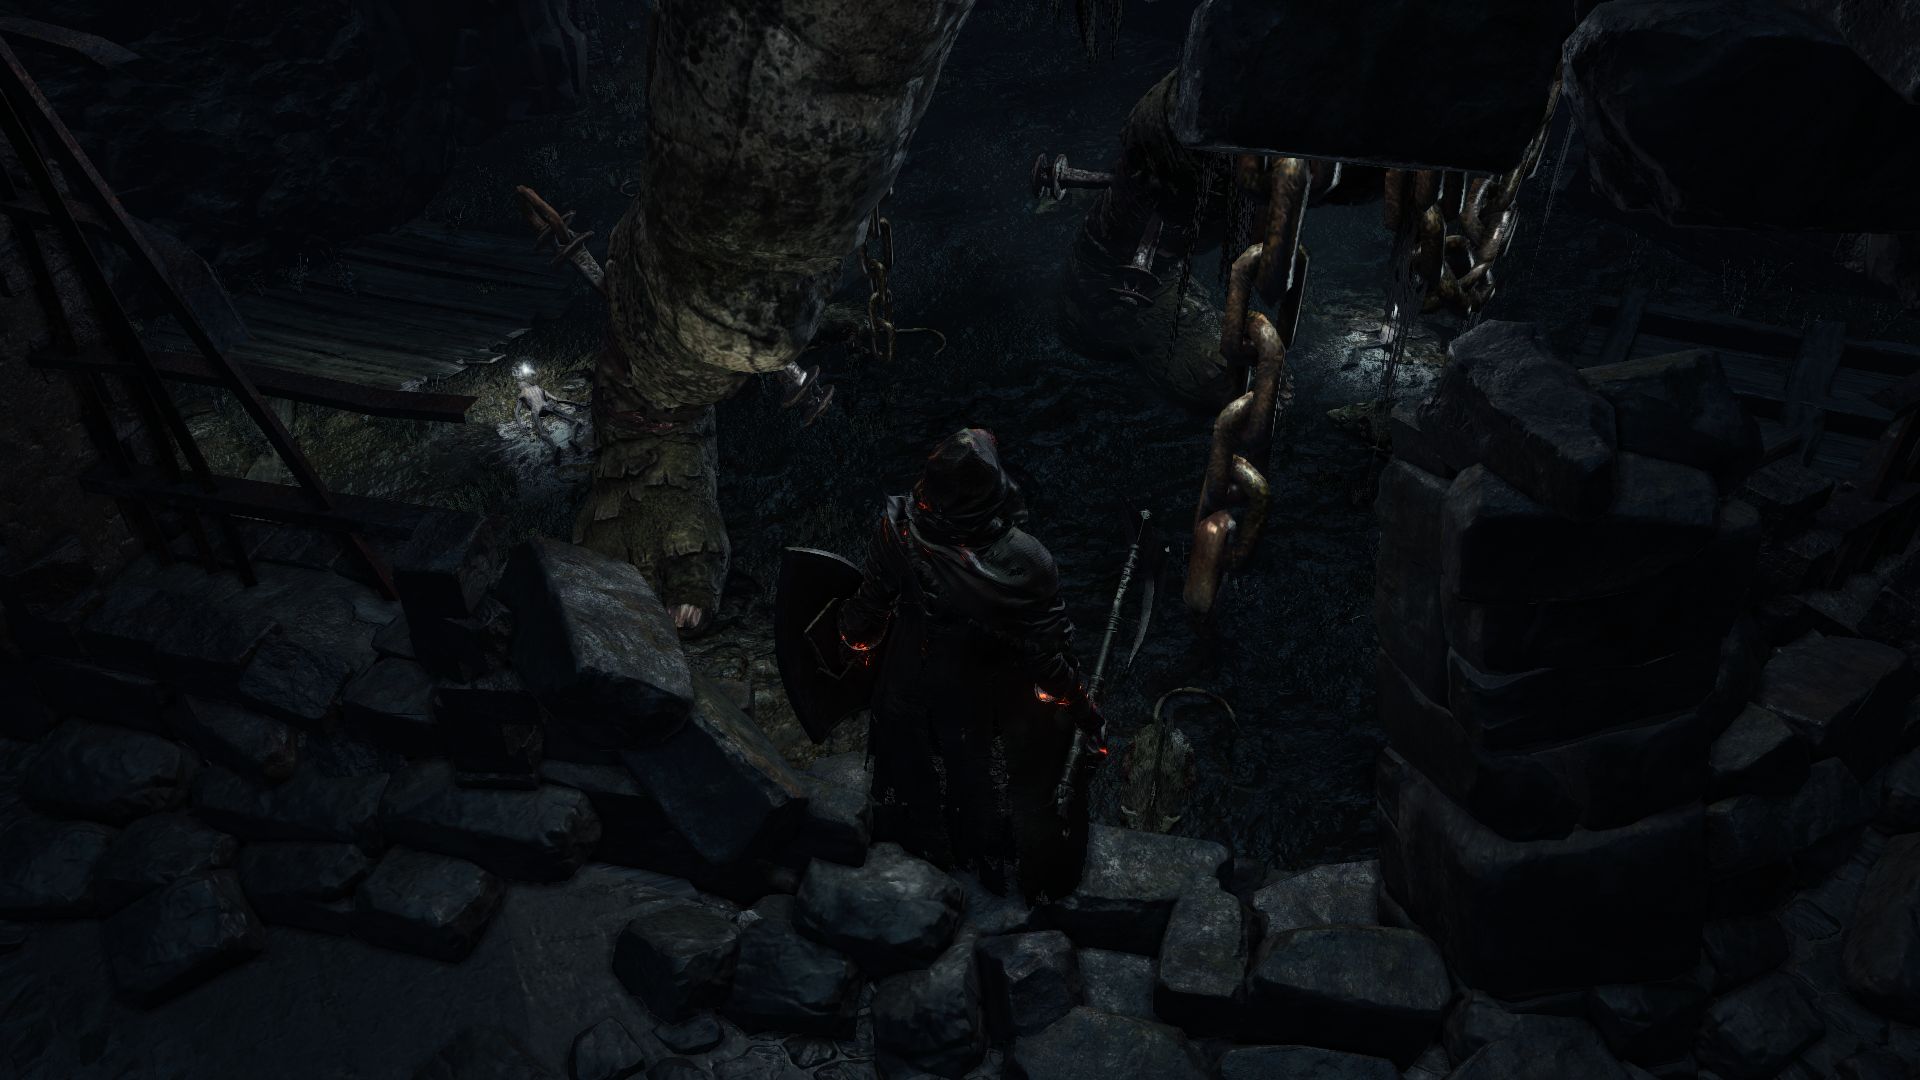
But first, we need to take care of the Giant. As you jump into the pit below, be prepared to fight off many rats. The Giant will be a nuisance too, so if you’re having trouble killing the rats because of him you can sprint into the door to your right. When the rats are dead, strafe around the giant’s leg to carefully take him down, just as you had done back in the Cathedral of the Deep. Defeating the giant rewards you with a Titanite Chunk, and more rats coming out of the sewers to attack you. There should be some items to loot in this area – a Profaned Flame Pyromancy and 2 Large Titanite Shards. The path from here leads to a lift that will take you to the beginning of the Irithyll Dungeon, creating a shortcut.
If you haven’t met Siegward in his cell yet, you will find him here behind some bars (assuming you had helped him earlier to escape from the well). To rescue him, go back to the rooftops with the open window you can jump into and you should be able to help him out one more time. There you should also find a Covetous Gold Serpent Ring. When you free Siegward, he will reward you with a Titanite Slab which is needed to enchant a weapon or shield to the max level!
We’re not done with the Giant’s room yet. If you hyead around the side you’ll find a doorway leading to a room with a Mimic that yields 10 Dragonslayer Lightning Arrow. There’s also a ladder that takes you all the way up to the awning above where the Giant had been slumbering. Take the ladder up, and jump onto the far side to obtain 9 Lightning Bolt. There’s also a crystal lizard here you may have noticed earlier. Kill it to receive a Titanite Chunk. A corpse close to the lizard holds a Soul of a Crestfallen Knight.
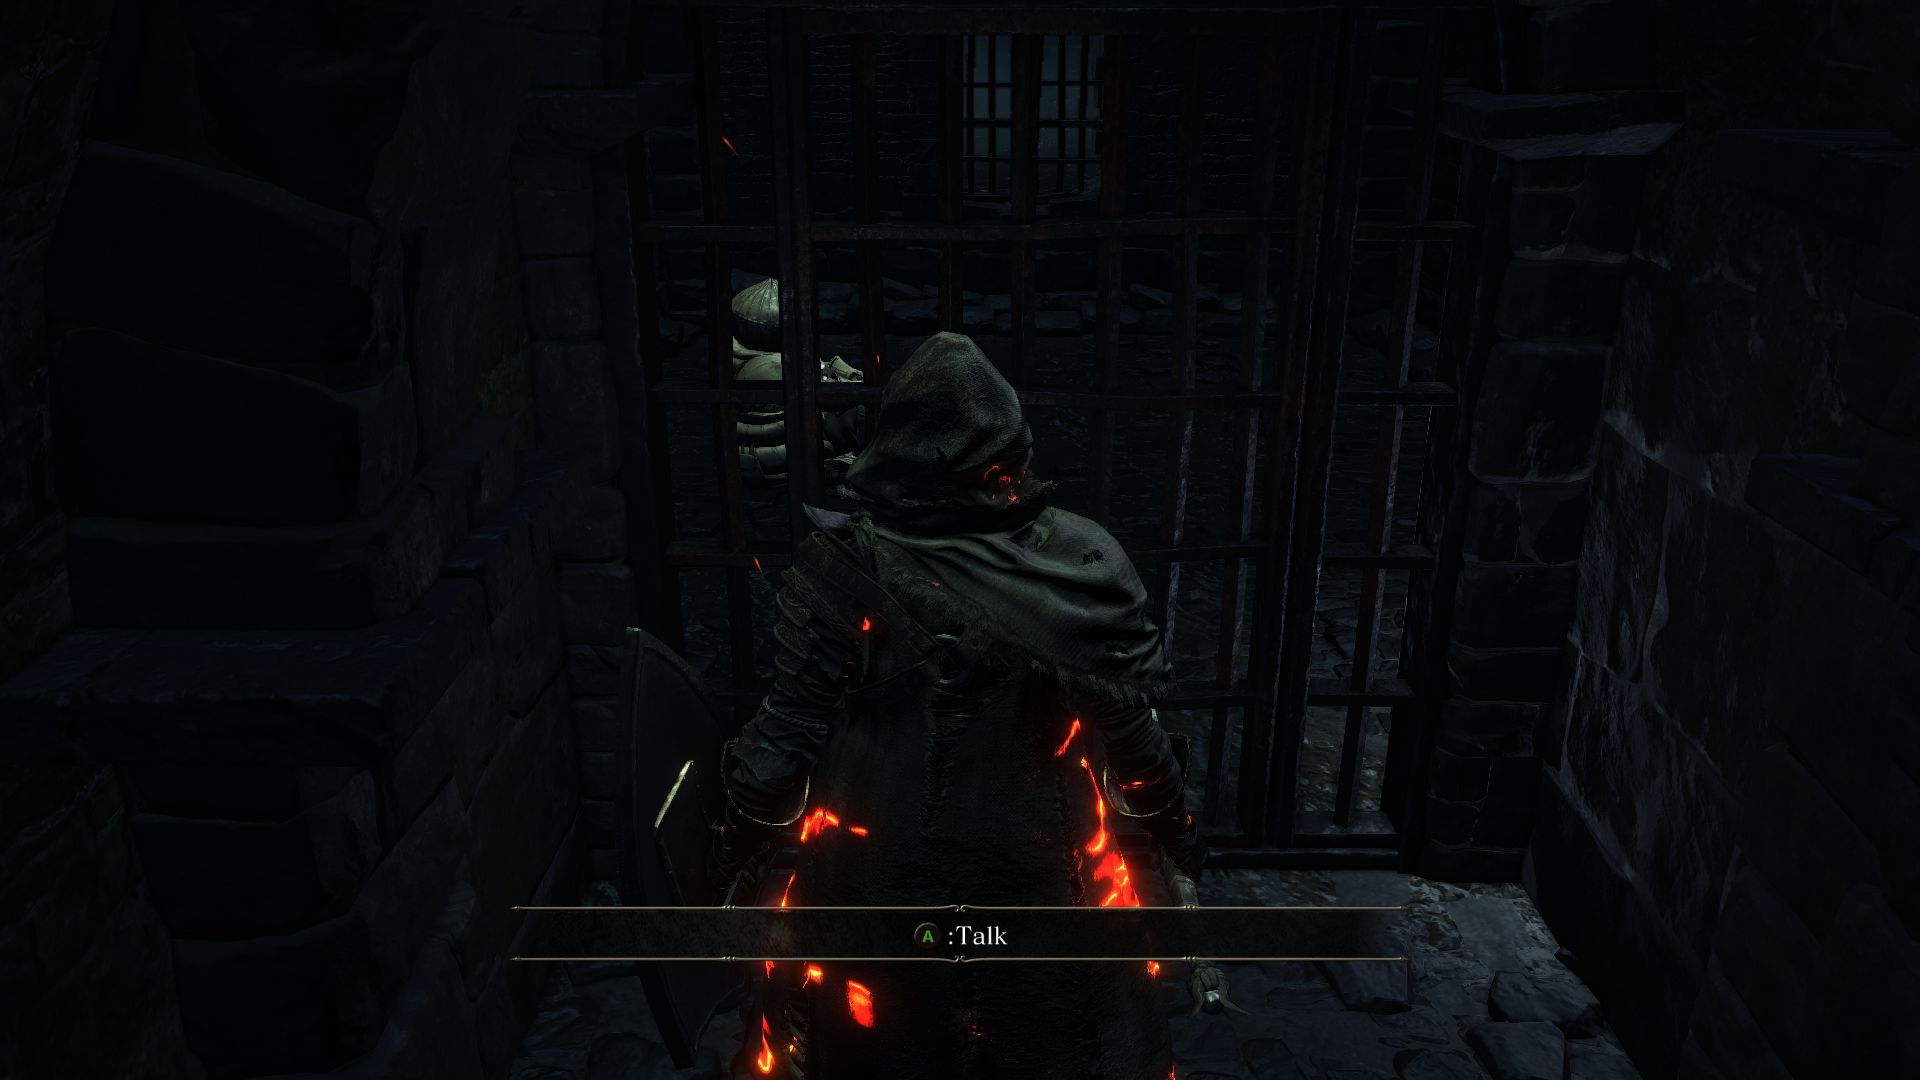
RECRUITING KARLA: There’s one more thing to do in the Irithyll Dungeon. At the very bottom of the prison, in the area with the many Jailers, remember that locked door with an NPC behind it? The Jailer’s Key Ring will unlock that door and you will able to talk to Karla, the Witch of the Abyss. If you free her, she’ll thank you and take residence in the Firelink Shrine. You can give her the Pyromancy Tomes and even the Braille Divine Tomes to prevent Irina’s corruption.
The Jailer’s Key Ring unlocks a few more things you may want to backtrack to grab. The locked cell in the room after the first bonfire will open and contain a Rusted Gold Coin. At the lower cells where you had seen the cages with corpses you will be able to open a door to obtain Prisoner Chief’s Ashes. Now that we’re done with Irithyll Dungeon, it’s time to make our way towards Yhorm the Giant.
Let’s go back to the Profaned Capital Bonfire where you’ll find a ladder leading to the main entrance. If you notice in the distance, there are 4 Handmaids around a giant bowl of fire. As you try to make your way across the bridge ahead, this bowl of fire will shoot fireballs at you, so be careful.
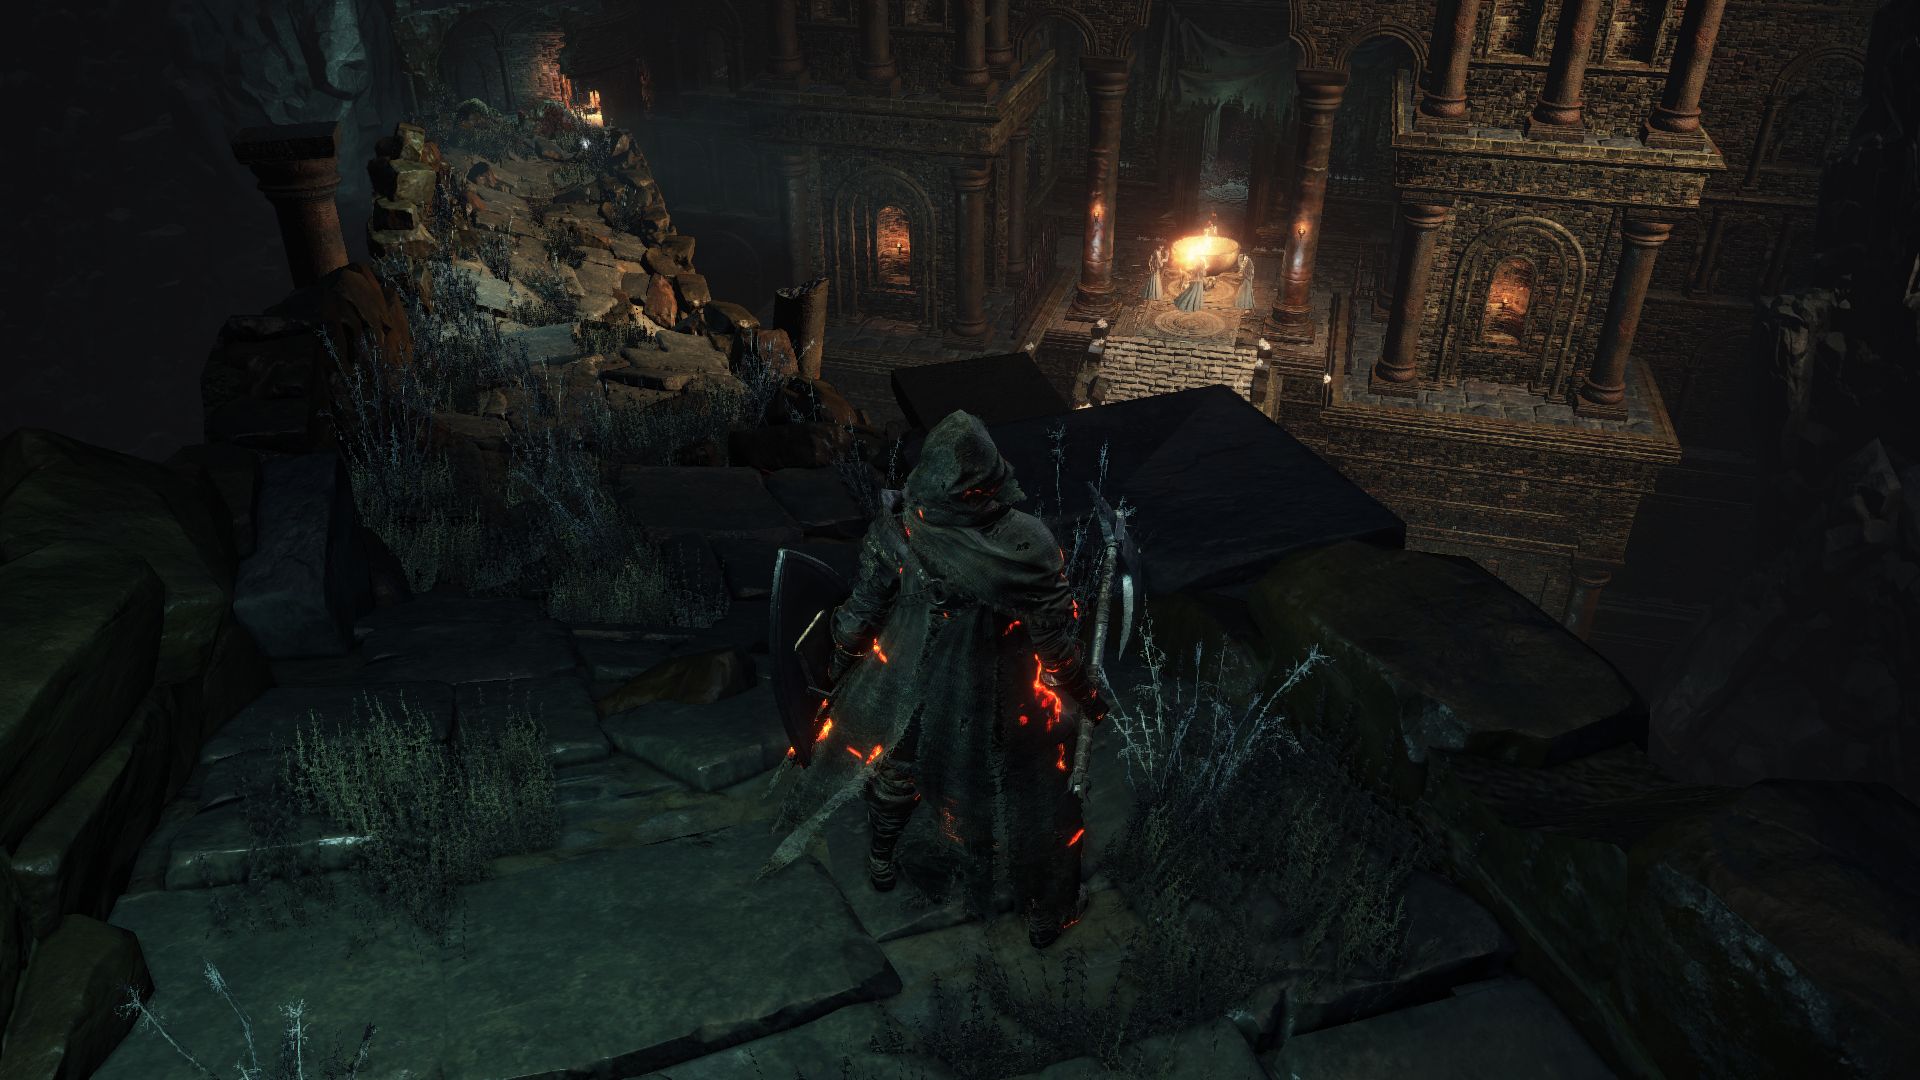
As if that wasn’t bad enough, as you run along the bridge, a Stone Gargoyle will block your path. If you want to kill it, lure it back to the tower so that the Handmaids can’t shoot the fireball at you. Or you could roll past the gargoyle and enter the room beyond where he won’t chase you. After you’ve taken care of the Gargoyle, run along the bridge once more and make sure to loot 8 Onislayer Greatarrows on the way. On the other side loot the Large Soul of a Weary Warrior and go inside.
This room is littered with trinkets. To your left, you’ll find 4 Handmaids facing away from you. And as you make your way to the right, another Gargoyle will block your path. Don’t try to take on the Gargoyles and Handmaids at once. If you engage the Handmaids, make sure to roll past their fireballs. They’re very easy to take down from a close range though.
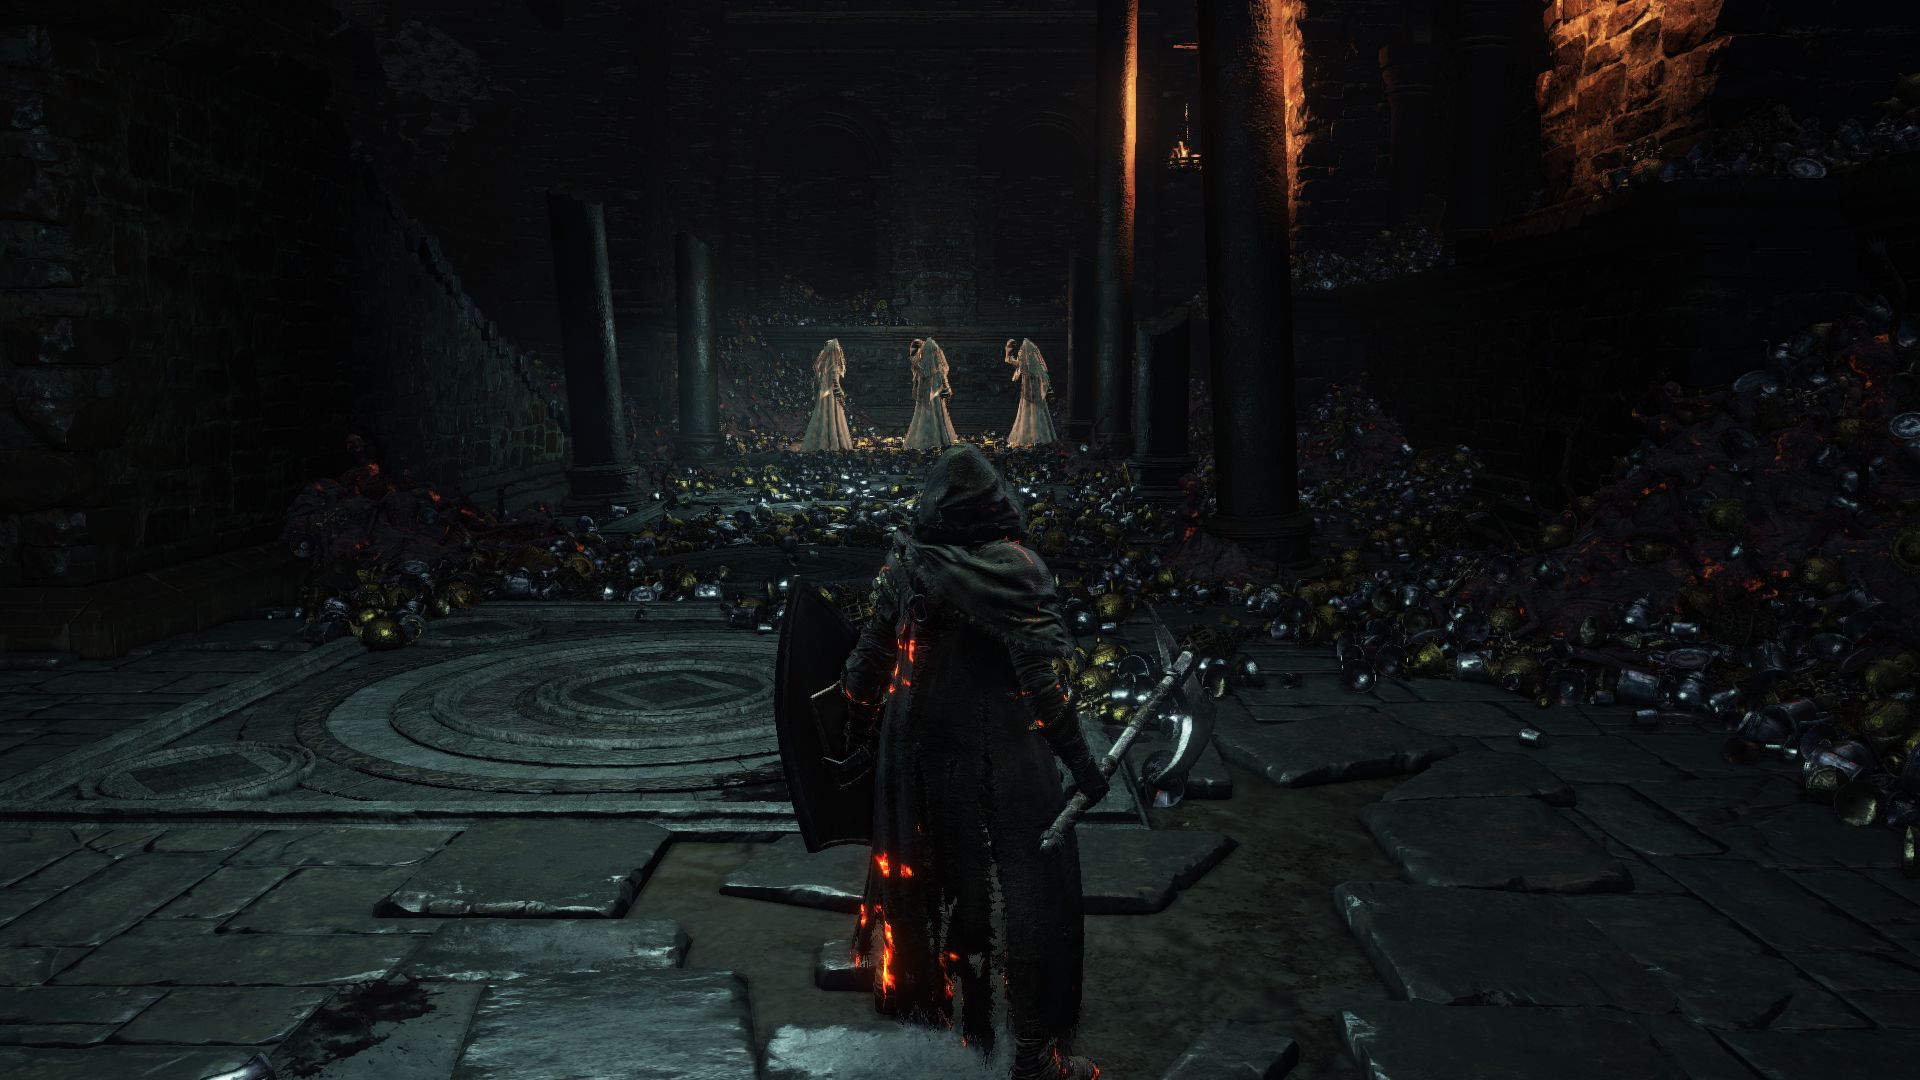
After you defeat the Gargoyles and Handmaids, continue forward and you’ll find yourself at a cross-roads. Go left and you will enter the chamber of Yhorm. To your right is the flaming bowl with the 4 Handmaids; head this way, defeat the handmaids and walk down the steps to obtain some more loot. Here you will find a Rusted Coin at the base of a pillar. Since you’ve killed the Handmaids controlling the bowl, you could go back up on the bridge to jump onto the arch and loot the Onislayer Greatbow.
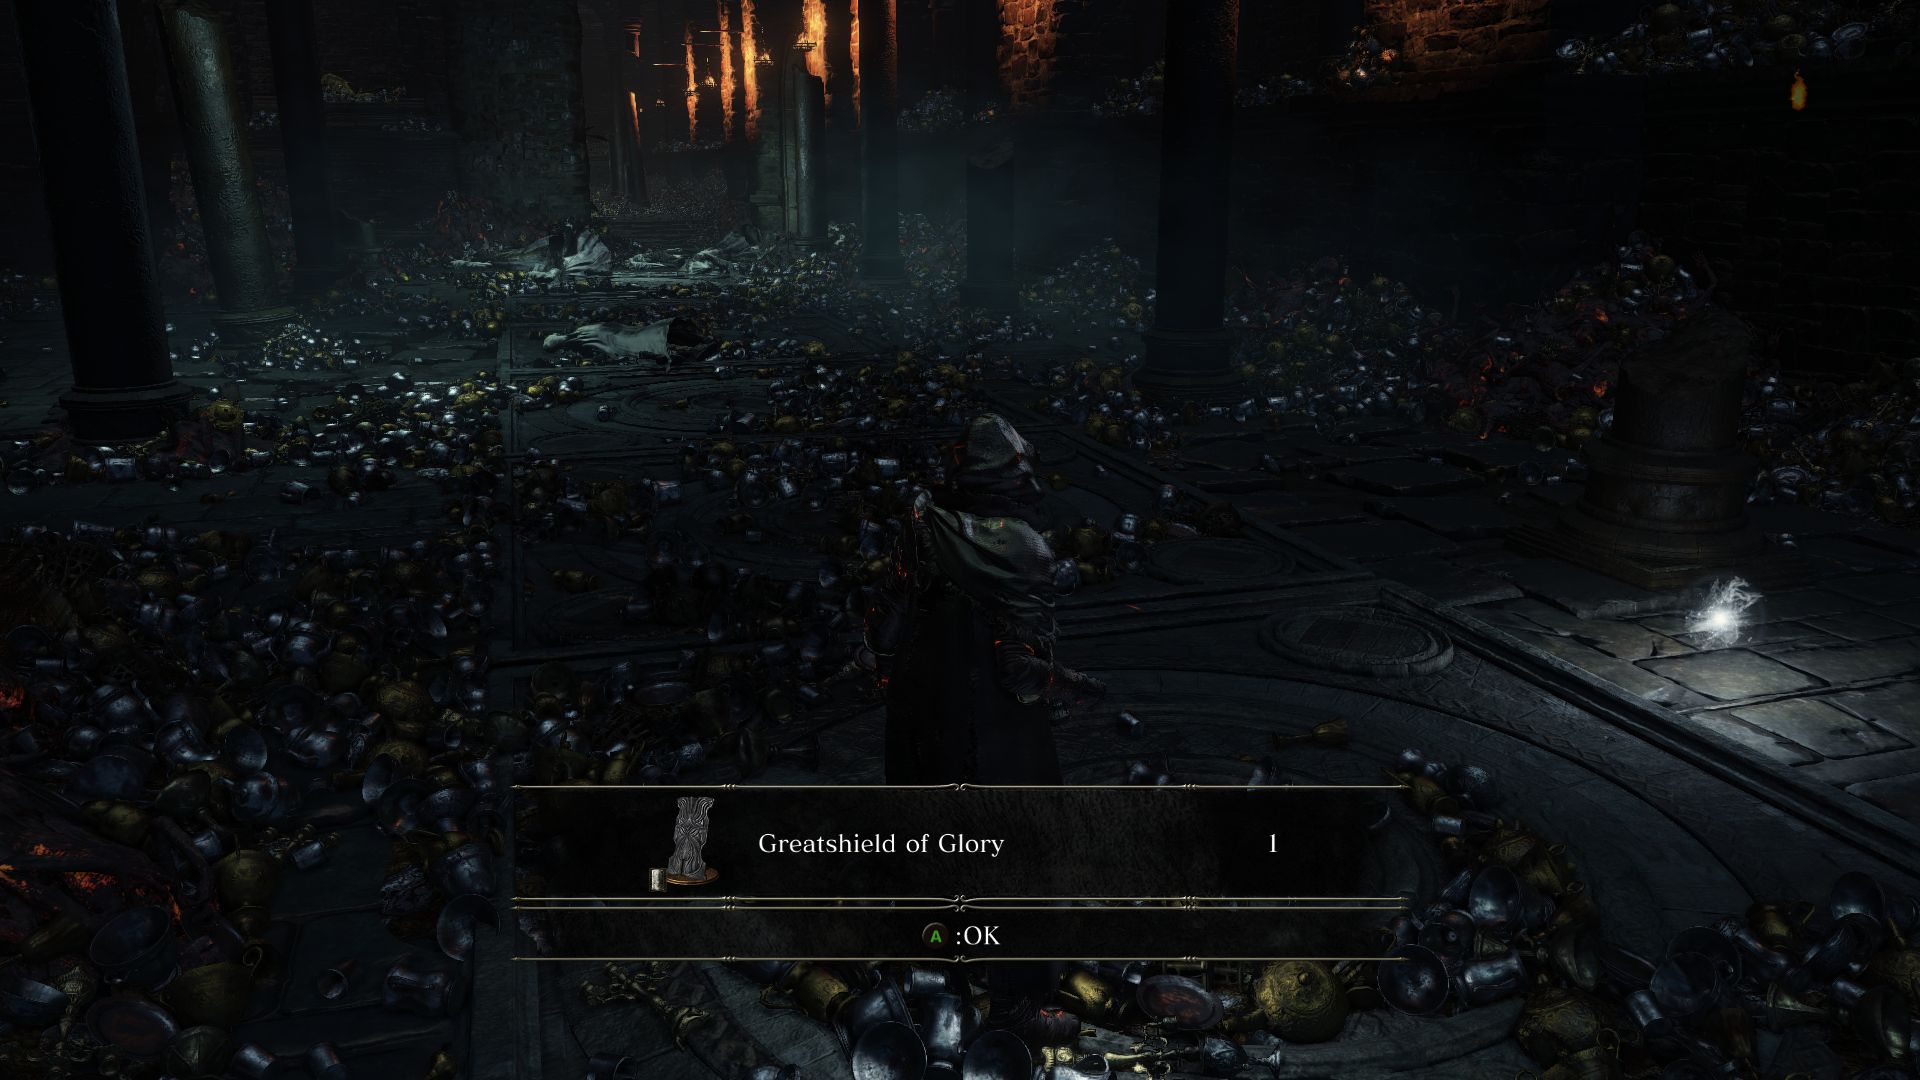
The remaining room that you hadn’t explored yet beside the boss room can get really messy. There are 8 Handmaids and a Gargoyle in the room. The Gargoyle is lurking on the rafters, so if you want to draw its attention by itself, try sniping it and luring it back. If you’re patient enough to clear the room, you will find a chest and 2 Mimics. Killing the Mimics reward you with a Greatshield of Glory and 2 Rusted Gold Coin. The chest contains an Ember which you could use to face the next Lord of Cinder.
BOSS FIGHT – YHORM THE GIANT
Yhorm the Giant is one of the bigger bosses who will attack you with his gigantic machete. Don’t let his size fool you as he can move very fast to close distances and attack you with a very broad reach.
If you had been helping Siegward by helping him with the Fire Demon, rescuing him from the well, and freeing him from his cell, then he’ll help you in this fight. This doesn’t work like a regular summon, so whether you like it or not, he’ll come to your aid with his Storm Ruler.
There are 2 ways to fight Yhorm. The long tedious route is to chip him down with your regular weapons and spells while avoiding all his big hits, which include lunges sweeps, and short combos. In this case, you want to try to dodge his attacks and position yourself around his ankles like you did for the other giants and try to wear his HP down slowly. He is very resistant and takes very low damage. Whenever you see him draw his machete back or above his head, be prepared to roll out of the way. If you’re too close to him for too long, however, he’ll stomp the ground and send you crashing back.
At 50% HP, phase 2 starts, when he’ll ignite himself like the other bosses and do even more damage to you, and leave flaming trails behind him which do damage as well. Your general strategy will remain the same.
The other way to defeat Yhorm is to loot the Storm Ruler weapon by his throne and use its weapon skill. This weapon has a unique skill in which you have to hold the weapon arts button for a few seconds to charge it up. You then use a strong attack to release a gust of wind straight ahead which will take out a good chunk of Yhorm’s HP if it hits. This method makes this fight very easy, with the main challenge being finding enough time in between Yhorm’s attacks to charge the weapon. Generally you could try to stick under him and bait him to use his downward smashes, which buys you enough time to charge the weapon. But be prepared to create enough distance between you and Yhorm to hit him with the whirlwind. If you try to be sneaky and charge from a distance, he will close the gap very fast and strike you, so that’s not a good idea.
Also, keep in mind that if you are right under Yhorm standing in between his legs, if you use the weapon skill from there, you may miss him entirely. If you had Siegward join the fight with you, he’ll use the same Storm Ruler weapon arts skill, so the fight becomes very easy.
Defeating Yhorm will reward you with the Soul of Yhorm the Giant and Cinders of a Lord. If you’ve already defeated Aldrich, you will be teleported to Lothric Castle. Otherwise, go back and defeat Aldrich in Anor Londo now! If you have already been teleported to Lotrhic Castle, you may have to return to Yhorm’s room to obtain Siegward’s Catarina Armor Set, Pierced Shield, and another Storm Ruler.
On a side note, if you had joined Rosaria’s Fingers covenant, you will find Rosaria dead in her chambers if you return now. You will obtain a Black Eye Orb which, if you go to Gwynevere’s Chamber and use it, will allow you to invade her world and find Ringfinger Leonhard. This assassin is fast and utilizes offensive spells. He will also use his weapon arts to send out a blast. If you defeat him you’ll obtain a Silver Mask, Crescent Moon Sword, and Soul of Rosaria, which you can return to her in her chamber or transpose with Ludleth.