
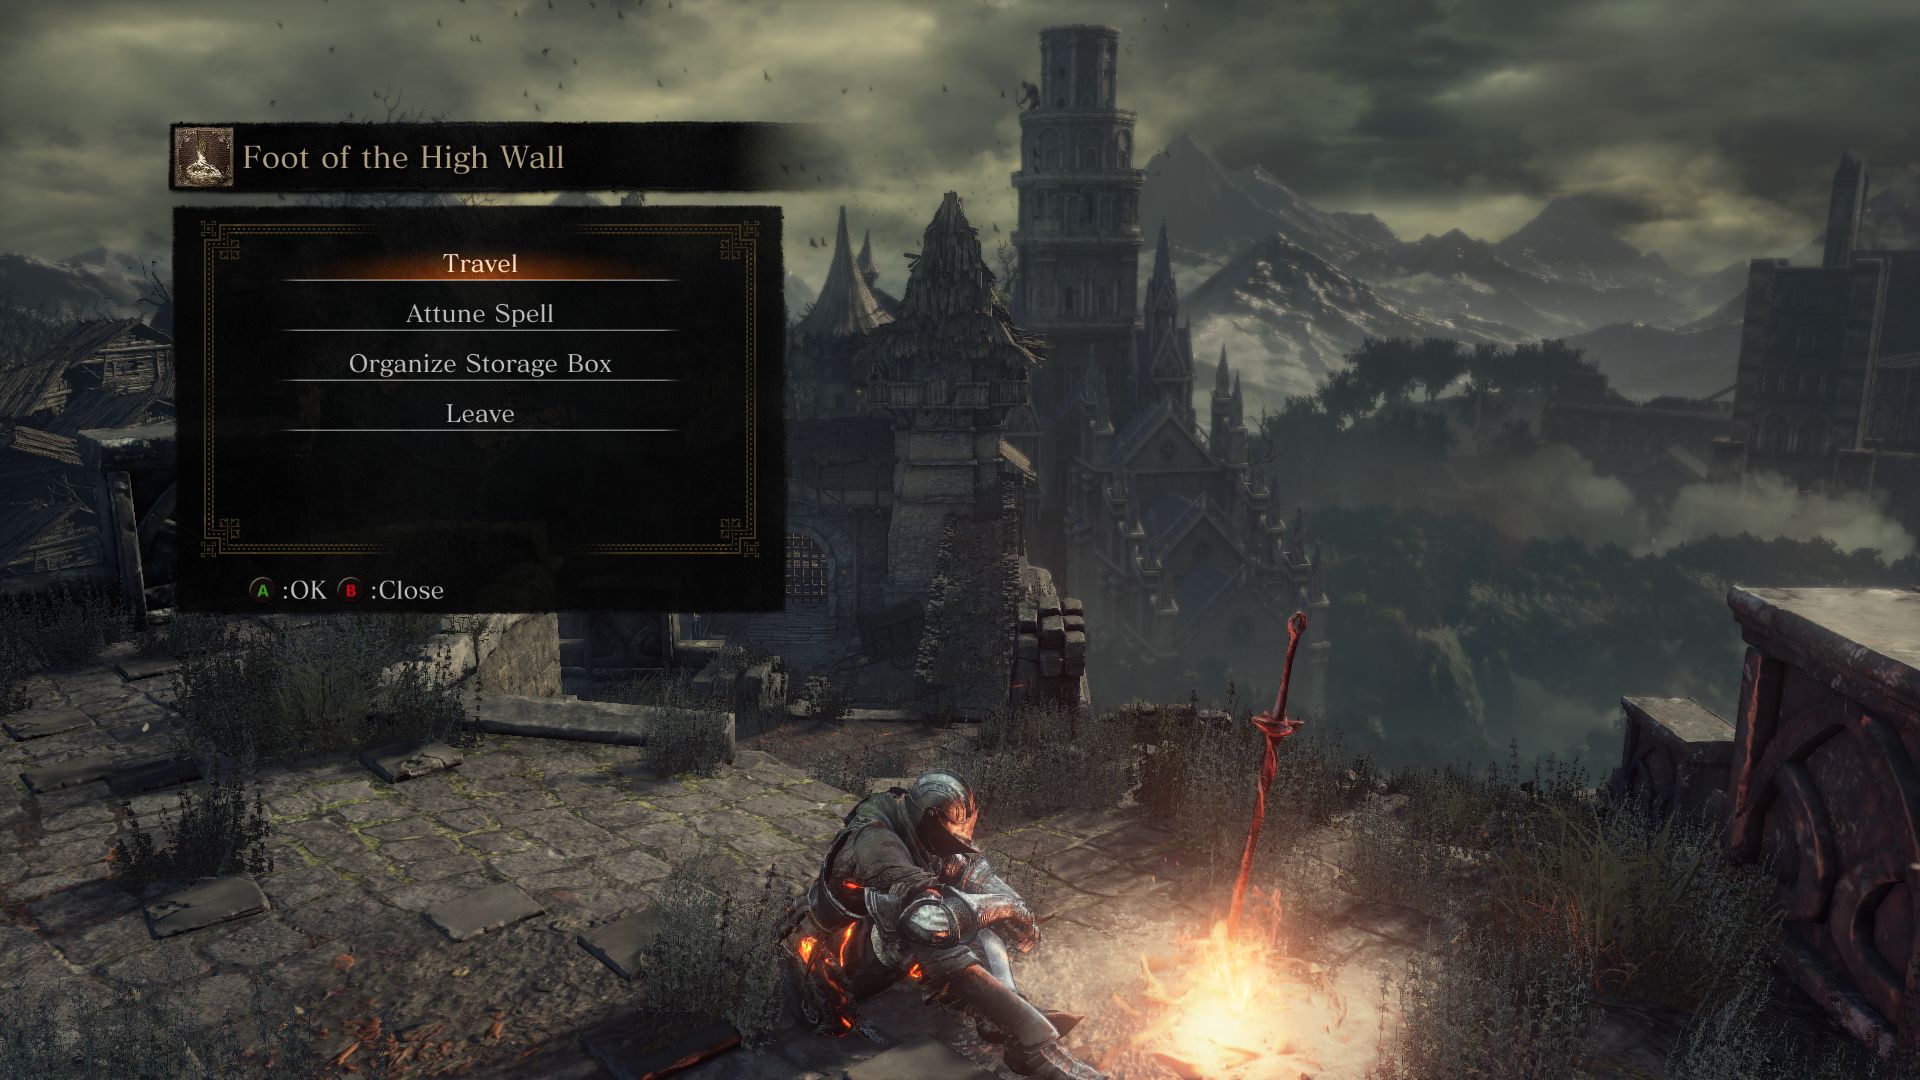
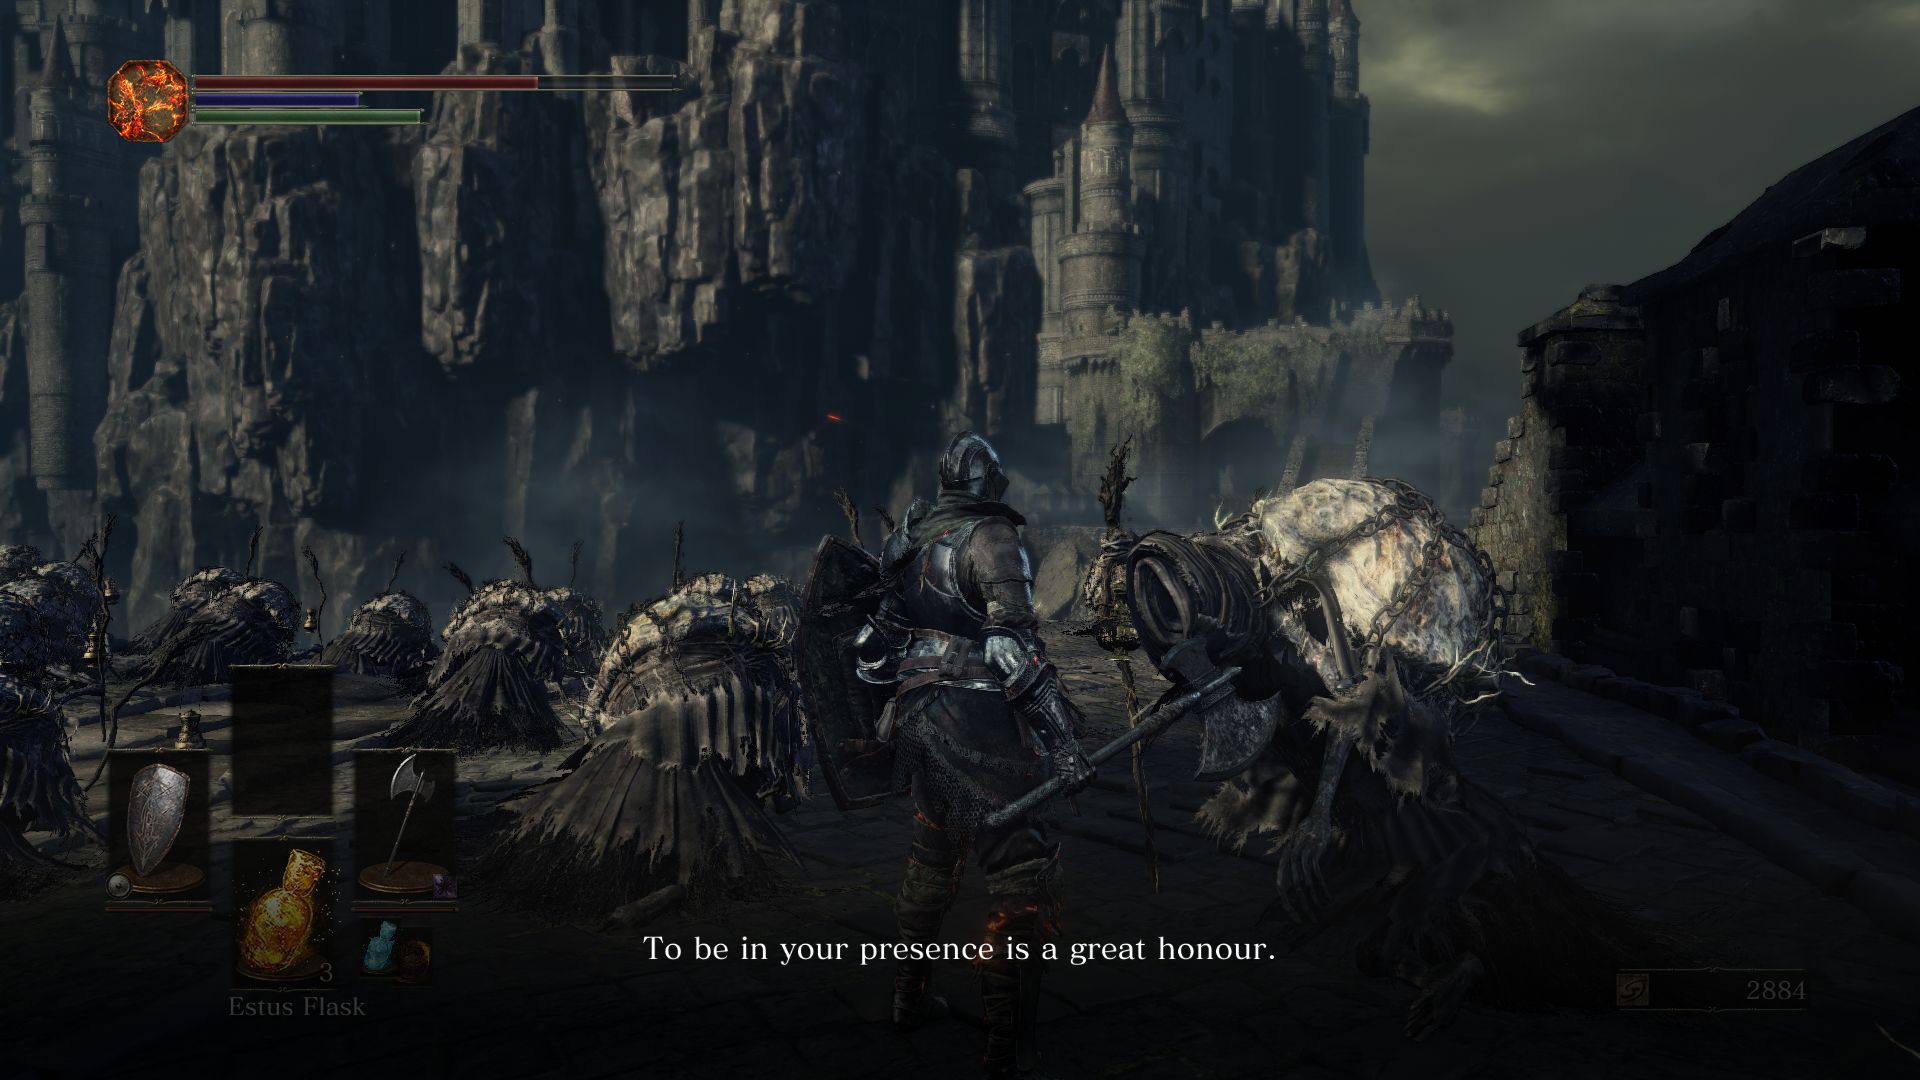
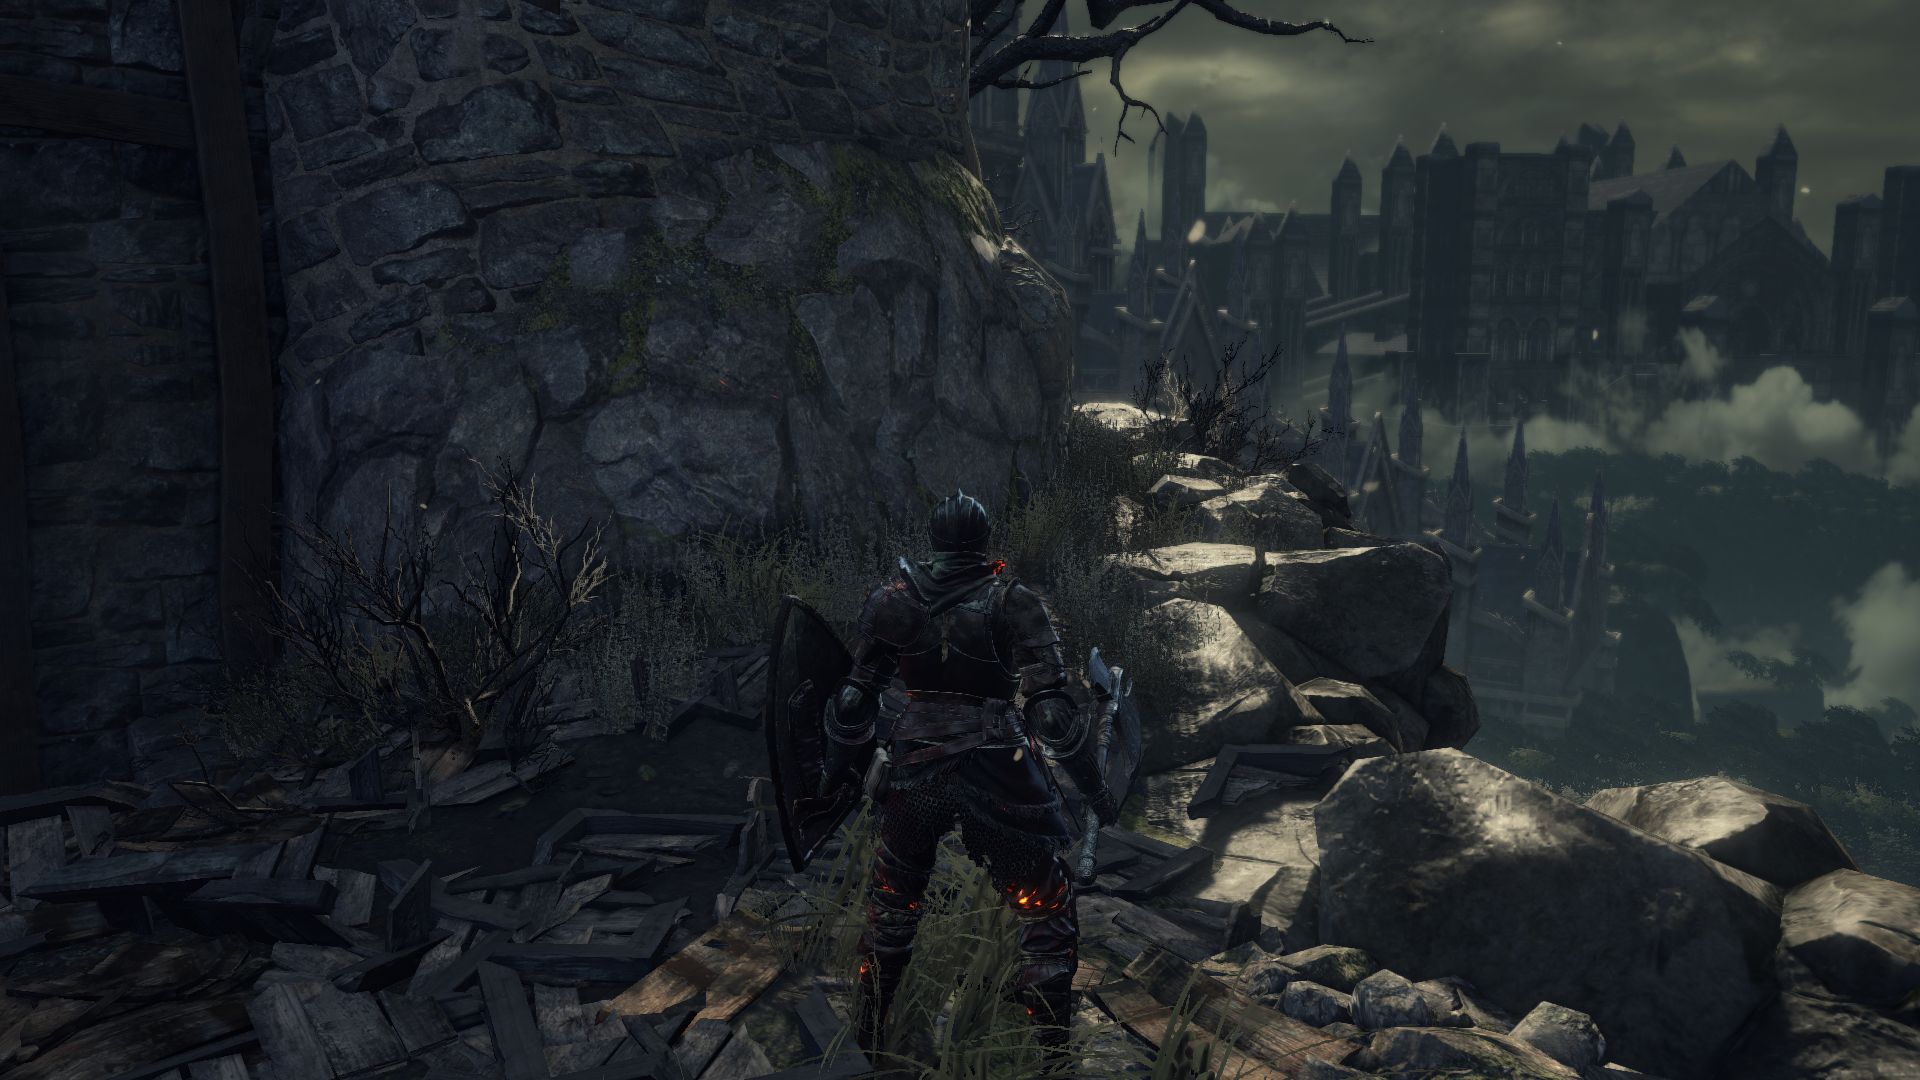
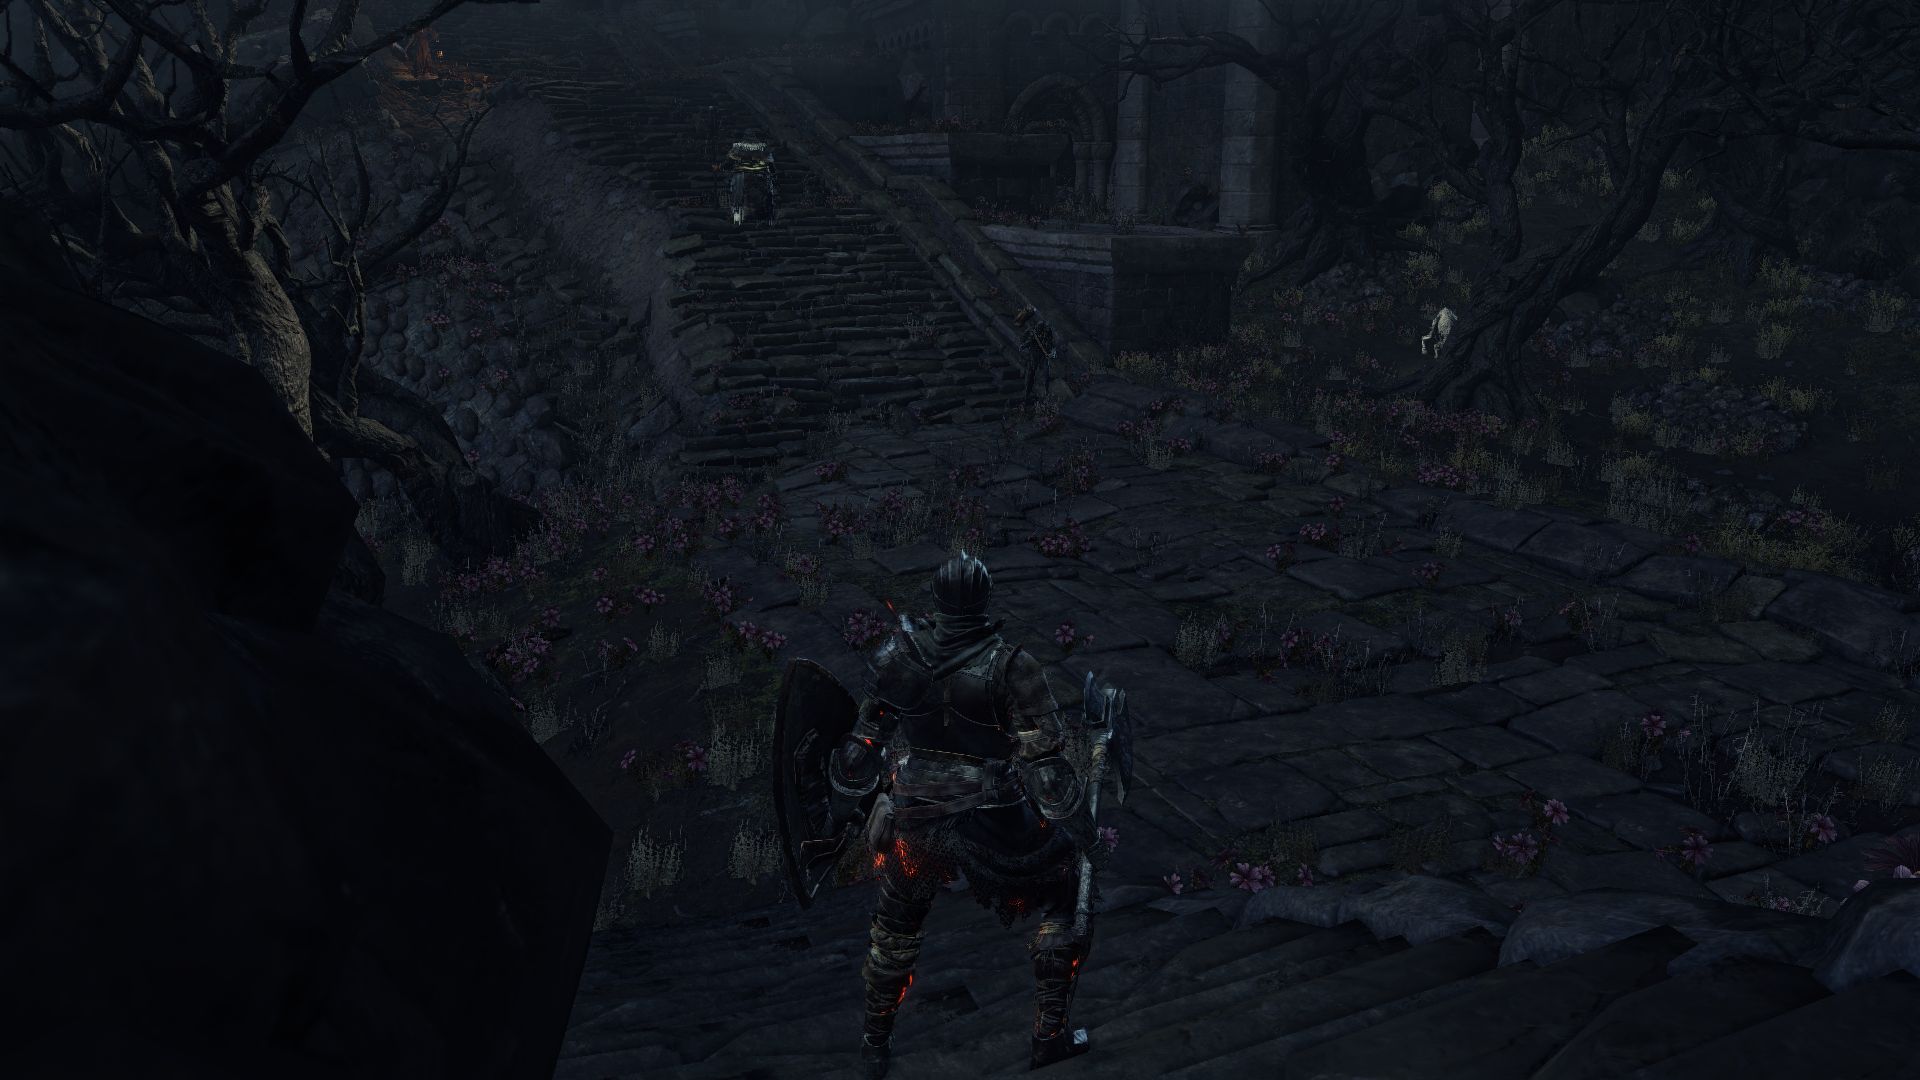
Before proceeding forward, light the Foot of the High Wall Bonfire.
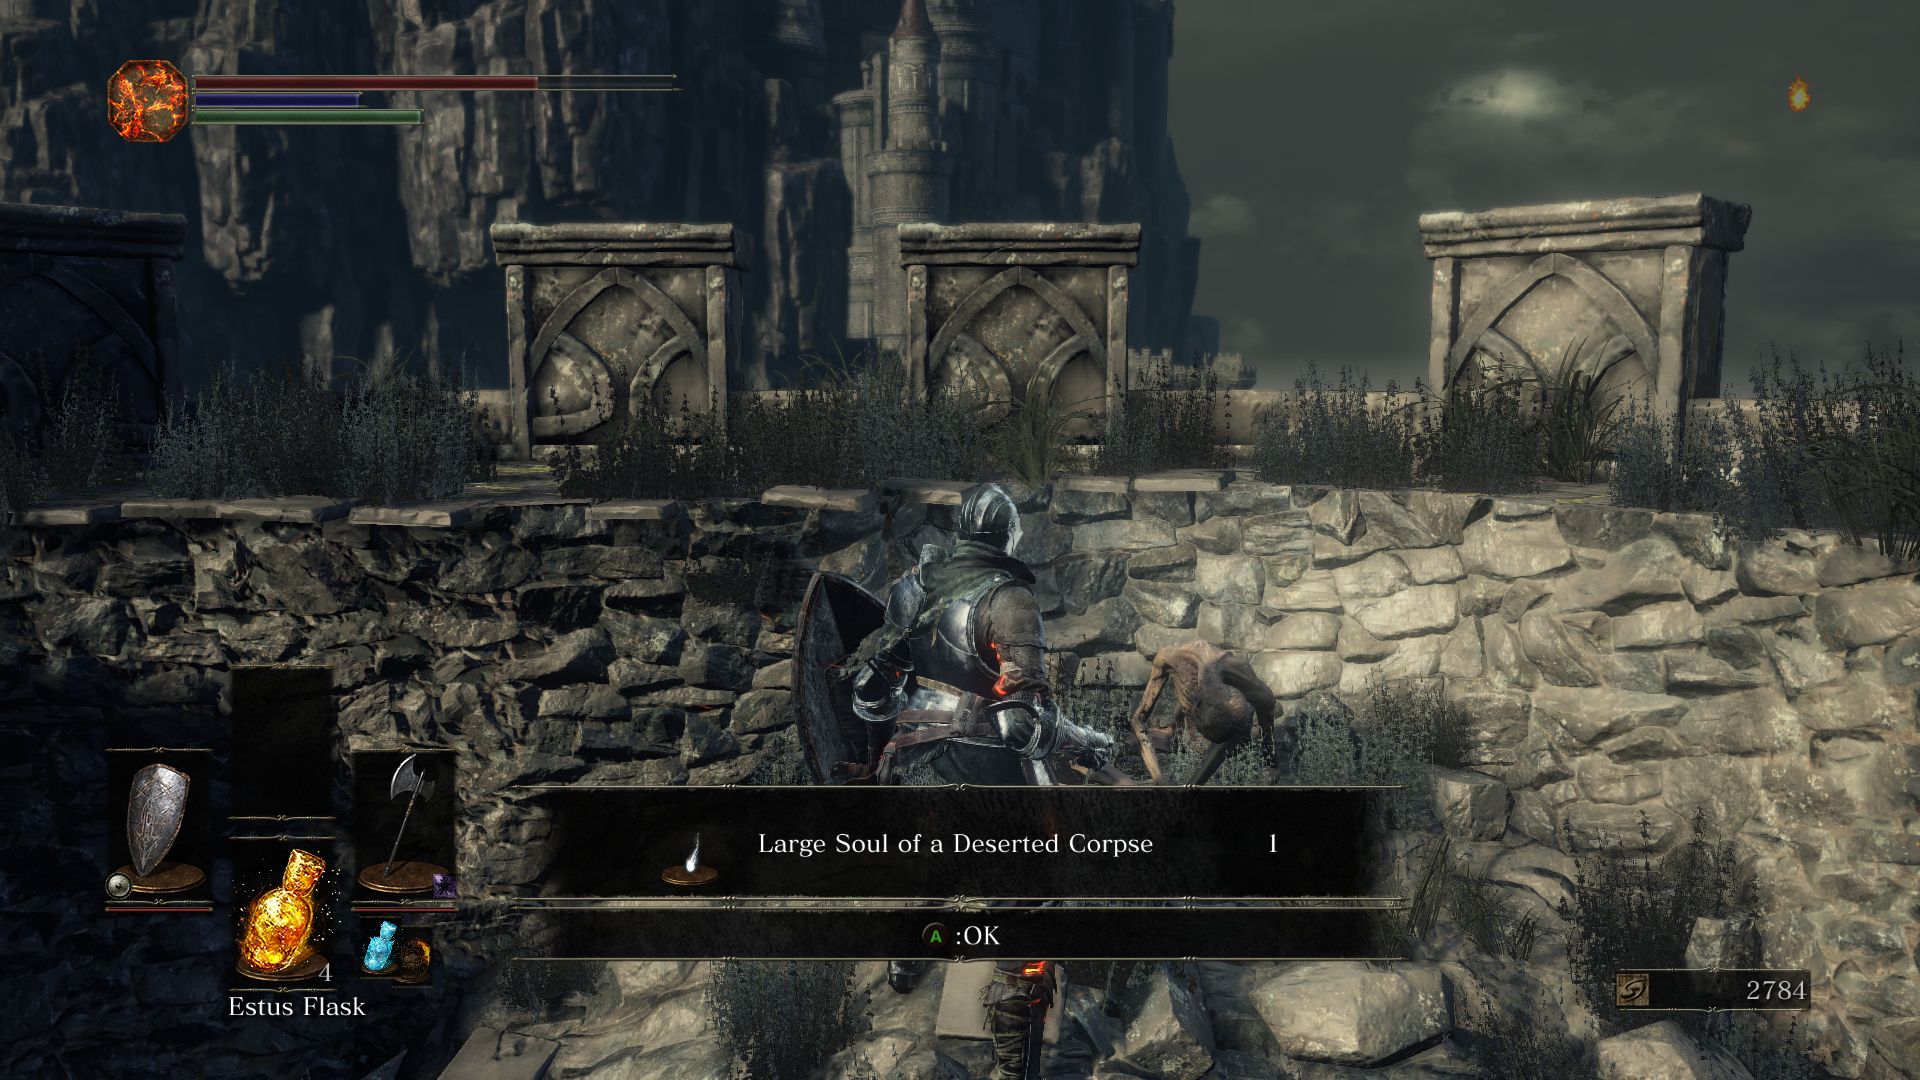
Check the starting area for a corpse holding a Large Soul of a Deserted Corpse then head down the stairs. Don’t approach the gate yet, instead walk along the wall above the gate and watch as 3 Bone Hounds come out of the gate to attack the Hollows. Try to lure the Bone Hounds one by one to take them out easily.
After you kill the hounds, head to the opposite direction of the gate. There are 2 more Bone Hounds lurking behind a caravan. Kill them and loot the corpse to obtain 2 Alluring Skulls. You can use these to distract or draw enemies. They even work on the boss of this area.
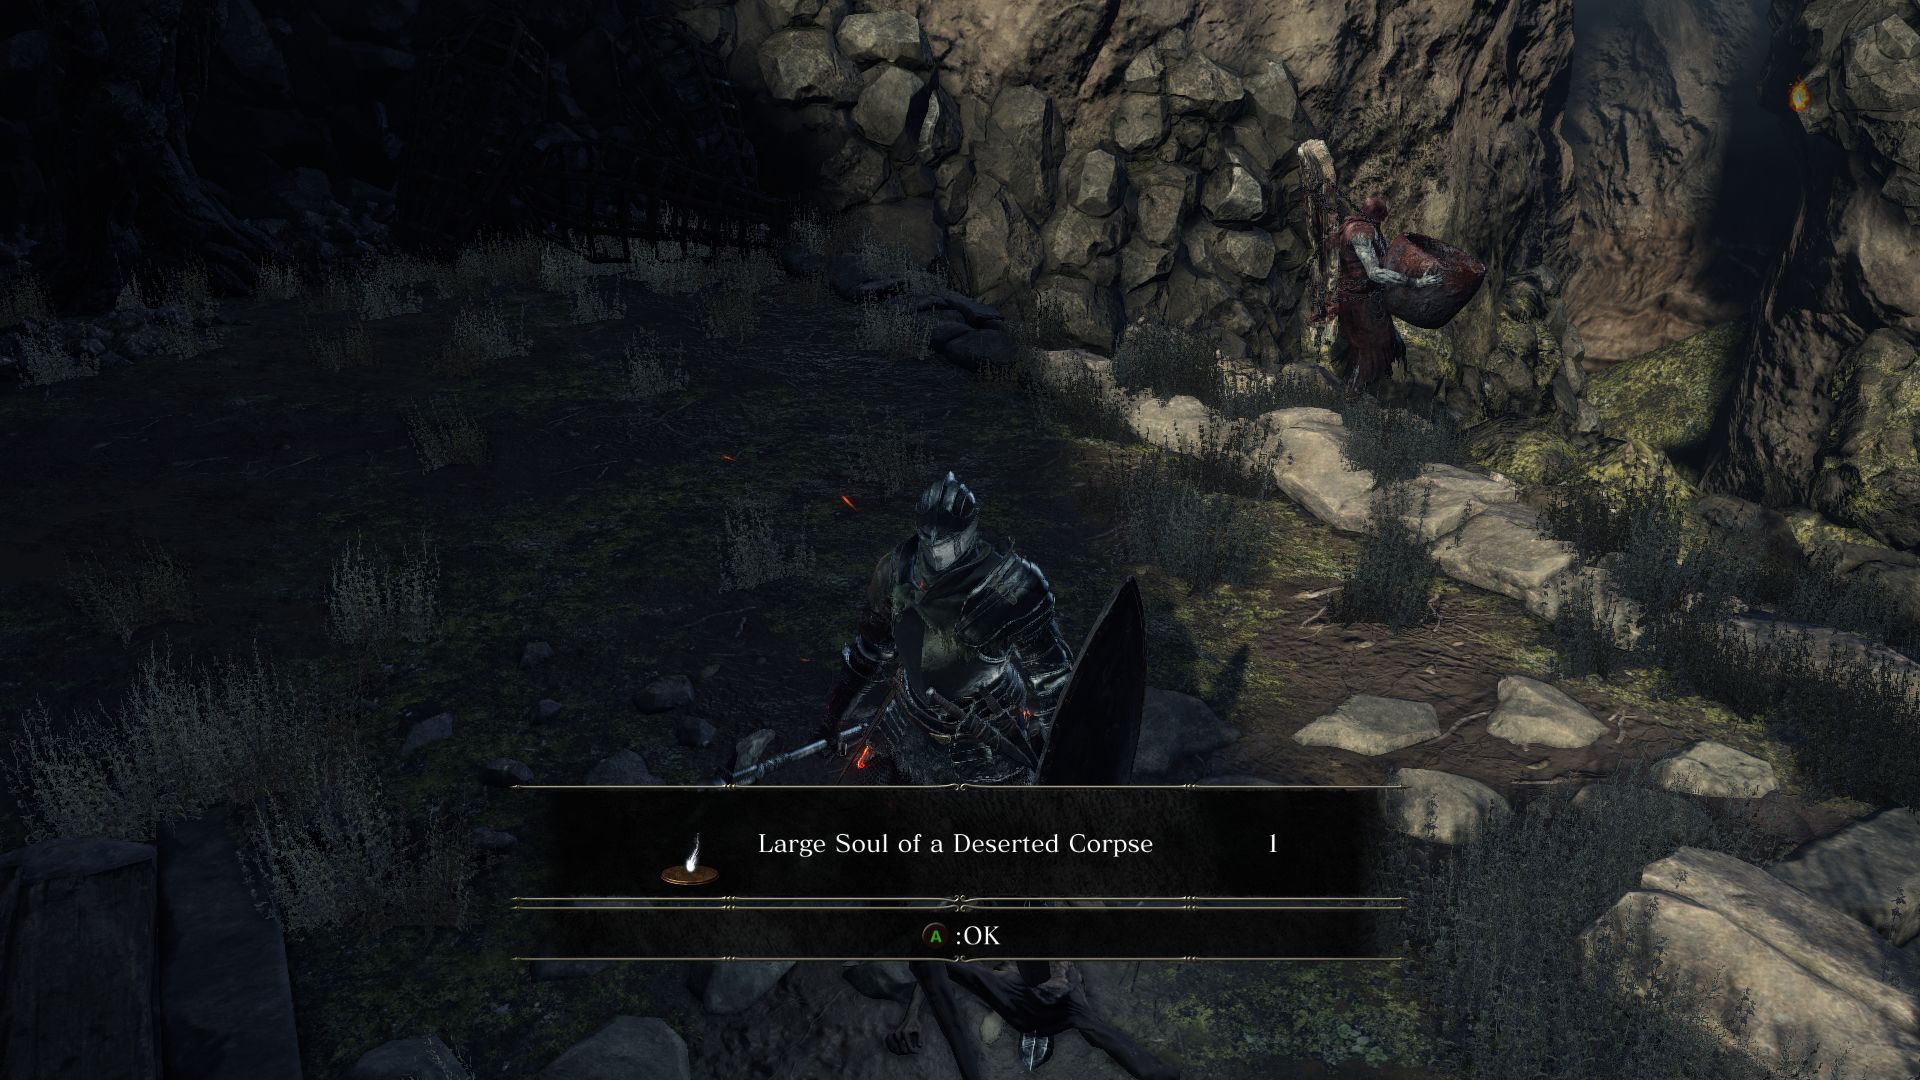
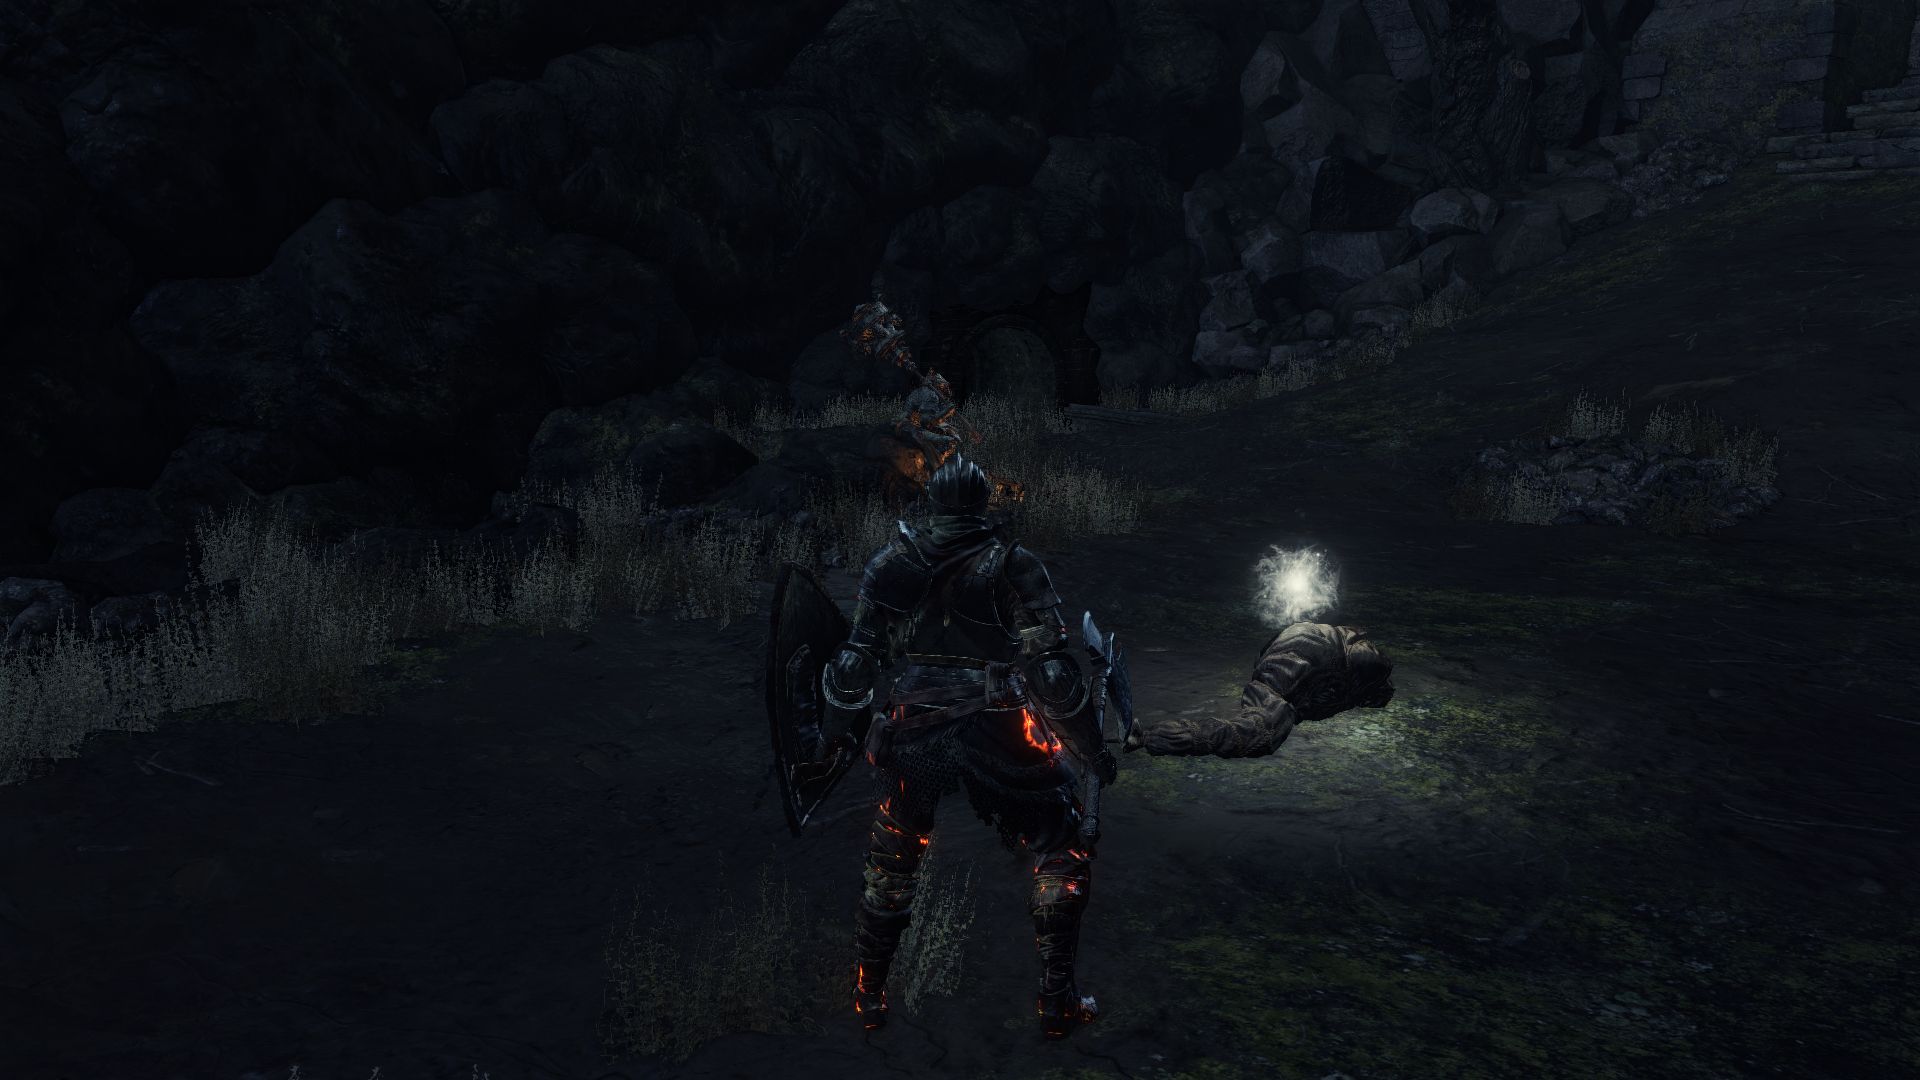
RECRUITING YOEL: Continue moving towards the broken bridge (away from the gate to the Undead Settlement) and you’ll find the corpses of many pilgrims. There is one who is alive however and is mumbling something. Talk to the live pilgrim sitting on the right side. This is Yoel of Londor. After you’ve talked to him, he’ll take residence in Firelink Shrine and will sell you spells. Talking to him also rewards you with the Beckon Emote. There is a sidequest with Yoel back at Firelink Shrine, but we’ll cover that later. Before turning back, search the area for a corpse holding 2 Homeward Bones.
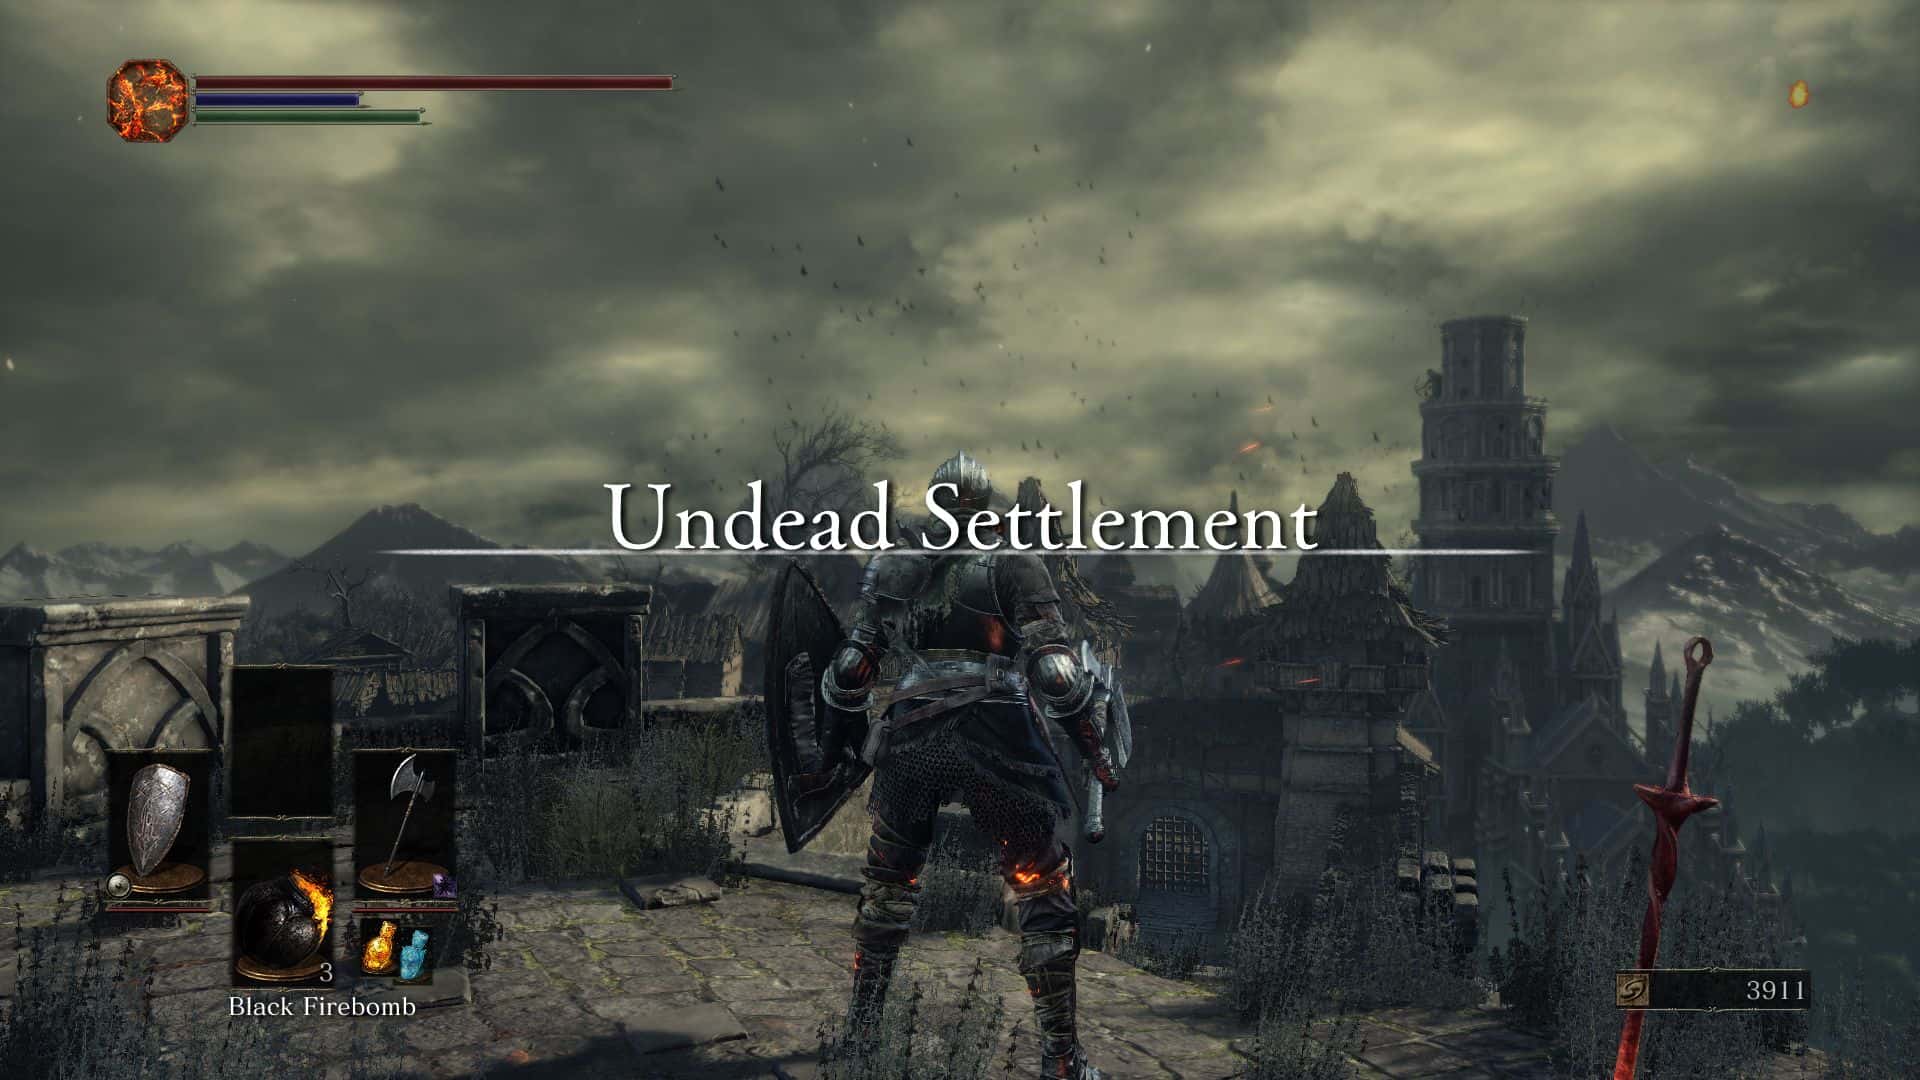
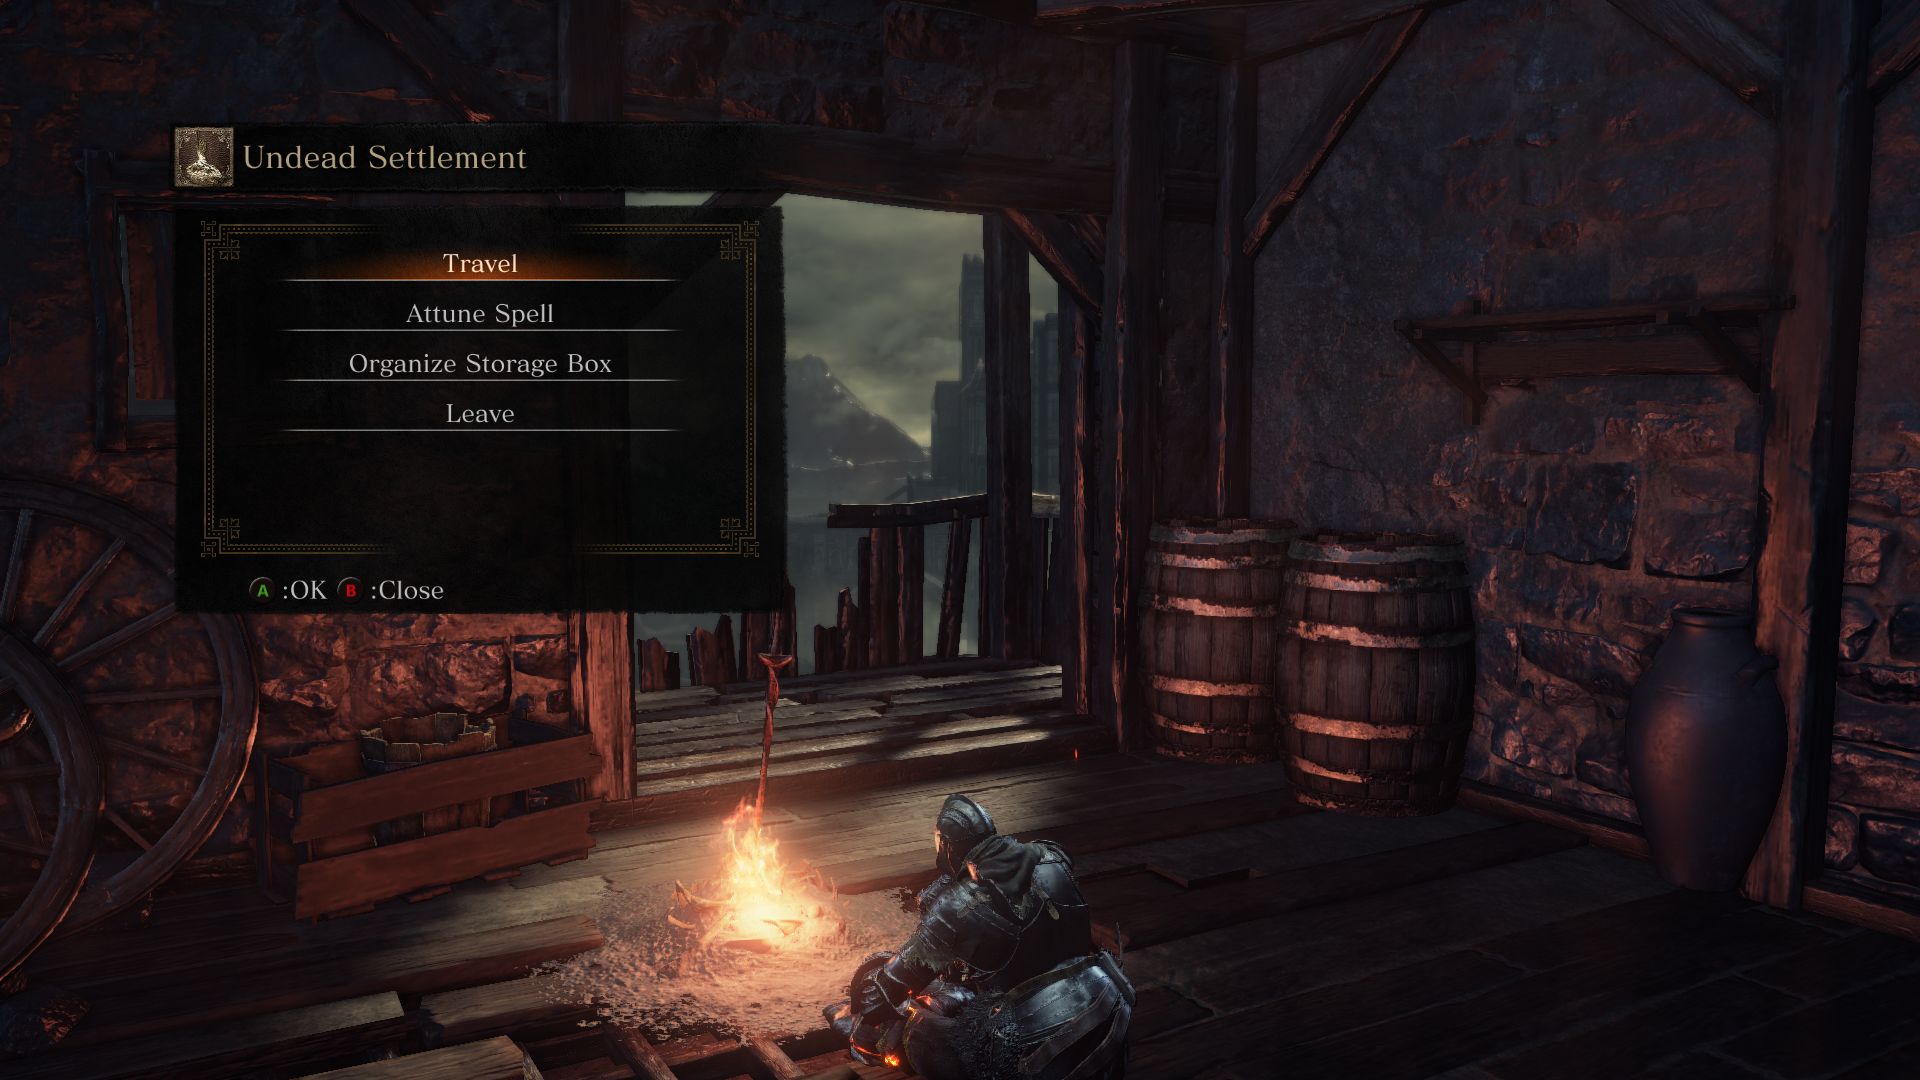
Back at the gate, pull the lever. Just beyond the gate is a Village Worker. Kill the Worker and walk down the path to find the Undead Settlement Bonfire to the right side in a building. Remember that if you rest here, the enemies you’ve killed will have spawned again.
Continue down the path from the gate and two from Villagers will emerge from a building. Take them out. They are relatively slow and easy to deal with but if you let them overwhelm you, they do a lot of damage.
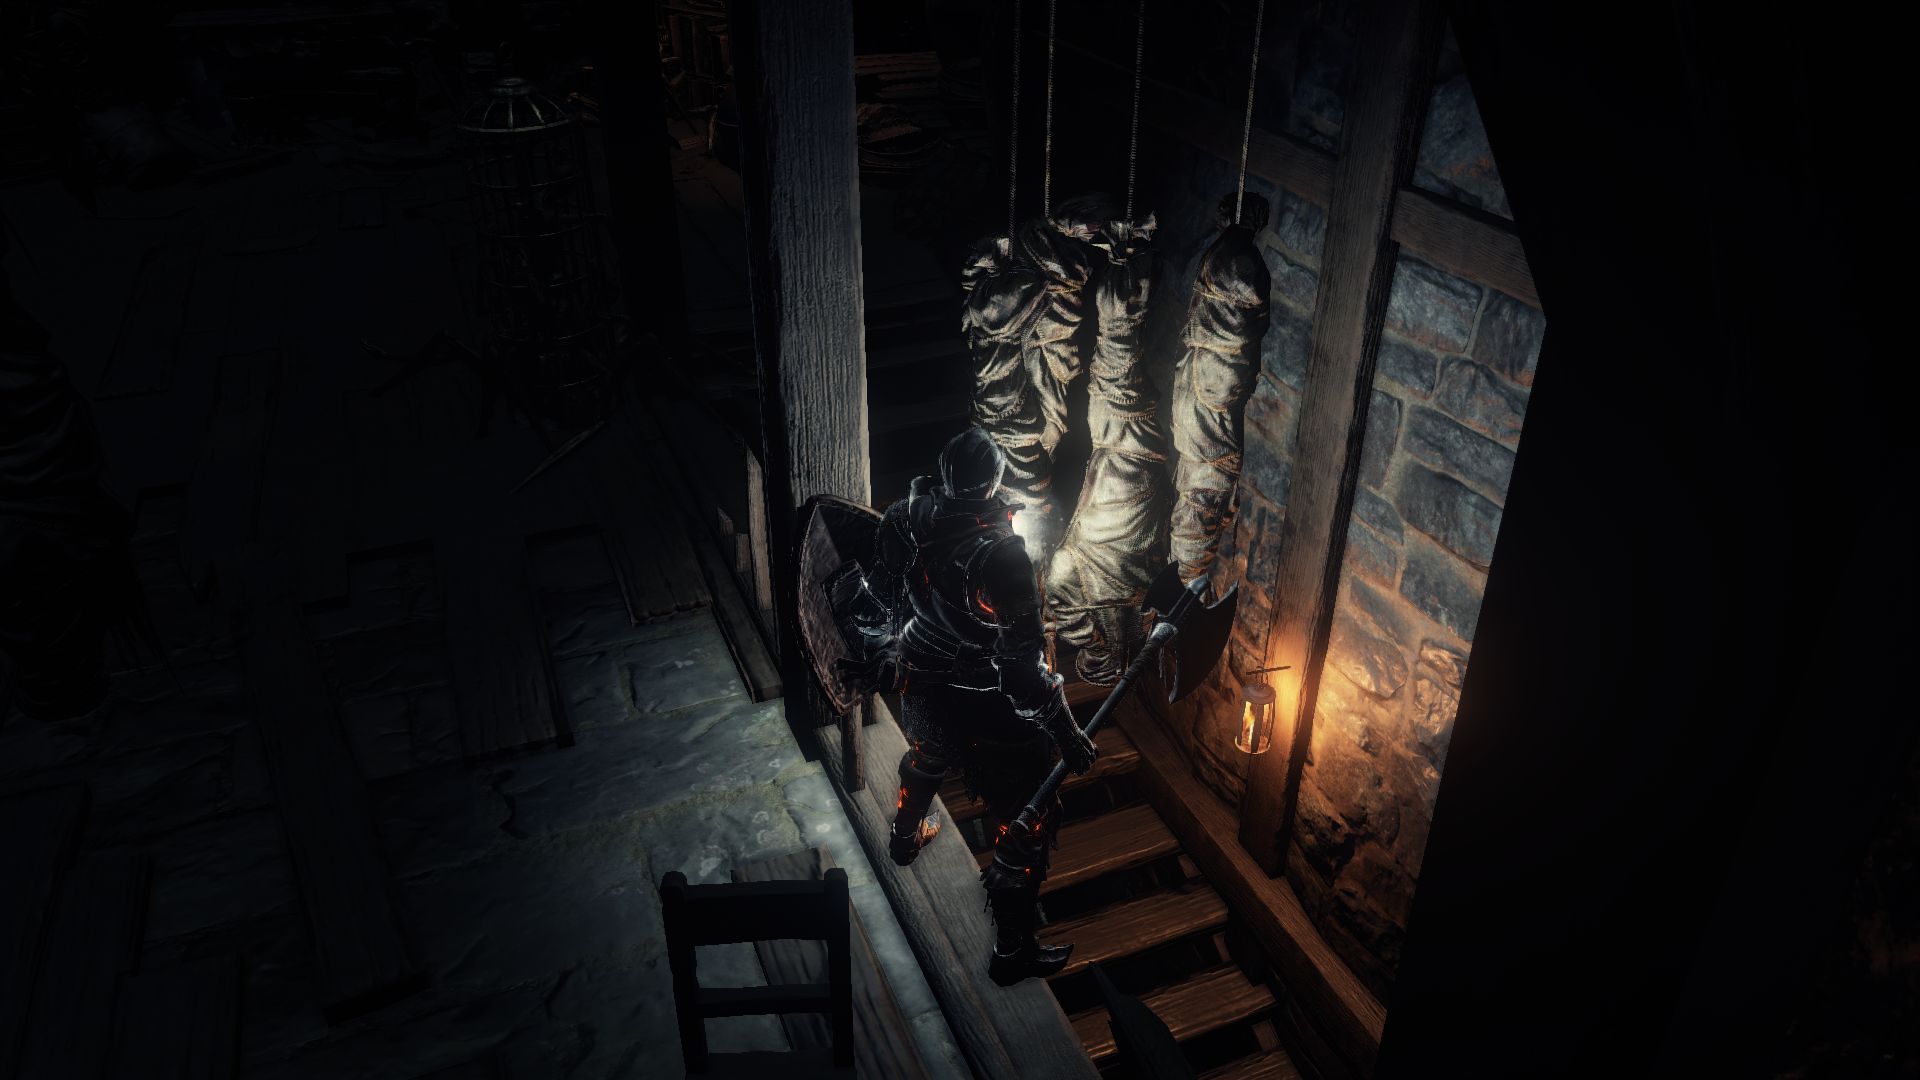
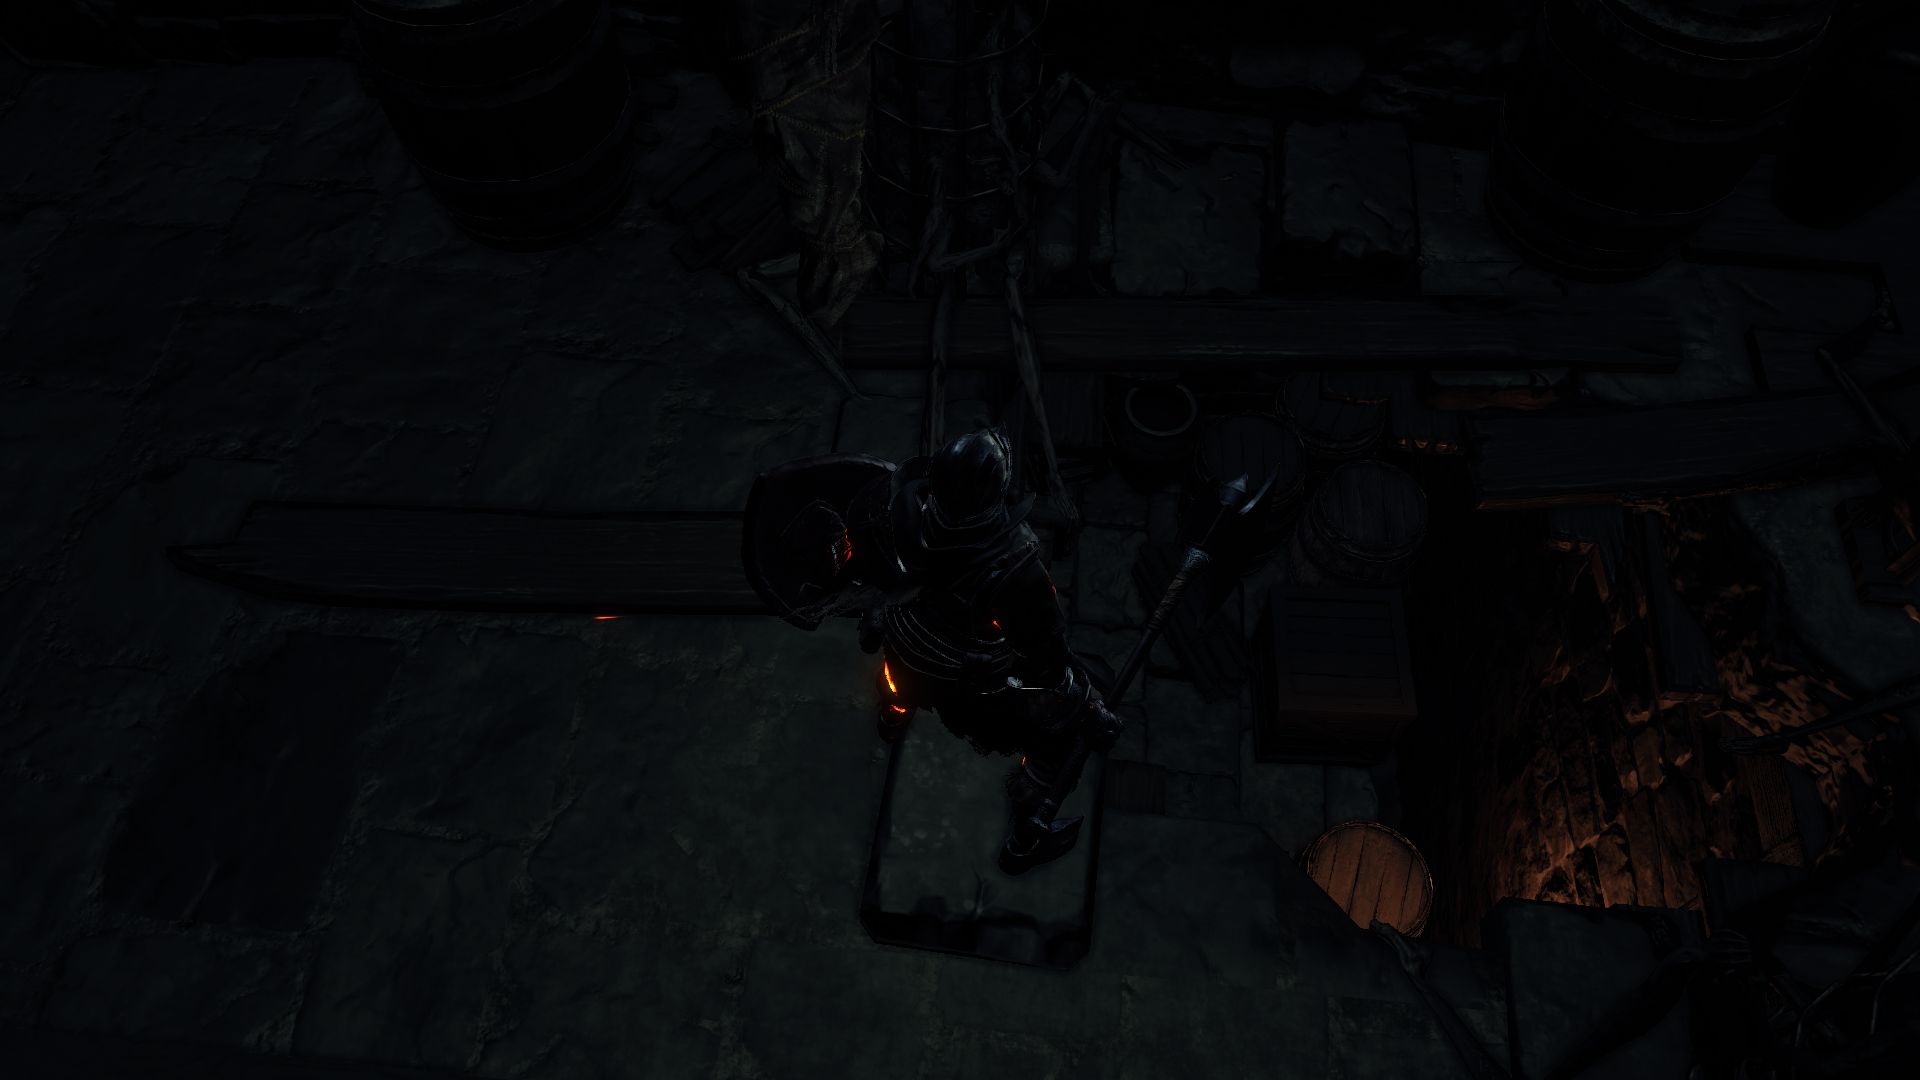
Inside the building, you’ll see a many corpses hanging from the ceiling. One of these corpses contain a Small Leather Shield; cut it down and loot it. You will see a path heading down, but don’t take that yet. Instead, break down the debris on the right side and move to the other side. You’ll approach a Thrall lurking behind a column. You will find these enemies jumping on you if you are unaware. But usually there are paths around to face them head on and prevent being ambushed. Thralls are fast at close range and use blowdarts from long range. A shield is useful against them or you can dodge around their attacks to take them out.
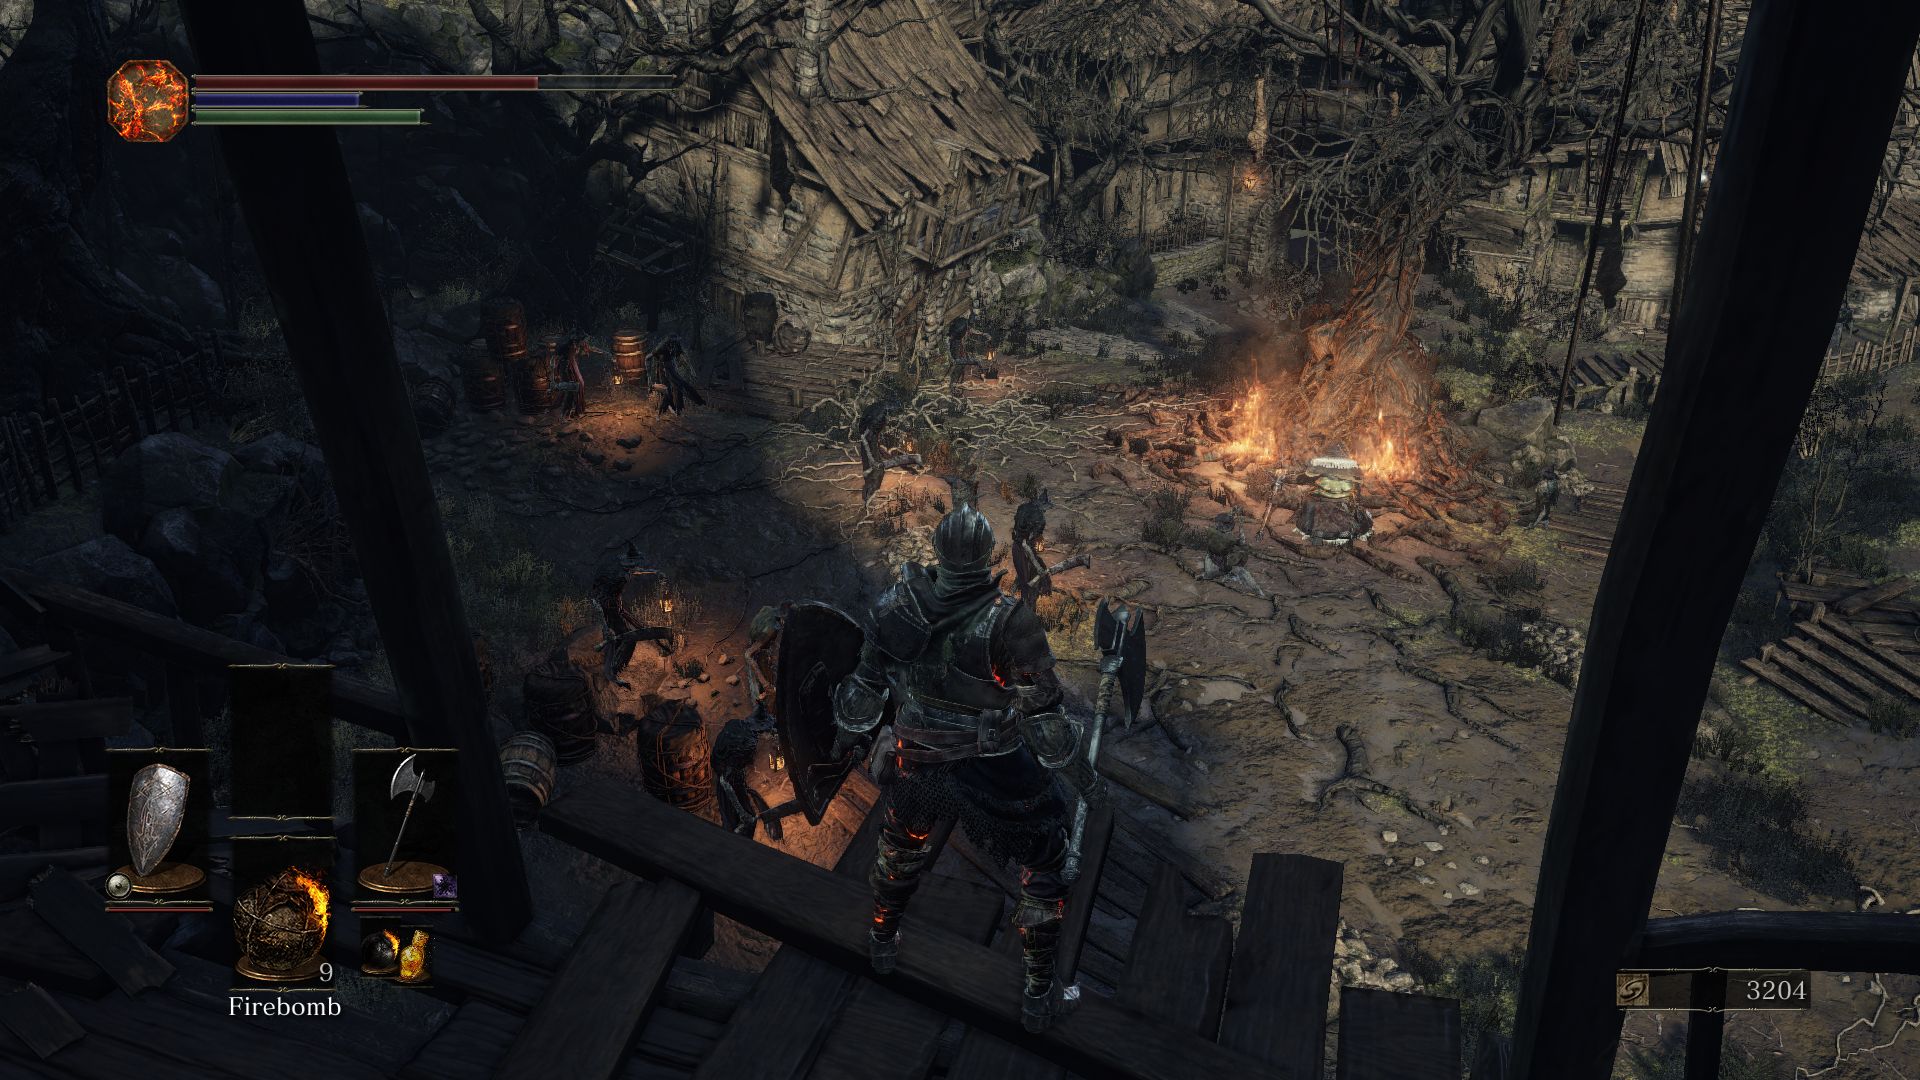
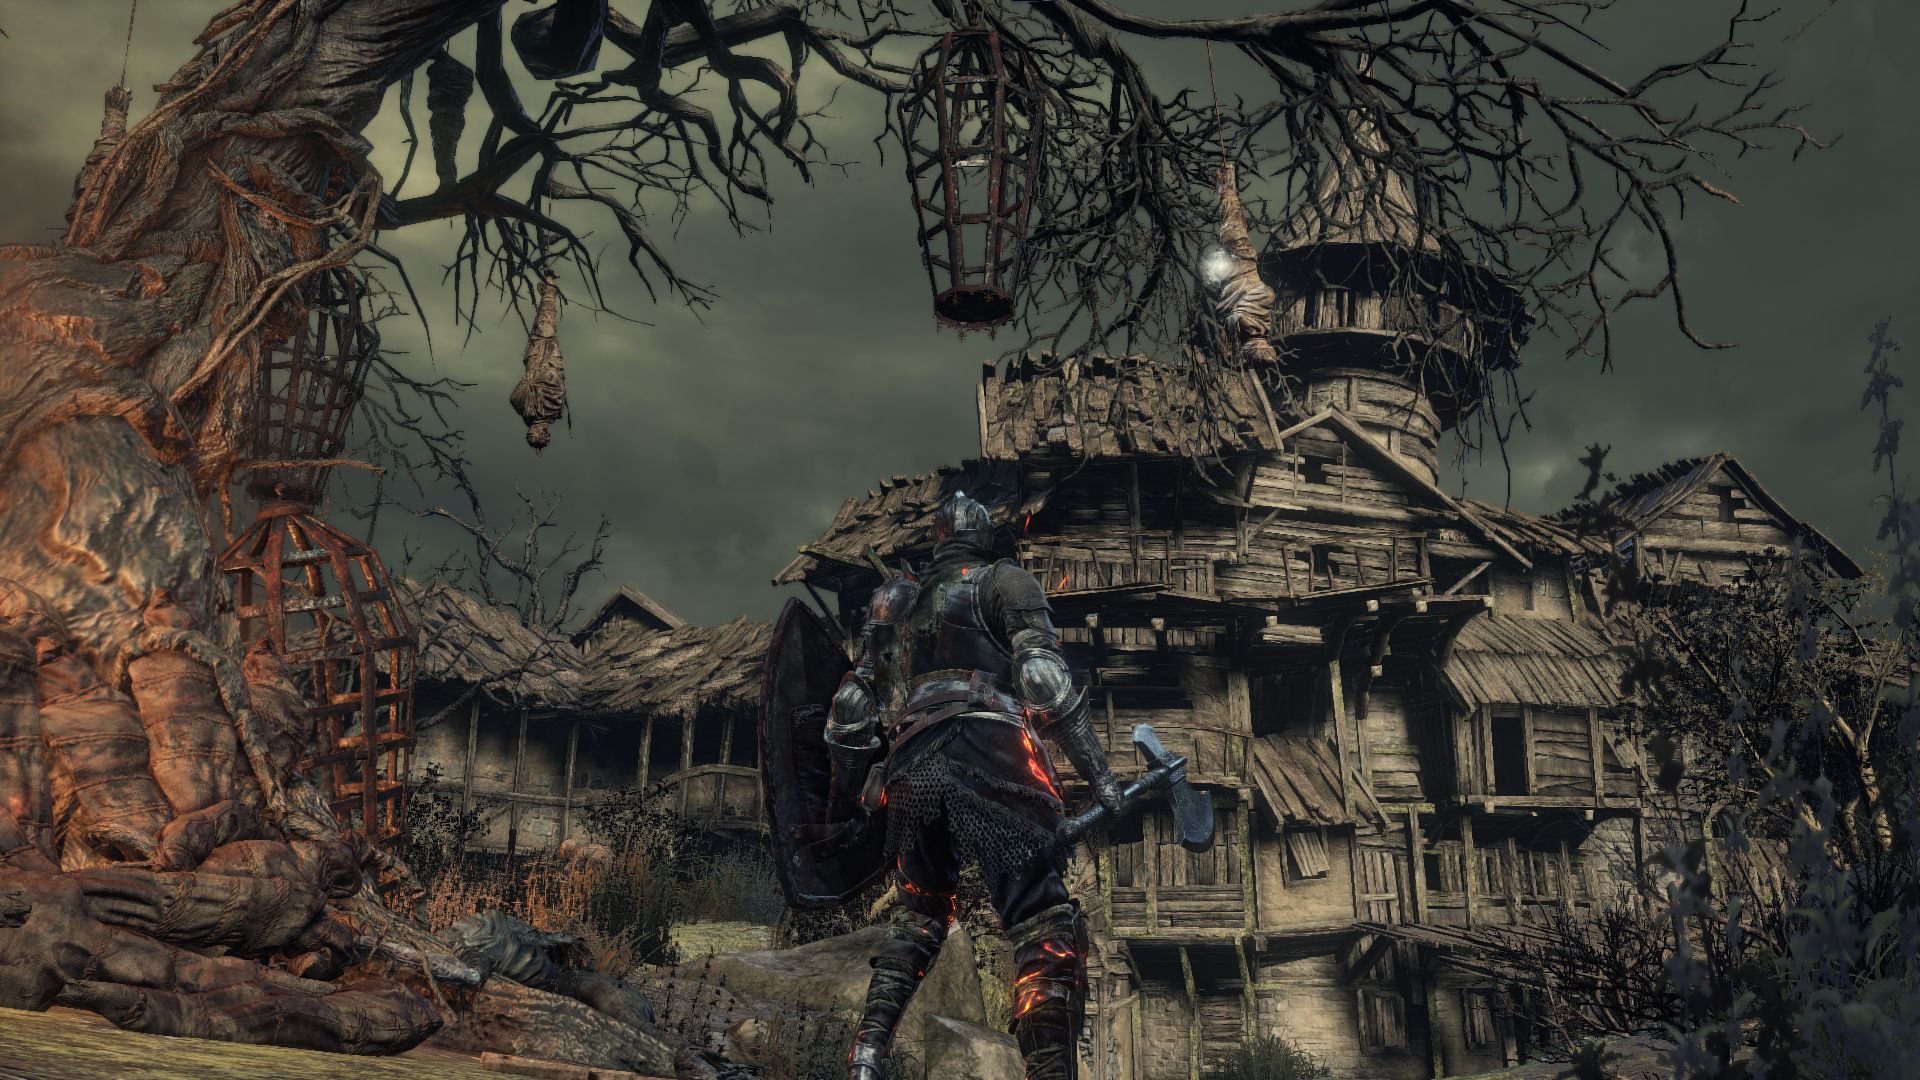
Check a nearby corpse for 2 Charcoal Pine Bundles. Don’t exit the building yet. Move to the balcony to observe what lies ahead. You’ll see many Villagers gathered around a tree which appears to be a pyre. Corpses are dangling from the tree. Creepy! You will see that there are some explosive barrels placed conveniently close to the villagers. This will be useful. If you keep heading right on the balcony, you’ll be met with another Villager. Kill it and then cut down the dangling corpse with some loot. It will drop down, and you won’t be able to loot it until you clear the area below. At the end of the balcony you will find 2 Repair Powder.
Go back inside the building and instead of taking the stairs walk along the landing to find a Thrall lying in wait below. You can drop down from here to take it out. There is another Thrall in the room, so be wary of that. Once you kill the Thralls, loot the Charcoal Pine Bundles if you haven’t already and head out of the building.
Don’t try to take on all the enemies at once here. Instead stick close to the building as you approach the Villagers from the side. Remember those explosive barrels? Toss a firebomb towards the barrels to take out the 3 Villagers nearby. Keep sneaking along the building and toss a firebomb at some more barrels to take out 2 more Villagers. It can get a bit tricky from here. There are still about 4 more Villagers close to you, and 3 more behind the tree. And there is an Evangelist, a rather plump lady, at the center of it all.
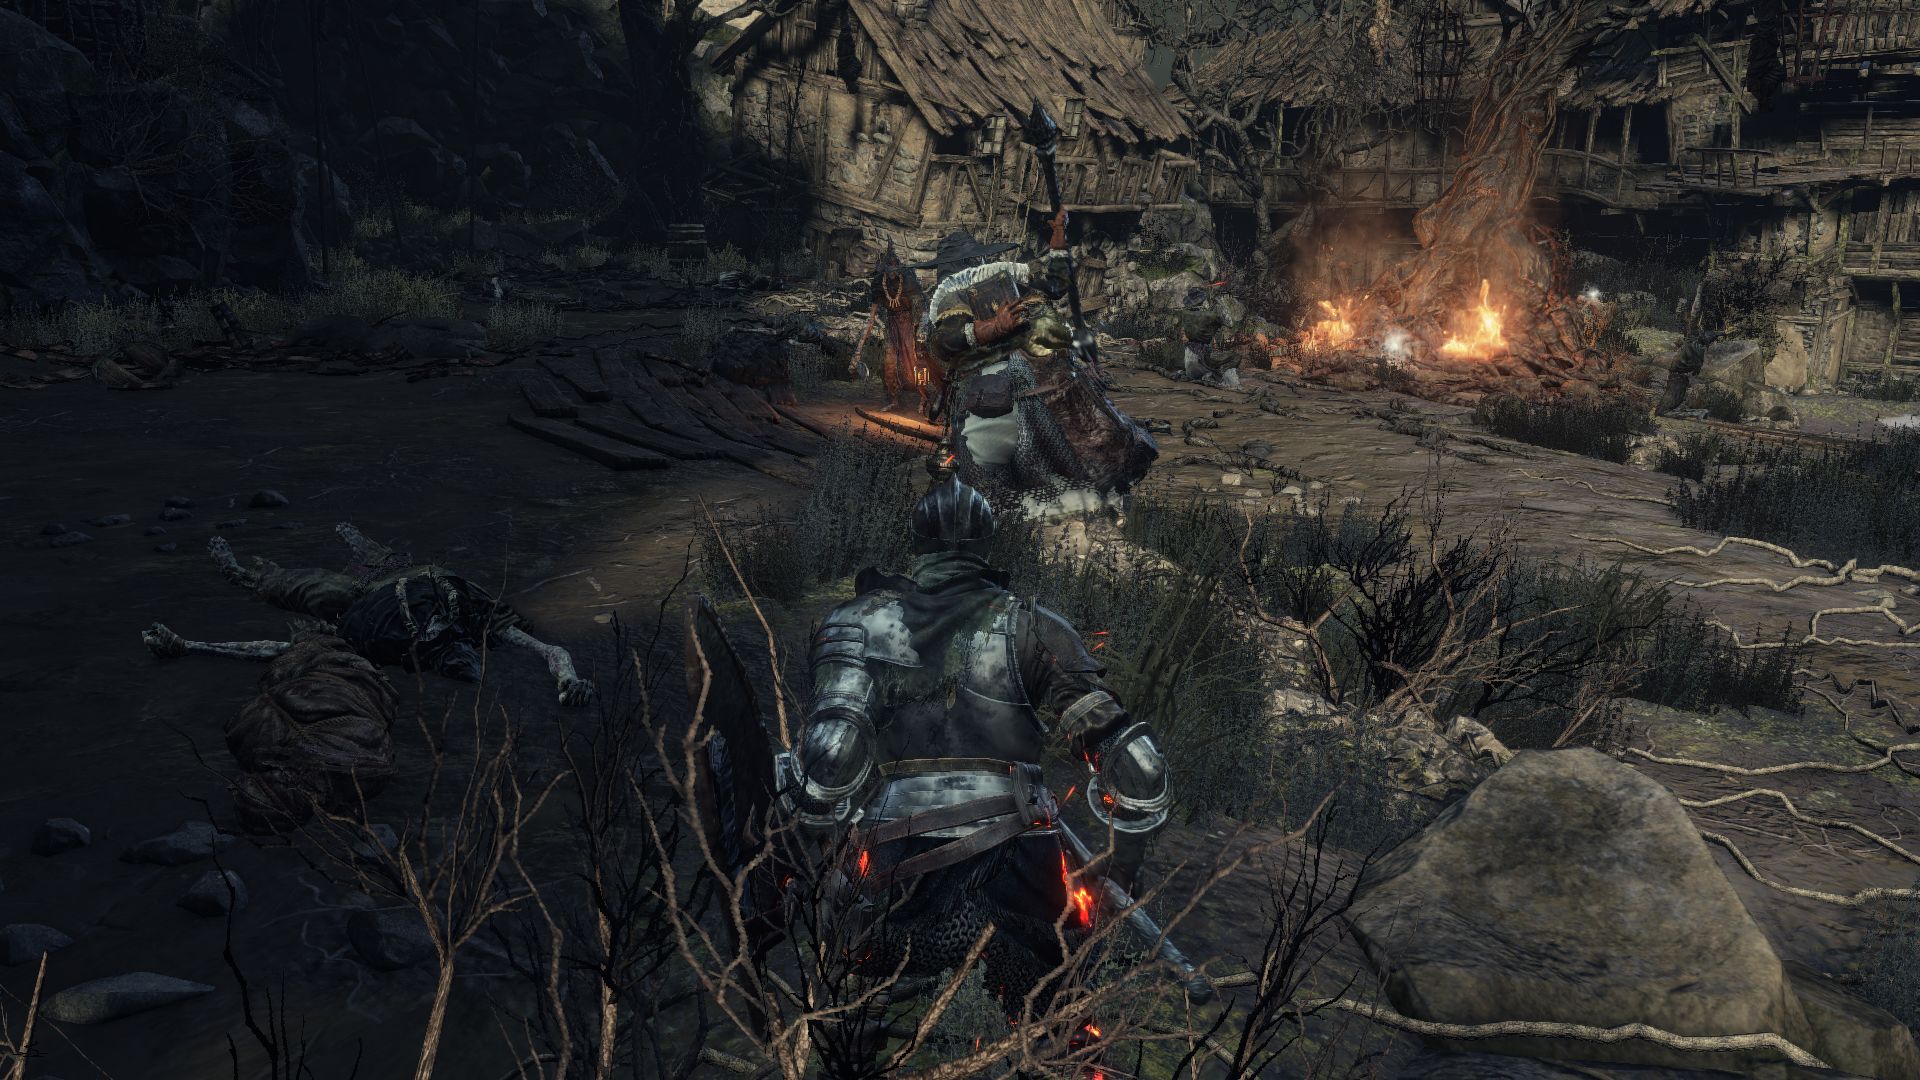
Do not try to take on all the enemies at once. Try to lure out the Villagers to take them out. Patience is very important here. If the Evangelist spots you, she’ll start casting the spell Gnaw from a range. If you get hit by Gnaw, you’ll start bleeding. She’ll close the distance and strike at you with her mace. Avoid these attacks and watch for the overhead swing, which you can dodge around to land some strong hits. If she starts glowing while reading from her book, back away. You cannot block this attack. She’ll attempt to grab you and do a lot of fire damage. But it does take some time for her to use this attack, which gives you plenty of opportunity to land a backstab. If you’re being overwhelmed, try to draw the Evangelist into the building to take on her solo.
After killing the Villagers and the Evangelist, take out the remaining 3 Villagers around the tree. Now it’s time to get your loot. You’ll find an Estus Shard near the foot of the tree, an Ember behind the tree, and a Soul of an Unknown Traveler from a corpse nearby (behind where the explosive barrels were). There’s a corpse dangling from the tree, but you need to snipe it down. Equip a range weapon with both hands so you can use the aim mode. This corpse will yield 9 Kukiri.
There should be another corpse closer to the building, the one you had cut down from the balcony. This corpse contains Loretta’s Bone, which will complete Greirat’s quest. Once you hand Loretta’s Bone to him back in the Firelink Shrine, he’ll let you keep the ring he had given to you and then sell you items. If you talk to him a few times after turning in his quest, he’ll give you the Curl Up Emote.
After clearing this open area with the tree pyre, you will notice two paths and they both will take you to similar areas near the end, but each path offers its own dangers and rewards. The path to the right is through a bridge, and the path to the left is towards more houses. For now, let’s go left towards the houses.
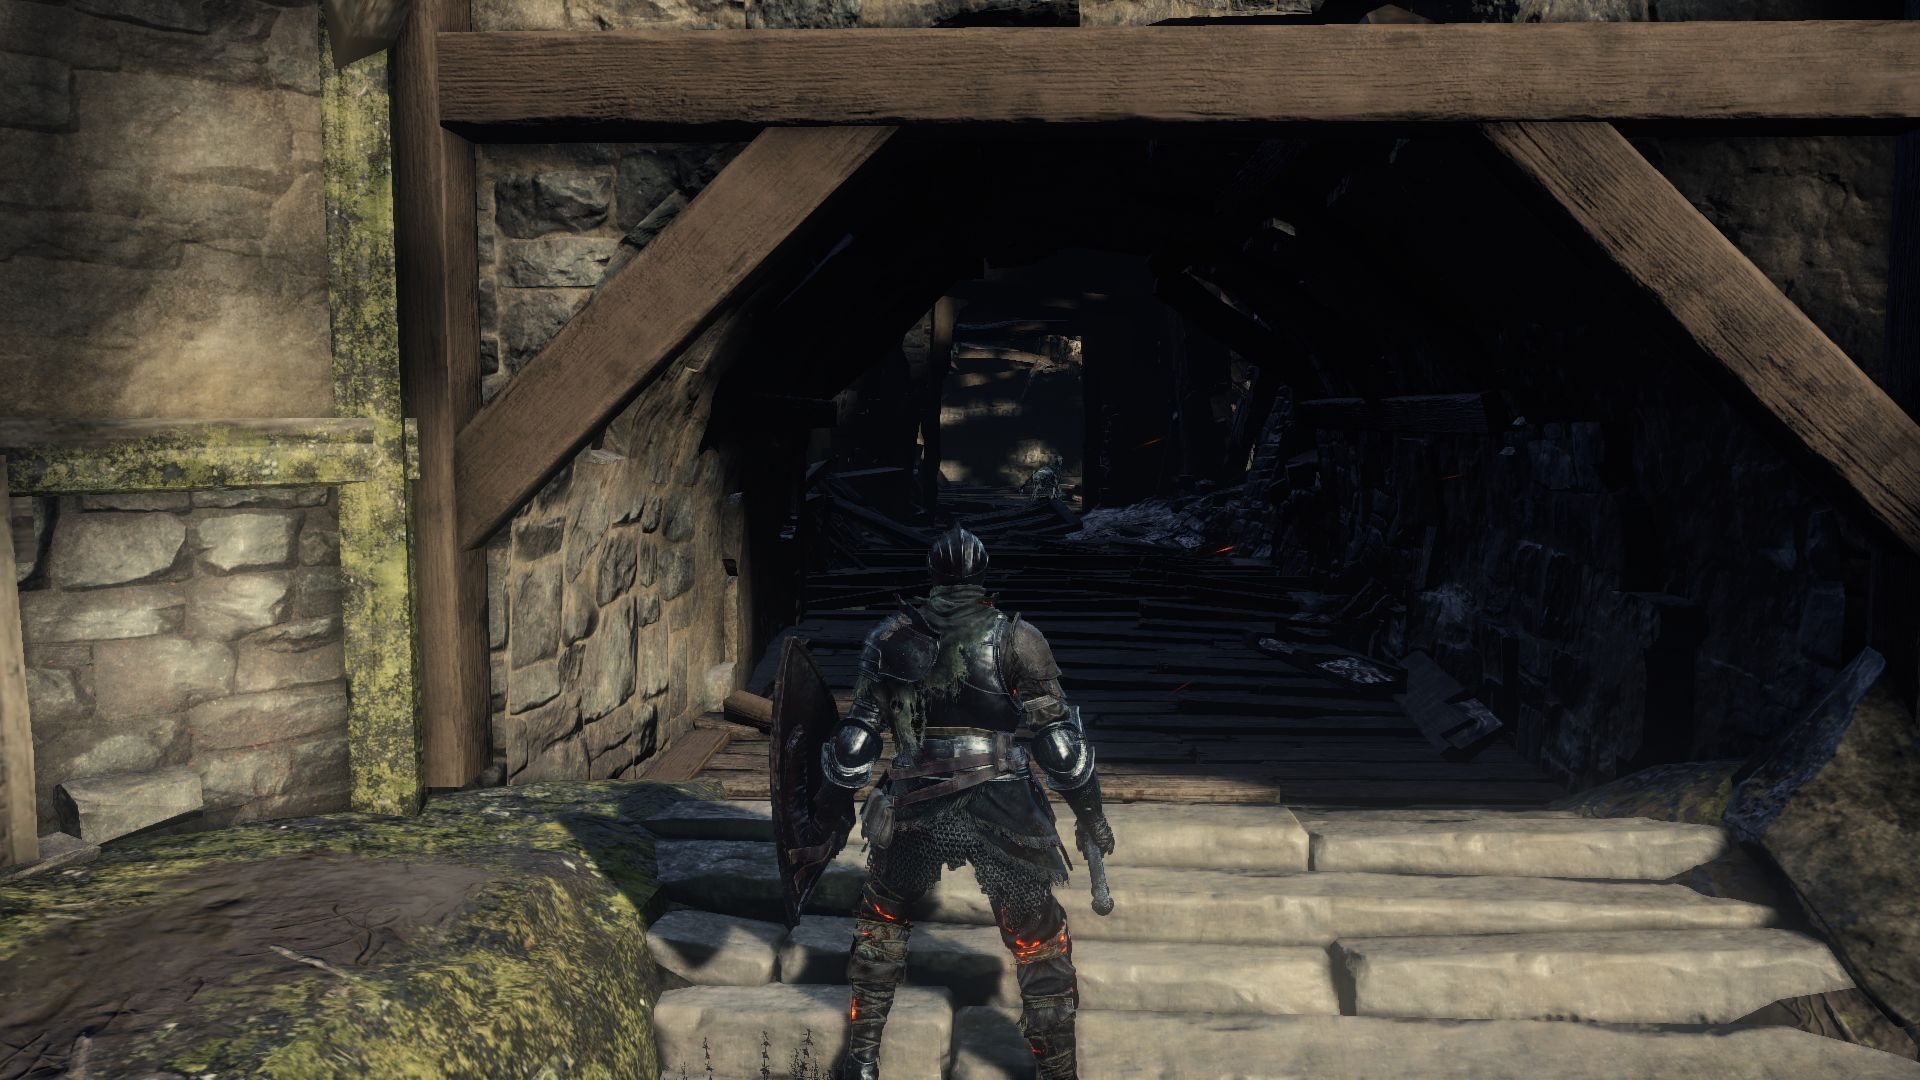
As you head this way, you will see two branching paths. Let’s check the right side of the building first. Inside are 2 Thralls. Had you taken the other route first, these Thralls would have jumped on you. Ambush them instead and take them out. After you kill them, don’t jump down yet. Go back outside and you should find a Titanite Shard from a corpse. Continue to the path towards the left side of the building that takes you to an alley. Open the door and enter the building.
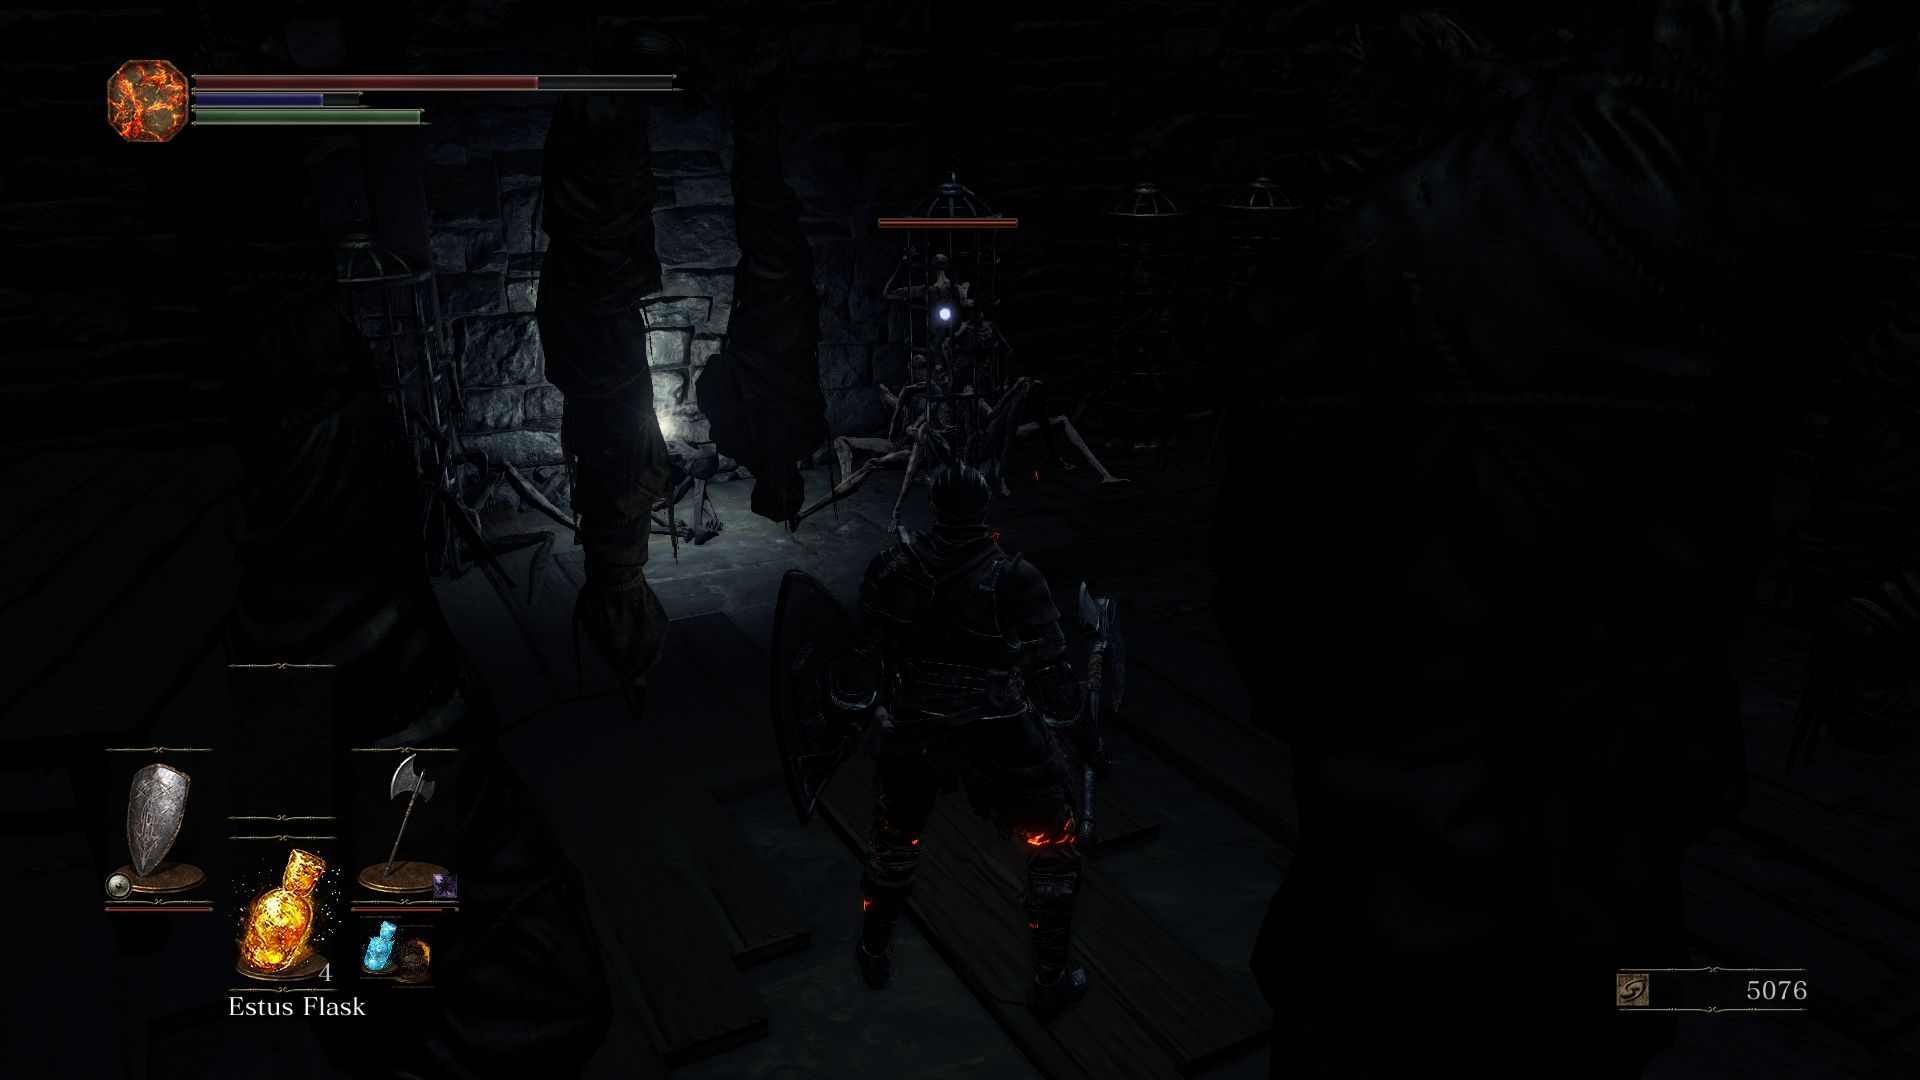
This room is full of corpses dangling from ceilings or crammed inside cages. To the right you should find a corpse with 2 Charcoal Pine Resin, but before you loot it, observe the corpses in a cage just by the glowing orb. You’ll see that the corpses inside this cage are still moving and they will attack you if you get close to them. Take out the Corpse Pile with ranged attacks or by hitting and backing away.
After you kill the Corpse Pile and loot the Charcoal Pine Resins, move towards the stairs and cut down the bodies there. One of them holds a Large Soul of a Deserted Corpse.
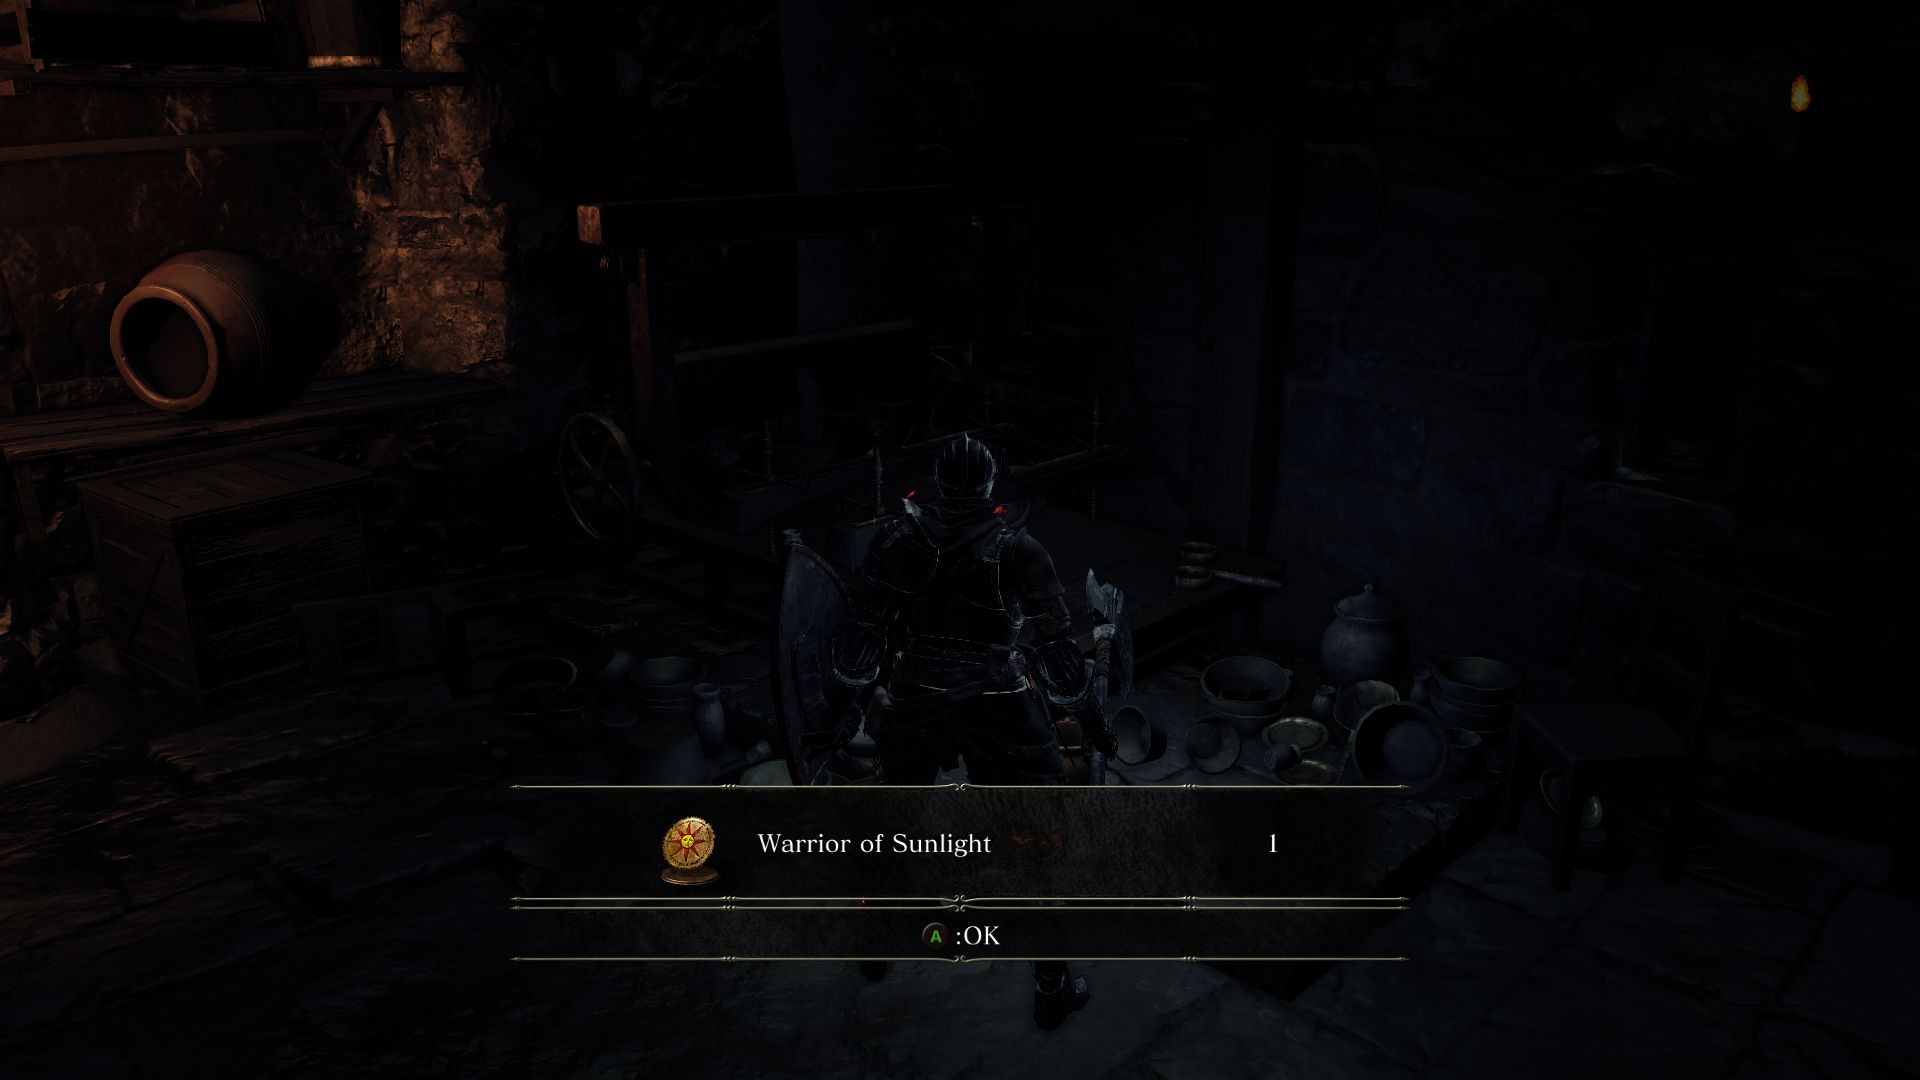
COVENANT WARRIOR OF SUNLIGHT: If you proceed down the stairs, you will find a door to the right that doesn’t open from this side. To enter this room, you have to go back up and find a hole in the floor to drop down onto the room.
Inside this room you will find the Warrior of Sunlight Covenant talisman and a pot of Estus Soup that heals you. You can use this Estus Soup pot every time you light bonfire. Open the door and exit the room.
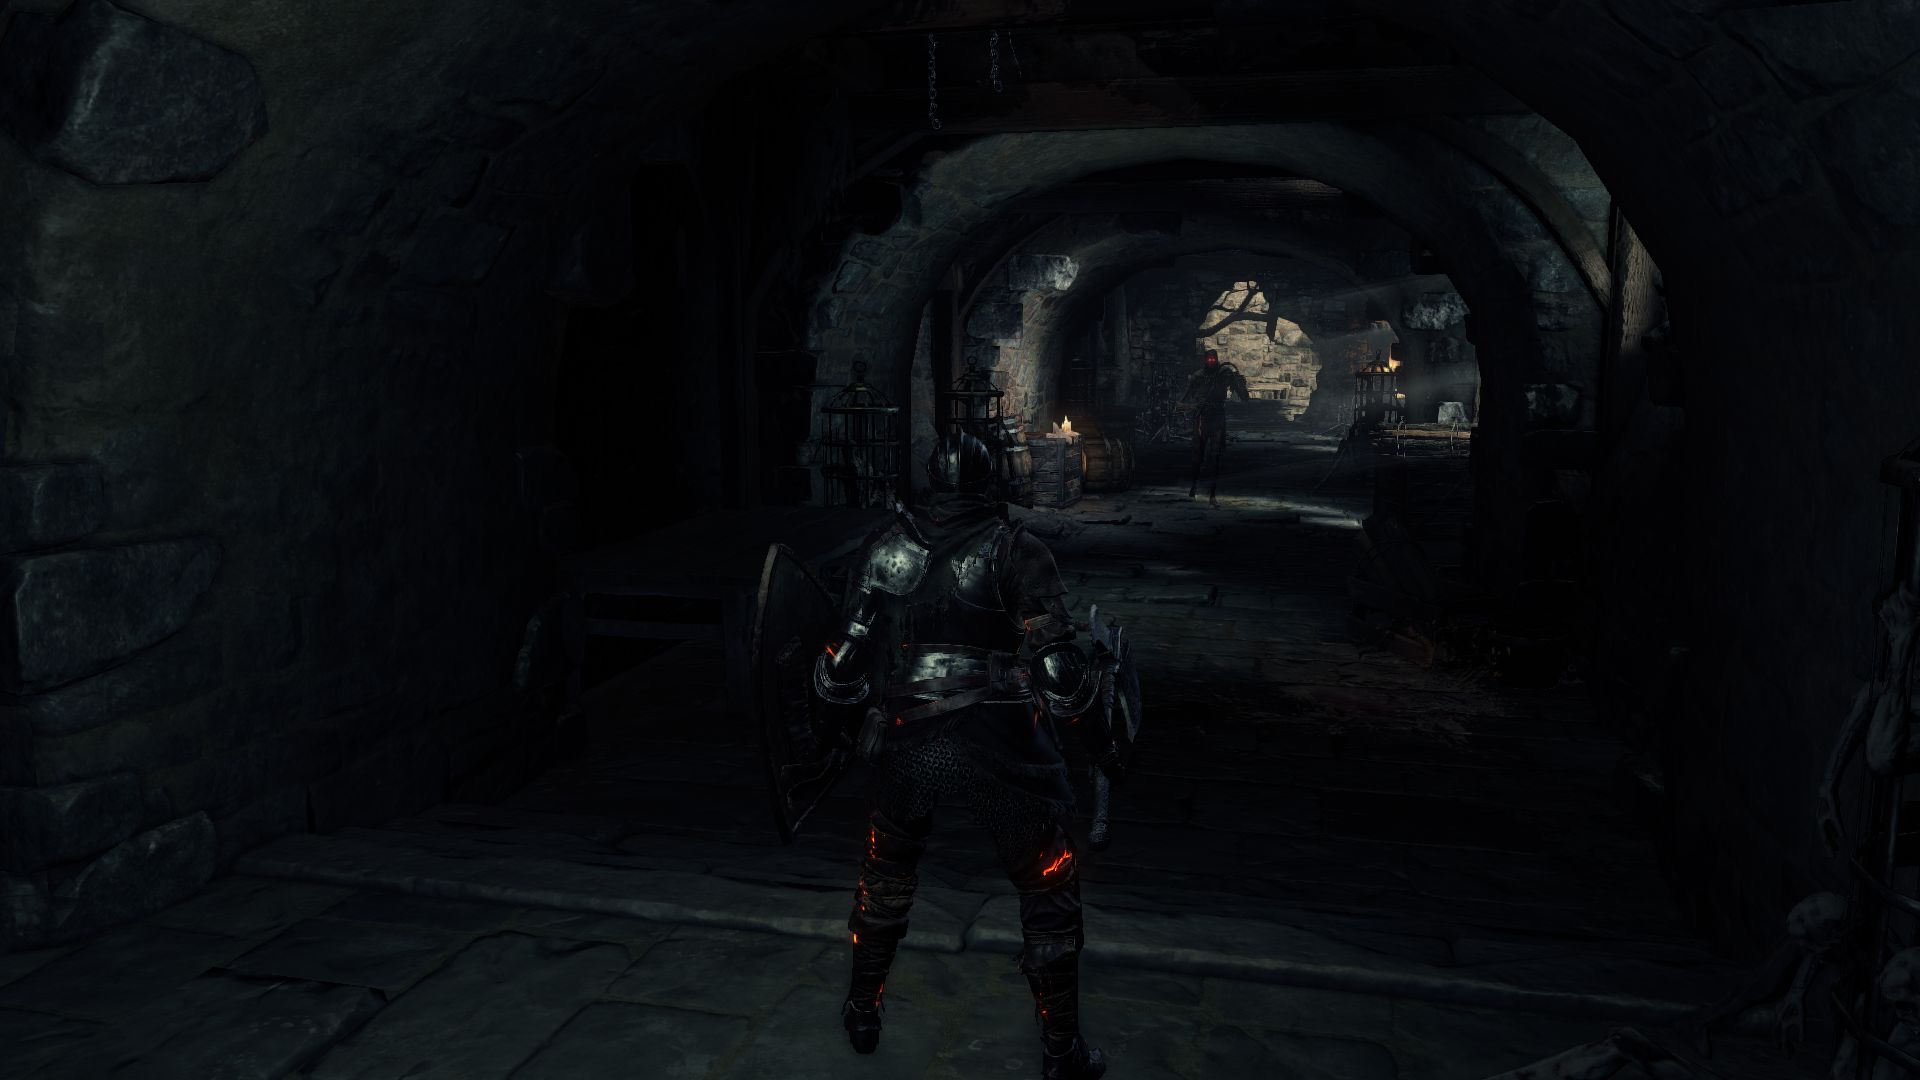
You will enter a hallway with more Corpse Piles. One Corpse Pile is close by in a corner and 2 more await down the hall. If you’re having difficulty identifying the Corpse Piles, you can try to lock on to them to find which ones are there to attack you. You will find a Red-Eyed Village Worker coming down the hallway. Make sure to block or dodge its sickle attacks as they can do quite a bit of damage. Kill the Red-Eyed Worker and the Corpse Piles and head outside.
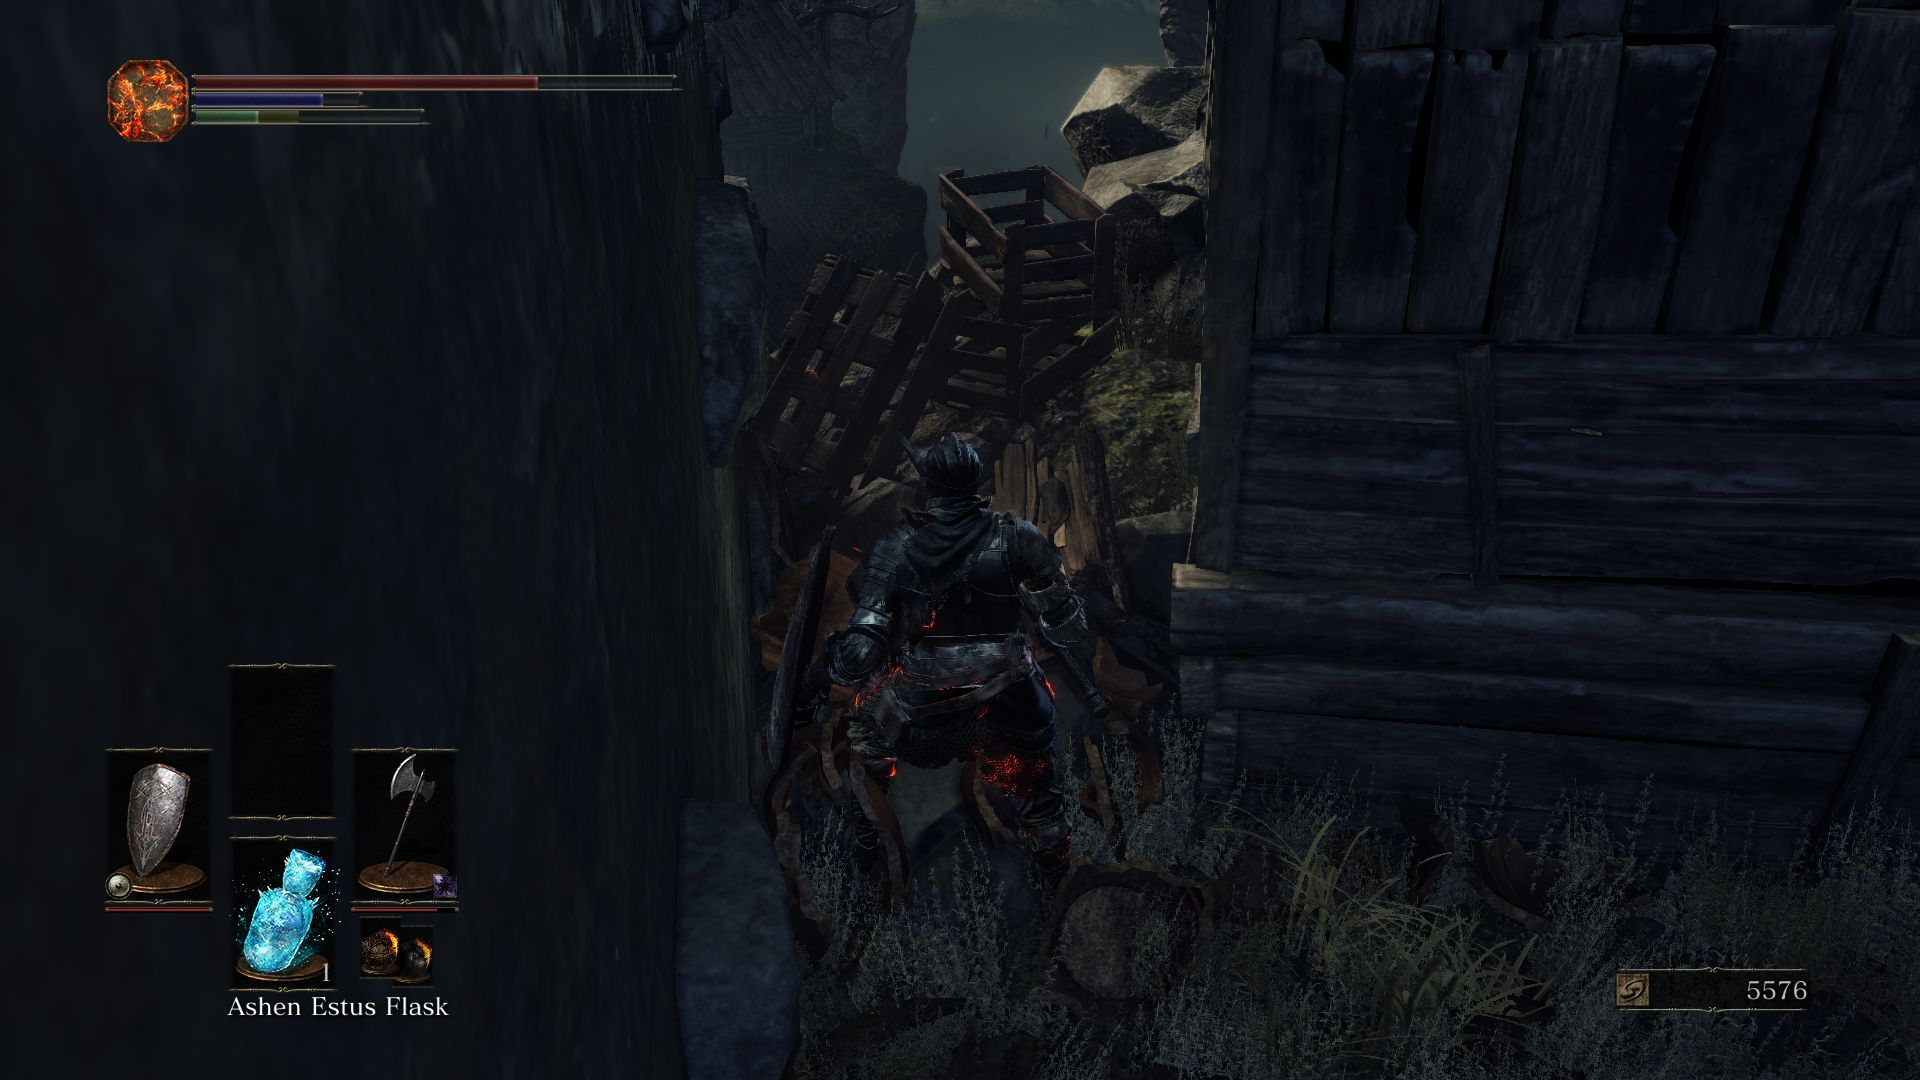
You’ll find yourself in a narrow alley with more enemies. Don’t make a mad dash here yet. Check the right side for some debris. You can clear these debris and walk onto a cliff to obtain a Soul of an Unknown Traveler.
Go back to the alley and take out the 2 Workers ahead of you. As you do, keep an eye on the Evangelist flinging curses at you from an overpass up ahead. You can avoid her spells by taking covers behind walls or inside a building. As you head towards her, you’ll see a villager emerge from a doorway to the left. Take out this villager and head inside the building to avoid the Evangelist’s spell. Inside the building you’ll face a Thrall. Kill it and loot the corpse to obtain a Whip.
Exit the building and head towards the overpass to find another worker, this one with a large hammer. You can lure it to the right side of the overpass out of the sight of the Evangelist. On this side, watch out for a narrow path that has a corpse at the end holding a Titanite Shard.
One thing to be wary of is that sometimes the Evangelist will fall down from the overpass and attack you down here. Otherwise, you can head to the other side of the overpass and climb the ladder to face her. The area is rather narrow, so it’s best not to fight her head on here. You can also use ranged weapons to attack her from below. After you kill her, loot the corpse on the overpass to find another Titanite Shard.
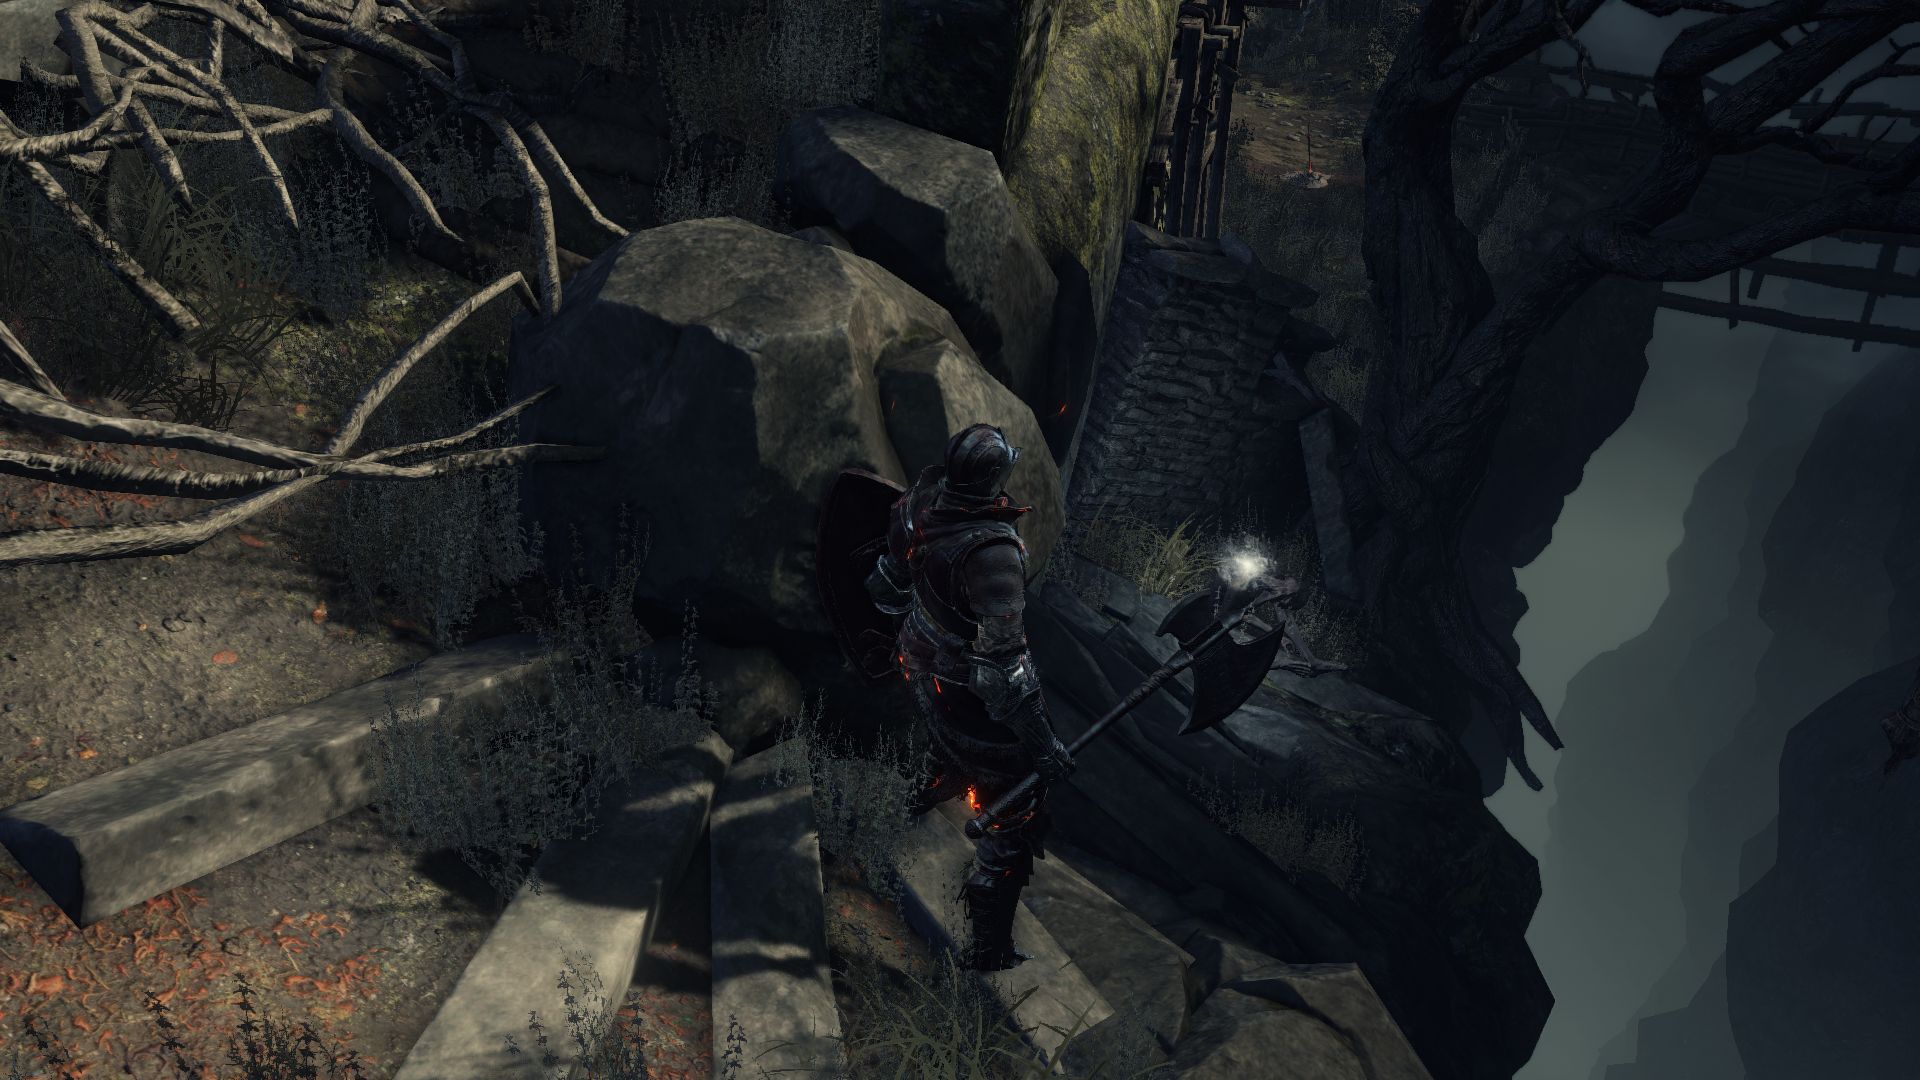
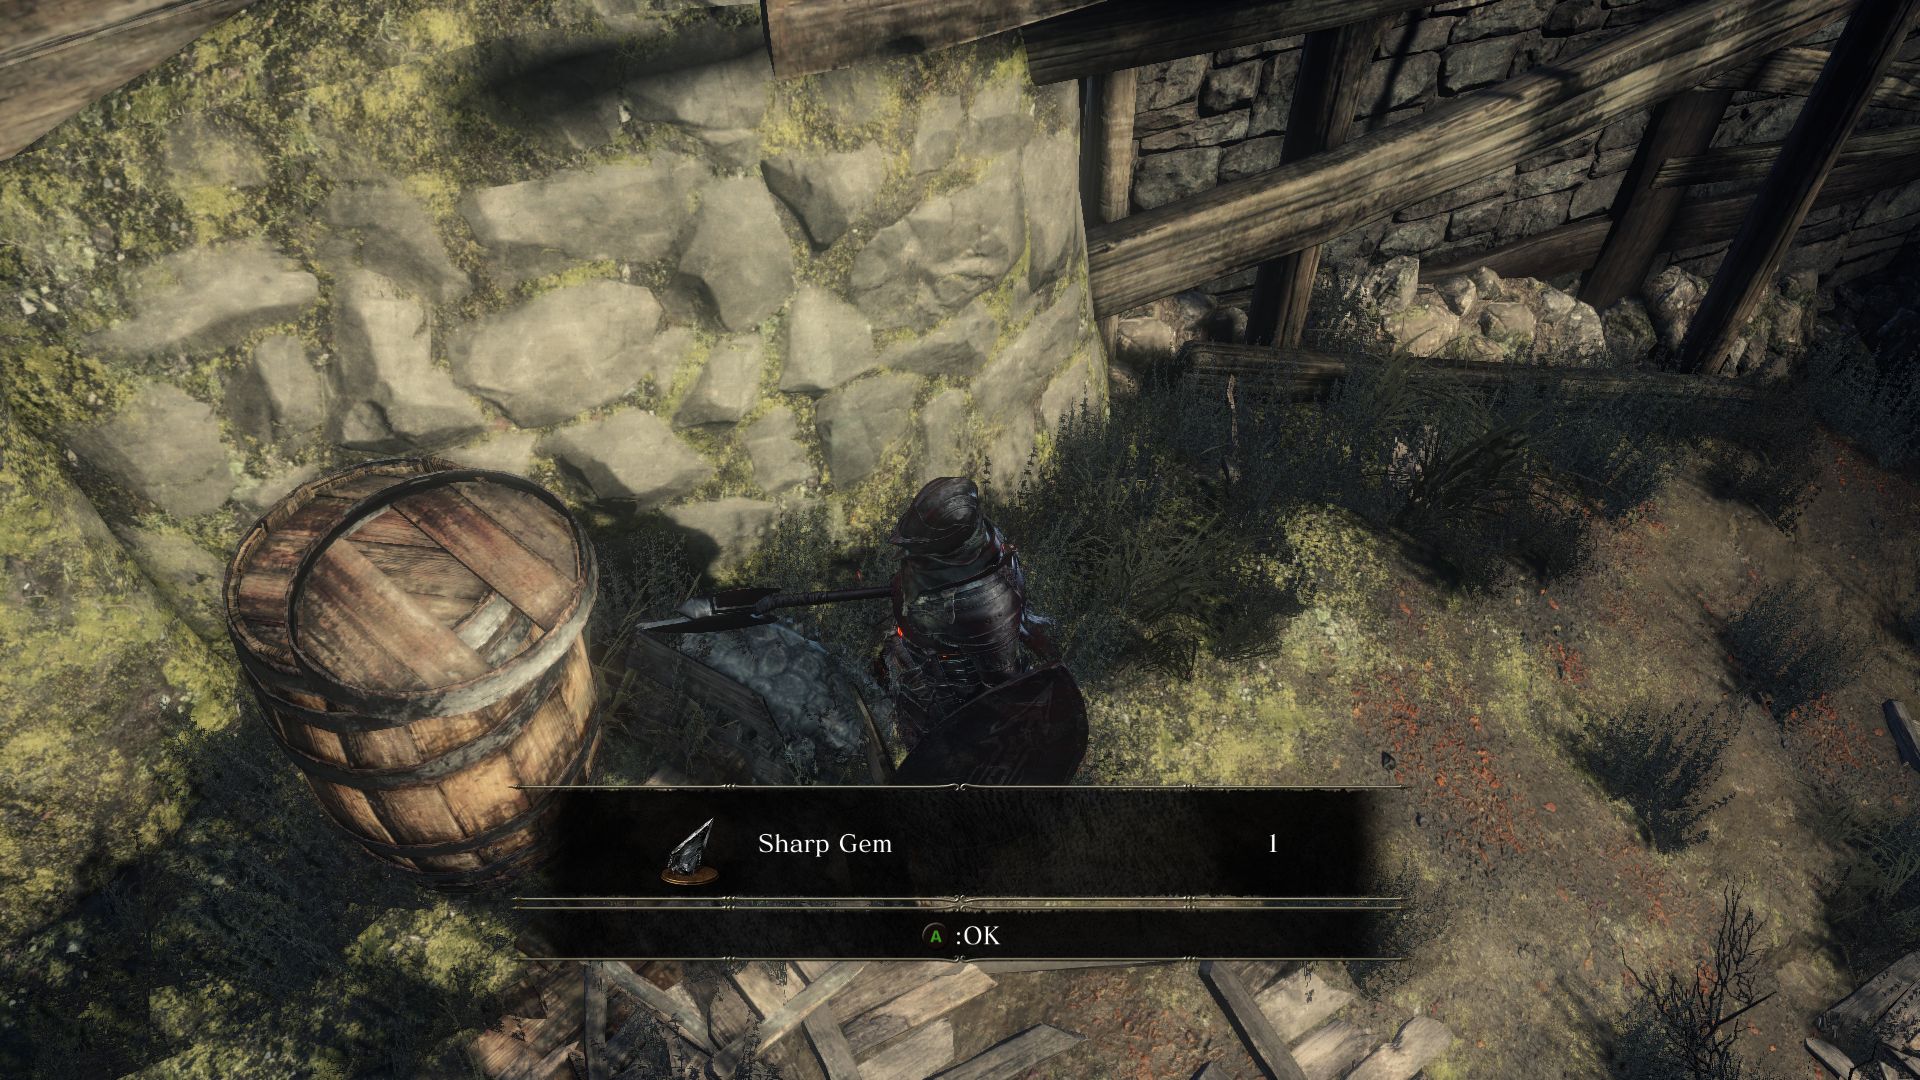
Run over the roof to the right side of the ladder and you’ll spot where the next bonfire is. A windowsill to the left has a corpse holding 2 Rusted Coins. You will also find a Crystal Lizard below it containing a Sharp Gem.
Don’t jump down here yet, go back inside the next building and prepare for a difficult fight if you are currently Ember-ed. Assuming you have used an Ember, as you head inside the next building, you will be notified that you are being invaded by mad dark spirit Holy Knight Hodric! This is an AI opponent who can prove to be a challenge. If you do not want to fight him yet, do not use an Ember before this (whether you are online or offline).

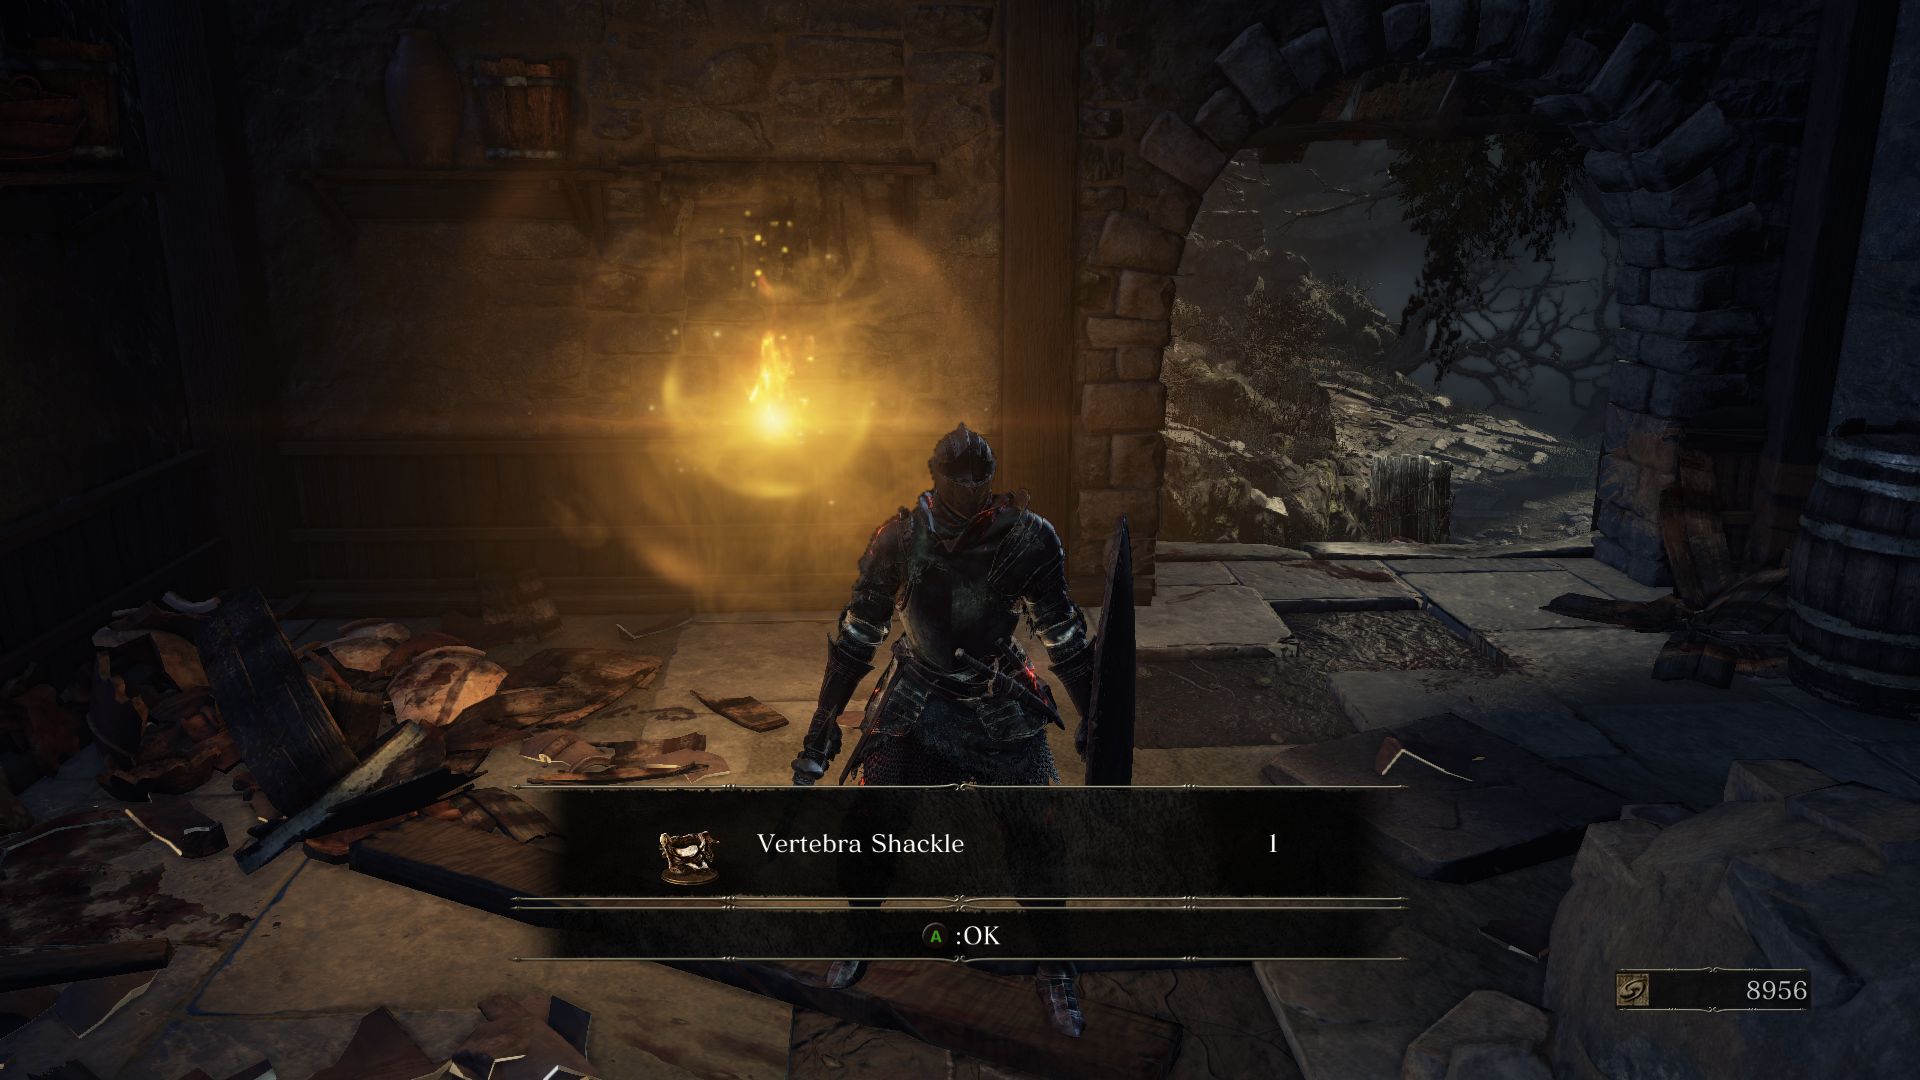
Hodric attacks hard and fast and can also heal himself. As he approaches you from the path up ahead try to dish in some damage with ranged attacks or spells. Don’t get hit by his weapon arts skill lunges. He’ll sometimes summon an orb to heal himself. Draw him away from it. Treat this fight like a mini-boss fight and take him out to obtain a Vertebra Shackle which is used by the Mound Makers Covenant.
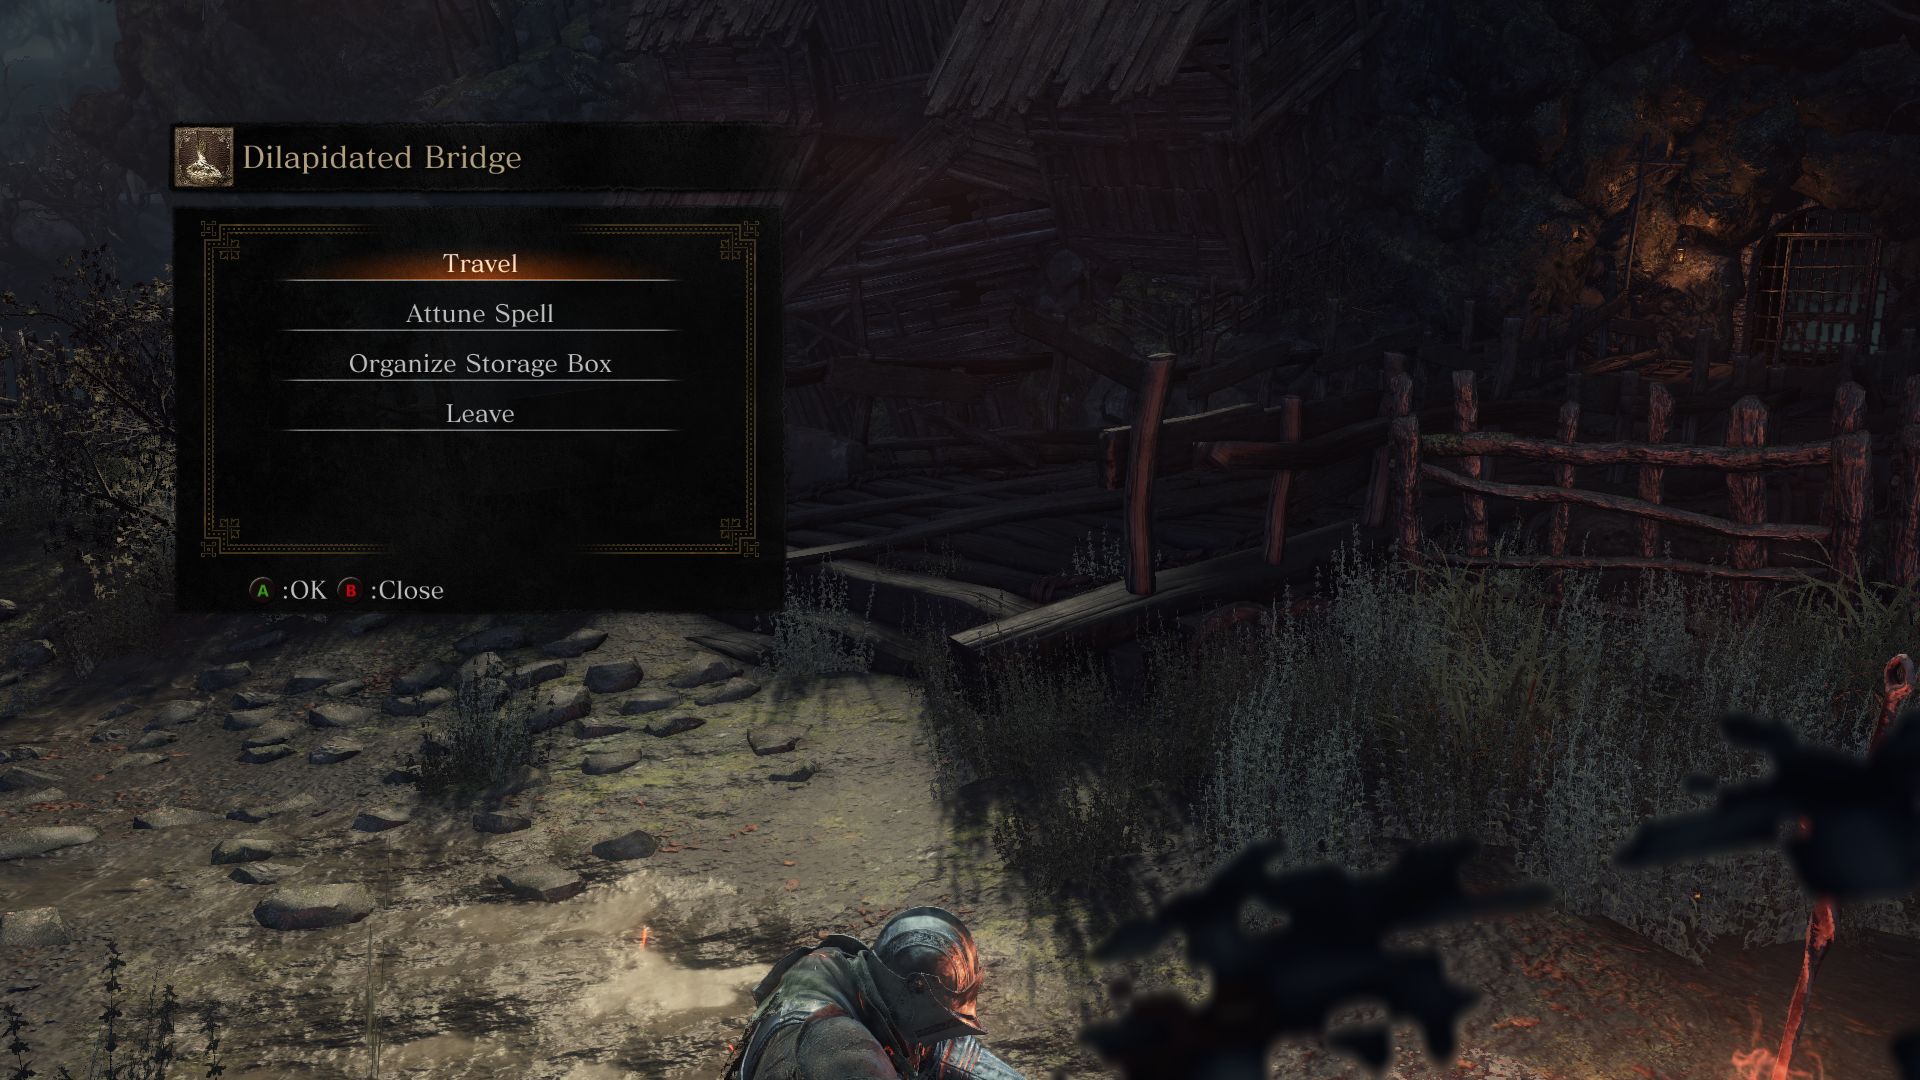
Before lighting the next bonfire you have to defeat another new enemy, the Butcher. He’ll charge at you with his huge sawblade and smash it on the ground, often multiple times. You can dodge this attack and land a quick few hits before backing away. You cannot backstab him and he’ll rarely get interrupted when he’s charging. After killing this Butcher loot the Rusted Coins from the windowsill and kill the Crystal Lizard before it disappears. Light the Dilapidated Bridge Bonfire and rest.
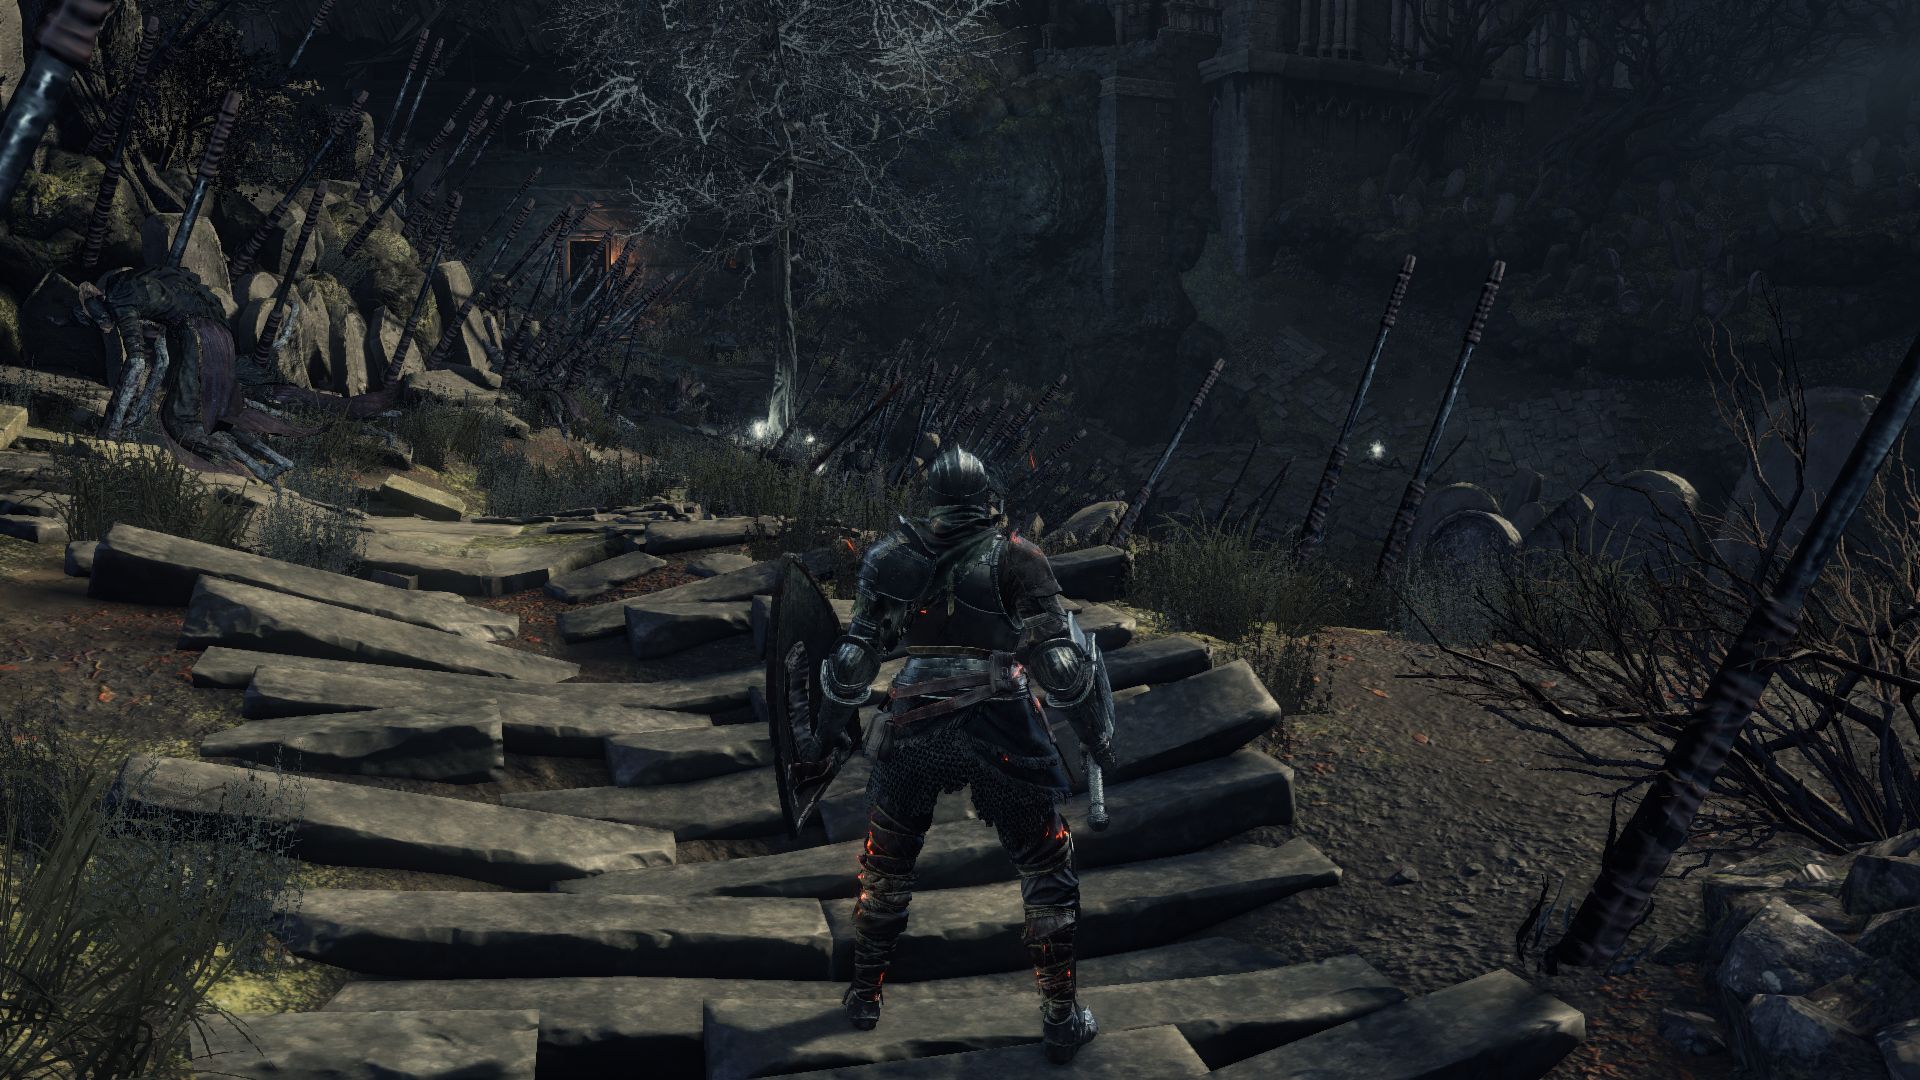
From here to the right side, you will see a door leading into a sewer that cannot be opened from here. The other path leading from the bonfire can be rather dangerous. If you approach this path through the archway you will see the ground riddled with massive spears sticking into the ground. You will notice two Village Workers coming towards you, but they will almost immediately be destroyed by a huge spear raining from the sky. This is the work of a huge giant archer (who you could actually spot on a tower if you looked hard enough from the Foot of the High Wall bonfire). You could try running past these huge arrows to try to get the loot up ahead, or you could find this giant and see if you can do something about that. To do that, we have to backtrack to the flaming tree pyre and take the path leading from the bridge.
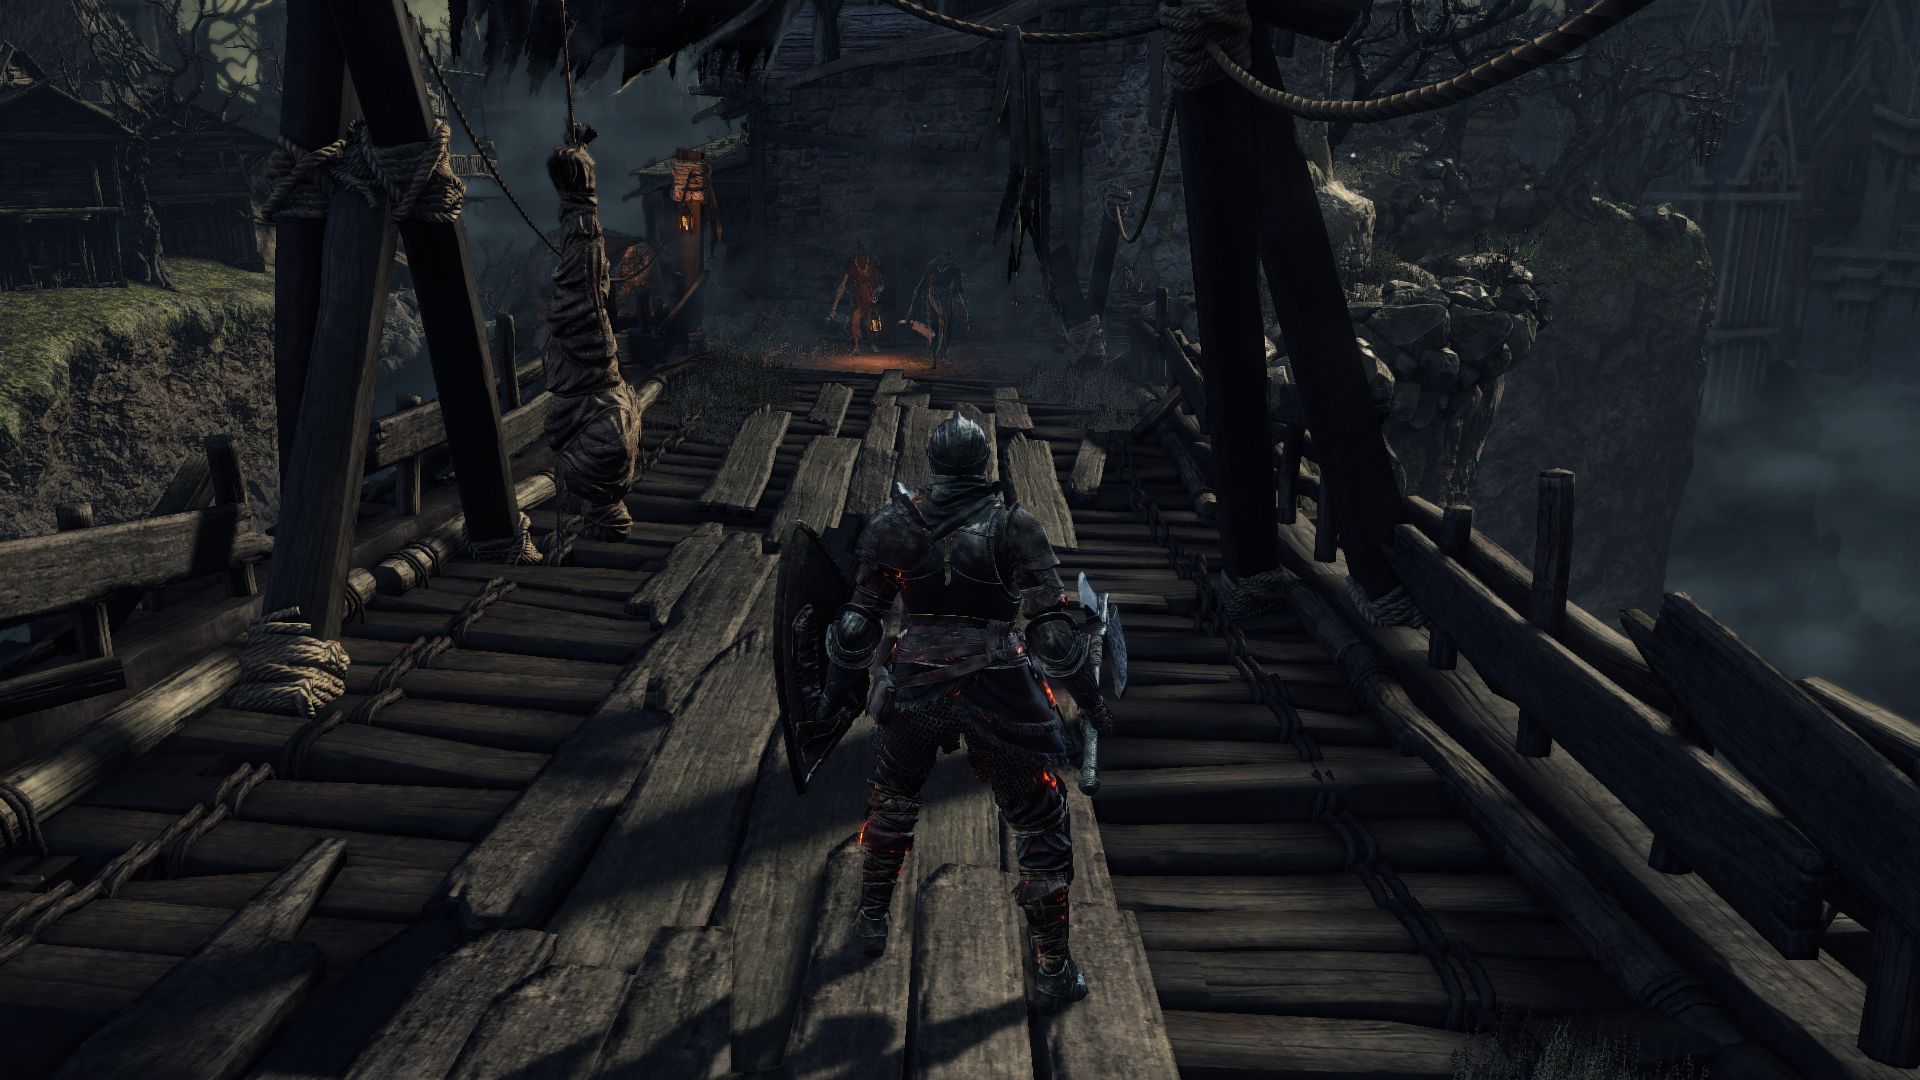
When you’re back on the bridge, you will notice a Village Worker patrolling the bridge and another Worker that comes out of the stable up ahead. Inside the stables you will find two more Workers lurking in the stalls to the right, and a corpse nearby holding a Large Soul of a Deserted Corpse.
Inside the next building you’ll find another Thrall, this one wielding a huge sword. He’s rather slow, so it’s easy to move around him to backstab. But if you get hit, you could start bleeding. Open the door after killing him and before you proceed look up. Another Thrall is waiting for you on the rooftop to jump on you.
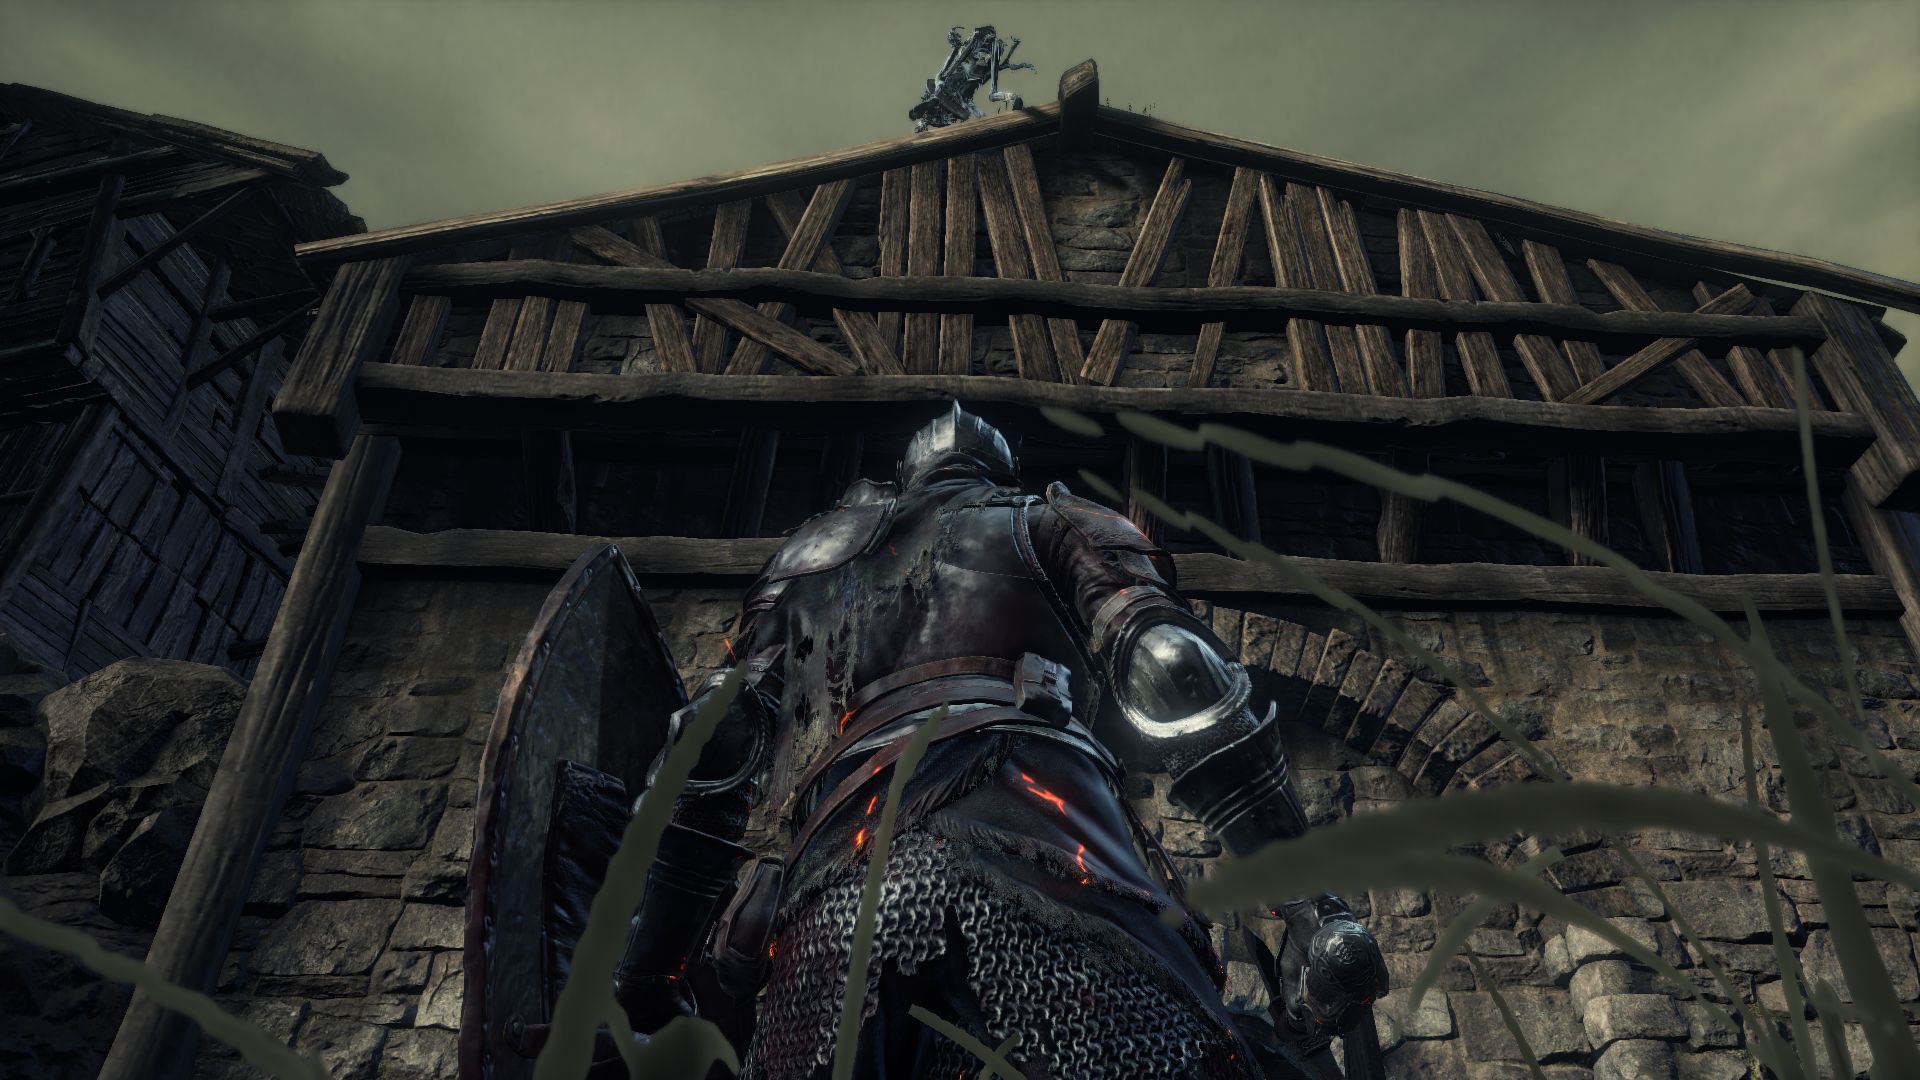
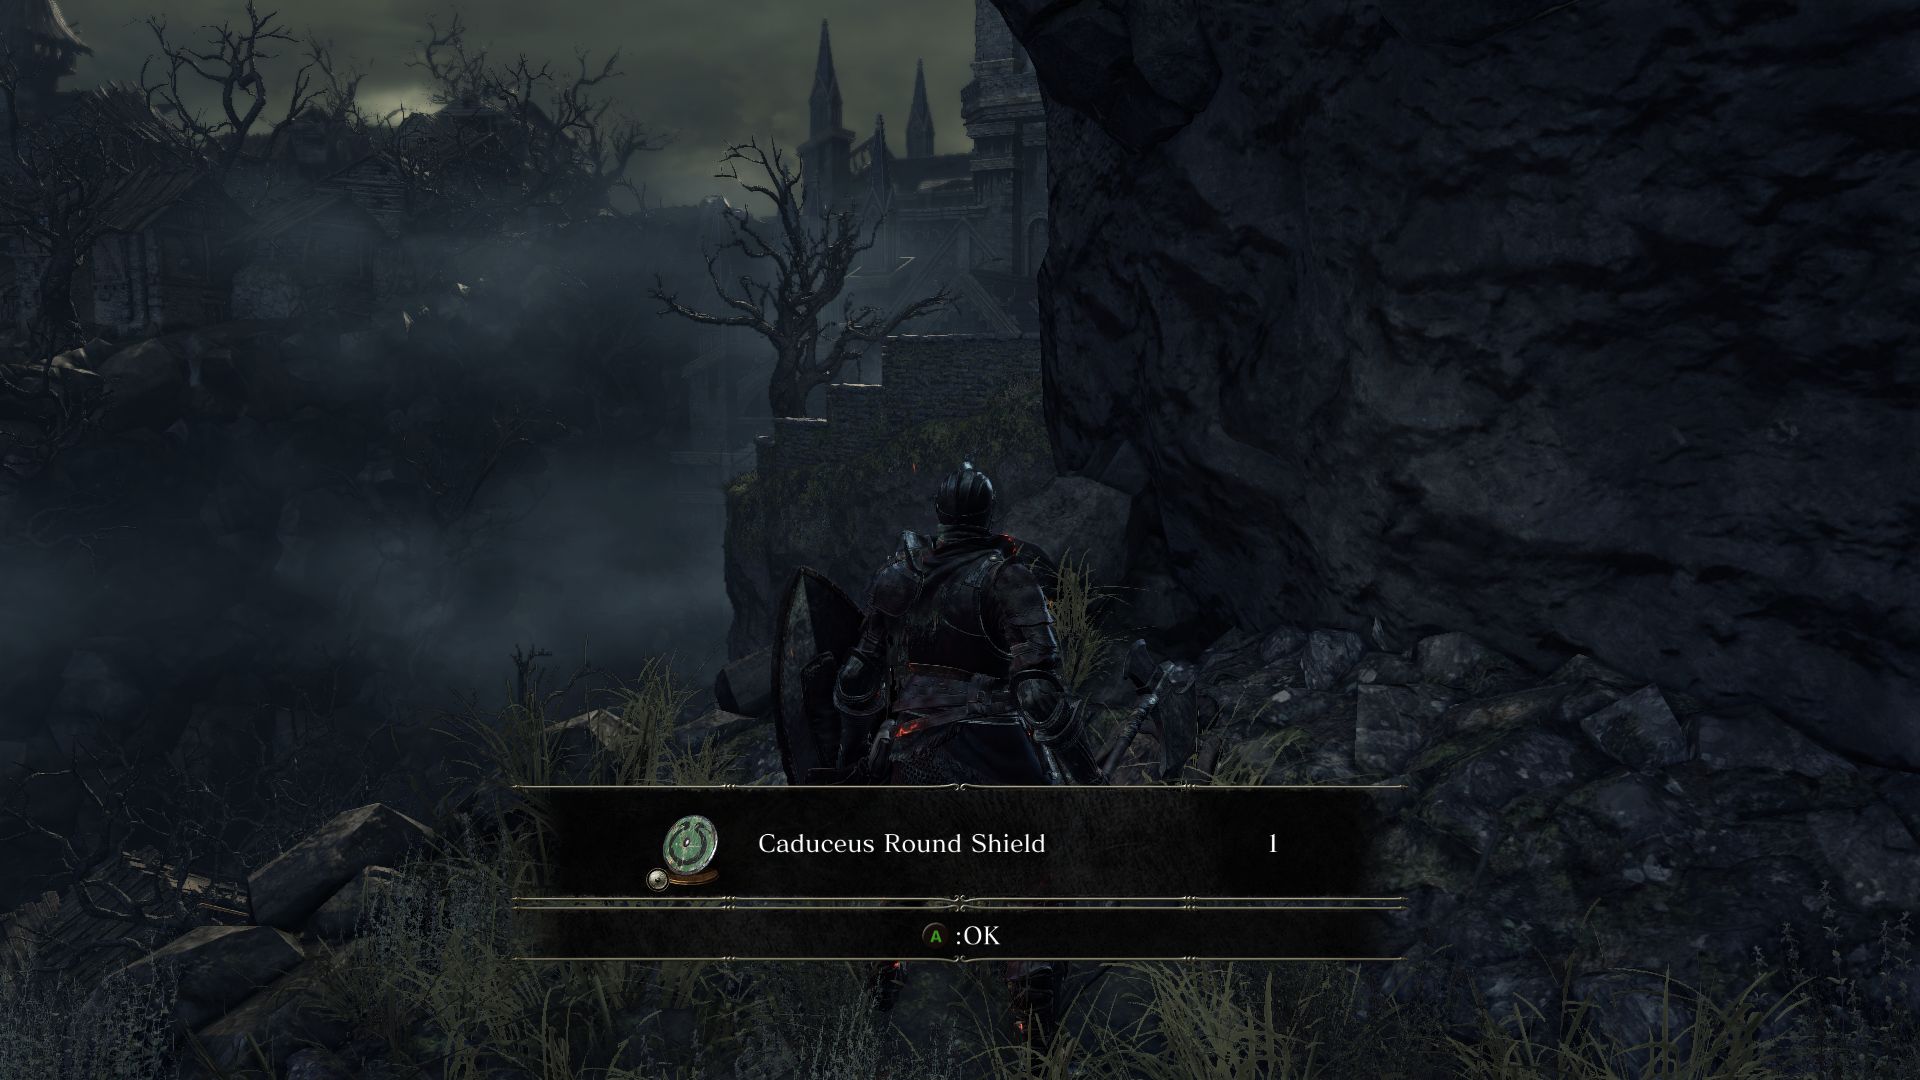
If he doesn’t land on you after drawing his attention, throw some ranged attacks at him to bring him down. Kill him and loot the nearby corpse to find a Caduceus Round Shield.
To get to the rooftop where the Thrall was you have to head back to the front of the stables. Look to the right side and you’ll find a narrow path on a cliff. This path is teeming with Thralls so be careful. Two Thralls are on the rooftops up ahead who will shoot blowdarts at you, but don’t go towards them just yet. Watch out for a Thrall lying in wait around a corner and then another one up ahead behind a building. A third Thrall will emerge from the right side. It’s best to lure the ground Thralls away from the ones on the rooftop and take them out one by one. After you kill the Thralls on the ground, don’t climb the ladder just yet. Look to the left on the low roofs to take out one Thrall. After you’ve killed that one, you can climb the ladder to kill the last one in this area. Now it’s time to get your loot.
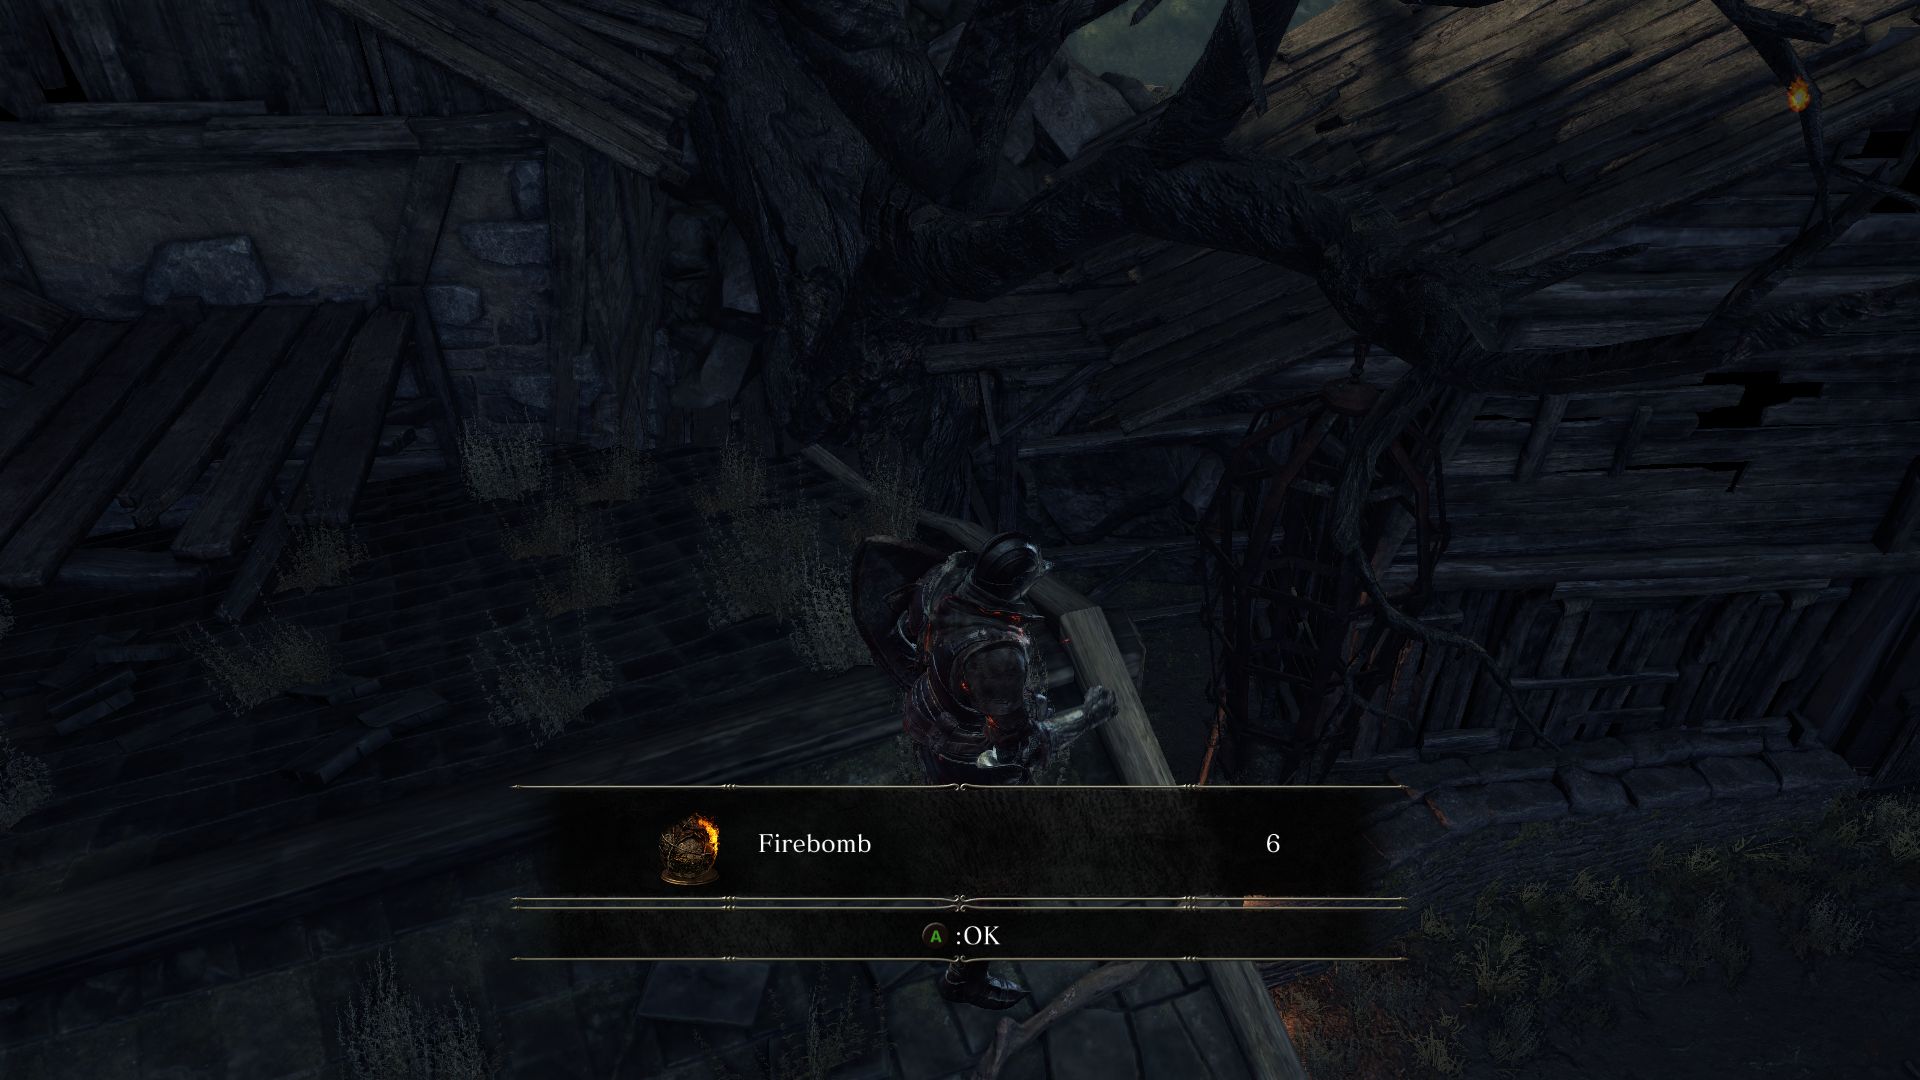
You’ll find a Fading Soul on the ground near the ladder. Go to the low roofs to the left to find 6 Firebombs. Take the small path between the houses to find a Plank Shield. Don’t be alarmed by the Corpse Pile here. It won’t attack you. It will say some cryptic things which probably don’t make sense. Move up to the roof to find 2 Homeward Bones.
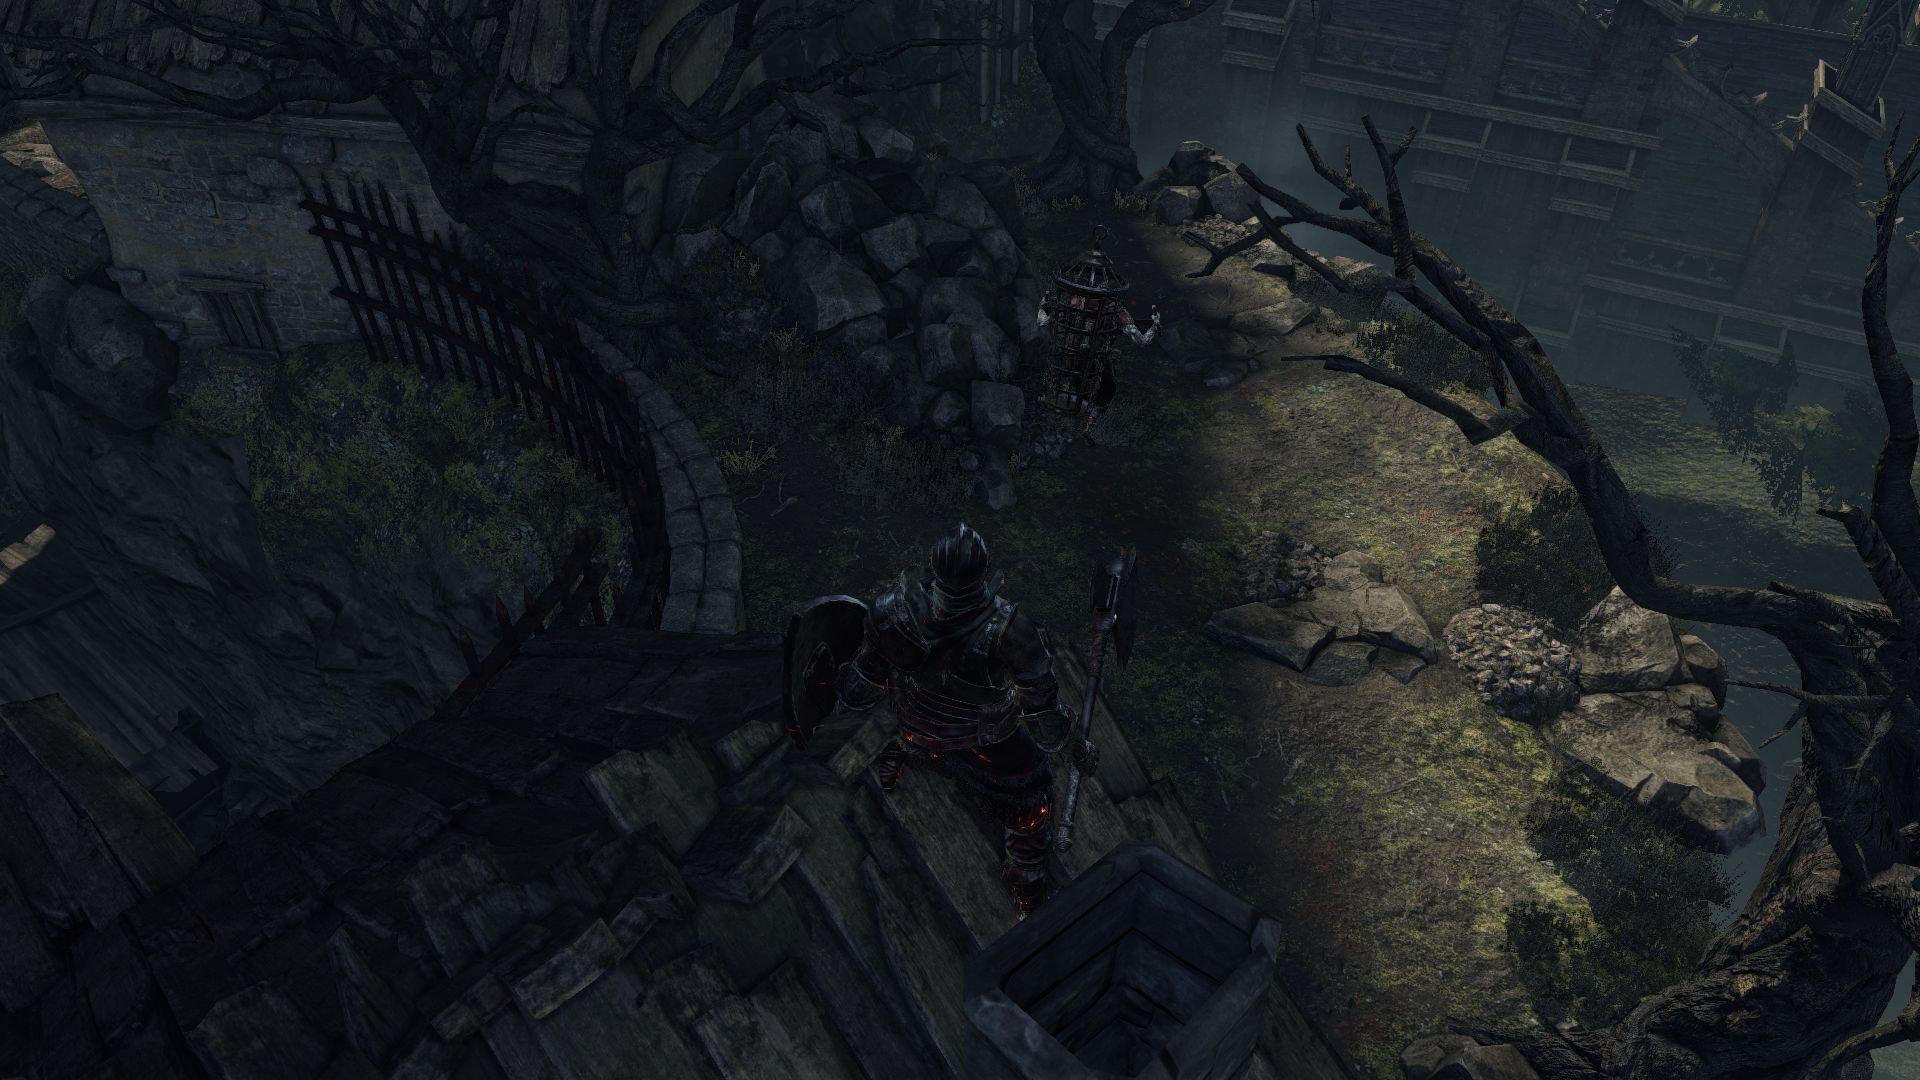
COVENANT MOUND MAKERS: While you’re on the rooftops, look towards the side with the cathedral. You will notice a small area with a patrolling Butcher with a cage on its back. If you had paid attention to the friendly Corpse Pile you would have heard “come into the cage.” This is what they were referring to. This Butcher is friendly and won’t attack you. If you jump down and stand behind him, you can interact with him to enter the cage. He will then take you a large pit. But do not hop onto the cage just yet. At the end of this small area you will find a corpse which you can cut down to obtain a Flame Stoneplate Ring.
Now the next part mentioned here only works if you haven’t already defeated the boss in this area yet. So if you want to be able to join the Mound Makers Covenant, do this part BEFORE you kill the boss.
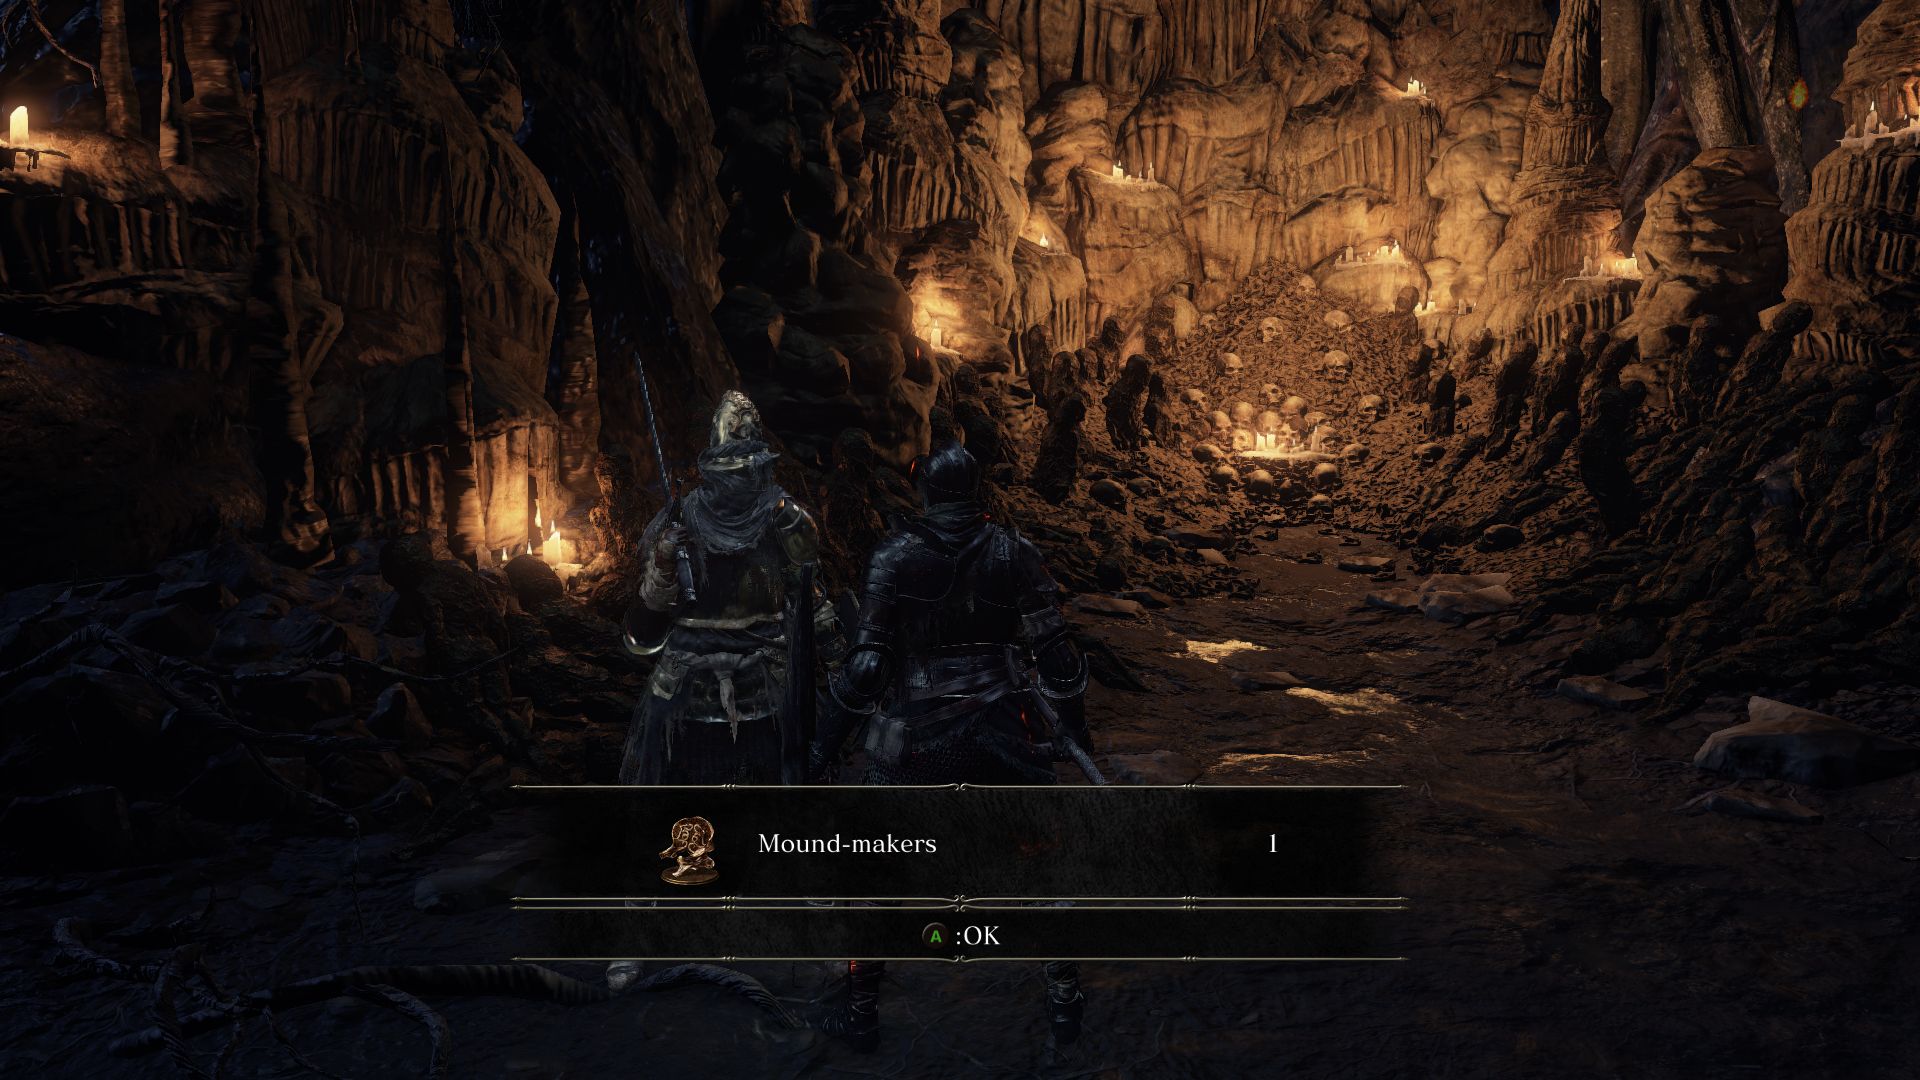
After you hope onto the cage of the butcher, you will see a cutscene and find yourself in a pit. At the other side, you will find Hodrick, the same man who had invaded earlier. He will offer you to join the Covenant, Mound Makers. You will find a shrine here where you can offer Vertebra Shackle, which are obtained by killing invaders.
Look nearby to loot a corpse containing a Wargod Wooden Shield. You can look around, but there’s no way out. So you have to use a Homeward Bone to escape this area. If you don’t have one, you can talk to Hodrick and he’ll give you one. If you have already defeated the boss, you cannot join this Covenant at this time anymore and have to wait until later.
After you’ve escaped the pit using the Homeward Bone, let’s get back on the trail we were one (this would be where you had initially obtained the Caduceus Round Shield. You will find a small bridge leading to more Workers tossing Firebombs at you. Instead of trying to approach them head on, look to the right over the bridge.
You will notice a narrow path below with a Worker that you can drop on. Avoid the firebombs raining on you from above while you try to drop down. Kill the Worker in the path below and enter the building to find the Cliff Underside Bonfire. Head back out into the path to clear the Hollows and loot a Titanite Shard. Be wary because the Workers from above will still be trying to toss firebombs at your way.
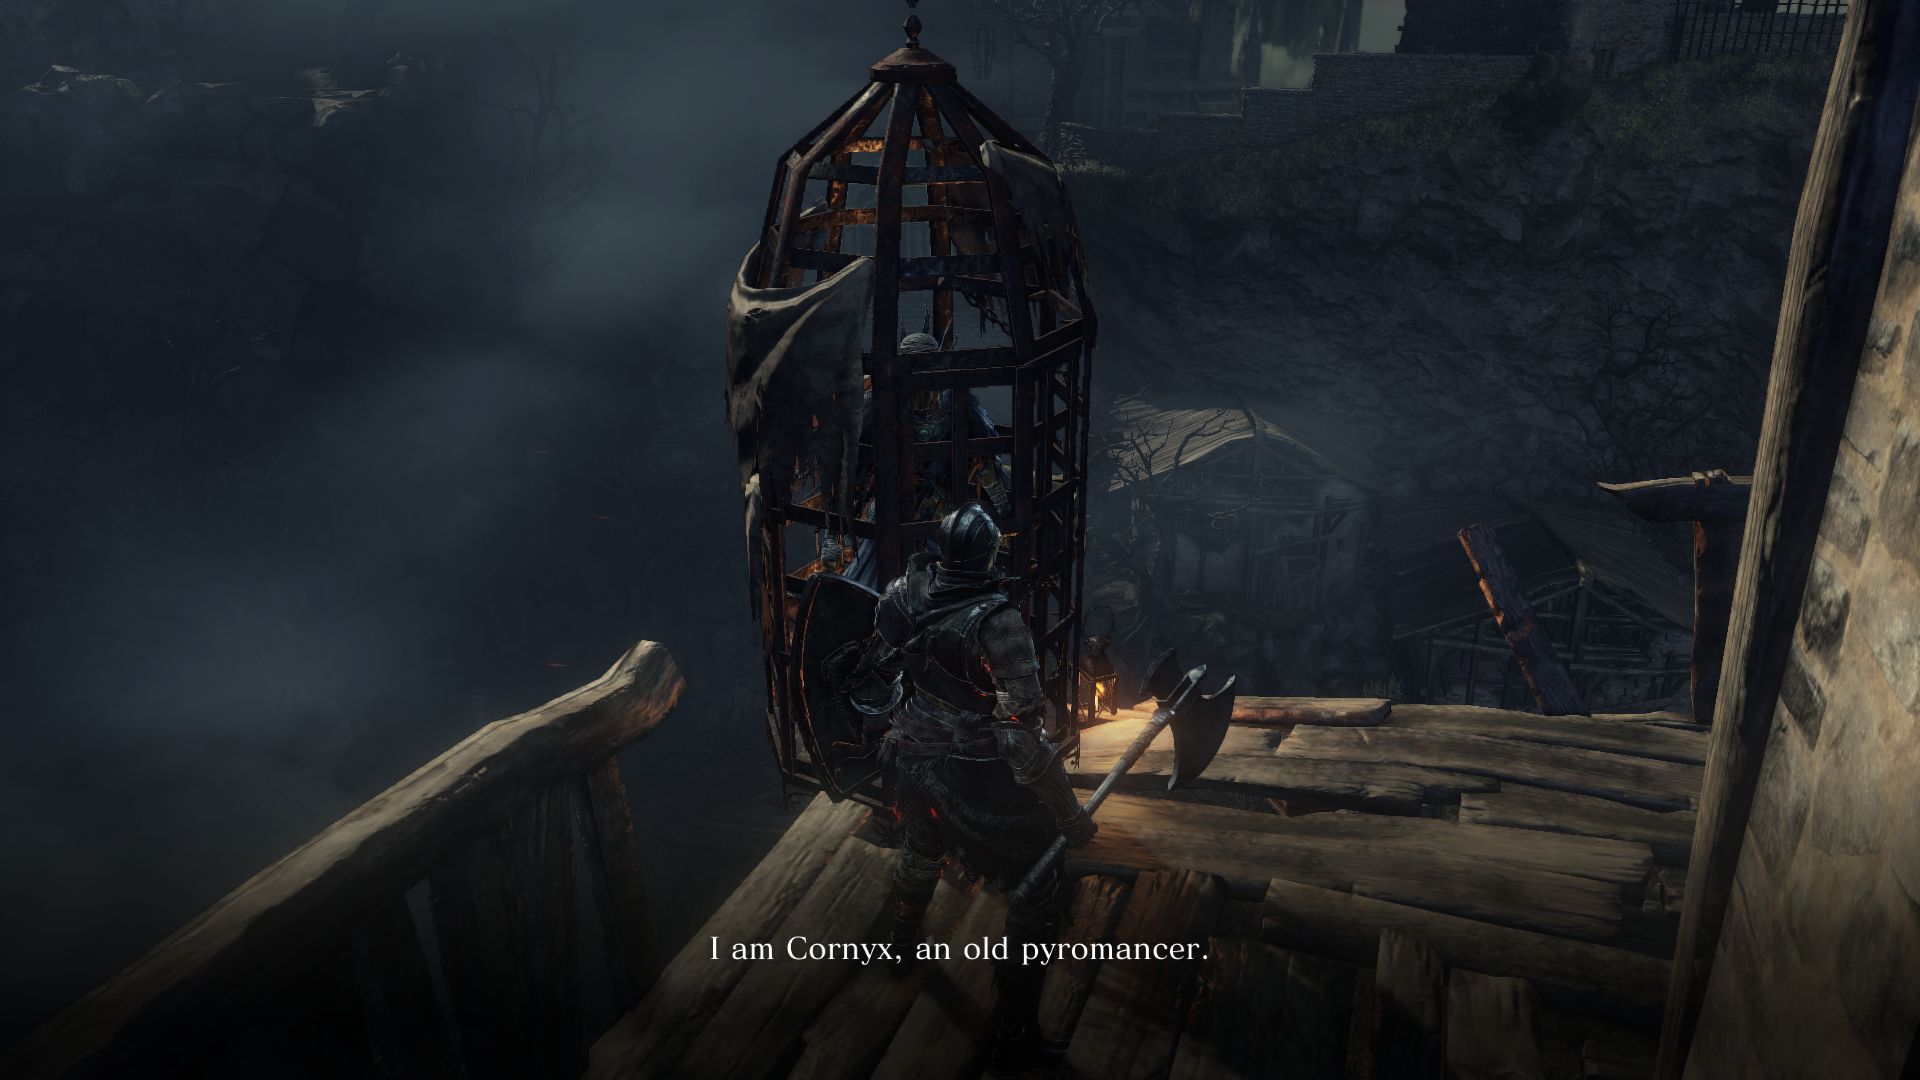
RECRUITING CORNYX: Exit the building with the bonfire and you’ll come onto a rooftop where you will find the firebomb carrying workers up ahead. Before you approach them, snipe down the dangling corpse to find a Partizan. You can charge and kill the workers before they can react. After you kill them, go around the corner of the building to find an NPC inside a cage. This is Cornyx of the Great Swamp, a Pyromancer. He will teach you the art of Pyromancy at the Firelink Shrine. If you talk to him there, he’ll give you a Pyromancy Flame and sell you spells and armor. He will also give you the Welcome Emote if you talk to him.
Before you drop down to ground level, make sure to loot the corpse nearby for a Hand Axe. Up ahead you’ll find another Butcher, and you’ll be seeing these guys a lot more. This one can be taken out easily if you can lure him to the explosive barrels (if the Workers haven’t exploded them already) and toss a firebomb at the barrels.
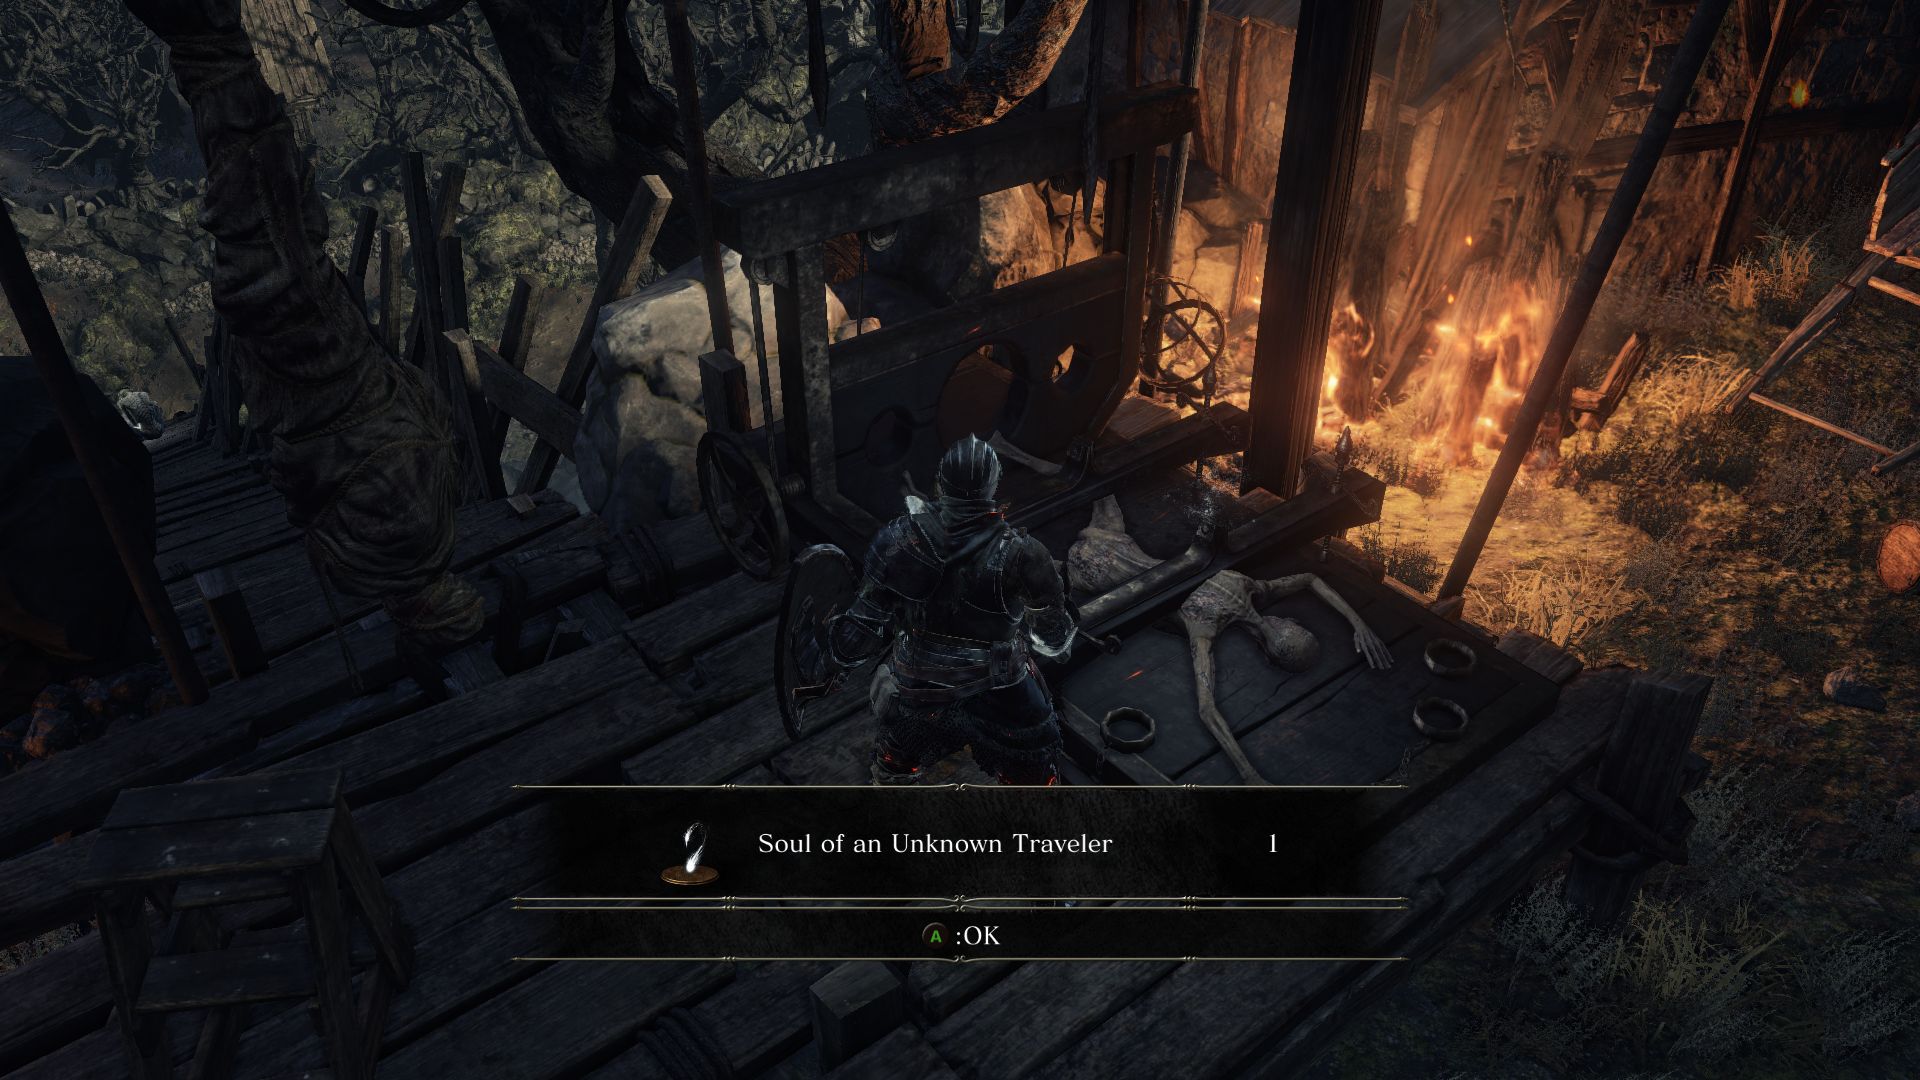
Look around and you’ll find a corpse on a torture device nearby. Loot it for a Soul of an Unknown Traveler.
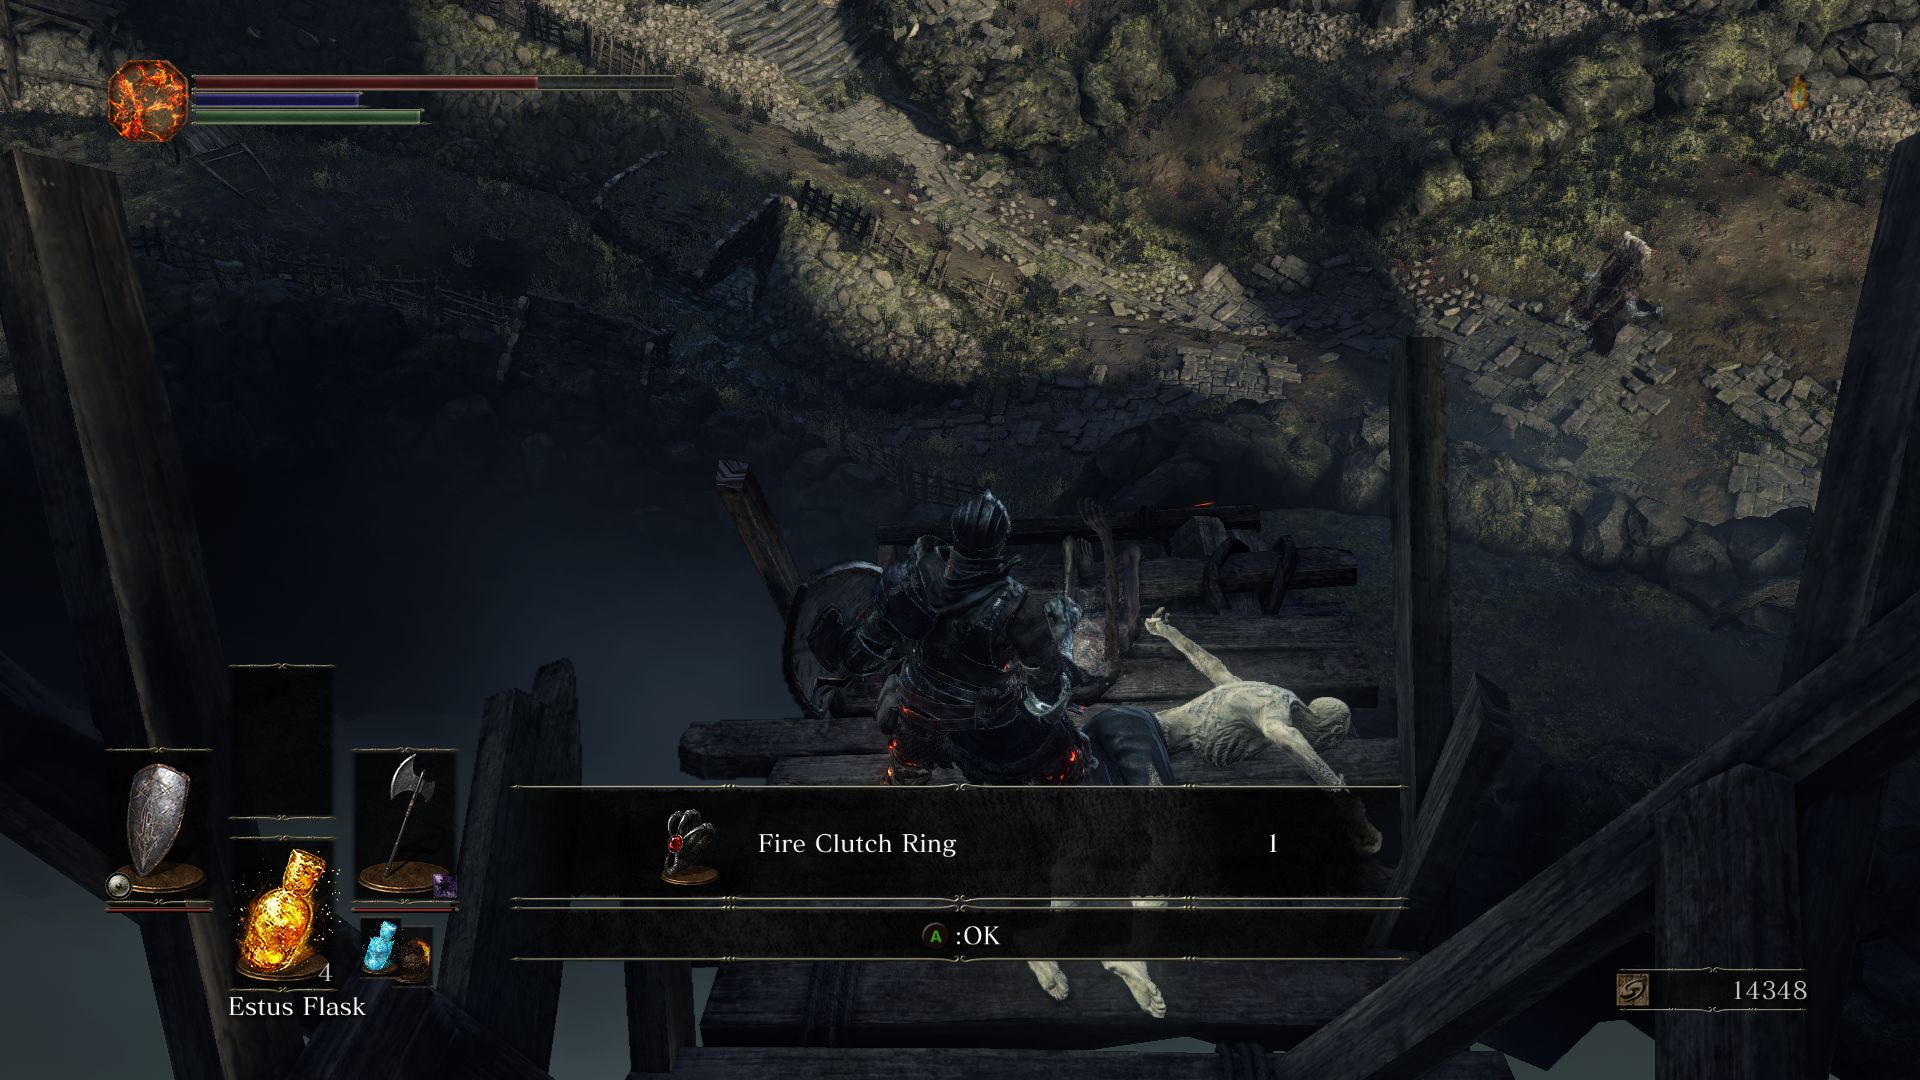
Just behind the torture device you’ll find a hollow mourning over a corpse. Kill the hollow and loot the corpse to find a Fire Clutch Ring.
Proceed down the stairs and kill the Hollows sitting on the ground for some free souls. Before you descend the last set of stairs, turn left to the other side of the building to loot a corpse holding a Large Soul of a Deserted Corpse. Be prepared to fend off the Thrall that emerges from the cliff below.
Now observe the area ahead and plan your attack. You will see a few Village Workers, a couple of Bone Hounds and a patrolling Evangelist. Obviously you don’t want to fight them all at once. So try to lure them one by one. You could use ranged attacks, spells, throwing knives, or alluring skulls to draw out the enemies. Check nearby for a corpse holding an Ember behind a tree.
Beyond the staircase where the Evangelist is patrolling is the boss fight of this area. But we won’t go there yet since there are lots more to explore in this area, in particular, we want to befriend a giant archer. Also, if you want to create a shortcut between the paths, you will want to head into the sewers to the right side of this area from where you entered, close to a bridge. Don’t cross the bridge yet.
Inside, descend down a ladder to find a few small rats. Loot a nearby corpse for a Caestus. If you keep walking along the sewer you will see a thick mist up ahead. 2 small rats and a large rat awaits inside. They are easy to strike down but don’t let them overwhelm you. The large rat will reward you with a Bloodbite Ring. You will notice a door to the left that won’t open yet and another door to the right that brings you back to Dilapidated Bridge Bonfire. You will be using this route later on when you are ready to fight the boss.
Now that you’ve established a shortcut from the bonfire to the boss fight, let’s head back down the sewer. If you’ve rested at the bonfire, the rats will be up again. Go back to the bridge on the right as you exit the sewer. This area may be a bit difficult to traverse, namely because of the three Butchers waiting up ahead.
The Butcher to the far right is not a threat yet, but the ones closest to you will attack you at once. They will charge at you and start rampaging in front of them with their bowls. One thing you can try is to lure one away from the other while he is smashing the ground so that you can take on it by itself. It will require patience and some good maneuvering. At the start of the fight, you could try kick them into the pit, but it’s very risky. After you’ve killed them both, loot the Ember on the bridge. You don’t have to engage the Butcher to the far right. You can sneak along the building behind the butcher to find a Large Soul of a Deserted Corpse. Go around the house and you’ll find a couple of Bone Hounds. Take them out and loot the corpse holding 3 Alluring Skull.
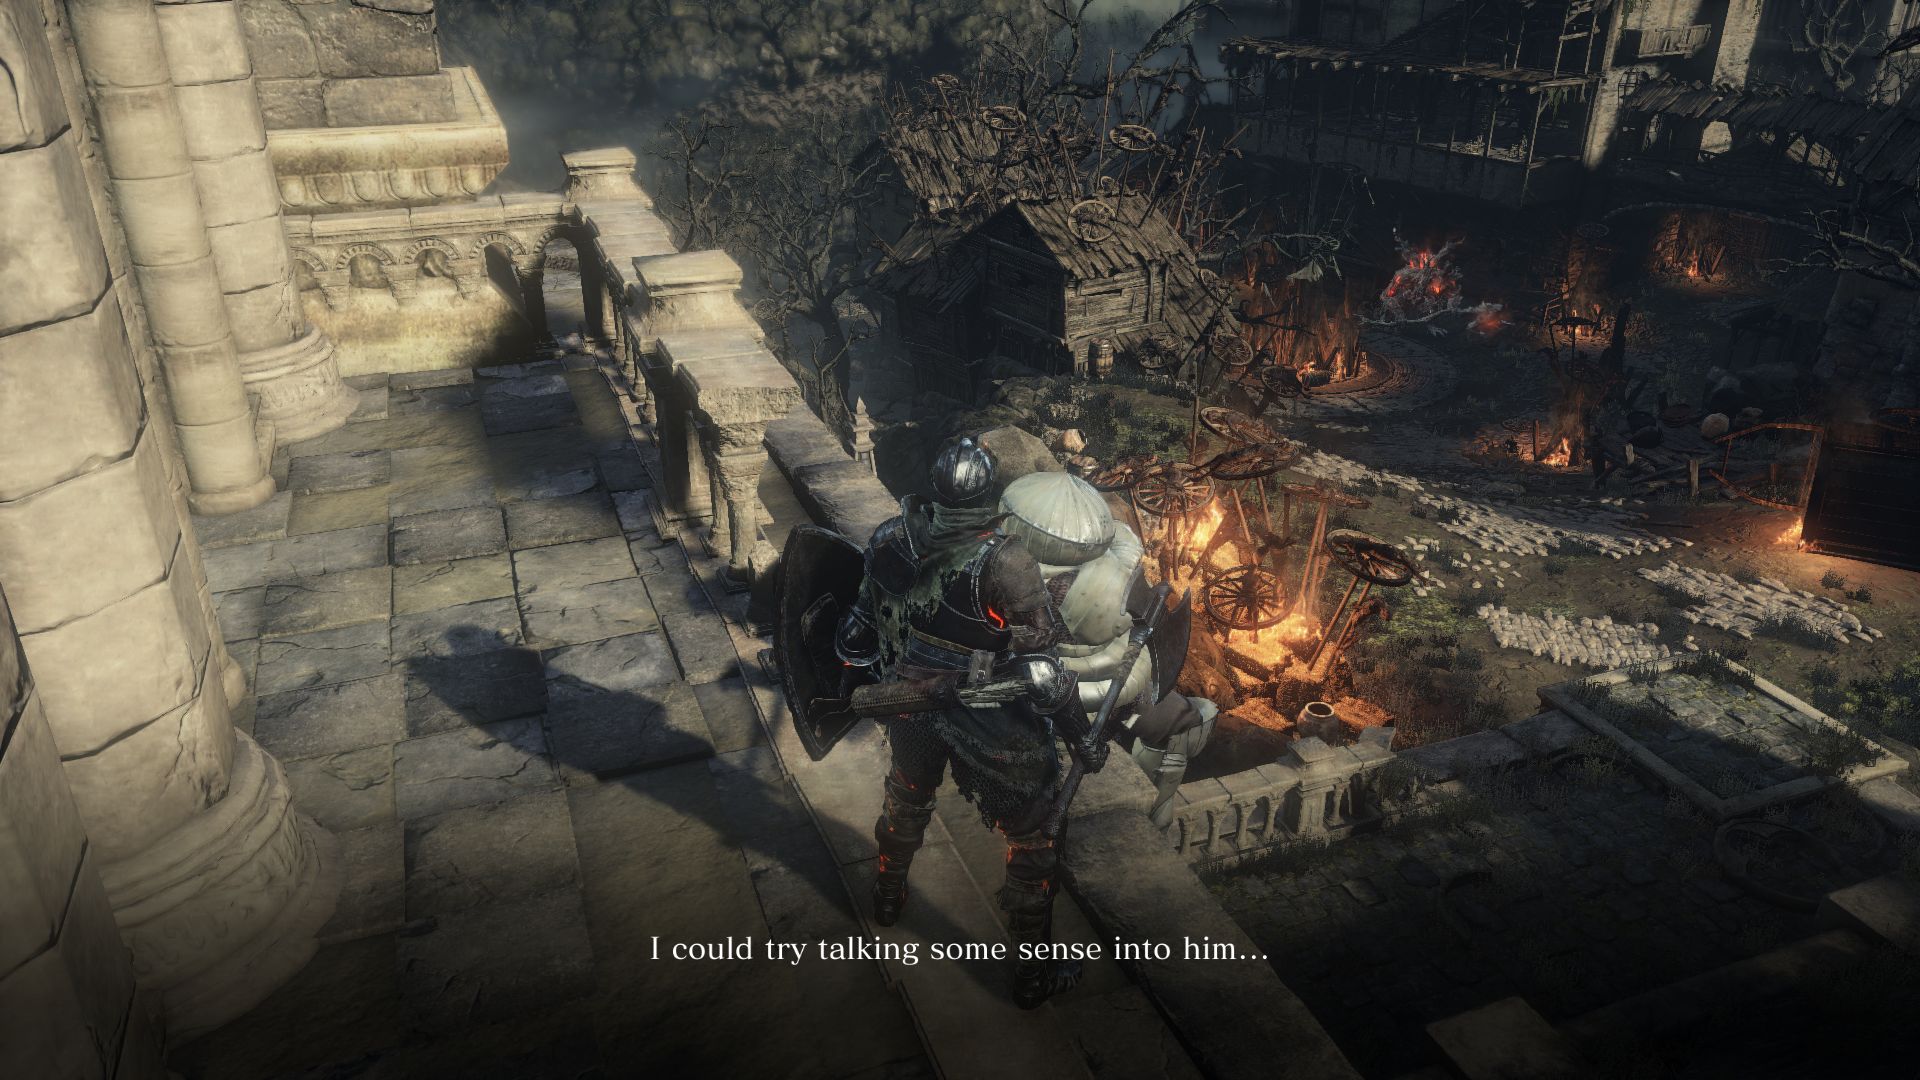
Go back to the front of the house and continue up the path to find an armored NPC with a giant hammer. He won’t attack you, and you can talk to him. This is Eygon of Carim, who is guarding a cell to his left. You can’t open the door, but there is a way to get around. Eygon will goad you into jumping to the pit below behind him, but there’s an easier way. Our path for now is to talk to the giant archer raining large arrows.
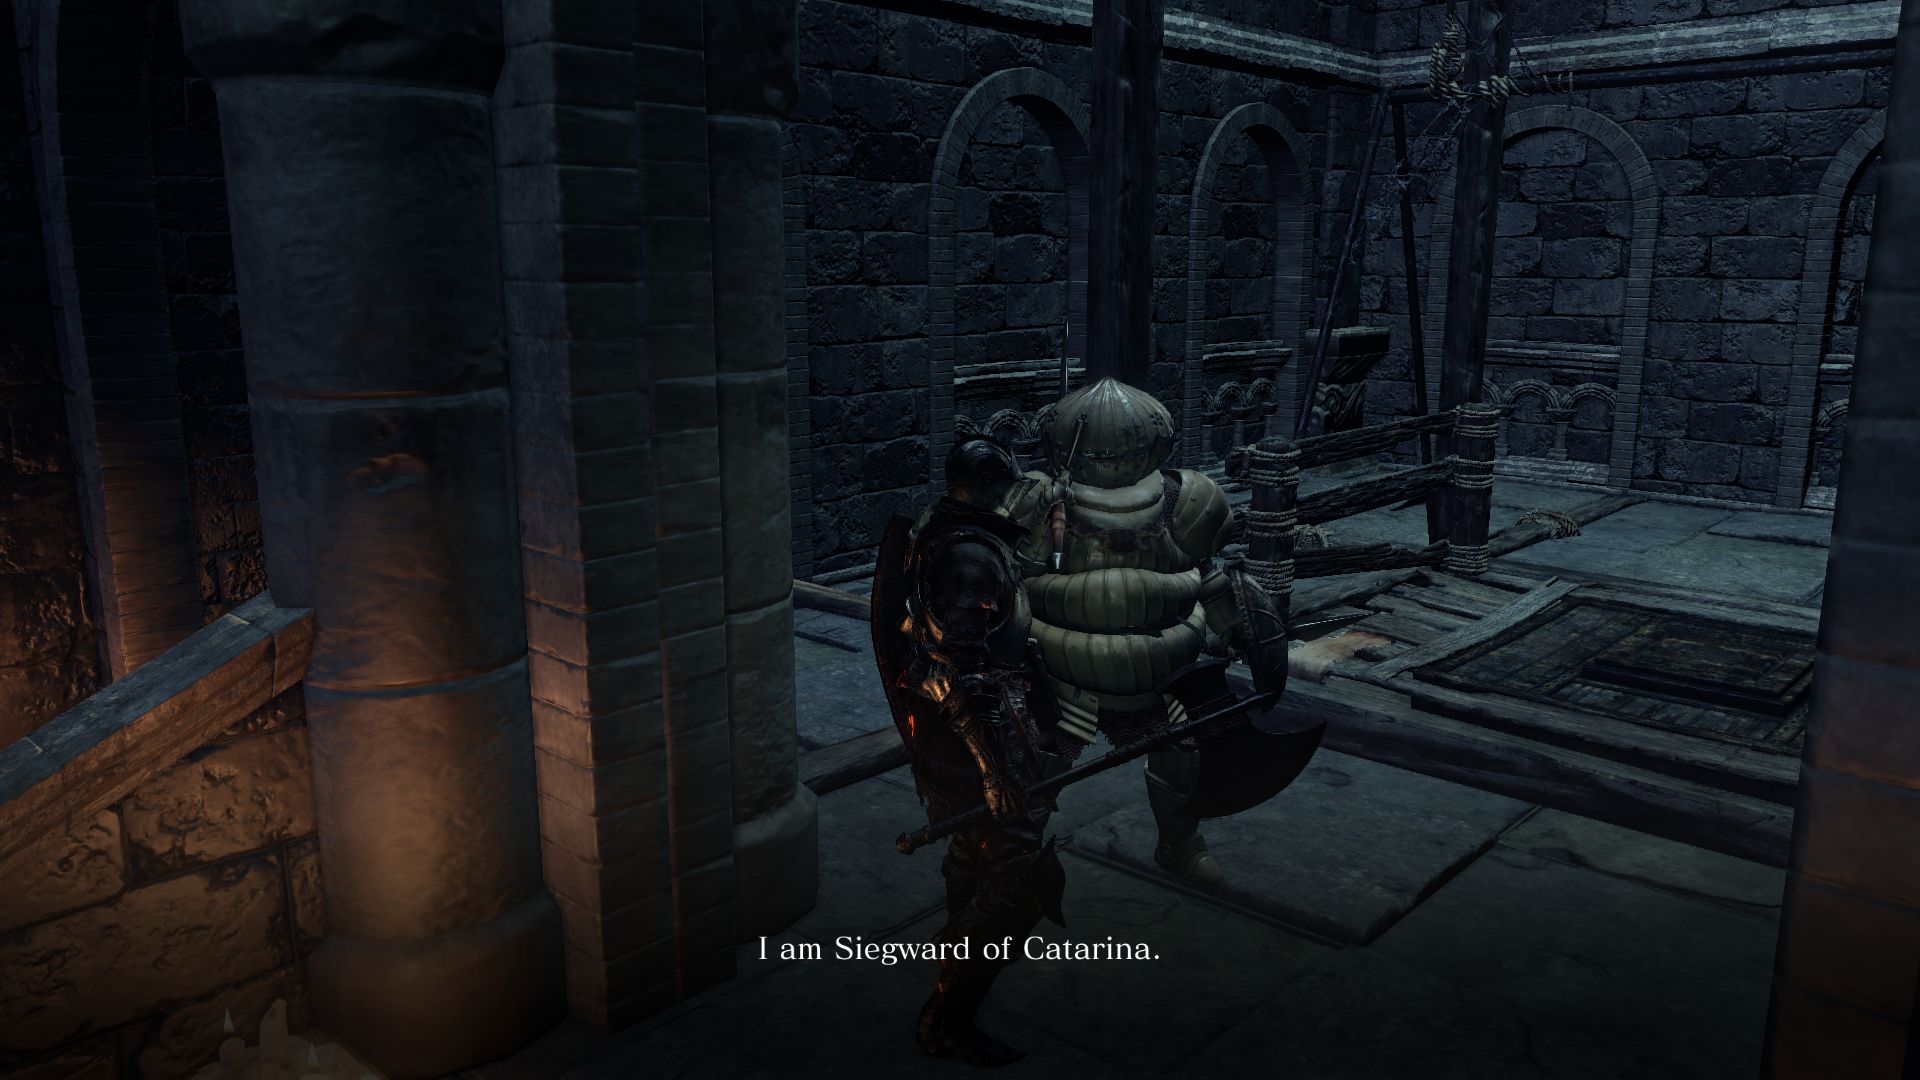
Continue up the path and enter the tower. As soon as you approach the elevator up ahead, you’ll meet another NPC, Siegward of Catarina, who is also in search of the giant. It would appear that whenever he steps on the elevator it takes him down below. To solve this predicament, step on the elevator and immediately step off when you’ve activated the switch. This brings down another elevator from up above. Don’t take the elevator down yet, as this will take you to the next area, and we don’t want to go there until we’ve killed the boss in this area and discovered everything there is to find.
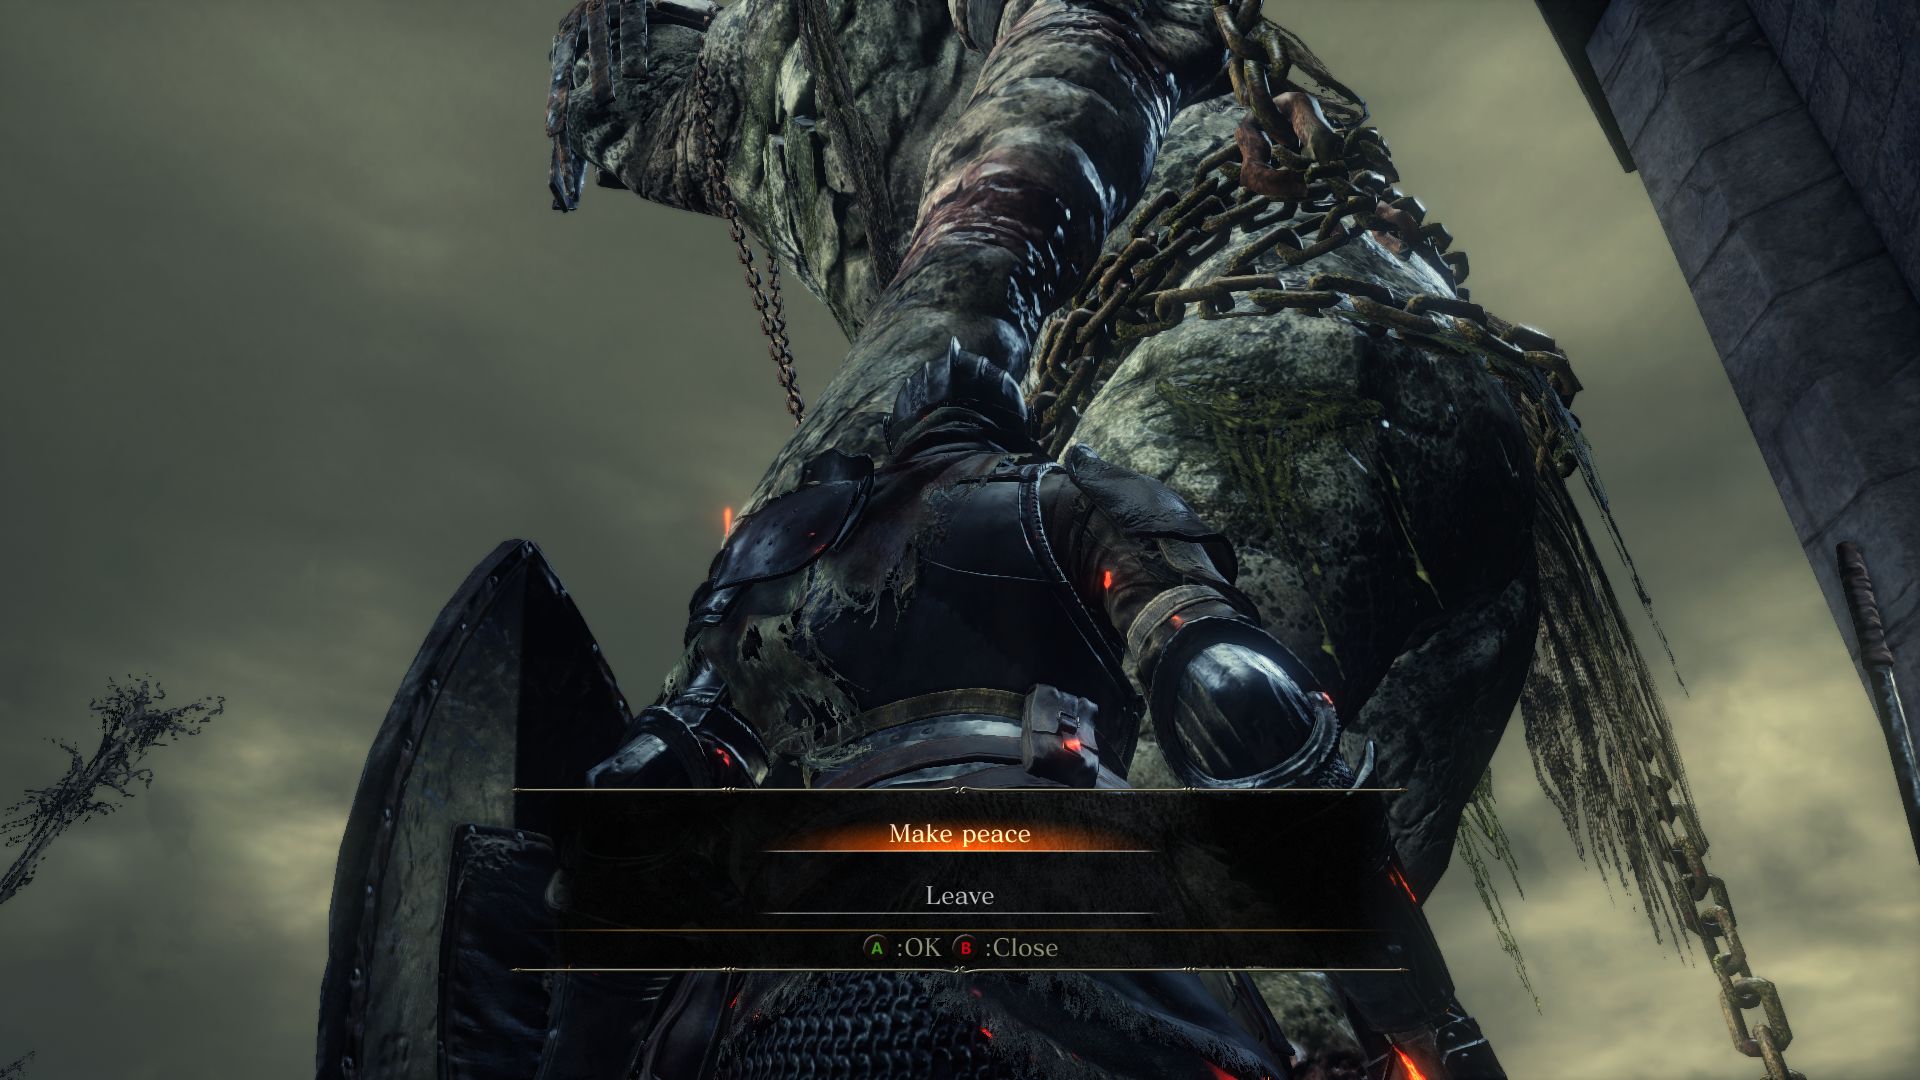
Take the elevator to the top and search the room for a Soul of a Nameless Soldier. Walk along the stairs to finally approach the giant archer. He won’t attack you and he’s actually very friendly. Offer him your friendship and he’ll reward you with a Young White Branch. Now you can go back to that path with the archway and the spears on the ground. When the Giant shoots down his arrows, it won’t damage you anymore, but only kill the enemies. If you really wanted to, you could kill the Giant, but then he won’t be shooting his spears at the enemies when you get back to that path, in which case, he will drop a Hawk Ring.
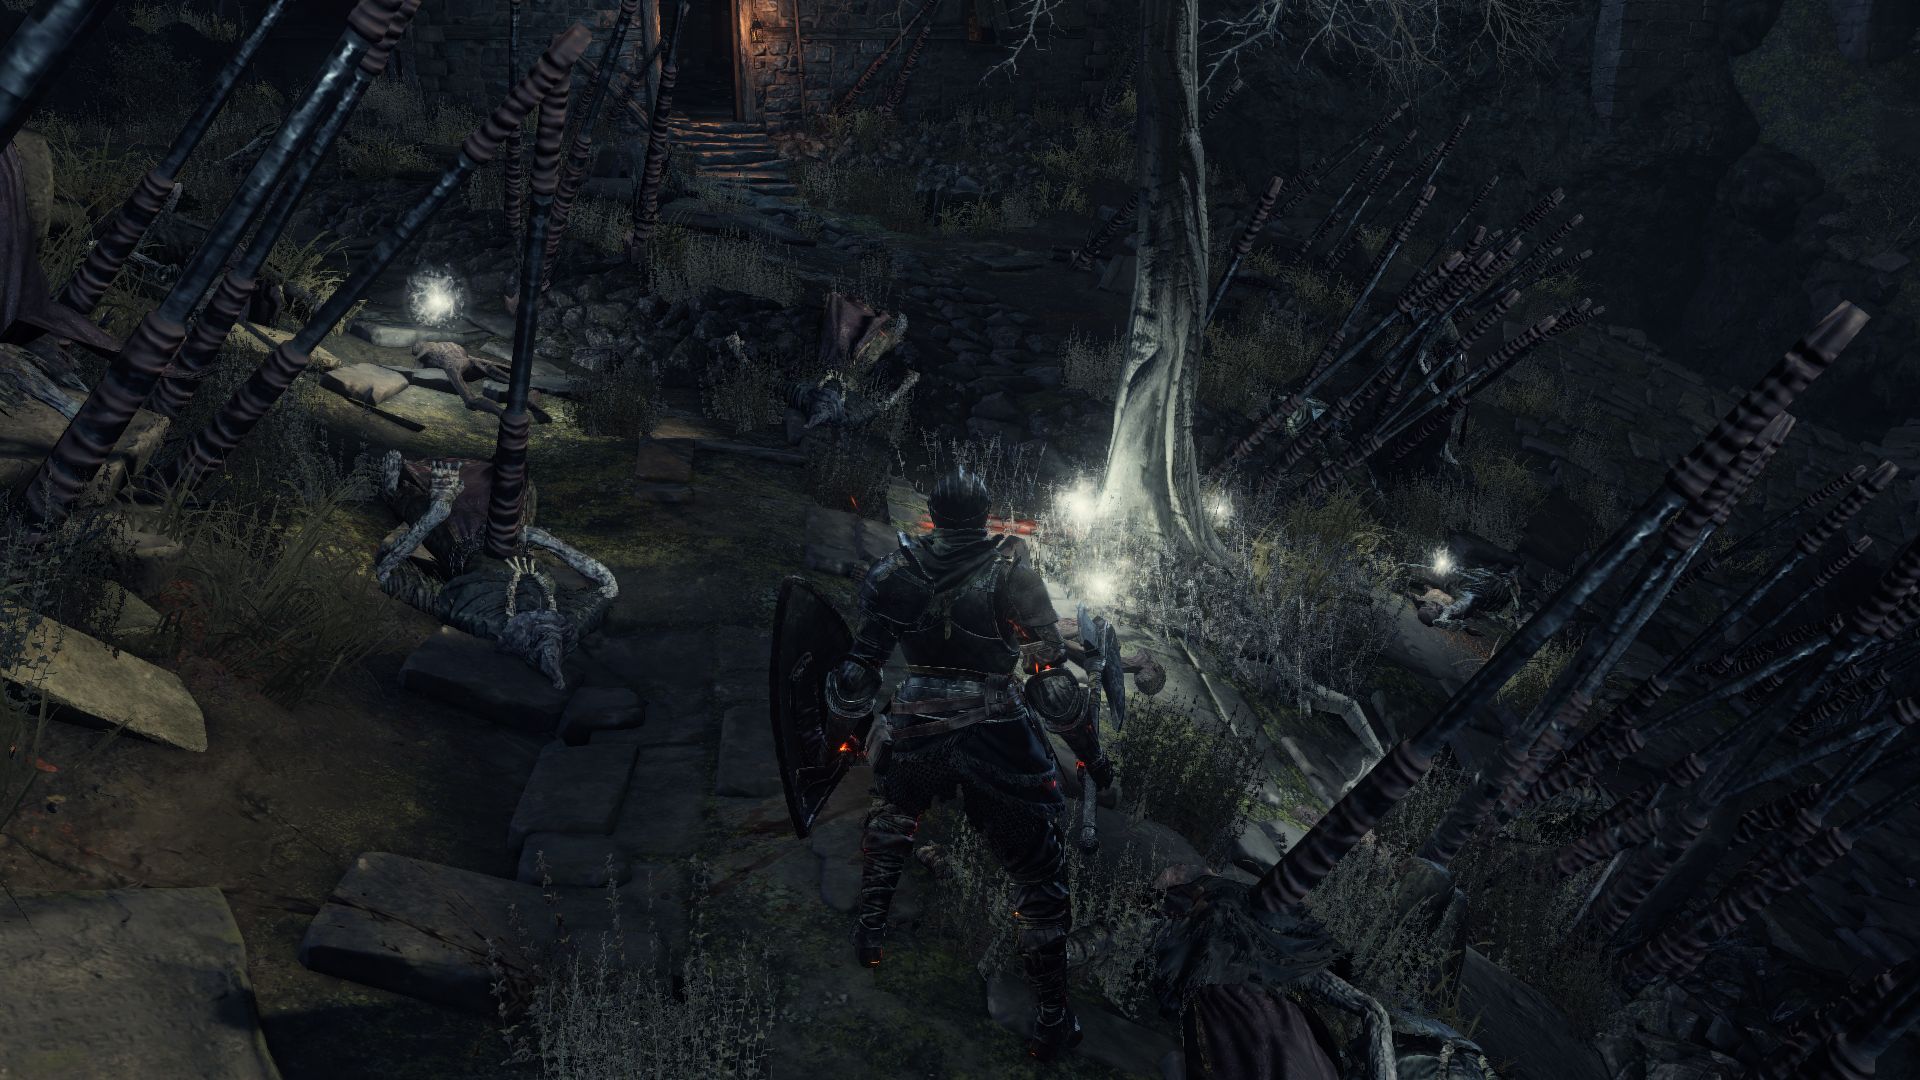
Now let’s backtrack our way back to the path with the spears on the ground (through the sewer shortcut). If you remember, there were many Village Workers in the path. You can lure them out for the Giant to shoot his arrows down on them. Don’t worry you won’t take any damage now. After clearing the area with your new giant friend, you can loot the glowing orbs. You’ll find an Ember, 3 Young White Branch, a Large Soul of a Deserted Corpse, and a Reinforced Club.
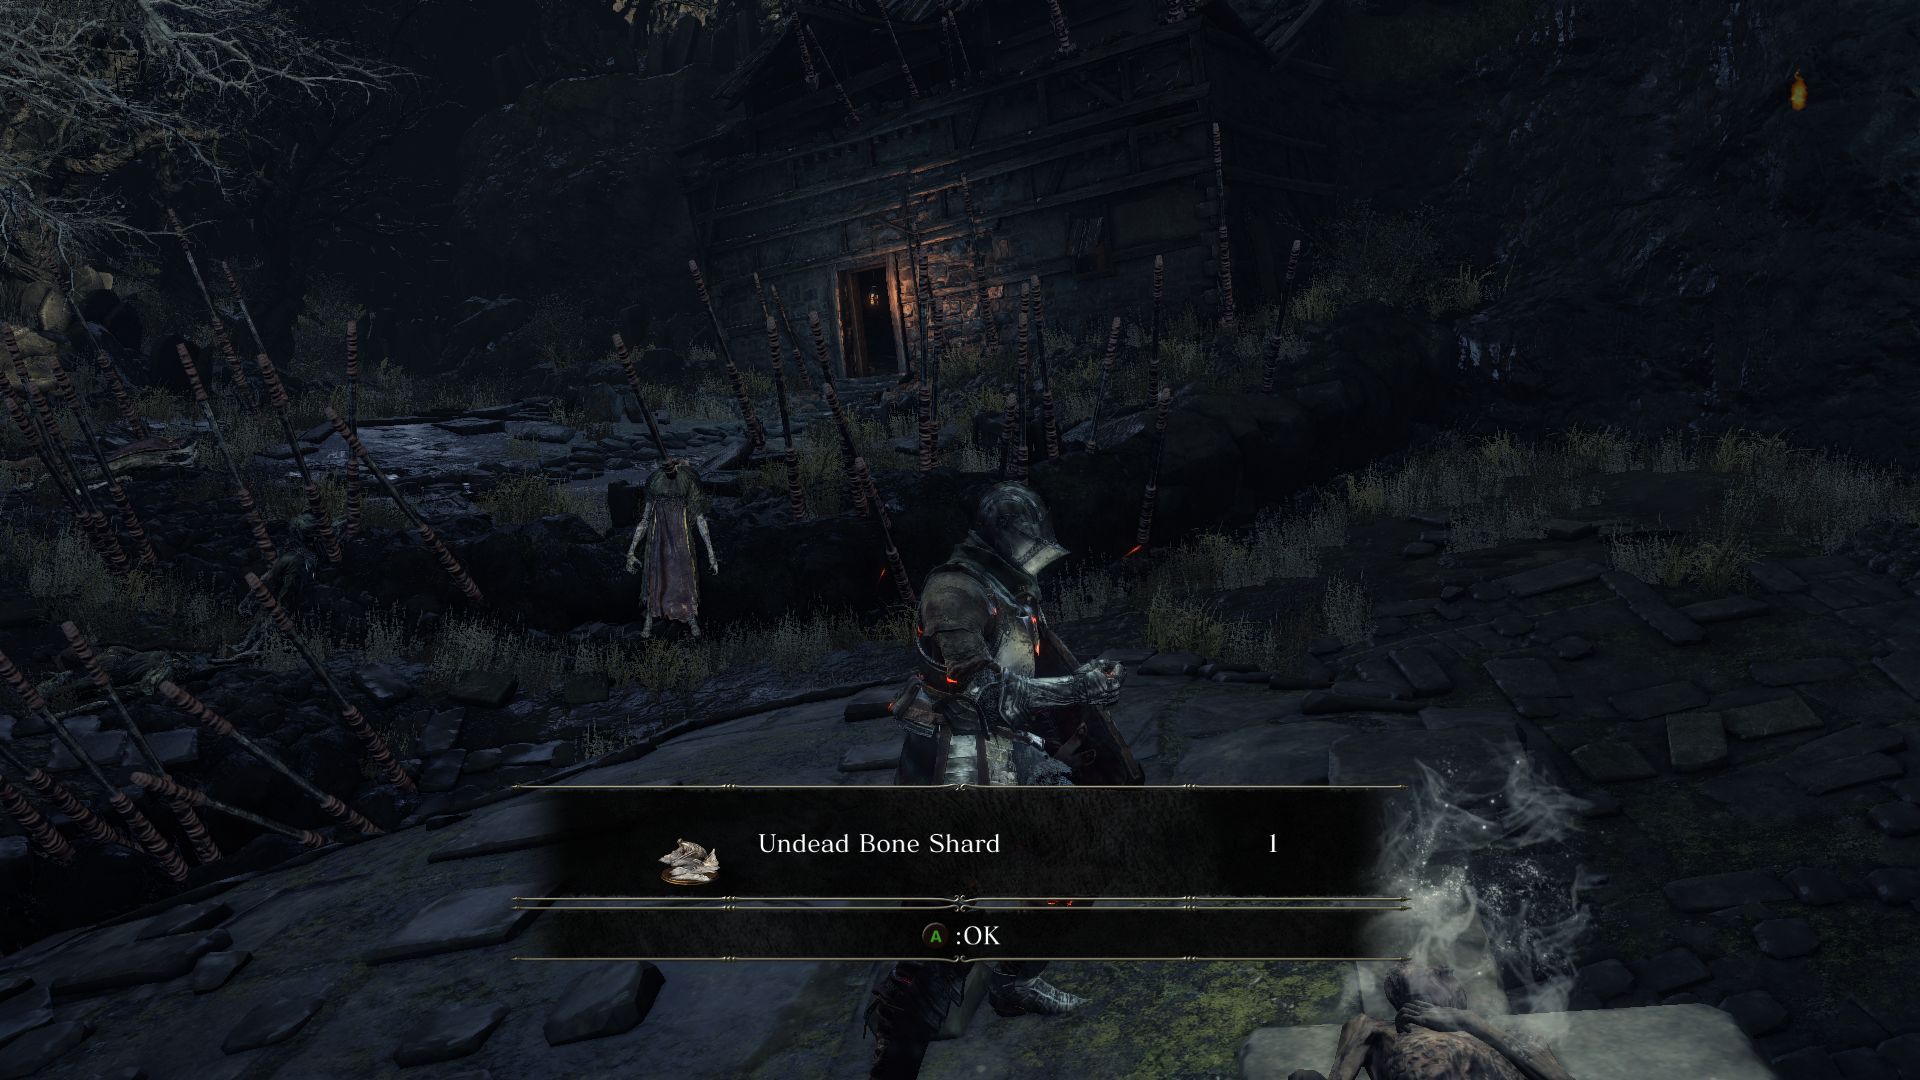
You’ll notice a platform on the right you can only reach by jumping on to it. Loot the corpse there to find an Undead Bone Shard, which can be used at Firelink Shrine Bonfire to increase the effectiveness of your Estus Flasks.
Up ahead you’ll see an open building, but don’t go in yet. Take the path to the left and search for a corpse among the tombstones to find a Cleric Armor set, which includes Blue Wooden Shield, Cleric Hat, Cleric Blue Robe, Cleric Gloves, Cleric Trousers.

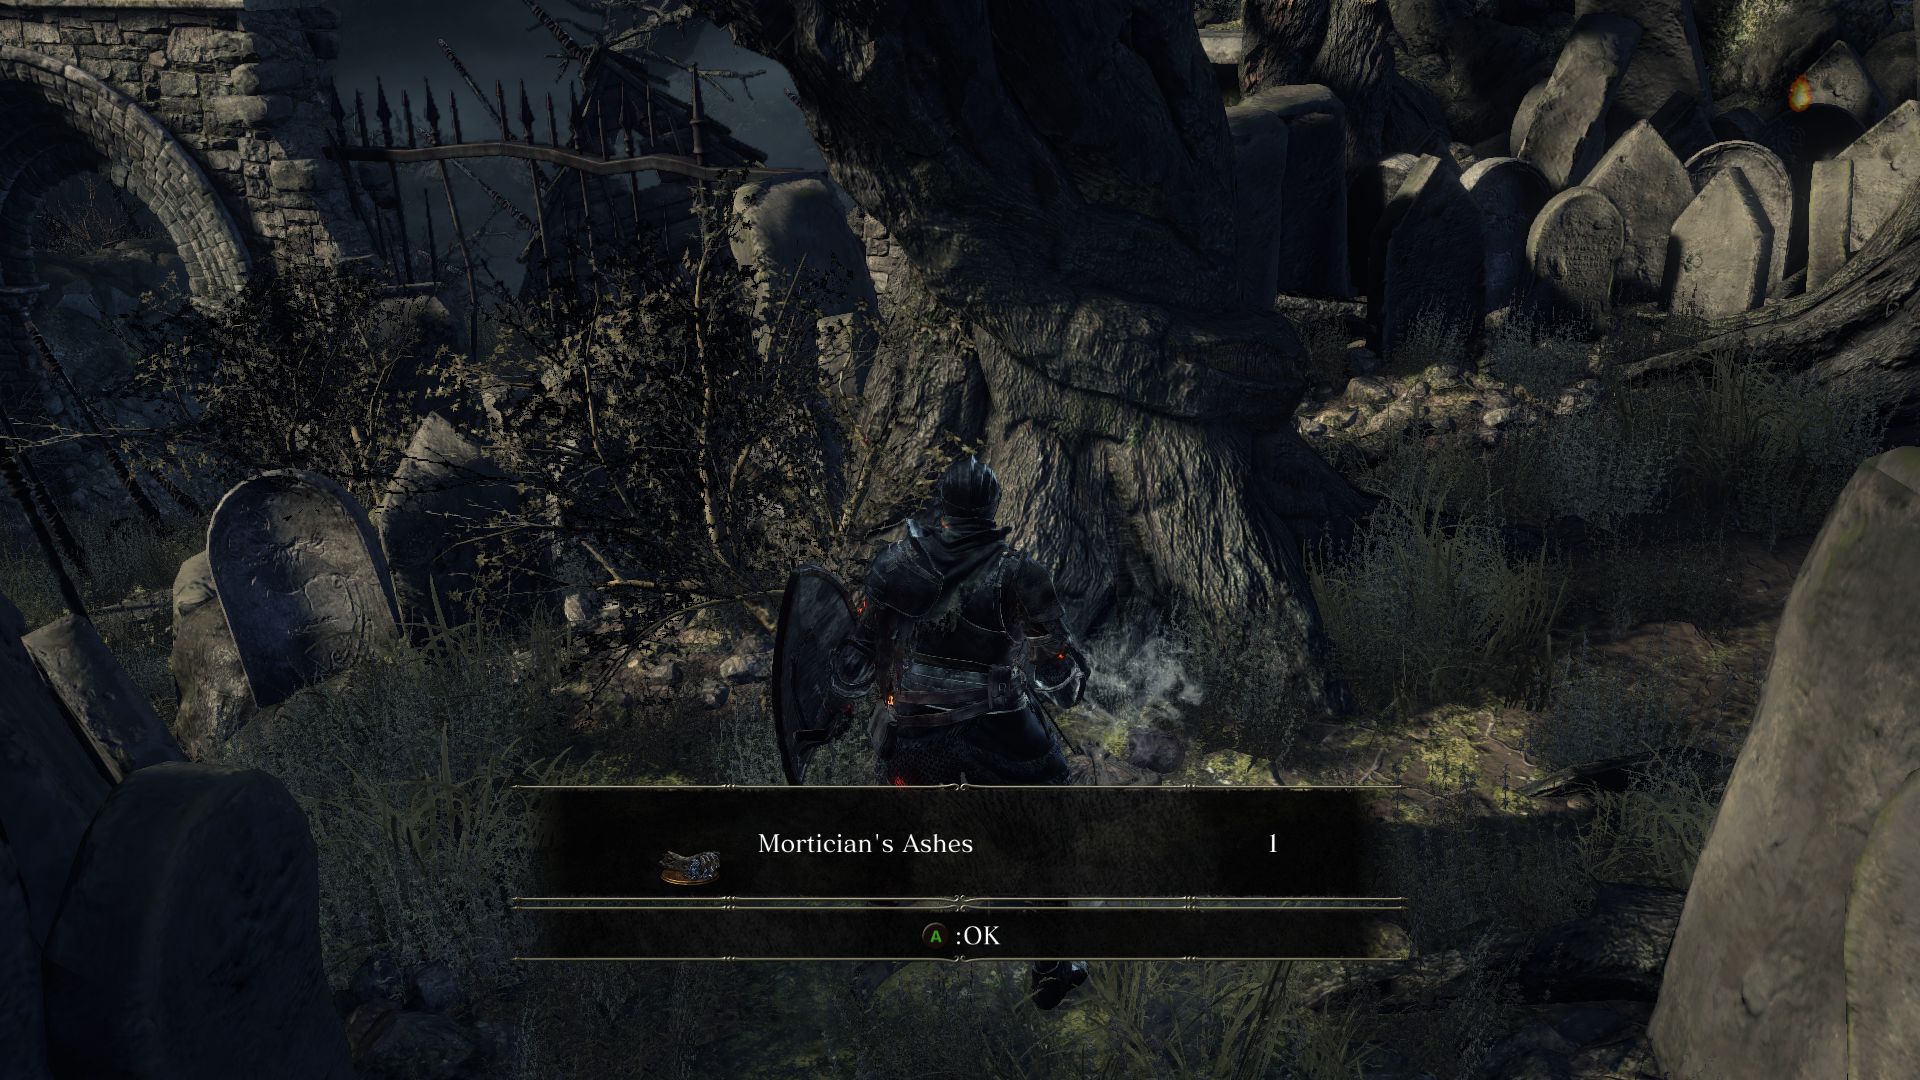
Before turning back, look for another body at the foot of a tree which will give you Mortican’s Ashes. This is very important as you can turn it in at the Handmaiden back at the Firelink Shrine to be able to buy new items, including the Grave Key, which is needed to free the woman Eygon has been guarding.
Now go back into the open building and you’ll find a Villager and a Red-Eyed Villager in there. You can draw them out to be shot down by the Giant Archer. Go back inside and climb the stairs, but turn around and look for the corpse on a balcony. You have to jump onto the planks to reach the balcony to loot the corpse and obtain a Great Scythe.
Once you exit this building you’ll find yourself at the other gate that leads to the boss fight. If you want, you could fight the boss right now, in which case, scroll down below to find the strategy for this boss. Or we could explore this area a bit more to find some more loot and NPCs. In particular, go back to the Firelink Shrine and buy the Grave Key from the Handmaiden.
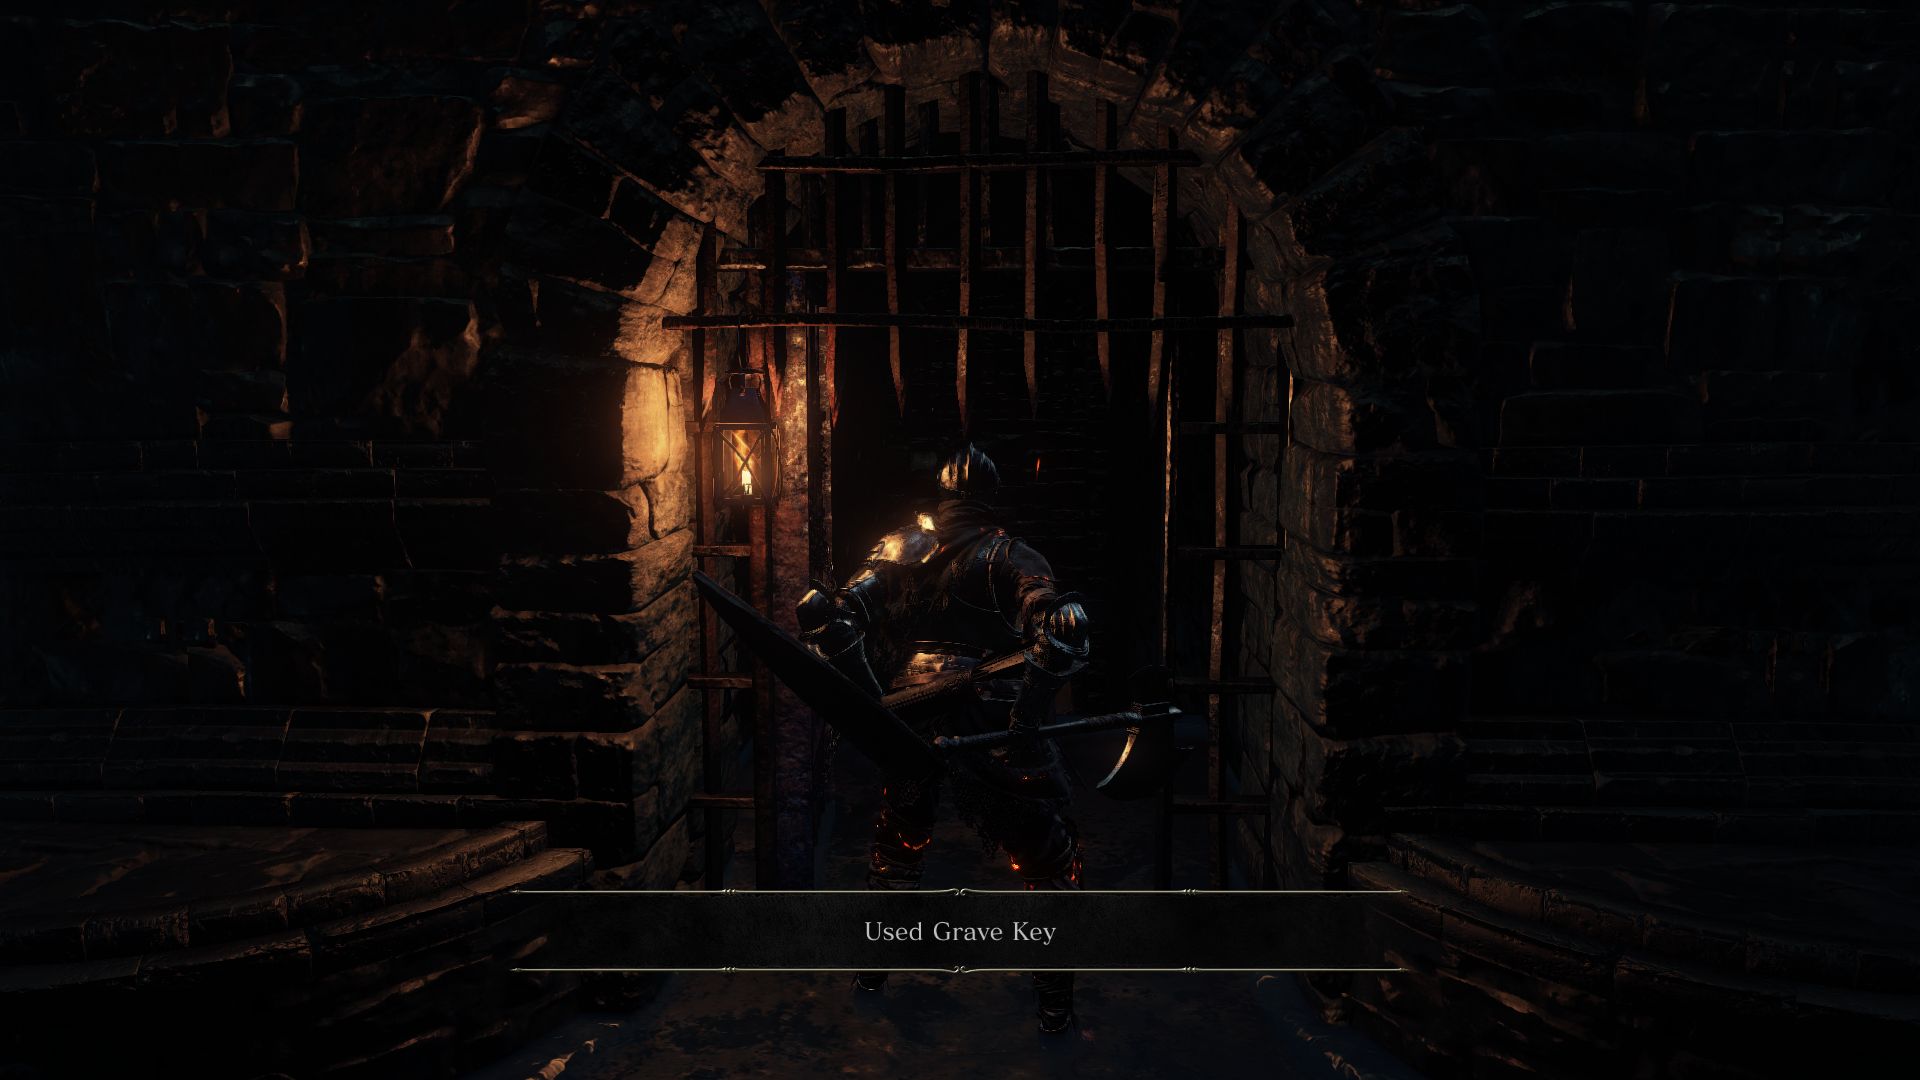
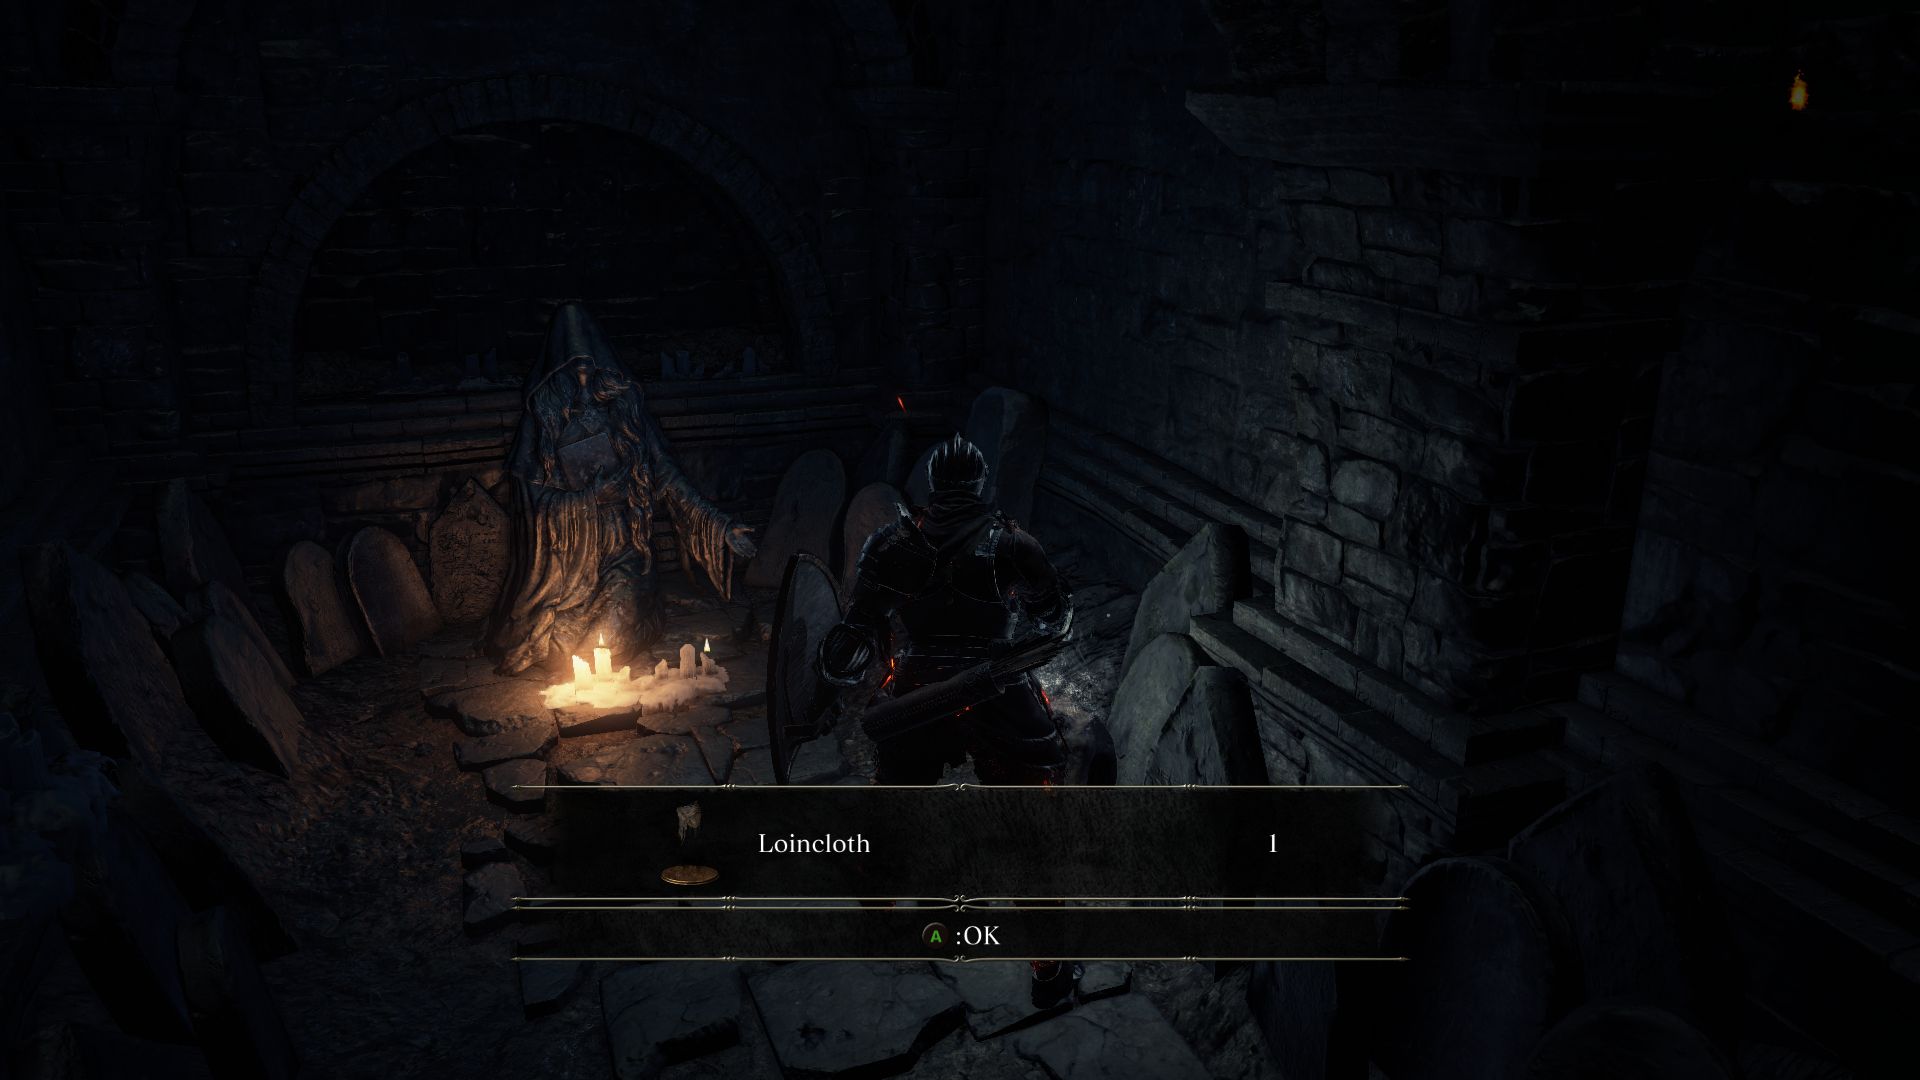
After you’ve bought your Grave Key, return to the sewers by the Dilapidated Bridge and open the door that you couldn’t previously. As you enter the underground passage, look to the right for a body containing a Loincloth. Here you will also find a statue of Velka, the Goddess of Sin. If you had accidentally attacked an NPC, this is the statue you would pray to so that your sins may be absolved.
Head down the path opposite to the statue to enter a small room. Loot the corpse nearby for a Red-Hilted Halberd. You will see a bunch of bones on the ground, and some of these will coalesce into a skeleton. They are easy to take down, but they can deal a lot of damage if you let them hit you. You can take them down as they try to form. Another corpse nearby holds a Soul of an Unknown Traveler. Loot it and continue down the path.
After you exit the underground graves, you’ll find yourself in the ravine below the Butchers. Notice the Crystal Lizard nearby and take it down fast to obtain a gem. Two more corpses in this area will yield Titanite Shards. Be wary though, if you had left the farthest Butcher alive up there, he will jump down and ambush you. Proceed to the smaller canyon and shoot down the dangling corpse to find a Blessed Red and White Shield +1.

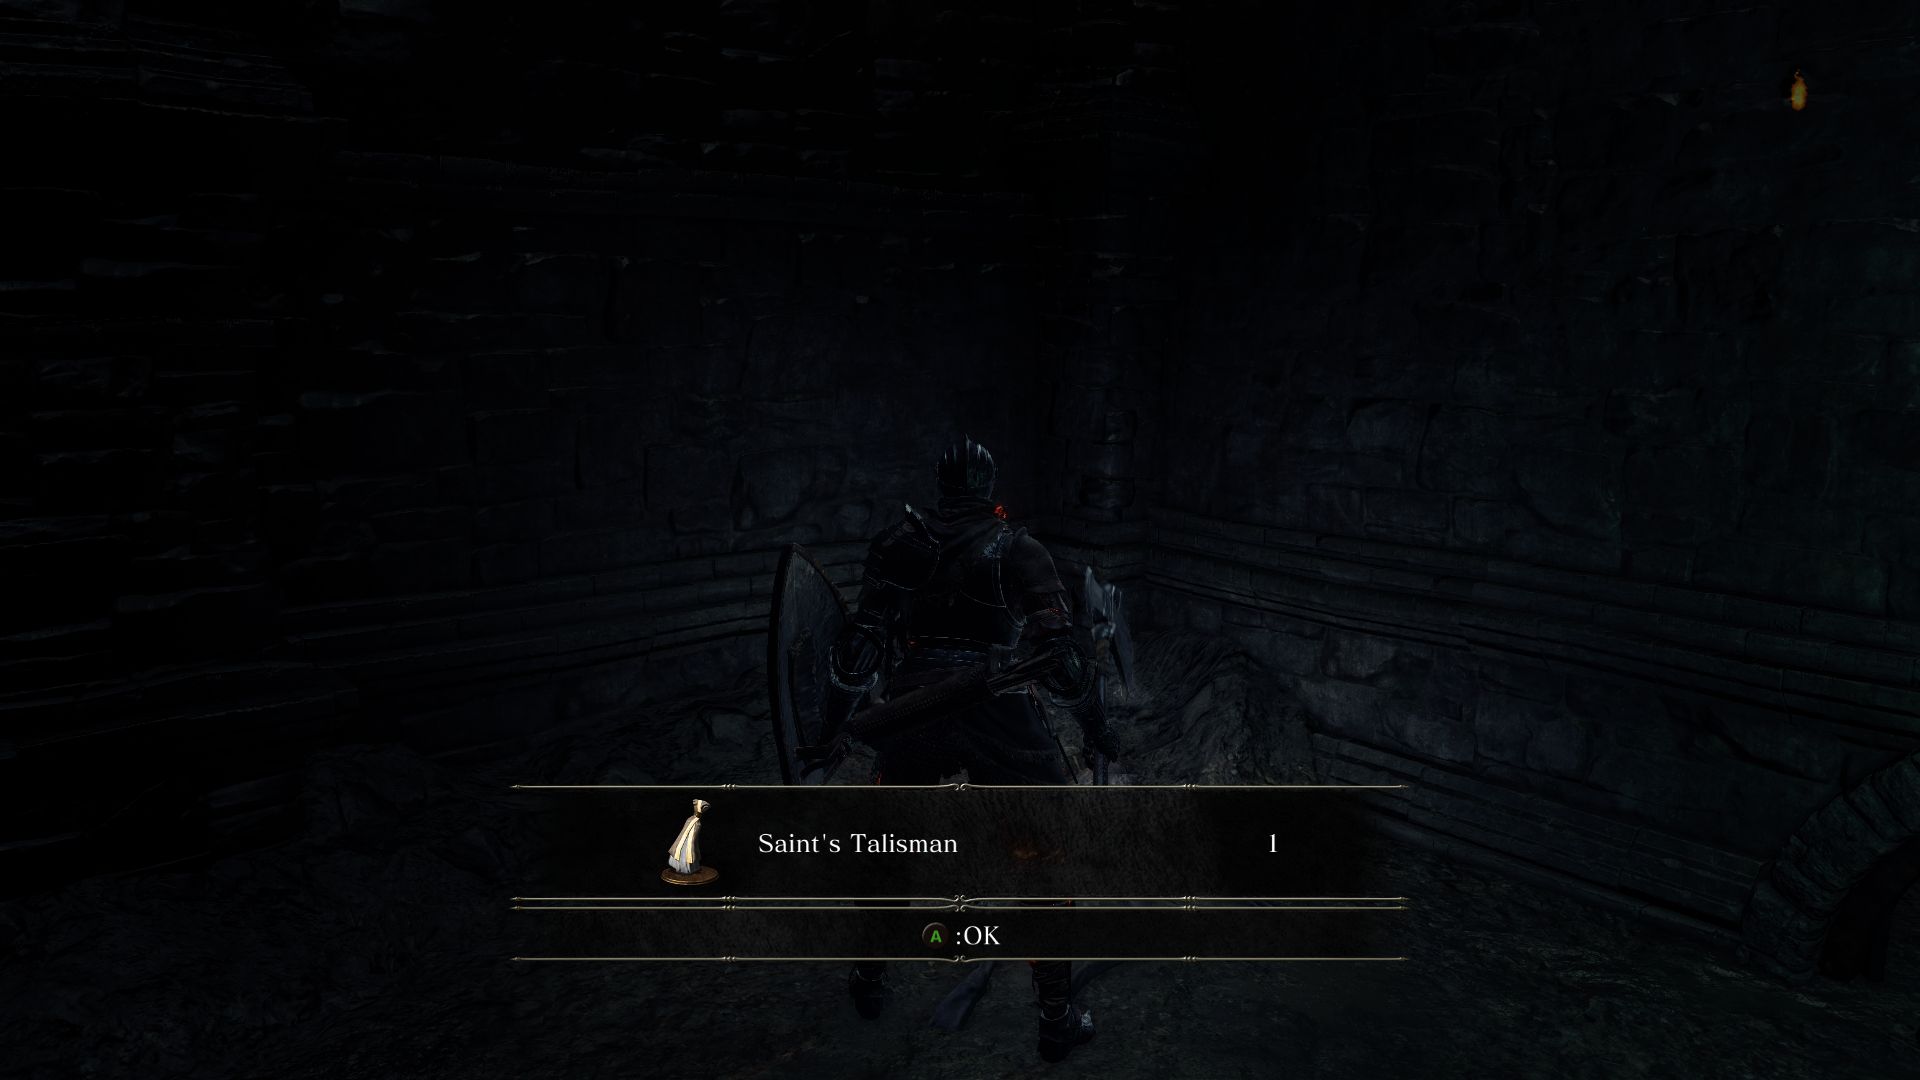
RECRUITING IRINA: Enter the sewer and you’ll find some rats crawling out of small ducts. Take them out one by one before they can overwhelm you. If you’re slow and they’ve all emerged, make a dash for the ladder to the other side. Or you can retreat the way you came while tossing firebombs at them. Before you climb the ladder on the other side, loot the corpse for a Saint’s Talisman.
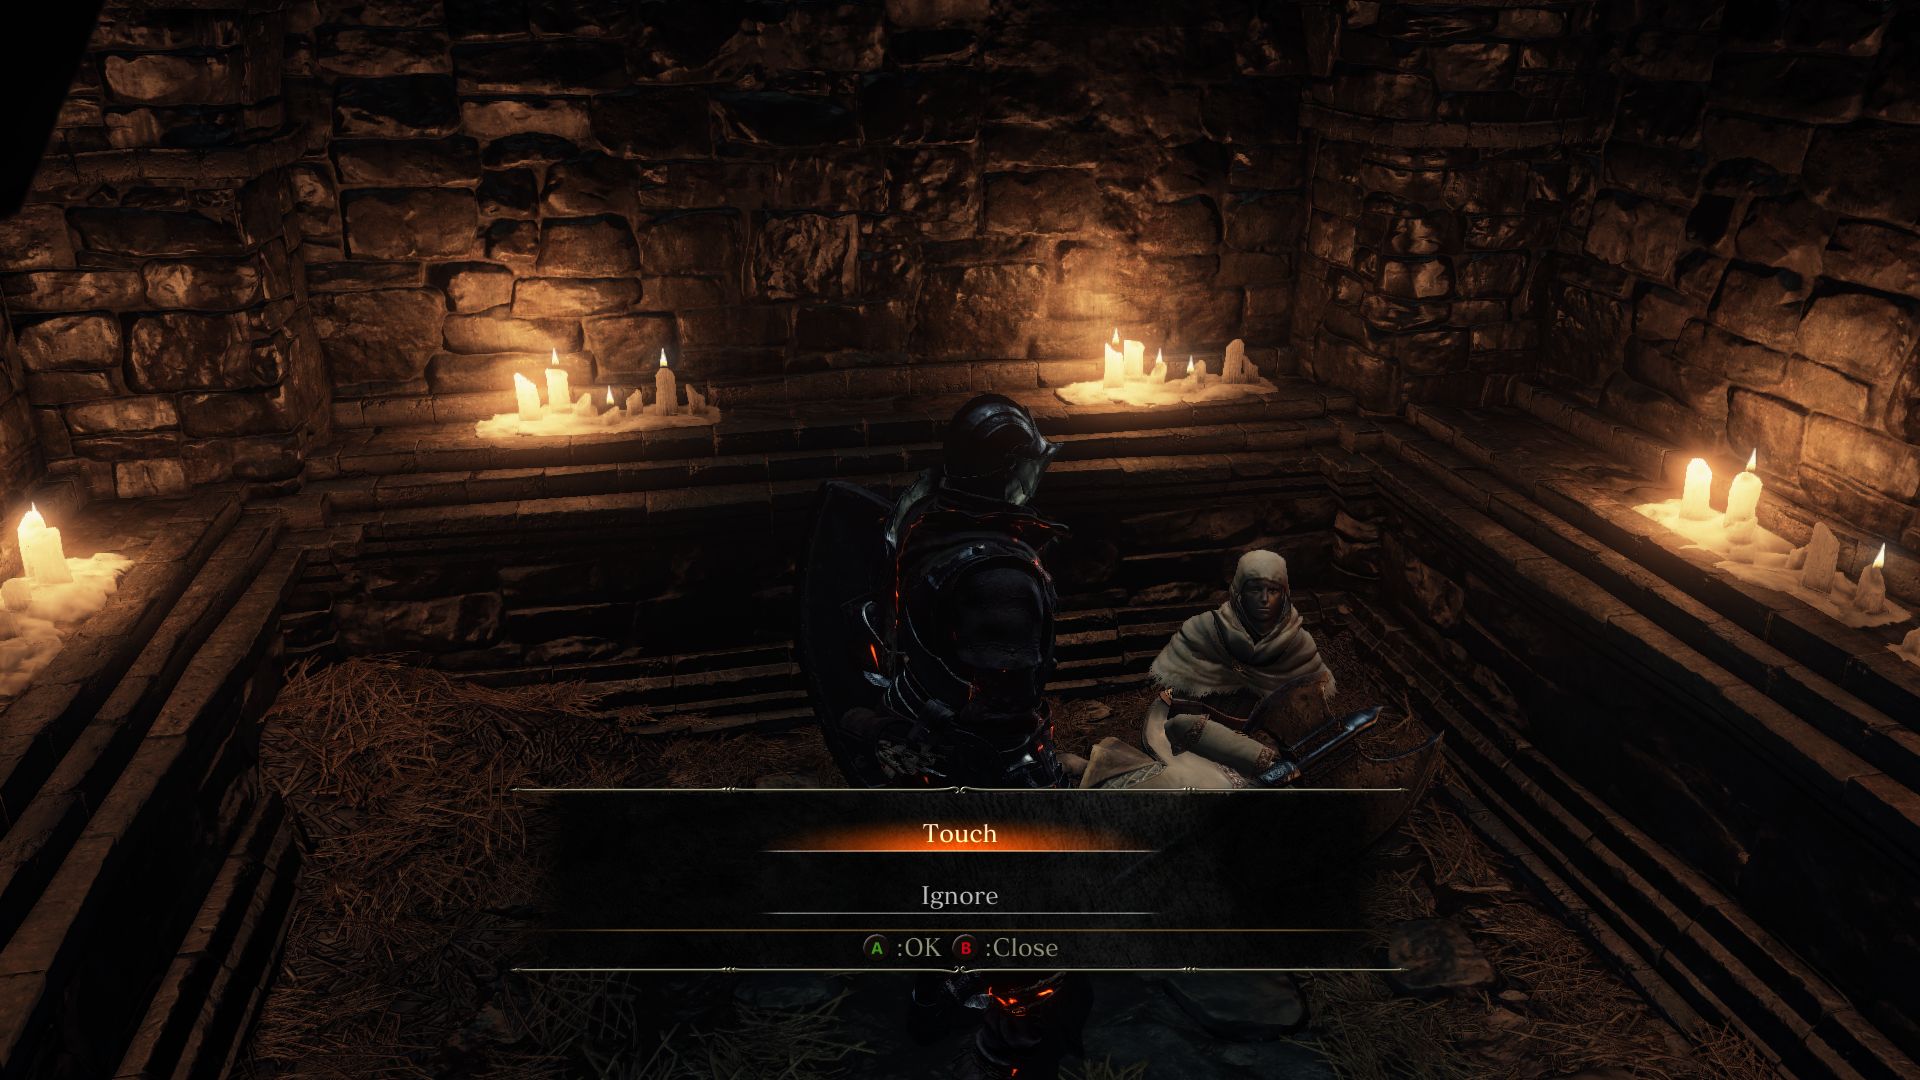
You will enter a cell with the NPC. Talk to Irina of Carim and she will ask you to touch her. She will give you the Prayer Emote and offer to teach you Miracles (you can find her in Firelink Shrine). After you exit the cell, you’ll find that Eygon isn’t too happy about it, but he’ll offer to help you later in the game, as long as you don’t harm her.
You’ll find yourself once again in front of the tower with the Giant Archer. Keep in mind that taking the elevator below will bring us to the next area, so we don’t want to head there yet. There is one more thing to do before we engage the boss. Take the elevator up and you’ll hear a familiar voice, that of Siegward. You can hop onto a platform midway and come to a balcony, where you will find Siegward sitting at the edge.
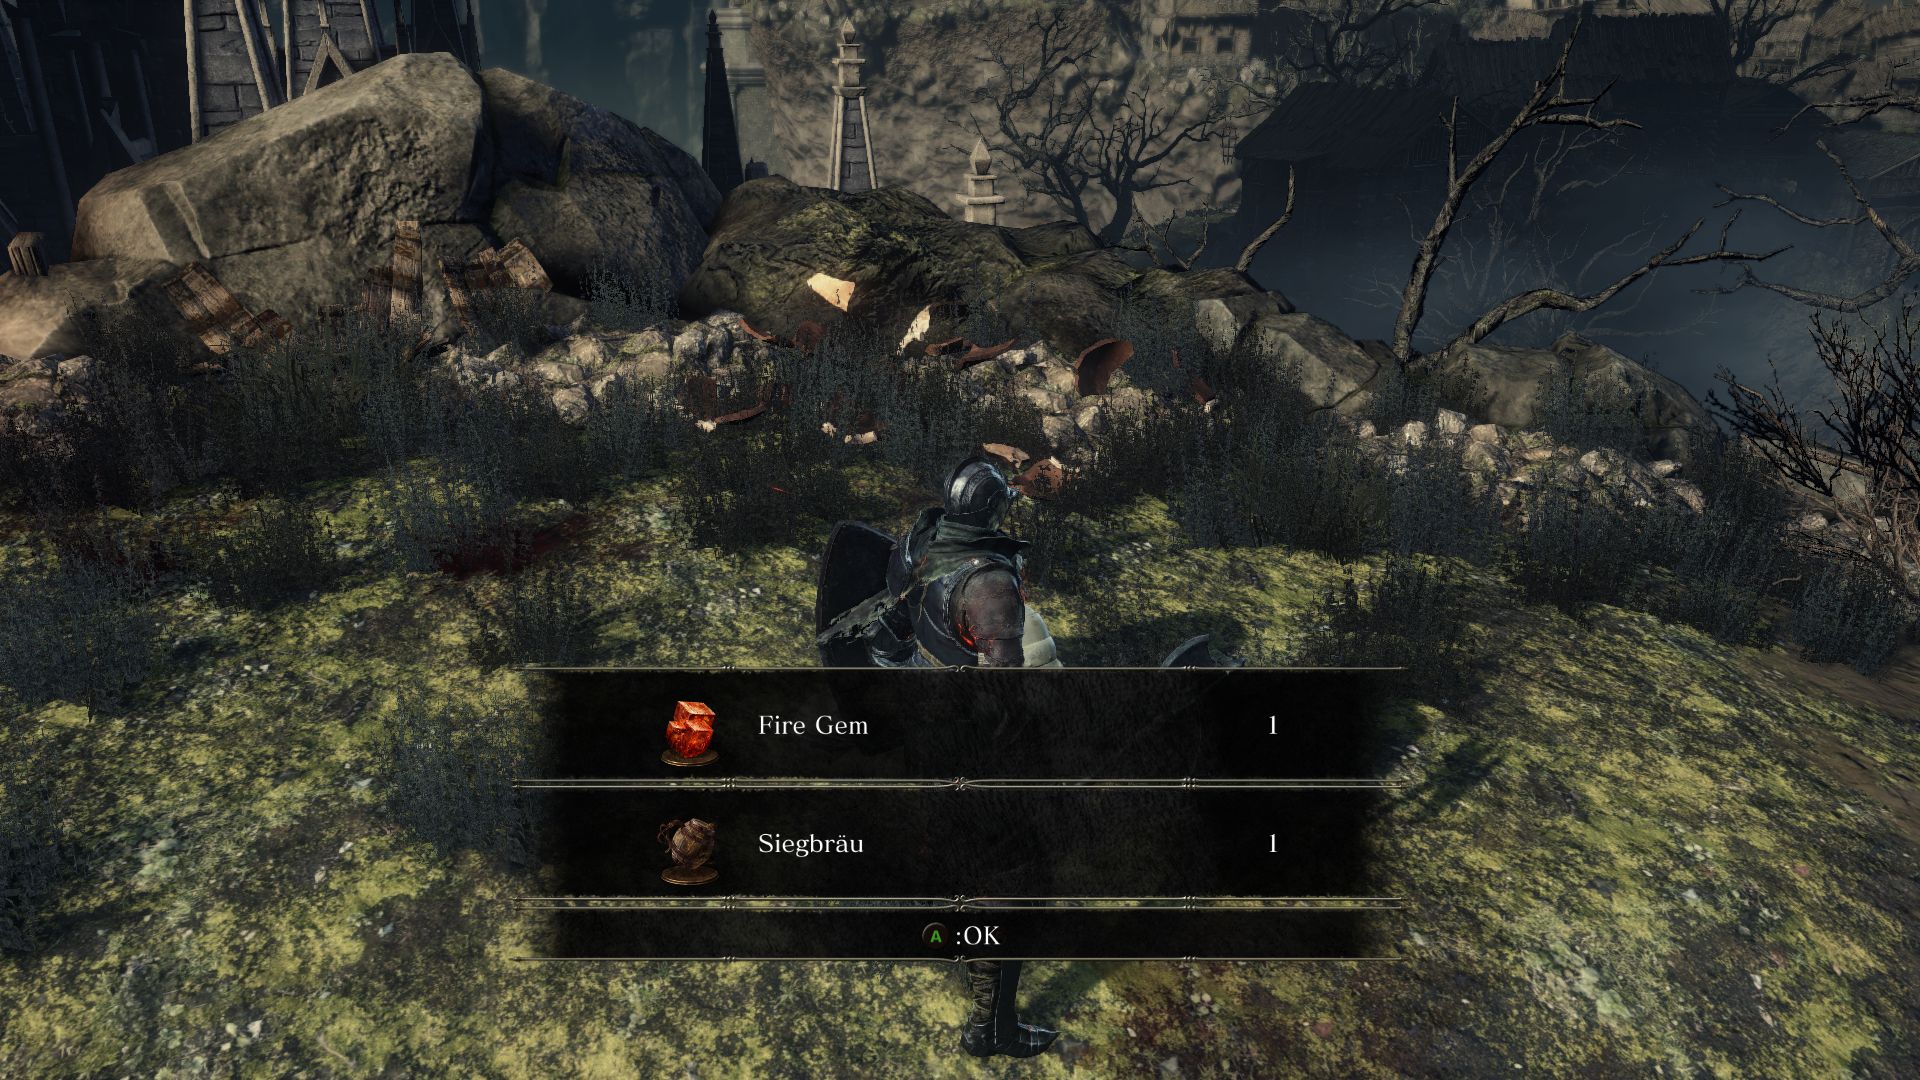
You’ll see a Fire Demon patrolling the area up ahead. Siegward is hesitant to take on the enemy. If you jump down and start attacking the Fire Demon, he will come down to aid you in the fight. This Demon may be very difficult to deal with, so you have to use caution. His attack range is rather long and he’ll use some fire attacks, including jumping up and stomping the ground. You could let Siegward do most of the work, however, while you chip away at it from safety, or if you need to heal. The Fire Demon will drop a Fire Gem and Siegward will give you a Siegbrau and the Toast Emote. If you talk to him again you’ll find that he’s sleeping, which will reward you with the Sleep Emote.
Now it’s time to explore this area that has been ravaged by the Demon. Near the right side of the drop off point, you’ll find a corpse with a Homeward Bone. Look for 2 dangling corpses near the central area. Shoot them down to find a Northern Armor set (Northern Helm, Northern Armor, Northern Gloves, Northern Trousers) and a Pale Tongue (Covenant item for later use). Pillage another corpse near a tree to find a Large Club.
Keep exploring this part of the settlement and you’ll come across a building with dangling corpse piles. Loot the Red Bug Pellet and proceed up the stairs. Here, you will find some Corpse Piles that will attack you. Take it out and loot the 2 Alluring Skulls in the room. Move to the balcony where you’ll find yet another Corpse Pile.
Beyond the broken wall here awaits 2 Bone Hounds. Take them out and be wary of 4 Corpse Piles lurking in the room. After you kill them all, loot the chest containing 4 Human Pine Resin. If you go upstairs, you’ll be faced with a rather difficult fight – not 1 but 2 Evangelists. Try to lure one to the lower level and tackle them one by one as they are challenging solo as is. Relying on ranged attacks may be wise here too.
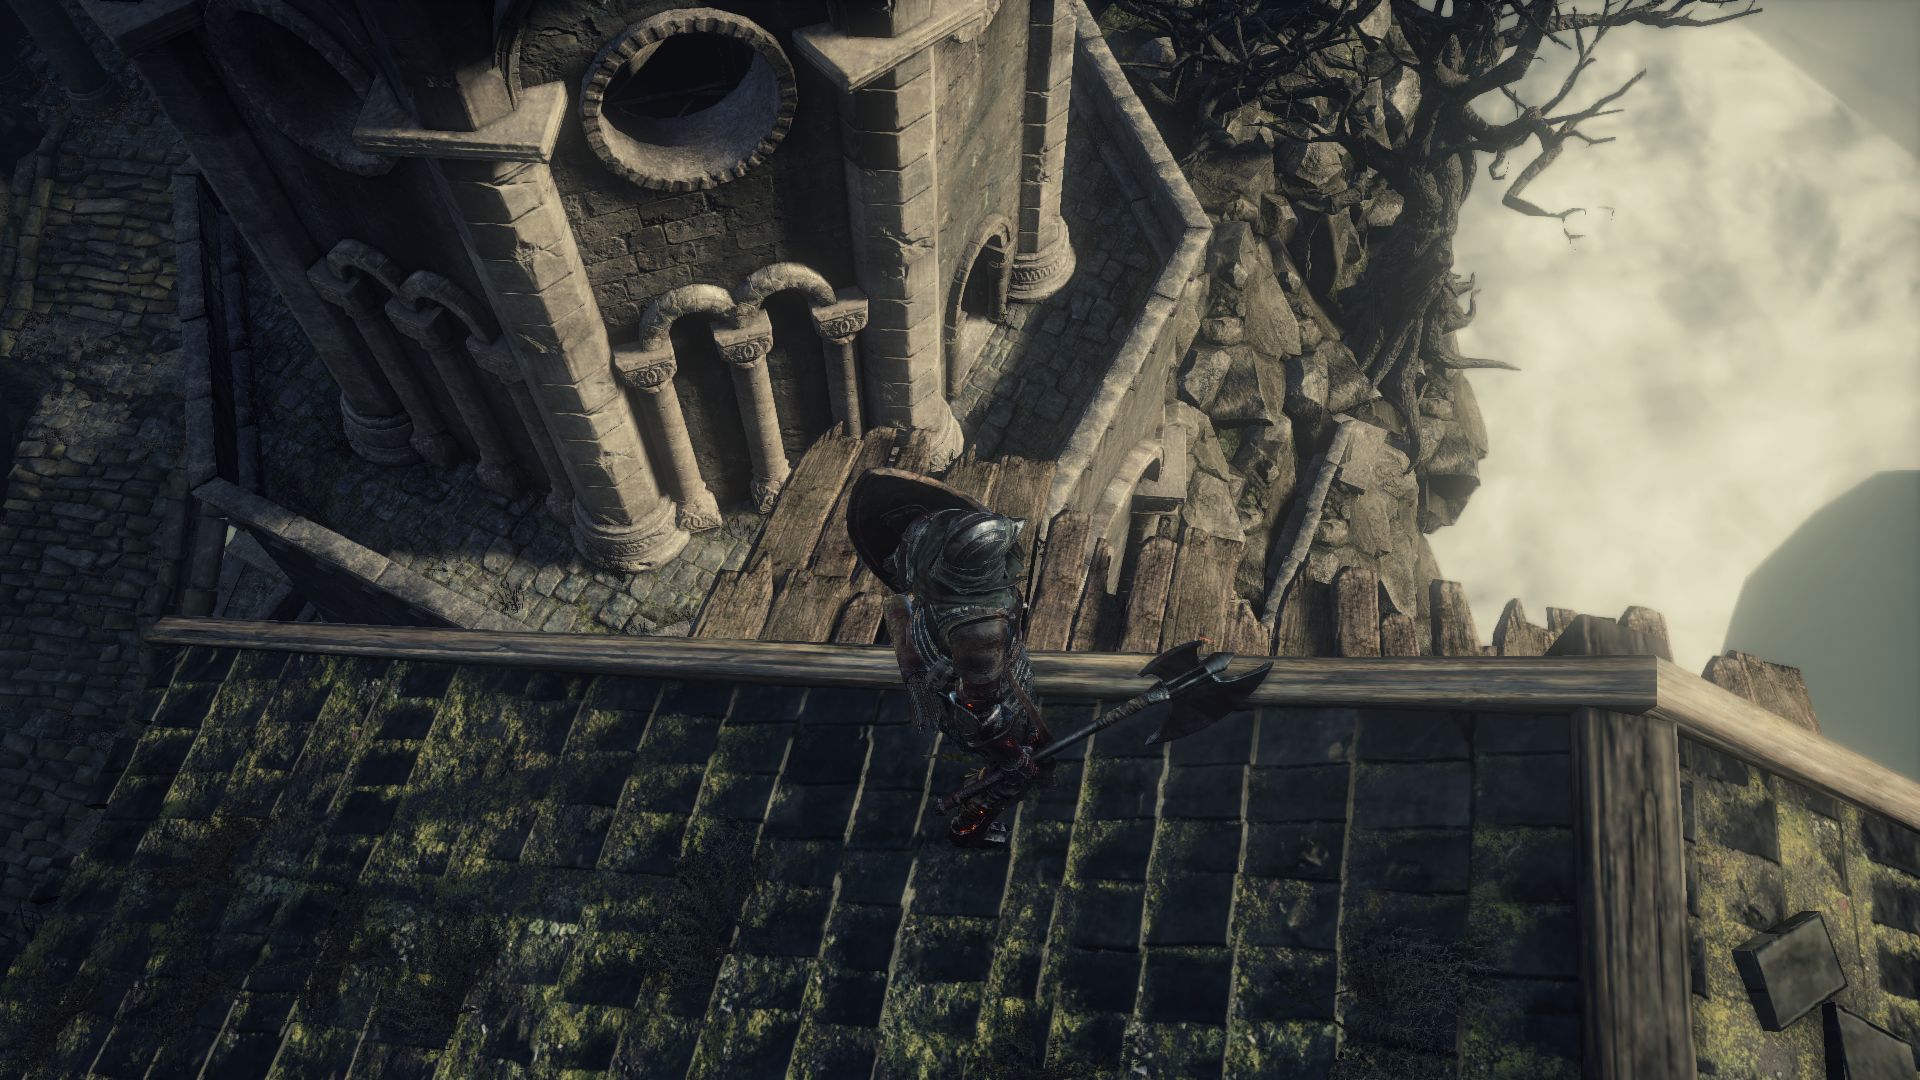
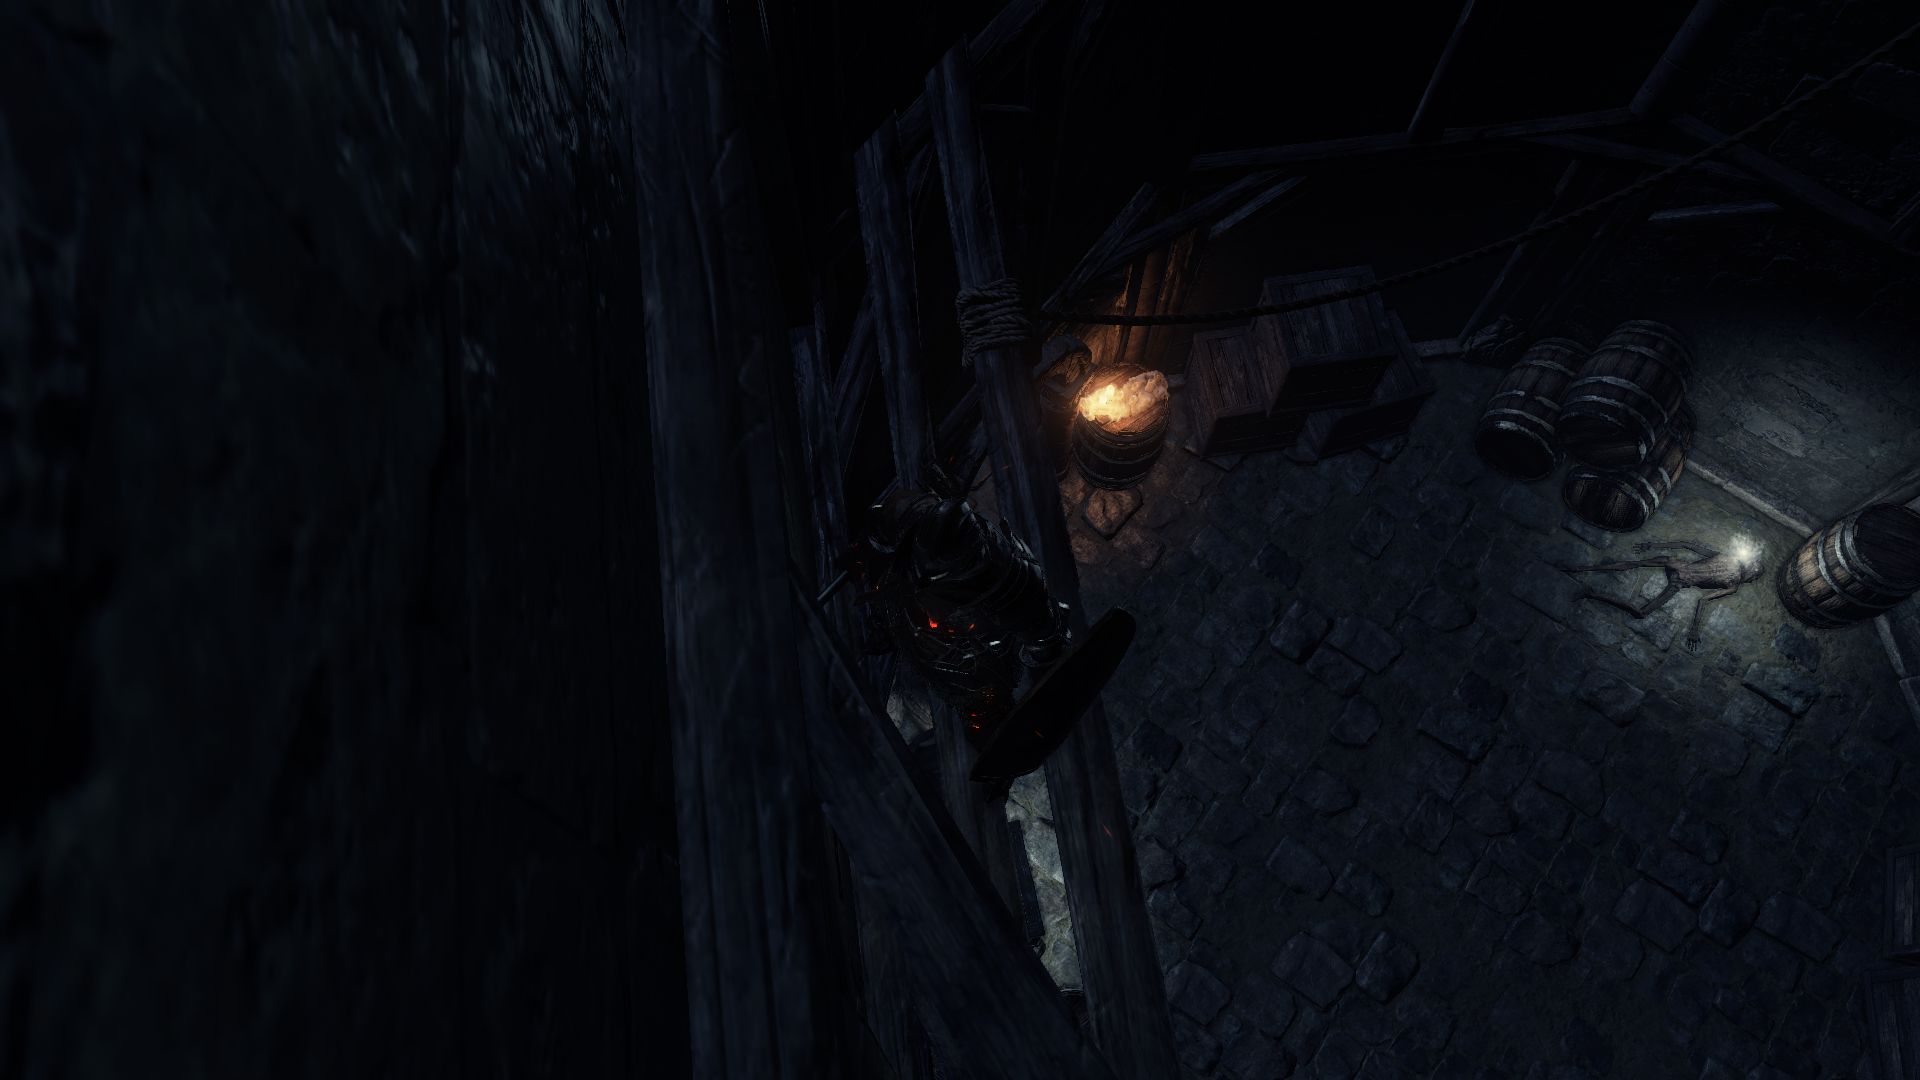
Next ascend to the roof and loot a nearby corpse for Flynn’s Ring. If you look ahead, you’ll see the entrance to the boss fight. From here, you can drop onto an overhang to reach the tower nearby. Look around to find 2 Homeward Bone. Head inside the tower, but to reach all the way down you have to do some platforming. Sprint and jump onto the platform on the other side below. If you miss the jump, you will die.
At the very bottom, you will find a Chloranthy Ring and a Mirrah Armor Set (Mirrah Vest, Mirrah Gloves, Mirrah Trousers). Once you exit this tower, you can drop down in front of the boss area for your big fight.
BOSS FIGHT – CURSE-ROTTED GREATWOOD
When you enter this large open area you will see many Villagers sitting on the ground. Try to kill as many as you can before you approach the boss itself. You can start from the right with the Red-Eyed Villager. When you are close to the boss, he will rise and start attacking you.
The boss may seem slow on the move, but he has long reach and will hurt a lot if you get hit with its slams. To make things worse, during the first phase, villagers will keep spawning to aid him. You can either try to take them out or let the bosses attacks destroy them while you run to safety. Your mail goal here is to attack the bulbous growths on the bosses groin and legs. If you manage to destroy the growths on his back legs, you’ll hurt his mobility, forcing him to sit down. If you’re melee, watch for his kicking attack, which gives you an opening to charge at his groin and land some attacks on the growth there. After you’ve damage it a bit, you’ll enter the second phase.
The ground will collapse and you’ll fall onto a pit. Don’t worry, you won’t take fall damage, and you don’t have to worry about the infinite villagers during this phase. Observe where the remaining growths are and try to take them out while being constantly on the move. Don’t linger close or in front of the boss for too long. An easy strategy is to keep moving around the boss at a large distance, causing him to keep turning to face you. Wait for him to stand and fall forward so that you can take cheap shots on its white hand, doing quite a bit of damage (this works for both melee and spellcasters). Buff up with resins before you do so to do maximum damage. You could switch to a bow and equip with both hands to aim at the bulbous sacks from a safe distance. This boss is rather easy if you’re a spellcaster, as you can take out its growths from a safe distance with your spells.
AoE Attack: The boss slams its backside on the ground to do massive AoE damage and release a pool around him that damages you if you step on it.
Fall Forward: During the second phase, the boss will stand up on its legs and fall forward. This is easy to avoid, and gives you an opening to hit the white hand multiple times.
Roll: The boss can roll on its side if you are close.
Spin: The boss presses its hand on the ground then spins around in a circle. Avoid it by dodging backwards.
Grab: The boss will appear to move its arms to grab you. It creates an opening momentarily as it stops with its arms in front of its chest bulbous growths. You can attack the sacks on his hands in this opening.
Slam: The boss slams its white hand in front multiple times. Try to dodge this. If you keep moving around the boss, forcing him to turn to face you, he won’t use this attack.
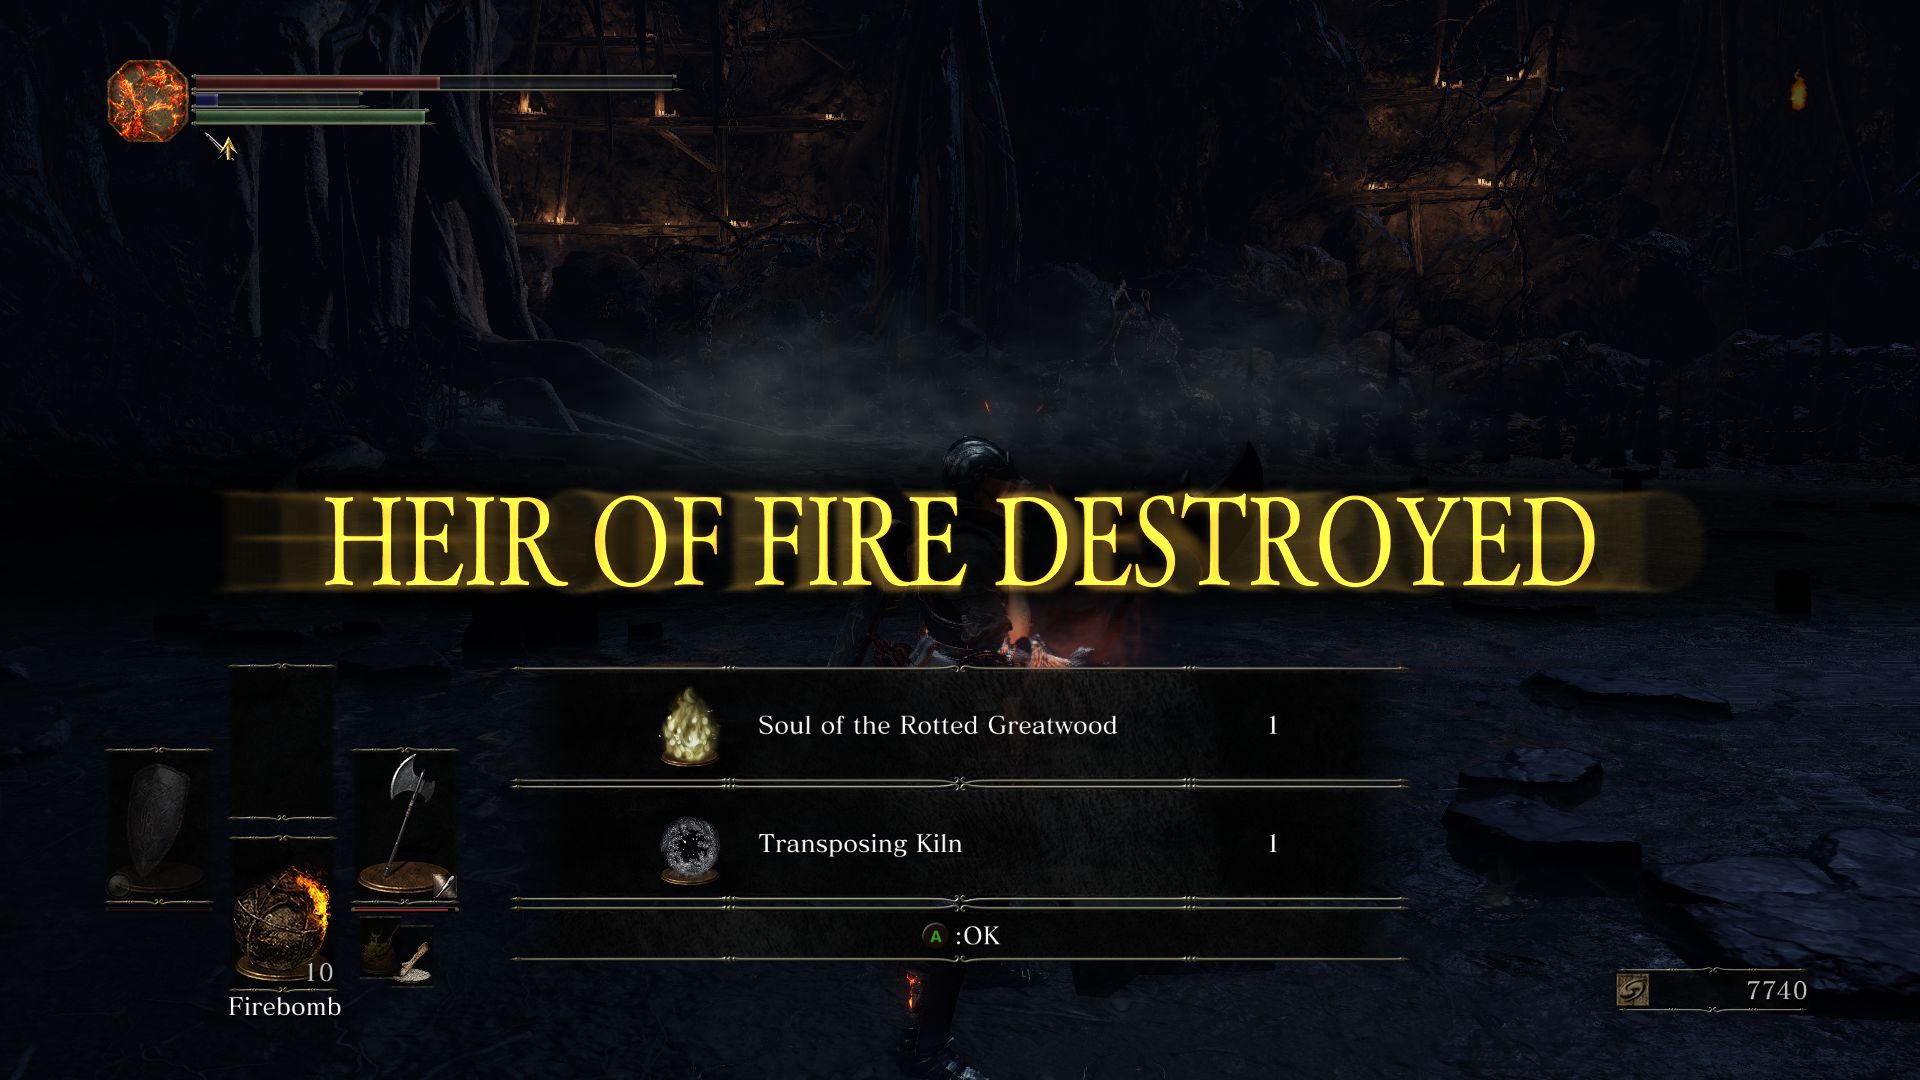
After you defeat the boss, you’ll be rewarded with a Soul of a Rotted Greatwood (do not open it for souls, you can use it to get boss items) and a Transposing Kiln. This boss is entirely optional, but if you defeat it and obtain the Transposing Kiln, you can give it to Ludleth at Firelink Shrine to be able to obtain powerful boss items by trading in boss souls. This alone makes it worthwhile to kill this boss.
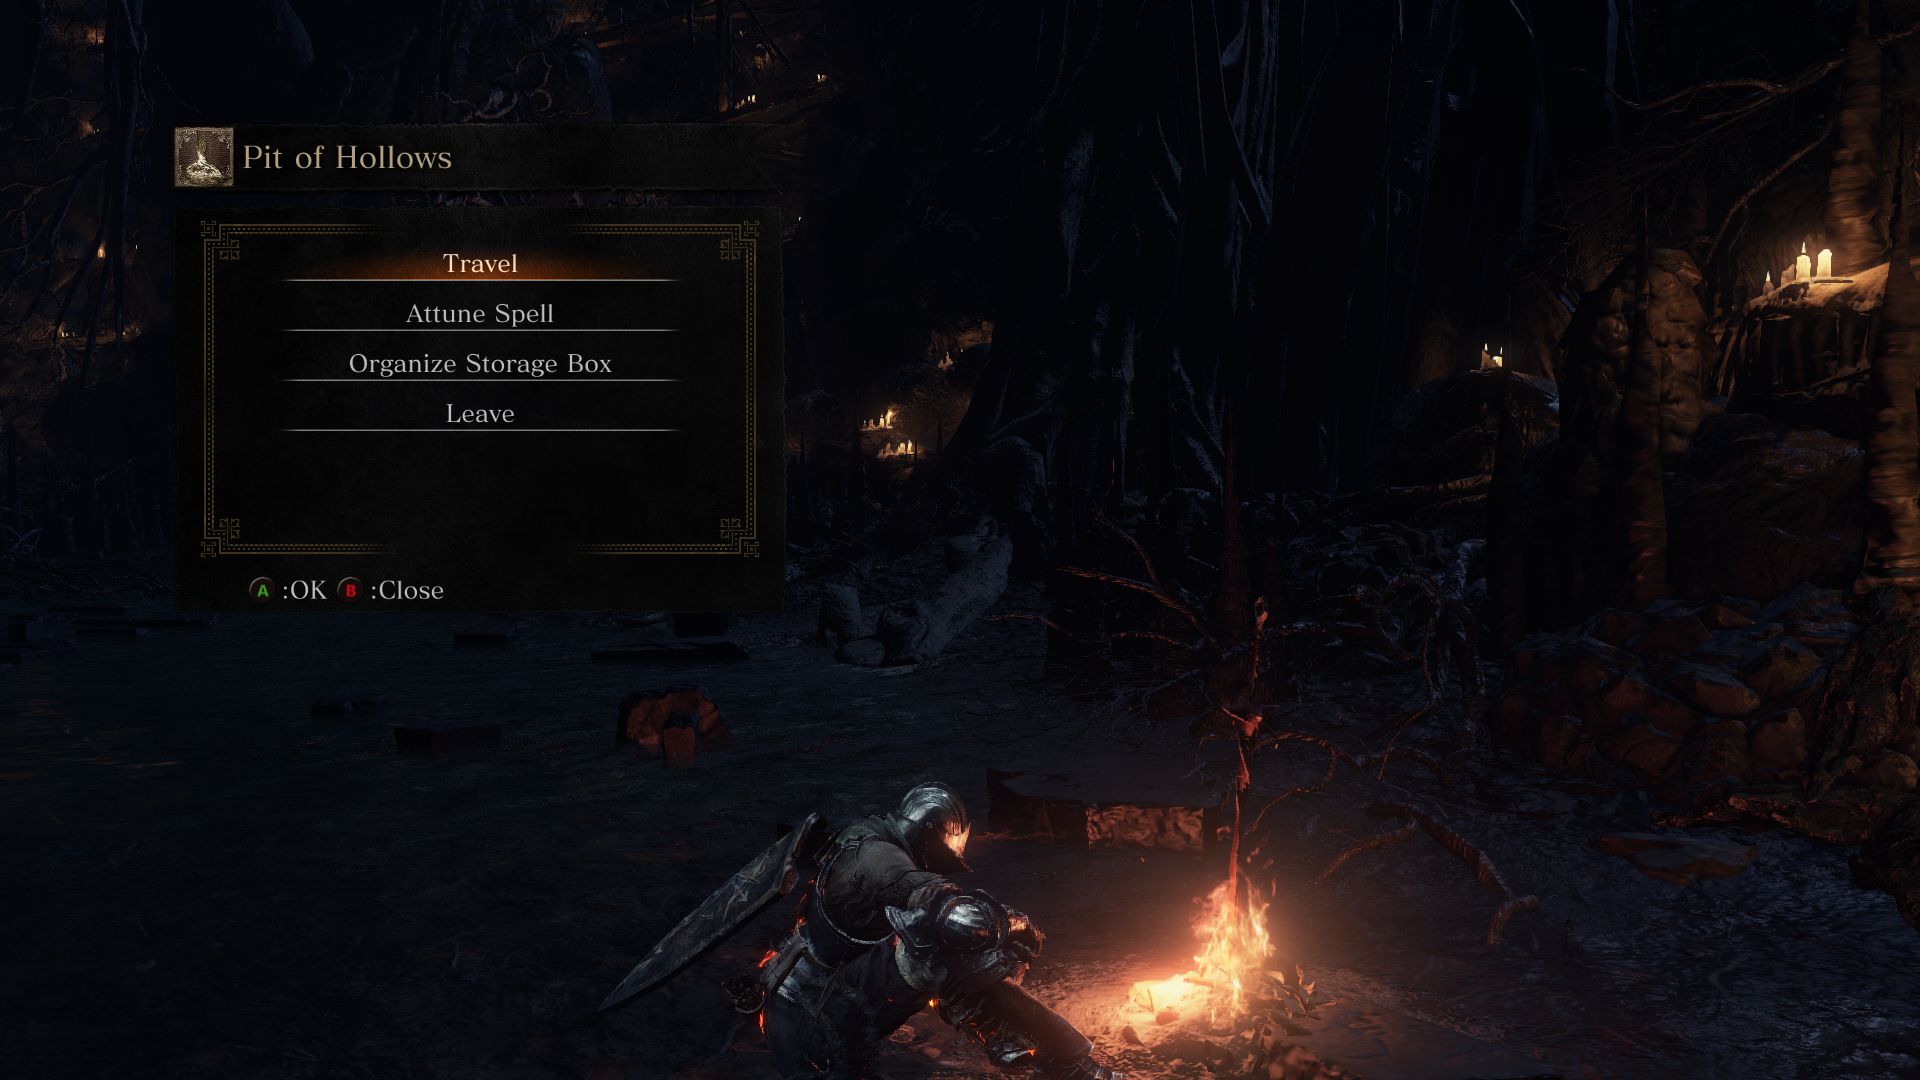
After defeating the boss, light the Pit of Hollows Bonfire and prepare yourself for the next area. If you haven’t already, return to Firelink Shrine to talk to NPCs, level up, improve your Estus Flasks and items, and so on.