Objective: Get to car lot rooftop
Before heading to the next objective, stock up on weaponry effective against spec ops and a couple of healing items. When Nick is ready make your way to the car lot roof in Ingleton to meet Red. You start in Sunset Hills so you may want to take a vehicle for the trip.
——————————————————————————
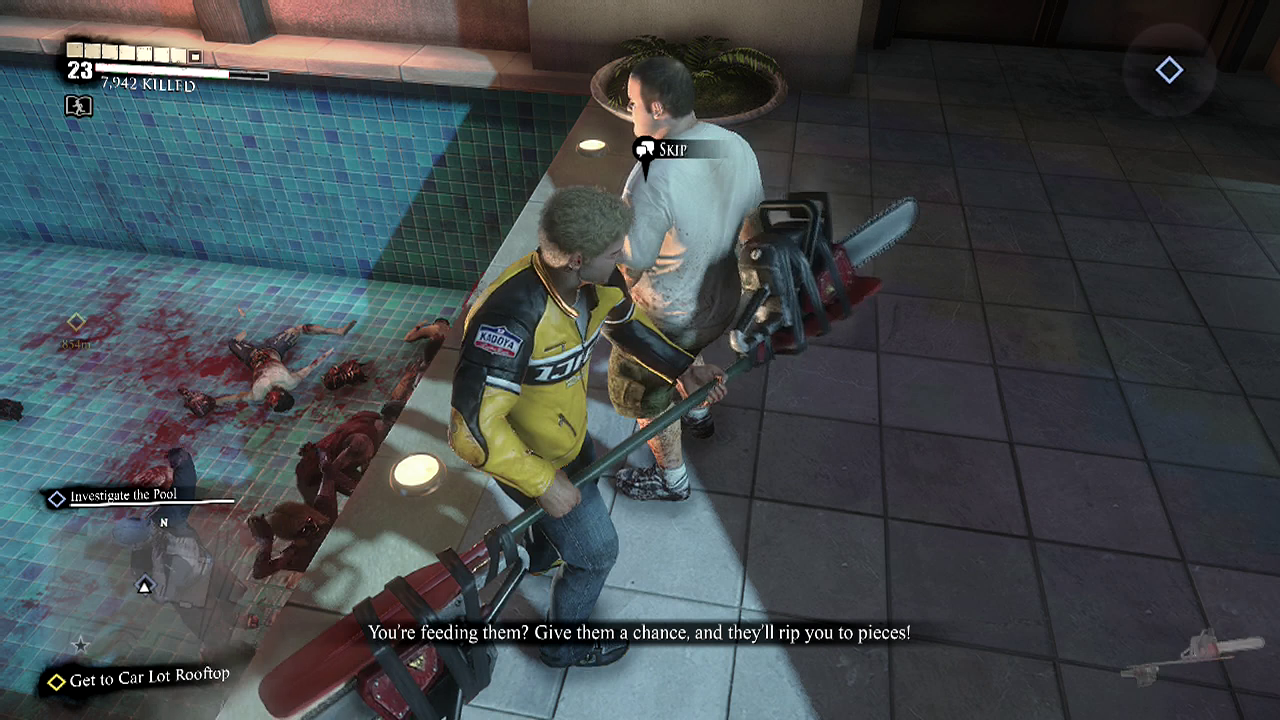
Survivor mission (Jason – Sunset Hills): Investigate the pool
Reward: 25,000 PP
Objective: Talk to Jason
Jason is hanging out poolside and has developed rather weird eating habits (or at least his now turned family has). He wants Nick to bring him some meat to keep them alive or at least not more dead.
Objective: Bring Jason meat
If you don't have any on hand you'll have to scour the nearby buildings for some. I found bacon in a house down the slope and across the road just sitting on benches filled with cocktails and a refrigerator. Once you have it sprint back to Jason and hand it over for your reward.
Psychopath (Dylan – South Almuda): Investigate the XXX store
Reward: 30,000 PP + Followers (Julia + Eric) + Weapon (Lust Cannon)
Attacks:
Kick – Dylan will launch a kick your way if Nick is nearby (and even sometimes when he isn't). Just stay back from him until you are ready to attack and this shouldn't be an issue.
*Red flame mode*
Great balls of fire – Dylan shoots an explosive projectile in a straight line, this explodes when it hits. Keep moving or evade to avoid taking damage.
Flame blast – Dylan will thrust forward releasing a plume of fire in a straight line ahead of him. Dodge roll to clear the way or run to his side to resume attacking.
Flame tornado – Dylan will spin rapidly in a circle, shooting a stream of fire all around himself. Dodge roll away when you see this attack or just stay back if you are out of range until it ends.
*Blue flame mode*
Snow balls – Dylan shoots a frozen projectile in a straight line, this explodes when it hits. Keep moving or evade to avoid taking damage and a cold.
Frosty blast – Dylan will thrust forward releasing a cloud of freezing gas. Dodge roll away of run around him to avoid this freezing attack.
Ice nova – Similar to the flame tornado but with chilling gas this time. Dodge roll or stay back to keep out of harms way.
General strategy – And I thought Darlene was disturbing. I was wrong, so very wrong. Dylan is a whole 'nother level of whacko. With his thrusting flamethrower (yeah not gonna write down what it actually looks like) he can hit you at range and in an AoE around him. Sometimes Dylan will have problems getting his equipment to work properly and Nick can use this brief window to get in a nice chunk of damage by pressing Y + B.
If Nick is too slow, Dylan will slap Nick's ass and then most likely set it on fire. Dodging and using melee weapons that can make Dylan flinch are the two main ways to stay alive and beat him. Stay in close when you can and keep him in constant stun lock. He will knock you back with his 360 spins but they do relatively small amounts of damage. Keep pounding away at him and he will bite the dust.

——————————————————————————
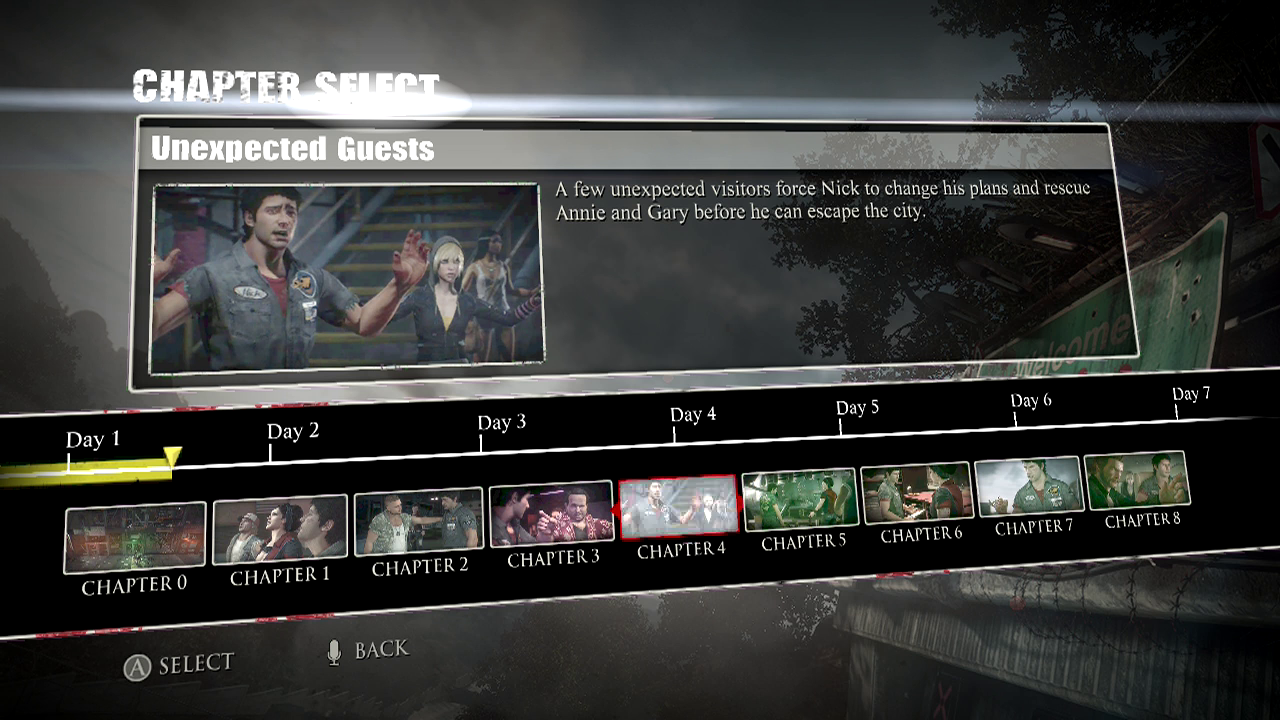
Objective: Enter the HQ
After preparing for the spec ops and meeting Red in Ingleton you will have a choice on how to approach infiltrating the camp. You can run in with guns blazing or weapons swinging. Or you can try to find a place to enter on the perimeter of the camp. Decide which approach you want to try and head across the road. Once inside (either through violence or stealth) Nick will find out that things have just gone from bad to worse with the General.
——————————————————————————
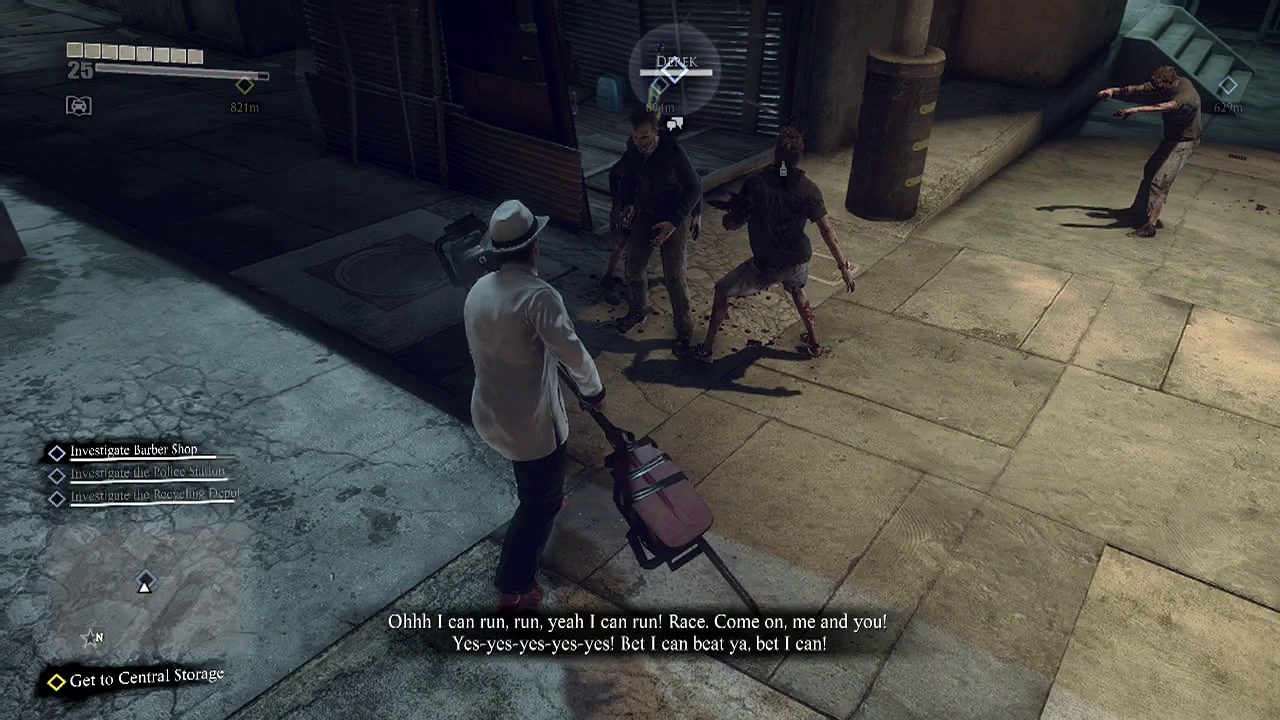
Survivor mission (Derek – Ingleton): Investigate Barber Shop
Reward: 25,000 PP + Weapon ()
Objective: Go to the starting line
Talk to Derek and he will suggest a race. Racing through the streets packed with undead. Sure, why not. You may want to have some crowd clearing weapons (like the spiked bat, paddlesaw or other wide arc stuff) as there are a lot of zombies on the route. Head to the marked starting line and get ready to follow the checkpoint makers.
Objective: Reach the finish line first
The course will be pretty straightforward as you are on foot and it is easy to change direction. The main threat is losing time when you are swarmed by zombies. Sprint as often as you can and use your crowd management weaponry when you get surrounded and you should reach the line with plenty of time to spare. Receive your reward and the mission is over.
——————————————————————————
Objective: Destroy the generators
The first generator will be in the same building as you after the cut scene. However a spec ops has been alerted to your presence and will have to be taken care of first. Blow him away with your weaponry and do the same to the nearby generator. The second generator you can see through the window next to the first. Head outside and open the gate so you can access the second generator. You will have to pass through a small group of zombie captives but it shouldn't be hard to handle.
Objective: Free the captives
Once the power is down you can begin the rescue. Head to the marked fence and open it for a cut scene to take over.
Objective: Defeat all the spec ops
A large second wave of spec ops will be waiting for you as you emerge from the tent. Try to conserve your life and take these guys down quickly or else they will whittle your health down in a hurry.
Objective: Open the gate
Head for the exit to find that it is now locked. This means you have to find the key card. Who has the key card? The commander of course.
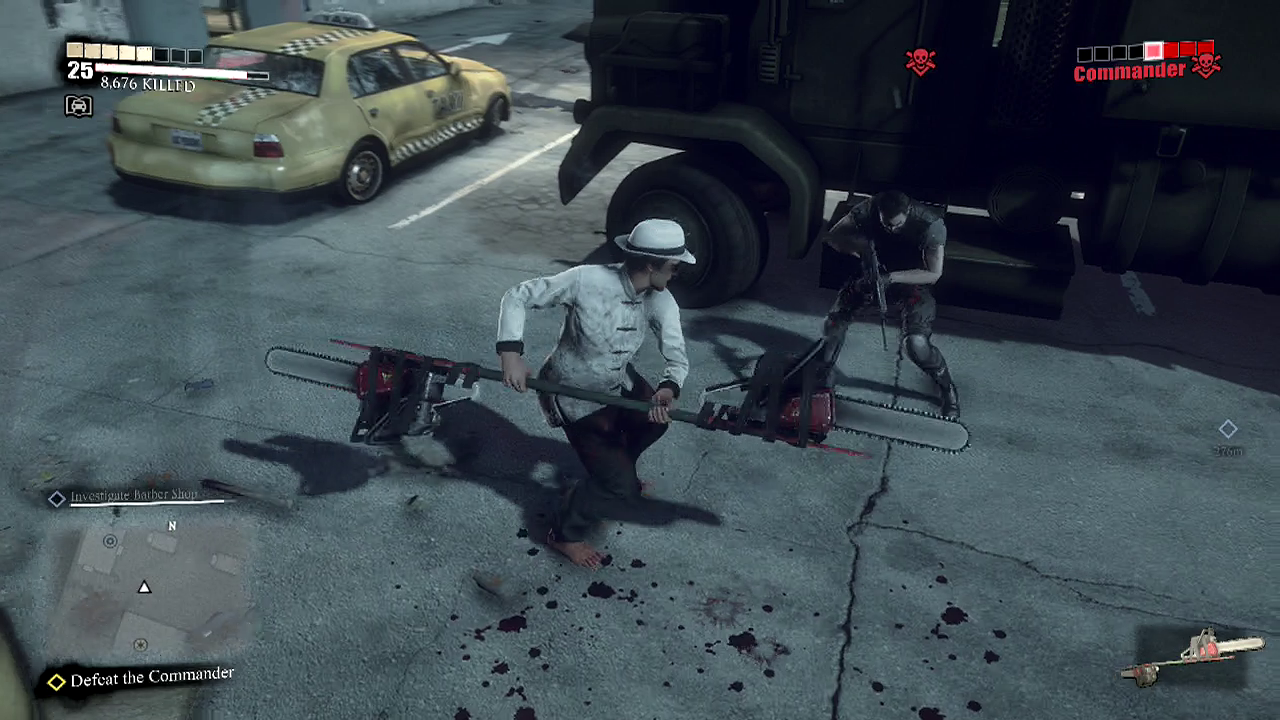
Objective: Defeat the commander
The commander has a few tricks up his sleeve. Things like calling in backup, smashing or shooting you with his rifle amongst other attacks. He is however, pretty weak for an enemy (especially after some of the ones you have taken down in previous chapters) and should die rather quickly if you keep him flinching.
Objective: Get the key card
Grab the key card that the commander drops and head back to the gate.
Objective: Escape
Put the key card in the slot, that's it.
Objective: Get to Central Storage
This is another one of those objectives Nick can take his time with. A good time to do any side missions or look for collectibles for PP. After you have explored and are ready to move on Nick needs to travel to the locked gate near the gang leader from chapter one was fought.
——————————————————————————
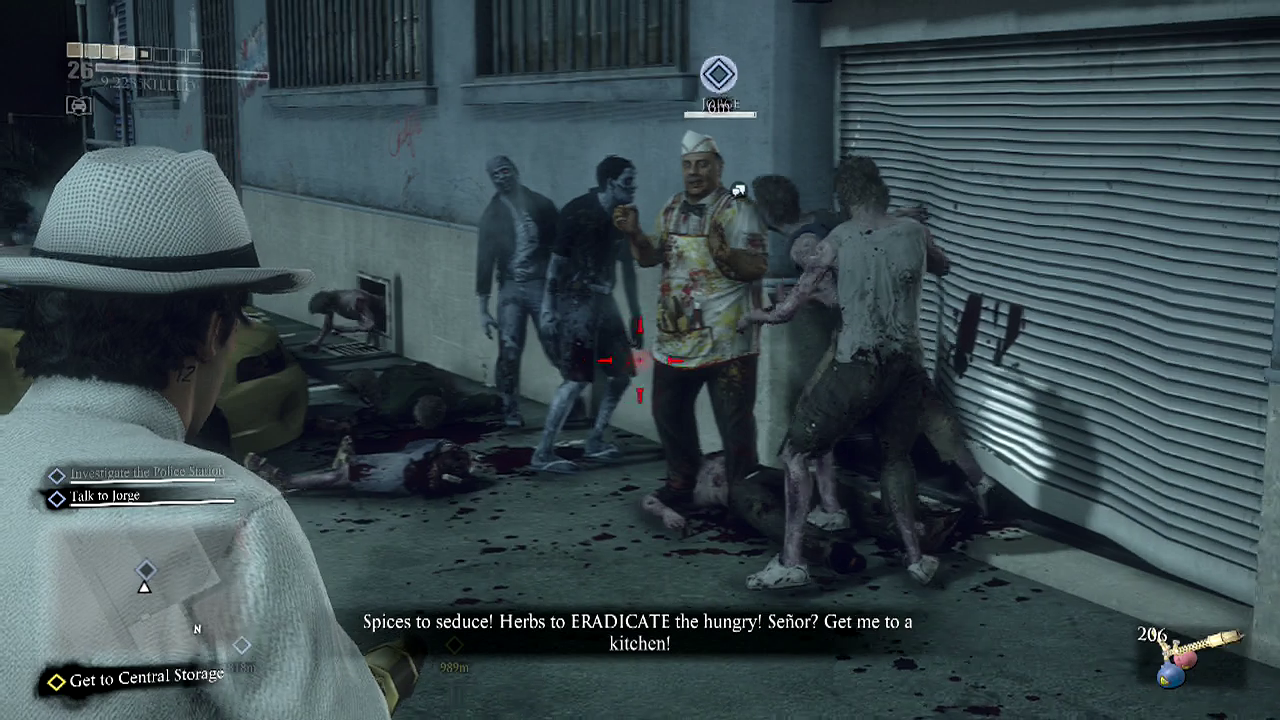
Survivor mission (Jorge – South Almuda): Investigate the Recycling Depot
Reward: 40,000 PP + Follower (Jorge)
Objective: Talk to Jorge
Jorge will be standing in the open, tearing up about the loss of his hot dog cart. Nick suggests getting a better cart. Jorge has always wanted to work in a professional kitchen. Can you see where this is going?
Objective: Bring Jorge to the kitchen
There is a kitchen pretty close by so this shouldn't pose to many issues. The kitchen also has food in it (funnily enough) to replenish any that you lost on the way.
Objective: Watch the master at work
When you arrive, Jorge will begin making his masterpiece. The masterdog. This handy item is great for low health situations and will reappear regularly in this kitchen. You will also receive your reward after he is finished.
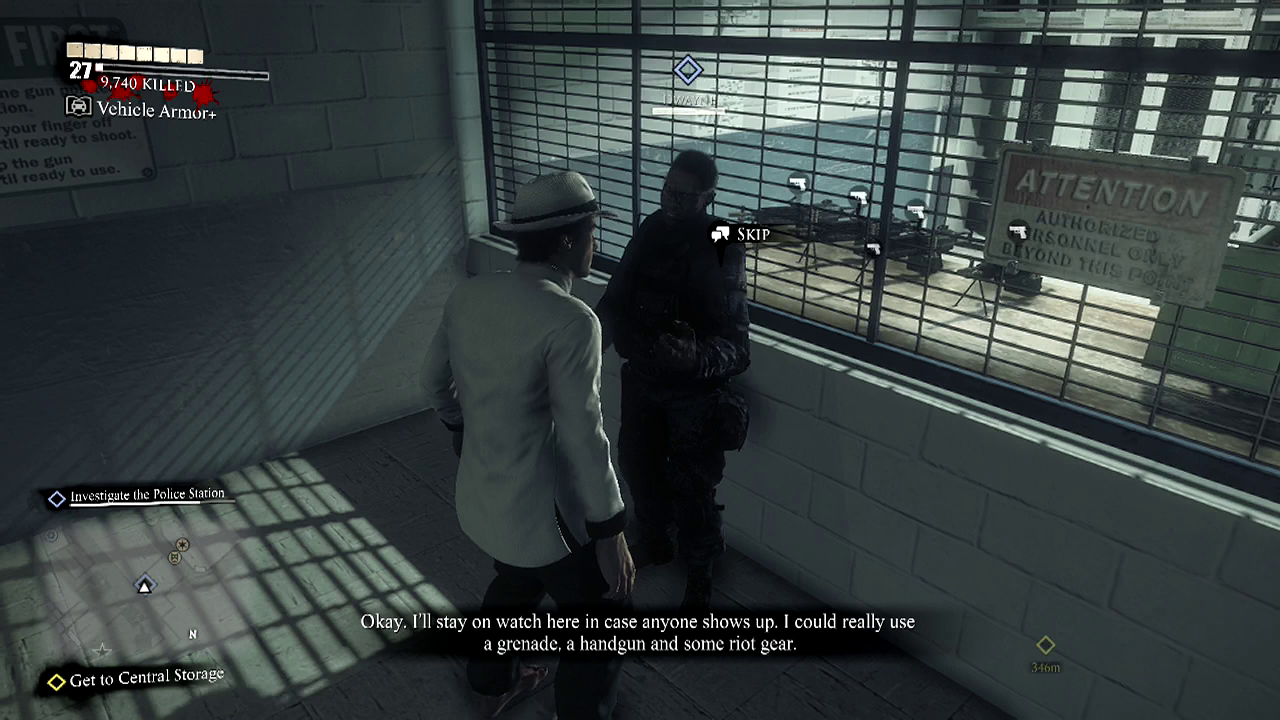
Survivor mission (Dwayne – Central City): Investigate the Police Station
Reward: 40,000 PP + Follower (Dwayne)
Objective: Find a grenade
Dwayne will want you to find several pieces of equipment. The first of which is a grenade. I had to go to a safehouse and get one but you may have better luck finding one nearby. You may want to grab a shotgun while you are there for a later objective.
Objective: Find a handgun
In the cell area near where Dwayne is there are a couple of cop zombies. These guys can be taken down and their guns can drop to the ground. If it does that's it, if not keep looking throughout the police station and you will find plenty.
Objective: Find a riot shield
This can be found in the garage, between two cop cars.
Objective: Find a shotgun
Back to the safe house (if you didn't already get one) and then back to the police station to give Dwayne his new toy. After all that he will finally join you and you will get your mission reward.
——————————————————————————
Objective: Find the fuel
Once you reach the storage units you will have to search for the one that contains the fuel. When Nick finds it, it will (as always) be locked.
Objective: Find the storage unit key
In the nearby office on a desk is where it is located.
Objective: Find the fuel
Back to the locked unit to finally get your hands on the fuel. But bad news, as this releases the powerful and annoying king zombies into the zombie roster.
Objective: Get into the fuel car
Quickly get into the fuel car and floor it.
Objective: Bring fuel to the plane
The car has quite a bit of health so unless things go drastically wrong the trip should be relatively easy. Head back to the hangar to complete the chapter.
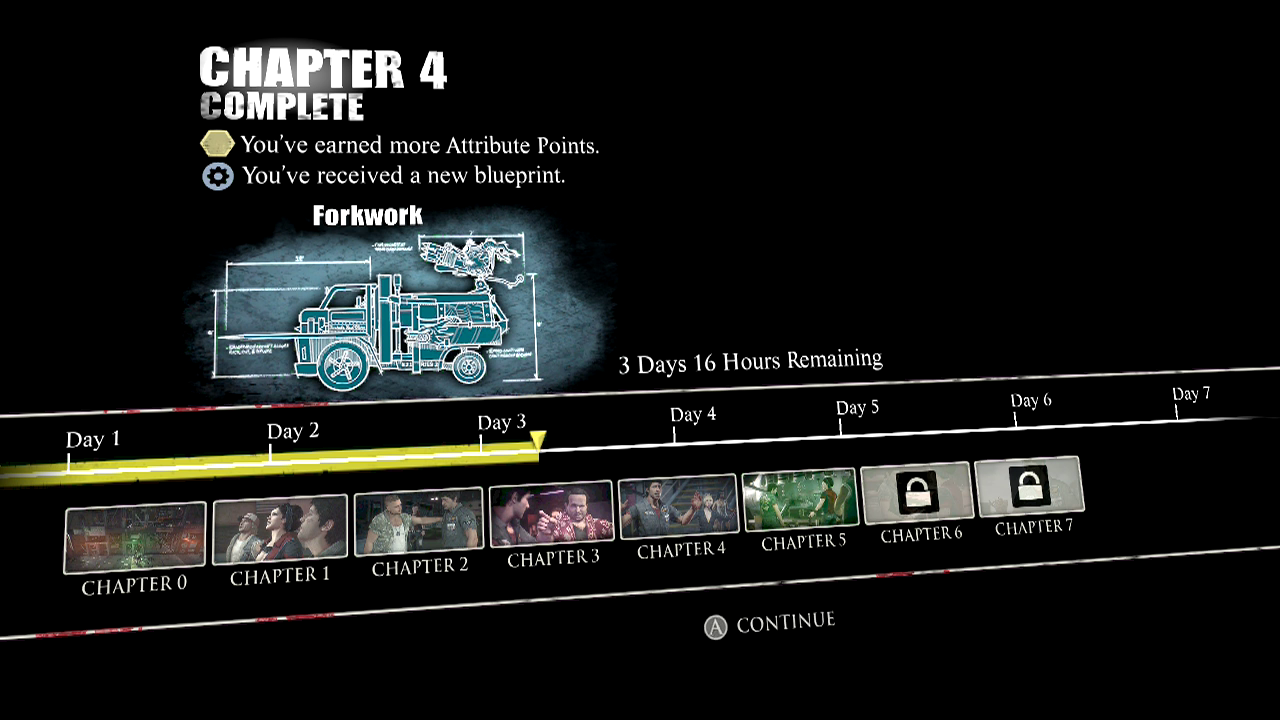
Chapter reward: Attribute points + Schematic (Forkwork)