
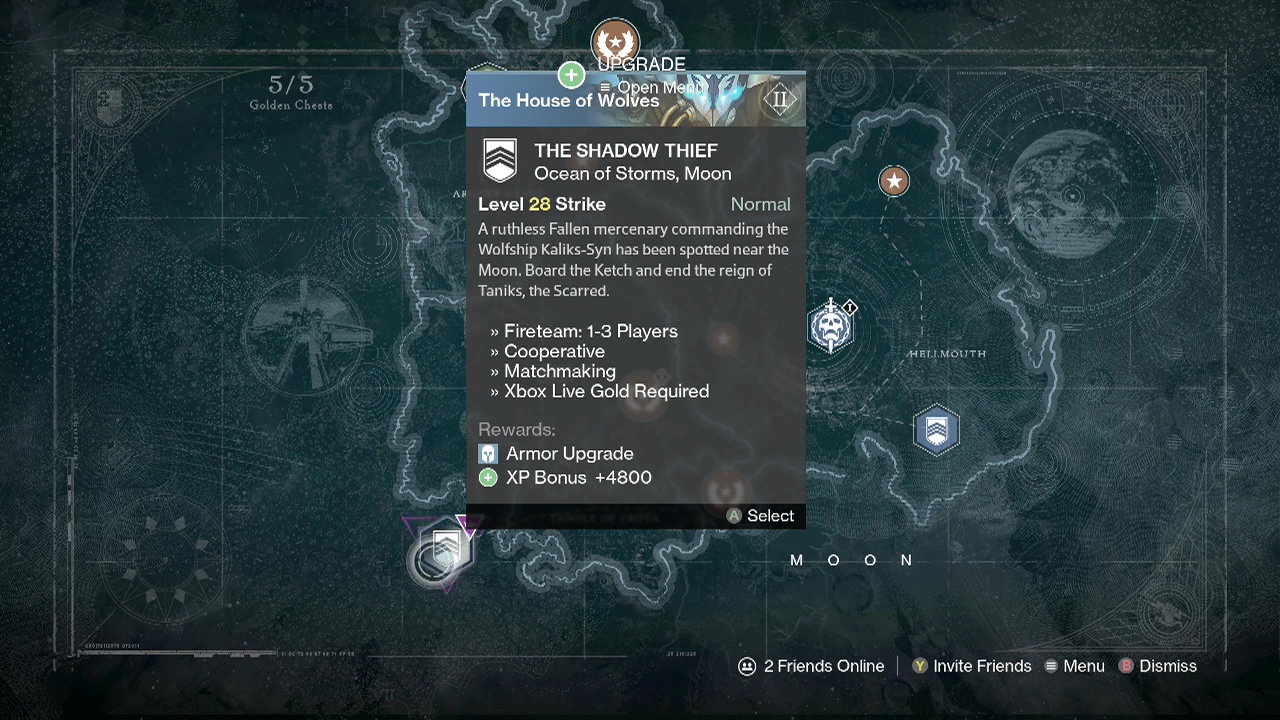
STRIKE 01 – The Shadow Thief
Recommended Level: 28+
Objective: Fight to the Wolves' ketch
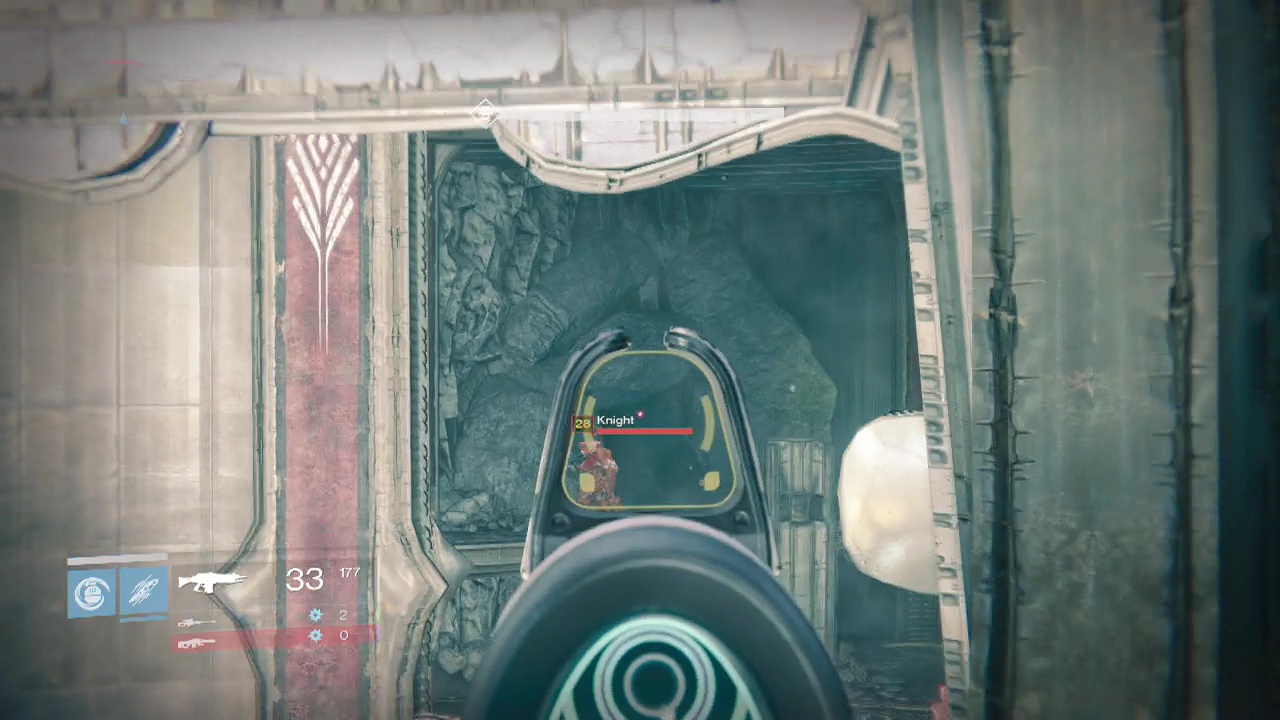
After landing on the Moon, you will stride over a rise to see a pair of closed shriekers guarding the doorway to the Temple of Crota. They may or may not react to your presence (they attacked on my first strike play-through but did nothing on the second one). Either way, get past them and drop down to the levels below in the temple entrance. Keep moving deeper into the structure until you reach the circular area with a ship in the center and encounter a couple of knights, a wizard and several cursed thralls. Use the cover of the central ship or the outer area to attack the group from safely (and try to set off a cursed thrall chain reaction if you can to get rid of them quickly).
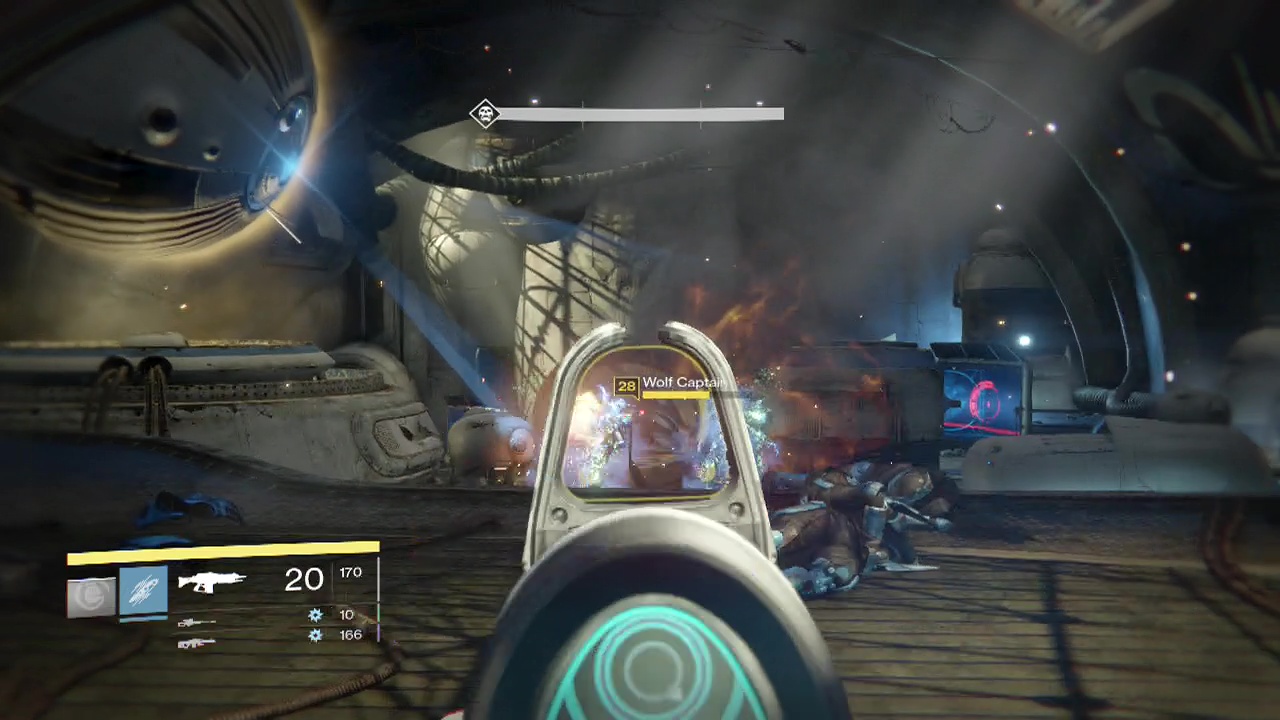
Once that is over, make your way further down until you reach a new room at the bottom of a large set of stairs to run into a group of hive (ogres, a wizard, acolytes and thralls) facing off against fallen forces (a captain, cloaked melee vandals and dreg). Stick to the outer edges of the fight, picking off the more dangerous targets (such as the ogres or wizard) with a sniper rifle when you can, while you take out the odd weaker enemy that crosses your path.
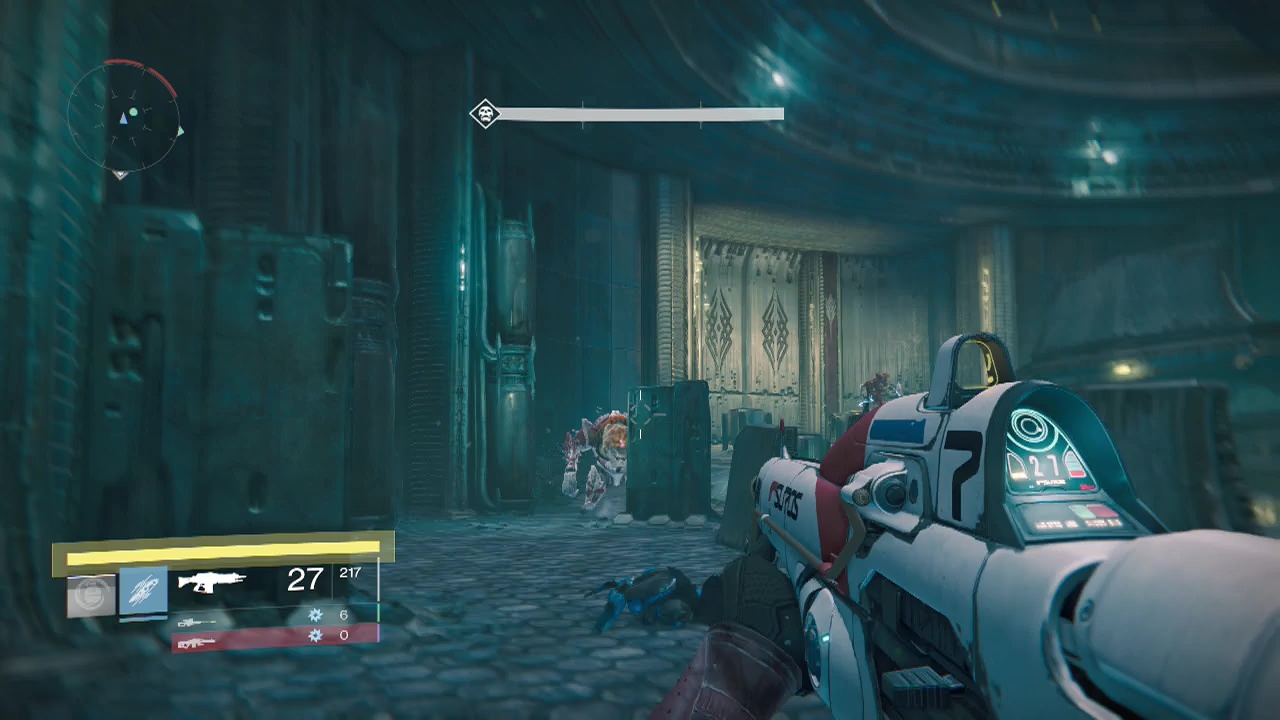
Afterwards, you'll move down a corridor leading to the Dusk Warrens area. A few seconds later you'll emerge into a new room with a glowing stream of energy coming from a device in the center, surrounded by fallen forces. Three or four vandal snipers and a captain will immediately open fire on you, so take cover and start shooting back. Ranged vandals and dreg will run around adding to the confusion of the firefight. A group of four or five melee vandals will show up as you move further into the room as well, so be careful to avoid getting blindsided by their sudden attack.
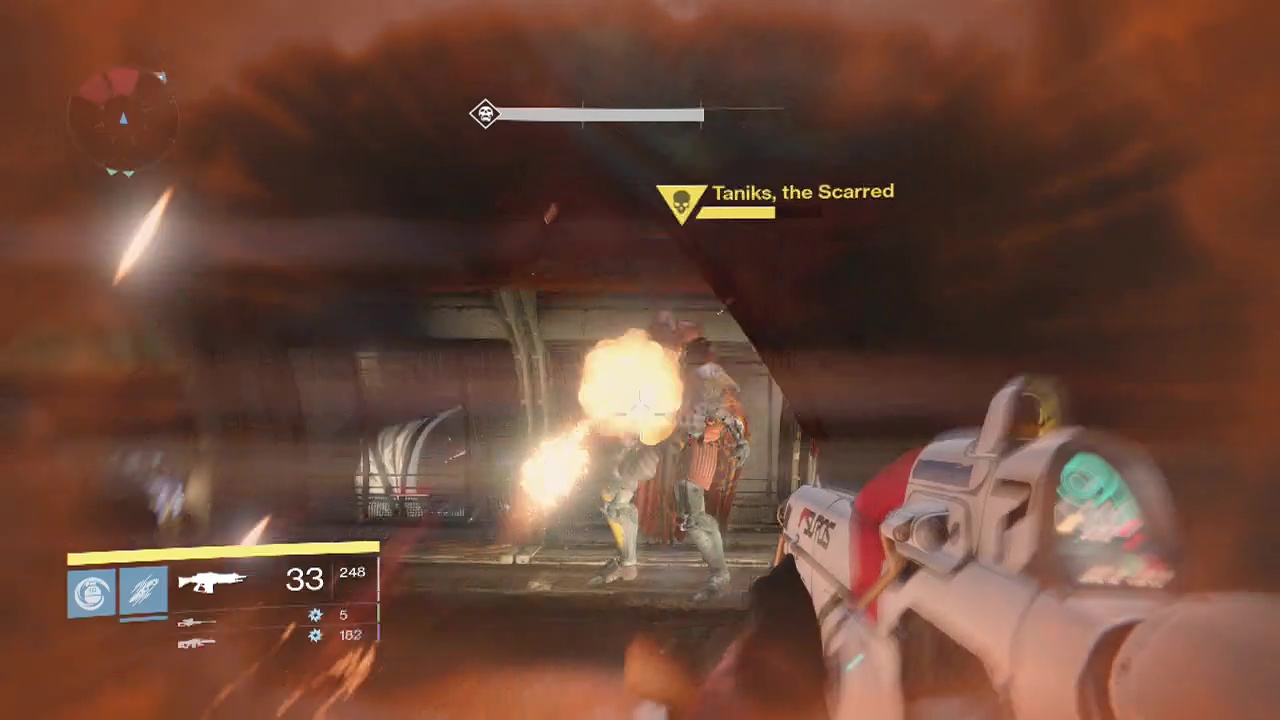
More ranged vandals will show up as well later in the fight, and finally Taniks the Scarred will appear at the base of the elevator. Be careful to avoid standing on it when he appears or you will have a rather terminal headache (see the 6:30 mark of the video). He will slowly move around the area firing a scorch cannon at your fireteam. Make sure you keep moving to new cover and take shots at him when you can.
He will teleport around like an archon priest as well when attacked, so be ready to adjust your aim rapidly and move away from him if he gets too close. After depleting around a fifth or sixth of his health bar, he will move back to the elevator and vanish, leaving the rest of you behind.
Objective: Hunt Taniks, the scarred
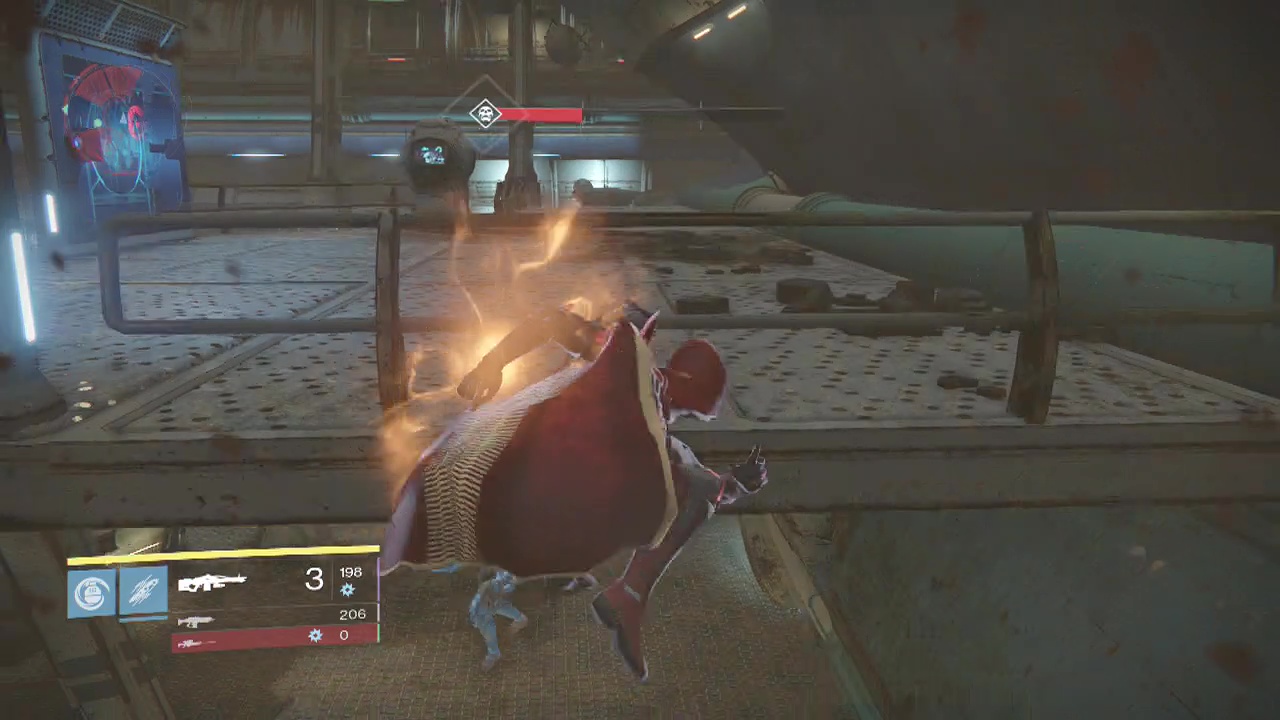
After reloading every weapon, step onto the elevator platform to follow Taniks. Follow the walkways through the bowels of Tanik's ketch until you reach another group of fallen enemies and Taniks once again. Cover isn't as plentiful here, so try and hover near it while you pick off the vandals and dreg swarming around Taniks' feet.
The main threat here are the two yellow health bar captains at the back of the room and Taniks himself. The good news is that Taniks has not healed since your last fight, and he will flee again when he has lost about a third of his health. Powerful fireteams can use this knowledge to focus fire on Taniks and quickly force him to flee, making the battle much easier.
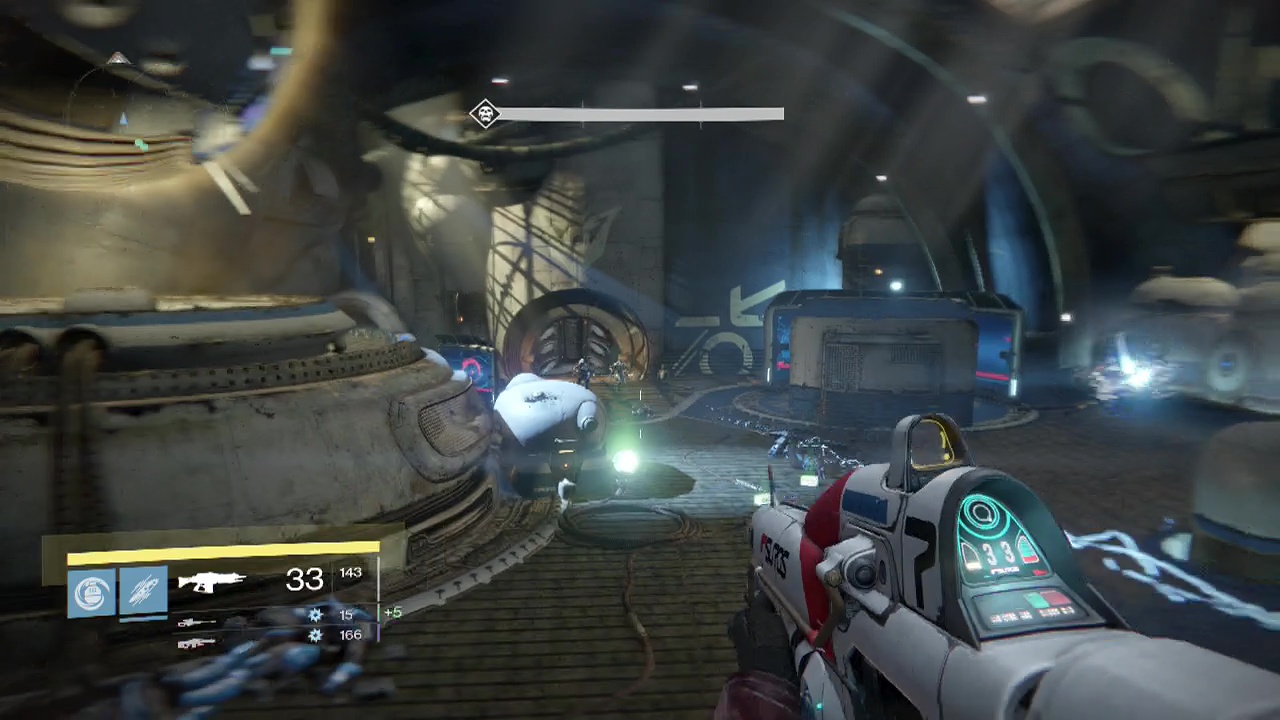
If you can't use this tactic, just keep whittling down the enemies and avoid getting too close to Taniks while you do so. Once the initial battle is nearing it's end, you'll have to contend with a wave of four or five melee vandals and a group of five or so shanks that join the fray alongside several more dreg. Now that the room has been cleared, follow the ship's passageways downwards and you'll emerge onto a walkway with what looks like a workshop or control room below. Dreg will begin swarming out of the woodwork, followed shortly by a captain and ranged vandals from the far end of the room.
Objective: Destroy the walker
After taking out a few enemies, an armored wolf walker will be dropped in at the other end of the room. Immediately take solid cover (far enough away to avoid the AoE blast of it's heavy shot). Fireteams with players who have Icebreaker weapons or large amounts of special ammo synthesis will be well set to deal with this threat.
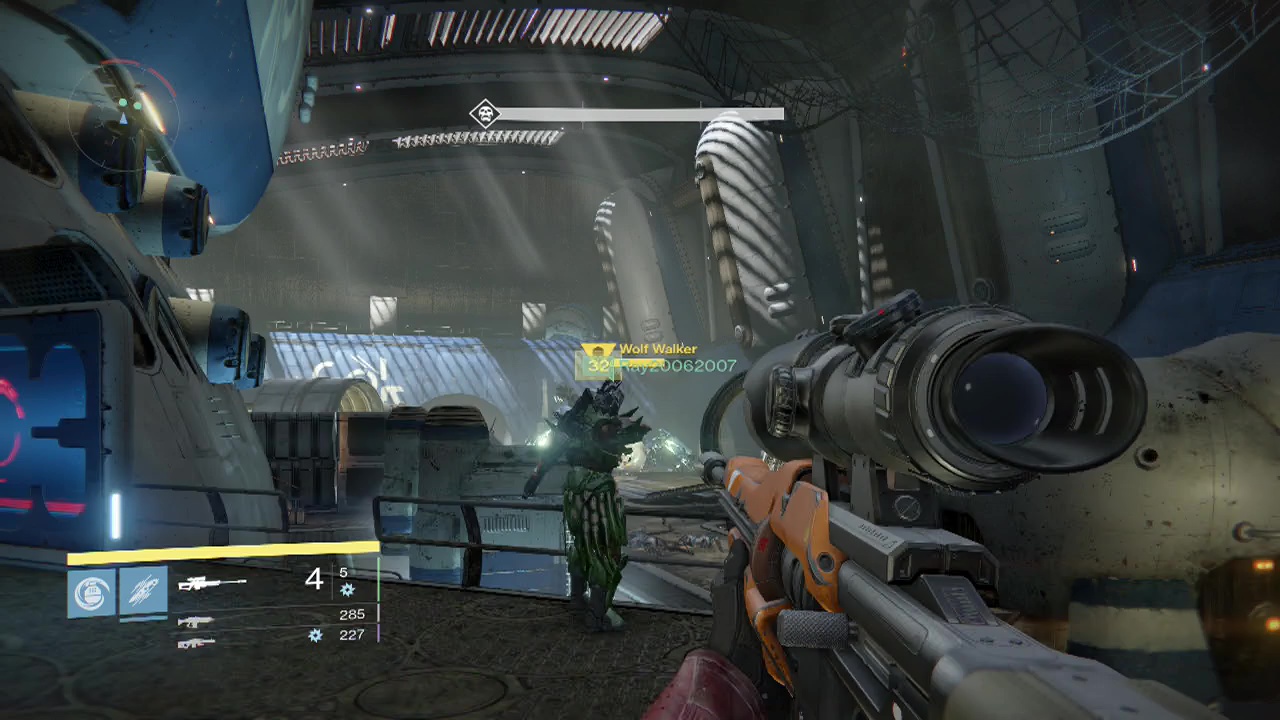
The idea is to line up on the balcony or behind the cover at the far end of the room from the walker and unload on it, moving away from the incoming shells when it targets them. This constant chipping will quickly bring the walker down. Any people without sniper rifles or decent ranged weapons can act as guards and the team medic, reviving fallen players and stopping the fallen reinforcements from attacking the rest of the team.
Of course, if you don't have a team with a couple of good sniper rifles, you're going to have to approach this differently. One method is to use the tunnel on the left hand side of the room as cover and a bottleneck to run around in while taking potshots at the walker and the fallen forces before retreating further inside when attacked. Other teams can also go for the close range method of surrounding the walker (while staying far enough away to avoid it's powerful melee attack), and peppering it from several directions at once. They just have to make sure they aren't taken unawares by the fallen forces spawning in.
Objective: Kill Taniks, the scarred
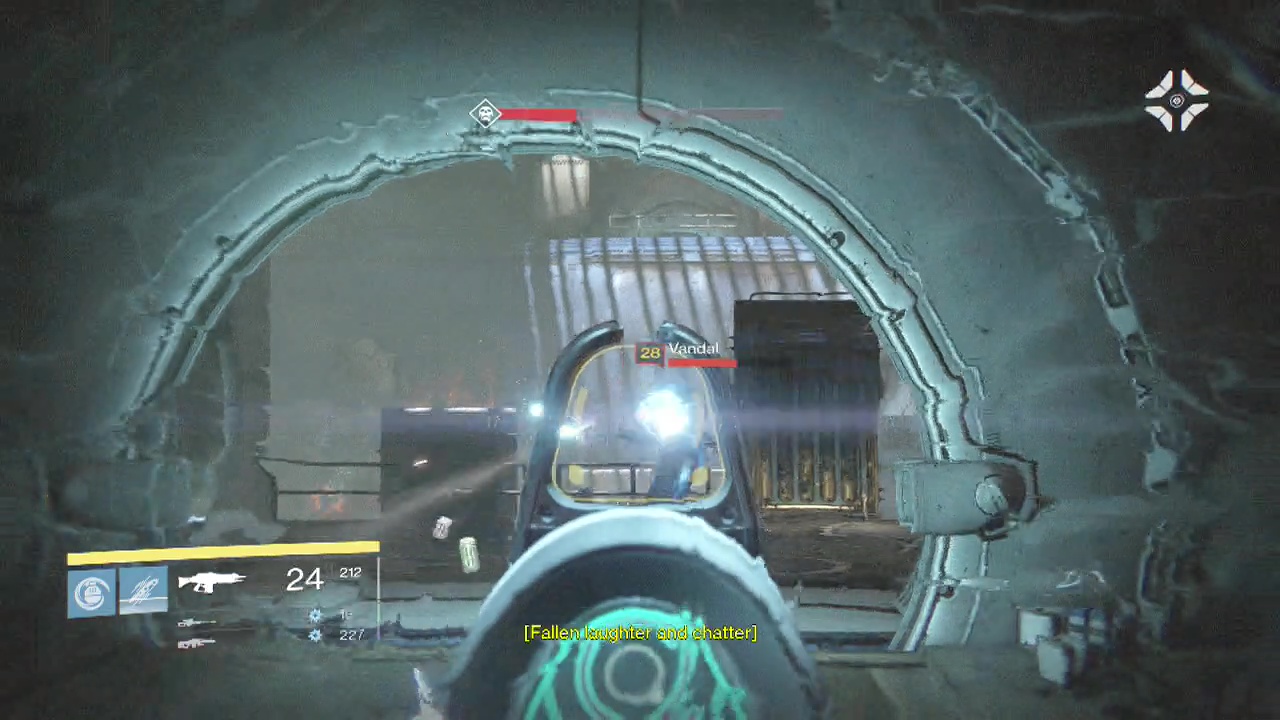
A word of warning about the corridor leading out of this room. When you reach the end of it, you will be face to face with Taniks once again as well as a sudden rush of dreg. Deliberately trigger Taniks appearance and then backpedal down the corridor to cover to avoid getting blasted in this surprise attack. Once you are back far enough, start laying into Taniks once again to reduce him down to just above half health for him to bugger off once again. The vanishing act is probably starting to get old. Oh, wait. He just ran around the next corner. Keep the pressure up and quickly destroy the incoming tracer shanks when they appear. After a little bit more damage he will flee yet again.
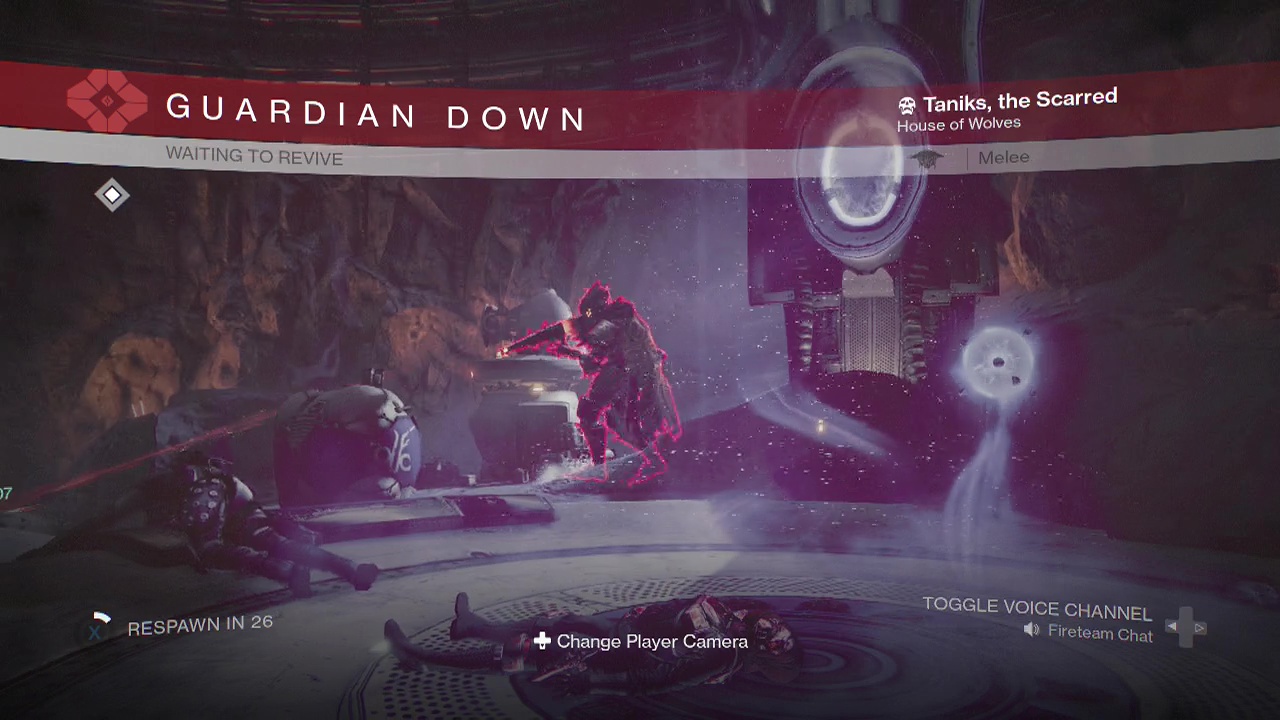
Follow the passage down into a rather large room with what looks like a large power core in the center. Taniks will appear on the ledge surrounding it and open fire on your team. Thankfully this is the final fight and Taniks will not run from you this time. His health will also be at the same level it was last time, so you'll only have to deplete the remaining half to emerge victorious. The bad news is that shortly after Taniks appears, fallen enemies begin to appear in the room as well, distracting you and dealing chip damage while you are trying to defeat Taniks.
Shanks, ranged vandals, dreg and eventually captains will begin spawning in to support Taniks, so make sure you keep on top of the new enemies and remain in cover while you do so. Getting blindsided by Taniks' scorch weapon is no picnic. Work together with your team and focus fire on Taniks when you can with sniper headshots or rocket launcher rounds to bring him down and snatch the win.