Part I – Addermire Institute
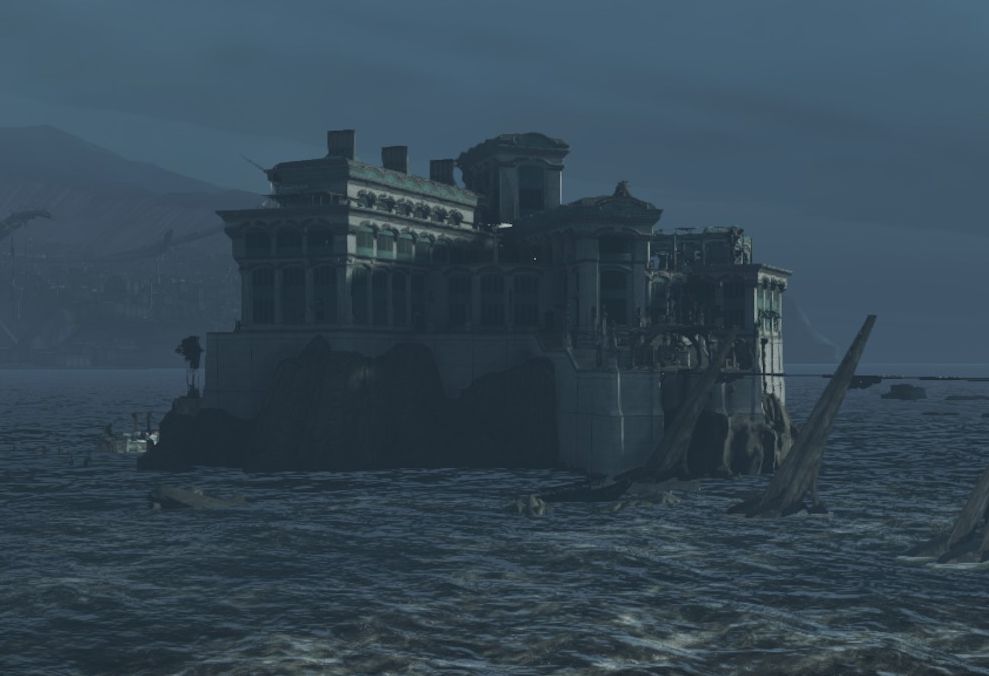
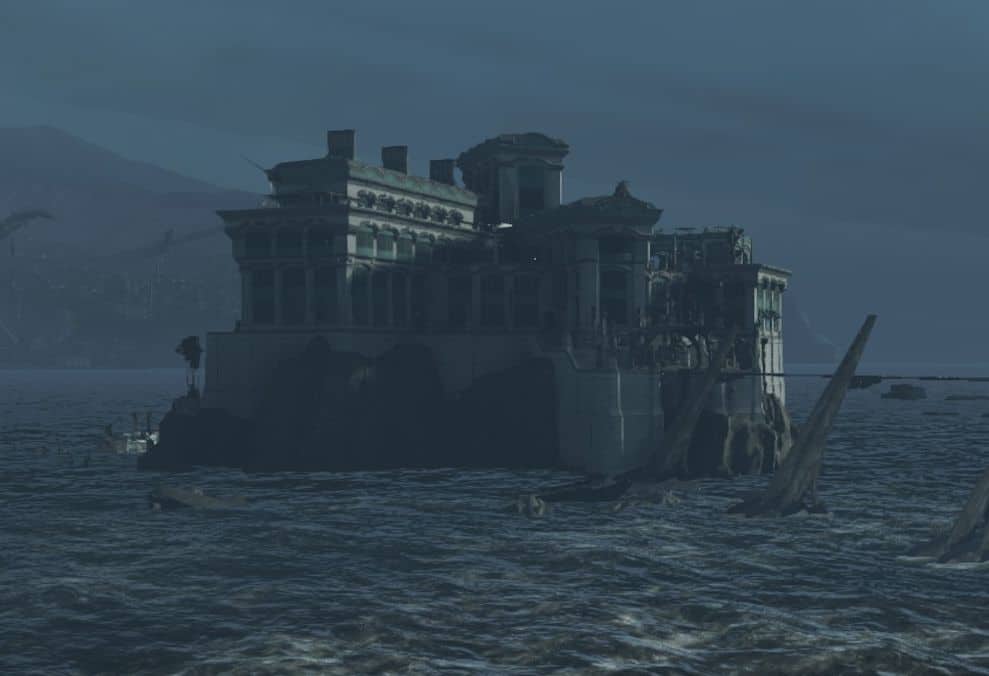
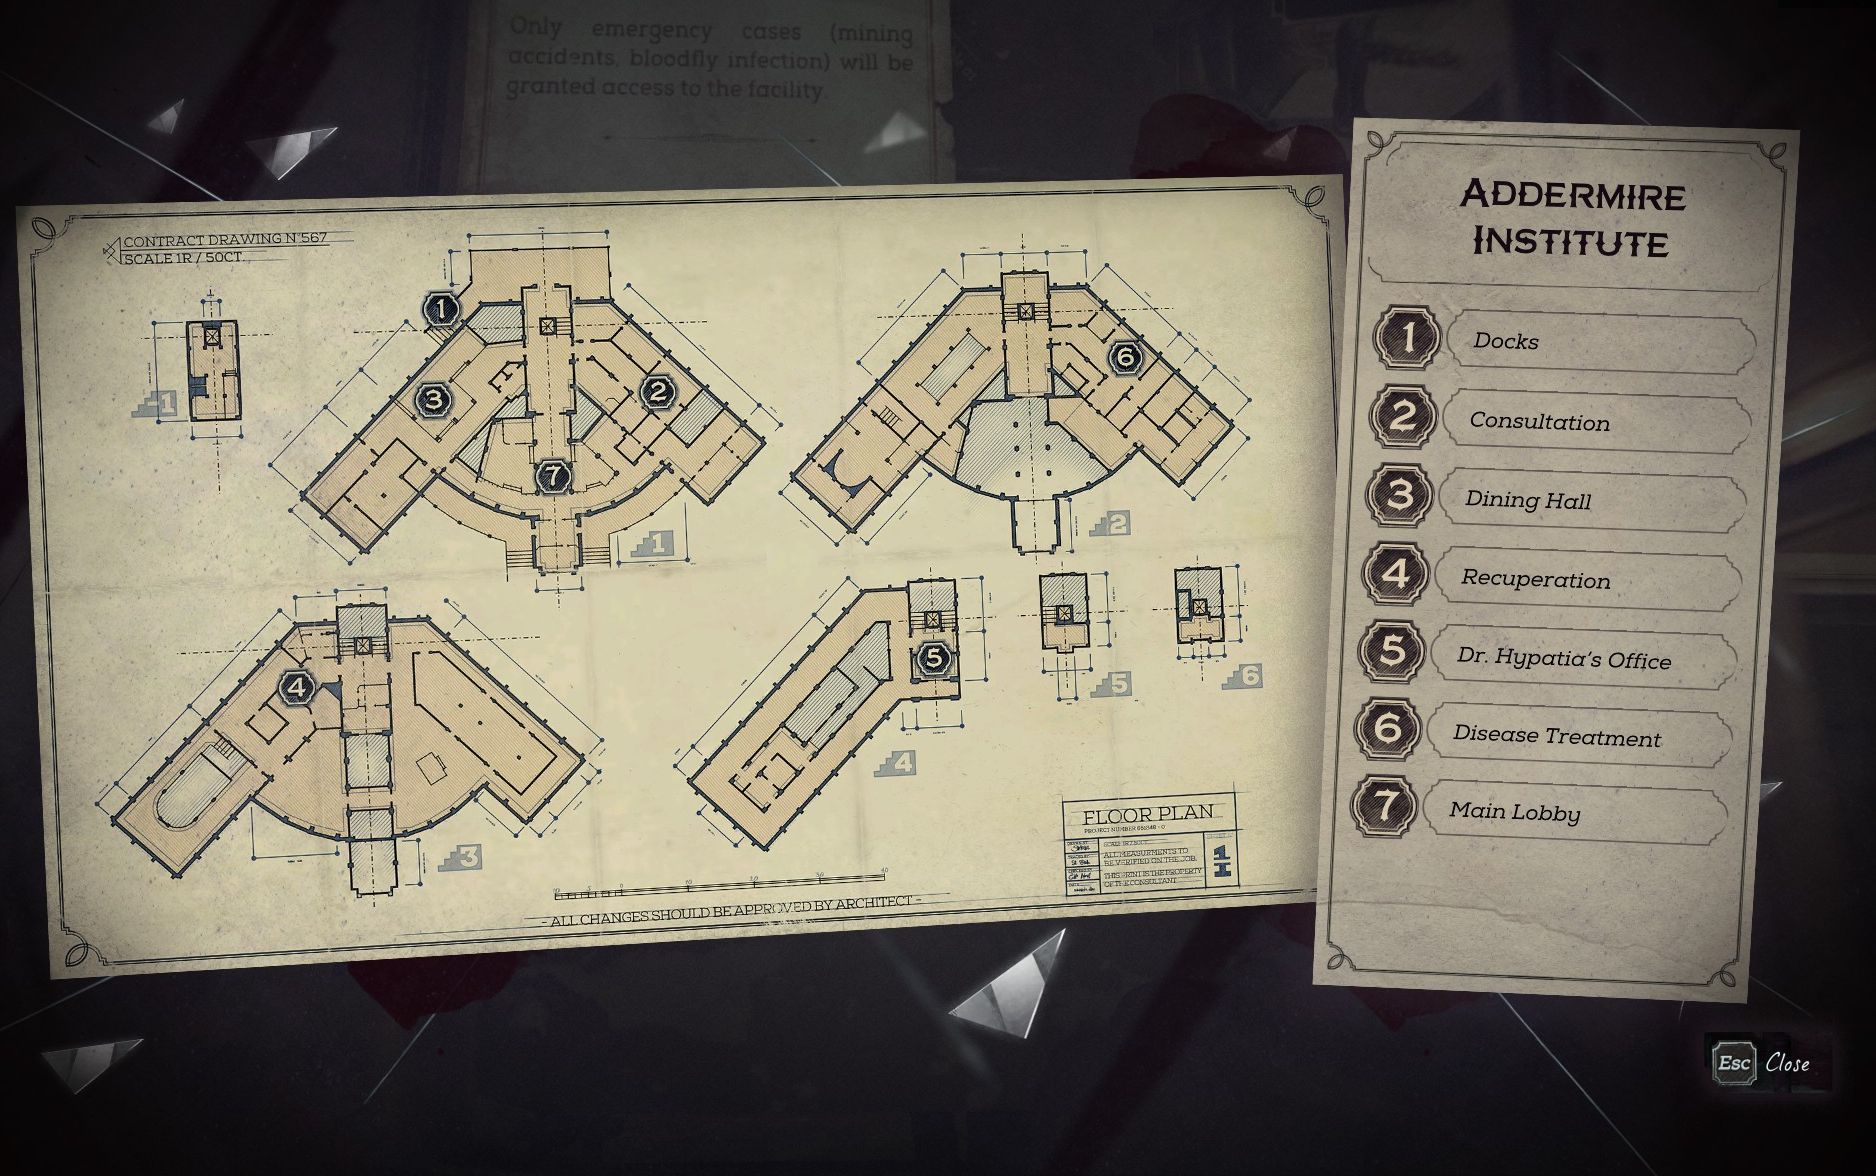
The Addermire Institute is a lot more compact that the last level, but every bit as complex and labyrinthine. Check out this guide's complete map here if you haven't already.
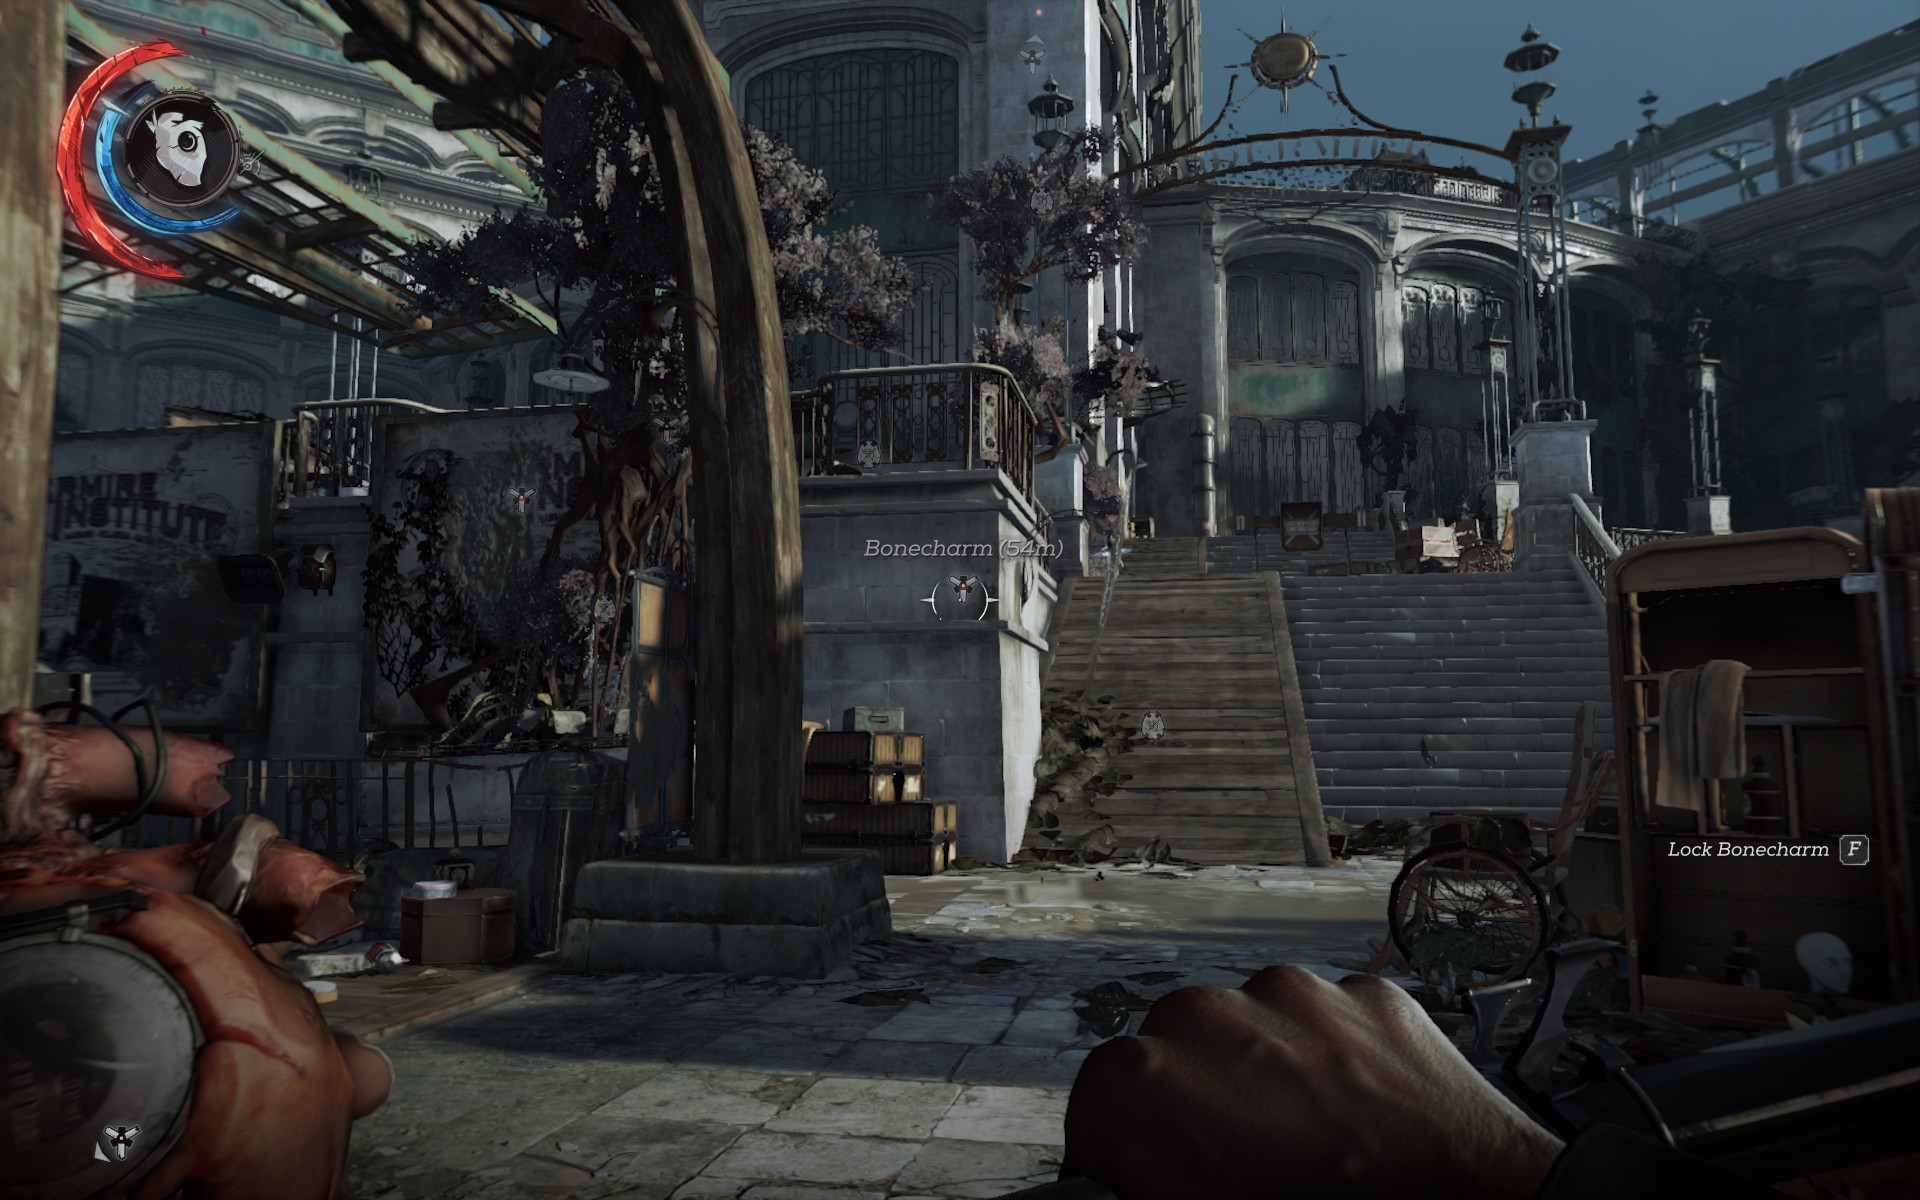
Head up the steps, and very shortly a guard will emerge from the stairs heading right. Trail him, choke him out, and grab the whalebone from the table here.
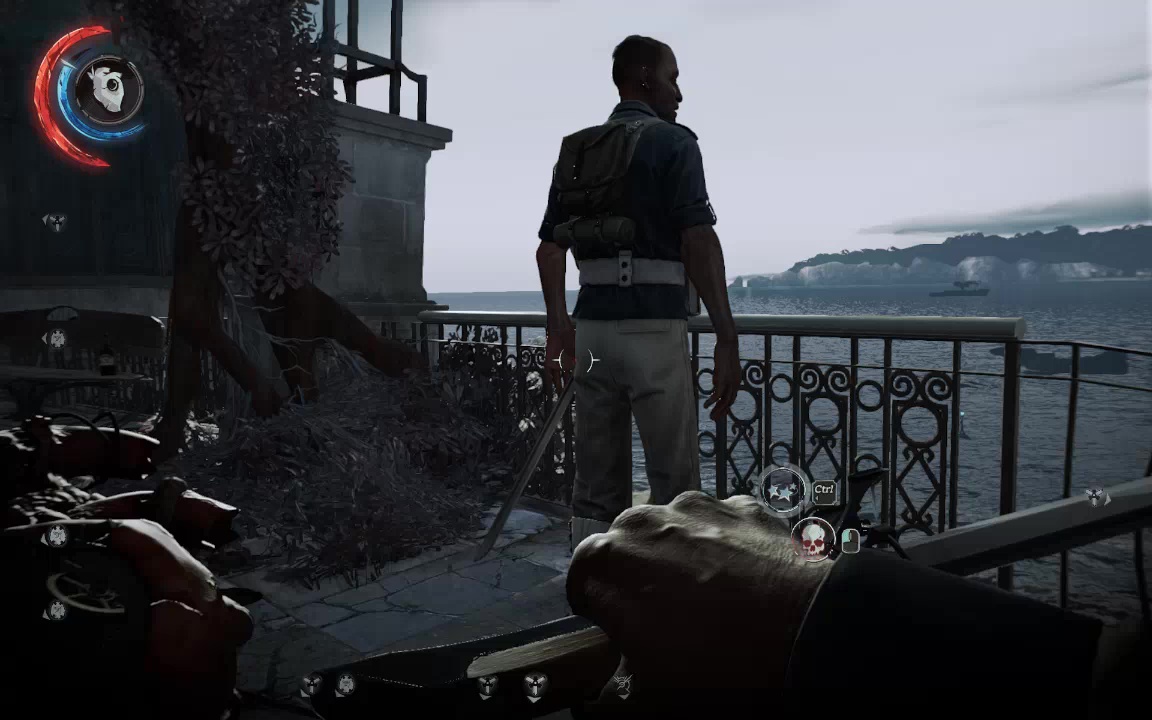
There are two other guards on this walkway, before you enter the building- one in the office and one gazing out to sea on the other side. The guardpost can be entering from above for a stealthy takedown, and the far guard spends all his time staring out to sea anyway. Take them out, then return to the landing. Use the heart to detect a bonecharm dead beneath the carriage here. As you look out to sea, there is a gap in the railing to the left of the carriage-line.
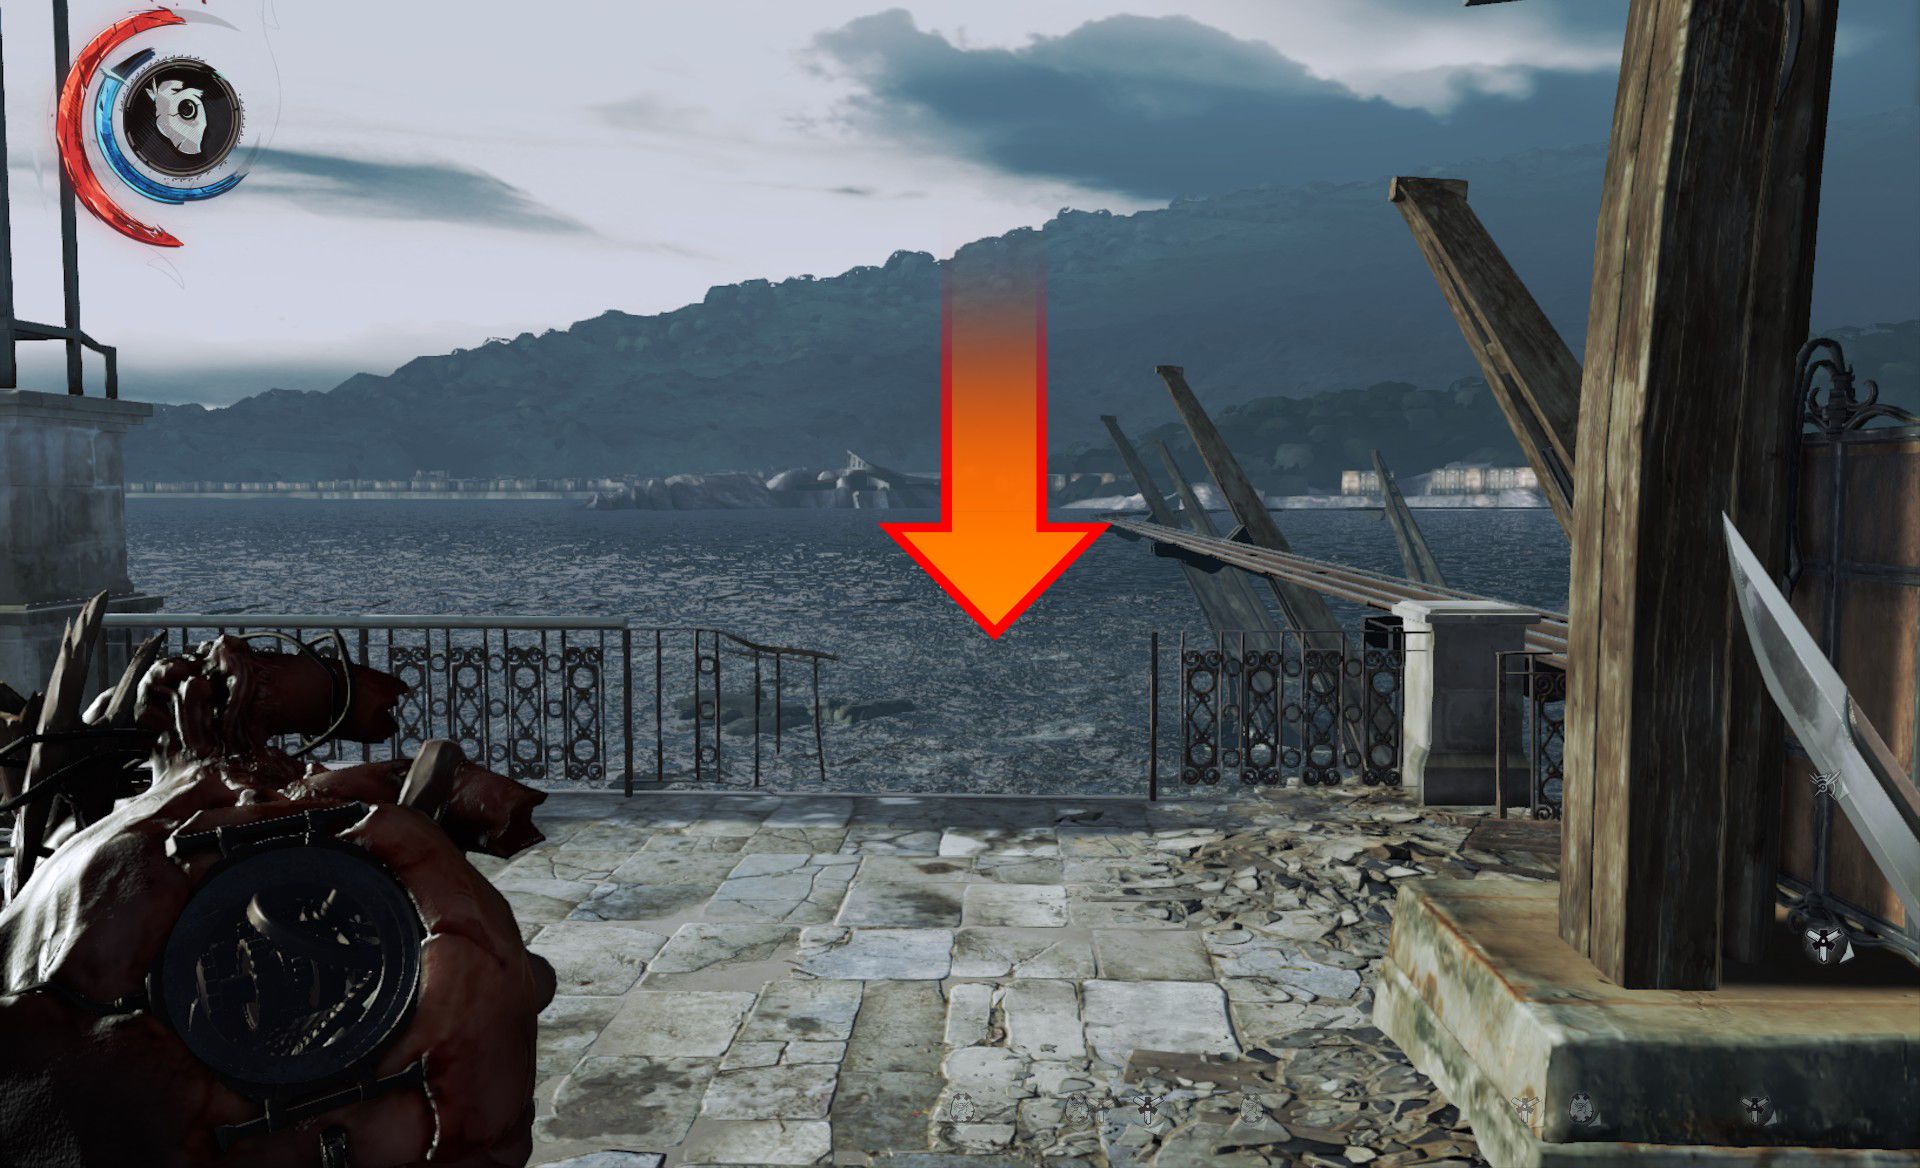
Drop down to a pipe, then a rocky outcropping, and go underneath the carriage platform to retrieve this charm (Bonecharm 1/5)
There's a small boat aground near the rail stanchion – splash over to it for some minor loot, and the Sunken Wreck Special Action (1/6) . Return, and clamber up the rock face back to the Institute

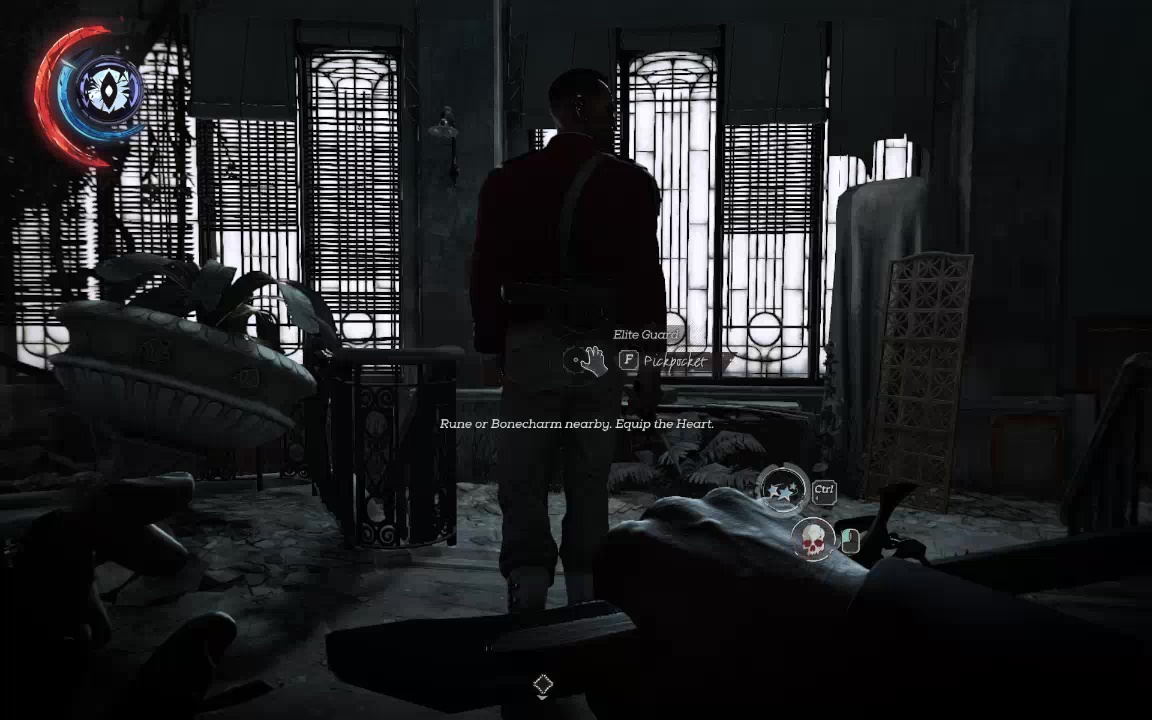
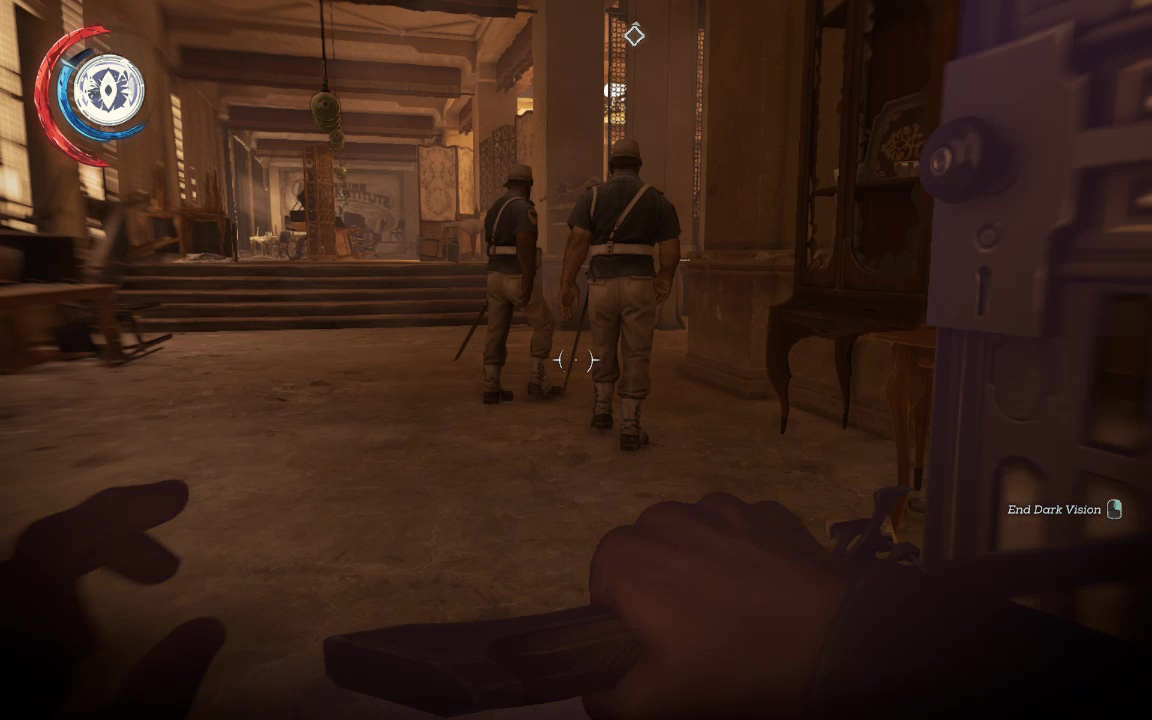
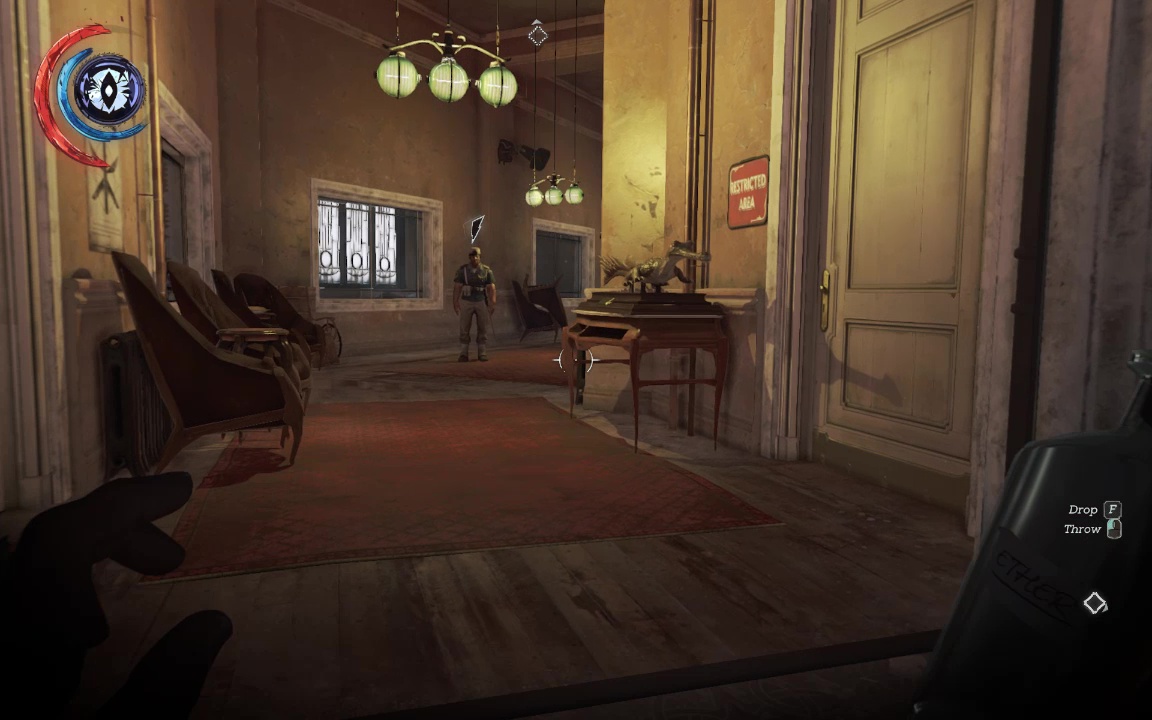
Next nut to crack is the lobby. You should be able to stalk and drag away the near guard without arousing attention.
Once he's gone, grab the bone charm burning front and center (on a shelf just inside the main entrance, Bonecharm 2/5). From here, lure and dispatch the guard from the middle of the room, then keep left to sneak into and pacify the office, and finally take out the Elite guard as he patrols the central alley.
He can be pickpocketed, so you may forgo the easy drop-takedown from walls and lamps here. You can easily deactivate the Wall of Light by removing its power source, which I highly recommend.
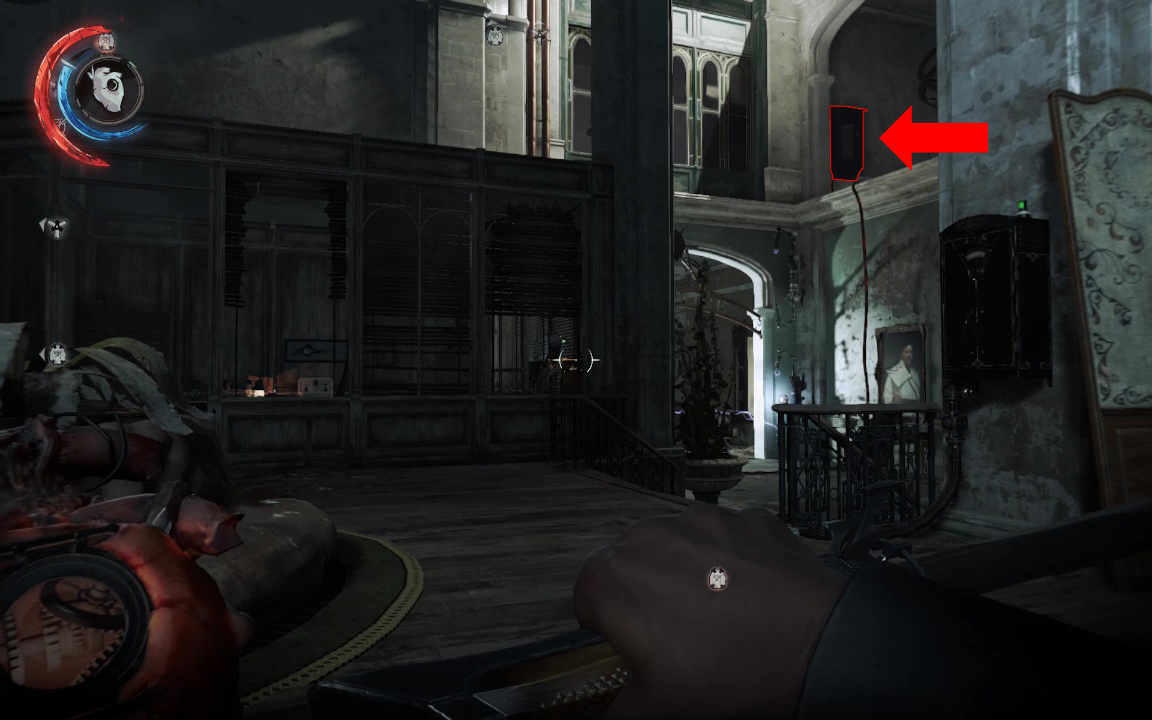
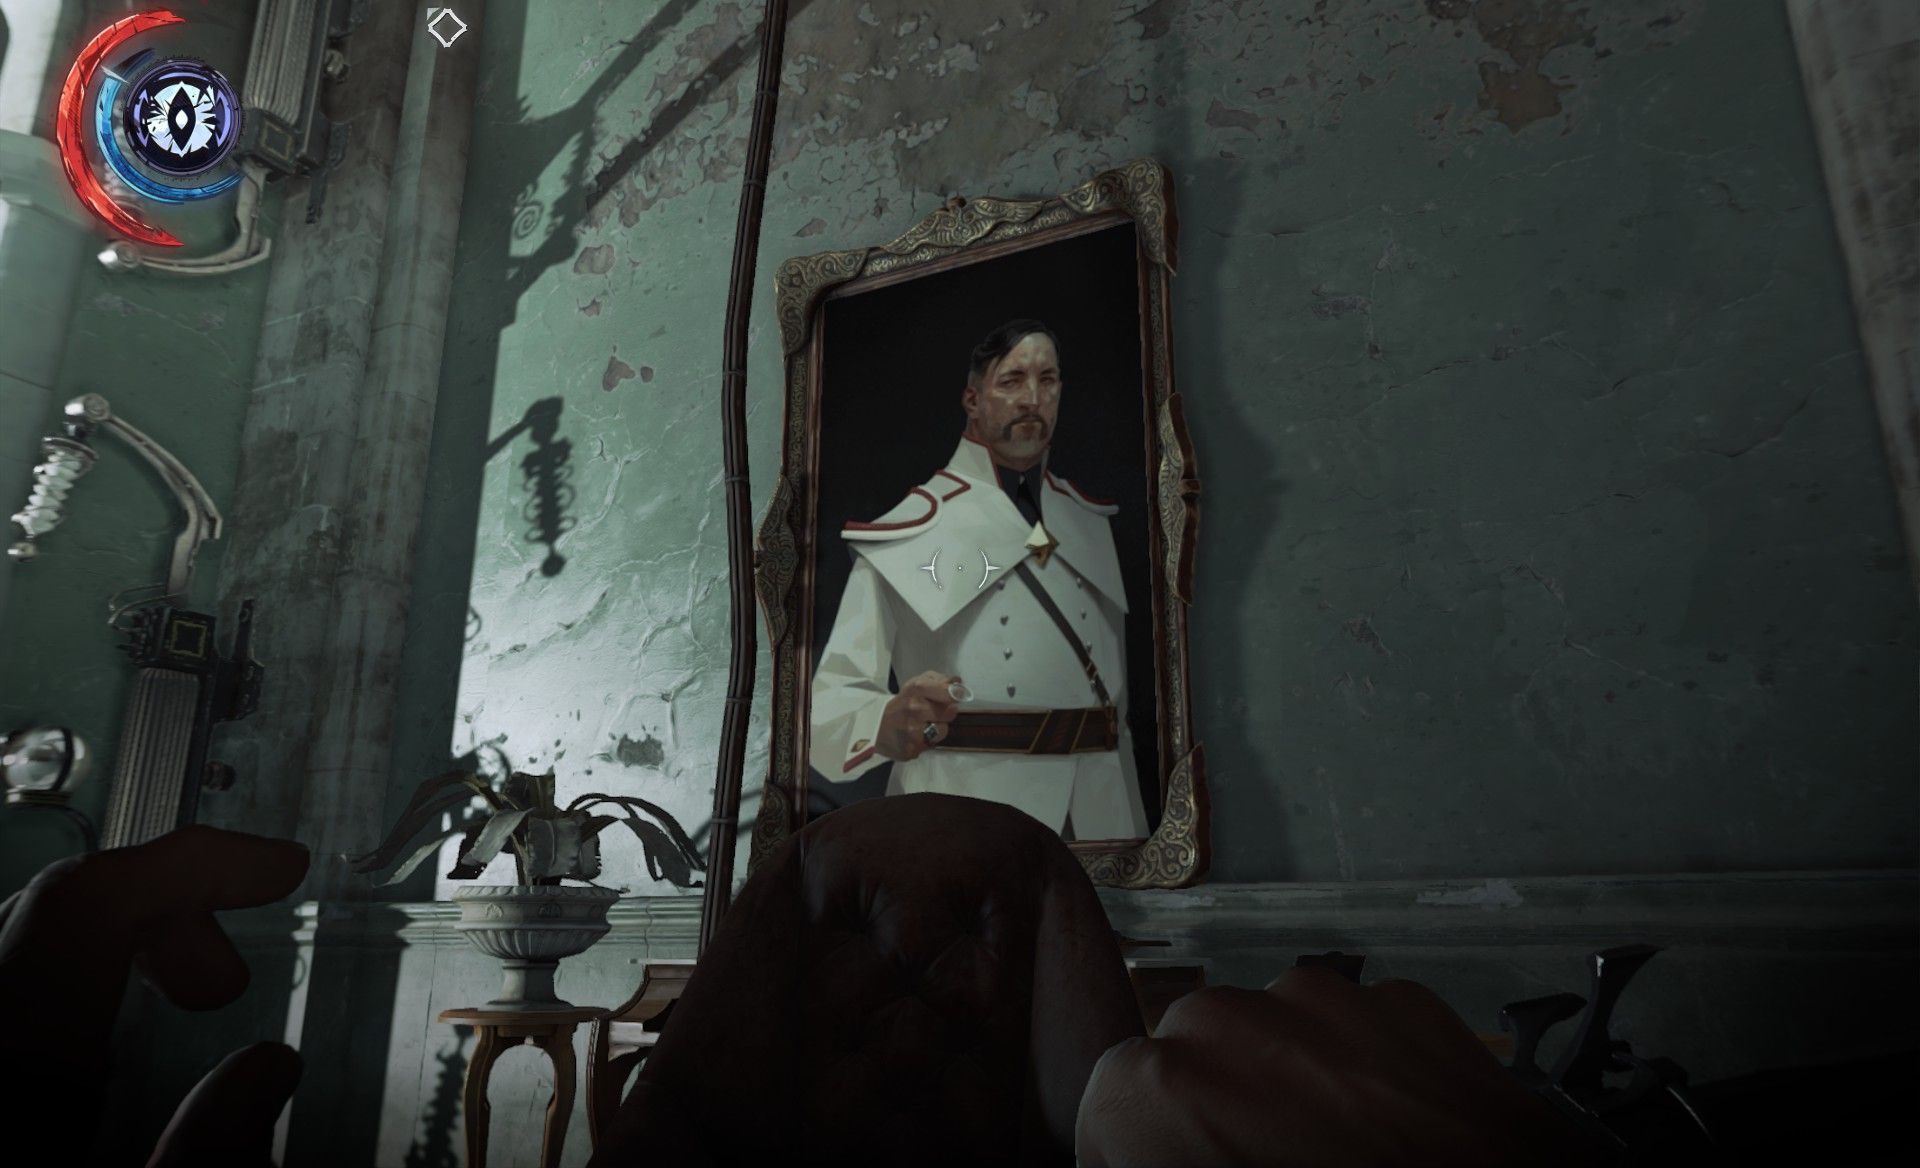
It is possible to circumvent it in several other ways, and its absence can tip off guards to your mischief, but this is well worth the hassle saved in not having to work around the Wall every time you pass through here. While you're noodling around here you might as well scoop up the first painting of the mission (Painting 1/3).
You can also fulfill an objective by consulting the map on the far side of the wall.
(A fuller version with all the good stuff filled in appears below)
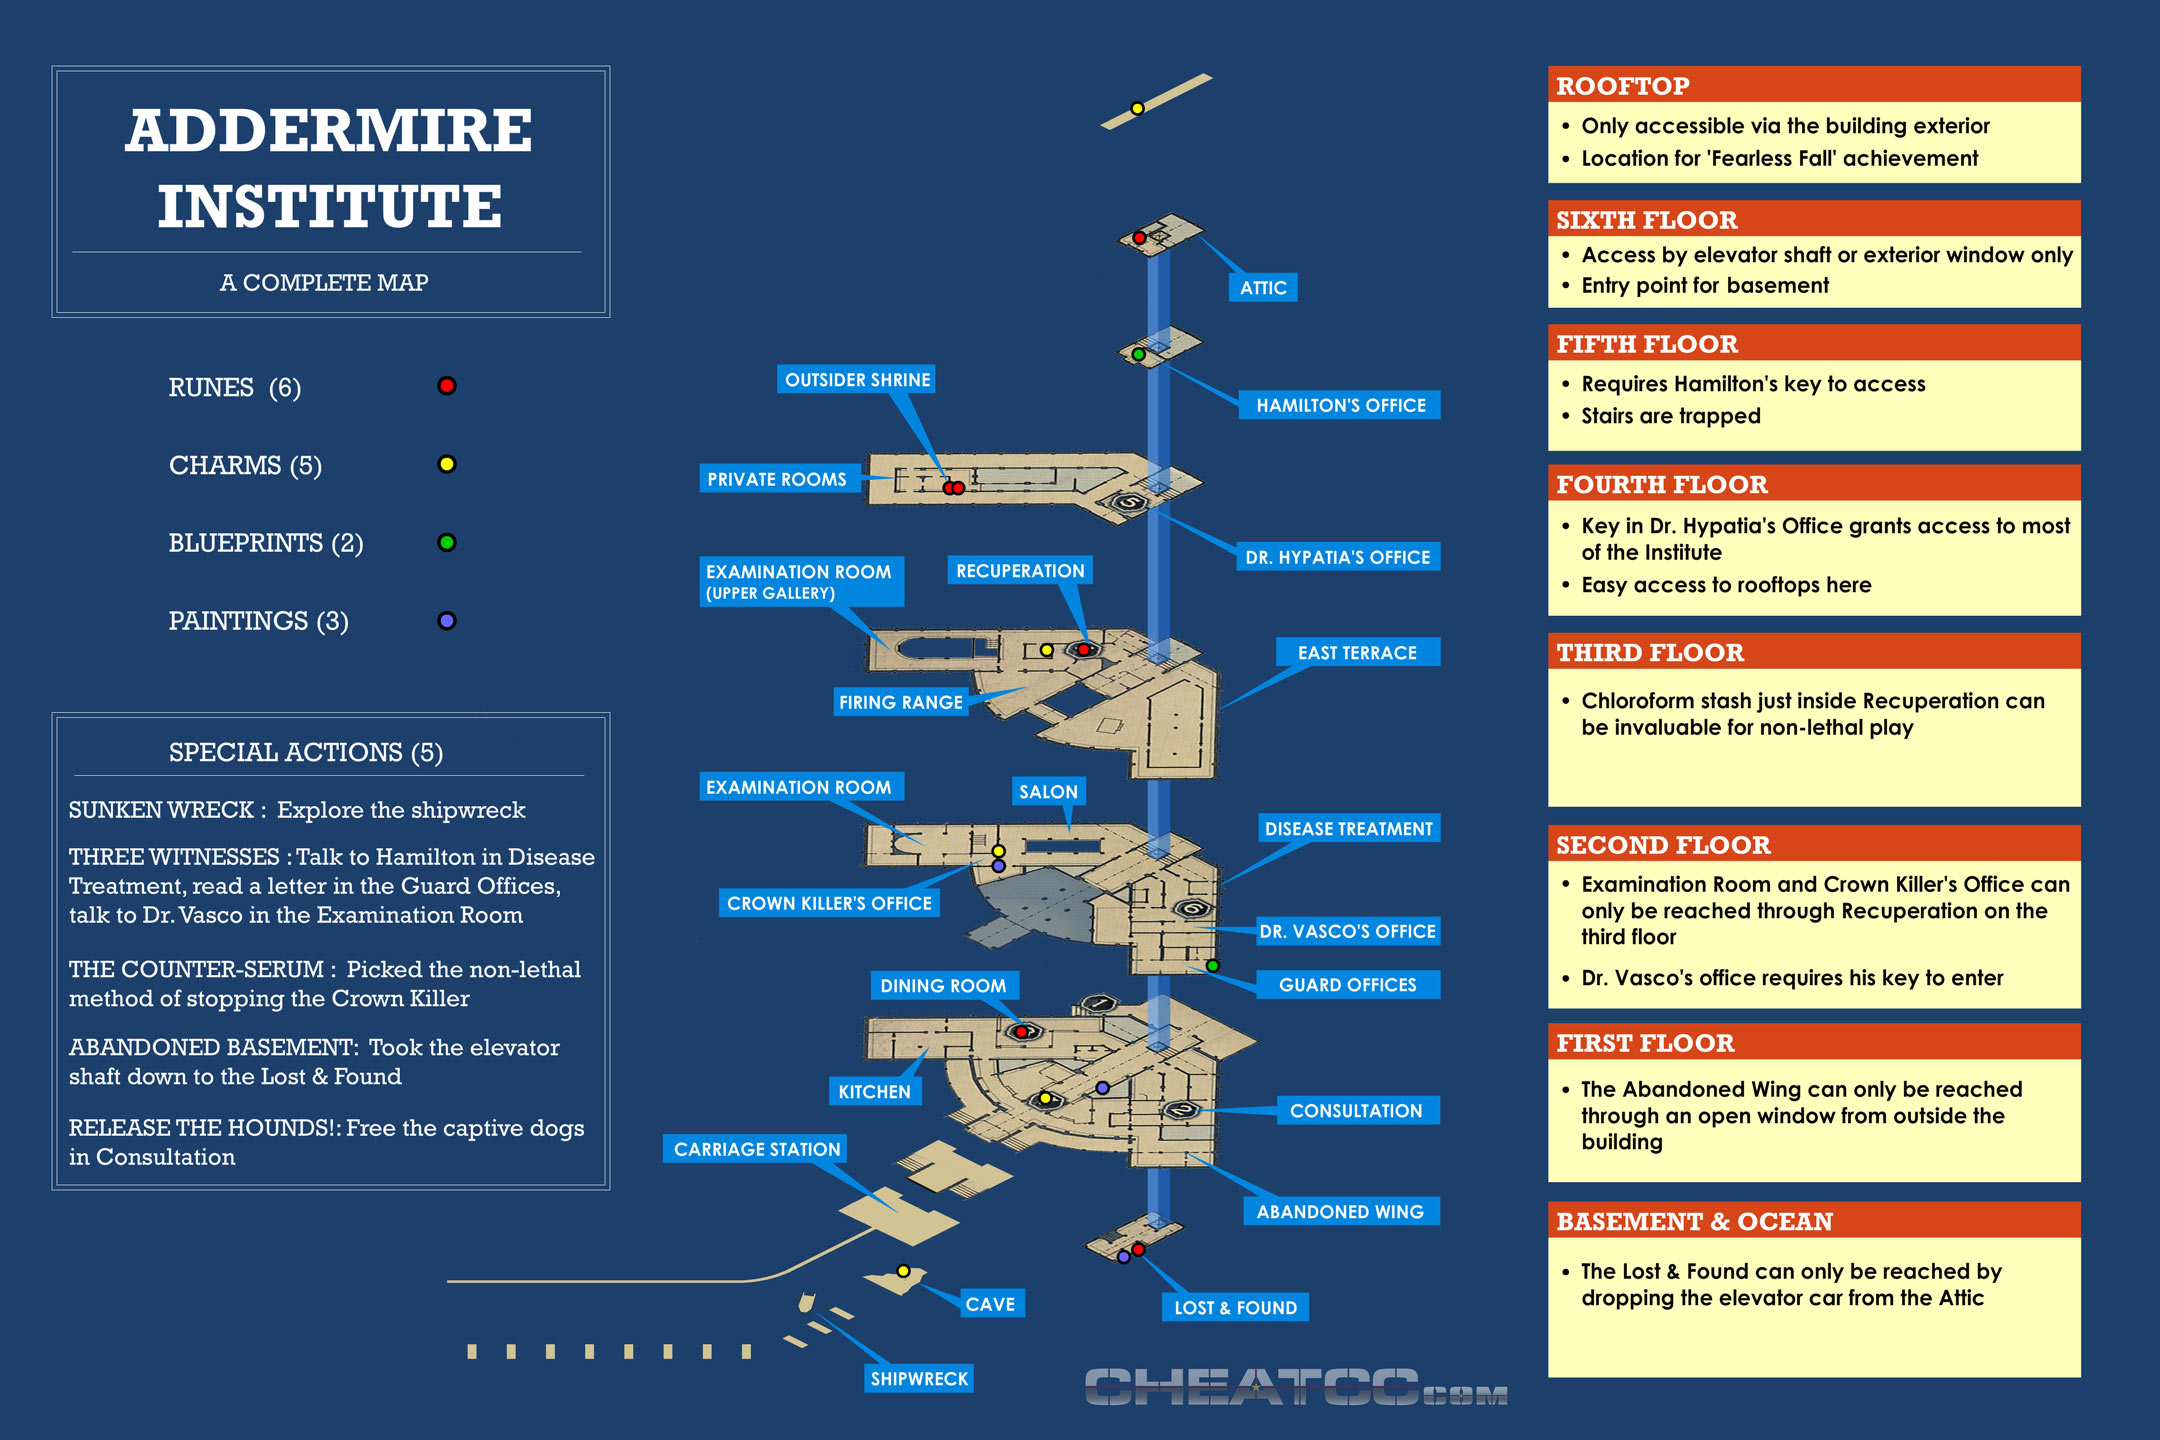
Climb or blink up to the floor on the right side of the room (on your right while facing the Wall, facing away from the entrance). Snag some loot and open the closed door to the guard offices.
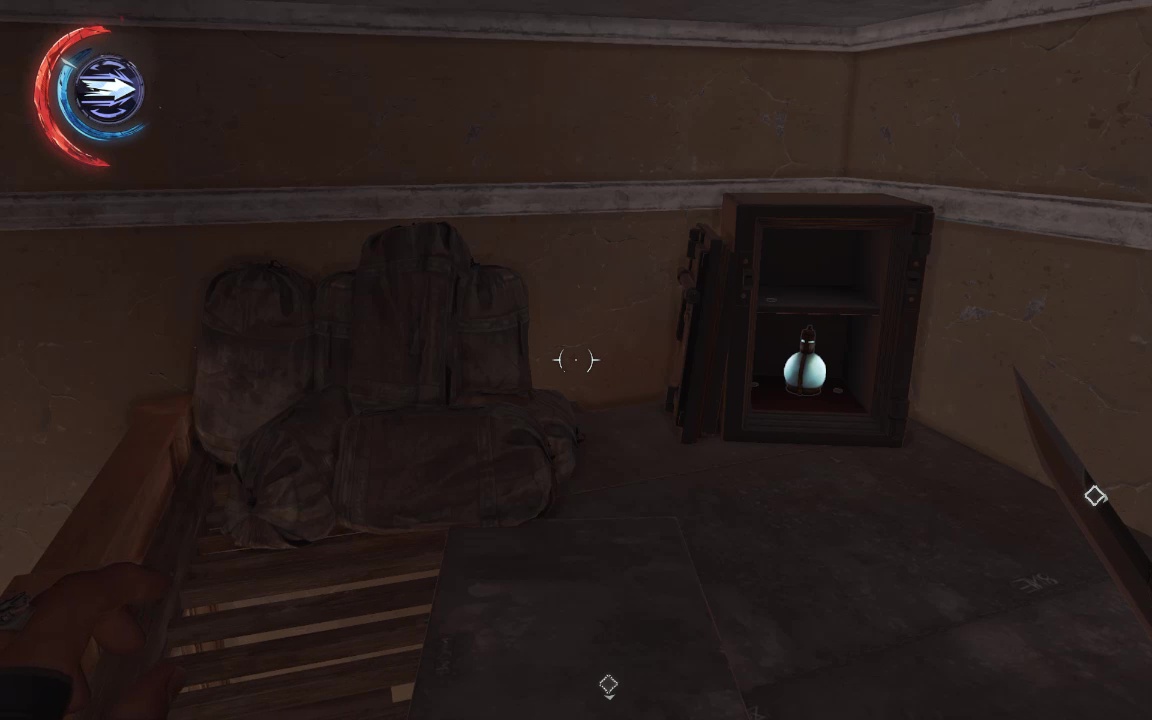
The desk has a safe combination, and the room has a safe. Use the former with the latter to score for some silver, some copper, and the Combat Sleep Dart Blueprints (Blueprint 1/2).
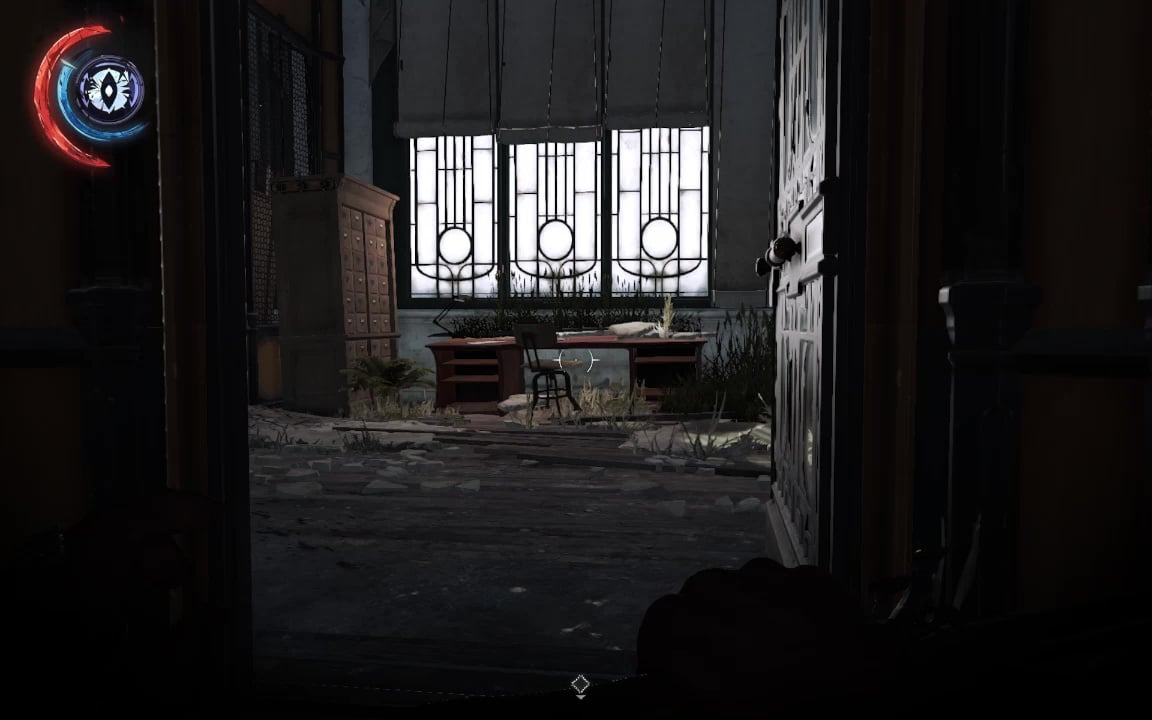
There's also a Crown-Killed body here, and some lesser loot in a non-combination safe (why do so many people have these?). Be sure the read the letter from Valienti here, as it comprises one third of the Three Witnesses Special Action.
Return to the main lobby, near the generator for this Wall, and Blink up the the third level- where a walkway connects two rooftops.

If you're facing the entry door now, go right, into an unoccupied rooftop with a makeshift shooting range. Close the door behind you, and quickly loot a whale bone from the range and some coin from an abandoned poker game in corner. You want to be quick because an Elite Guard will be wandering through in a minute.
If he doesn't notice anything amiss, he wanders in and heads to the seaward railing for a good think, and maybe sings to himself a bit. Throttle off the music and and stash him by the poker game.
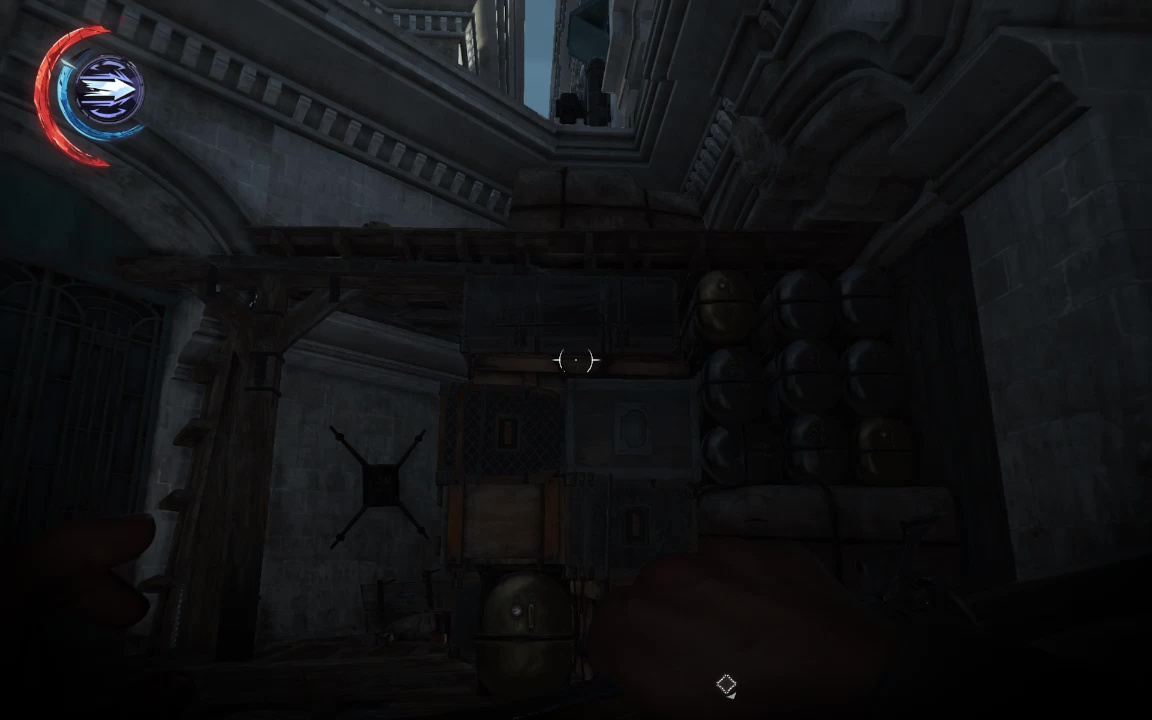
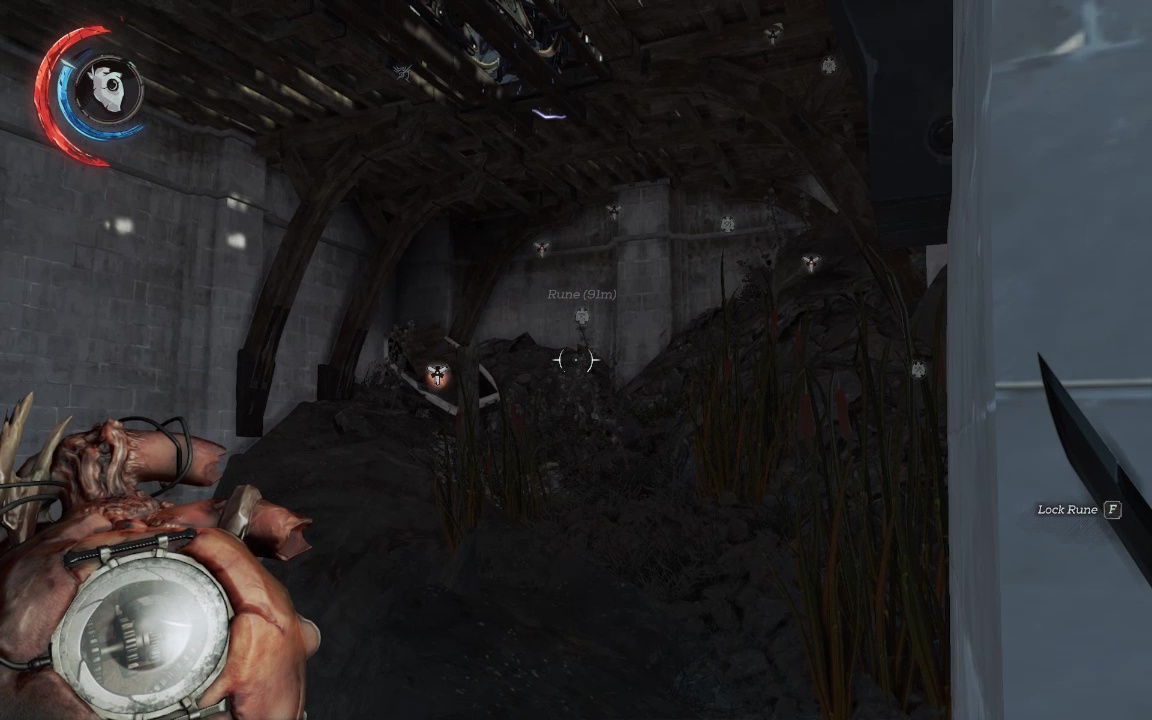
Use the crates and stowage here to climb up yet another level, then bear left and follow your Heart into some empty apartments for a Rune (Rune 1&2 of 6) and the Outsider's Shrine.
Ol' Blackeyes enigmatically hints that you may be able to find a non-lethal solution to the Crown Killer problem, and disappears. As per usual. Loot these rooms, then go back outside and use the scaffolding at the very end of this promontory to go up yet another level, this time to the rooftops.
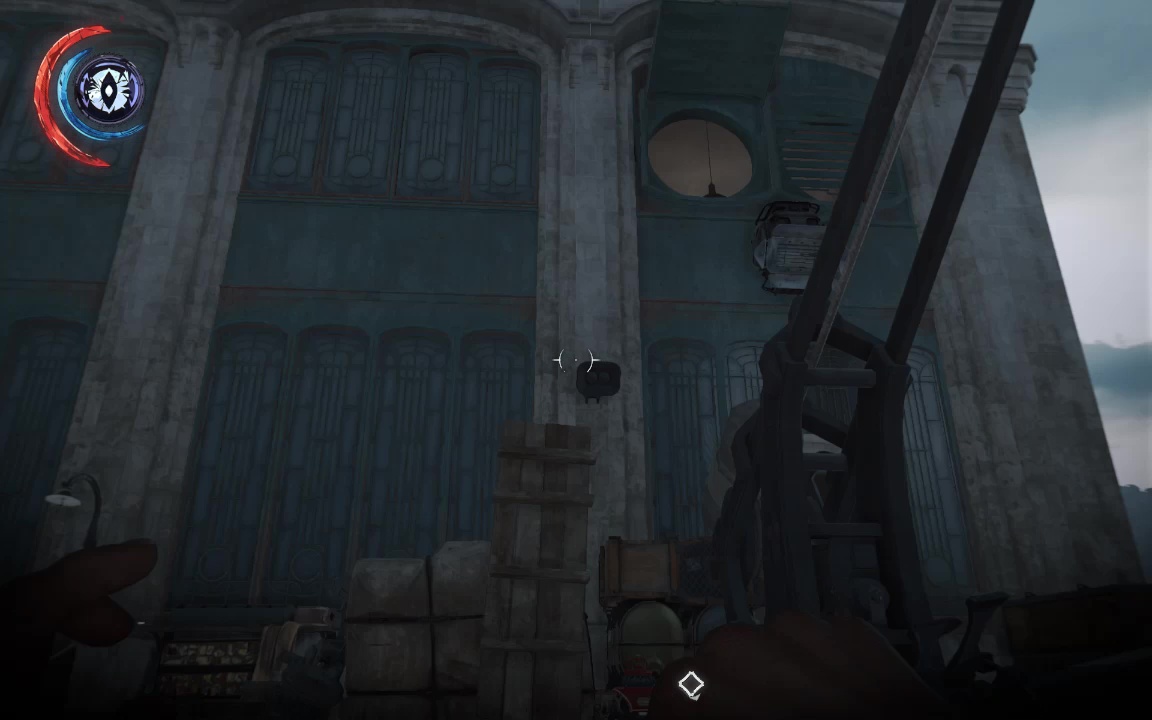
Head back toward the center of Institute and you'll soon notice a giant round window, slightly ajar.
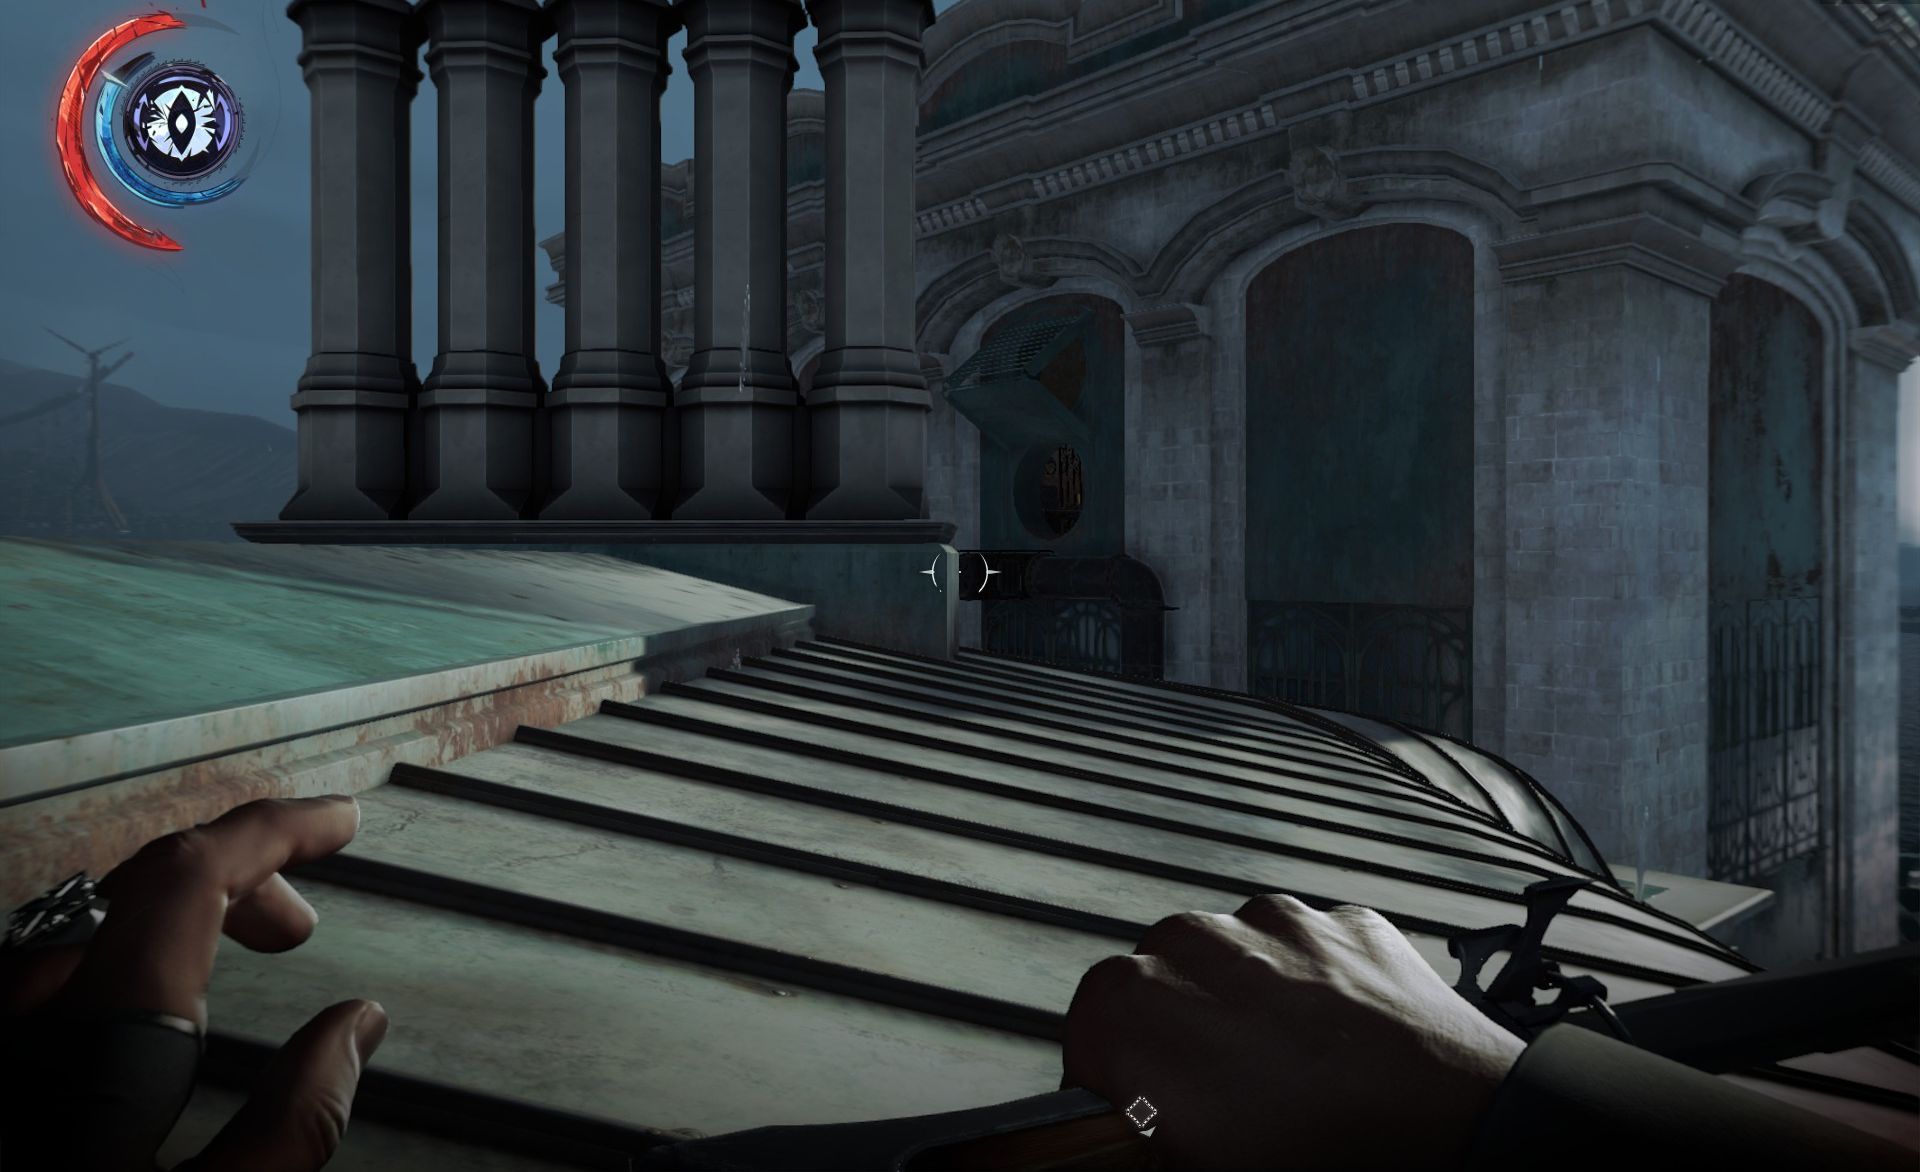
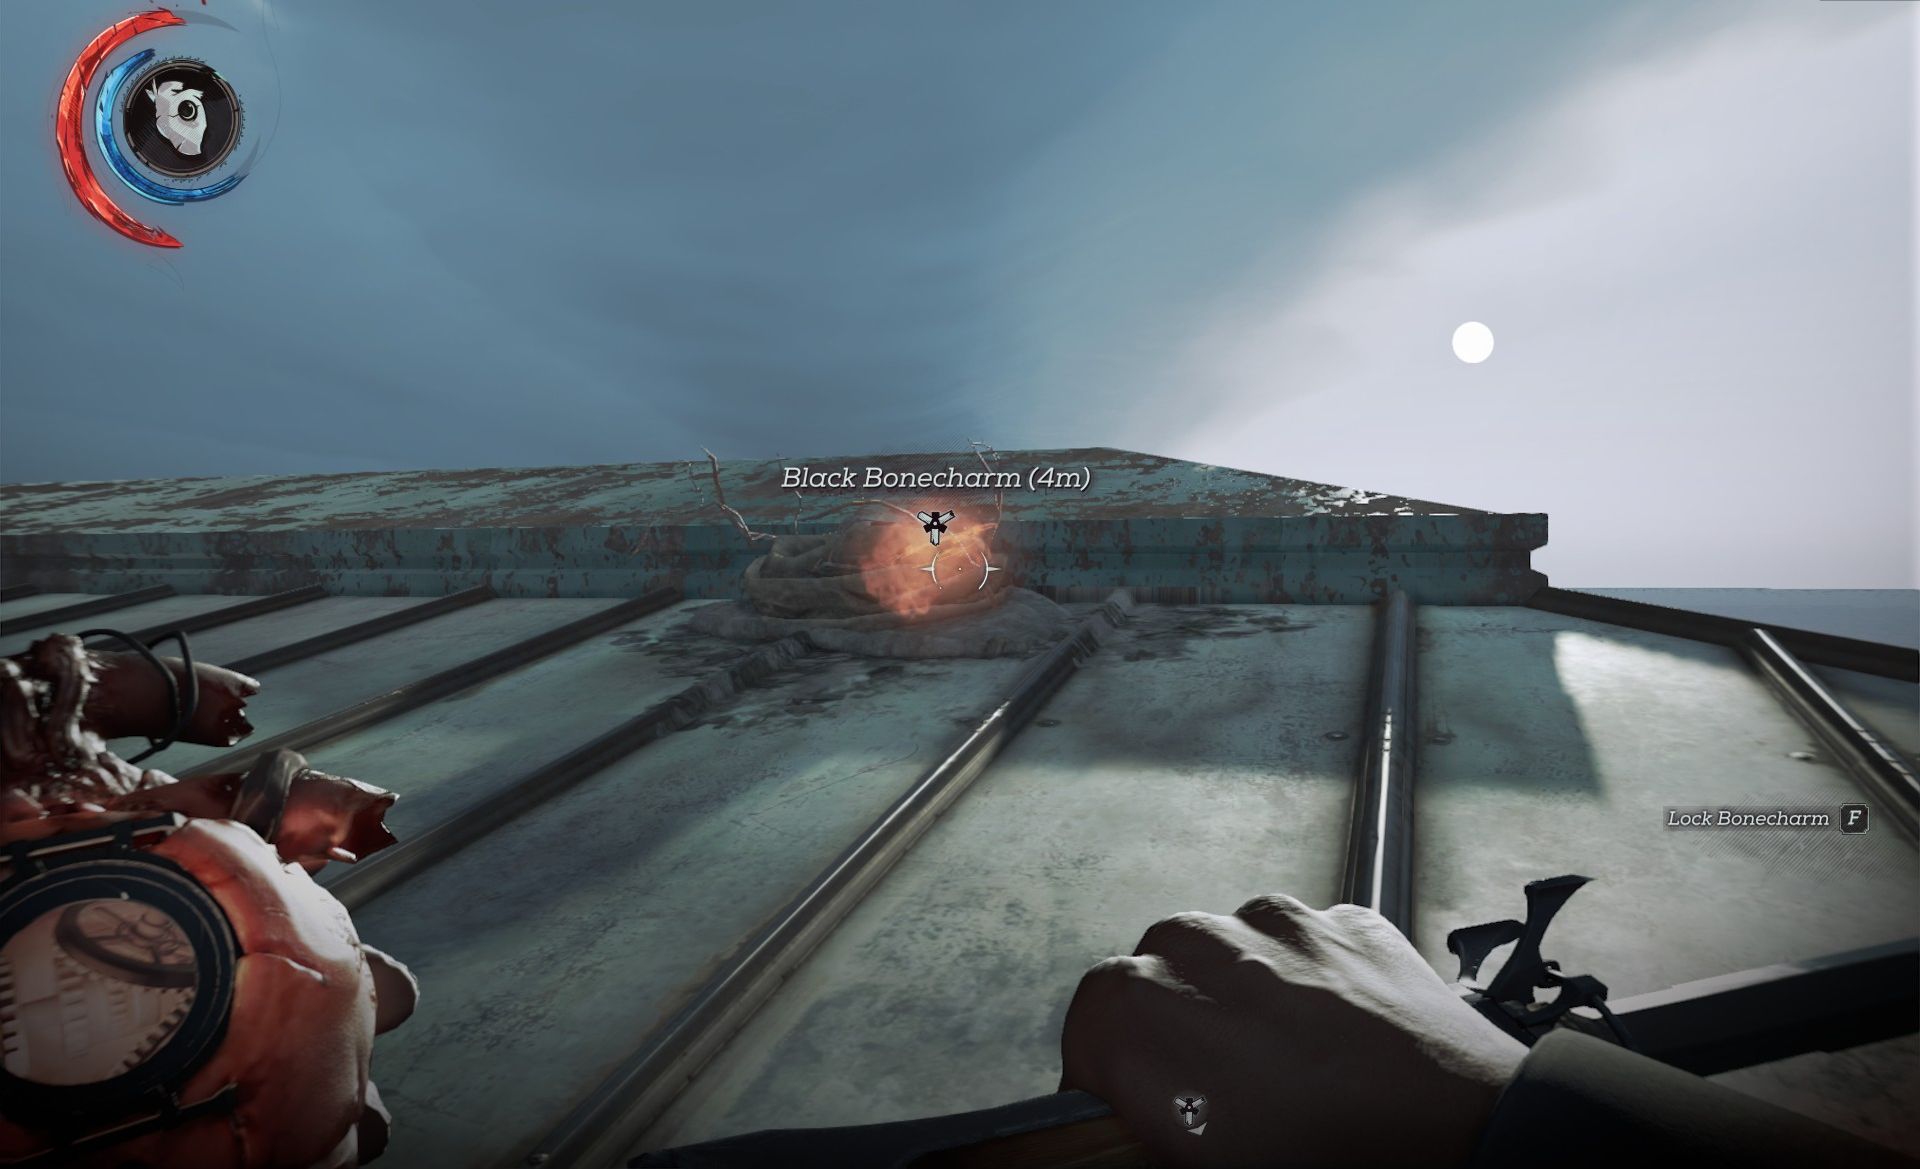
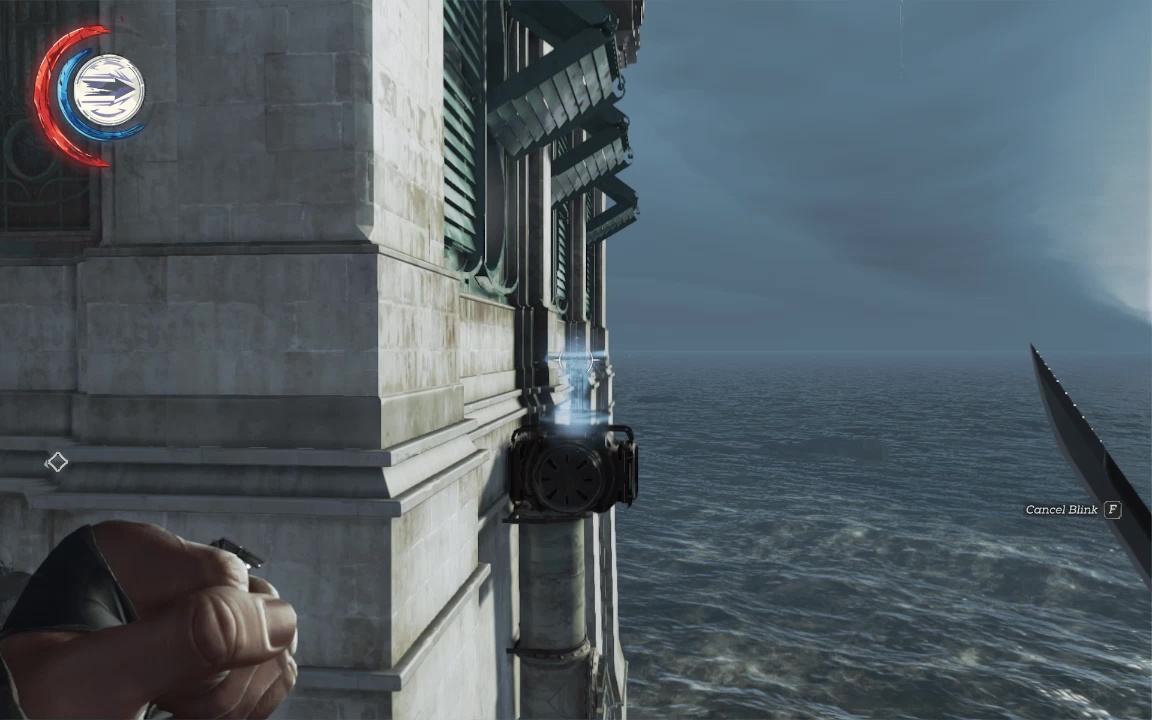
Equip the Heart at see that even higher still is a Black Bonecharm. Blink up the smokestack here, then to the far roof (if you haven't leveled Blink, you may need to zip to the edgework, then climb up). Find the charm in a birds nest here (Bonecharm 3/5).
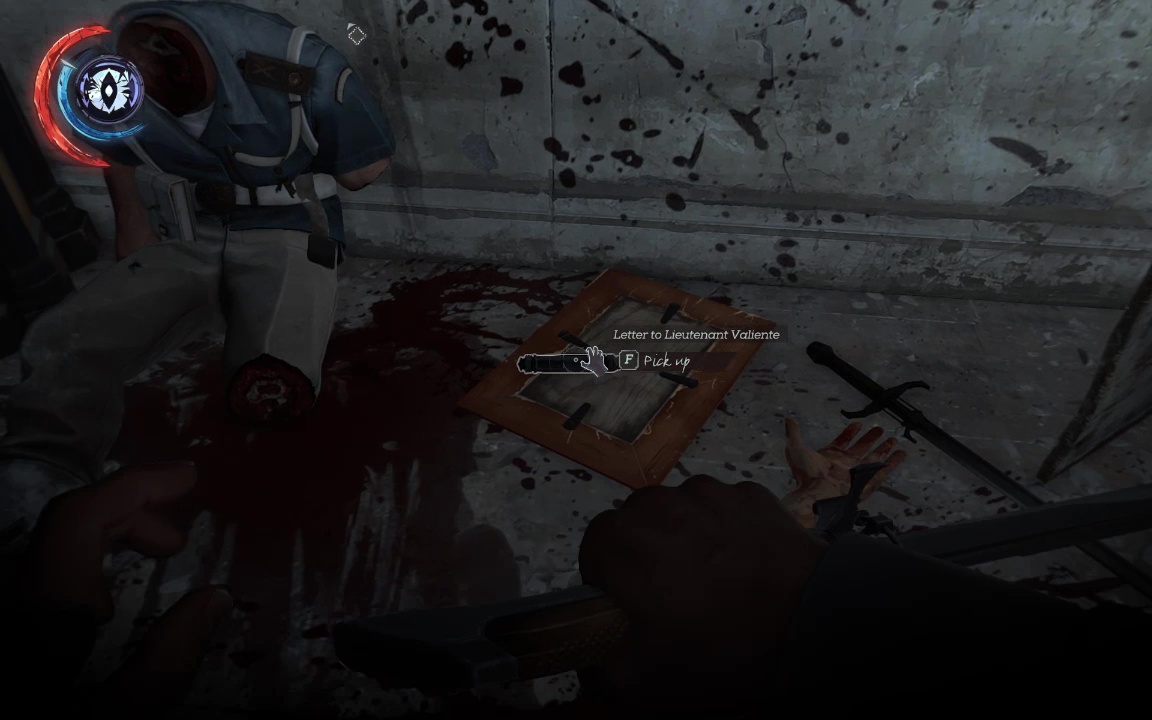
Take a moment to enjoy to view, and to get a sense for the layout of Addermire.
ACHIEVEMENT ALERT: Now is an excellent time, and maybe your only chance, to get the 'Fearless Fall' achievement. Stayng on the roof, head toward the carriage rail. Perch atop the central arch here and look down. If you've been following this walkthrough, there should be a lone guard idling below.
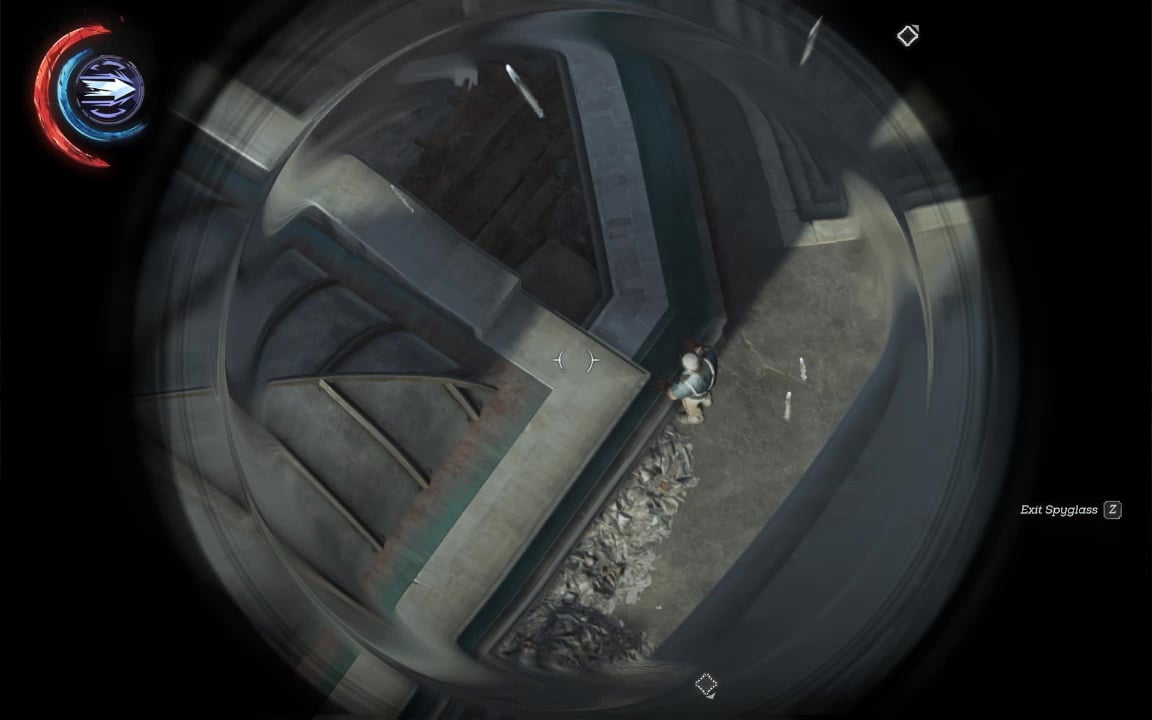
If not, you may be able to lure other guards using bullets and grenades. Either way, the goal is to jump and drop-kill (or drop-concuss, as the case may be) this sap from your current position. You can jump pretty far, but if they're still not close enough, crossbow bolts can be used as noisemakers to draw them even closer. If you miss, of course, you'll die instantly, so don't miss.
With the that excitement over, climb back up the roof with the smoke stacks, and Blink into the round windowed room, which holds a rune (Rune 3 of 6) and an unlabeled button.
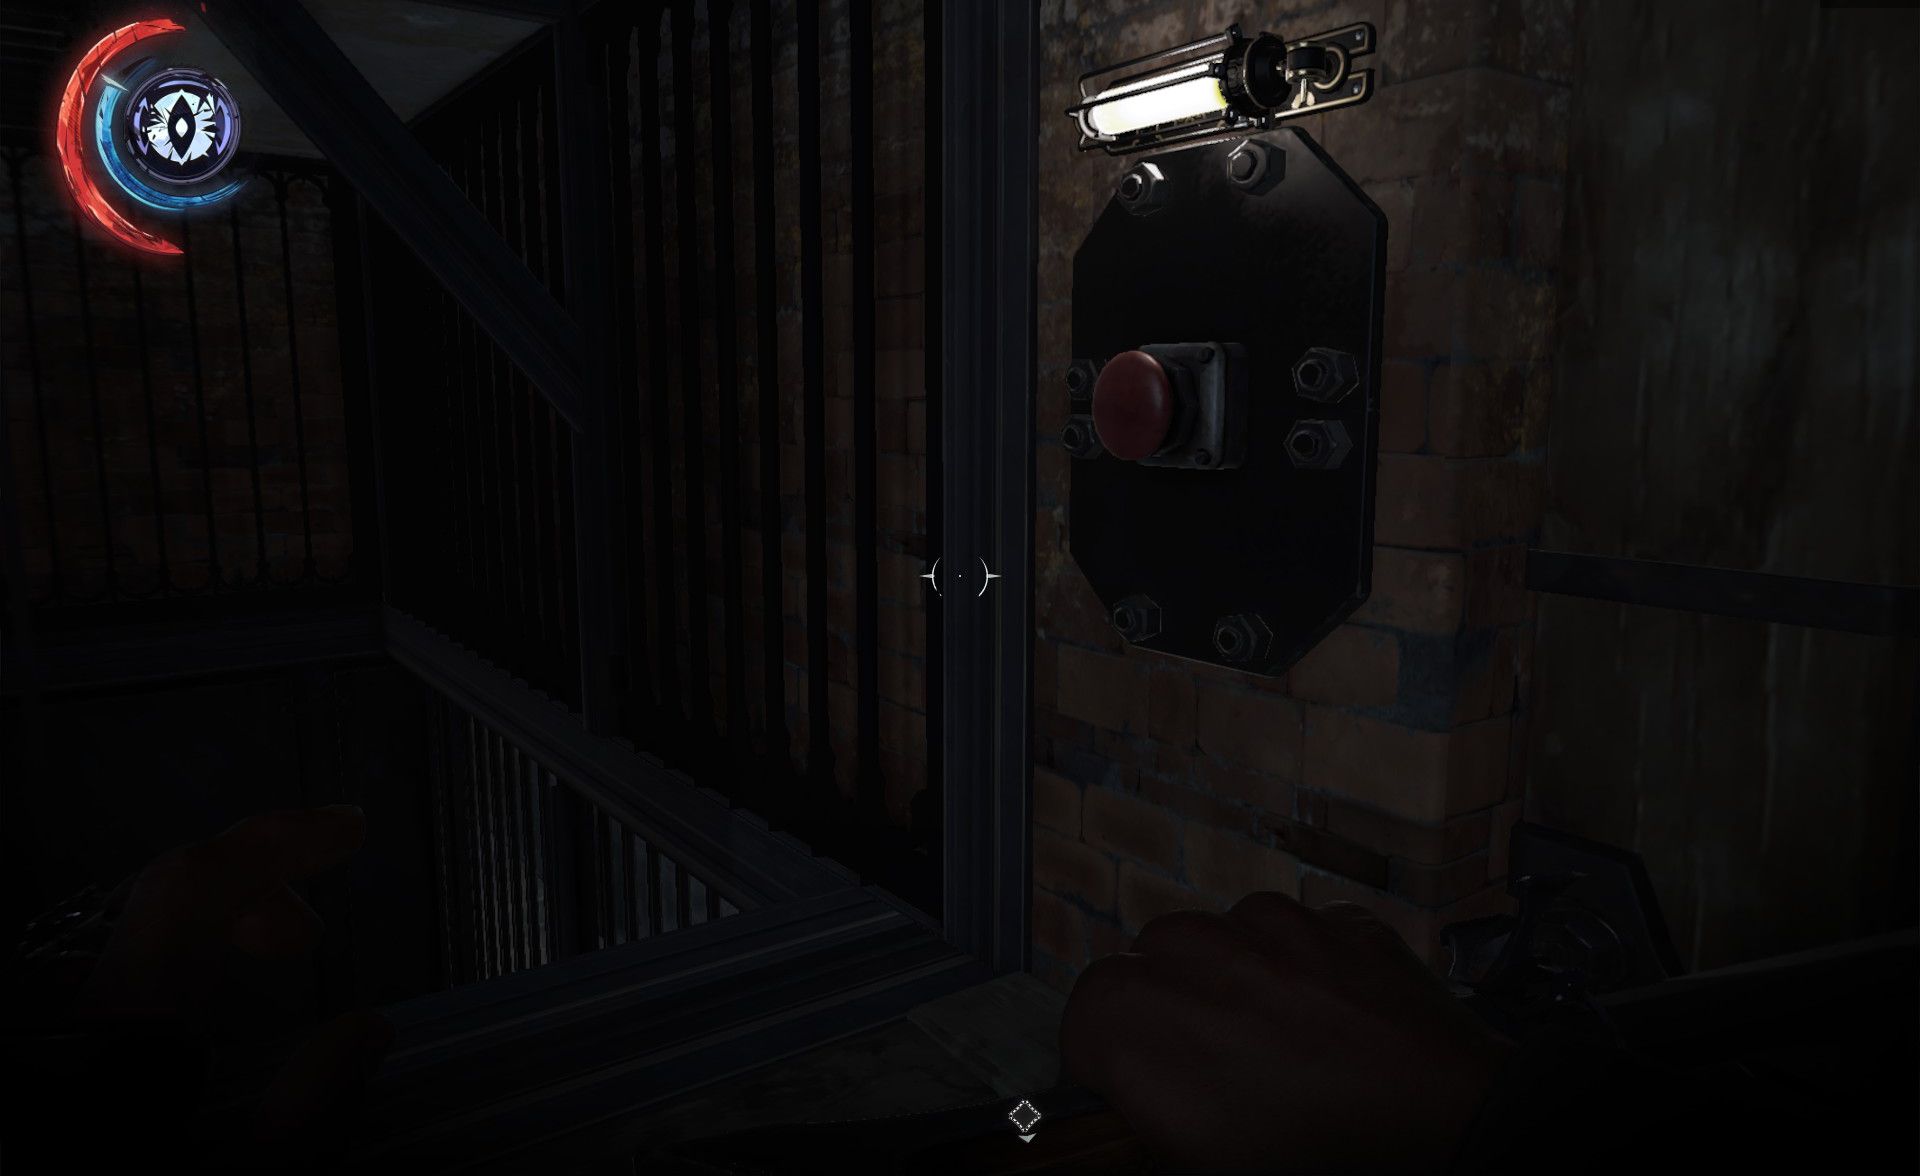
Well, we didn't come all this way not to press mysterious buttons. Activate the button to summon the elevator. It soon arrives, with two tempting 'smash me' style connectors up top.
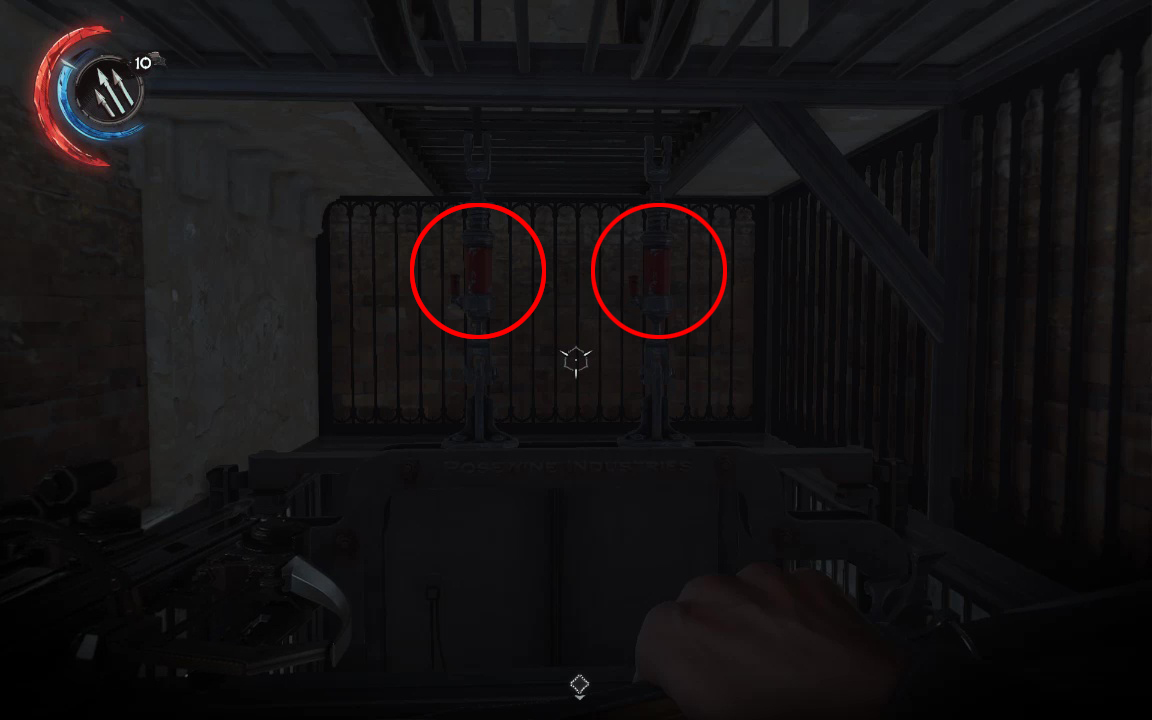
Put a crossbow bolt in each to send the elevator plummeting into the sub-basement, then follow after it with judicious use of jumps and Blinks.

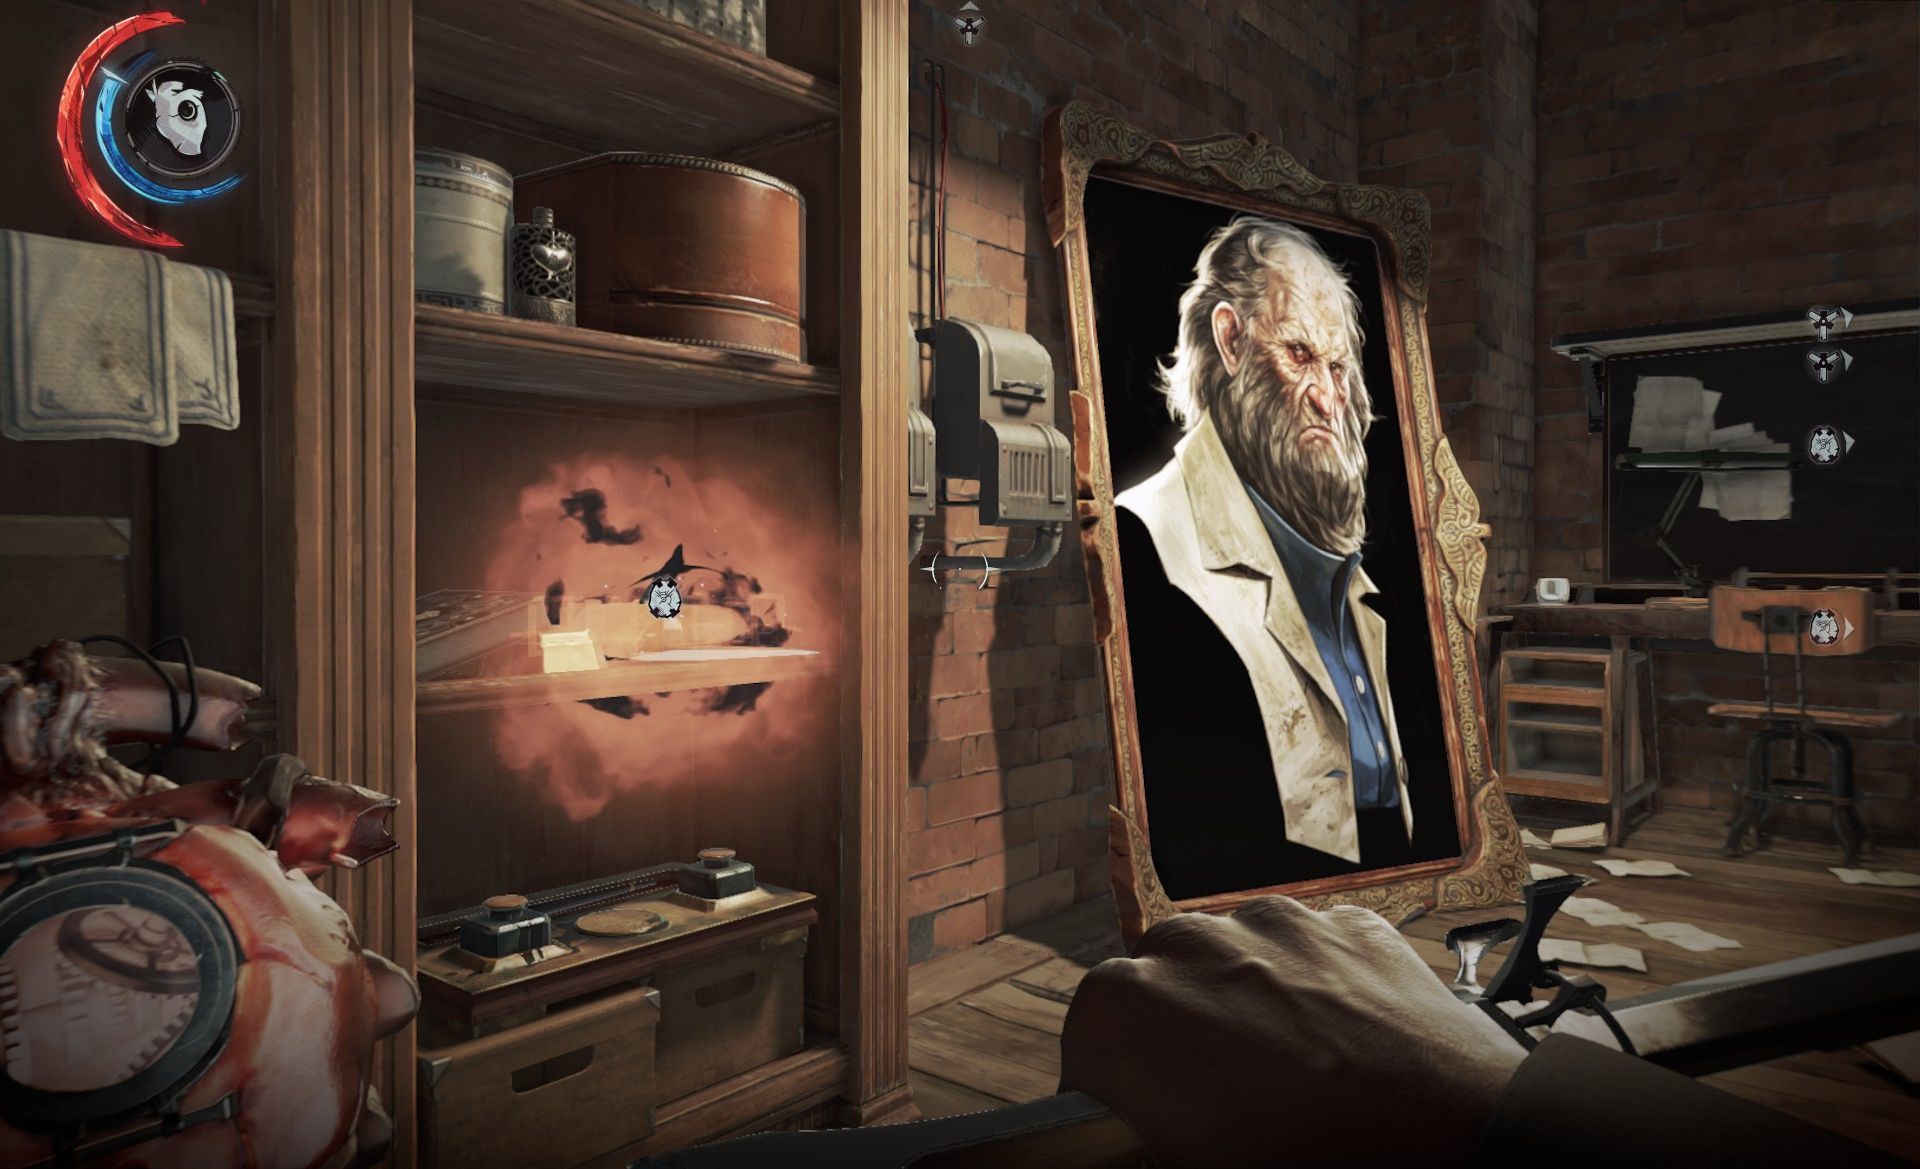
Drop down through the top hatch of the elevation to enter floor negative one, the Lost & Found. You'll find a sizable cache of forgotten goods, including a rune (Rune 4 of 6) painting of Sokolov himself (Painting 2/3).
Dishonored vets may recall the name Veray Moray as the woman who would become Granny rRags. Once you've filled your (by now pretty damp) pockets and gotten your Abandoned Basement Special Action (2/5), head back up the elevator shaft with Blinks and Jumps and exit though the over-the-door opening back to the first floor.
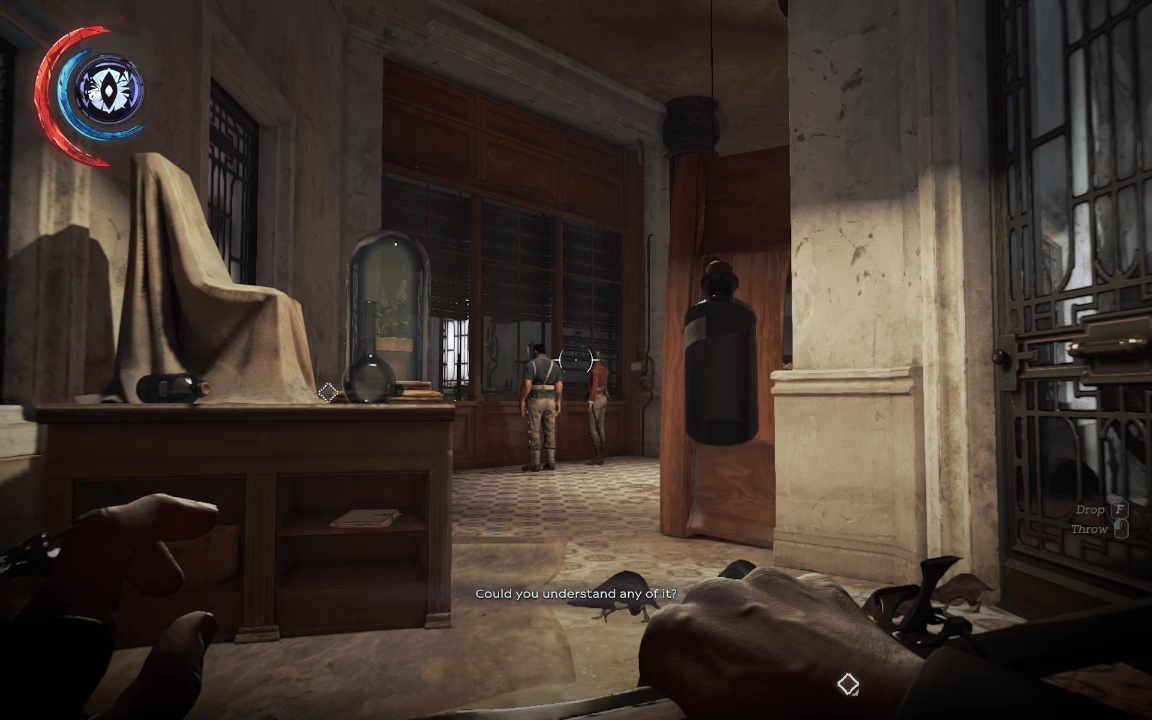
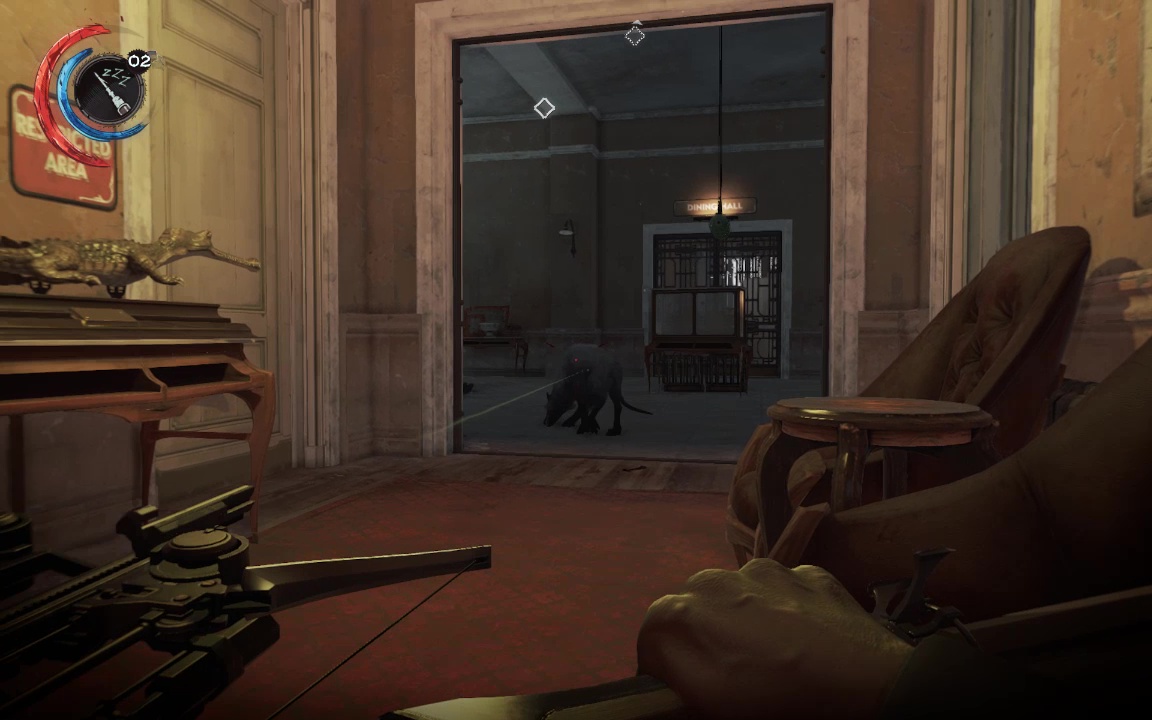
Return the lobby, and prepare yourself mentally, because it's time to claim the rune from the dining hall. Someone decided this particular eldritch artifact of unholy might would make for some charming cafeteria decor, and they nailed to a pillar in the center of the room. Which means you're going to have to choke out every last melonfarmer in the place to get to it. Start by choking out the guard just by the door and dragging him out to the far side of the lobby. Go the distance with this one- you next few escapades may draw a lot of attention to this area. Sneak back inside the dining hall but hug the the wall left into the kitchen, where you can pick up a few valuable ingredients, and also choke out the civilians who, let's face it, probably needed some excitement in their lives anyway.
Taking out the rest of the room is a matter of lurking near the kitchen entrance or lobby entrance, banging the wall with your sword, then immediately falling back to cover. Wait till the enemies investigate, then give up, and pick off the last hostile to linger.
Rinse and repeat until they're all deep into a post dinner nap, and the runestone is yours to pillage (Rune 5/6). If you've come across a bottle of chloroform in your travels, that can help too.
There is an upper floor to the dining hall as well (marked as the salon), with two patrolling guards. They take little note of your shenanigans downstairs, but now it's time to Blink up and take them out. Loot the floor, then knock the boards off a restricted door to grant access to a tiny office. Not a lot to do here yet, so head back to the stairwell, and choke out an elite guard patrolling through the red-carpeted area here.
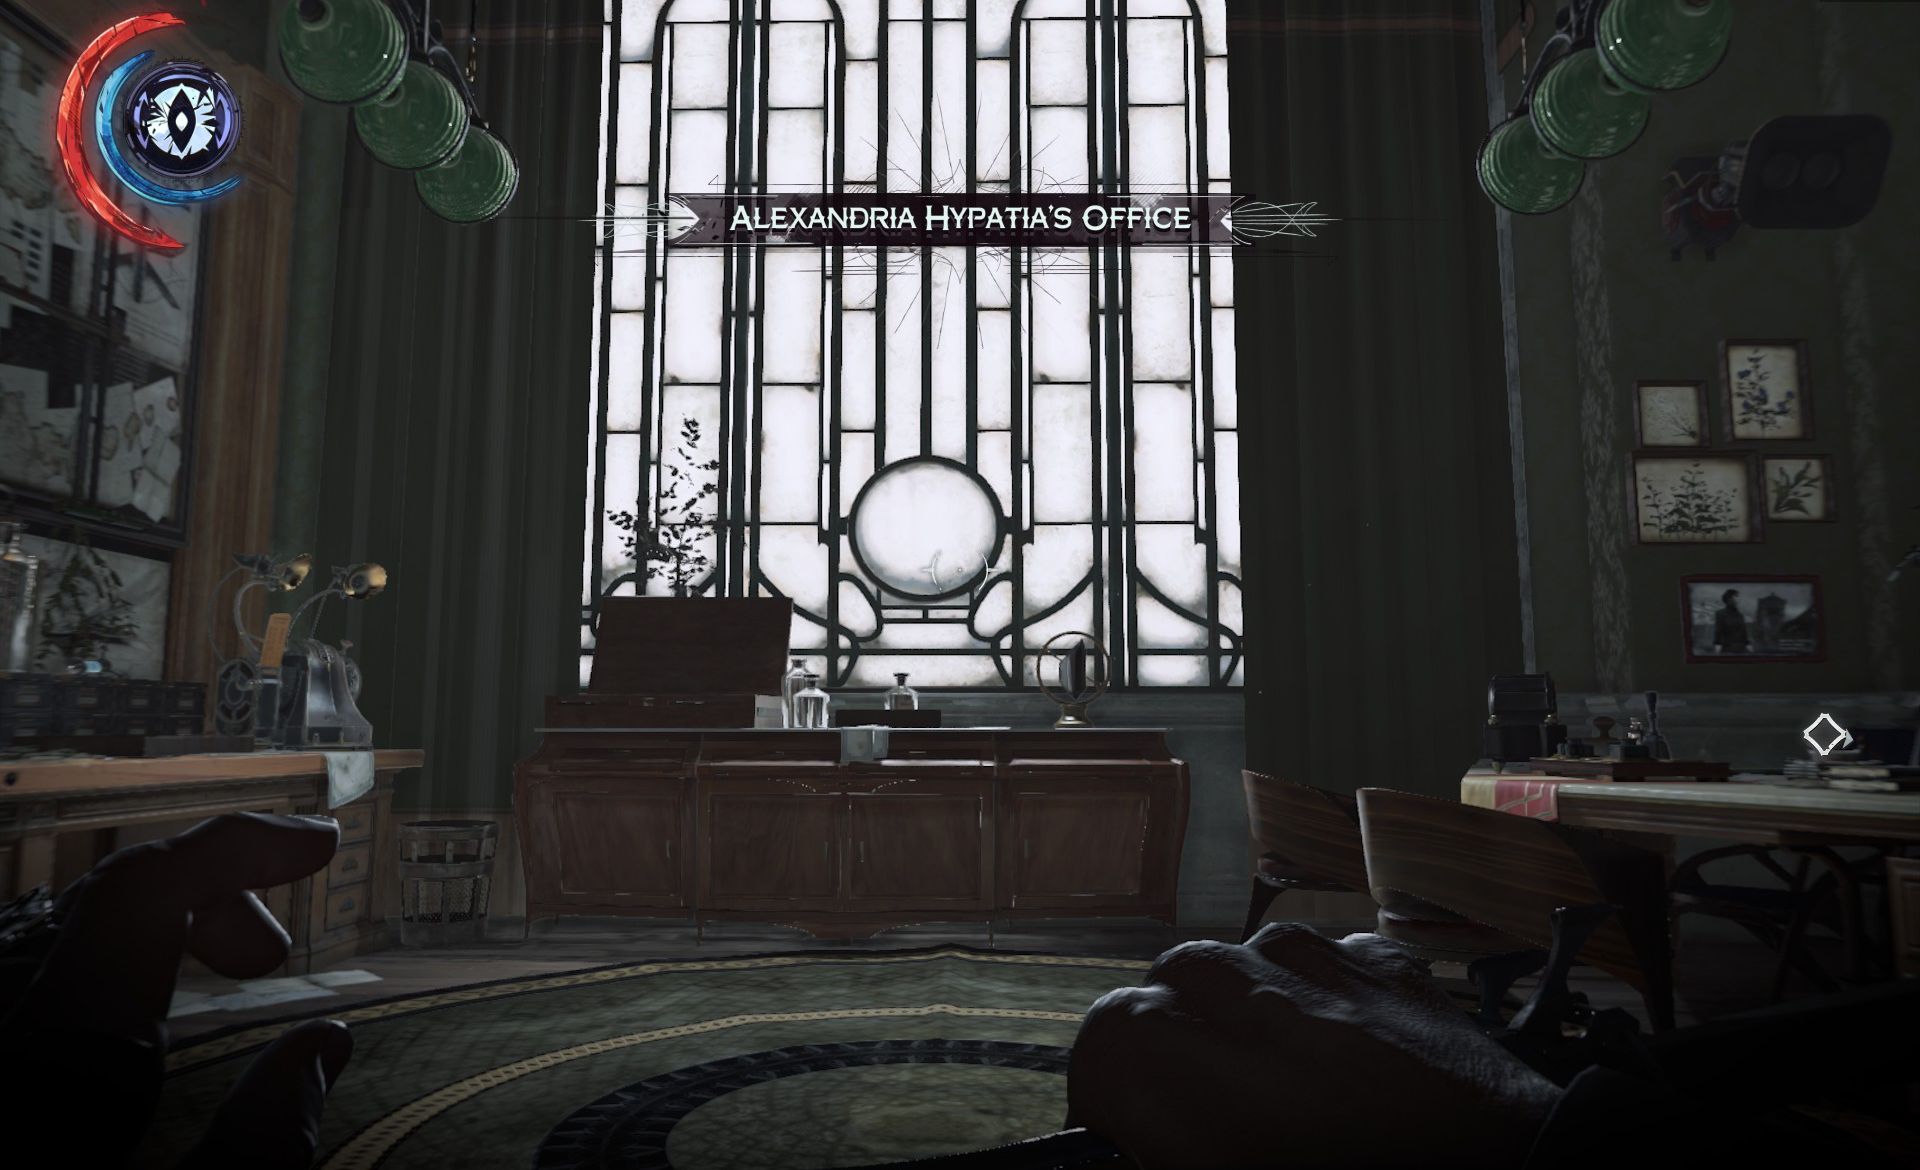
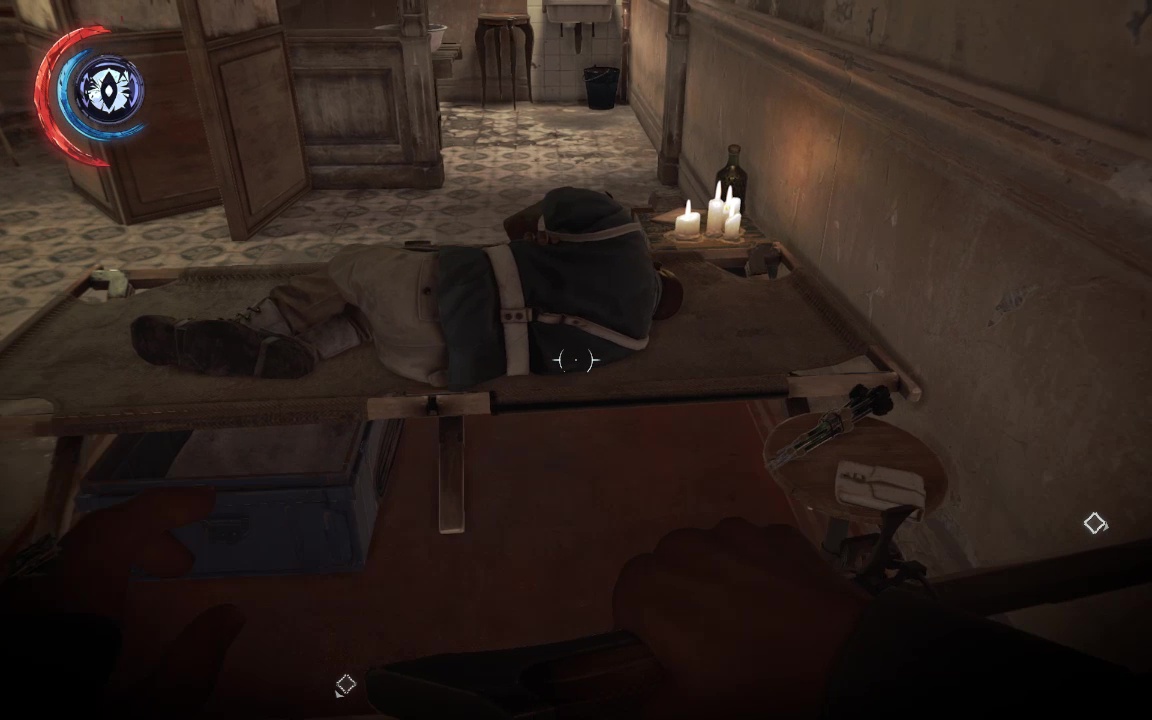
Stash the body and then climb the stairs where a rank-and-file guard is playing an enthusiatic game of dice with… himself. Put him out of his misery and hide his loneliness in the shadows. Pick up his coin and note the bottle of flammable rum- you'll have use for that later. Follow the signs up to Hypatia's office at the top of the stairwell, removing the note from the door and stepping inside.
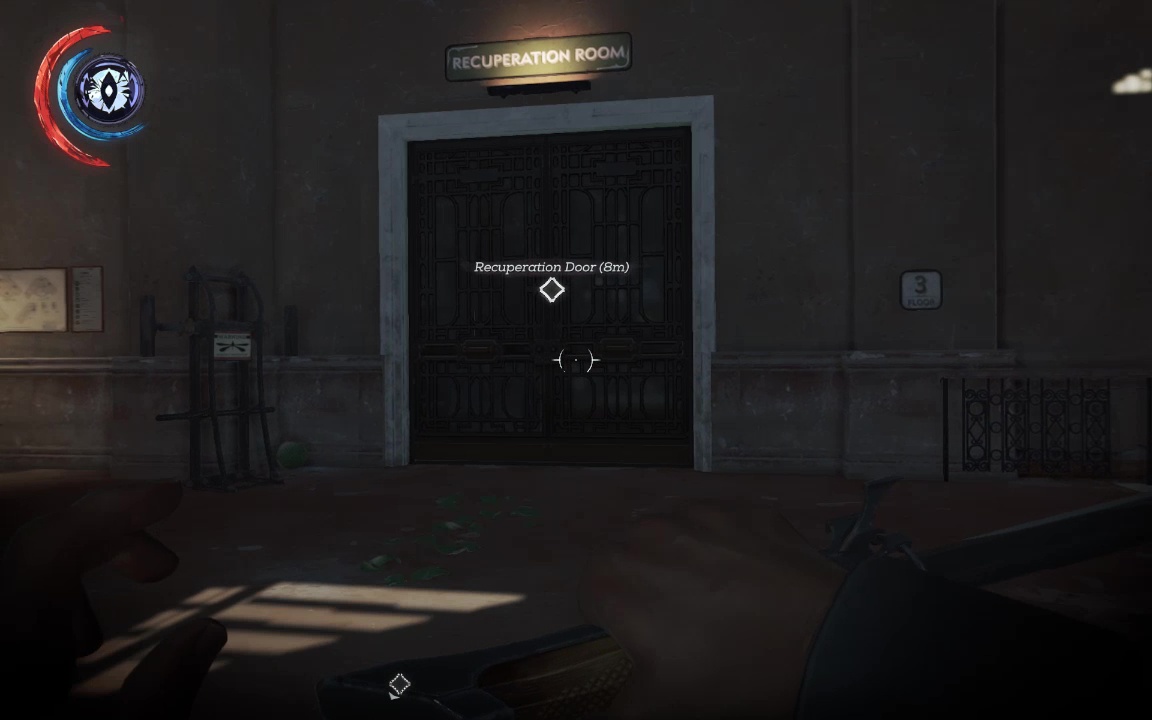
Loot the place thoroughly- there are tons of valuables, including a gold ingot wedged in the bookshelf, another of Hypatia's pearl fans, and her master key, which opens up almost the entire building to you. With that in hand, head down to the third floor recuperation room.
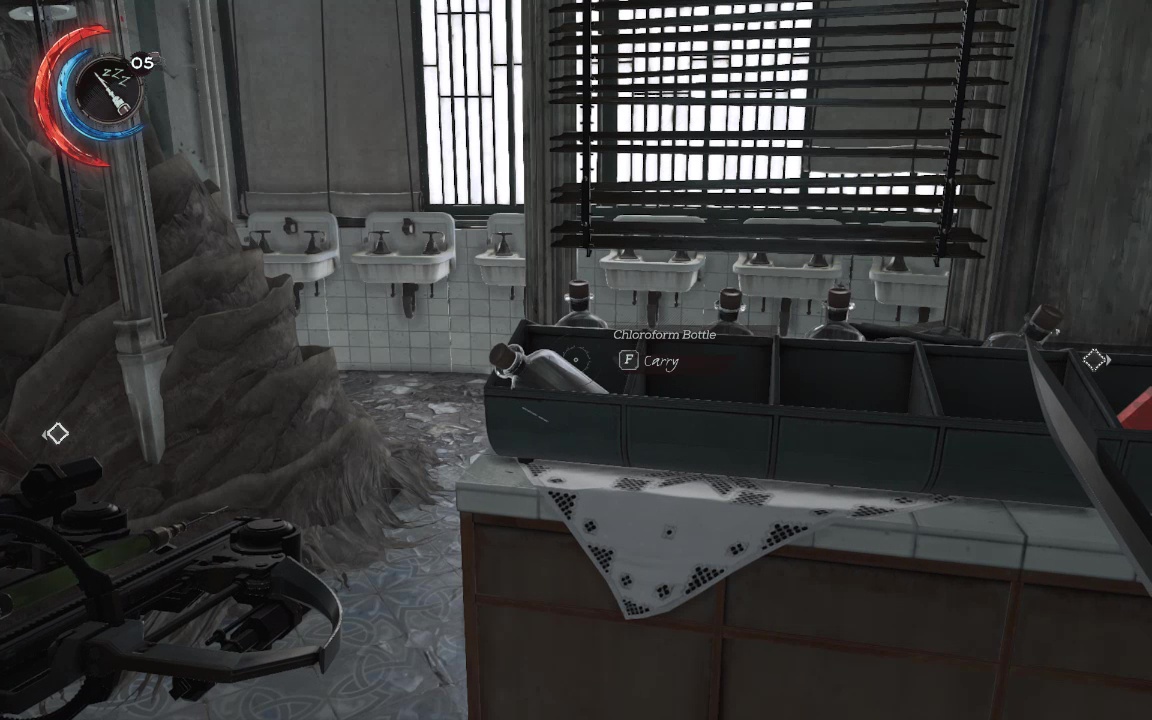
This section is dense with bloodfly hives, but there are also some incendiary bolts as you first enter, and several caches of flammable liquors about. Note also the giant rack of chloroform bottles to your right as you enter, which will be handy for any number of things later.
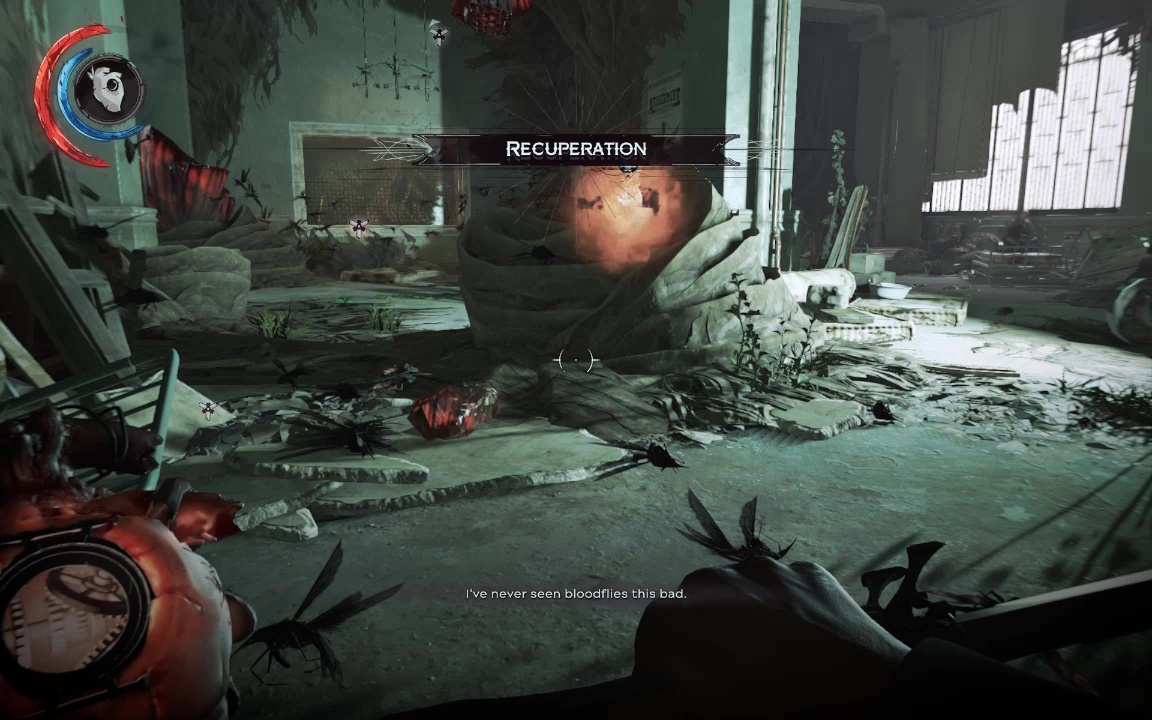
Burn your way through, but consult the Heart to pick up a rune (Rune 6/6) inside the first big hive, and a bonecharm hidden in the central chamber. To access that one, open up the tanning beds until you find one connected to a hole in the wall.
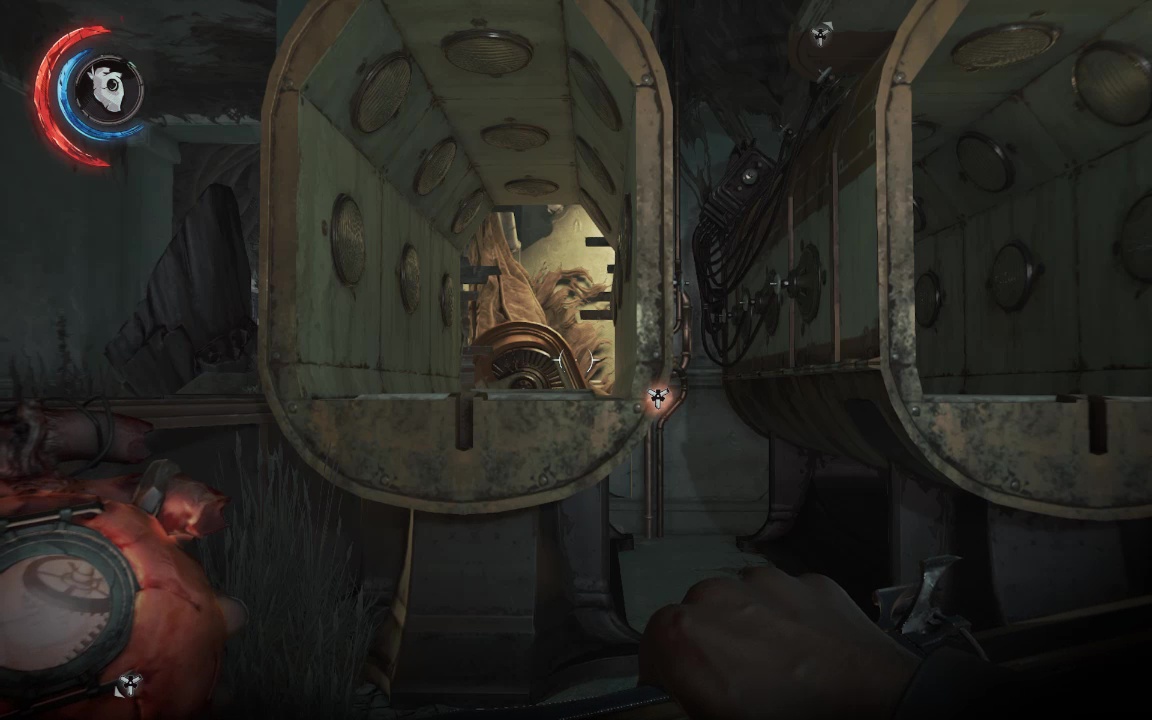
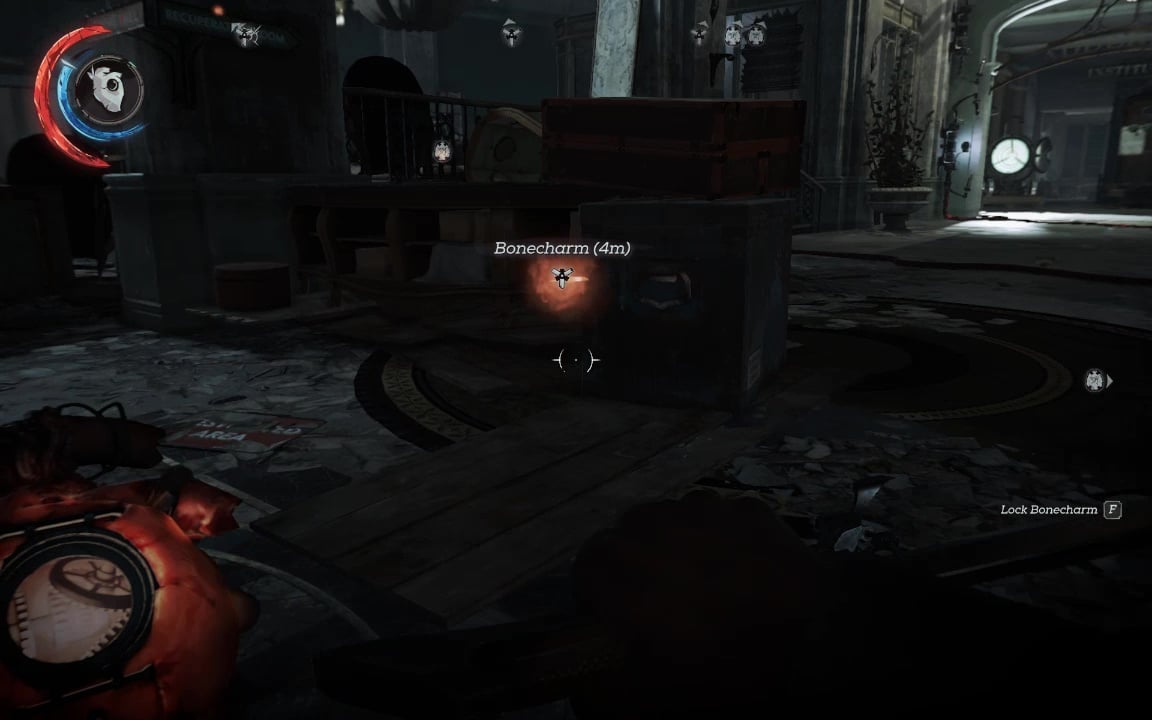
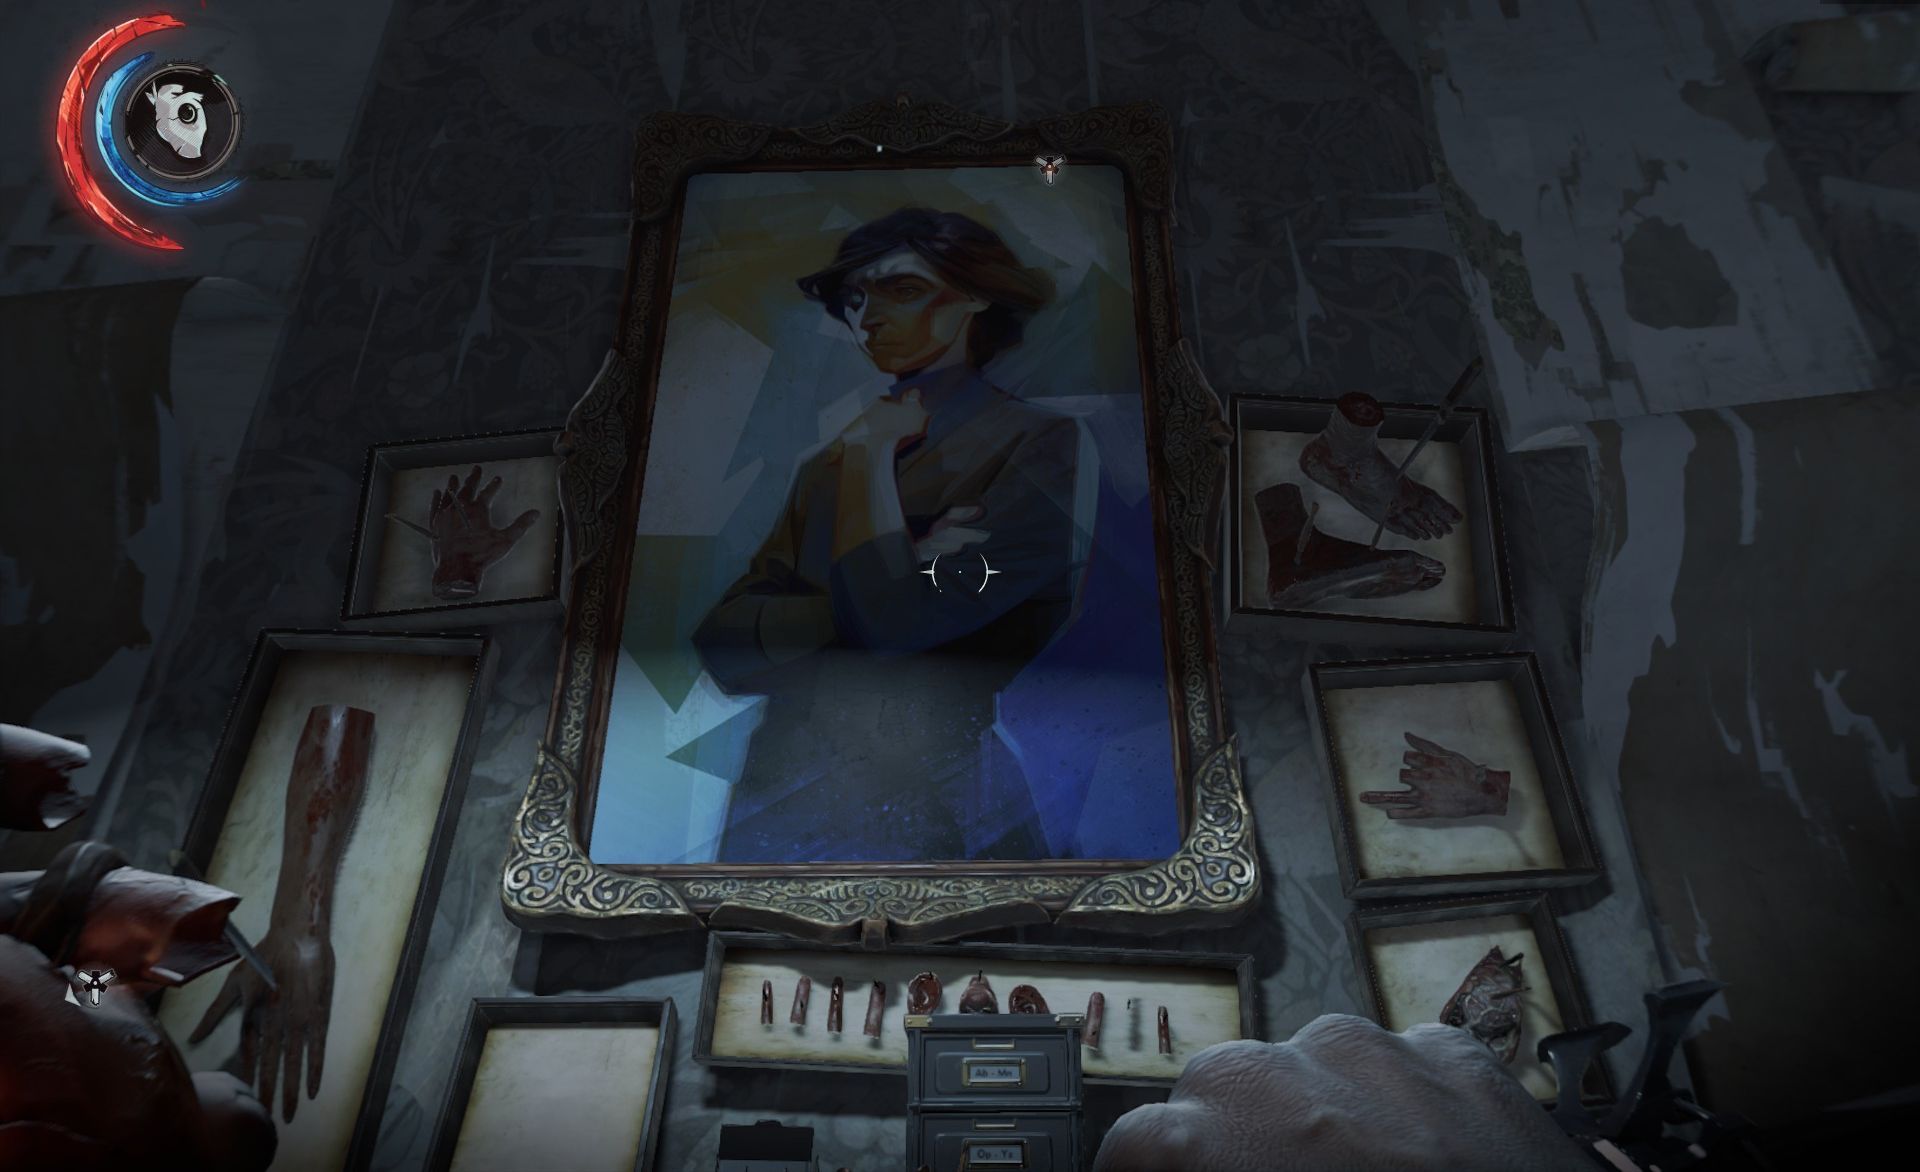
Crawl through to claim the charm (Bonecharm 4/5), but watch out for the hive on the ceiling. Bash the boards off the door to exit. Exit through the restricted area doors and follow the Heart to a Corrupted Bonecharm downstairs. Smash the glass to enter a disturbing little office, filled with grisly mementos of the Crown Killer's victims, as well as an audiograph, that charm (Bonecharm 5/5), and a painting of the good doctor herself (Painting 3/3)
IMPORTANT: Hypatia is working in the Examination Room just a few feet away. Do NOT talk to her yet- it may prevent you from talking to Joe Hamilton, which may in turn lose you a blueprint and a Special Action. So retrace you steps, grab a bottle of that sweet, sweet chloroform, and head down to level two, toward Disease Treatment.
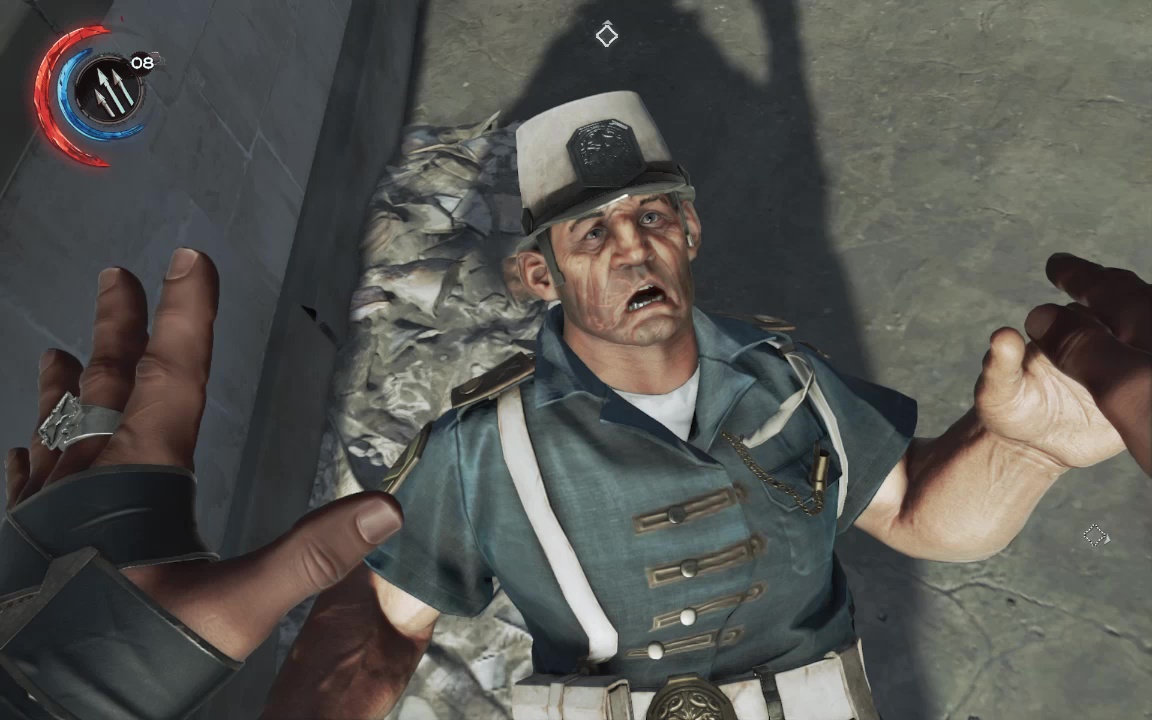
There's a bluecoat with his back turned, but don't take him out quite yet. Wait for a redcoat to join him, then chloroform them both (if you wait to choke them out, you may traumatize Hamilton, and he won't talk to you).
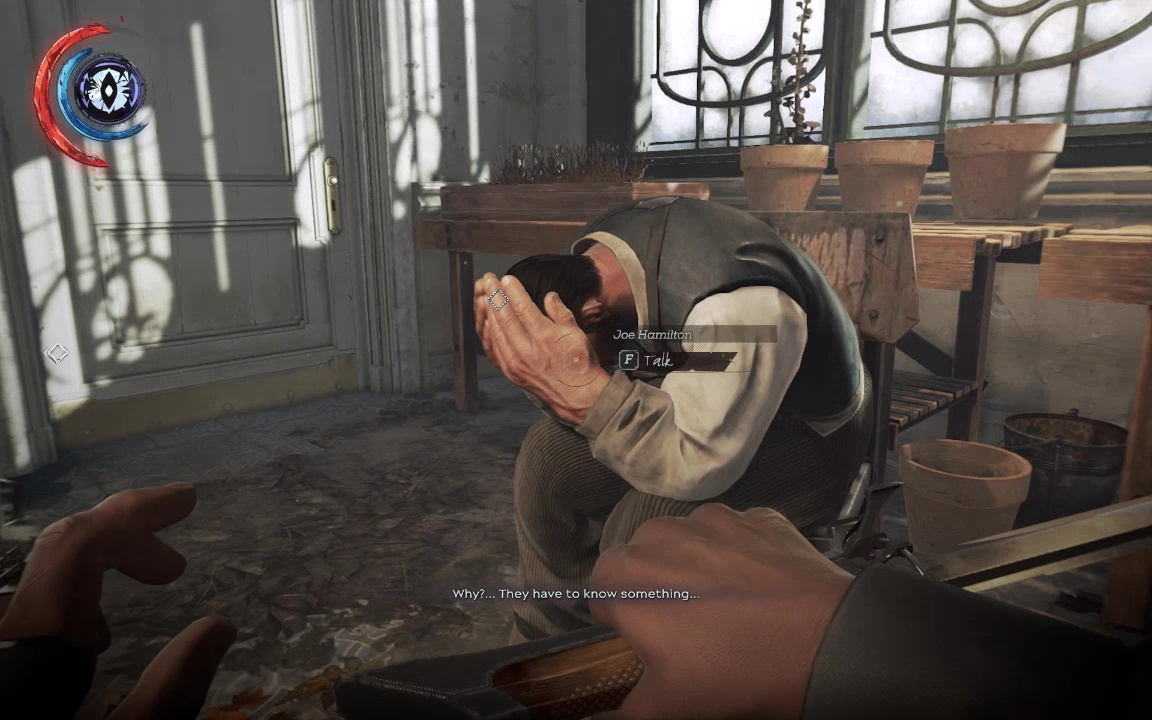
Enter the interrogation room to get the goods from Hamilton, earning another third of the Three Witnesses Special Action. Be sure before leaving to snag the key in the tray behind him. Hamilton's office is a top a secondary staircase just to the left of Hypatia's office door, so climb all the way up to the top of the building.
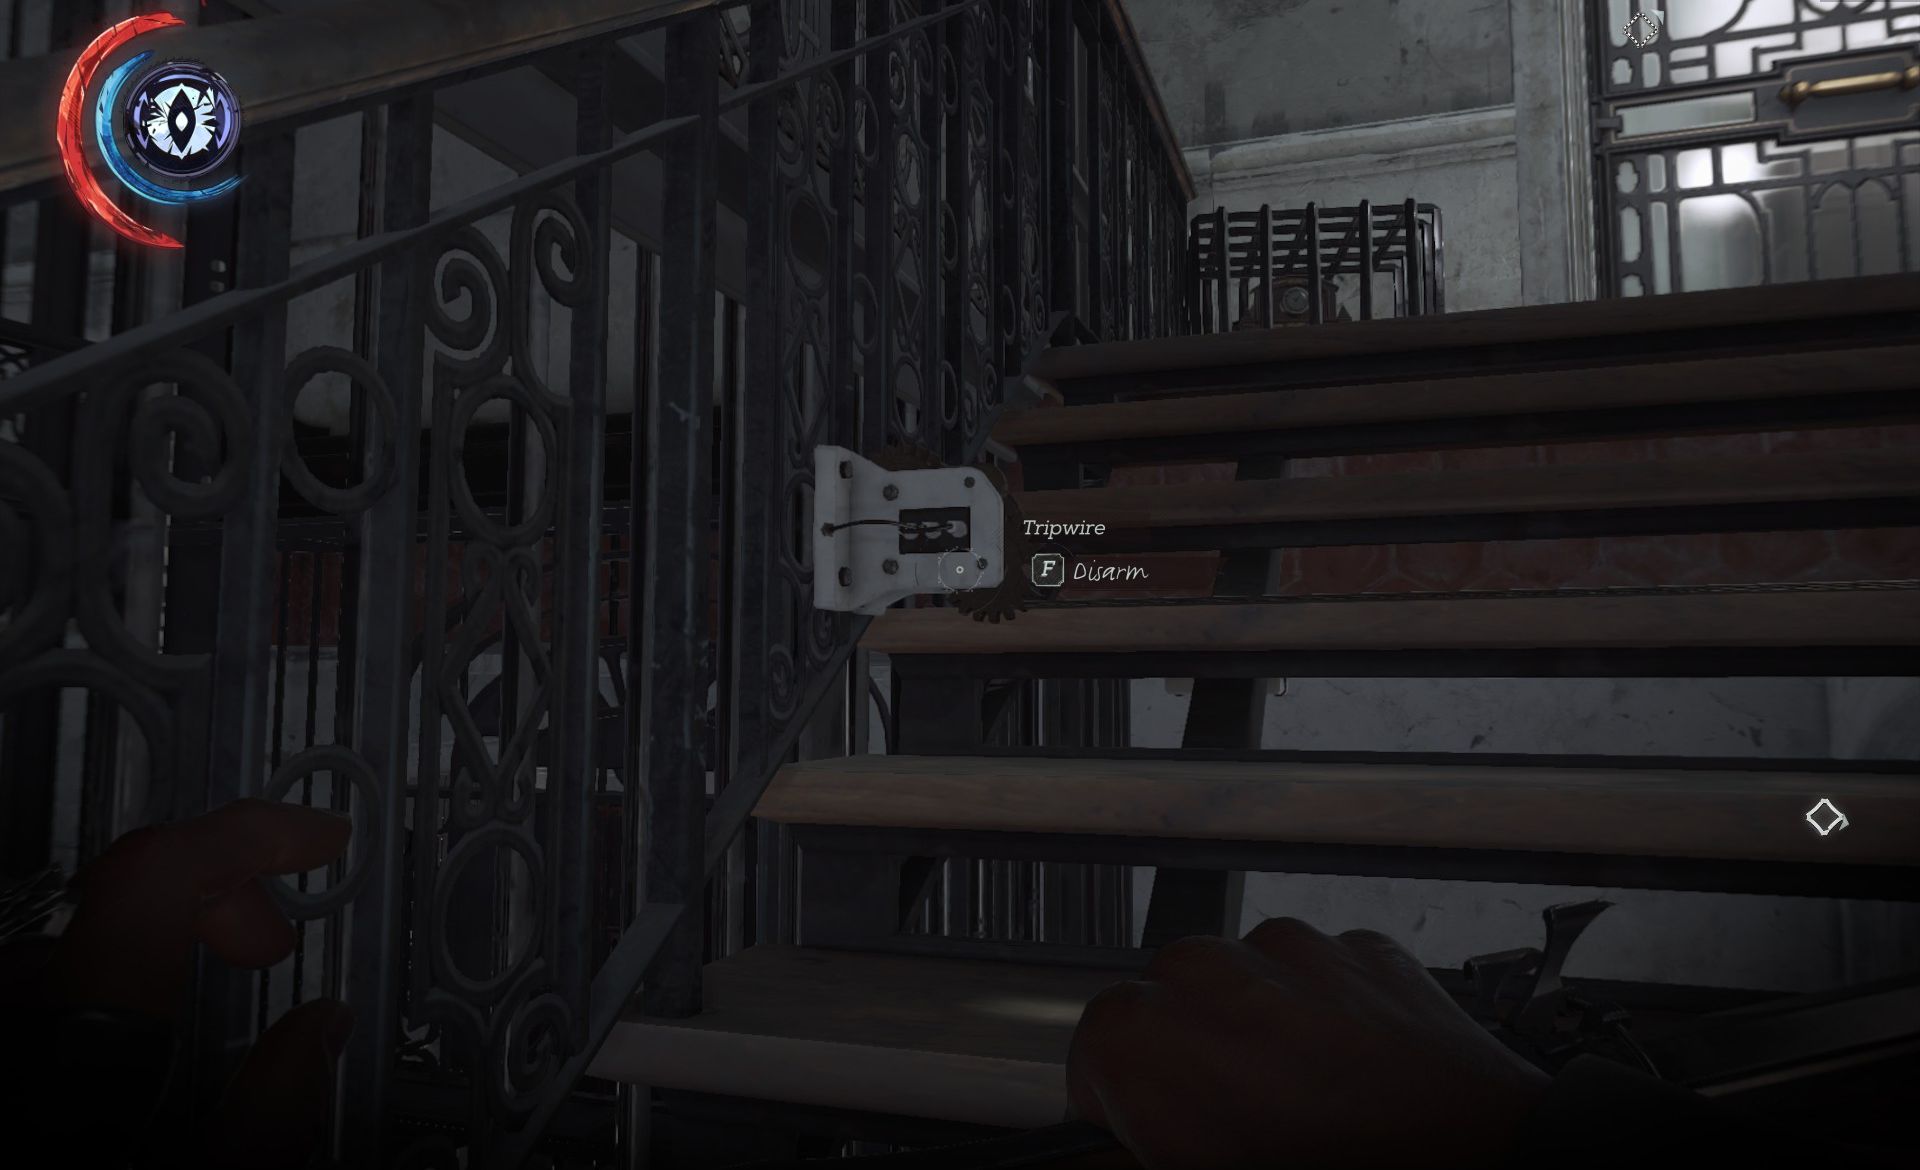
The tripwire here is pretty easy to spot and easier to disarm. open the door to grab some blueprints (Blueprints 2/2) and read Hamilton's diary, which will point you to Dr Hypatia's assitant, Dr. Vasco.
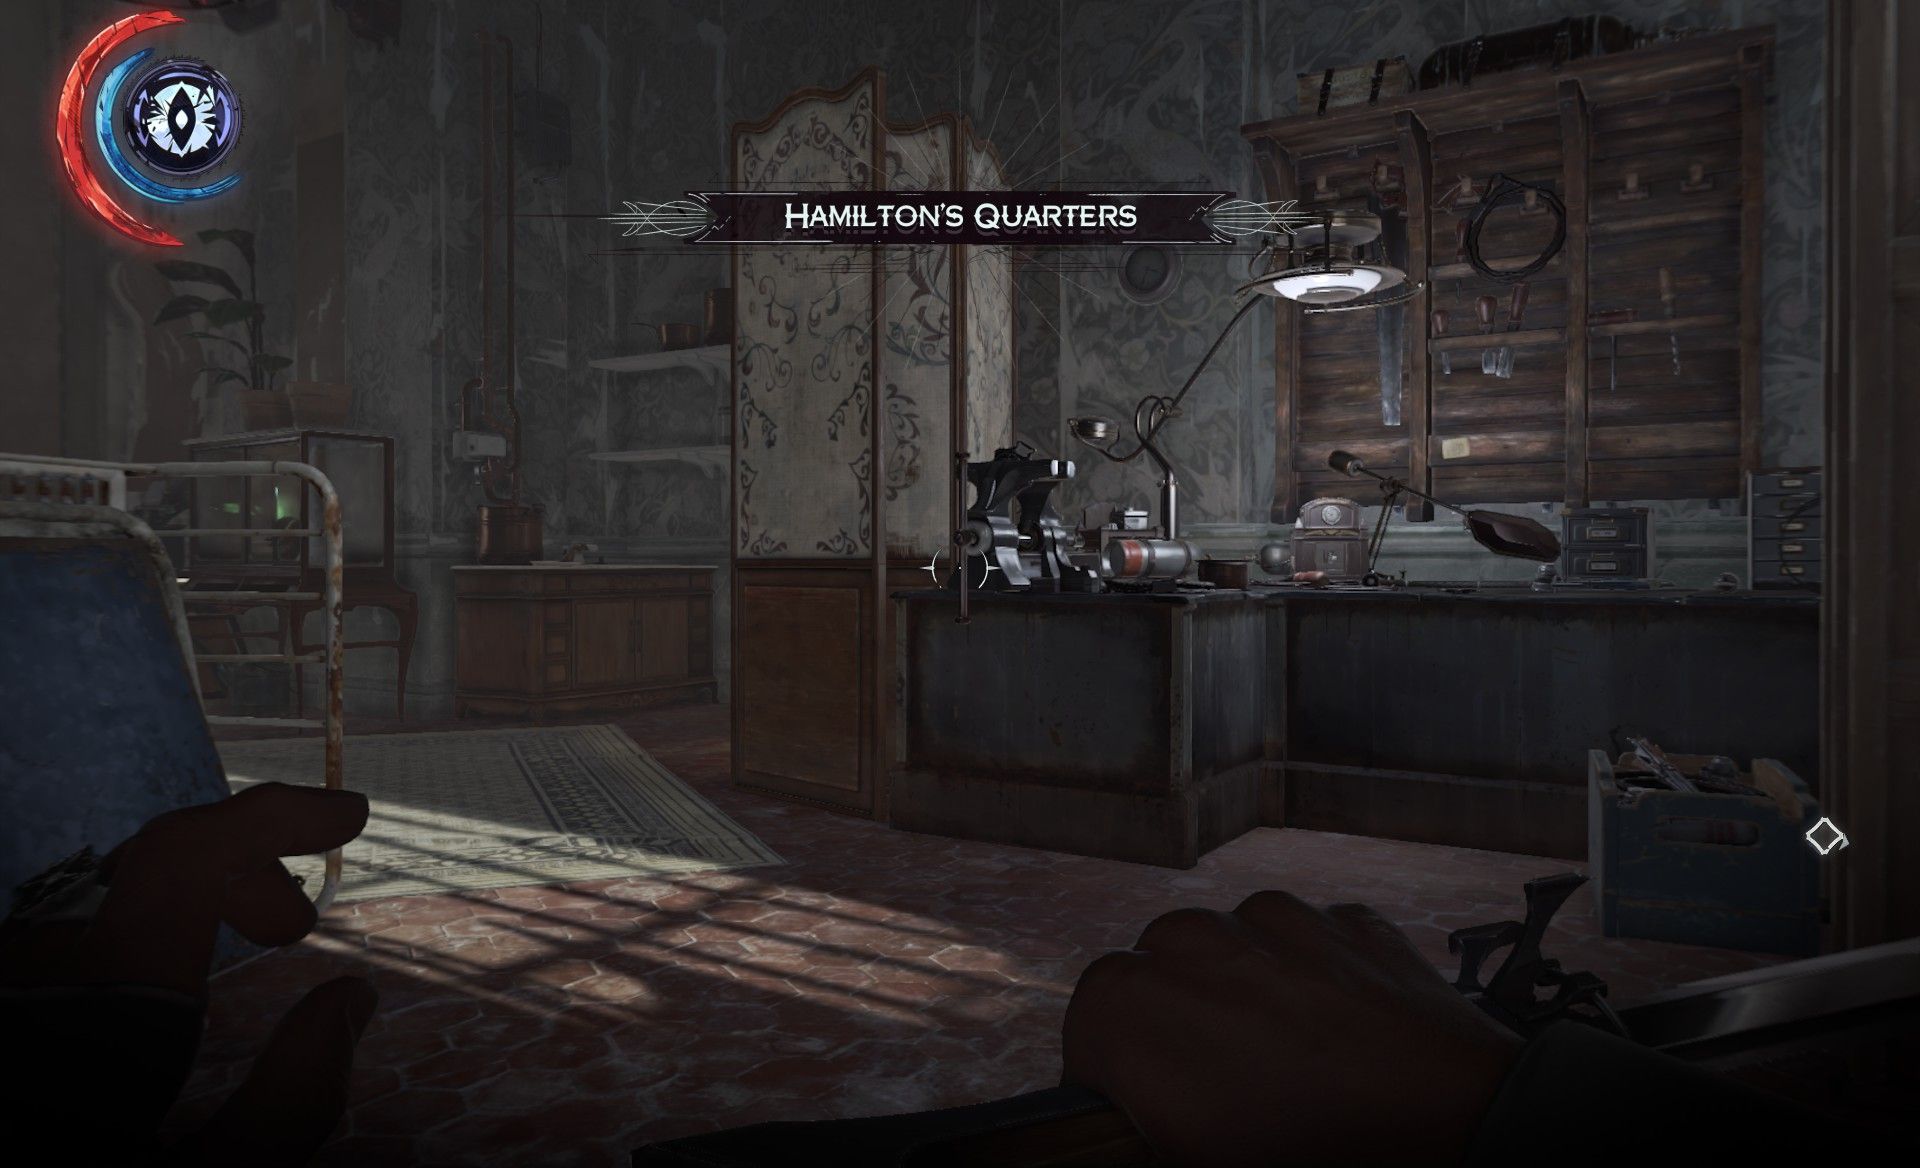
There's also some minor loot, and lots of lethal ammo you don't need, but keep this location in mind if end up using your crossbow bolts as noisemakers later. With that checked off our list, return through Recuperation for a face to face with the titular Good Doctor.
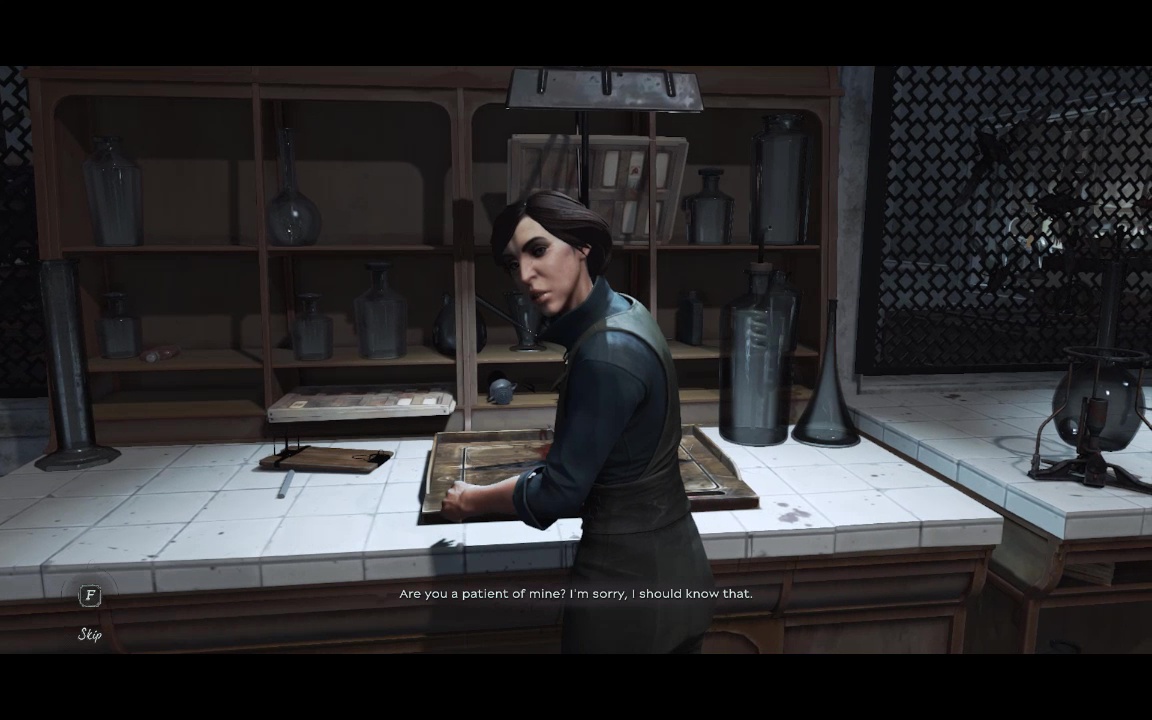
Once you encounter Hypatia, things become much more linear. Have a slightly disjointed conversation with the ladtythen go to the back of the room to find her severely maimed assistant Vasco. Talking to him unlocks the final part of the Three Witnesses Special Action (3/5)
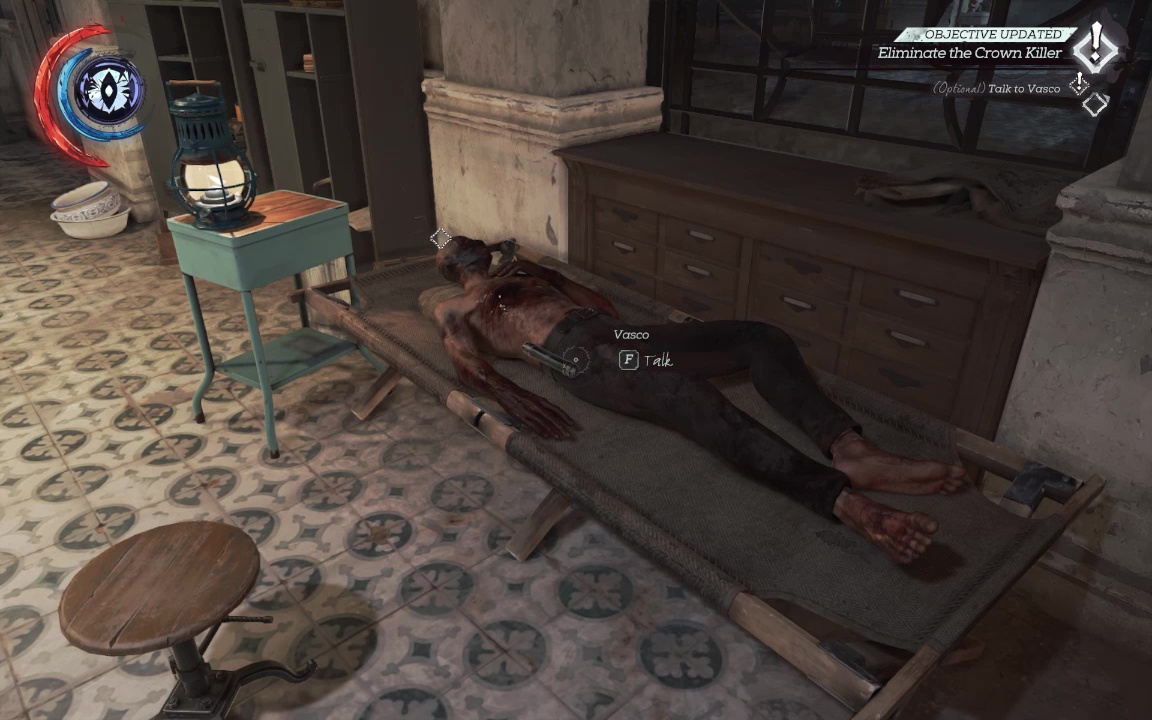
Vasco reveals that Dr. Hypatia herself is the Crown Killer, moments before she busts through the window in righteous fury. Well, fury, anyway.
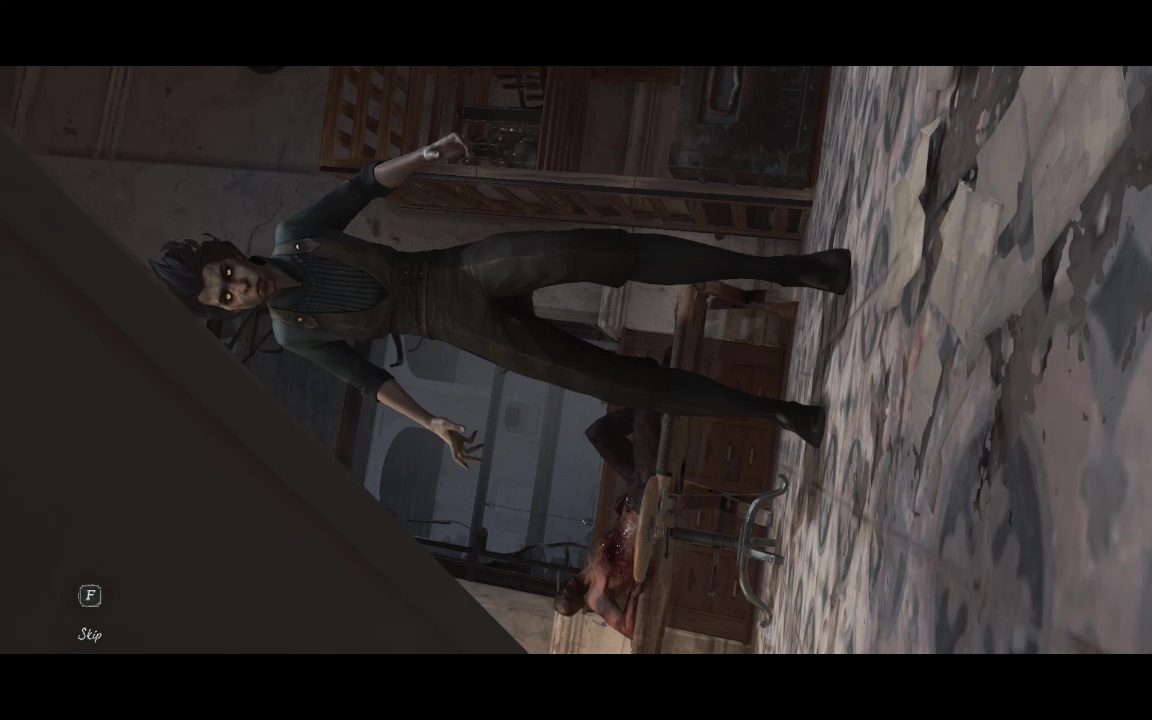
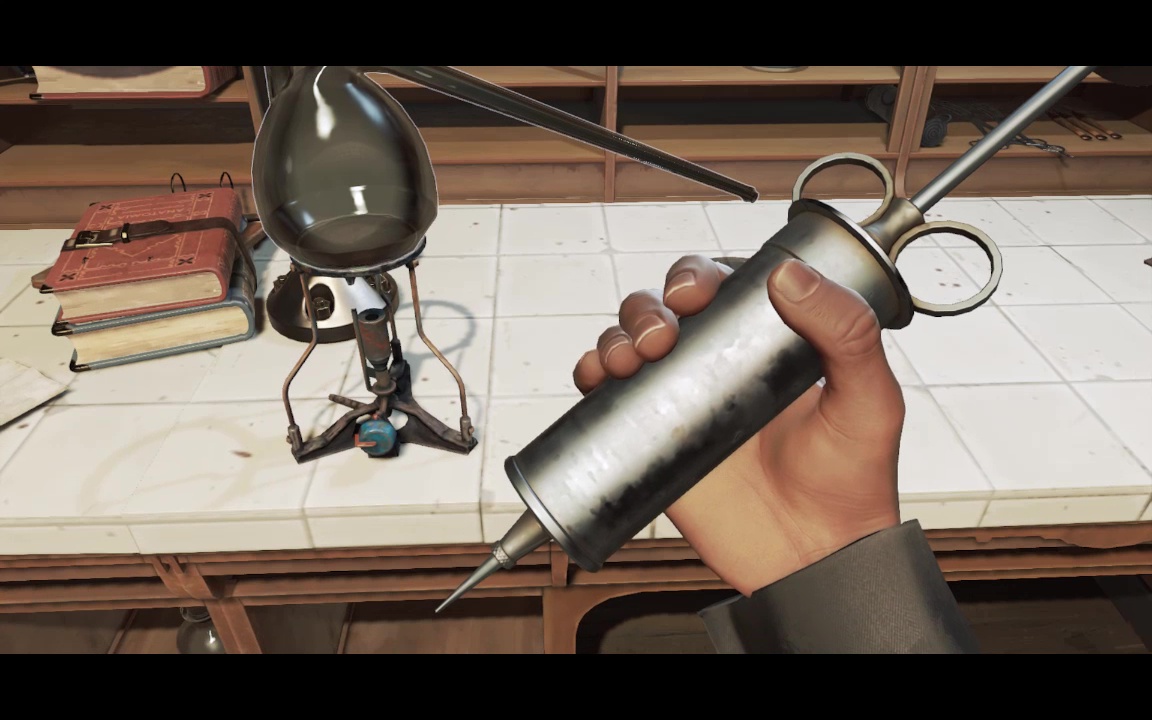
Just stay put for a few moments until she's gone, then loot the room. You may also want to listen to the audiograph here, if you don't mind the severely disturbing hot talk of a crazed murderer. Once you've gathered up some whalebone and sleep darts, follow the objective markers to concoct an antidote. Note the objective markers act a little different for this quest, leading you to waypoints rather than just pointing out your destination. Still, they're the only friends you've got, so best get moving. First stop is Vasco's safe for the serum- you already have the combo from your conversation with him.
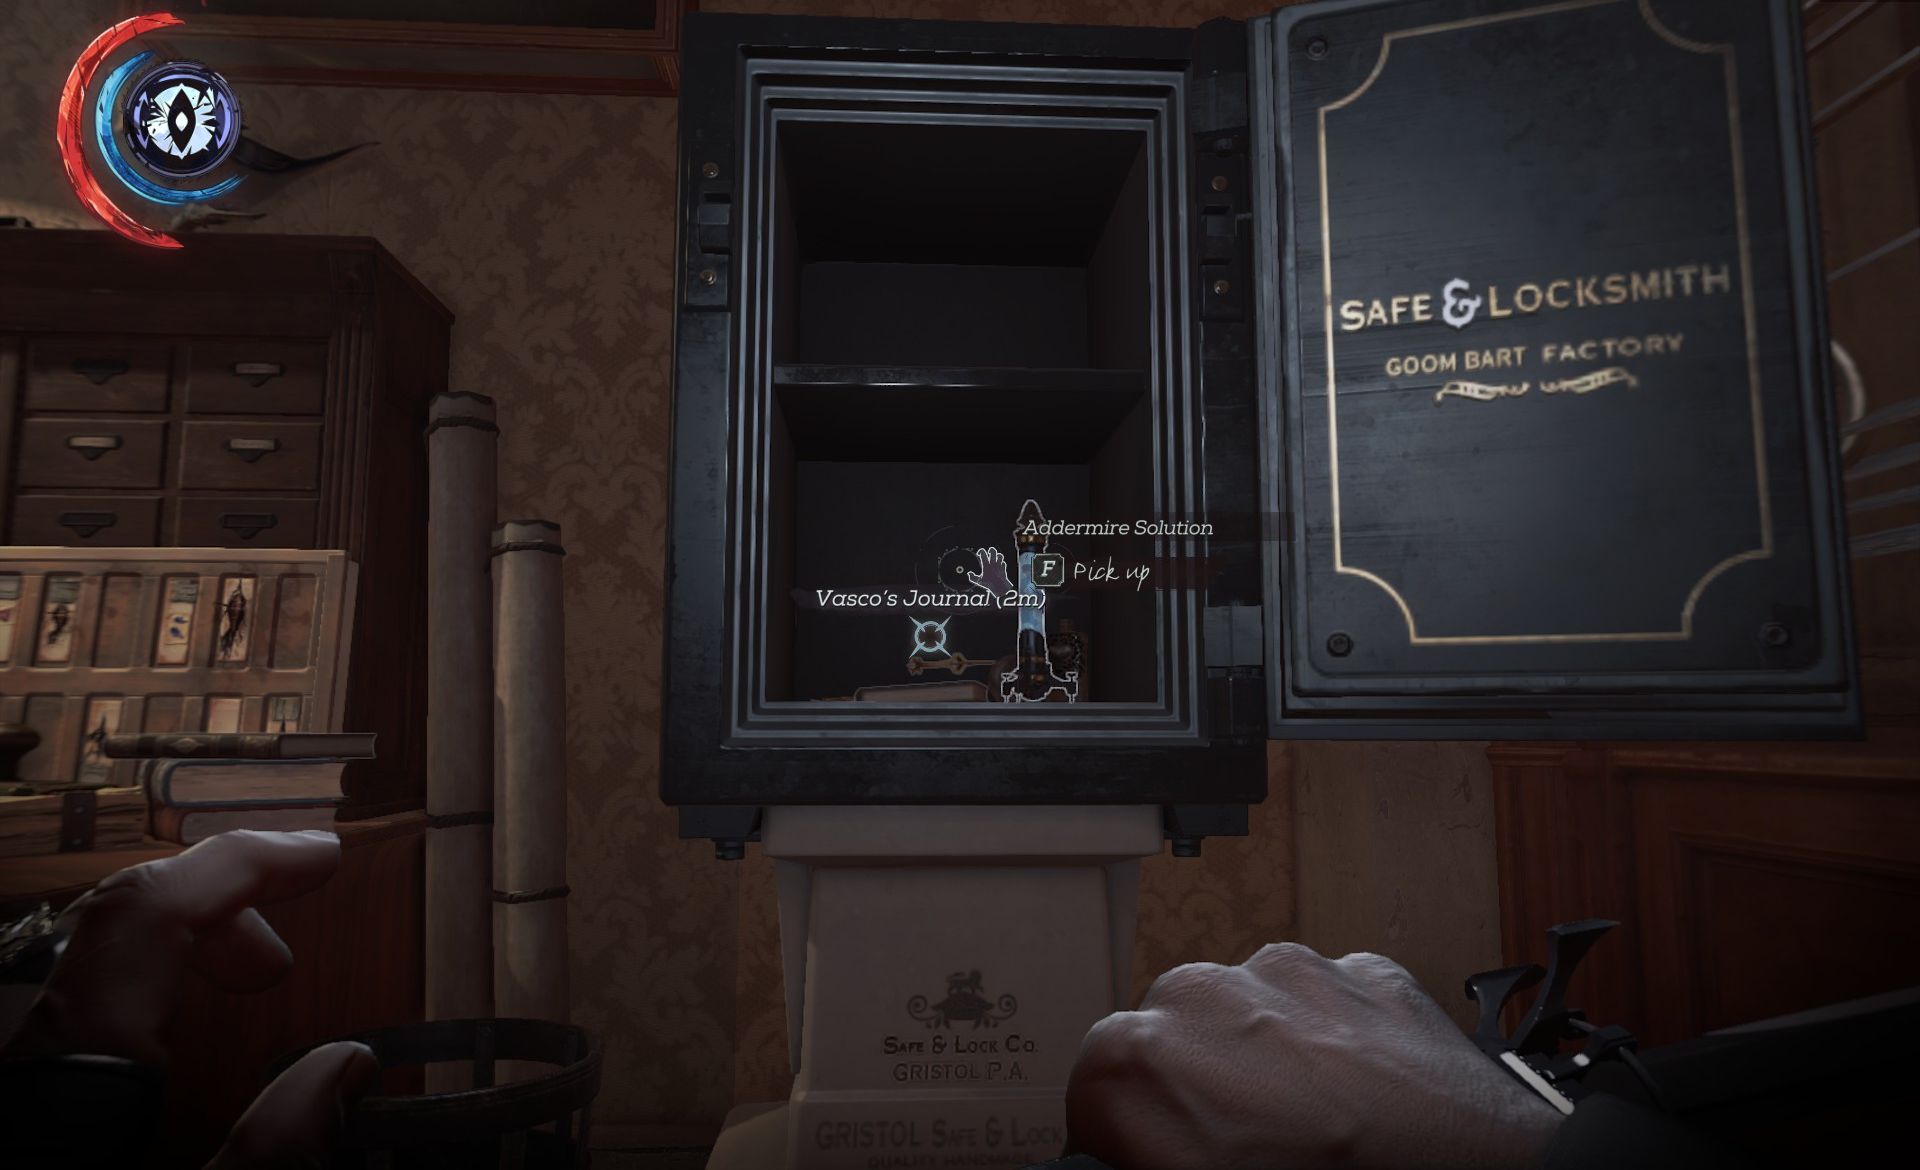
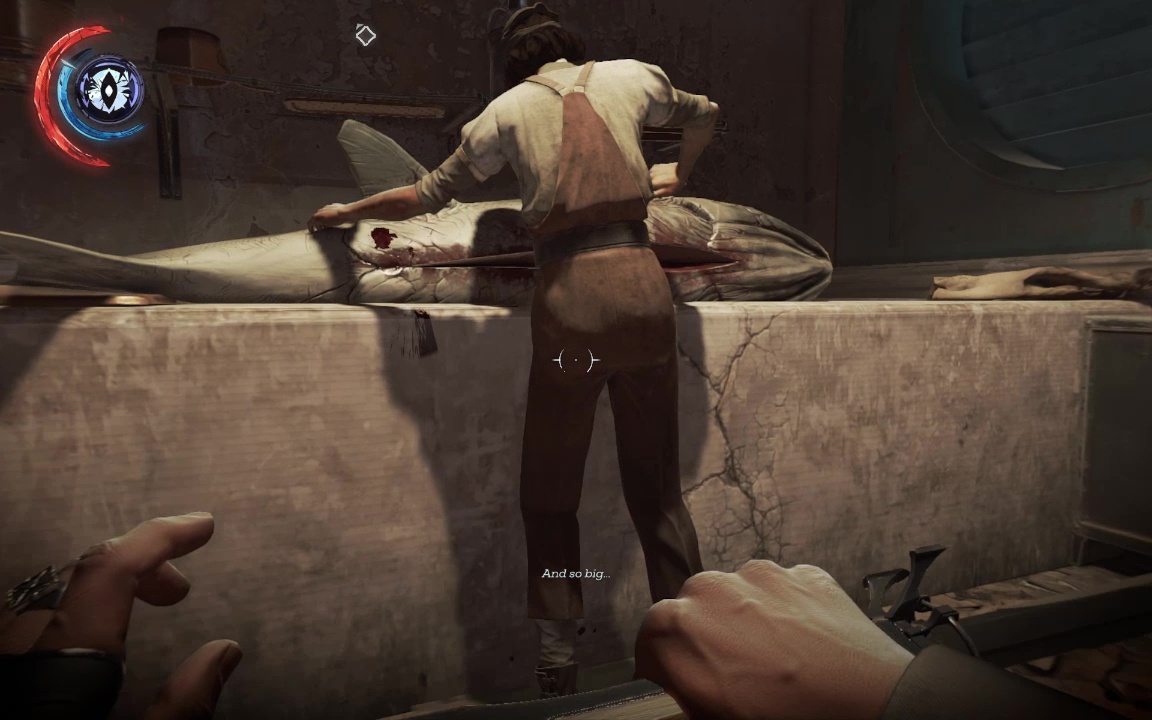
If for some reason things didn't go as planned, the combo can also be looted from his body, which was flung into the center of the Examination Room when the Crown Killer attacked. Also in Vasco's office is some ivory scrimshaw and a silver ingot behind glass. Next step is harvesting bodily fluids, so grab the syringe from the lab and play the audiograph to discover how Vasco wound up the way is. Or was,until a few moments ago. Follow the marker to a harvestable dead body, and make your withdrawal. Ignore the bloodflies, and hurry back to the lab to create your cure.Put the serum in the beaker, turn on the burner, and presto- it's Crown Killer Unkillering Time. So to speak.
Follow your marker back to the upper levels of the examination chamber. Watch for Hypatia prowling the room and wittering to herself.

Blink in just behind her, then use [CTRL] to administer the counter-serum, just as you would any non lethal attack. It works pretty well, considering the limits of your medical training, and she seems to be herself again (unlocking Special Action The Counter Serum 4/5). Have quick chat then let her be, while you return to Institute proper. You can do this by going back through Recuperation, or opening the shuttered windows in the back area where Vasco was, and dropping down to the back docks just outside the kitchen. If you're looking to finish the level (and there's nothing stopping you), this is the better bet. But completionists still have a few things to take care of.
So slip back through Recuperation, grab another ether, and make your way down to Consultation on the first floor.
The guard here is always looking attentively outward into the stairwell. Ether will fix that. The guard in the room to your left will come running, opening him up for an easy choke, leaving the last guard of this section sleeping in the room to the right.
As in DX:HR, it's frustratingly difficult to choke out someone who's lying down here, so just sleepshot him and grab the replacement bolts from the small table by his head. The only hostiles left are the wolfhounds. There's a Special Action for letting them out (Release the Hounds! 5/5), but if you're going for ghostliness, this can be dangerous. One last time, nip up to floor three for some chloroform, then return to the dog room. Open the door and chuck in a bottle (use the keyhole or Dark Vision) to pick your moment).
Sleepdart any remaining hounds as they escape. Despite the Special Action description, they don't actually need to maul any guards for you to get this Action. Loot the dog room for some whalebone. There are two other rooms- one with some empty dog-carriers, and a little larder-cum-mailroom with a few lootables. Note that there is a secret safe above the mail section with some whale oil and a few coins.
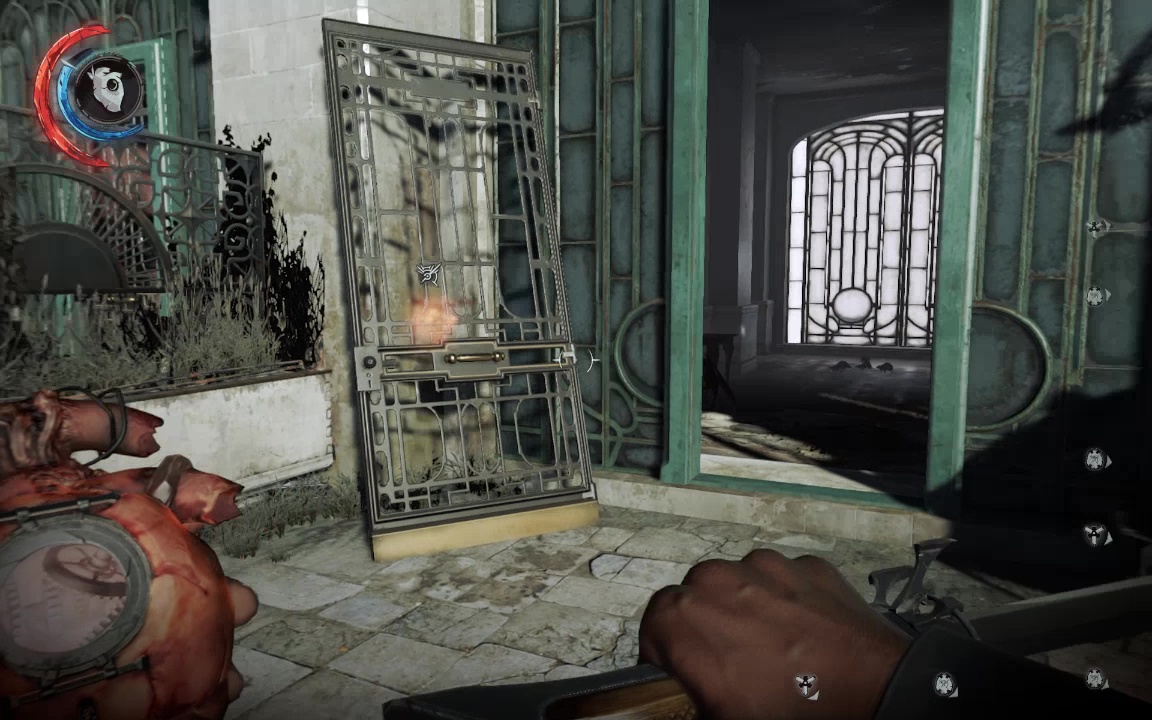
You now have all collectibles, special actions, and achievements from this level, but if you want to leave no stone unturned, there's one last major section we haven't visited. You may have noticed the barred doors leading the rooms under the guard offices. There is no way to access these inside the building. Instead leave through the front entrance and keep bearing left until you seem some open shutter windows.
Blink on over and collect a moderate amount of loot from these rooms, then unboard the doors to re-enter the institute. Now, it really is time to end things. Ignore your objective marker and return to the kitchen, exiting through the far door here.
Wait for the elite guard to turn his back on the bluecoat, then sleep dart the latter and choke out the former (If you left the shutter windows open to the Examination Room earlier, you can blink up and snag a replacement Sleep Dart right away).
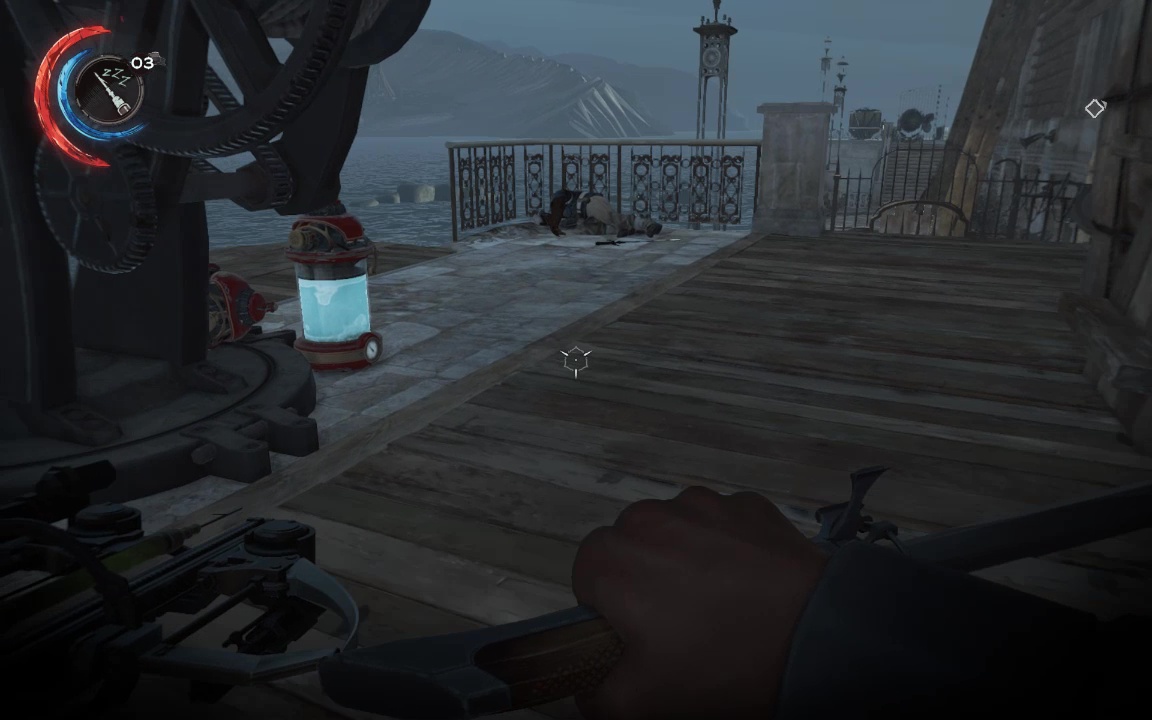
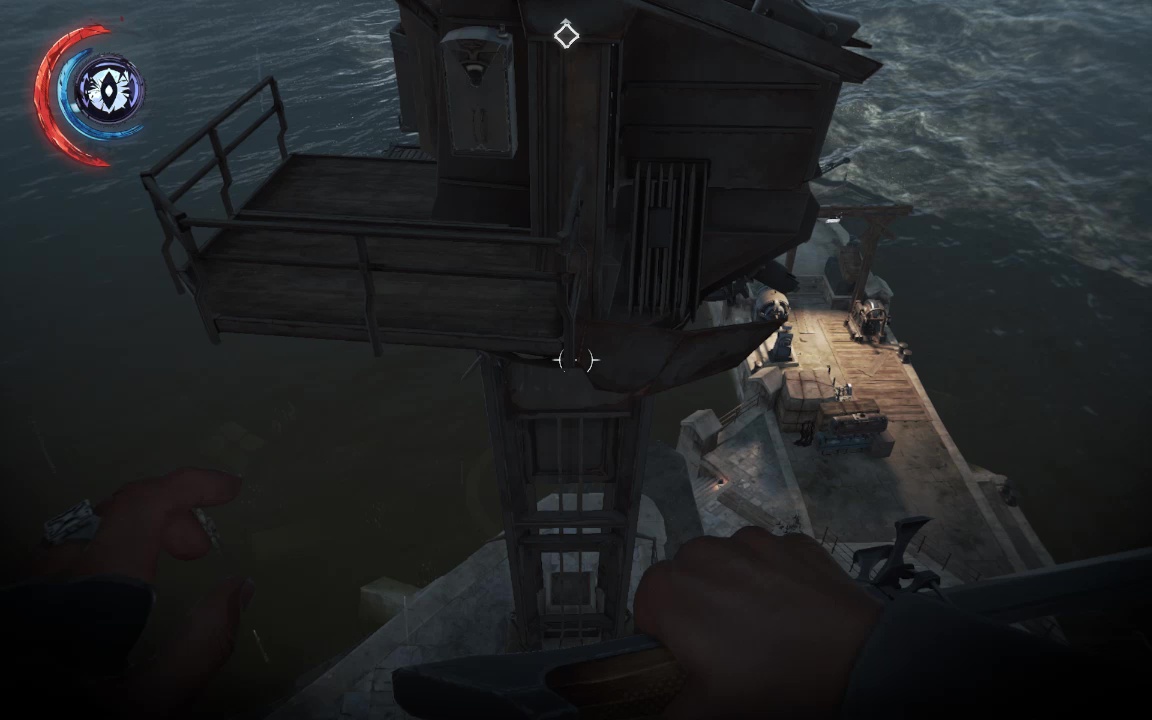
Blink over to the watchtower and disable it as normal, by removing the whale oil.
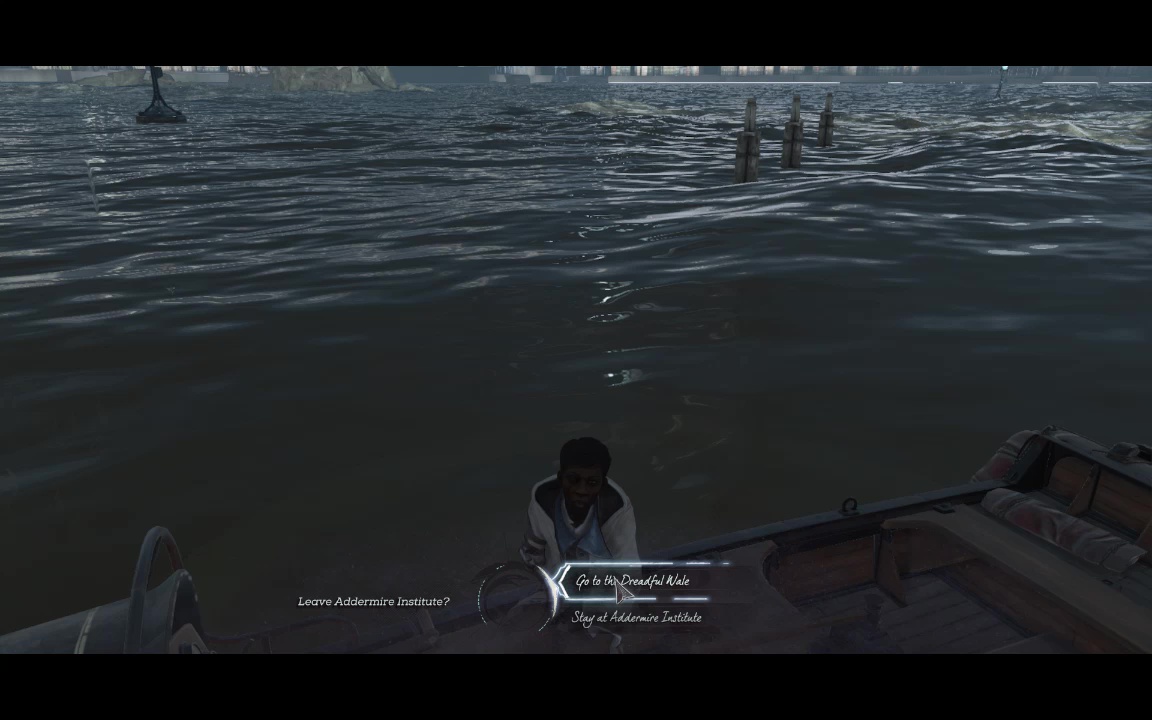
Drop-stop the single guard lurking below. You can creep back up the stairs to dispose of Addermire's last remaining guards, but when you're ready, follow the objective marker to take Maegen/s skiff on out of here.