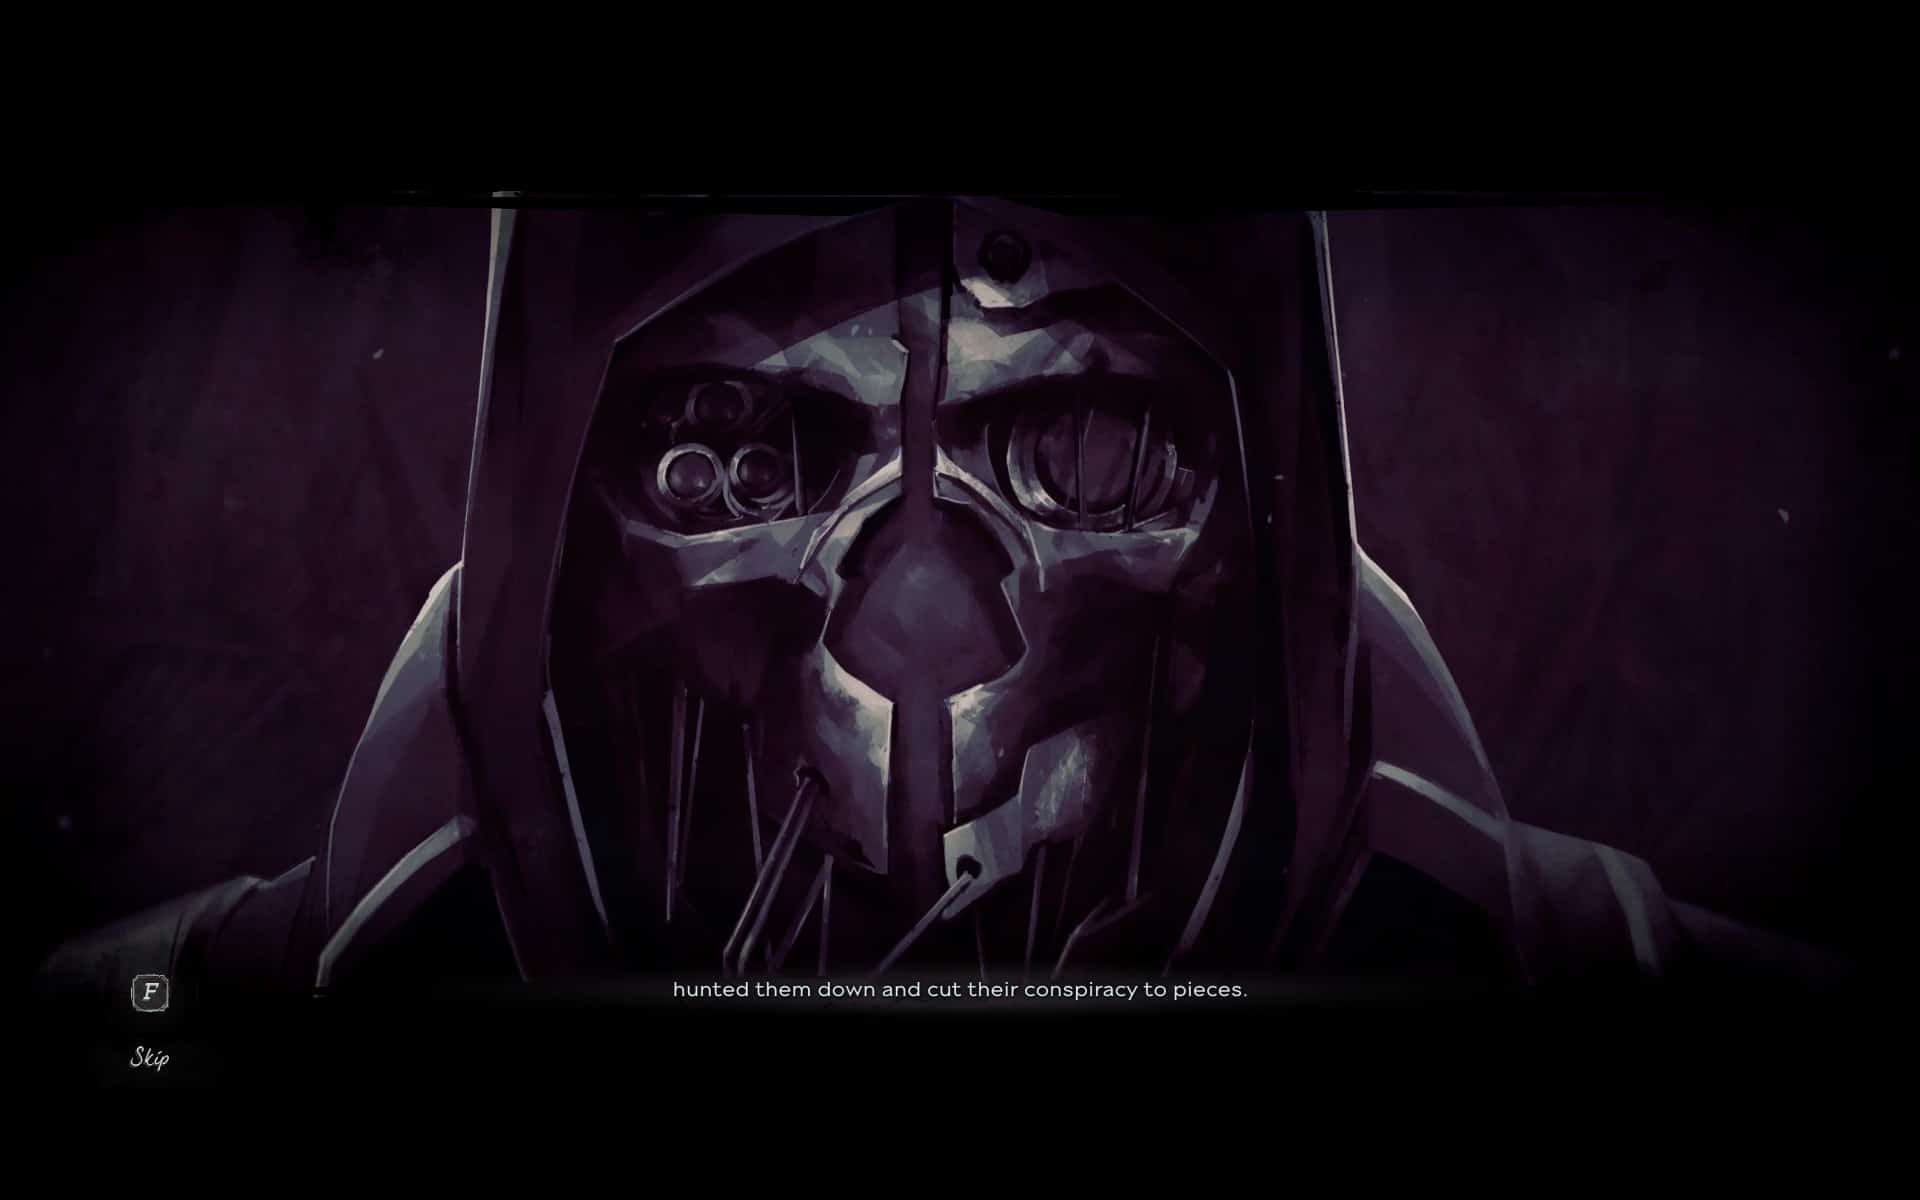
Part I – Dunwall Tower
We open our tale with a brief reminiscence on the events of the first Dishonored game, then step into the shiny leather shoes of Emily Kaldwin. Emily has served as Empress of Isles since her restoration, and now, fifteen years to the day that the previous game started, she prepares to attend a state memorial for her mother.
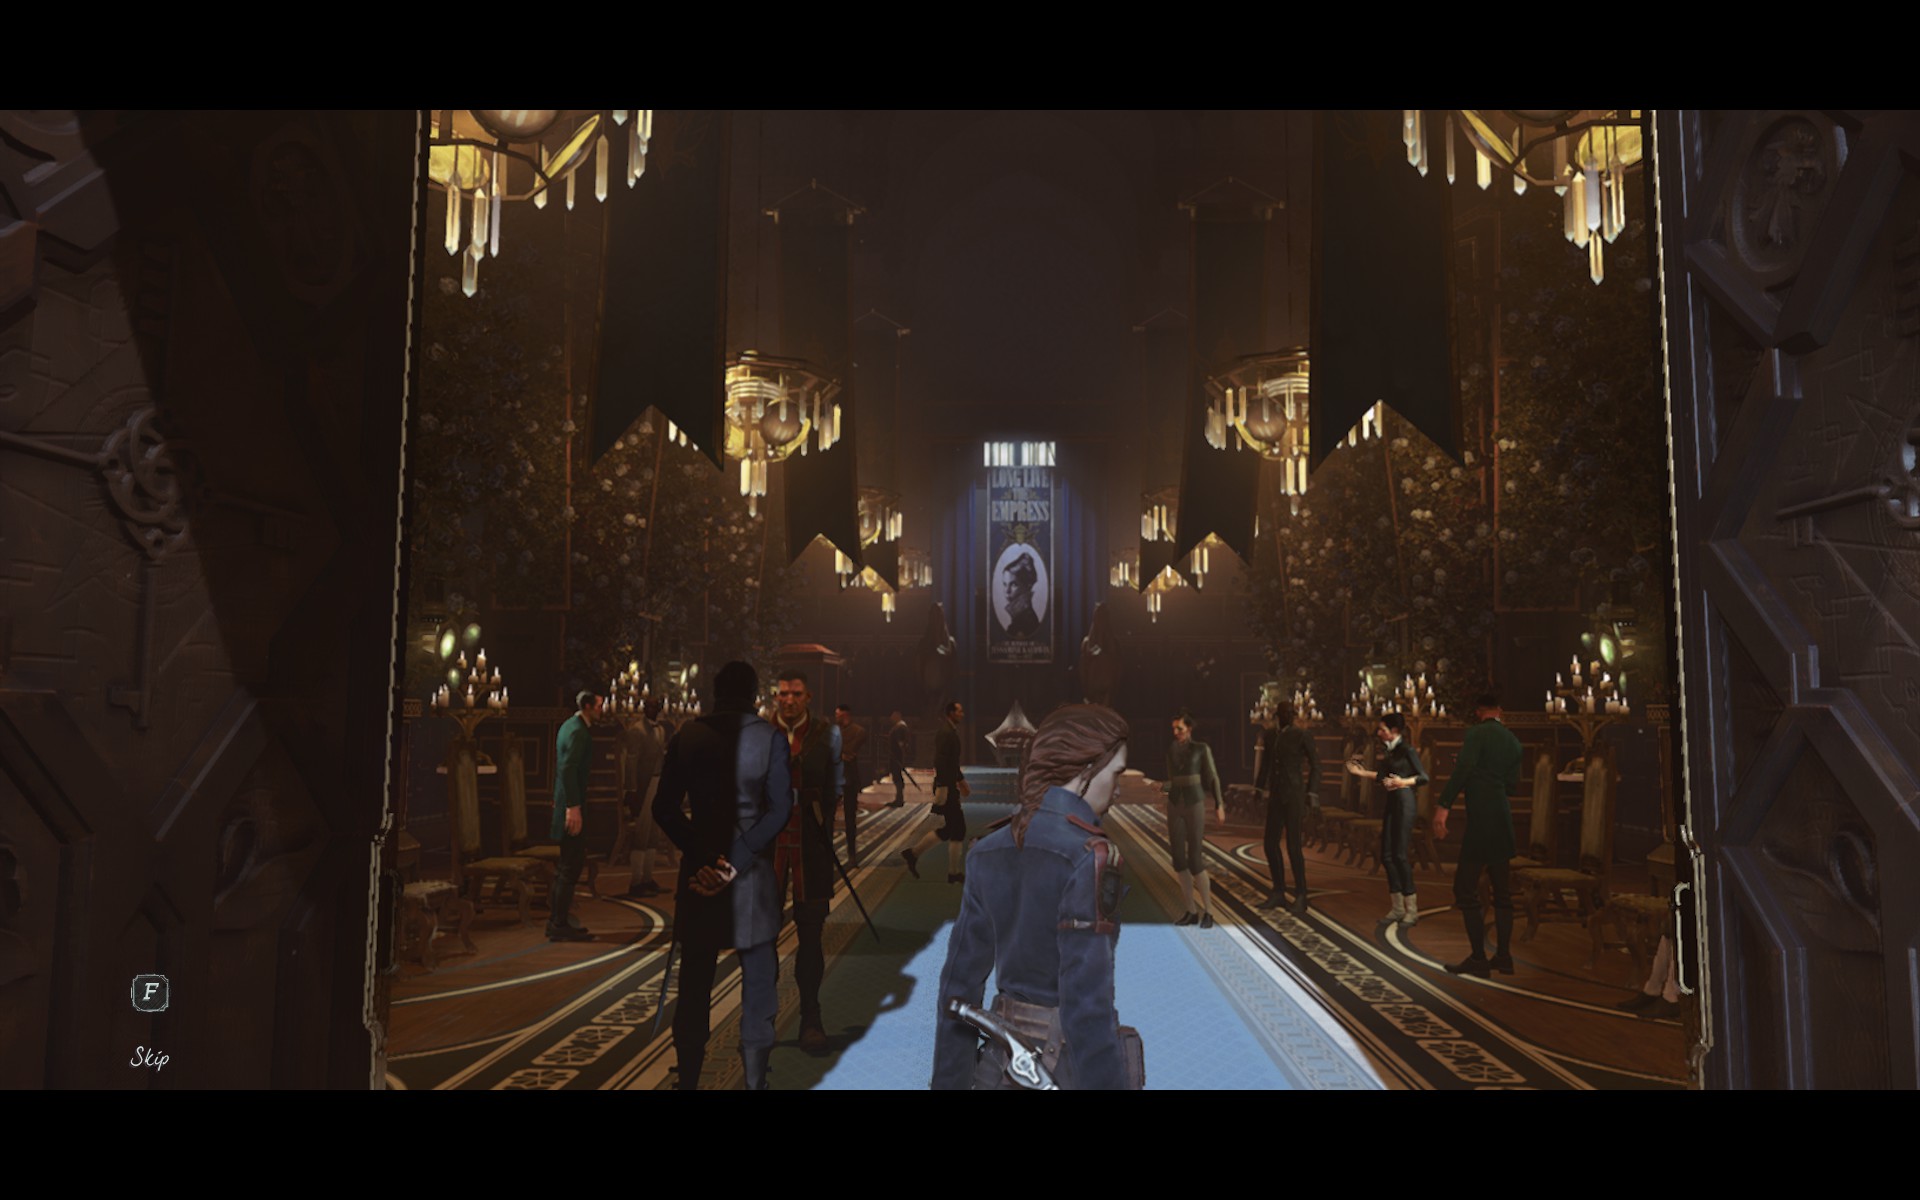
In truth, it looks a little sparsely attended, but perhaps that's just a hint of things to come.
Like so many videogame social functions, polite banter quickly gives way to treachery and bloodshed, and in the blink of an eye Corvo and Emily find themselves back-to-back against a sea of traitors and a sorcerous usurper. Good thing Emily decided against wearing a gown today.
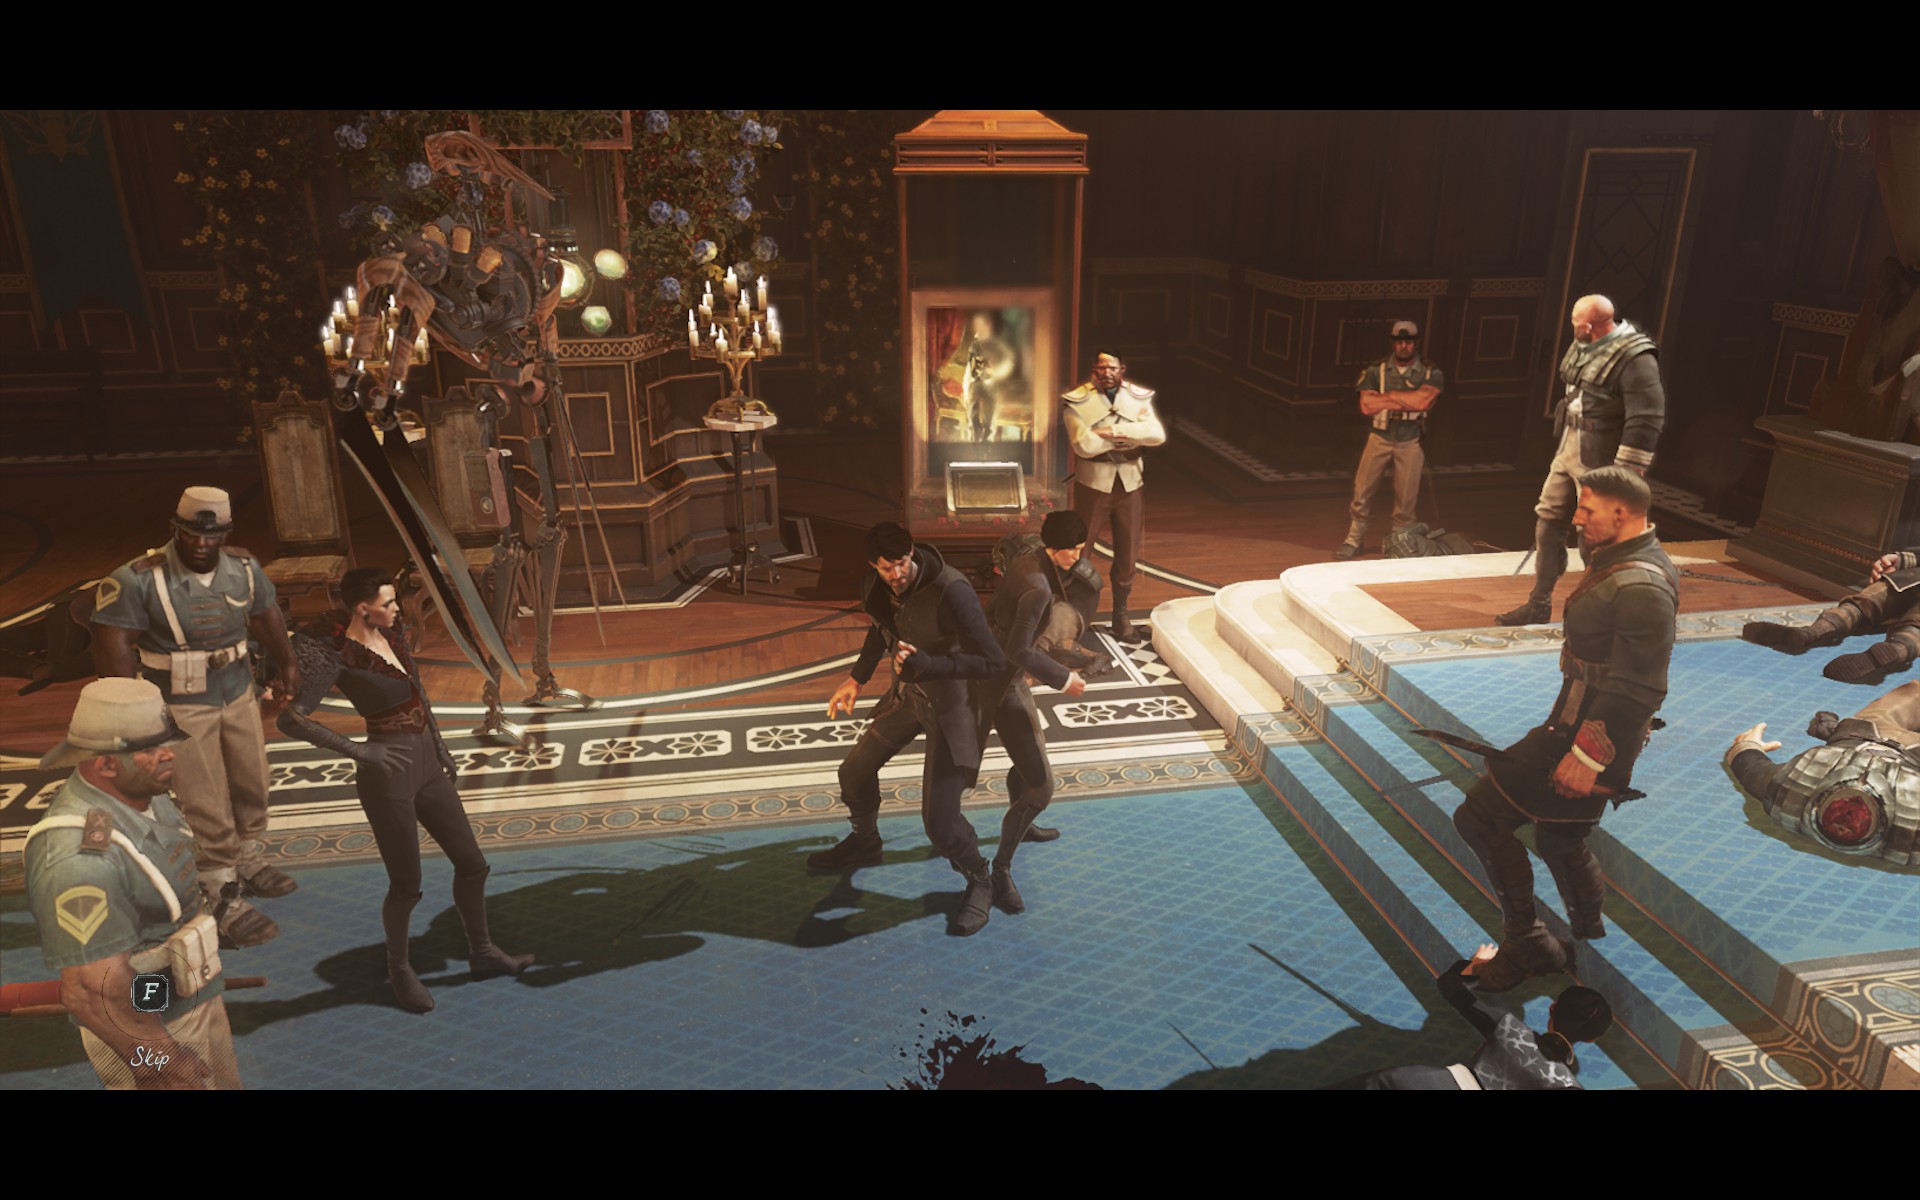
Your first act of the game proper is to choose which of these characters you want to play as. The choice is irrevocable- once you commit to one of them, that's the person you'll play every single mission as from now on. For our Low Chaos walkthrough we're going to go with the proven stealth stylings of Corvo Attano, but as neither character has powers yet, this chapter walkthrough works equally well for both. Whoever you pick, prepare to be knocked out and dragged away into the night. Well, into the early-to-mid afternoon, at any rate.
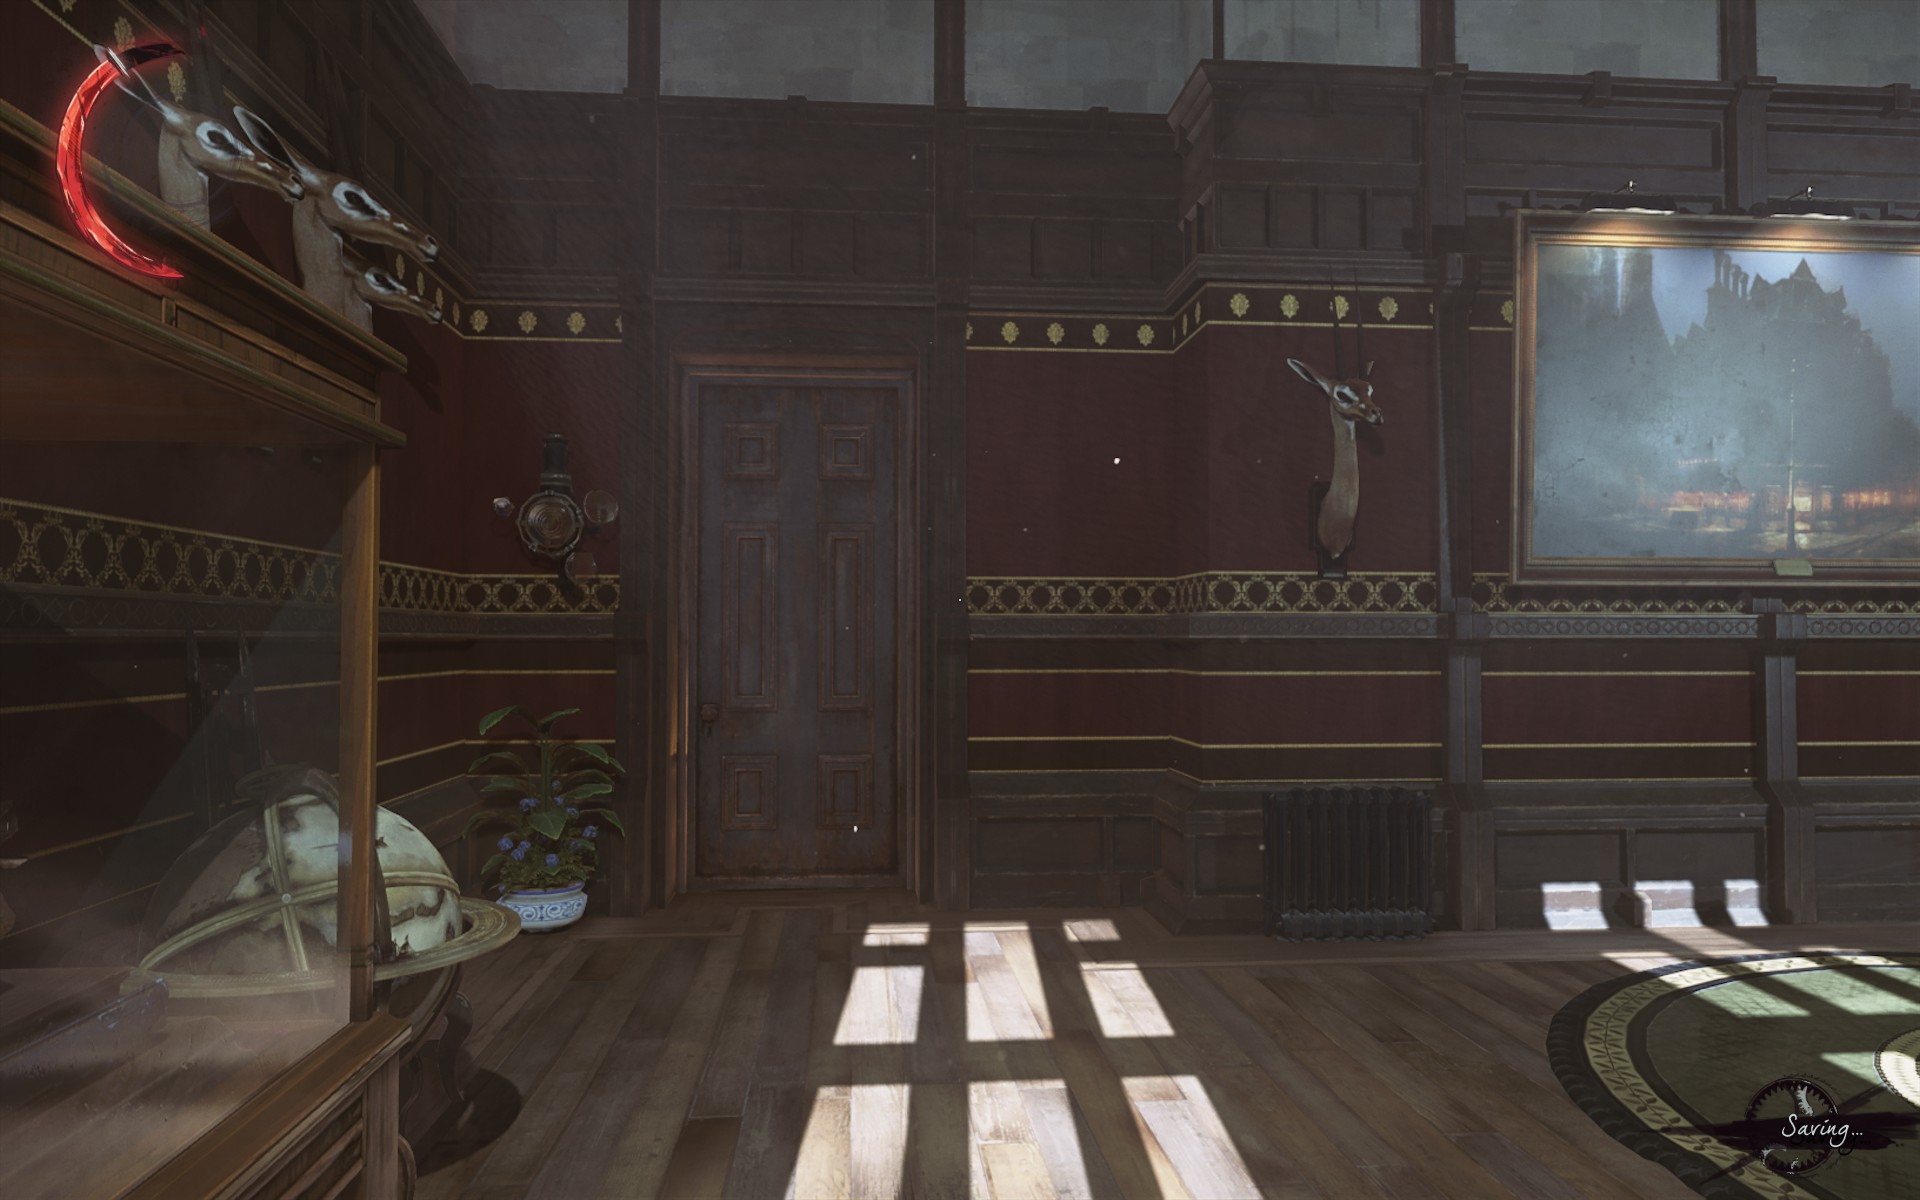
You wake up locked in the Royal Chambers. For the lore-hungry, there are plenty of documents to stuff your journal with, and for the regular-hungry, a platter of fruit to top off your health bar. Once you've grabbed what you want, it's time to think about escape.

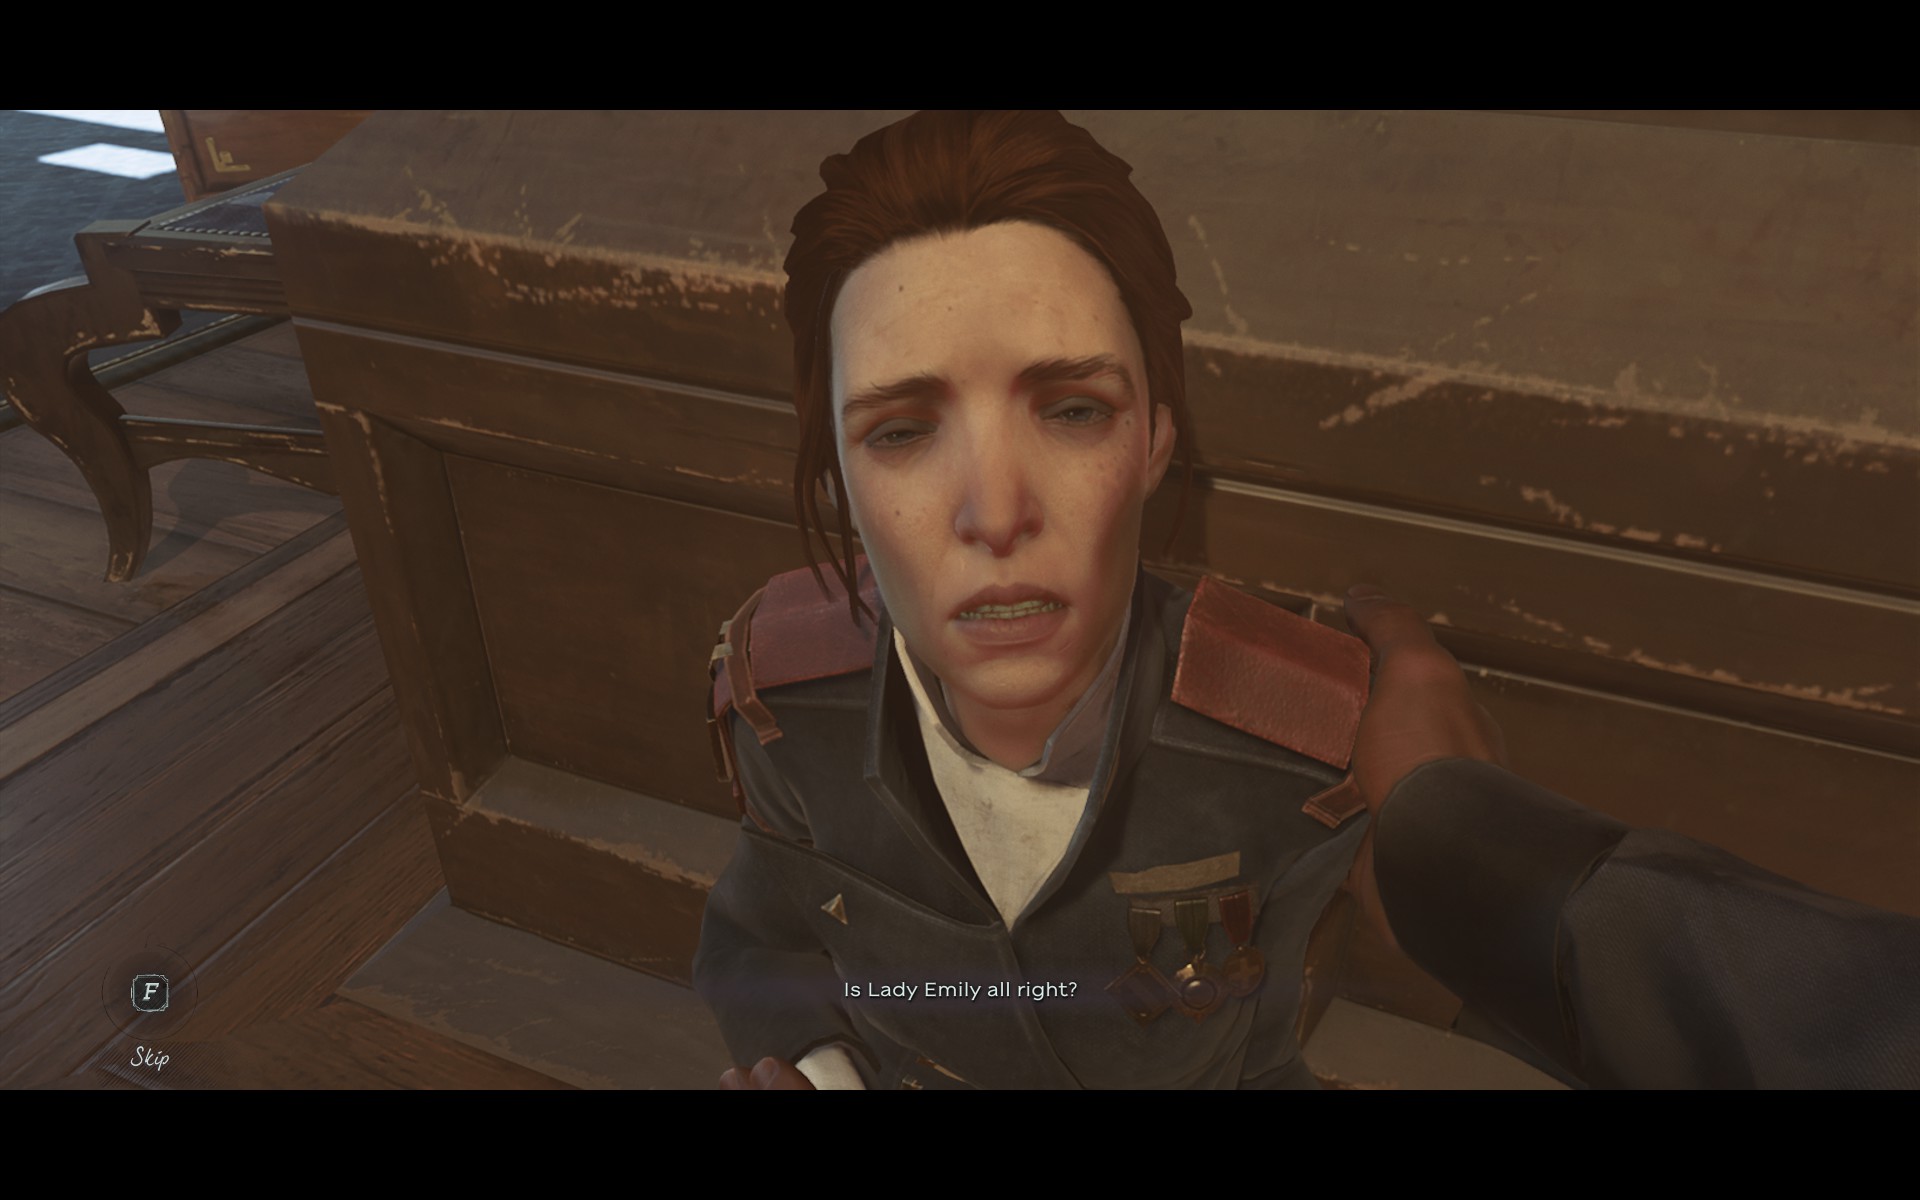
You can peer through the keyhole in the door to scout the opposition, but there's no good angle for a frontal assault- not if you want to keep a low profile. Instead, open the rightmost window and follow the ledge to another window outside the chambers. Here you'll be greeted by the corpses of your most loyal guards, and receive the last words of Captain Mayhew.
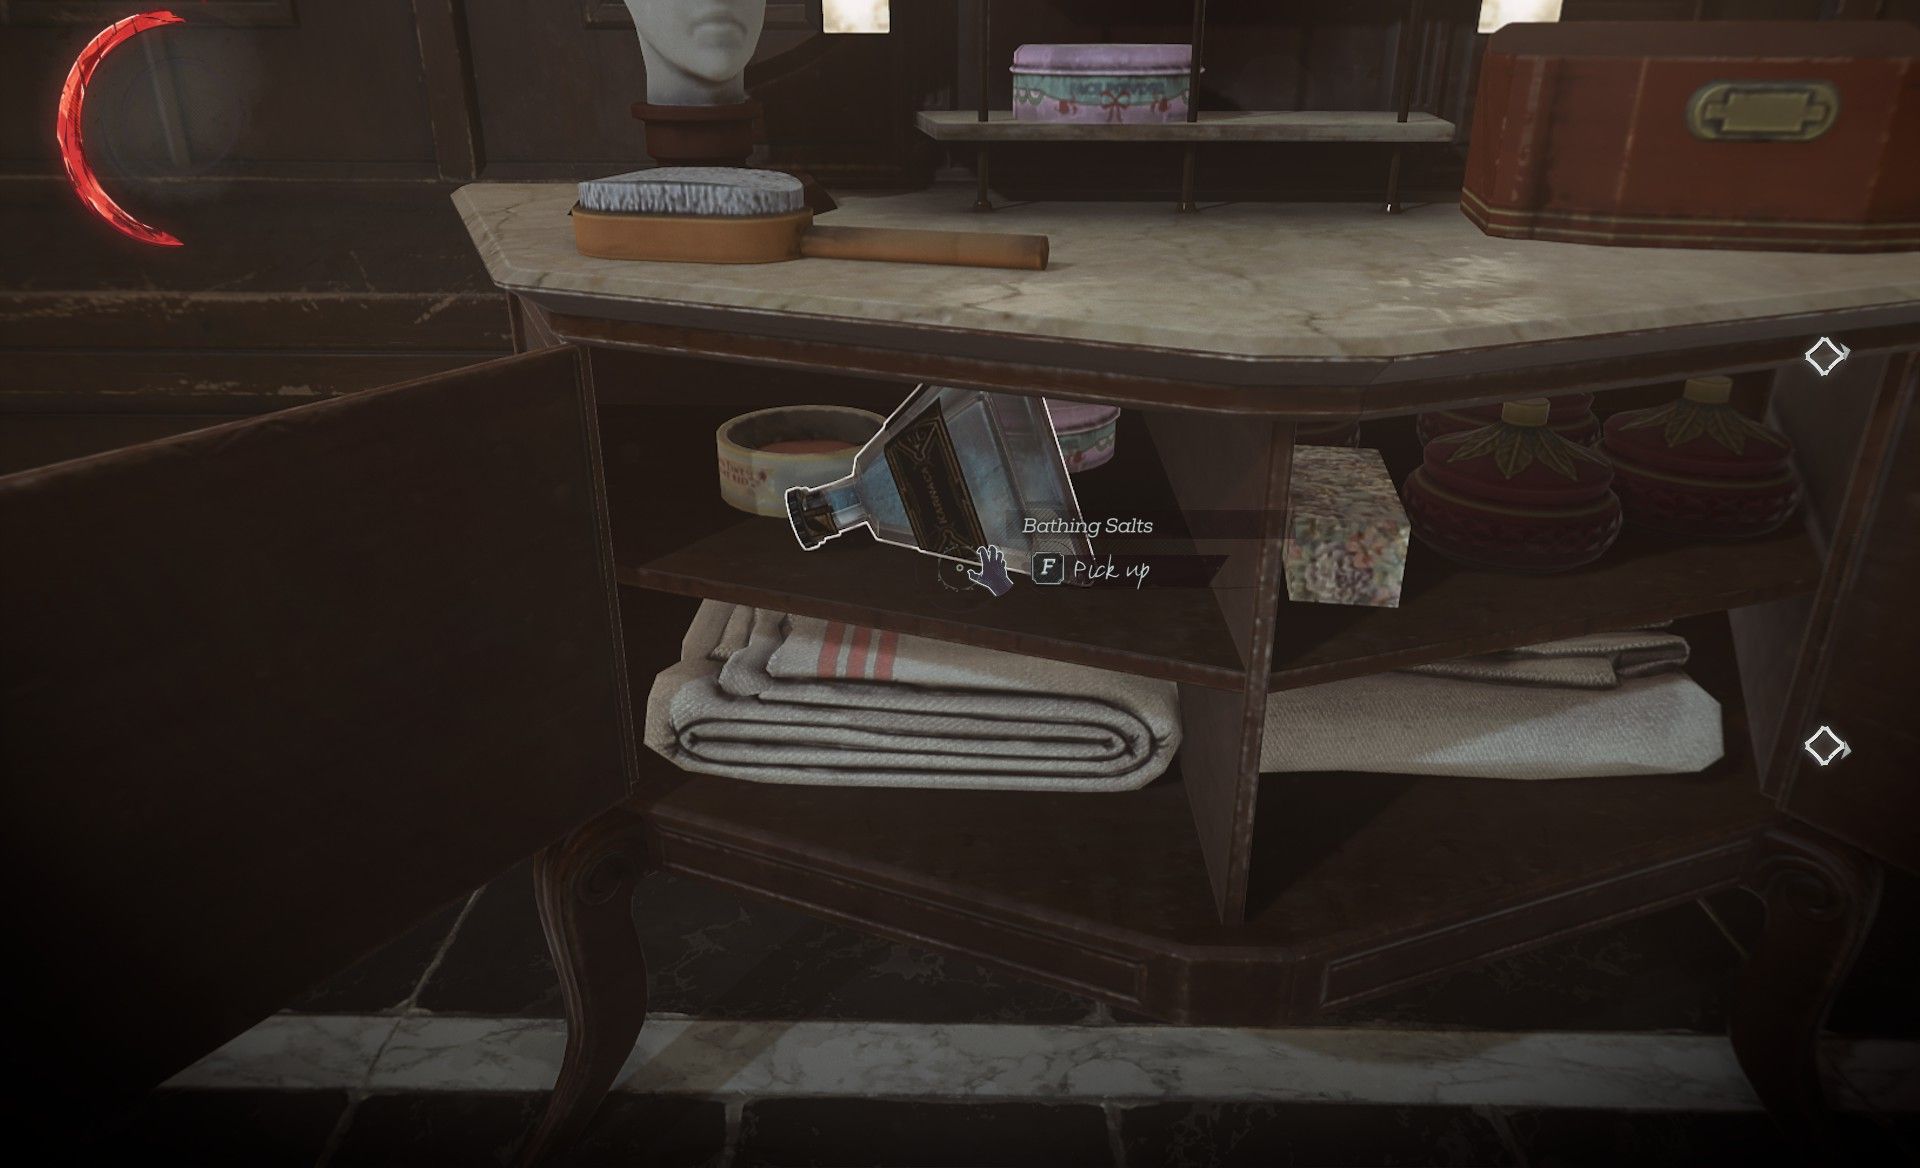
Reclaim your sword and loop back to the room outside the royal chambers. Only one guard remains here- easy enough to pickpocket, but even even easier to choke out. Hide his body among the other fallen, and loot these rooms. You'll find some loose coin amongst the cupboards, and apparently Dunwall does a brisk trade in bath salts, so grab those too (this is actually understandable- virtually everyone you meet looks to be in dire need of a bath.)
That done, descend the stairs. It's not clear why that butler had to die, so don't dwell on it, instead moving on to the next room and dispatching the guard there. As will be the rule, hide the body before pressing forward. The throne room is just ahead, and there you'll overhear Ramsey talk about his plans to search the royal chambers. Ambush time.
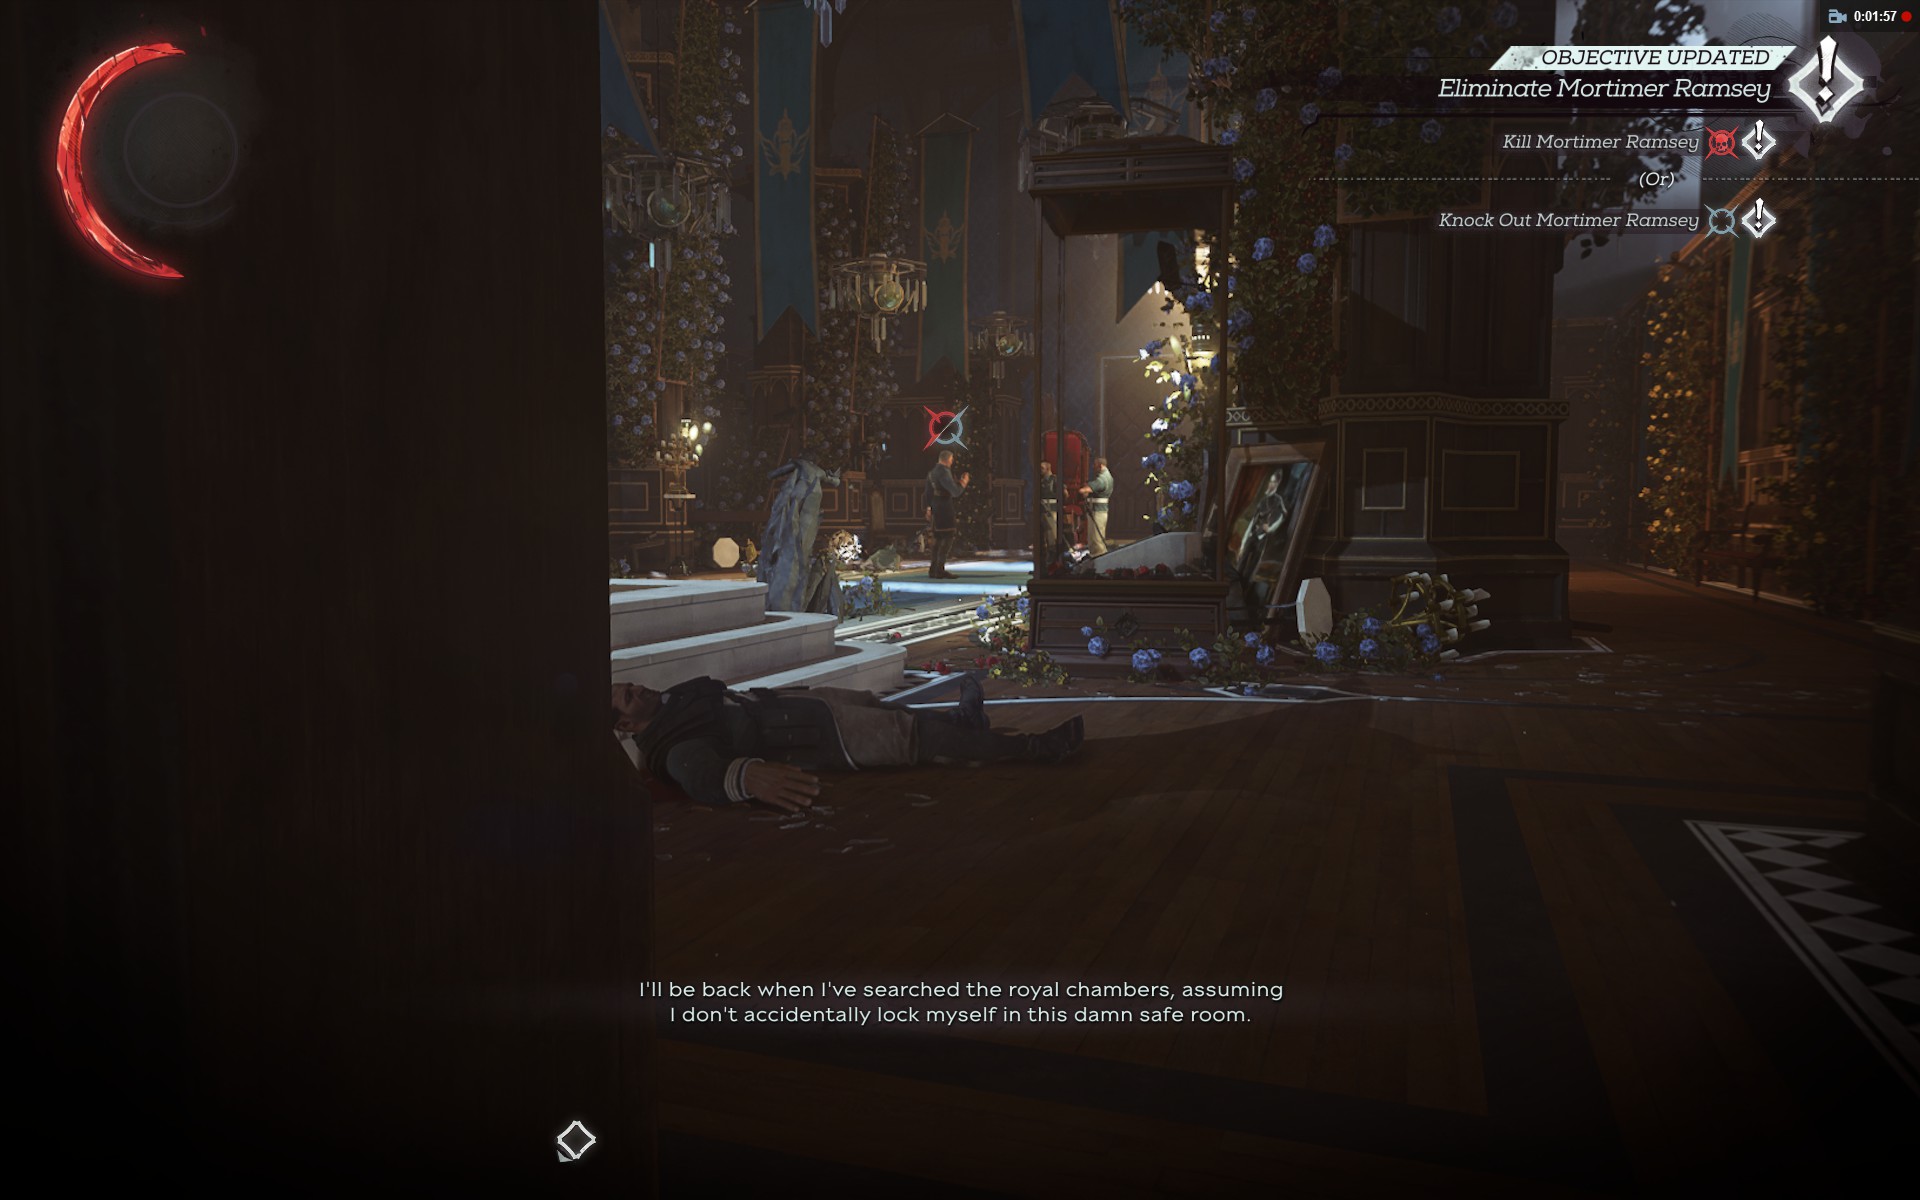
Double back and hide behind the loose boxes by the grandfather clock in the last room. After a bit of tedious dialog, Ramsey will stroll by. Wait 'til he's moved completely past you, then creep up and knock him out.
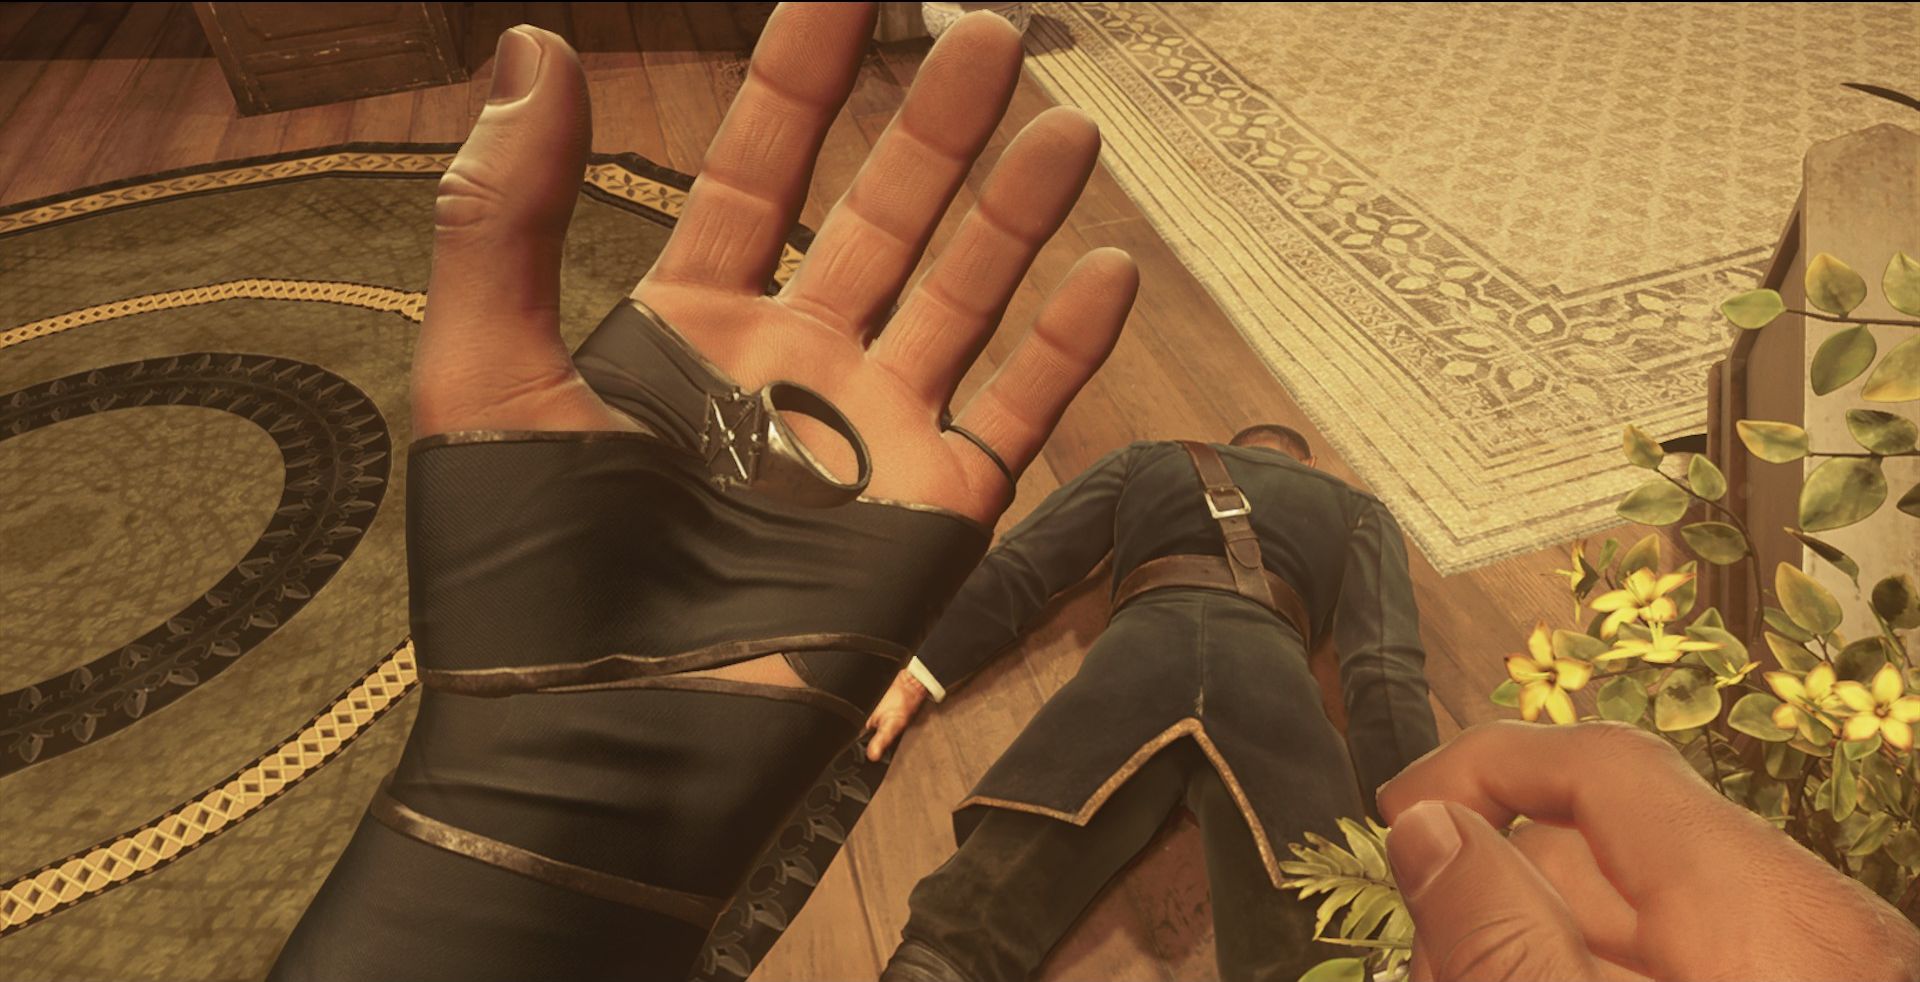
Loot his slumbering body for your signet ring, then drag him up to the safe room (in the room with the all the dead friendlies- your objective marker will point the way). Once inside, dump his body and lock the door behind you to complete the Ramsey portion of your mission, and unlock the special action The Ramsey Fortune (1/4).
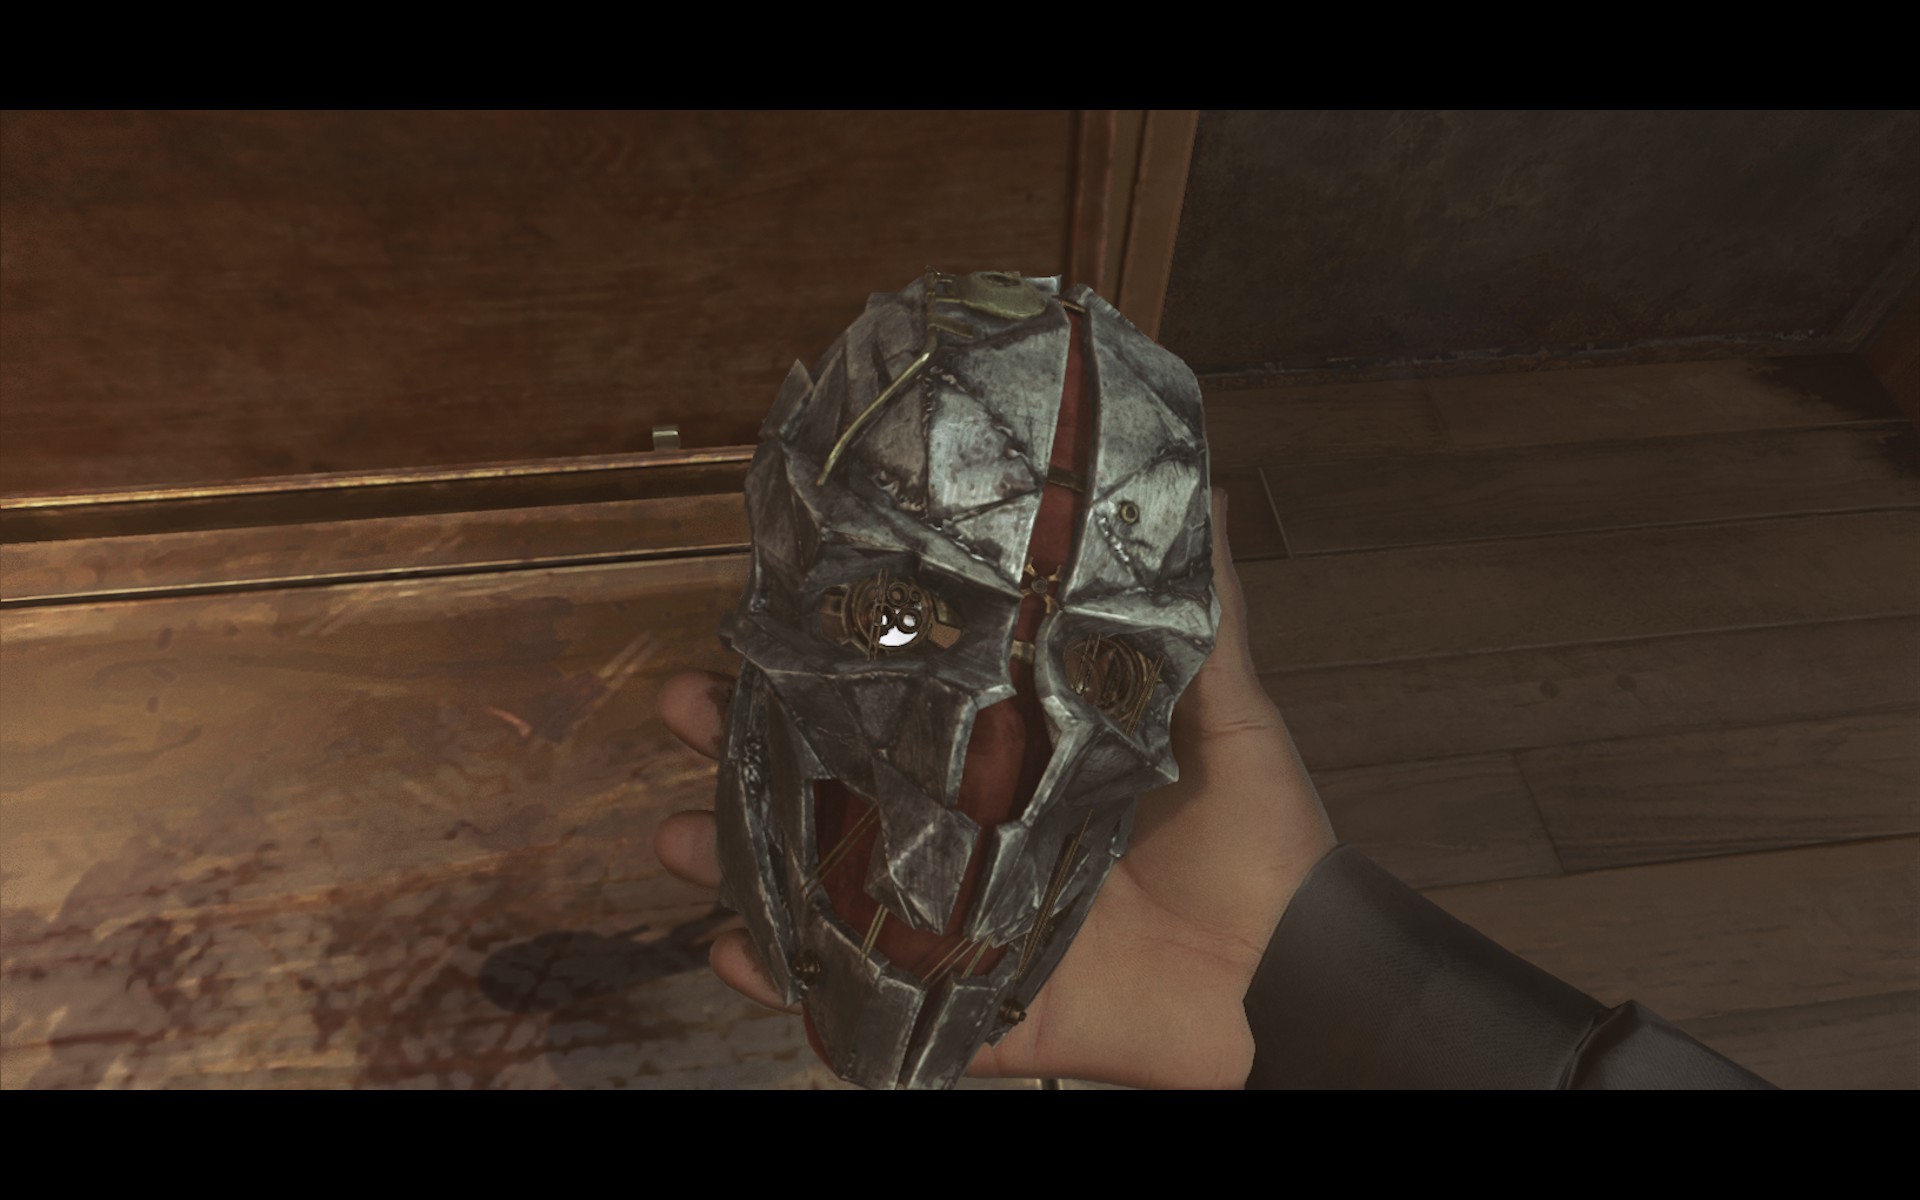
The safe room has some goodies, including your mask and pistol. You can't take the giant blocks of gold with you, but there is one smaller bar in the left hand safe that you can carry.Take this to unlock the Coin of the Realm special action (2/4). Be sure also to grab the wooden boat from the shelf above Emily's bed- this is the first of several collectible Souvenirs that will eventually grant you an achievement. Loot whatever else you will, then follow the objective marker to the far door. Exit the tower when prompted.