Part I – The Dreadful Wale & Lower Aventa
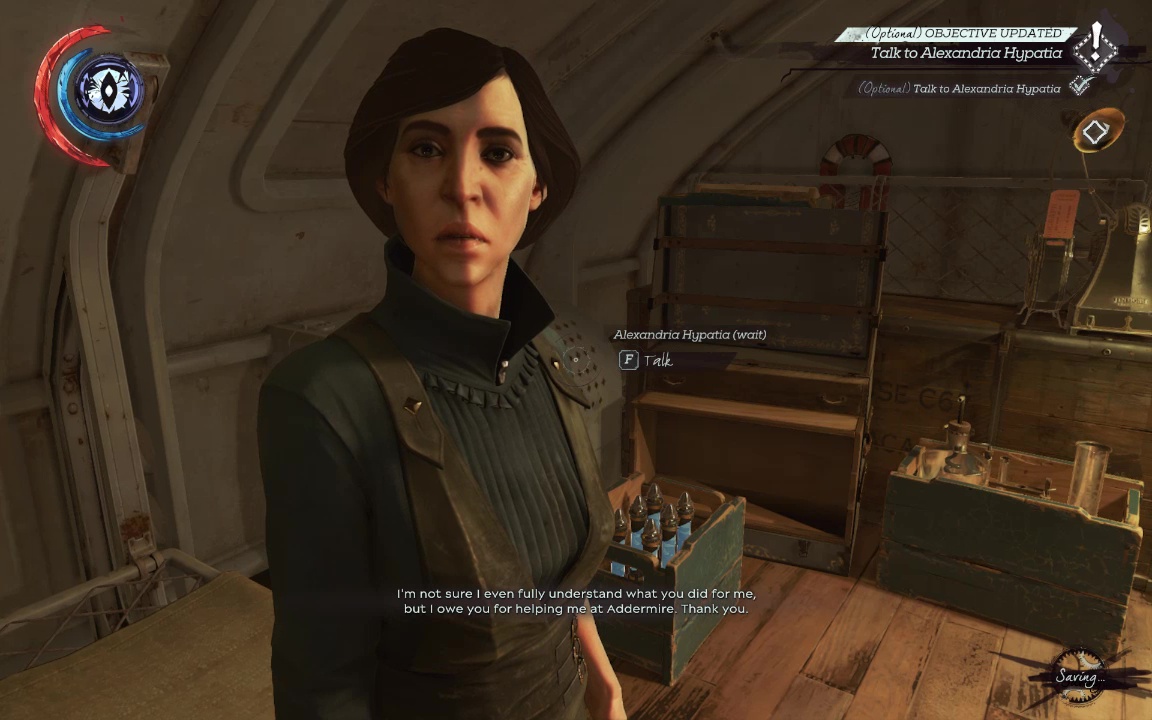
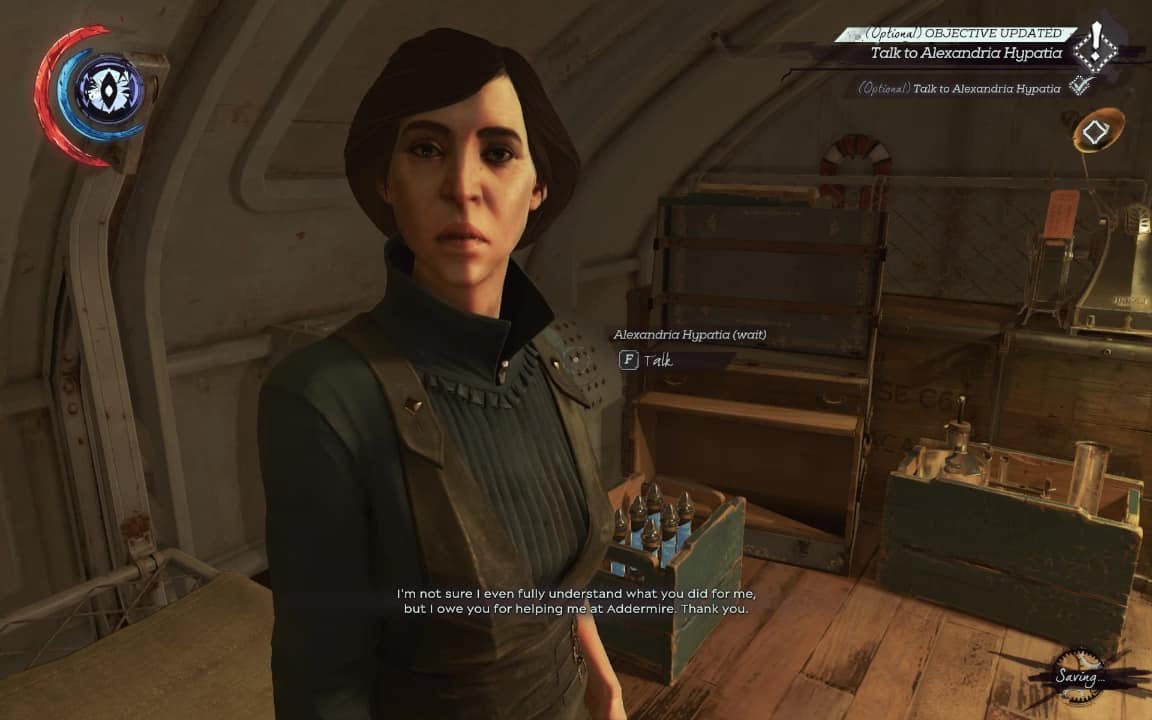
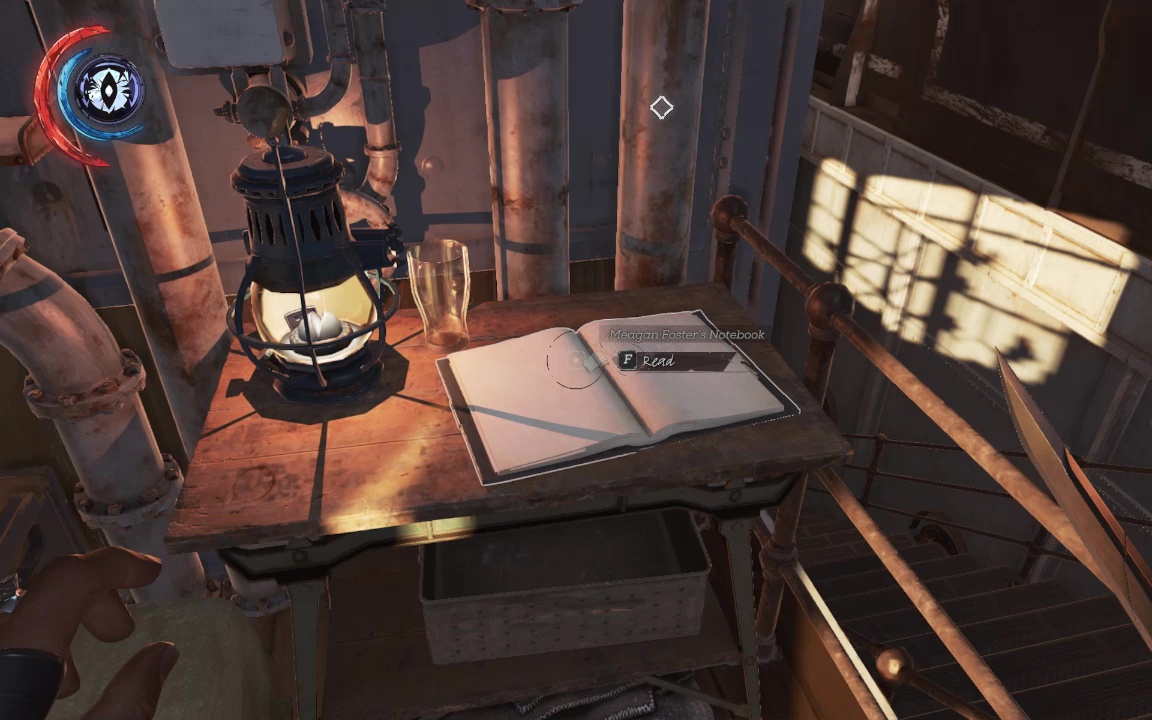
Wake up back aboard the Wale. If you saved Dr. Hypatia there'll be note and a bit of coin from Meagan. Talk to Meagan in the corridor, then Dr Hypatia in her quarters where the blocked storage room was. Read her note, and read Maegan's diary up by the captain's wheel.
Grab the crank wheel here or the one in the mainroom next to Sokolov's chambers, and bring it to the engine room.
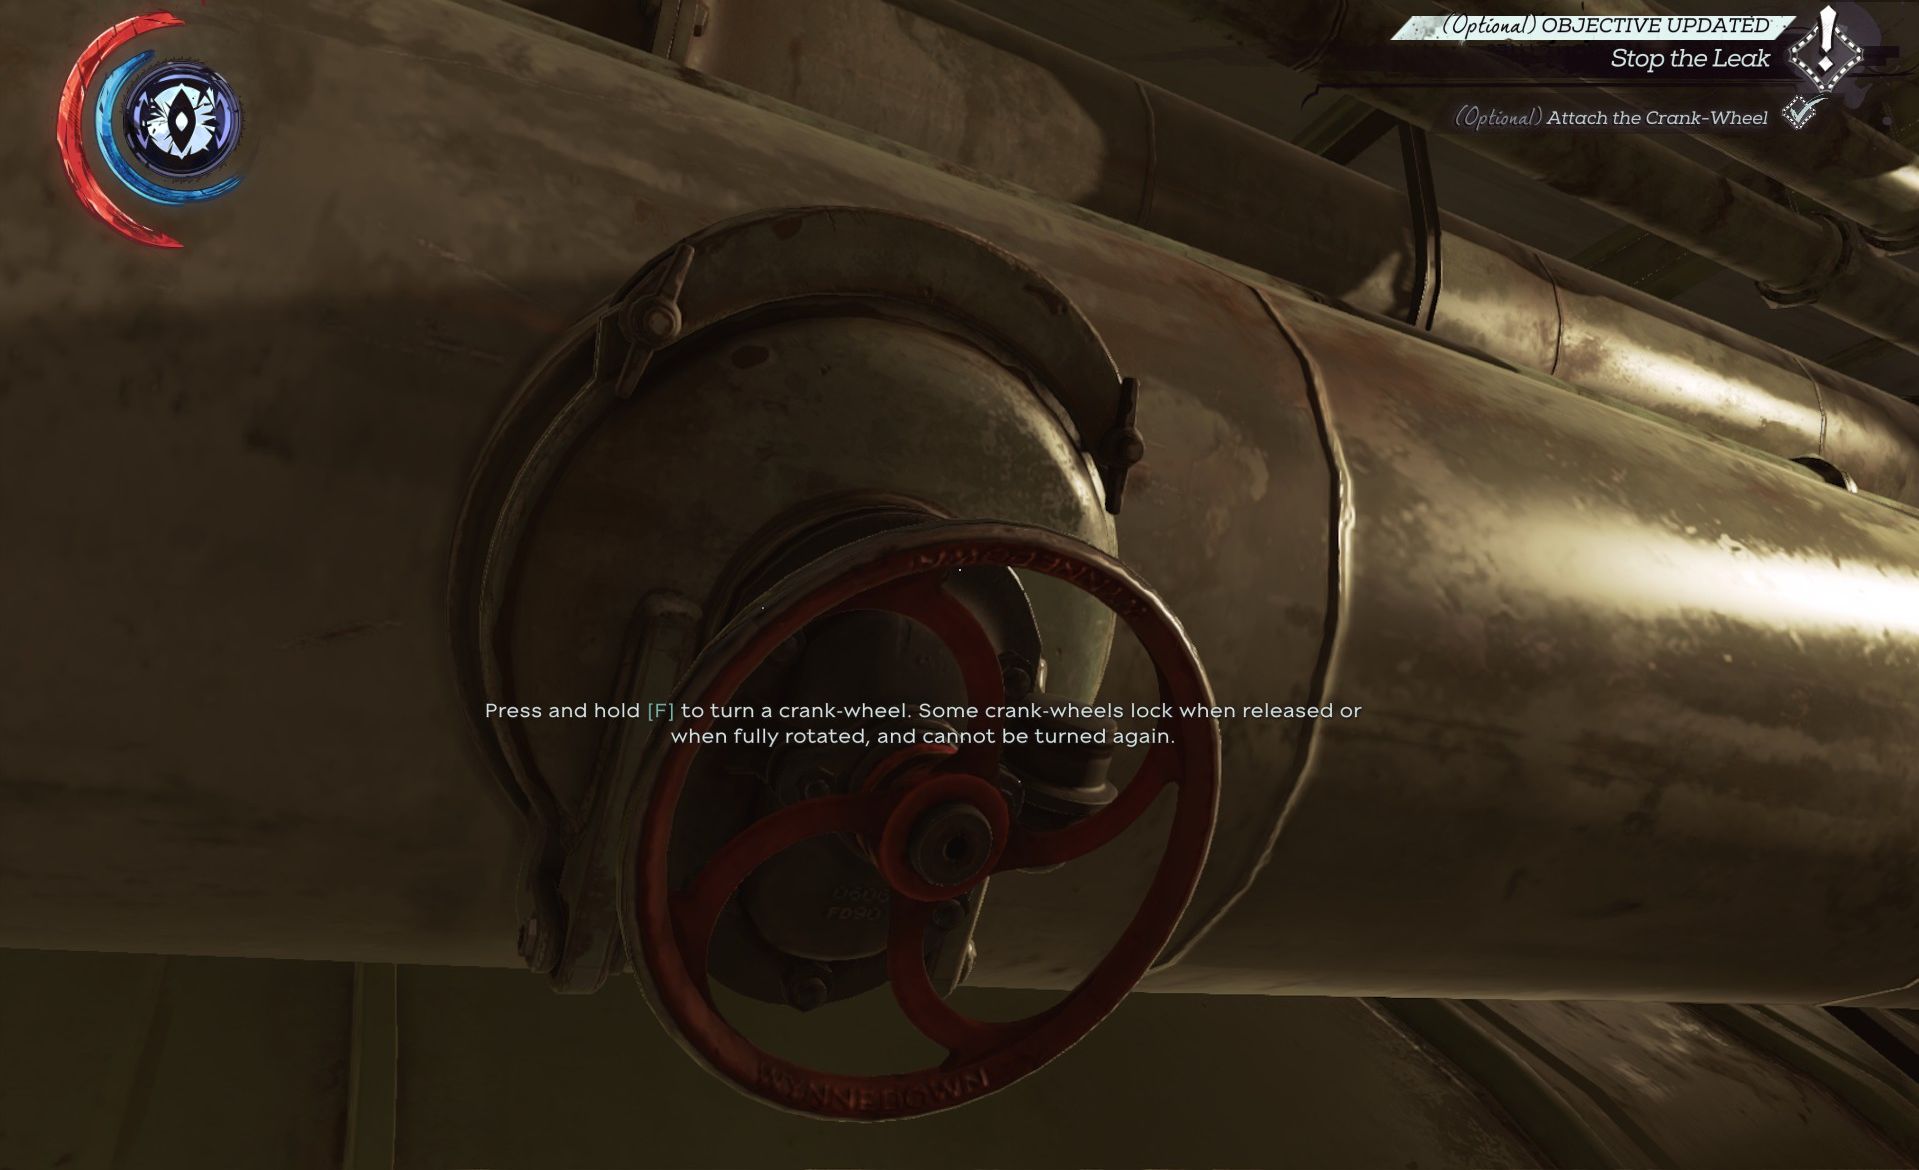
Move it close to the leak, then use [F] to shut off the water. Housekeeping taken care of, it's back to the mainland.

Once you've arrived, use darkvision to highlight some whale oil and other odds and ends in the lockers, and a chunk of whalebone in the nearby dead-end before venturing up into the sunlight.
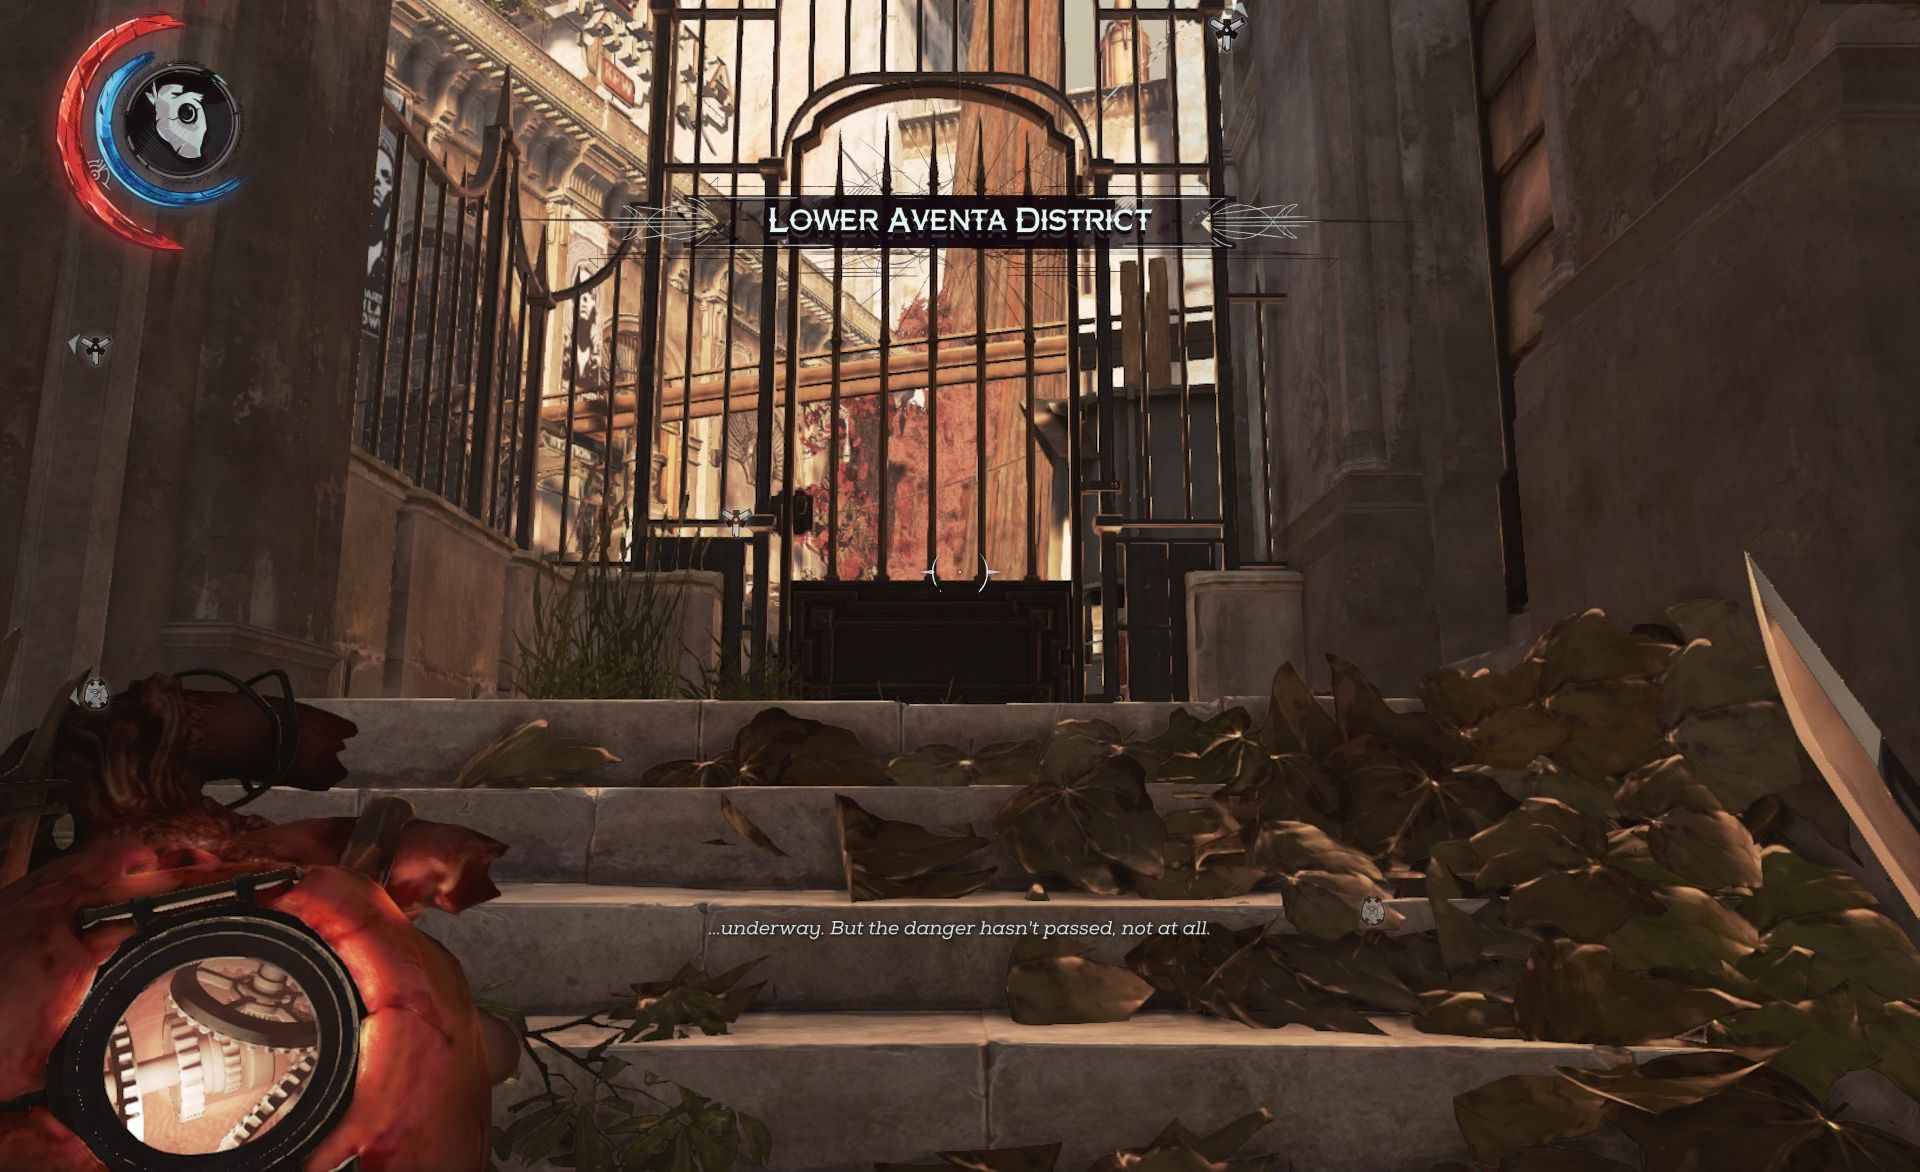
Don't just blindly wander through the gate, however. Use Blink on the roof and nearby walls to get some height, then use the heart to identify a nearby charm in the building to your right.
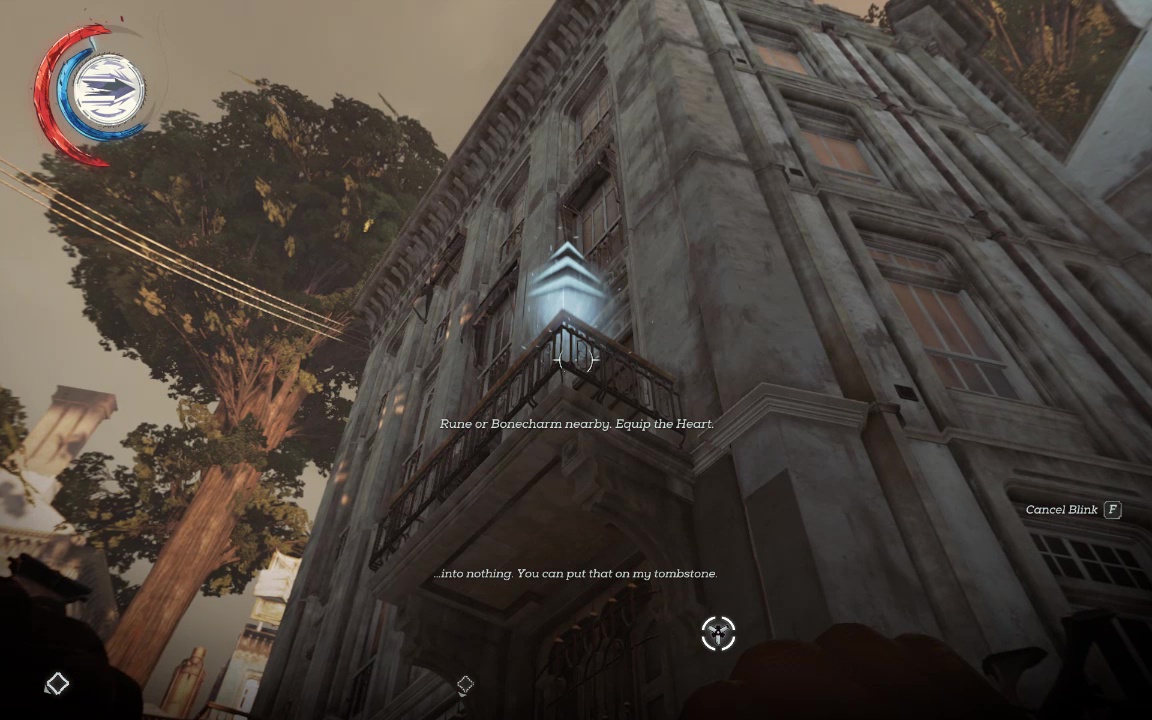
Blink across the balconies to find an apartment with a valuable war medal, and interesting note, and a dead guard.
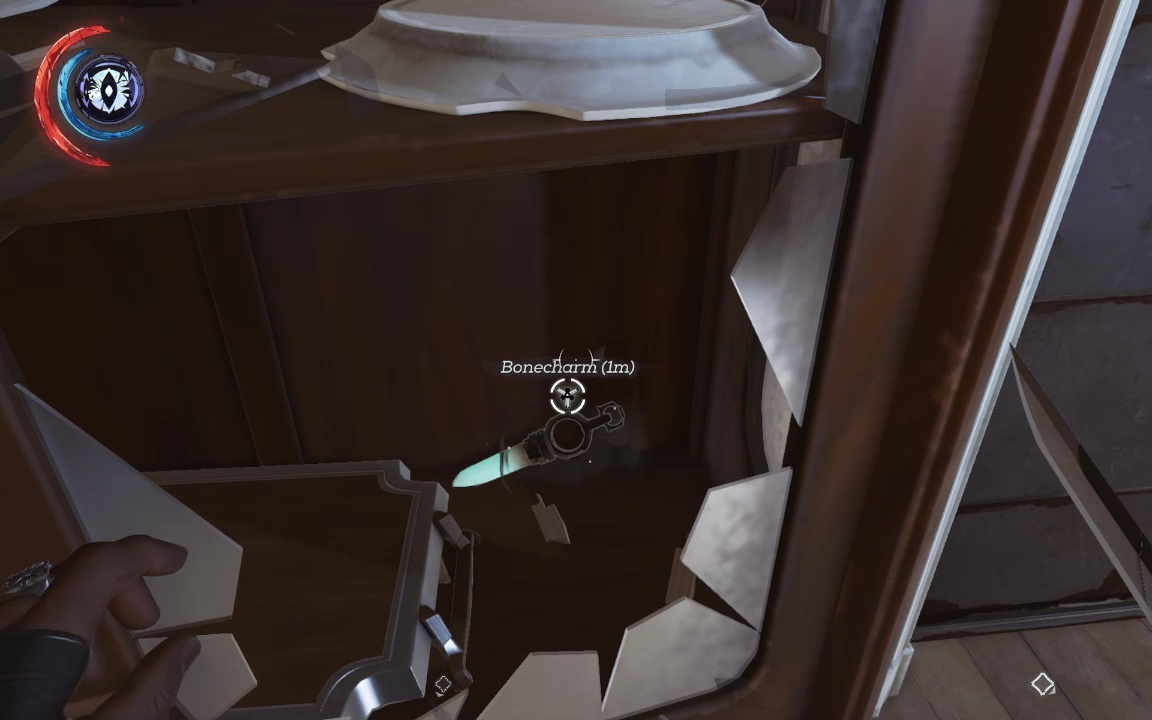
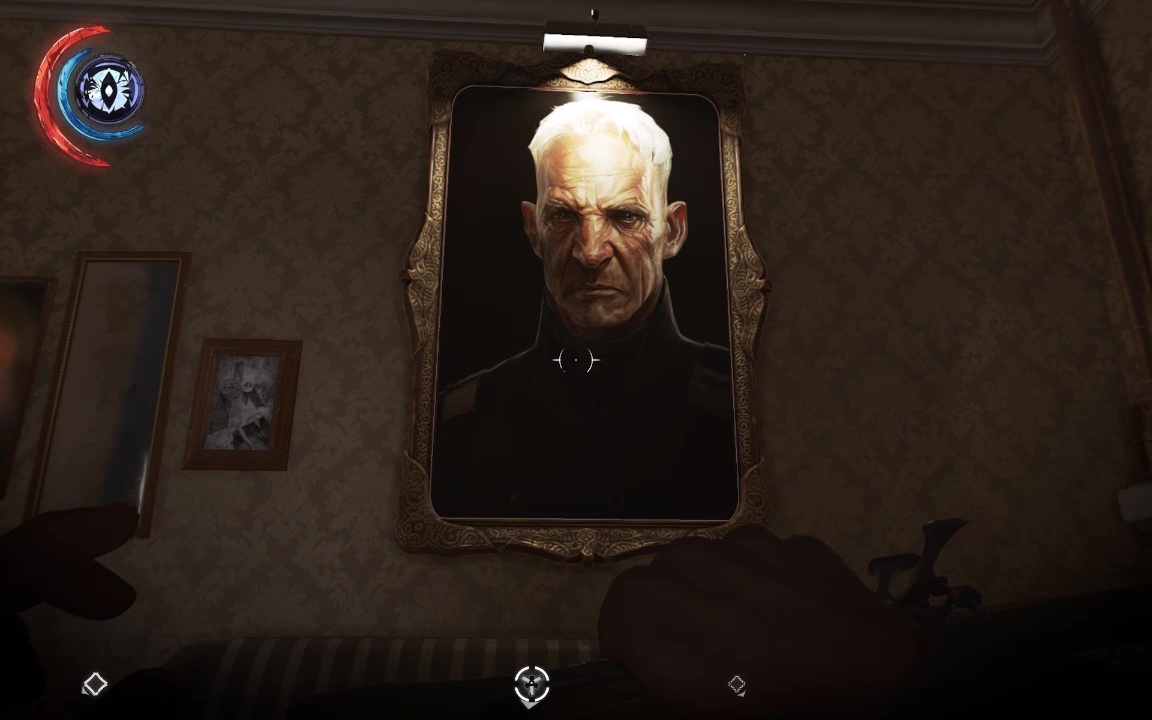
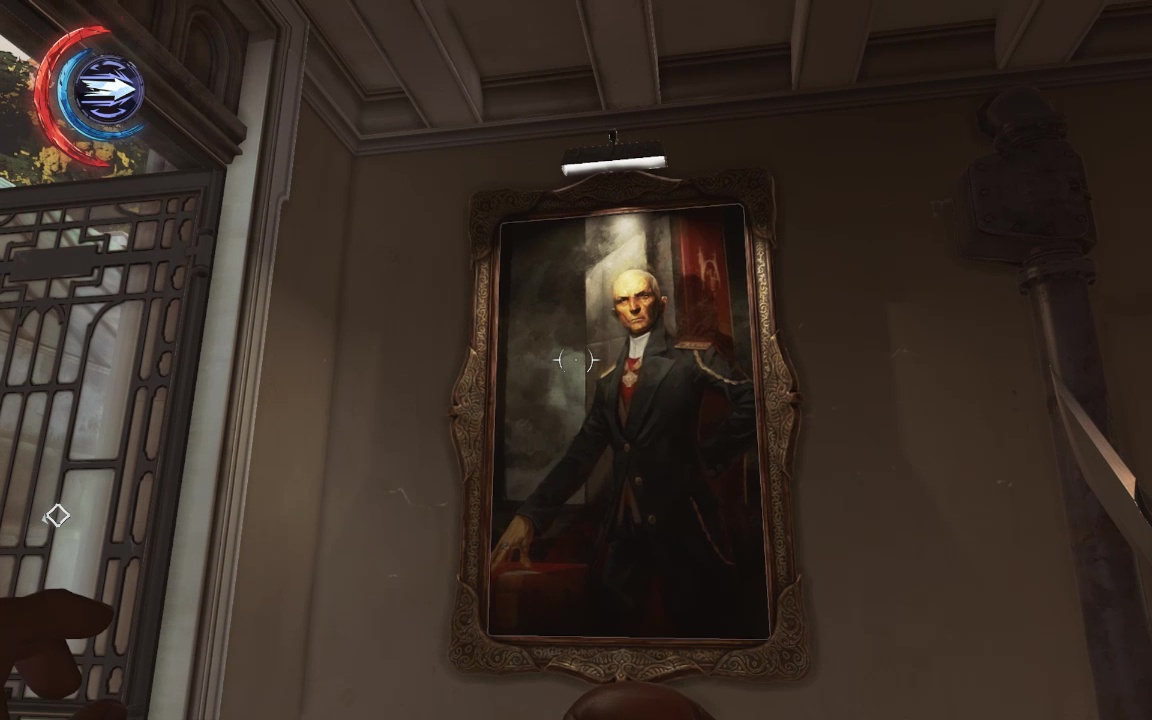
Smash the cabinet to retrieve the charm (Bonecharm 1/8). You cannot, alas, put the the guard's sword in the rack where it clearly belongs. As consolation, take the giant painting of Ramsey, and chuckle knowingly to yourself about his secret fate. (Painting 1/6)
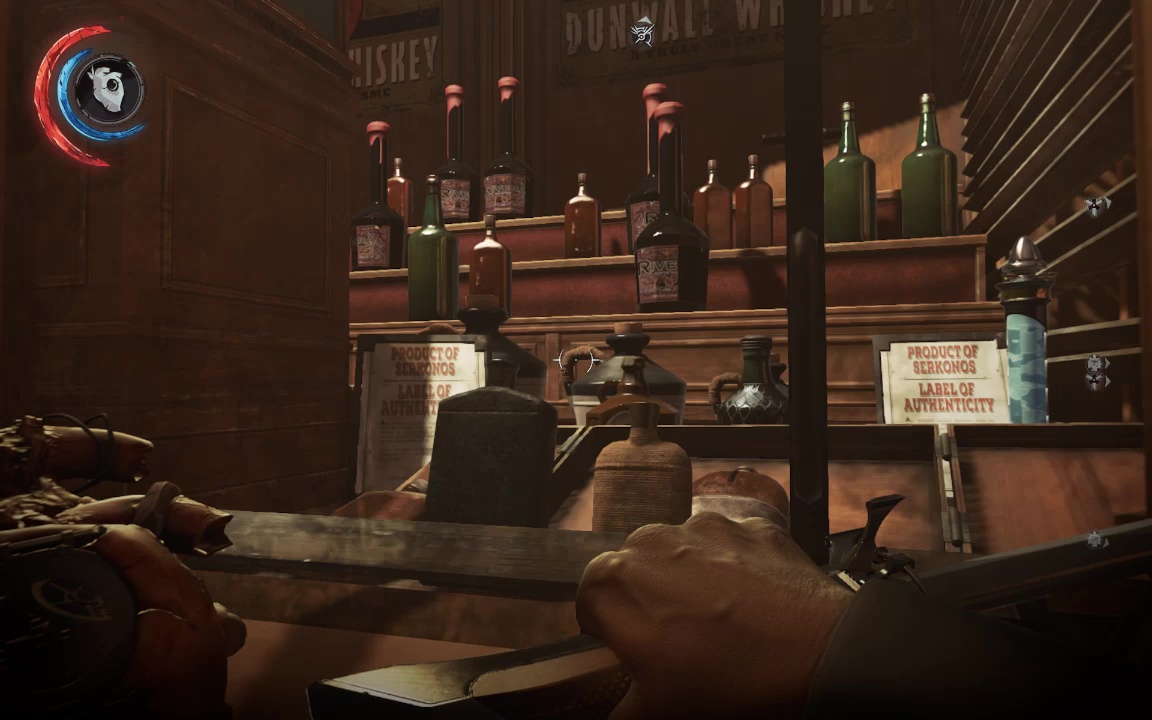
Bop back down to groud level and cross the street bearing left. Pickpocket the civvie with the obvious pouch and then approach the house under bloodfly quarantine. Note sadly that, despite the giant liquor display next door, none of these vintages are flammable. Cruel.
Enter the building, slash away the first few flies, and then venture upstairs.
You know how you sometimes think to yourself- Wow, I really love the challenge of ghostly, non-lethal play, but I never get to use my grenades? Now you can use your grenades.
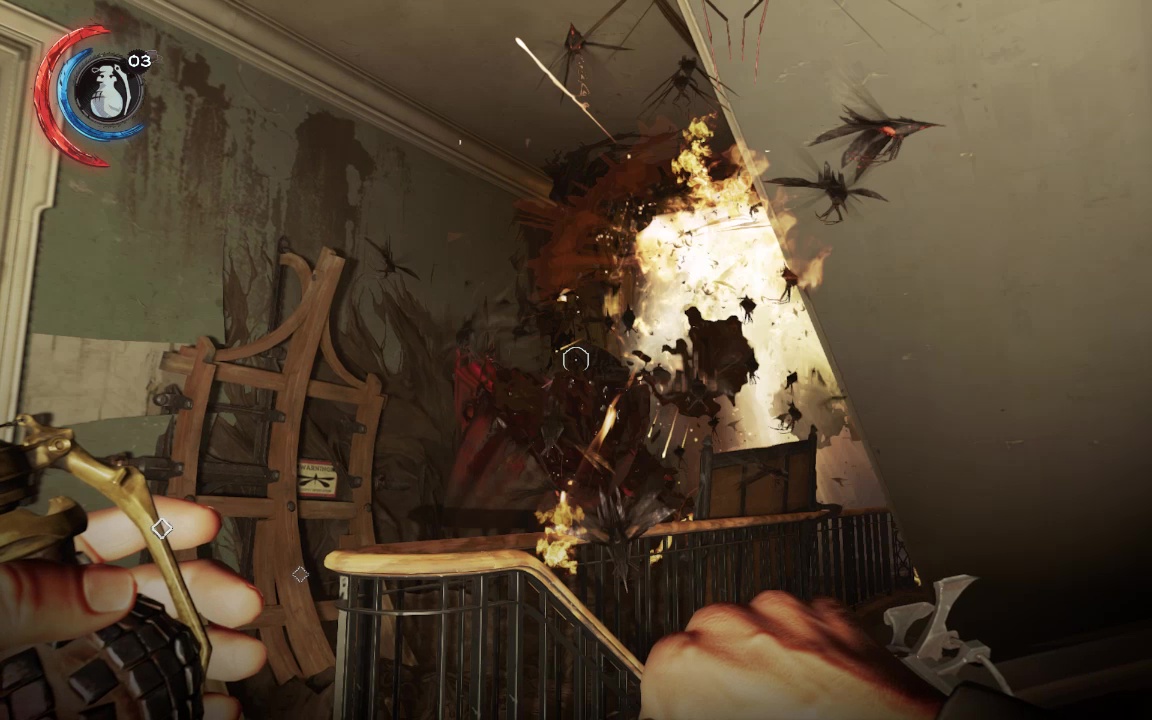
Granted, these hives can be bypassed by Blinking up the outside of the building, but at least one Blood Amber drops here, as well some other light loot, and a particularly interesting journal about a seance. Note also the sleep dart bundle by the dead body on the table.

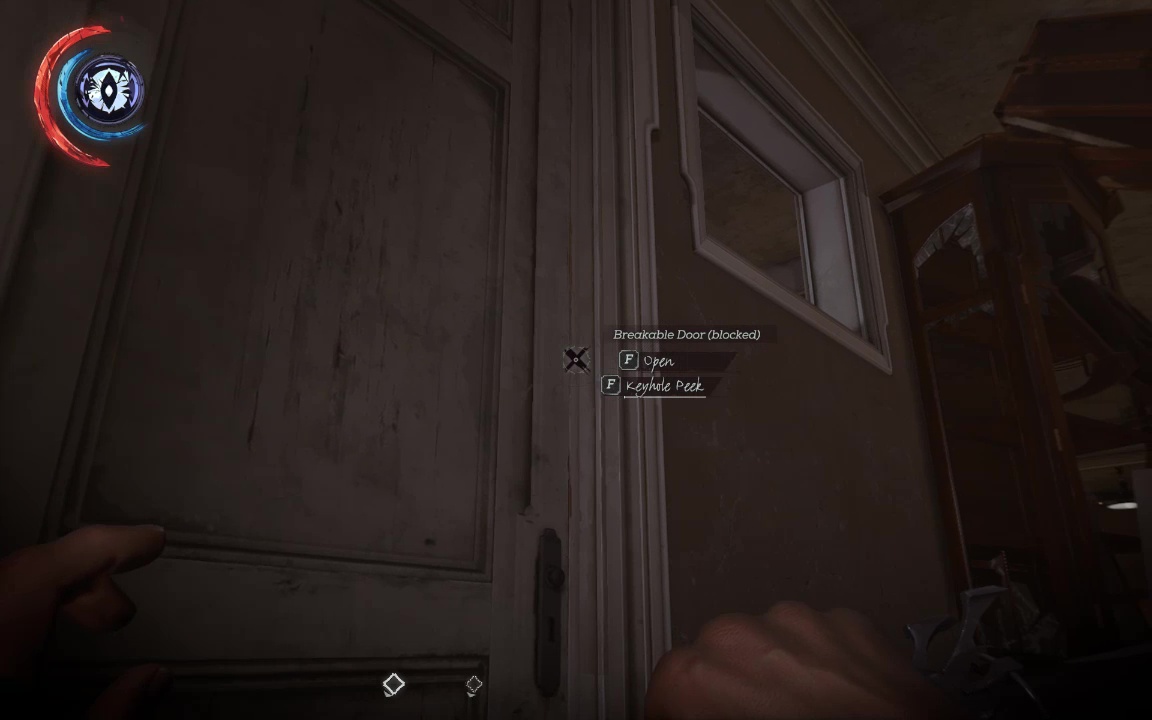
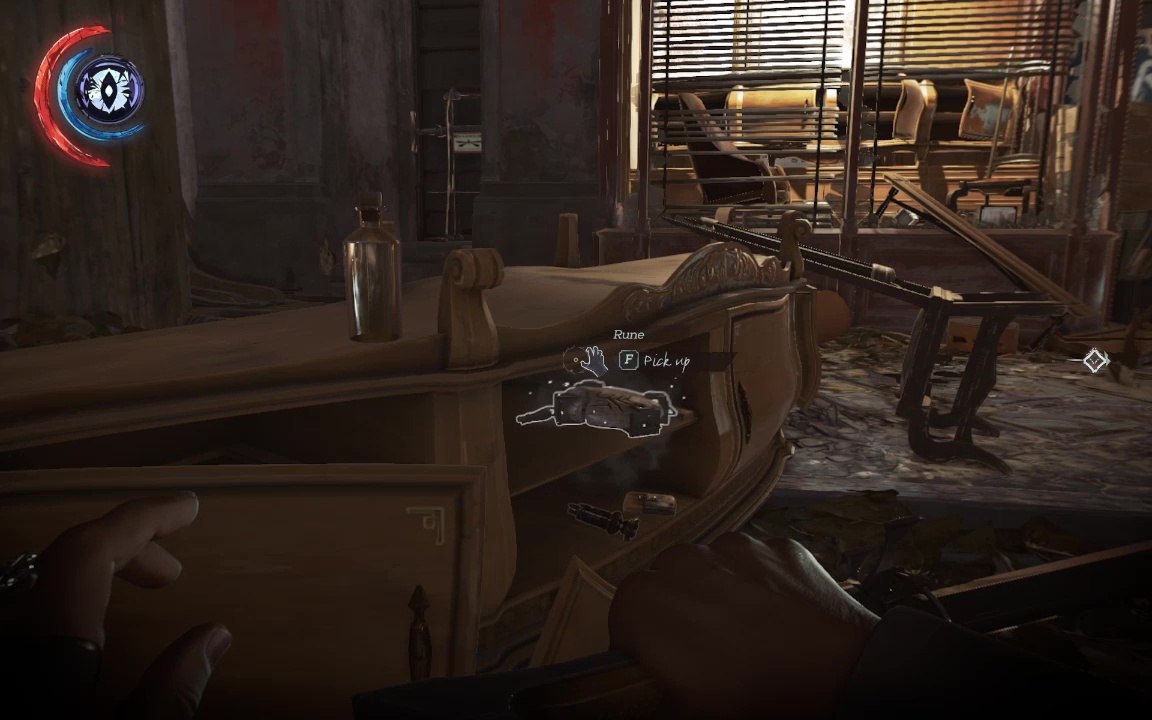
You can see the runes through the upper hallway here, but the way is blocked by rubble, and the nearby door is barred.
Hop up through the ventilation window and grab the bathing salts before approaching the Shrine, and claiming your runes (Rune 1,2/6).
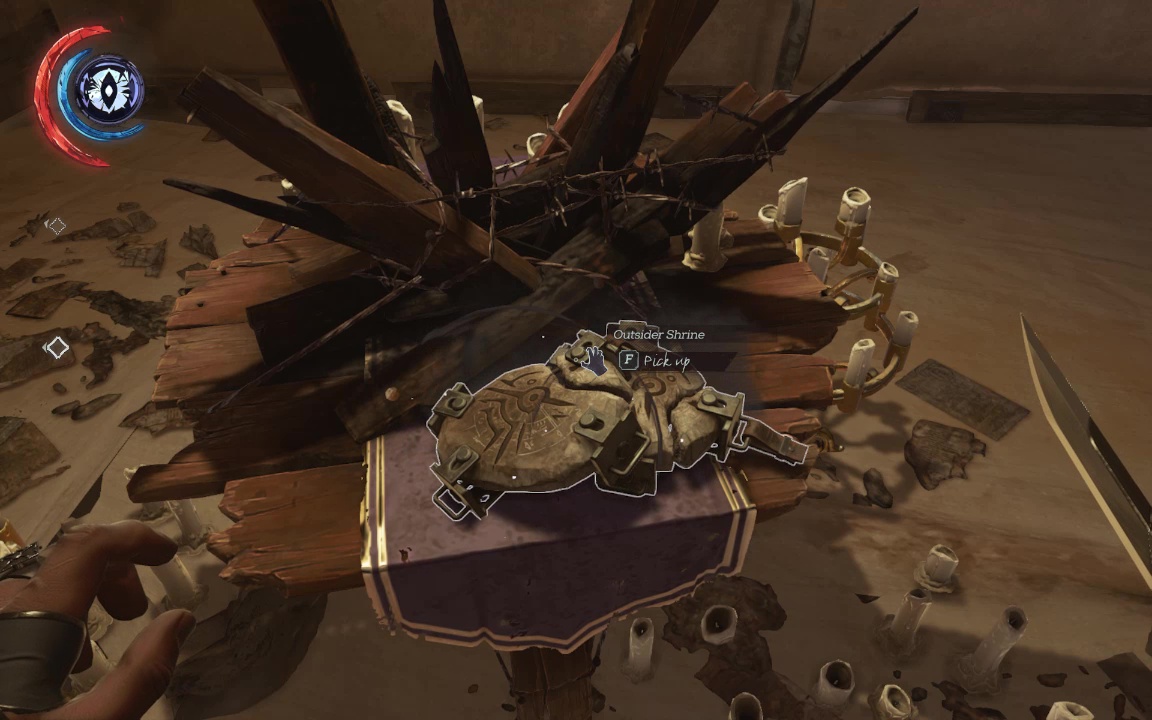
The Outsider has a little to share about Jindosh, but it's barely an anecdote let alone the story he promises. In any case, loot the far room and exit via the window. But before you go, take the bottle of chloroform. Trust me.
Drop down to the street, and bear left, turning into an alley where two women chat about some sort of heist. Alas, no journal entry populates, so you'll just have to remember it. Gather some loot and springrazors here, then equip your sleep darts and turn right at the far end of the alley.

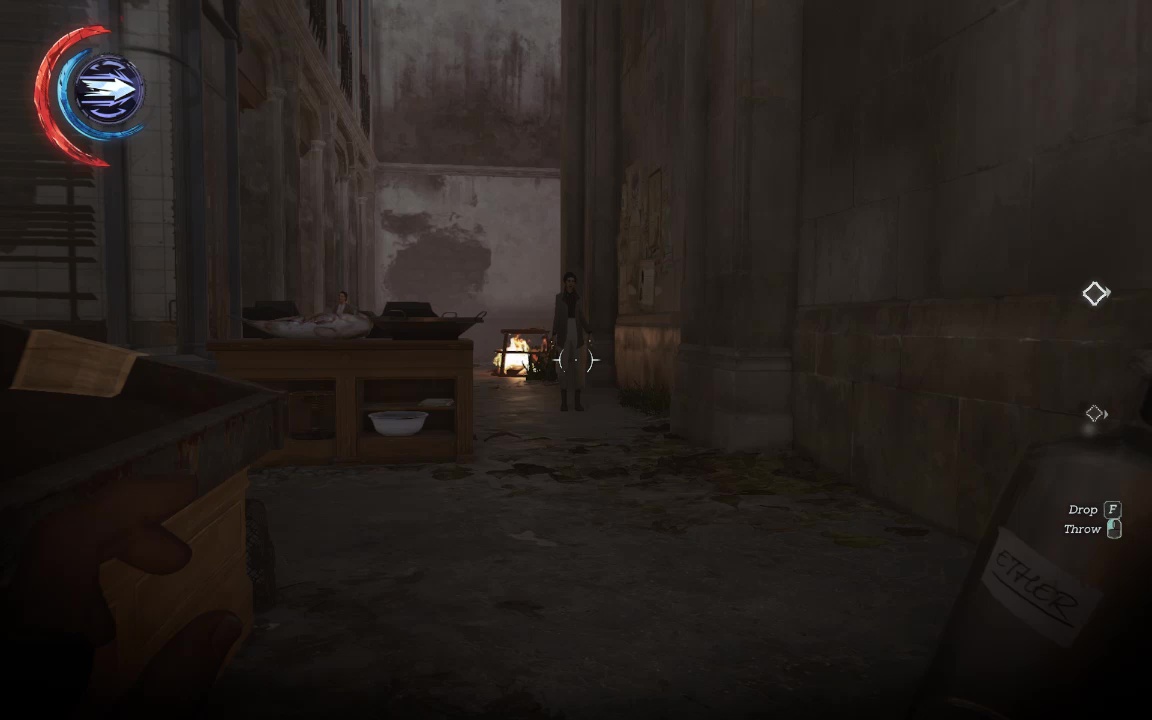
Approach cautiously, and the moment a woman starts calling for your help, shoot her with a sleep dart and fall back a few steps.
Quickly Blink or climb/jump up the roof to your right, then the balcony to your left, so you have a good vantage on her body. Her gang of Howlers, who were lurking here to ambush you, will now crowd around that same body.
Hurl the ether for an instant TPK. Well, TPZZZZZZ, at any rate. Once they're all snoozing soundly, rob them blind (fair's fair), and snag the loot from the cabinet here, including a Rune (Rune 3/6)
You can replenish that sleepdart with the cache by the body table in the first bloodfly house, but either way you'll want to go back to the alley where you heard the heist conversation, and duck under a half-open security door with a FOR RENT banner above it.
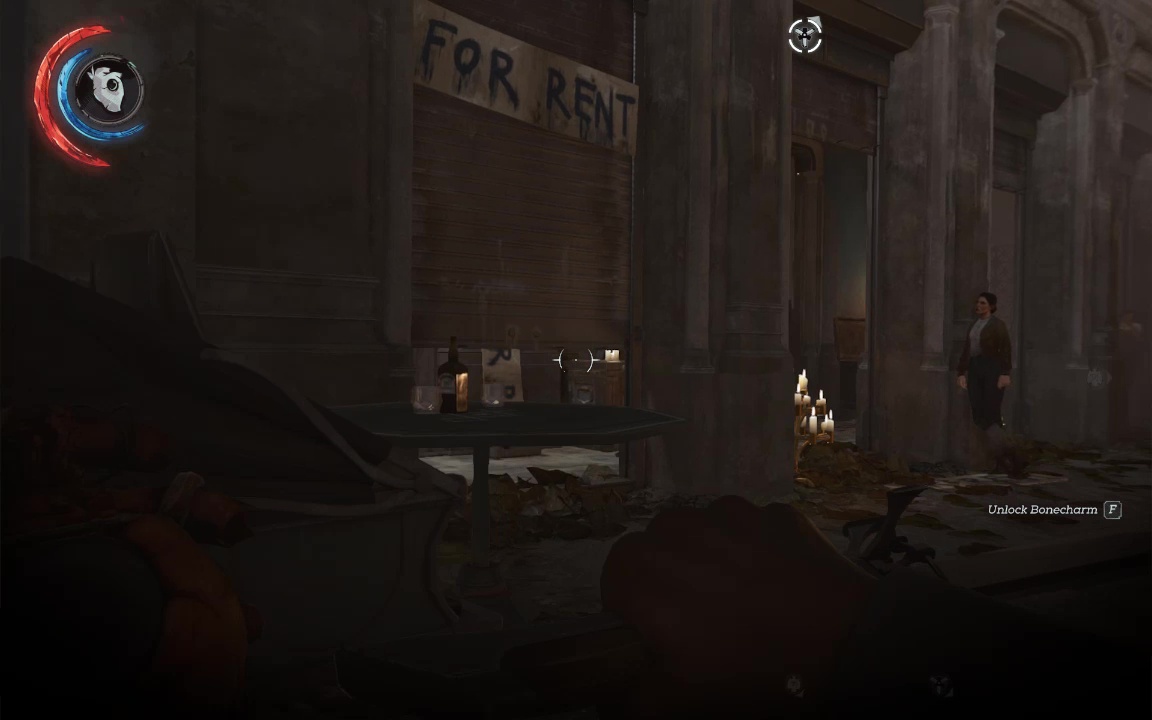
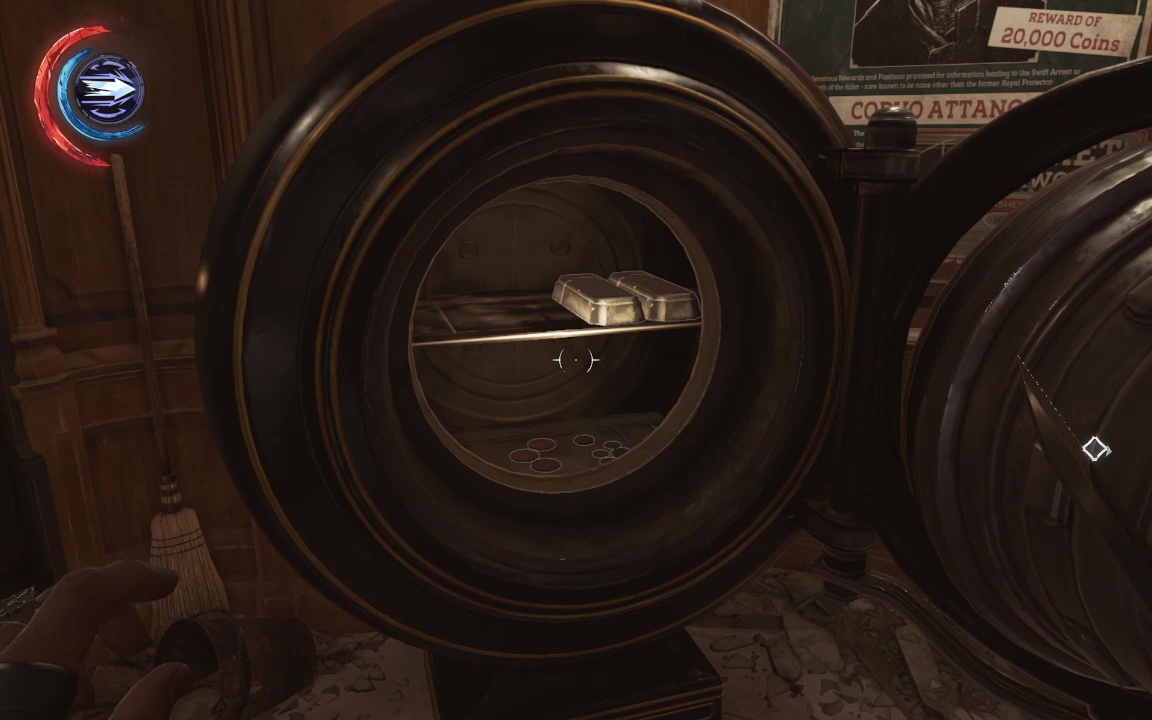
This building has some good lootables, and a well stocked safe. The combination is written on the blackboard across from the safe room, semi hidden by a wine bottle.
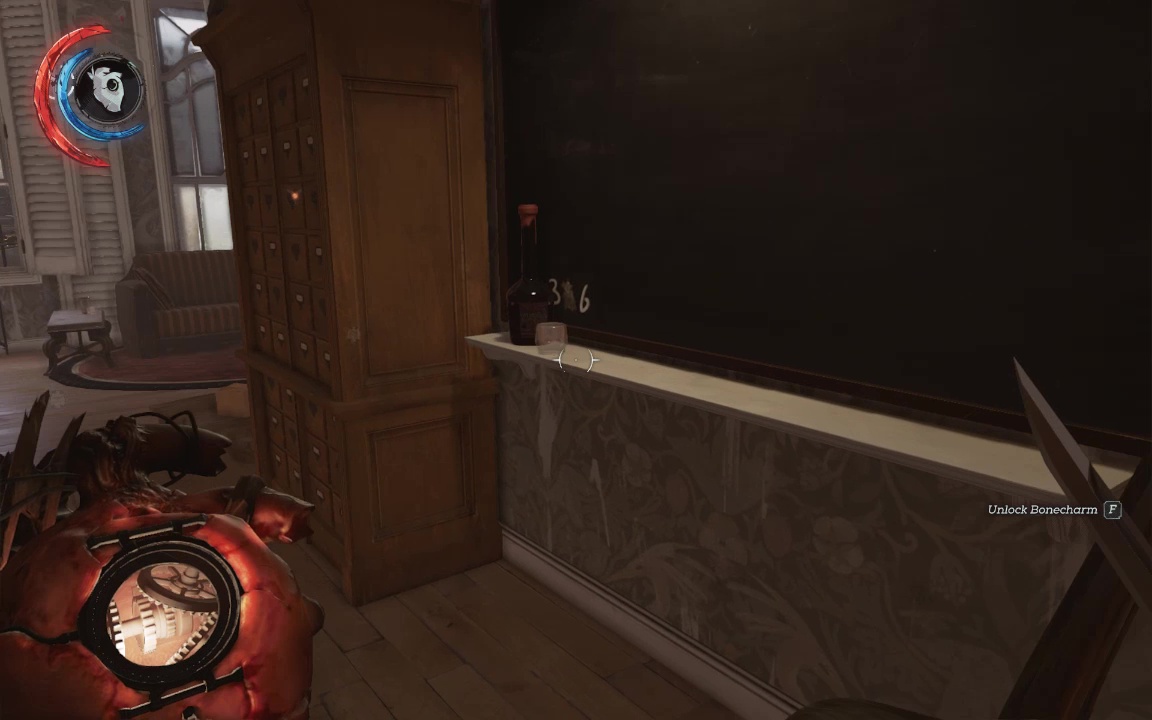
One number is smudged, so set the other two and then spin the missing wheel until something clicks. Clean out the safe and read the journal to reveal that these are terrible people, and their wealth is far better off in your hands. If you have Possession you can head upstairs and run through a grate to snag the nearby Black Bonecharm, otherwise go back to the street out front and Blink up the wall to the balcony.
The citizenry may be a little startled by your vulgar magic, but not enough to do anything about it. Loot these apartments, including the charm (Bonecharm 2/8) under glass, and the painting by the window. (Painting 2/6).
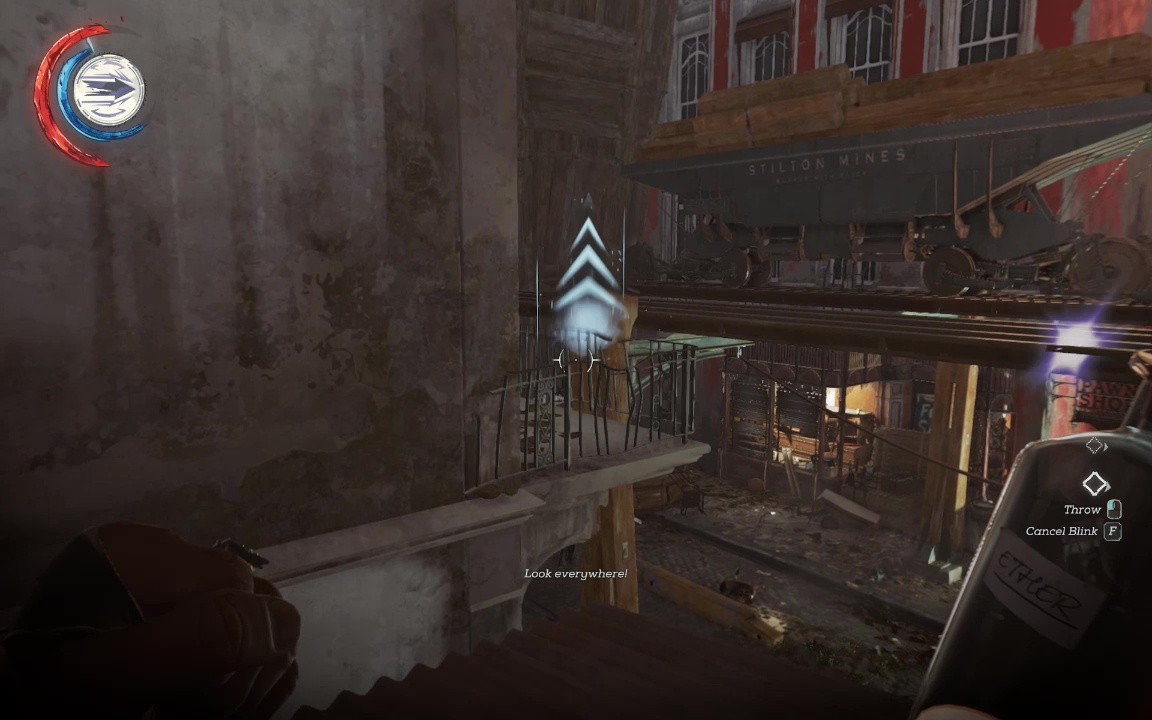
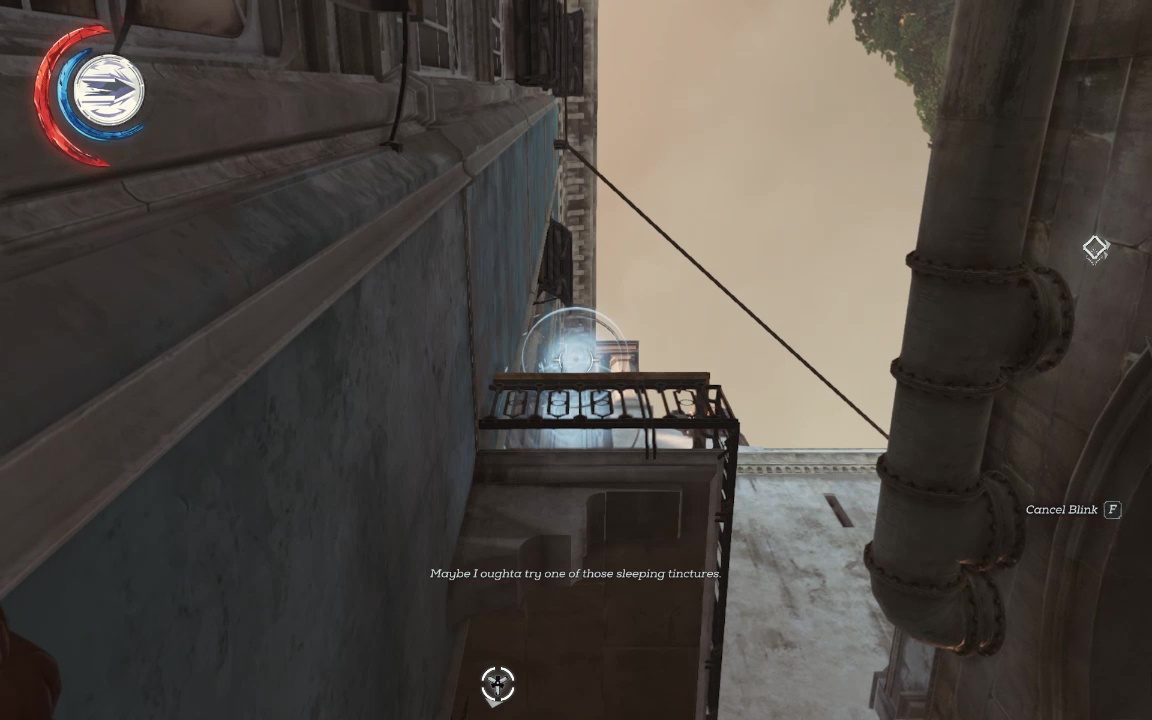
After this exhilarating larceny, it's back to the streets. Return to the place near the smashed up pawnshop where you took out the Howlers. Blink up to the lumber carriage on the rails here, then up to the roof of the station.
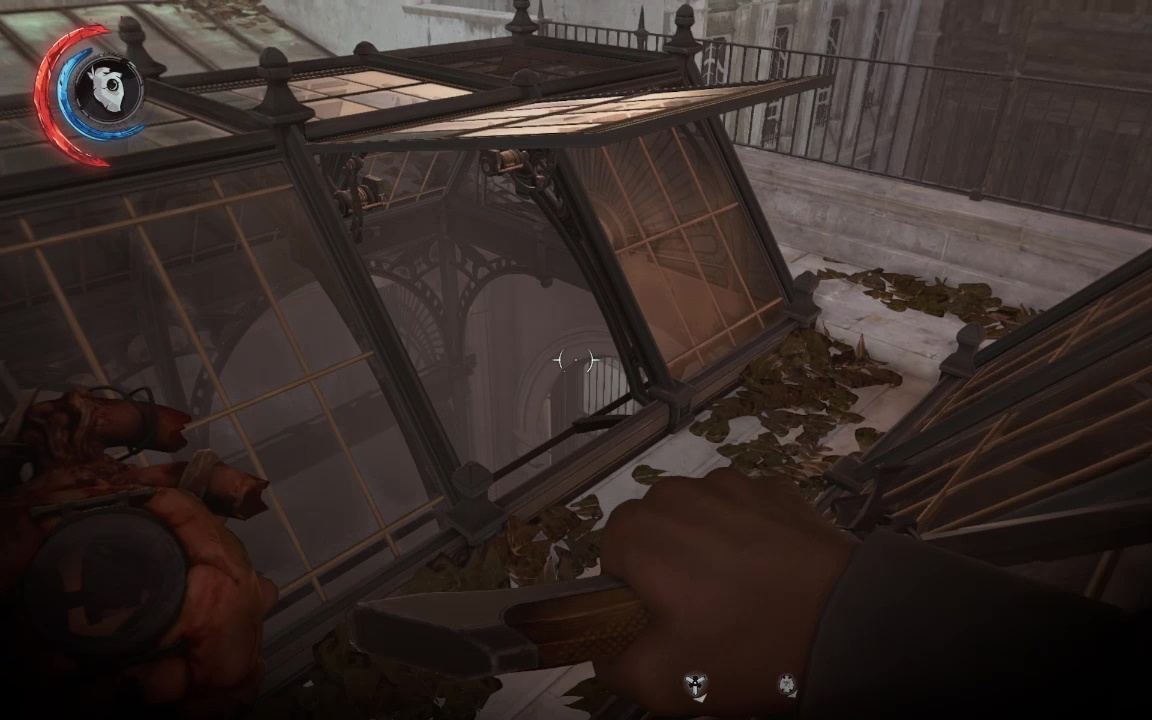
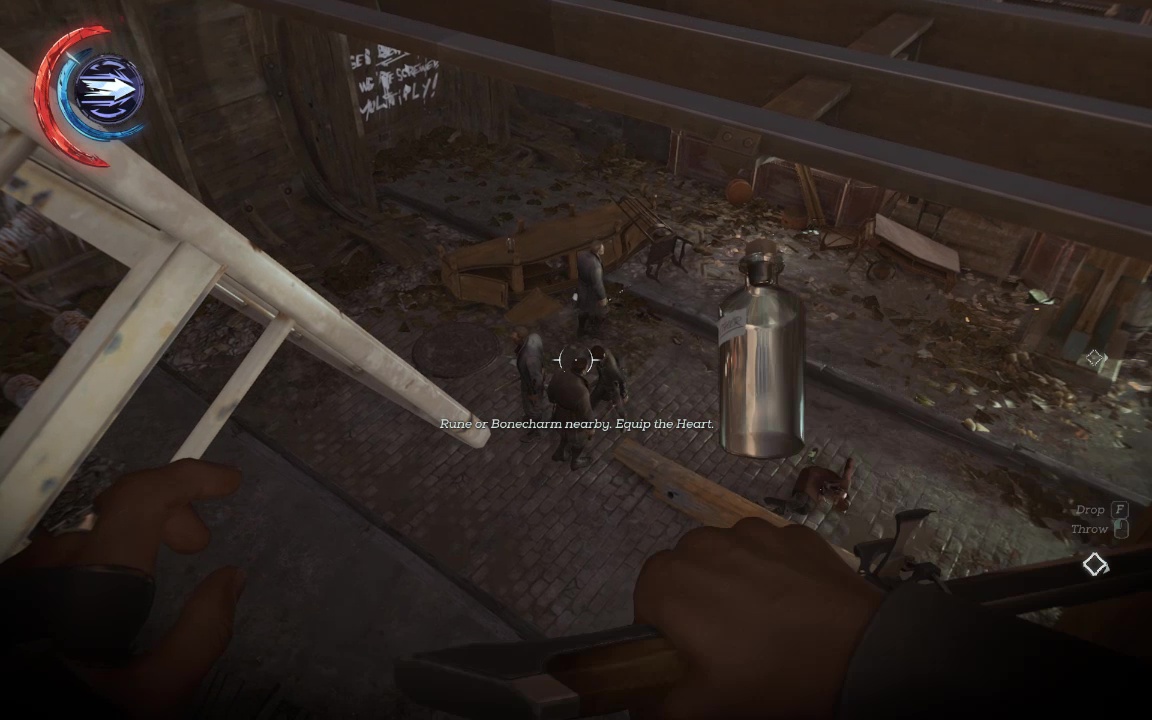
Drop down through the open glass pane, then to a lower platform out of sight to avoid detection. If you drop down to floor level you can unlatch the back door here, to make later access easy. There's a bonecharm on the upper level here- the elite guard stares at constantly, while the blue guard patrols back and forth in front of it.
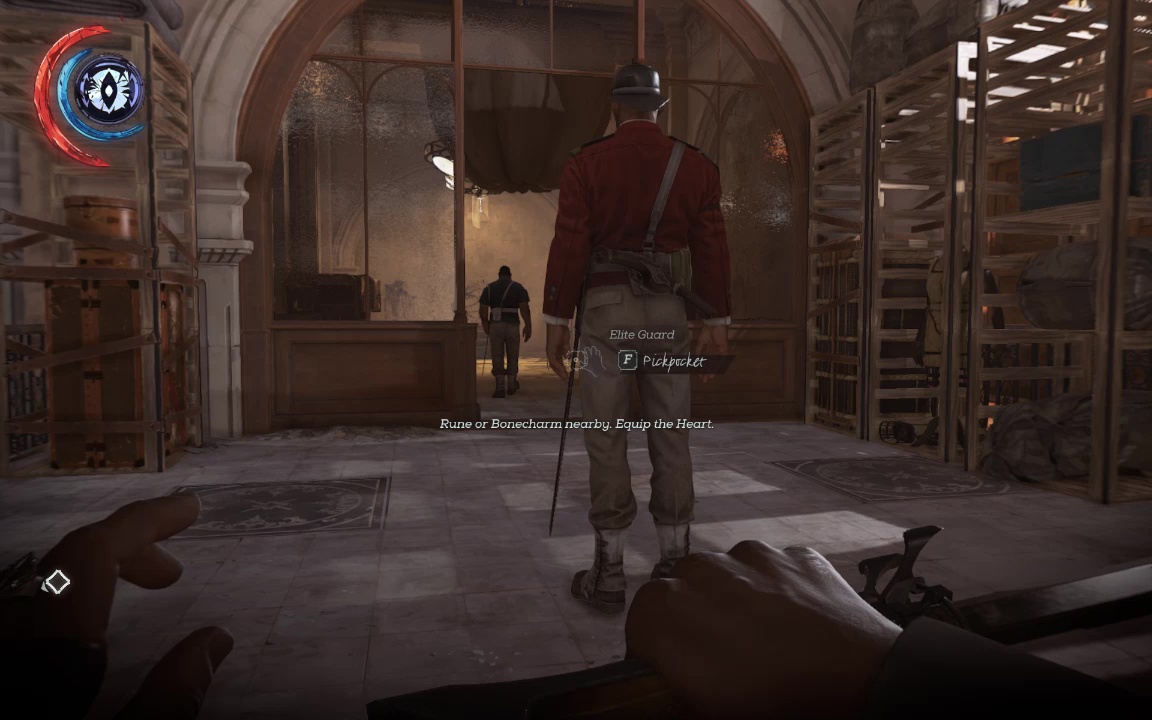
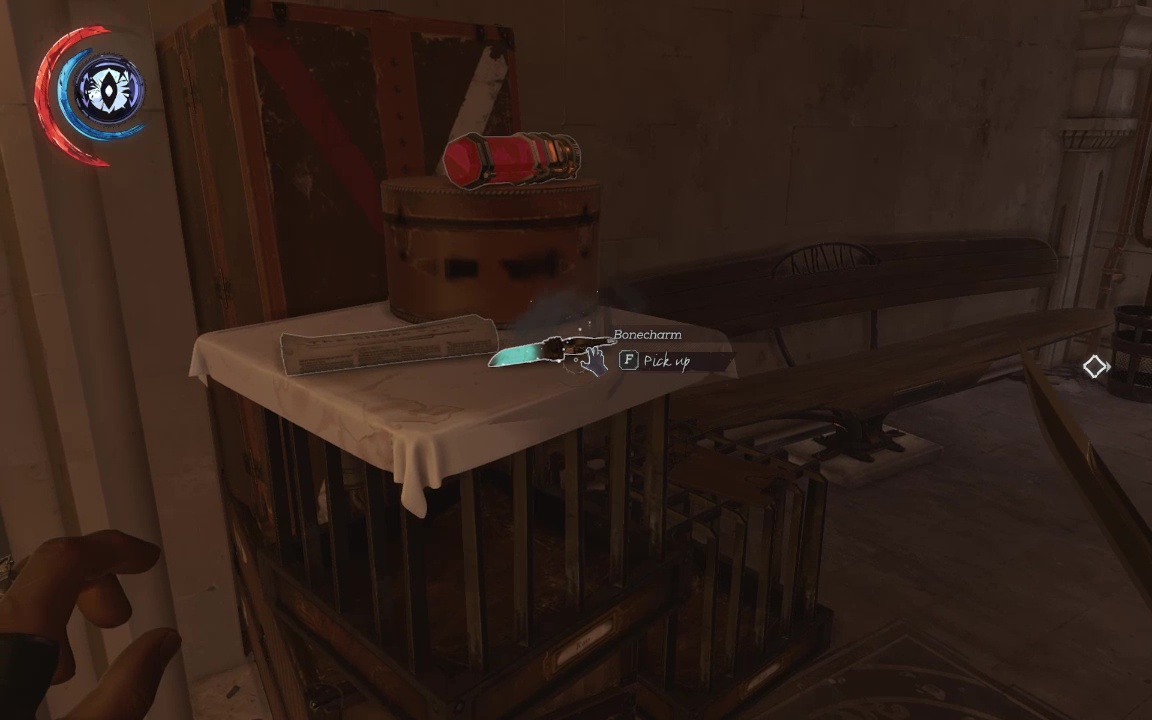
The minimalist strategy is to hide behind the pillar right next to the elite guard, and wait until the other guard starts walking the away. Quickly pickpocket and choke the elite, carry him leftward and stash his body on the stairs, then Blink up and behind the other guard just as he's trying to figure out where his boss went. Hide these bodies well, because outside station guards will occasionally peer in. Grab the charm (Bone charm 3/8).
You can technically leave this part of the level now, having gained access to the carriage, but there's still more looting left to do. Exit through the back door and bear right.
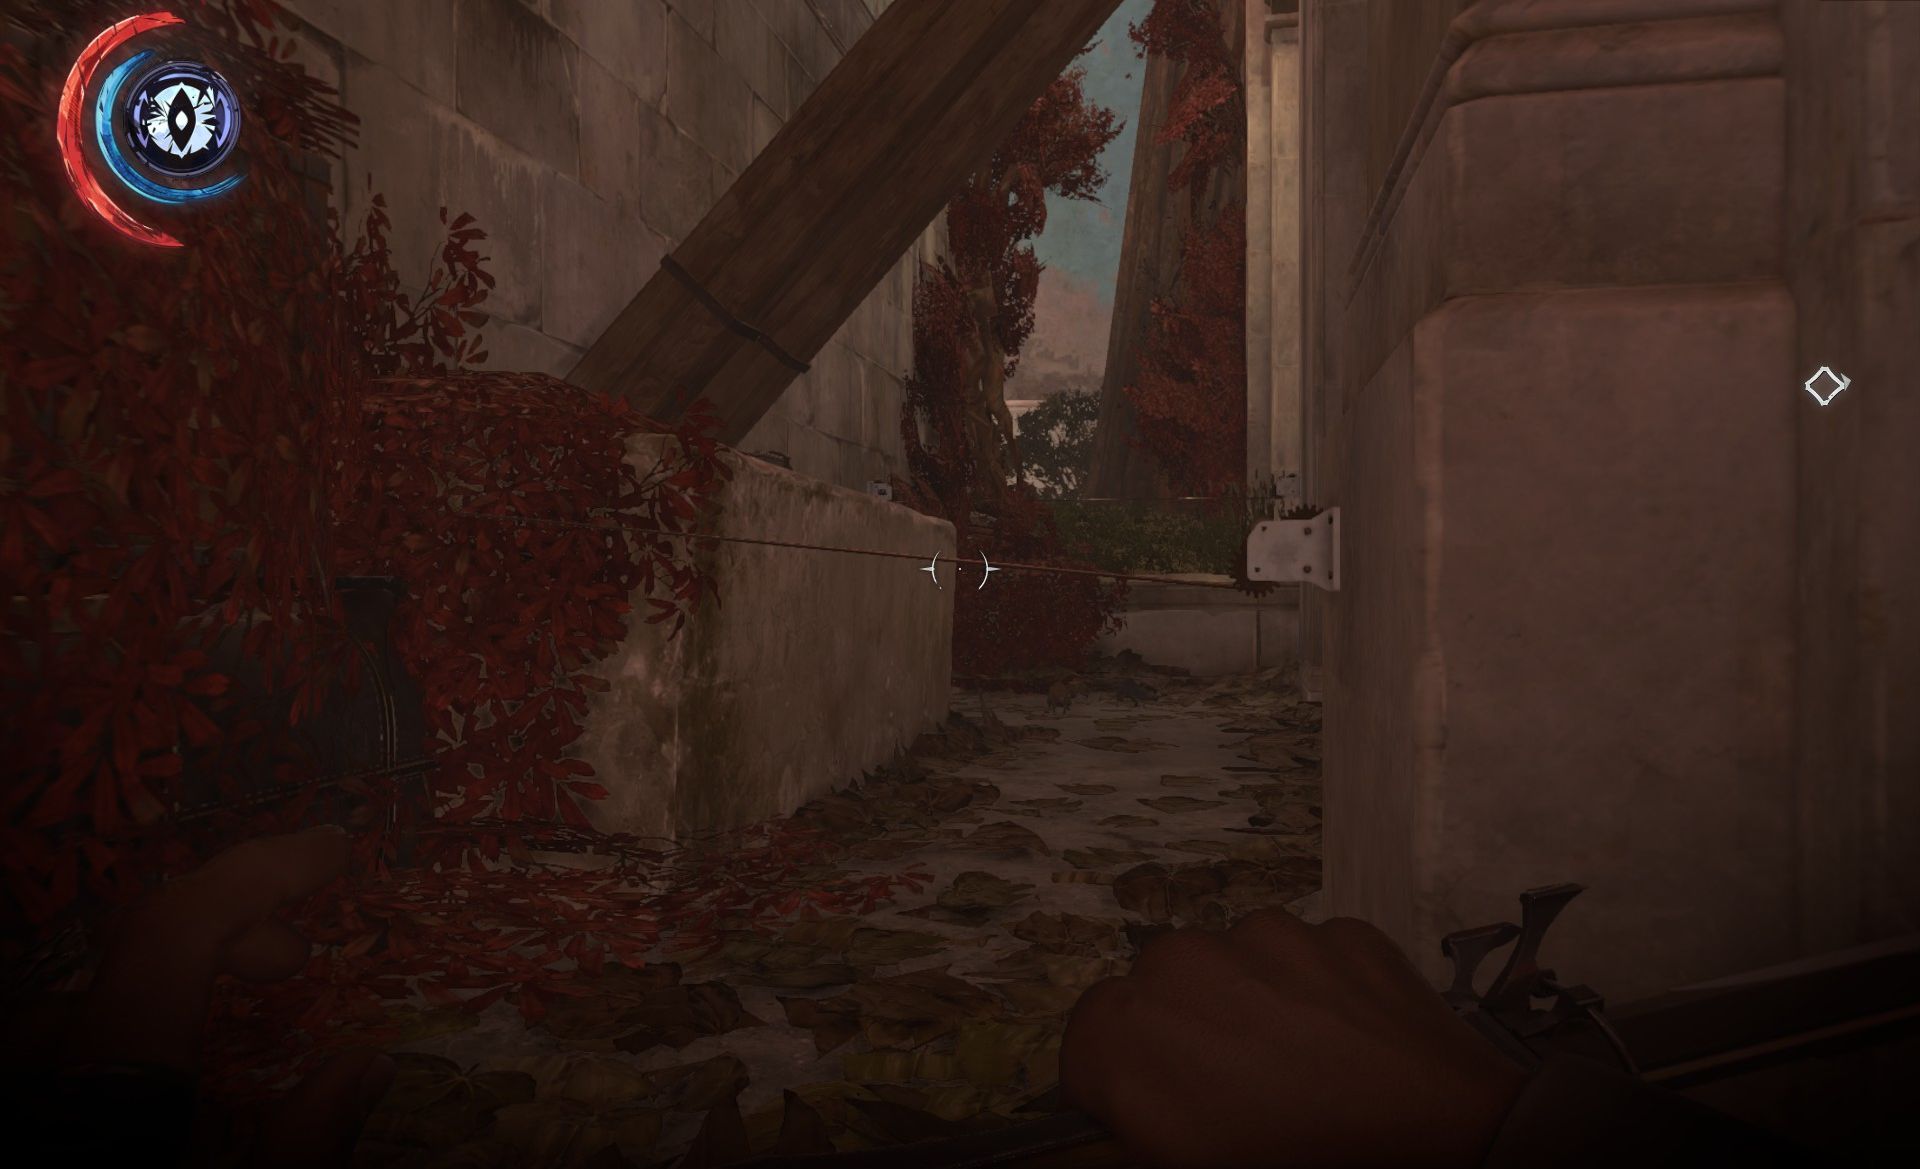
The alley here is festooned with tripwires, but the tripwires lead to traps full of incediary bolts. Score. Loot the traps and continue on. Keep bearing left, then take the stairs down when you see the blackmarket insignia
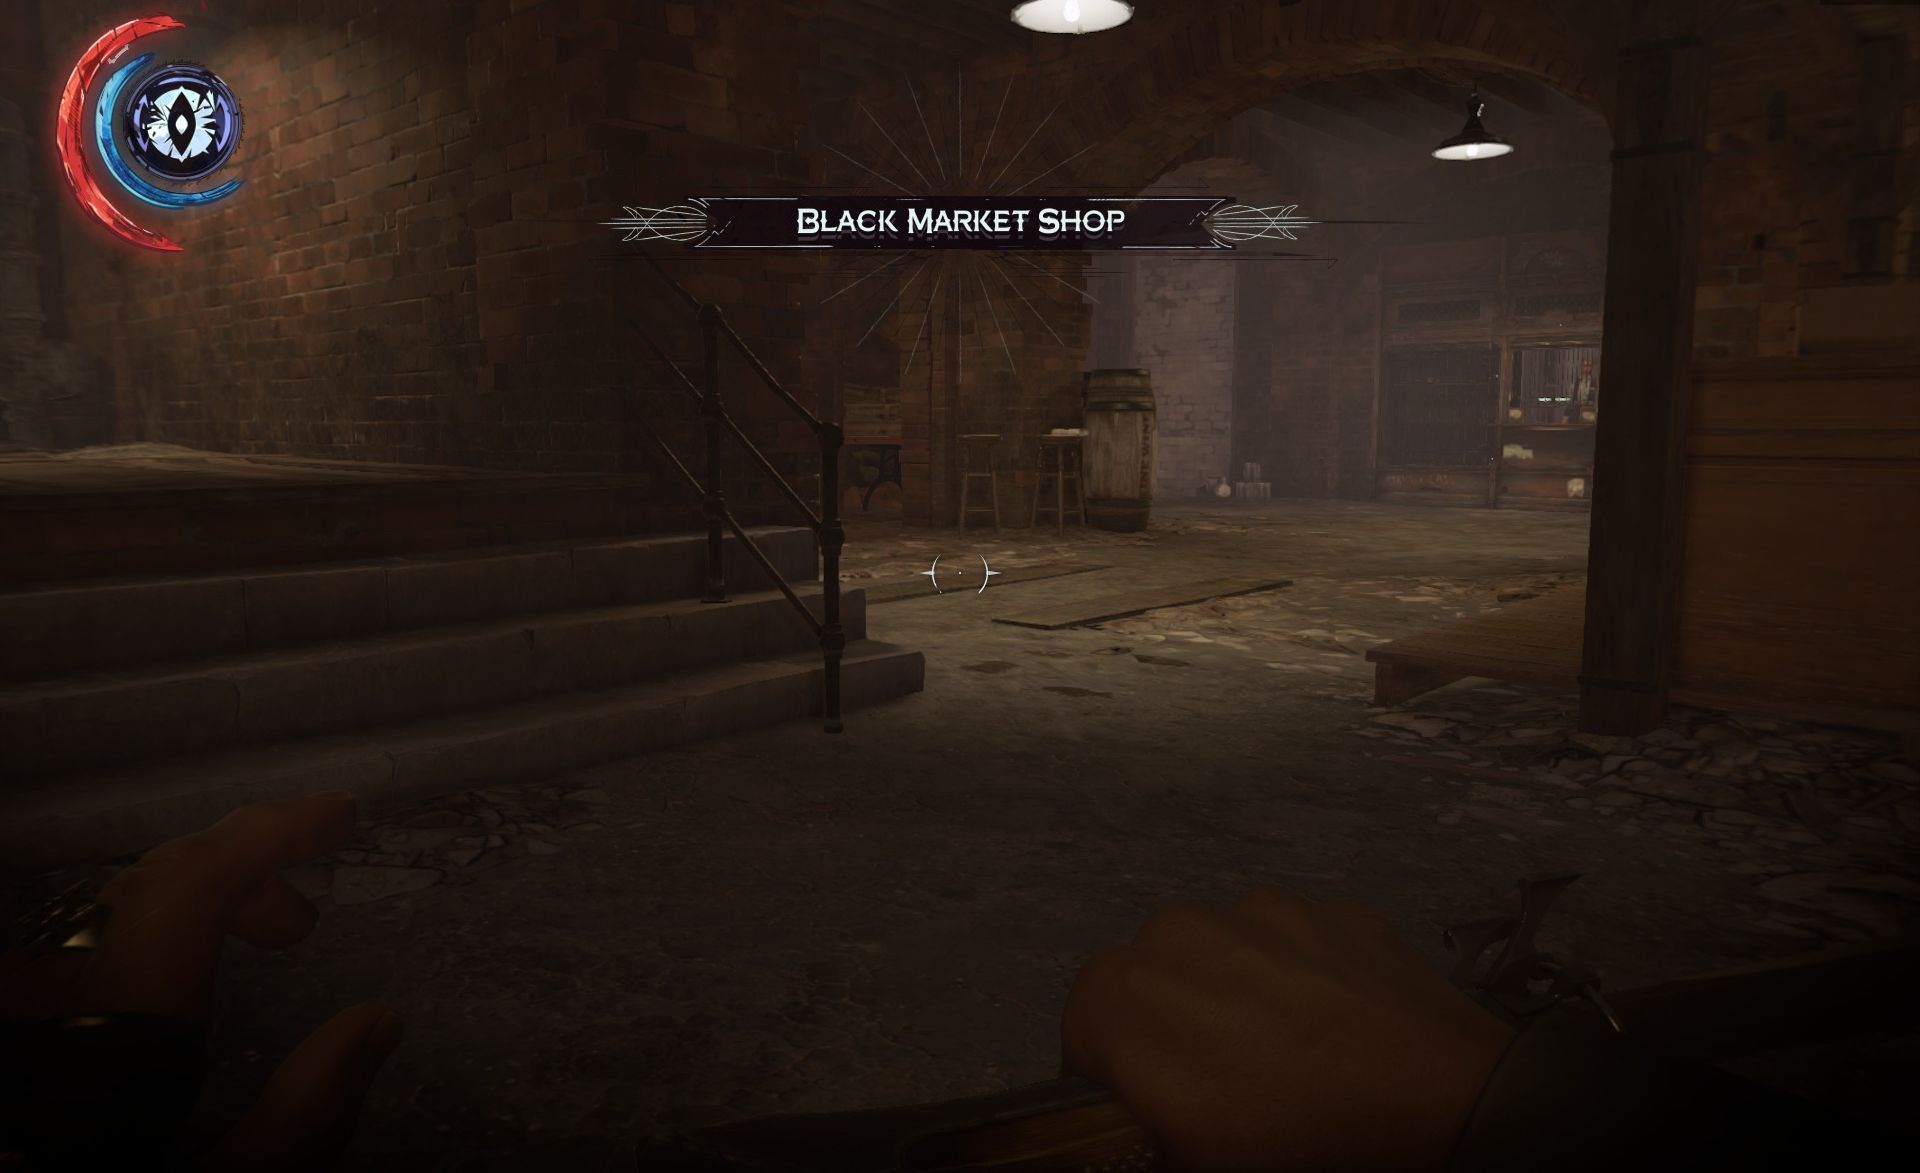
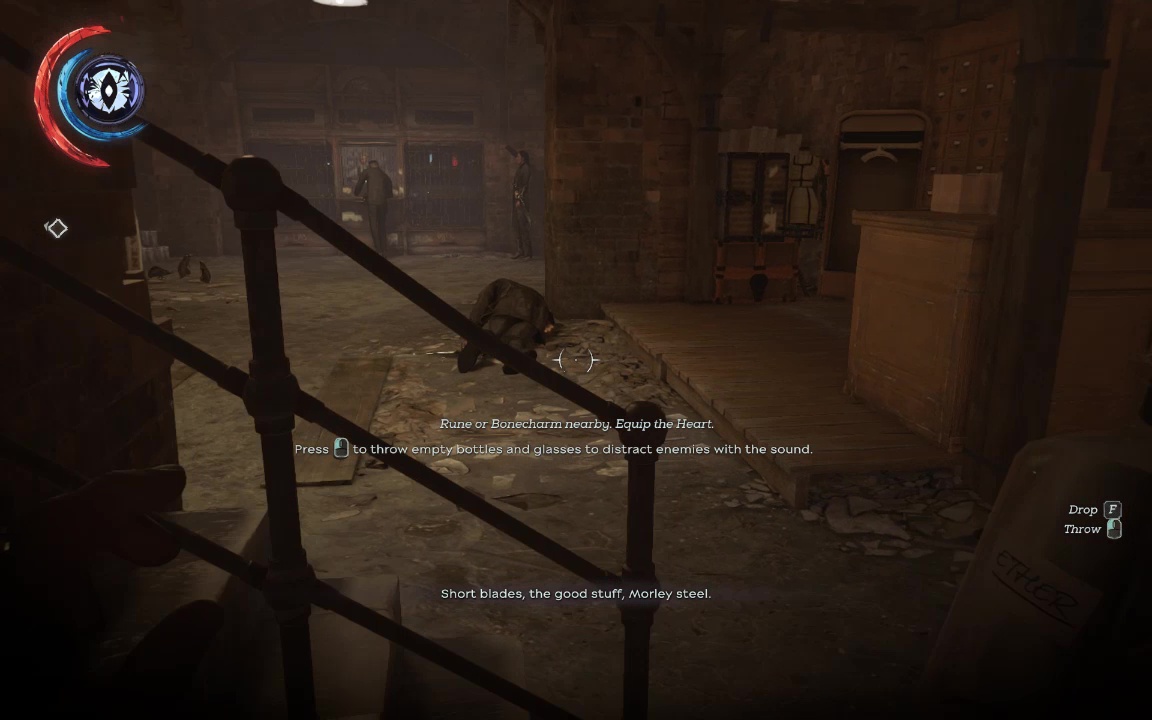
The shopkeeper doesn't have time to talk – some heavy named Paolo is coming by for a chat. Hide near the door, but note the two bottles of chloroform. There's an achievement in taking these hooligans out, so make ready. A perfect throw will get all three of these goons once they take up position, but if that proves difficult, aim for the big guy first (The other two tend to ignore him).
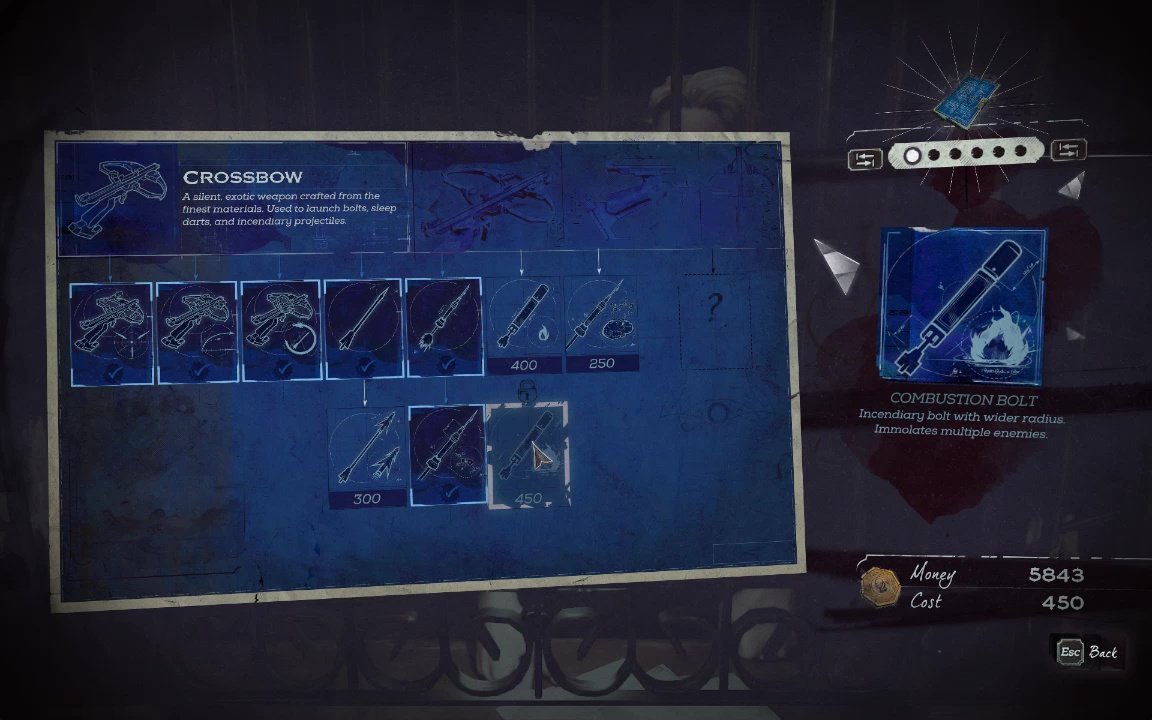
Stay out of the way while Paolo dissolves into a swarm of rats (half of them adorably unconscious), then talk to the shop keep (Special Action 1/6). Pick the upgrades you want (may want to pass on the wide radius combustion bolt- too much potential for collateral damage).
Head back up to the street and left, where a beggar asking for 5 coins. Reward his chutzpah at asking for a handout from a skull-faced killer, and he'll tell you about strange comings and goings in the neighborhood.
Blink up to an elevated patio on the far side of the square for a bit of loot, then ascend the larger building, aiming for the high, reddish tinged balcony here.

Bloodfly hive front and center, but guess who just disarmed a bunch of incendiary dart traps? Take it out, and grab the pouch of coin on the table to your left. Blink past the next two hives, but burn the one leading to the bathroom- there's some loot and a bottle of flammable liquor in here. Loot your way back down to ground level. You can't open the gate here yet, but the beggar has some sage words for you. Open and close the door here. This seems to be the heist operation you overheard earlier.
Once they finish talking the two will split up. It's possible to sneak kill them with the right moves and bit of luck, but since you're about to steal their plan to rob the black market, you might spend a sleep bolt or two. Just make sure you drag their bodies well away from the whale oil if you want to hang on to that Merciful achievement, and then grab the Apartment key from the low table by the door.
Nip back via the untrapped alley to the station, and grab a tank from the dispenser, then fill it in the fueling station. Sneak back and save your game before chucking this tank at the other two. The resulting explosion will sometimes kill the shopkeeper, so you may need to try this a few times.
Luckily, if she survives, the shopkeeper tends to cower facing away from the blast. Gently asphyxiate her, and loot the shop (Special Action 2/6), including your first rewire tool and the key to the Aventa Station ticket office. Return to the station to put that key to good use, clearing out the office and its safe, and picking up the blueprint for pyrosonic casing (Blueprint 1/4, Special Action 3/6)
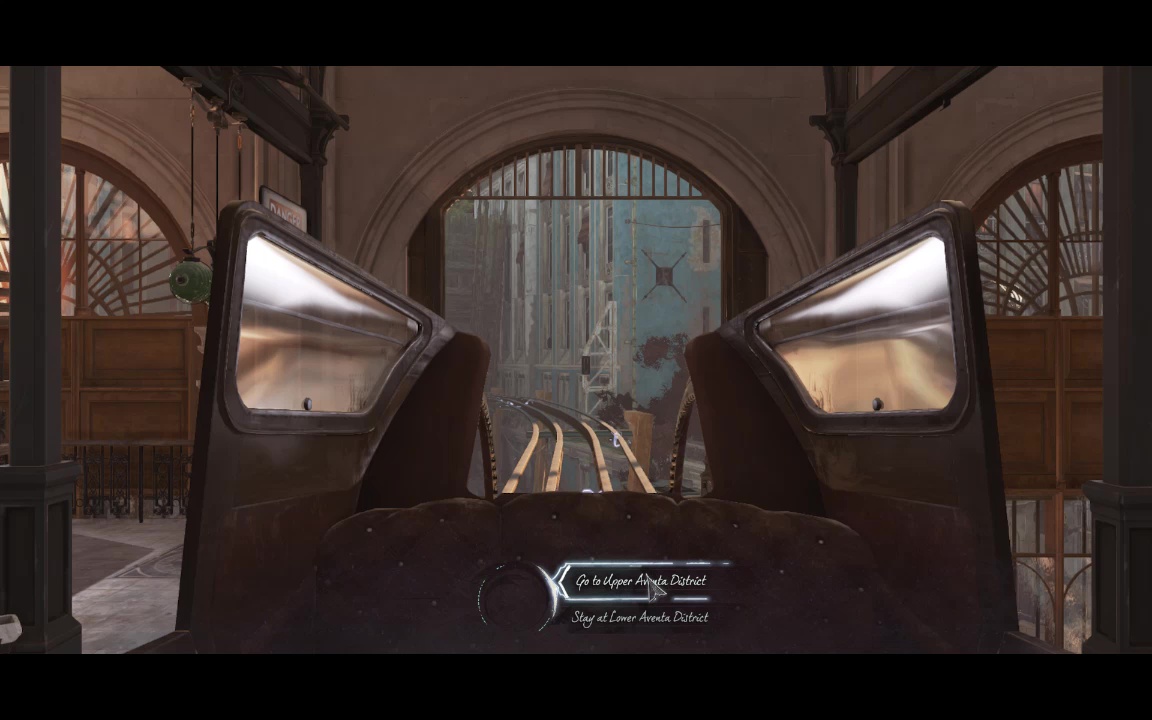
If you're really hurting for pocket change you can pickpocket or take out the guards circling outside, otherwise hop into the tram for the next section.