Part I – The Wale and Dunwall Streets

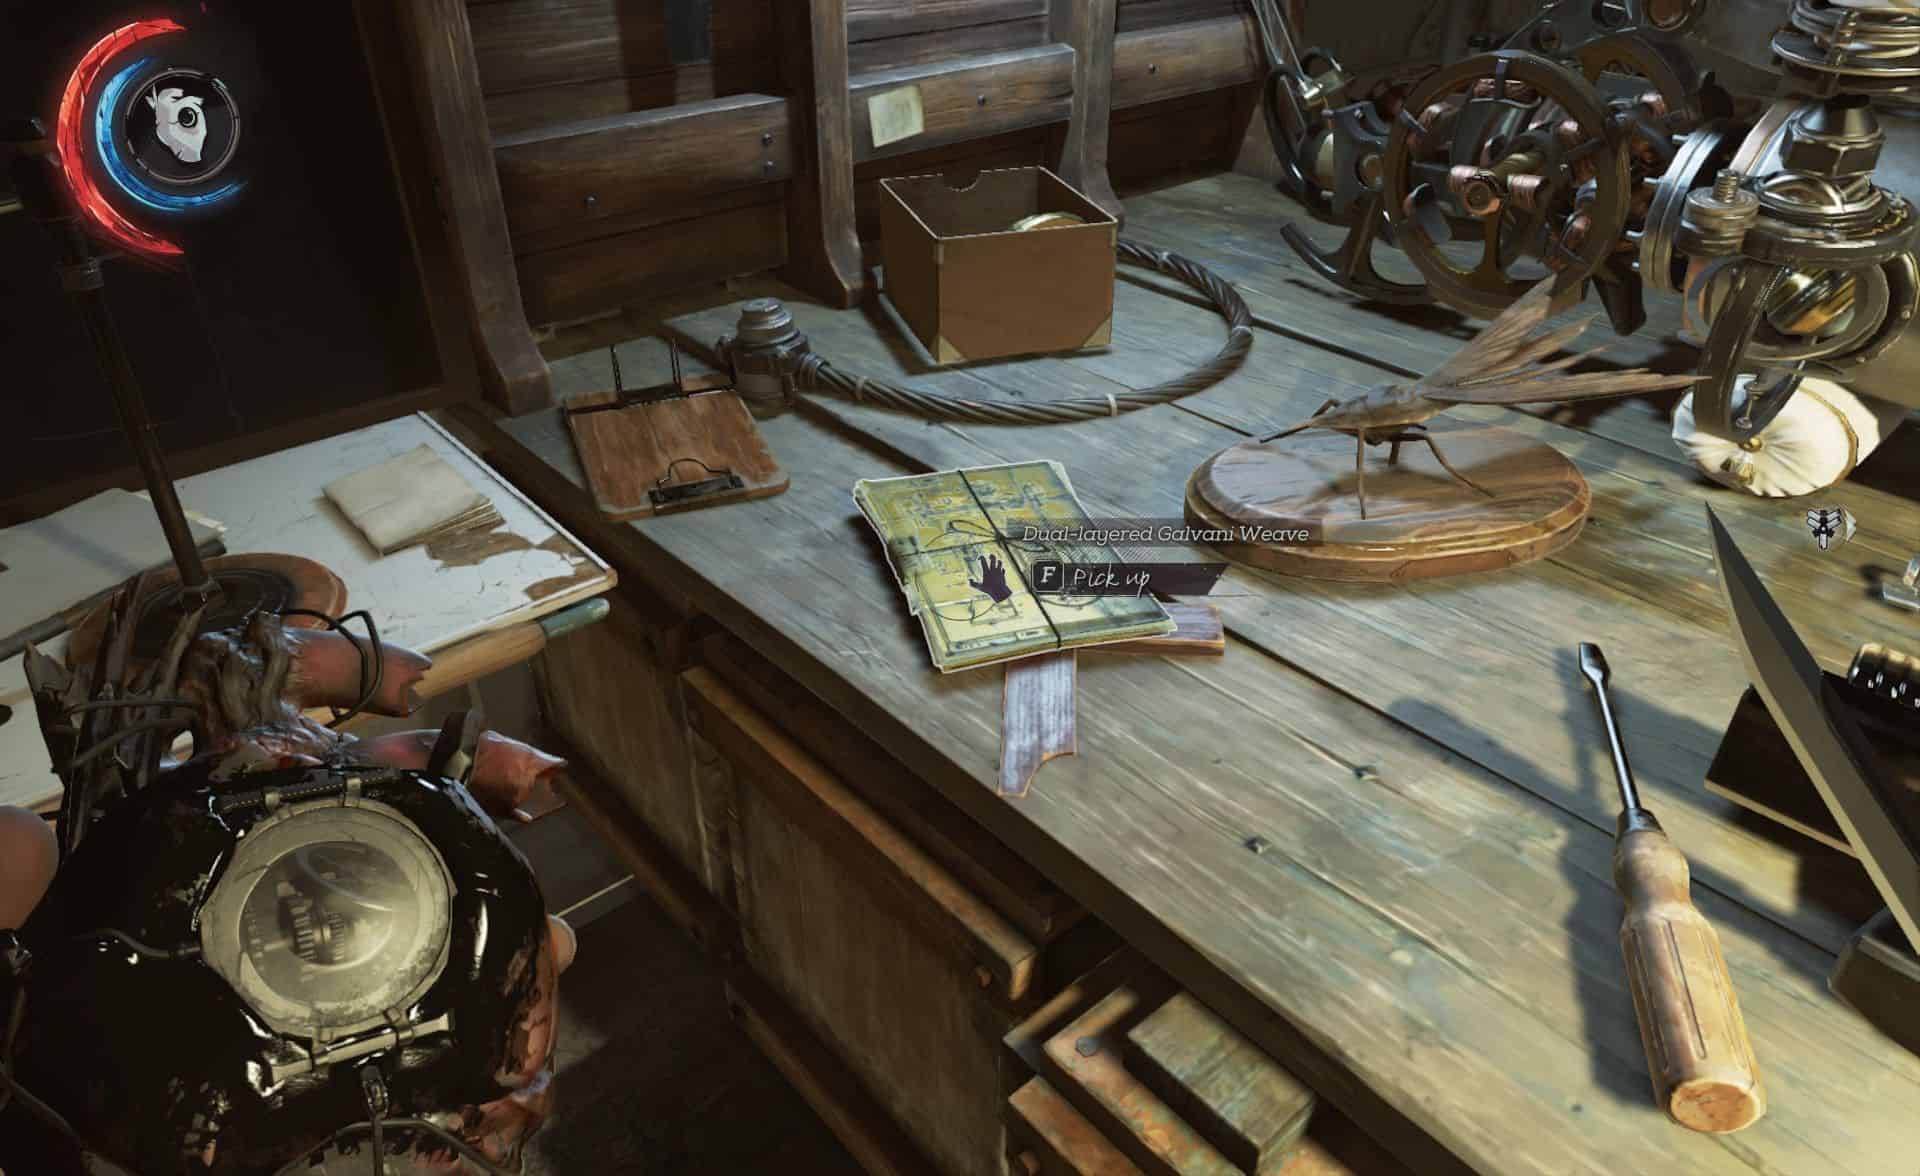
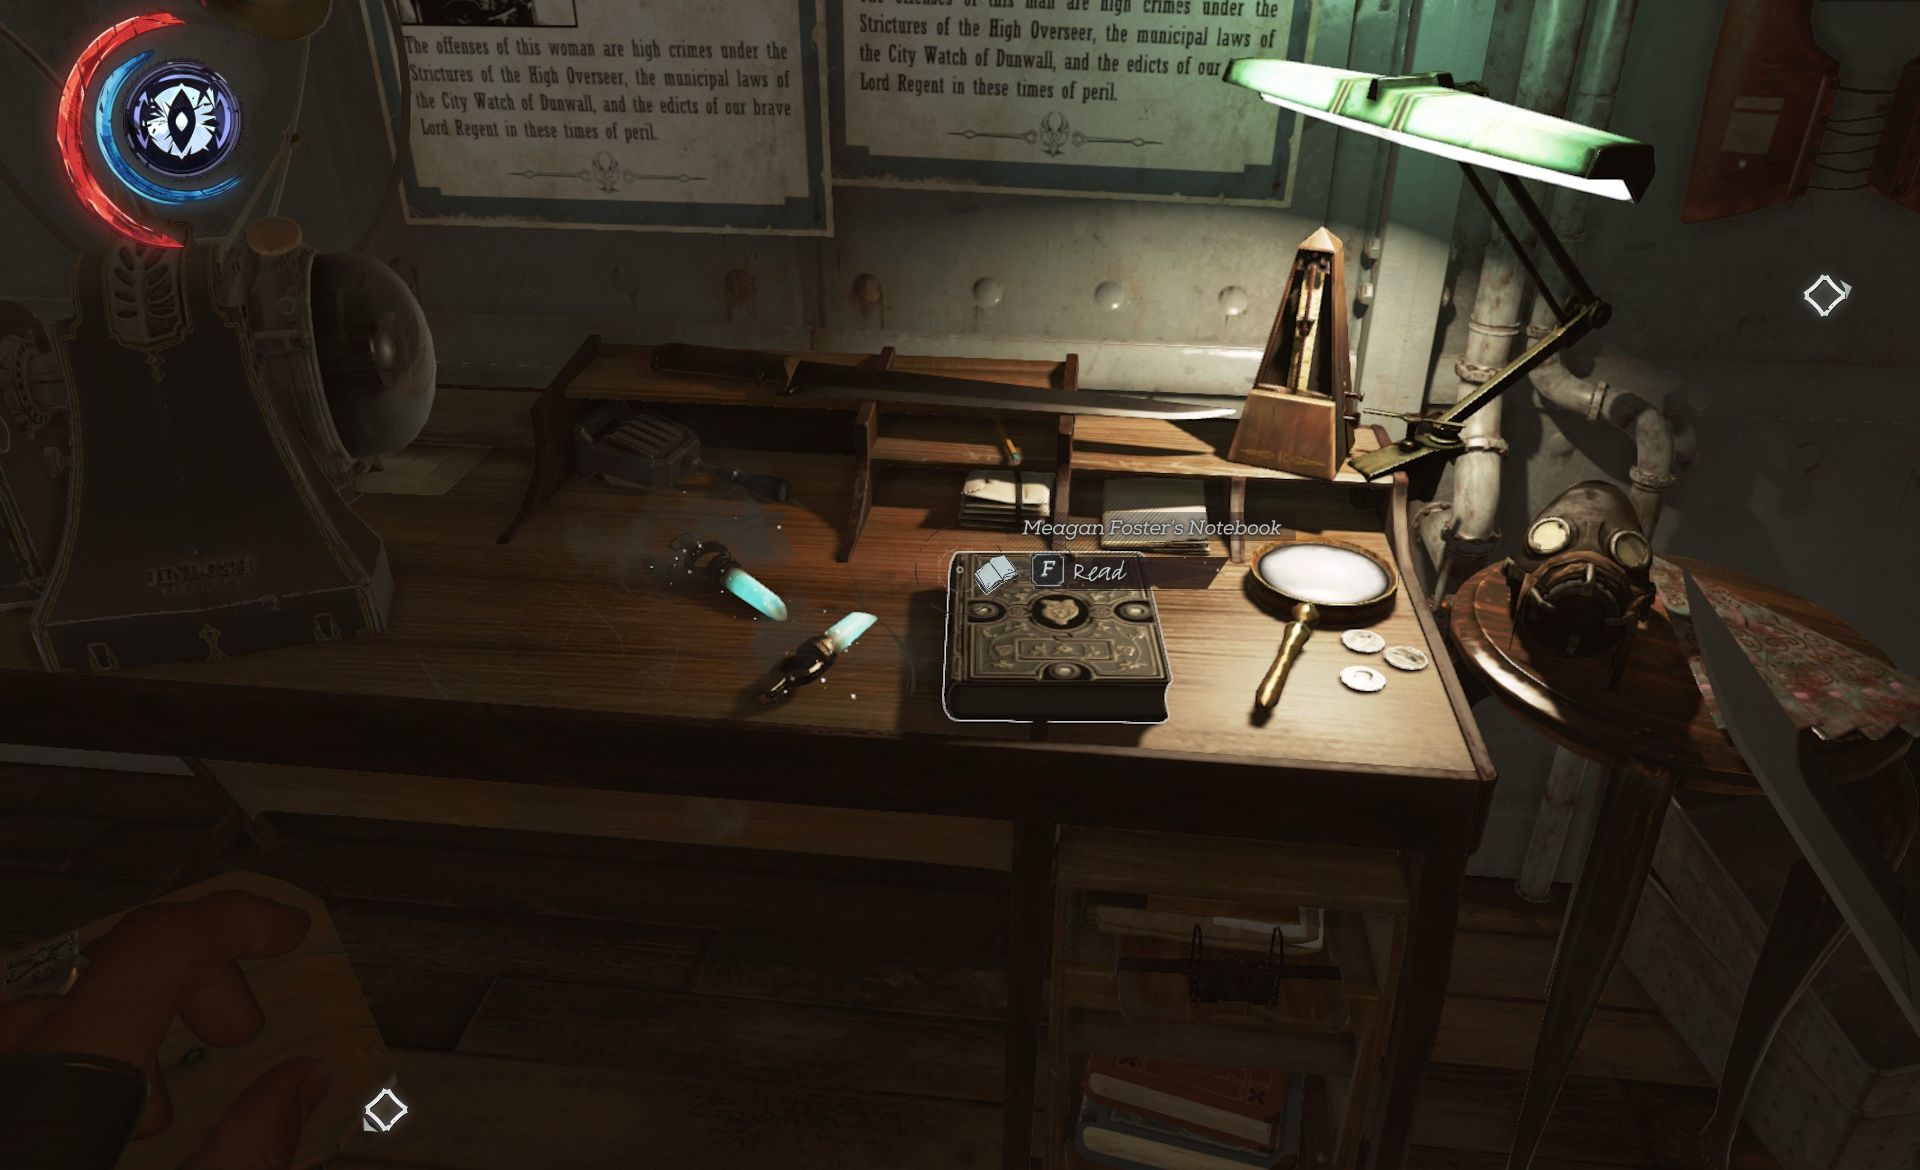
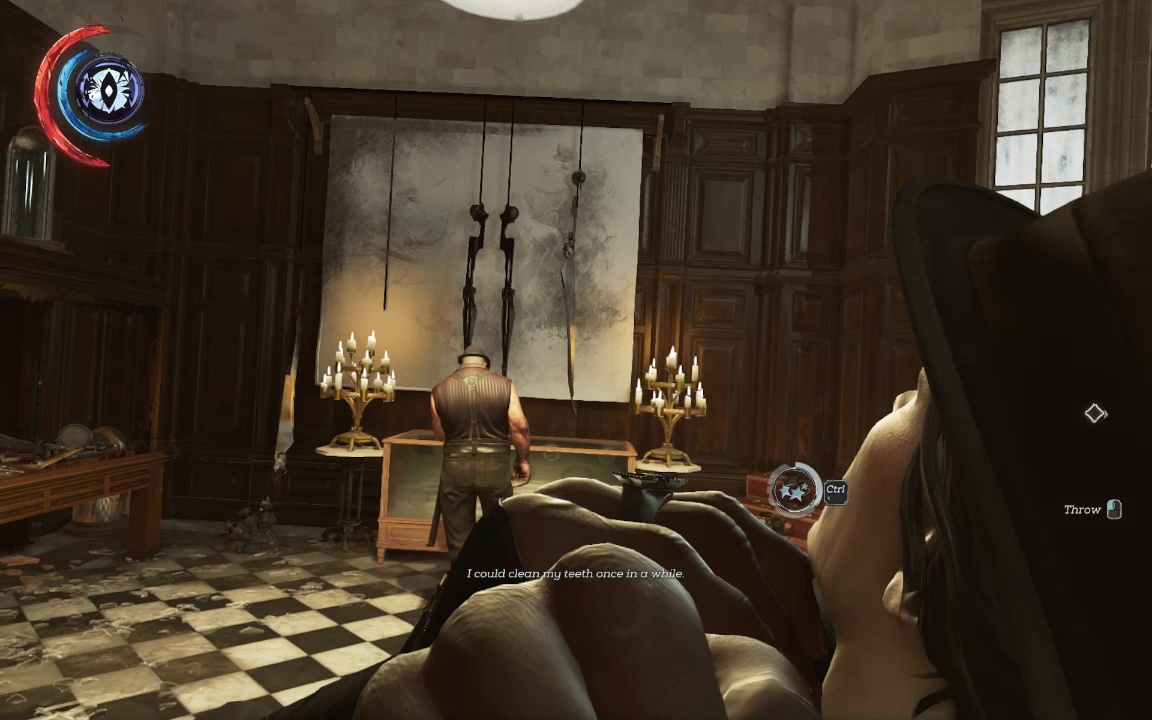
The Wale is now brimming with loot, including some Masterwork Blueprints for Galvani Weave in the room between the main room and Sokolov's quarters Meagan herself is out on deck- for the first time (and the last, I suppose), she can be pickpocketed. Lift her cabin key, then go open that door off the mainroom that's been locked all game to score two bonecharms, and learn the last of Meagan Foster's past (Bonecharms 1&2/9).
When you talk to her on deck, you get a special action for killing her- the first such action I know of, but we have higher aspirations in mind, so leave her be. When you've talked to Sokolov and are done with he Wale, take the skiff alone into Dunwall. You can't return to the ship after this- the skiff doesn't respond, and the fish will eat you alive if you try to swim.
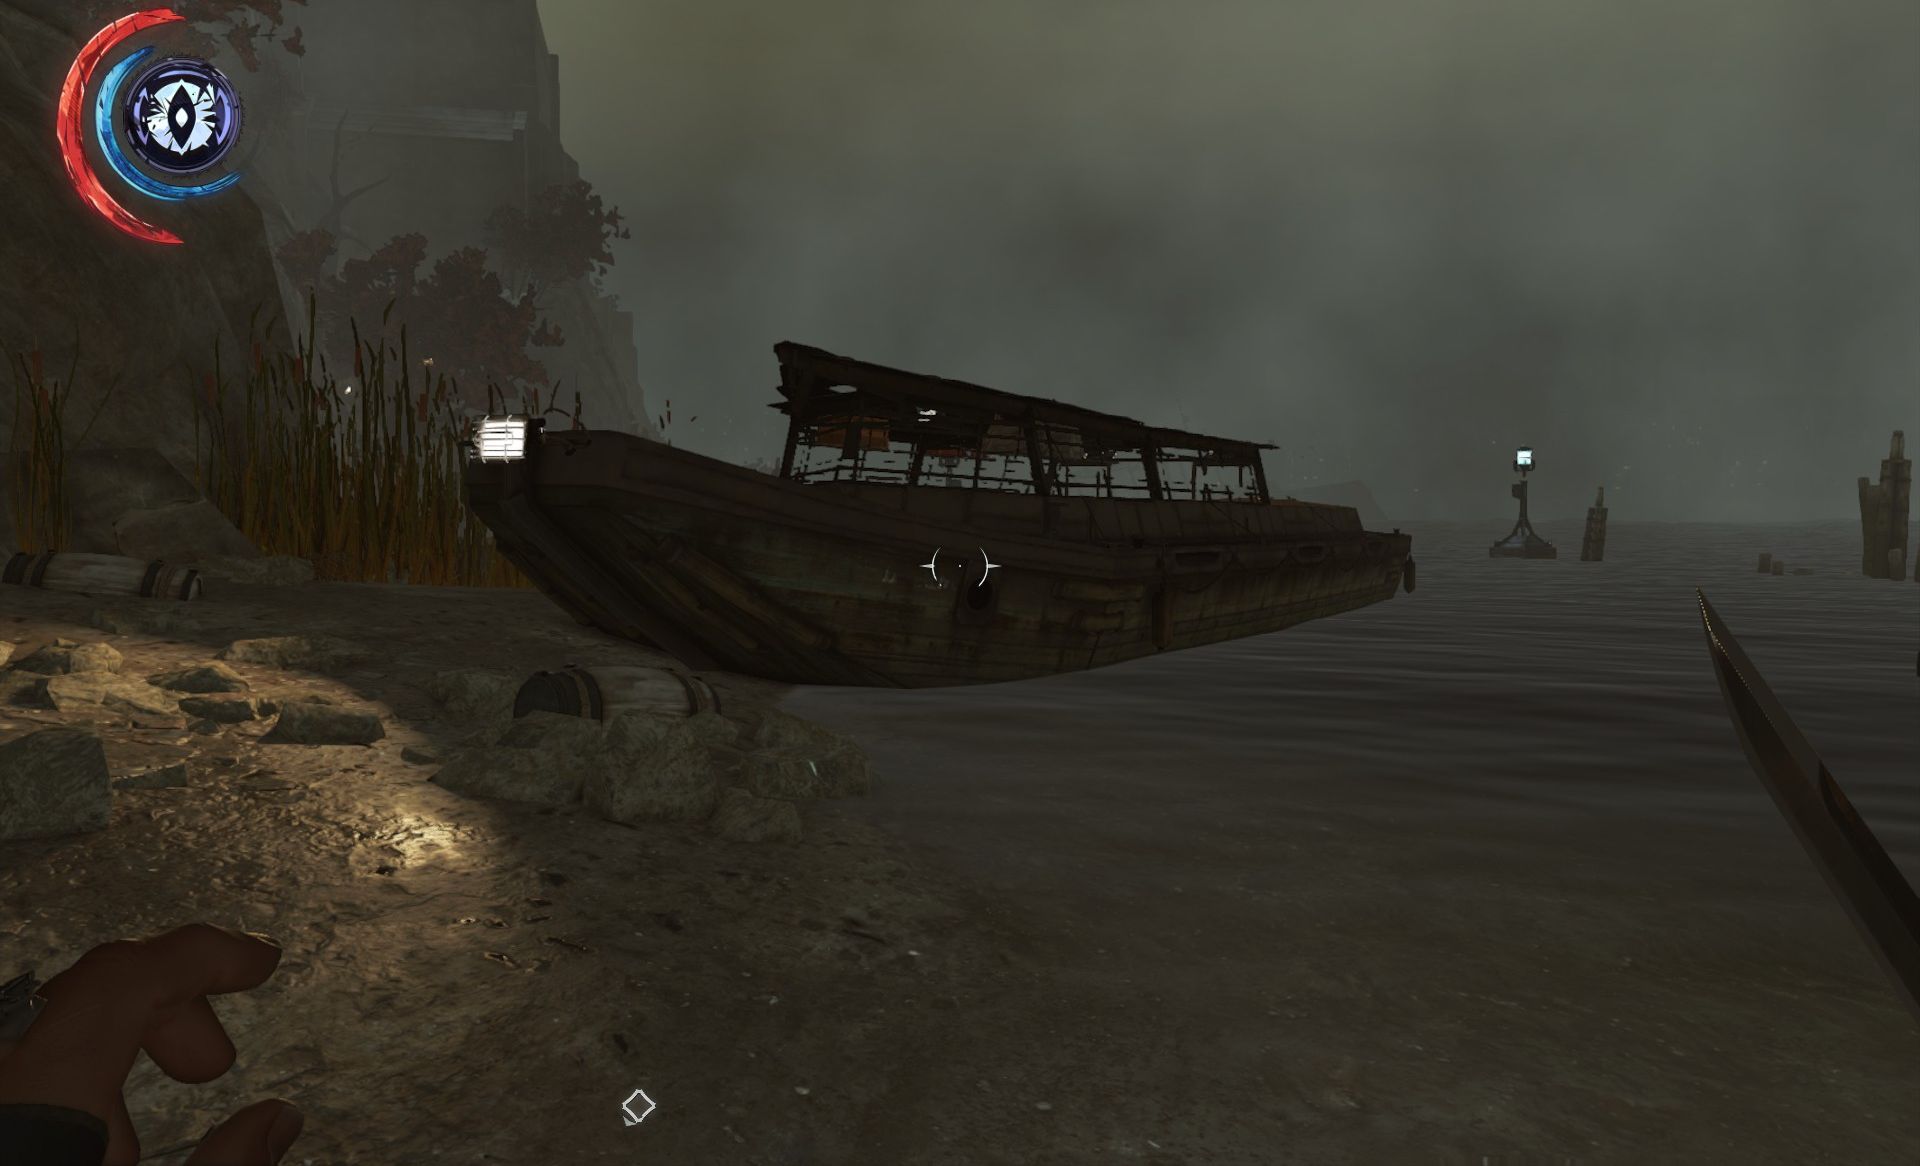
The dockside here is pretty picked over, but there is a delivery boat moored on the far shore with a few goodies, including some whalebone.
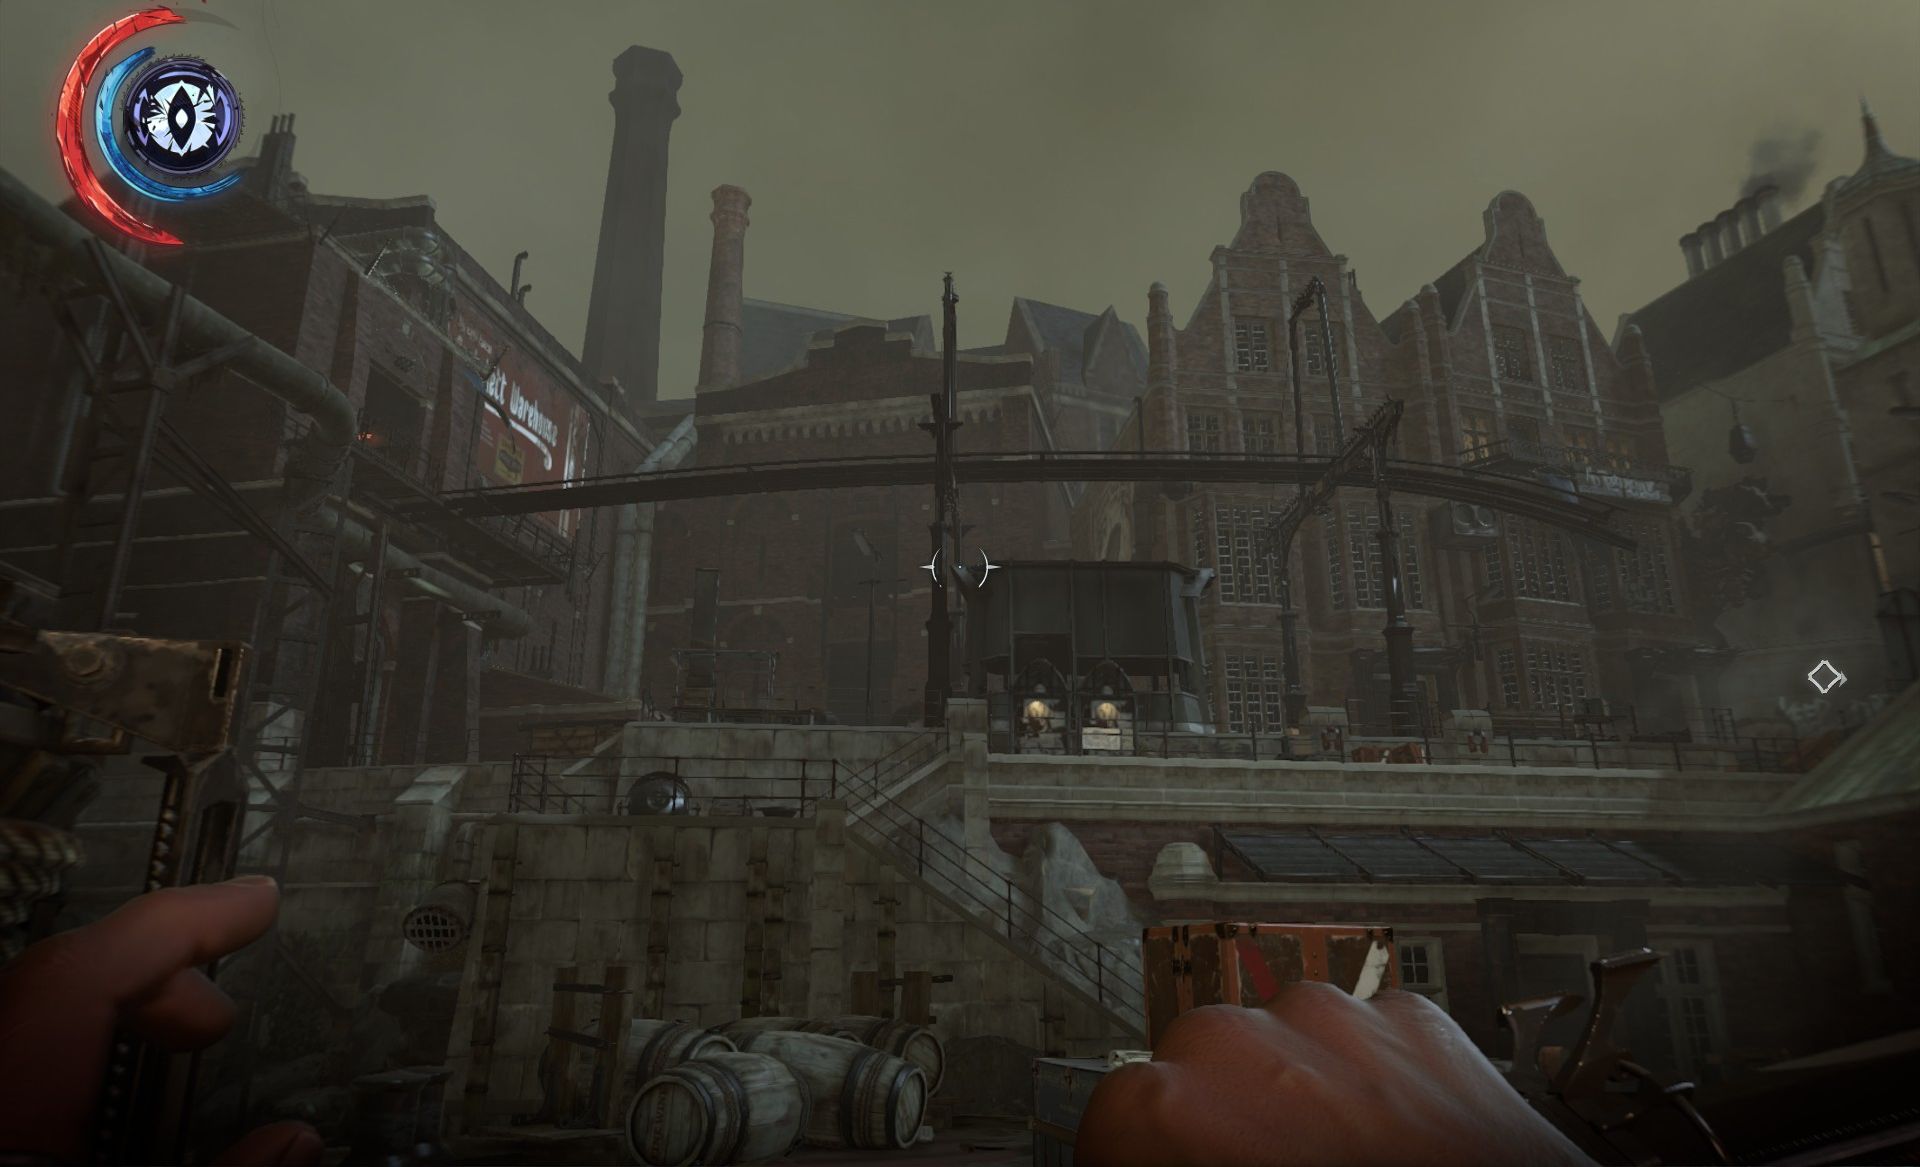
Go up the back stairs you once used to get into the pub here- now it's the black market. You've got a number of upgrades available, some of them quite handy. You have some masterwork choices as well, but these are straightforward, as you're not looking to deal lethal damage to any human, magic using or no, and you don't take much damage while ghosting.
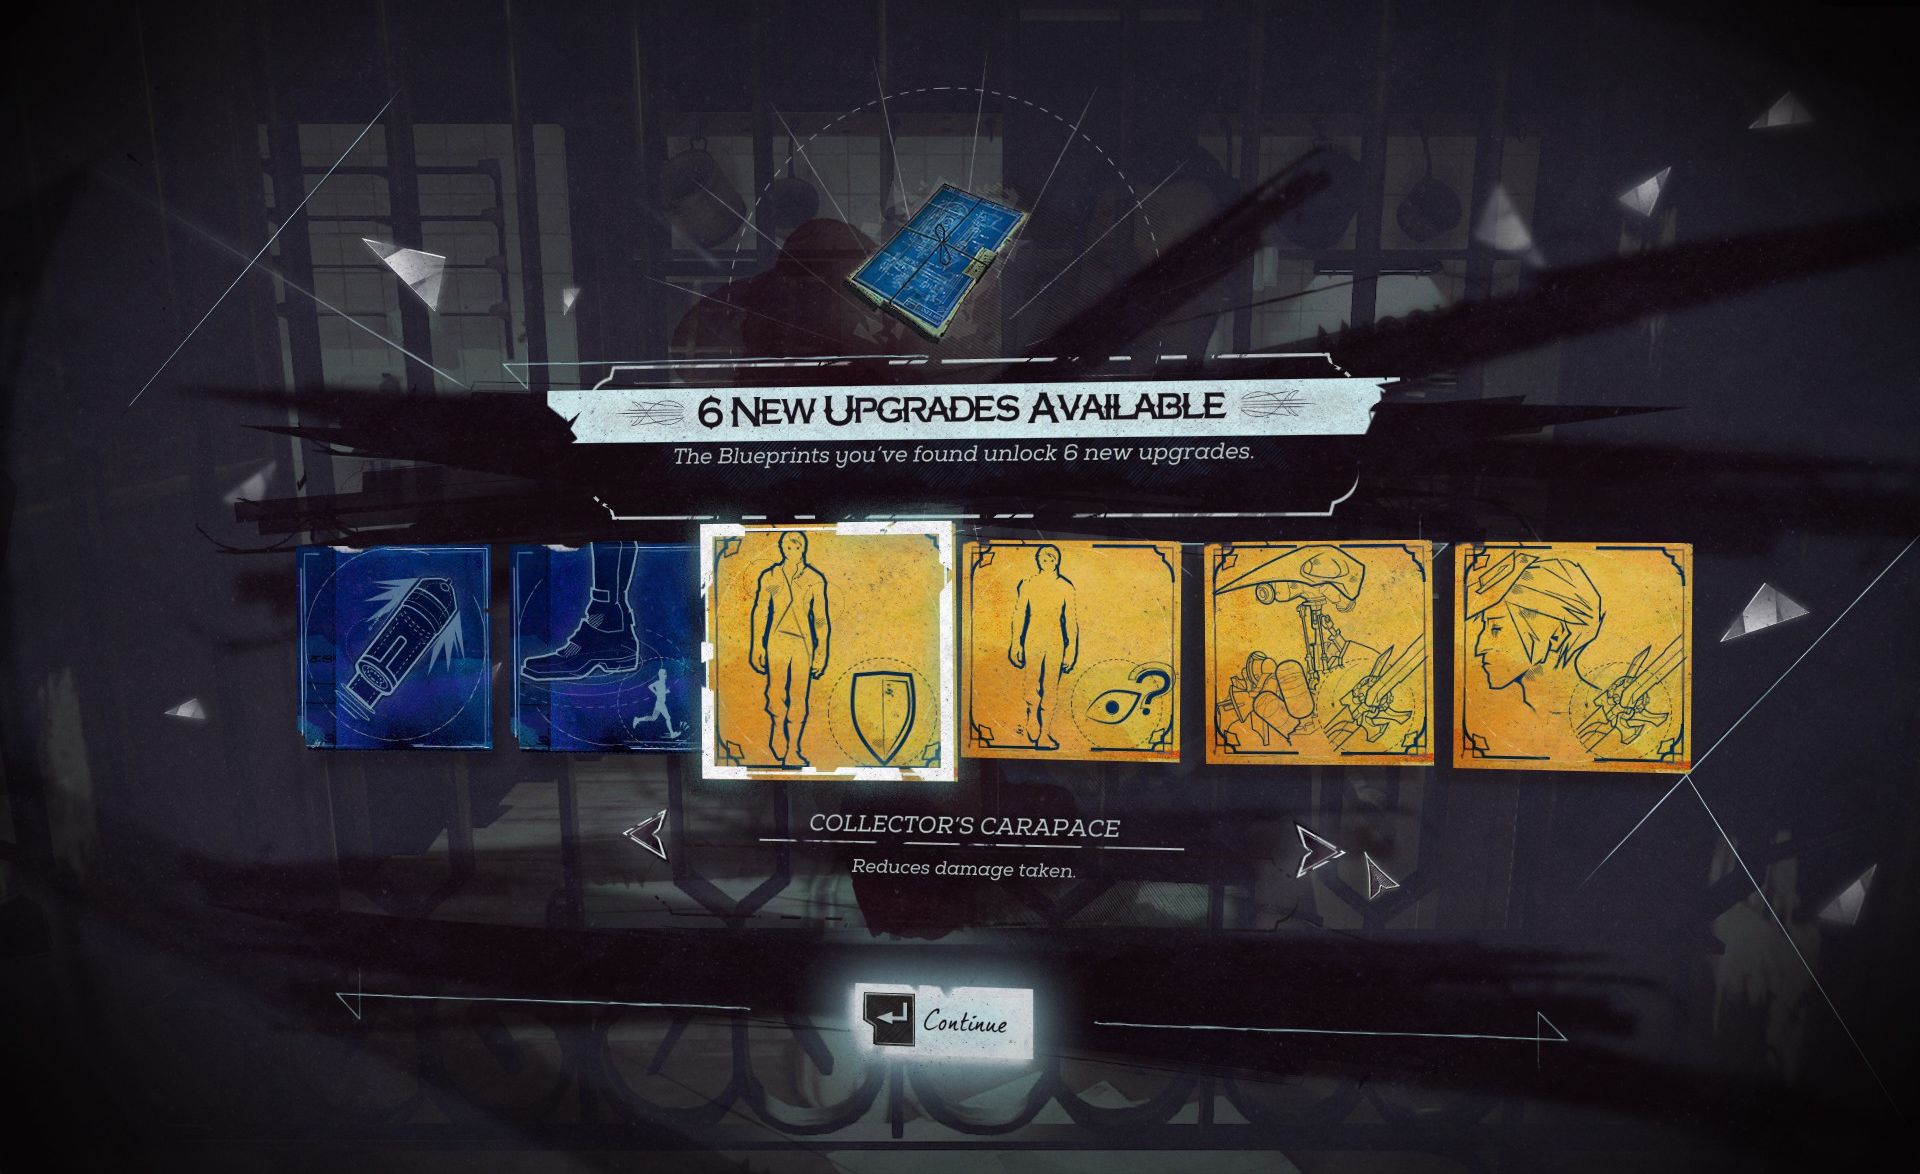
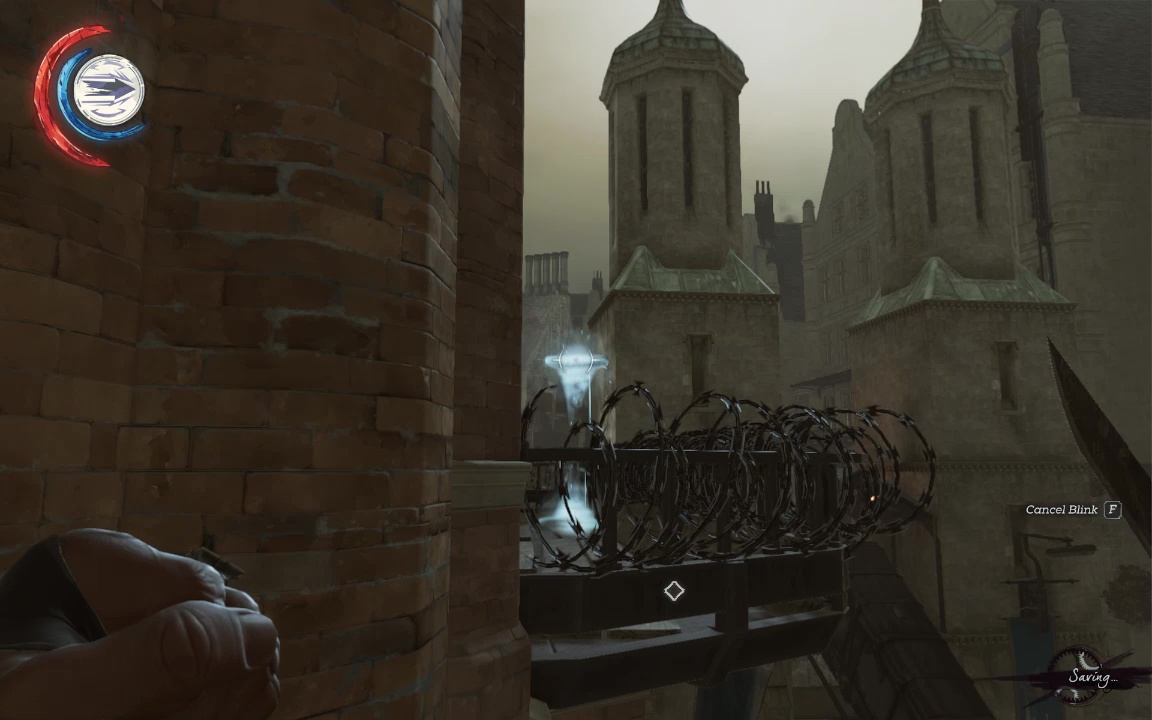
There's still one more blueprint in the game, so don't knock over the blackmarket until you've gotten that last upgrade- there won't be another chance. Out in the street, things are pretty dire as well. Look up for a barbed wire balcony, then blink your way there. This is the apartment that had been boarded up since the rat plague, back during Mission 1.
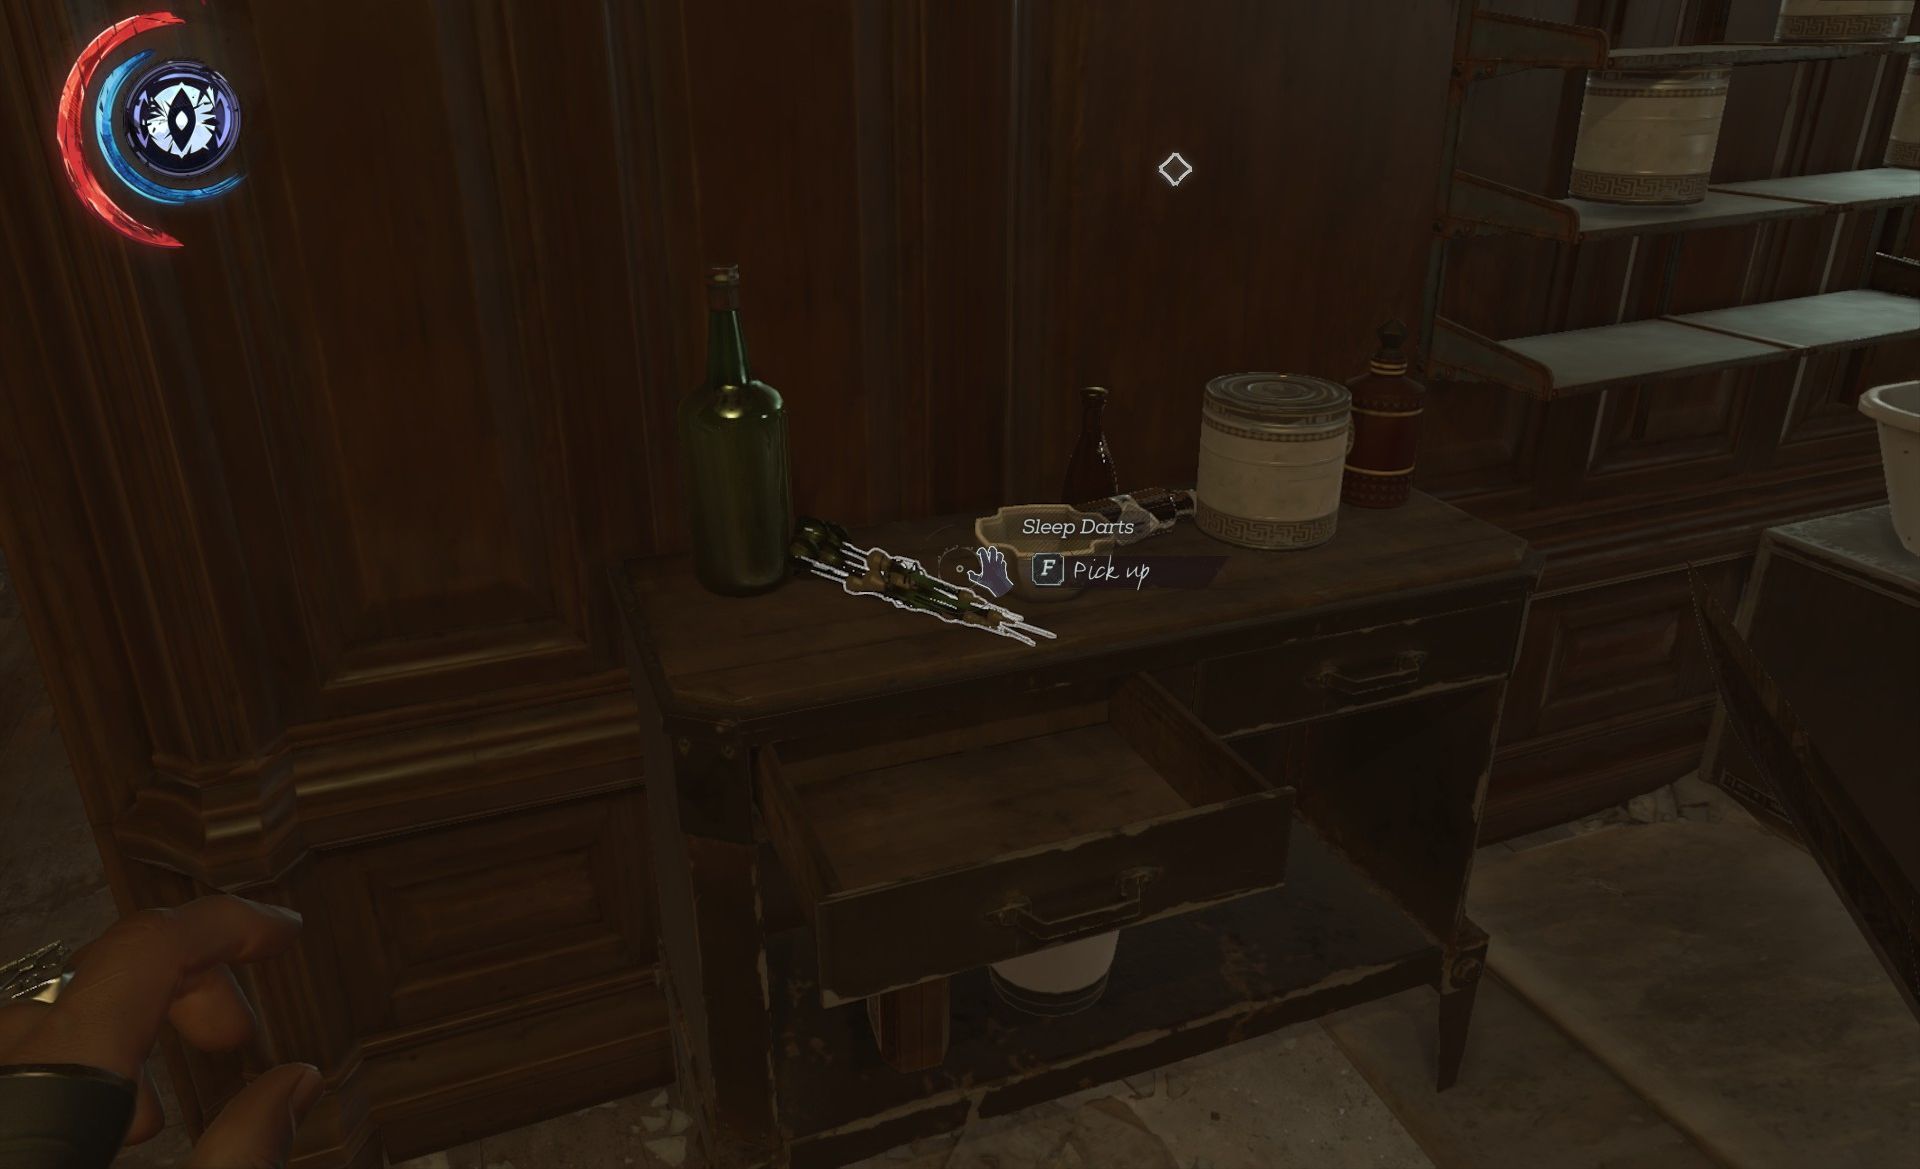
Now it's home to three Howlers- one sleeping and two oblivious. Make them all unconscious and loot the place for some raw whalebone. Note also the bundle of sleepdarts – always handy.
Go out the bedroom window and dropstop the howler below, then Blink his body back up to the apartment (to avoid him being eaten by rats later).
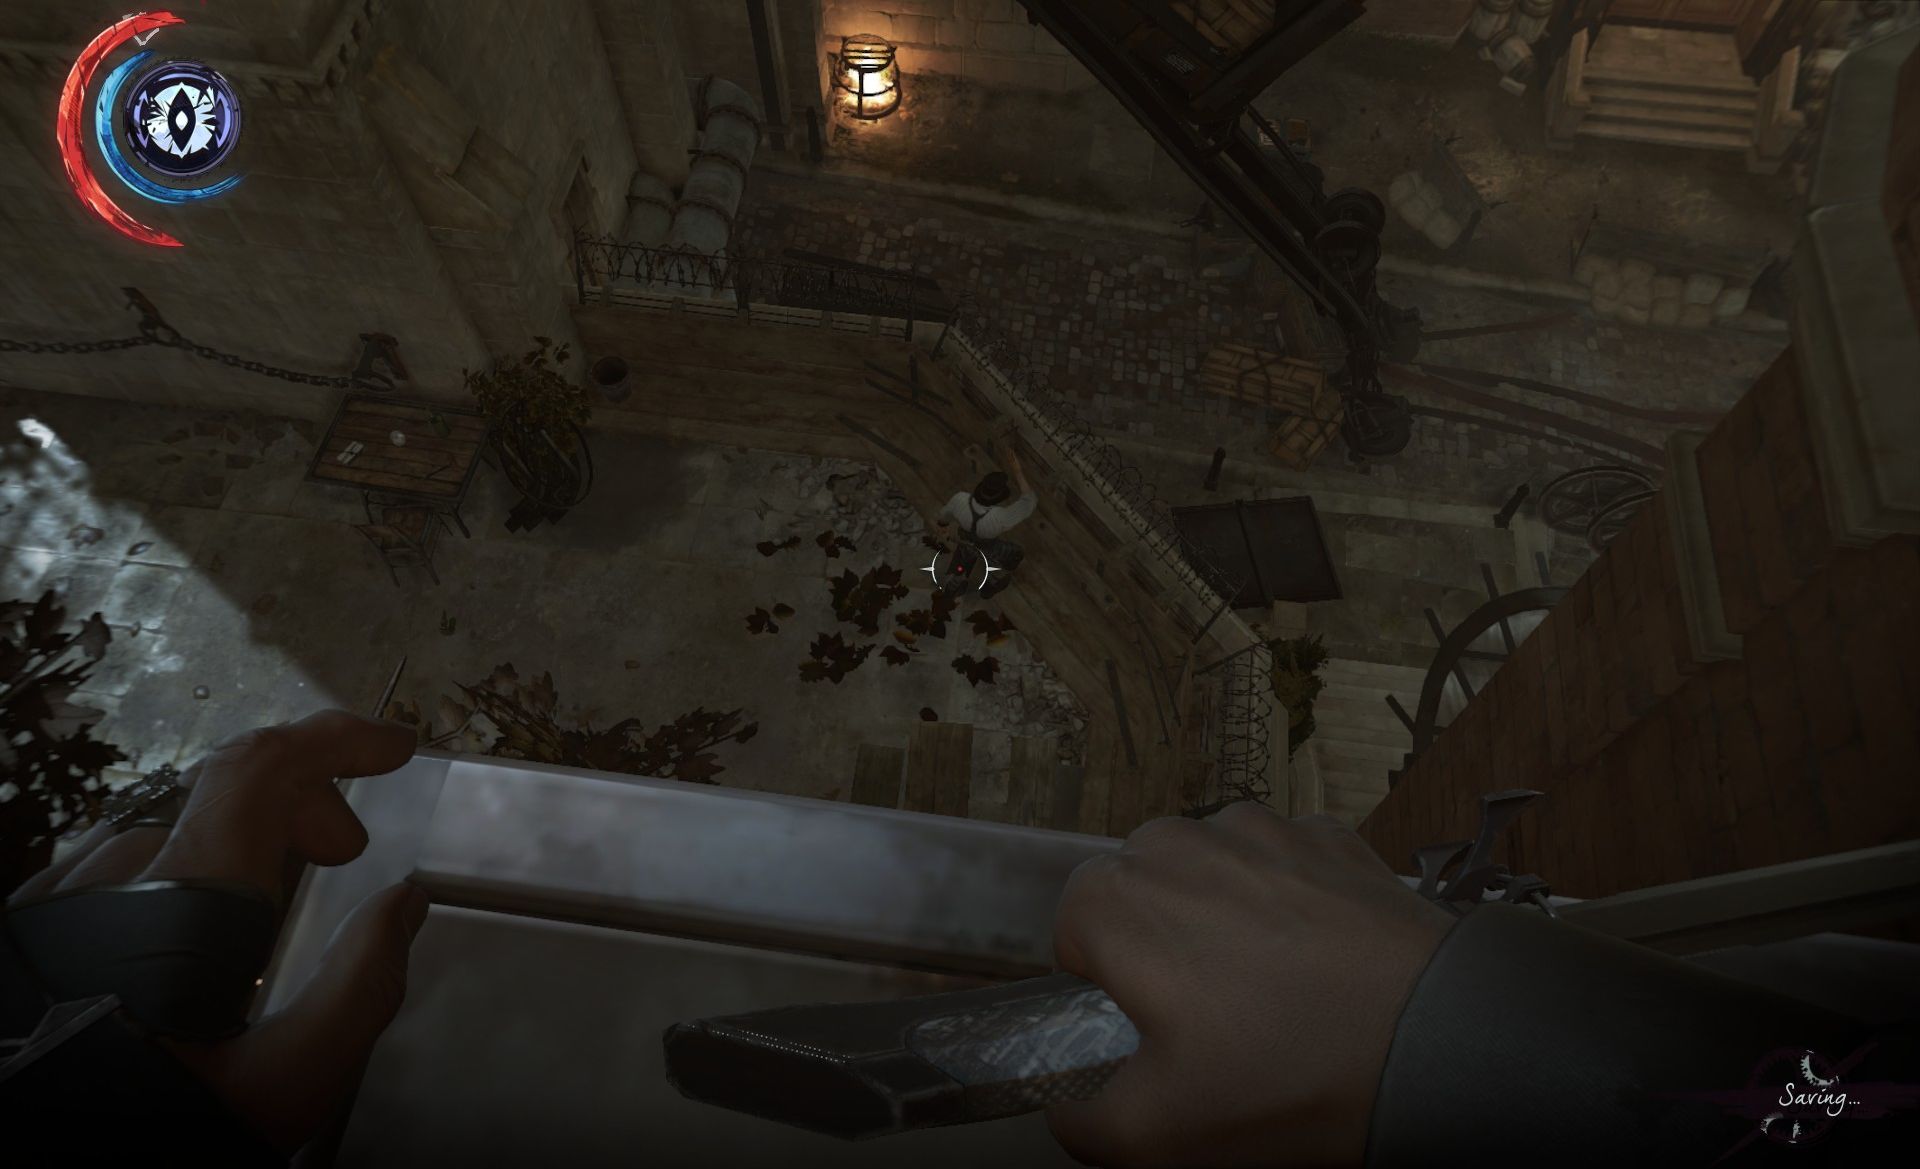
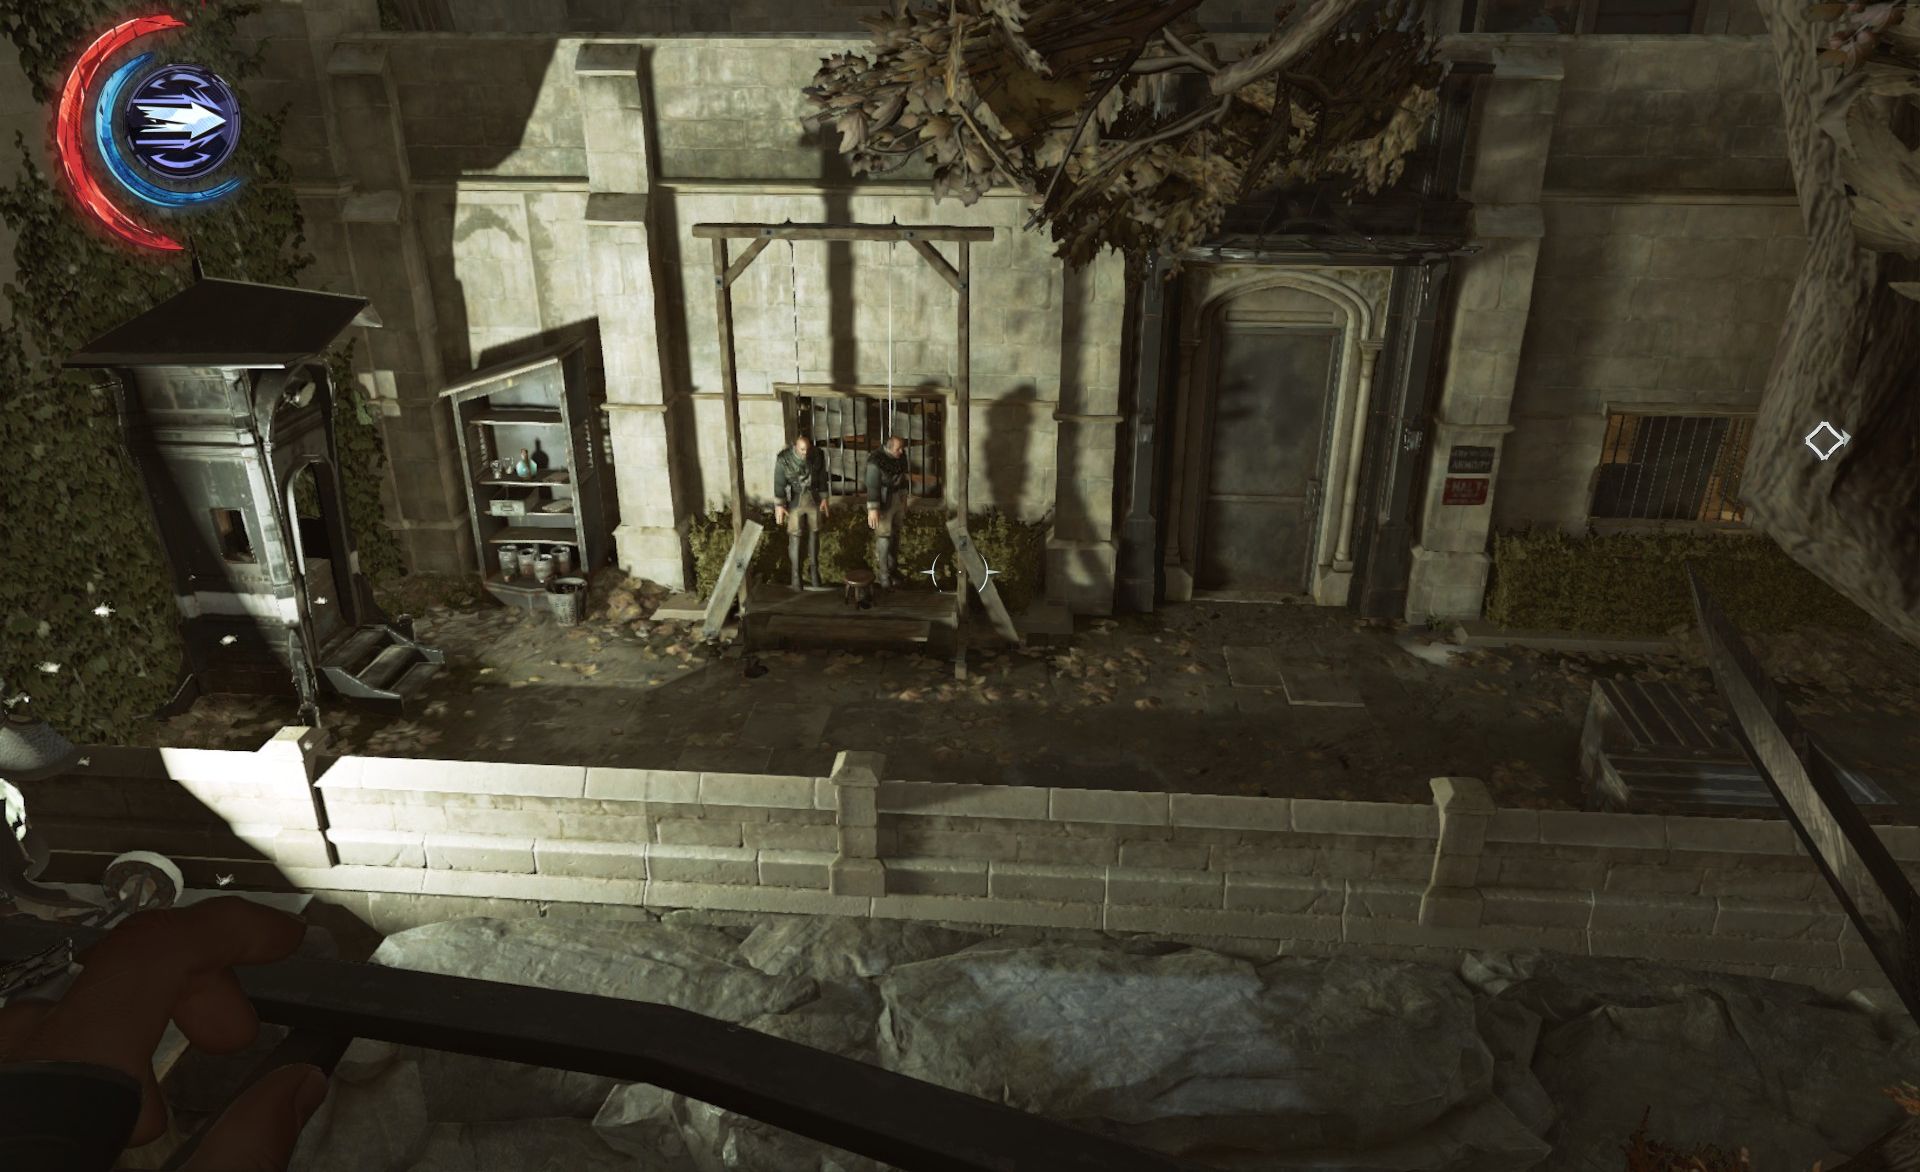
There's one last Howler that wanders through this patio- shadow and choke out. The Boyle House is still accessible via the back alley. Enter through the second floor door, and choke out the lone howler on this level. When the conversation breaks up downstairs, take out the two in the gallery area.
The last one has wandered off into a small room by himself. Easy pickings. Loot the place thoroughly for a gold ingot, silver ingot, bathsalts and whale oil. Double back Blink across the street from where you drop stopped that howler underneath the plague apartment. This stairwell has some loot, and from here you can blink up to an open door in the Courier building.
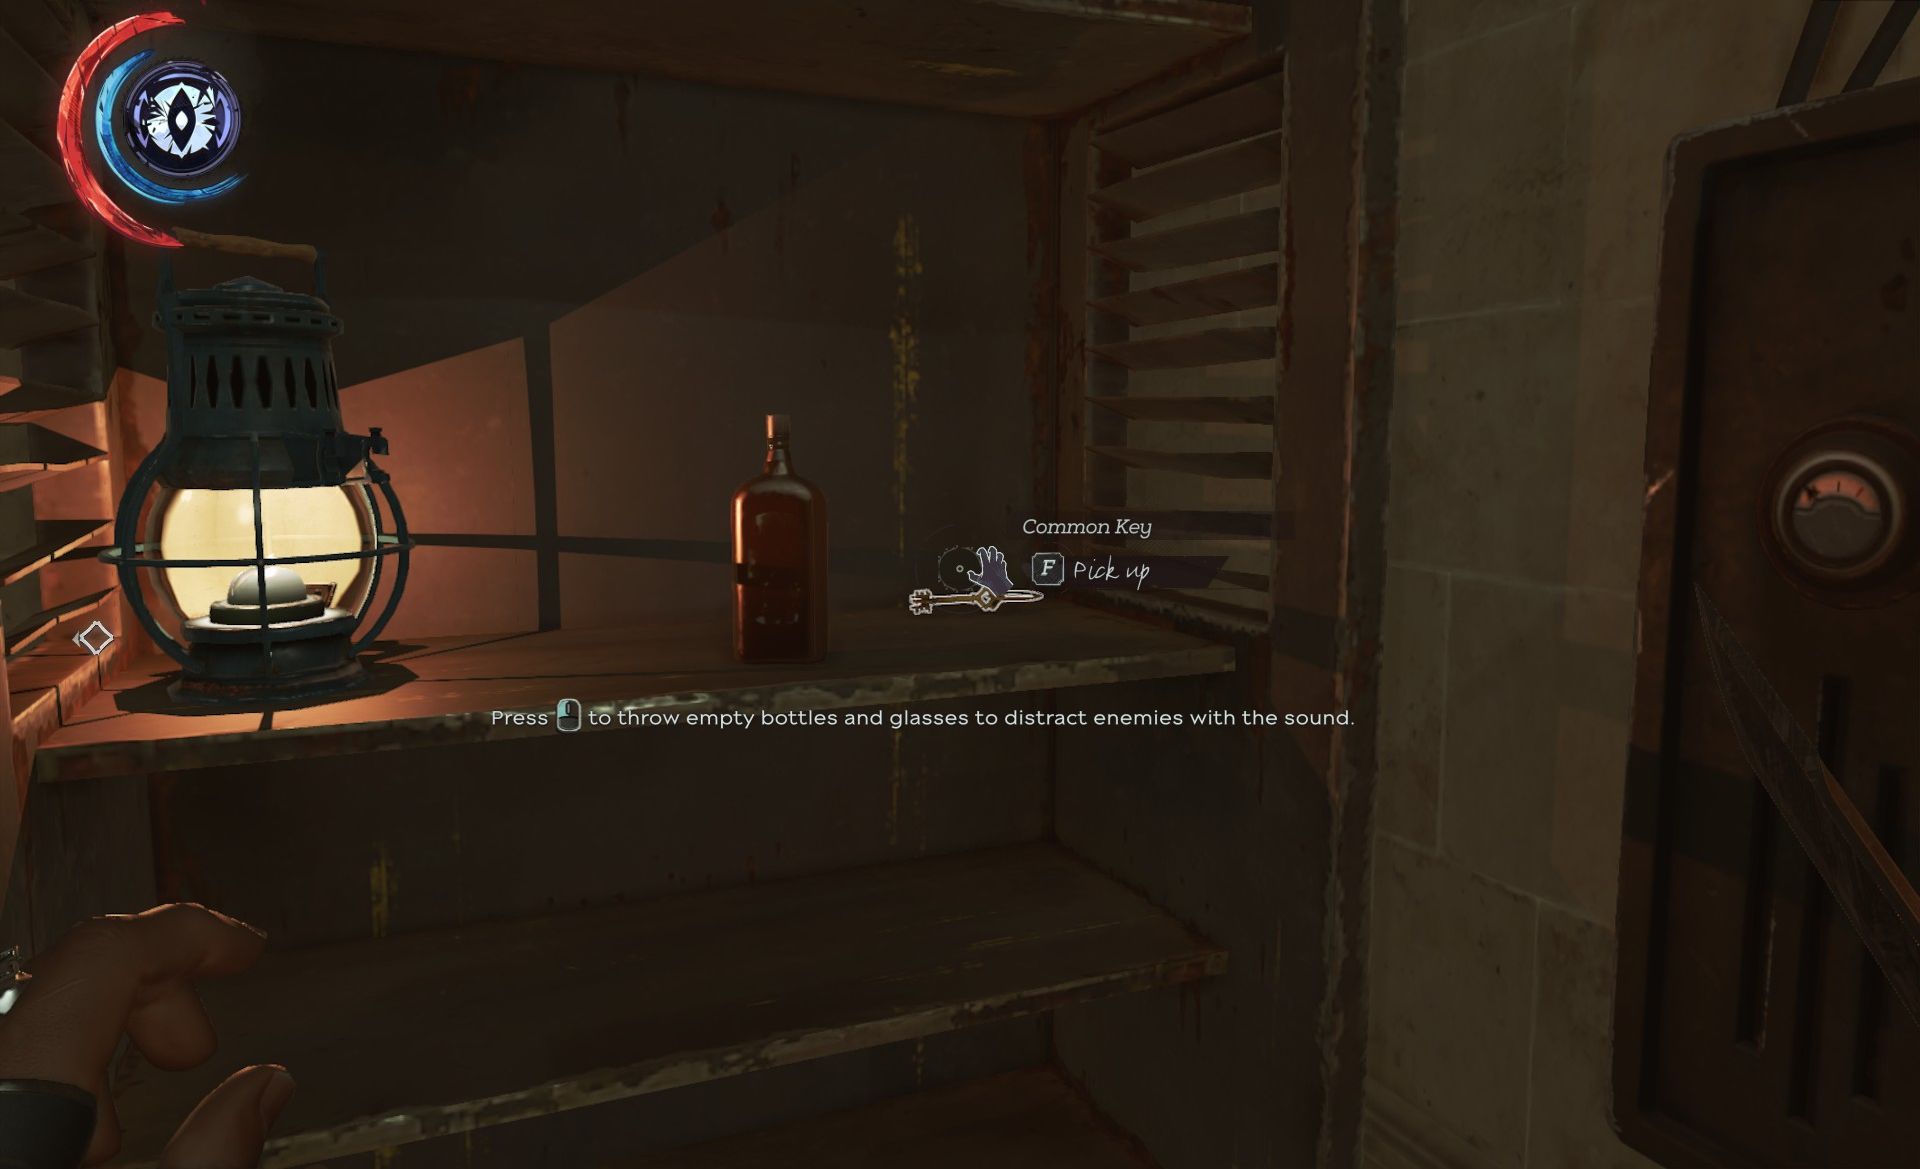
Grab the two gold ingots from the locket to your right as you enter. Then turn around for a reunion with the journalist you saved way back in mission one. Loot the place fondly as you leave by the stairs. Exit through the alley door and look right. Darkvision will reveal a key hidden behind some bottles.
Snap it up- you can use it to rob the black market later. There's a civilian at the end of the alley who's good for a chat and a bit of loot. Blink up over the barricade to get back on the main street, and keep to the understairs to avoid canine attention as you head further toward the tower. The nearest apartment in this section has some whale oil, but that's it. Hug the wall left until you can blink up the building to the railway. Make your way back to Galvani's apartment (the one you robbed way back when). It's currently guarded by a white wolf you can kill, evade, possess, or knockout/drive away with special bolts.
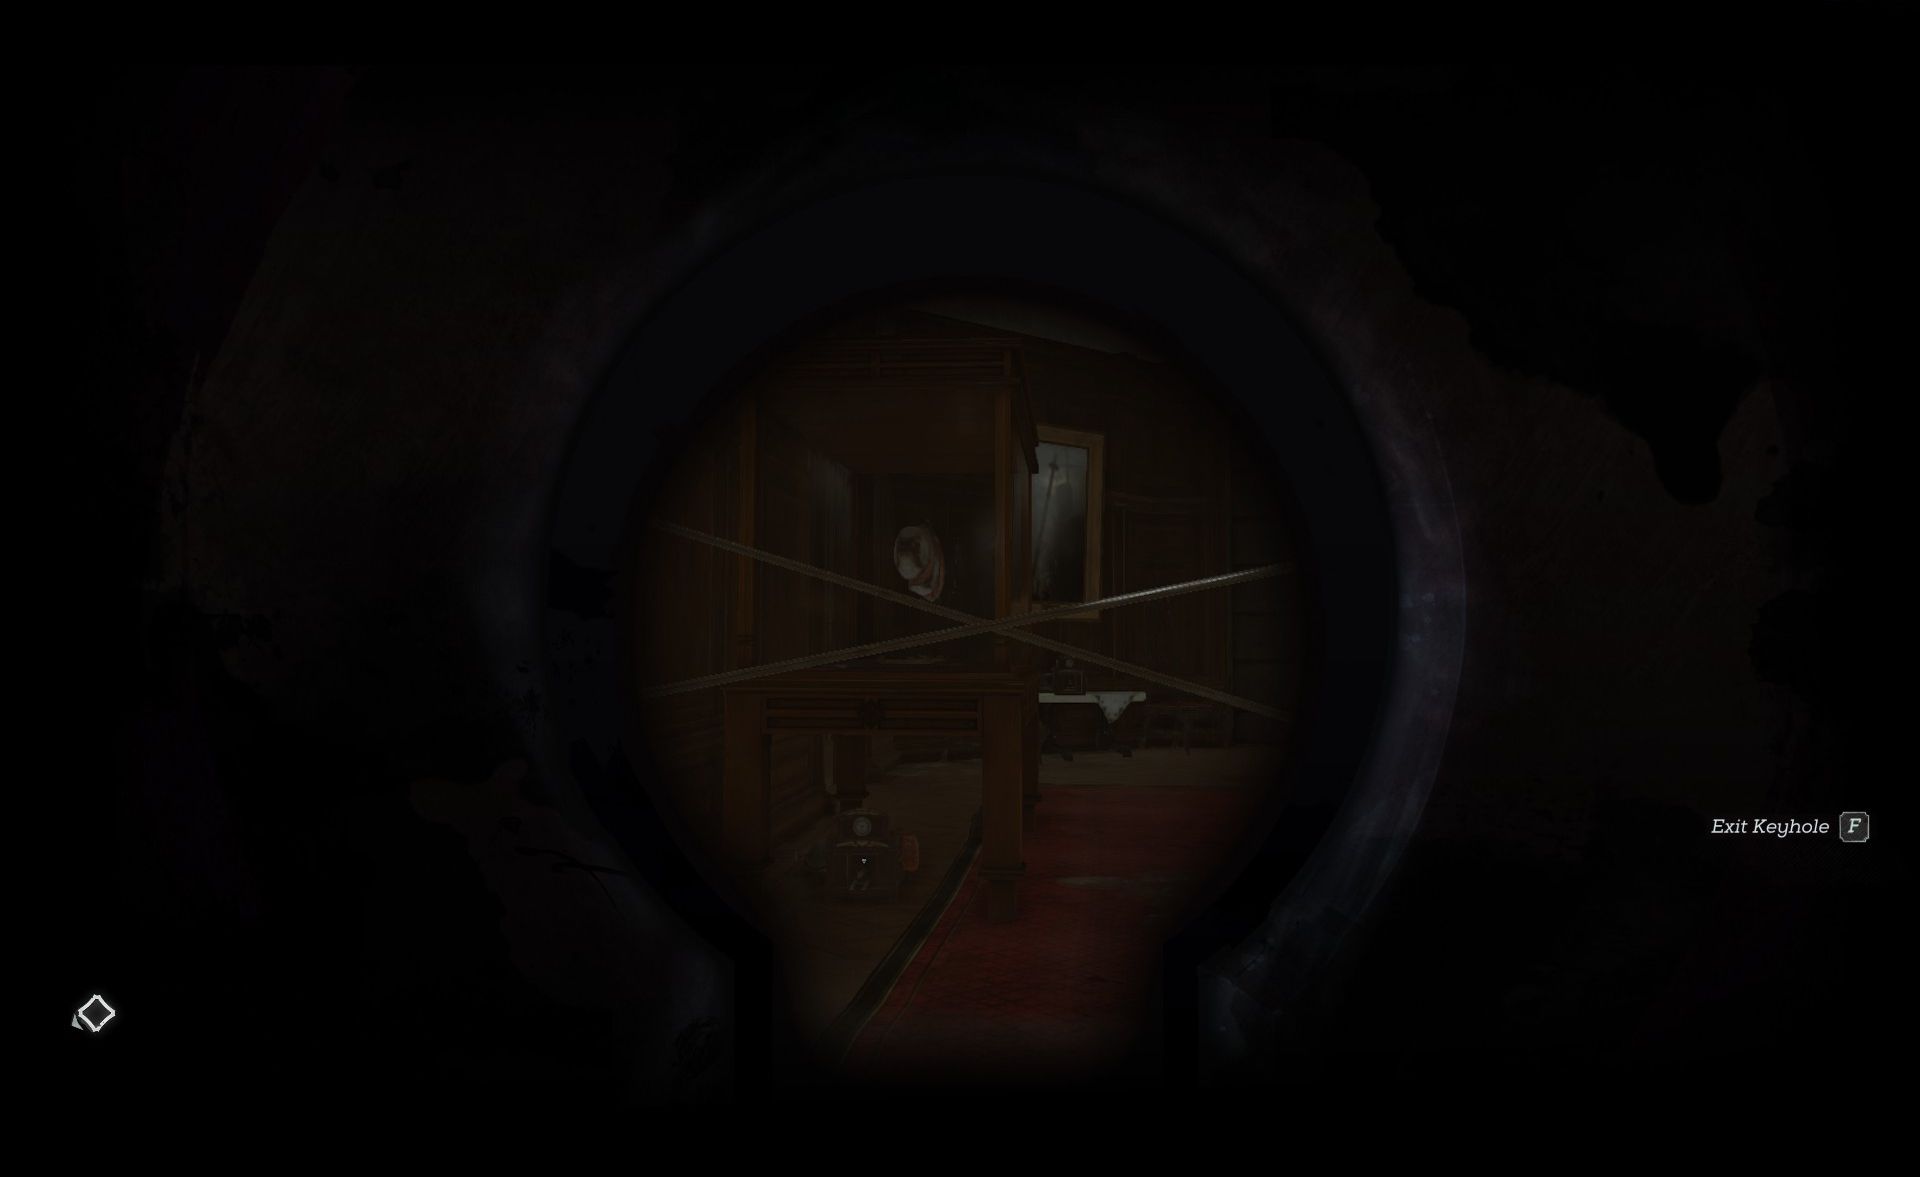
Dealer's choice, but remembering the sleep bolts back in the howler apartment, it's probably easiest to use one of those. Plus we'll be robbing the Black Market in a minute. If you want the wolfhound to live, stash the body in the guardpost up the hill, then return here and peer through the key hole. Suspicious.
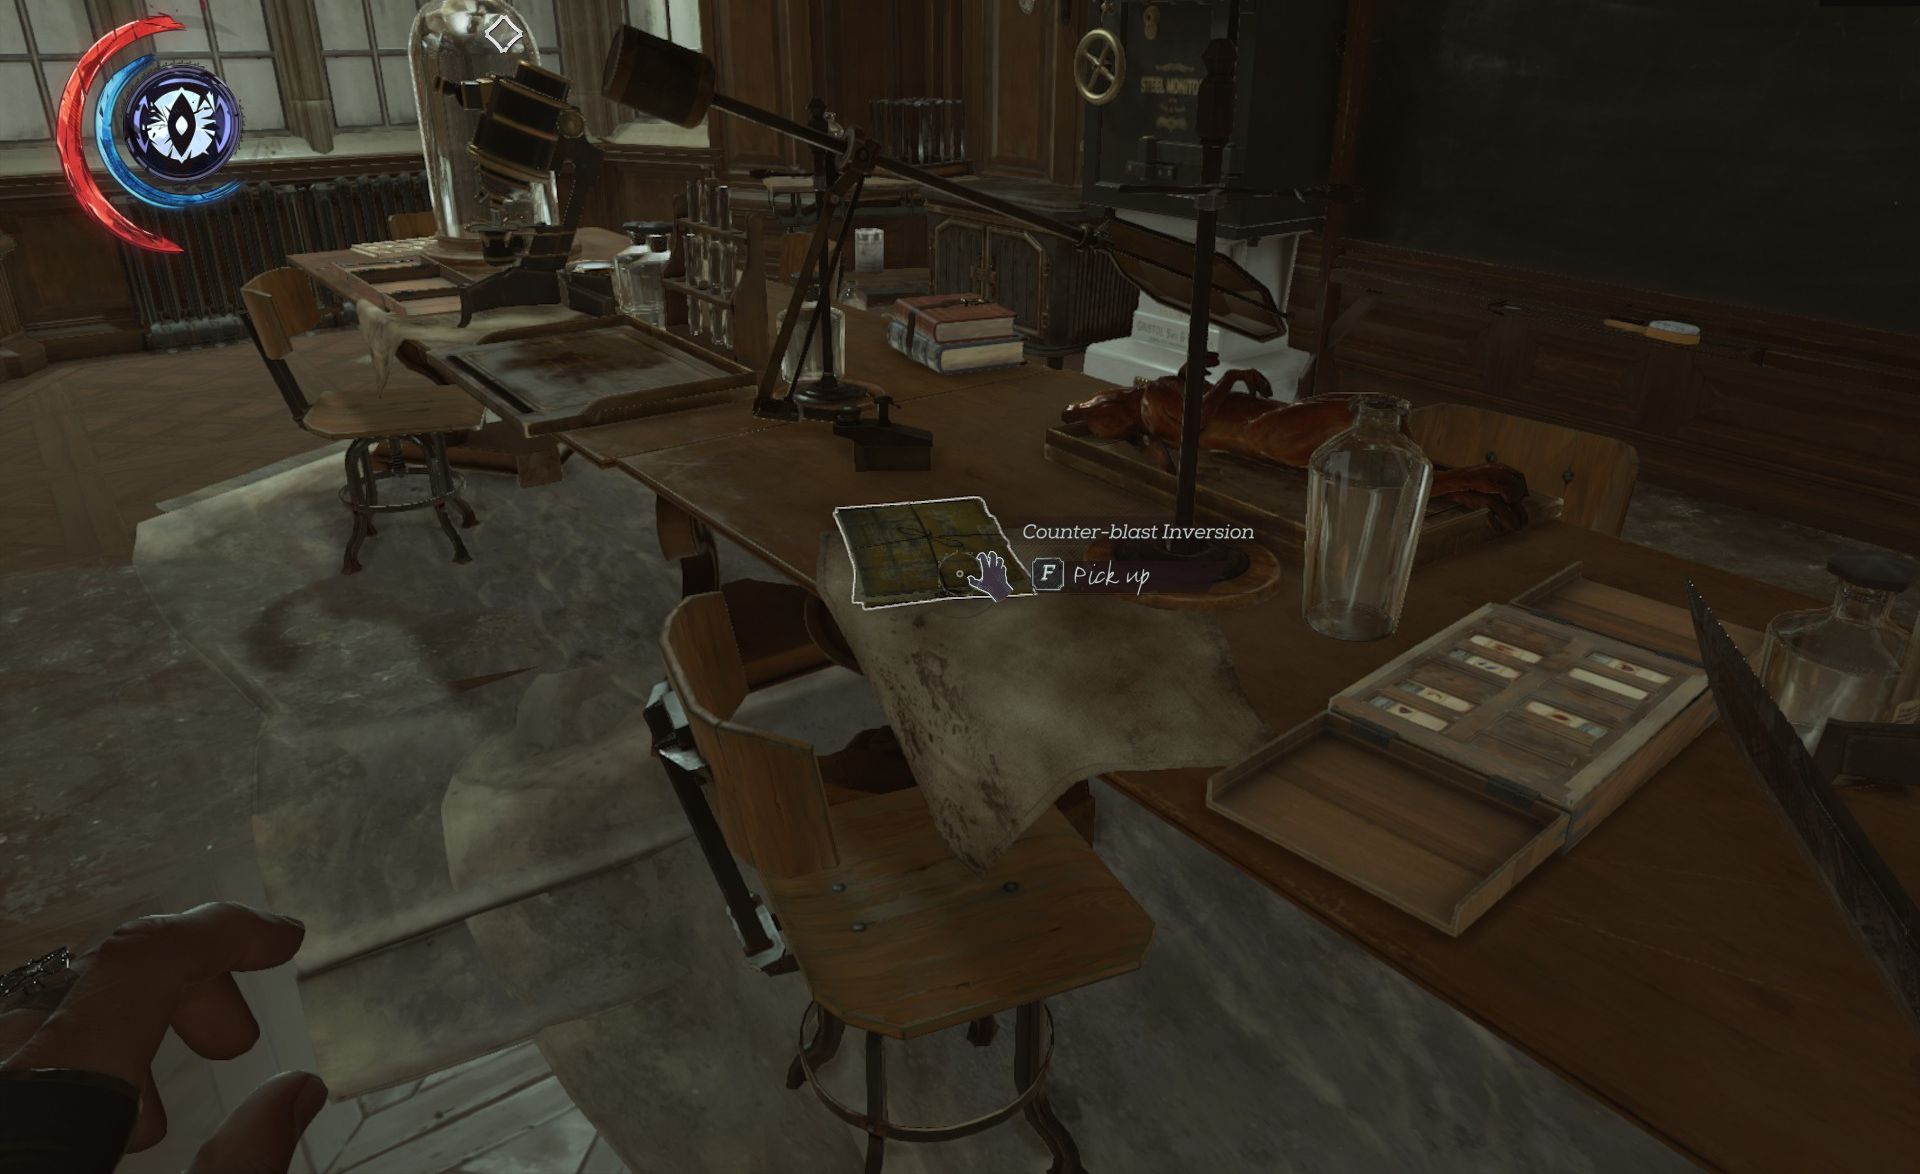
Perch on the stair railing, get just close enough to open the door, then open and immediately fall backwards. This should enable you to weather the fiery barrage without taking damage. Do not approach the door immediately- instead sidle along the far side of the fallen statue here- the next blast seemed to be targeted at you. But that should be that last of it, so go see what's been so carefully guarded. Except for the death traps, the place looks much as we left it. Grab the last blueprint set of the game from the table here.
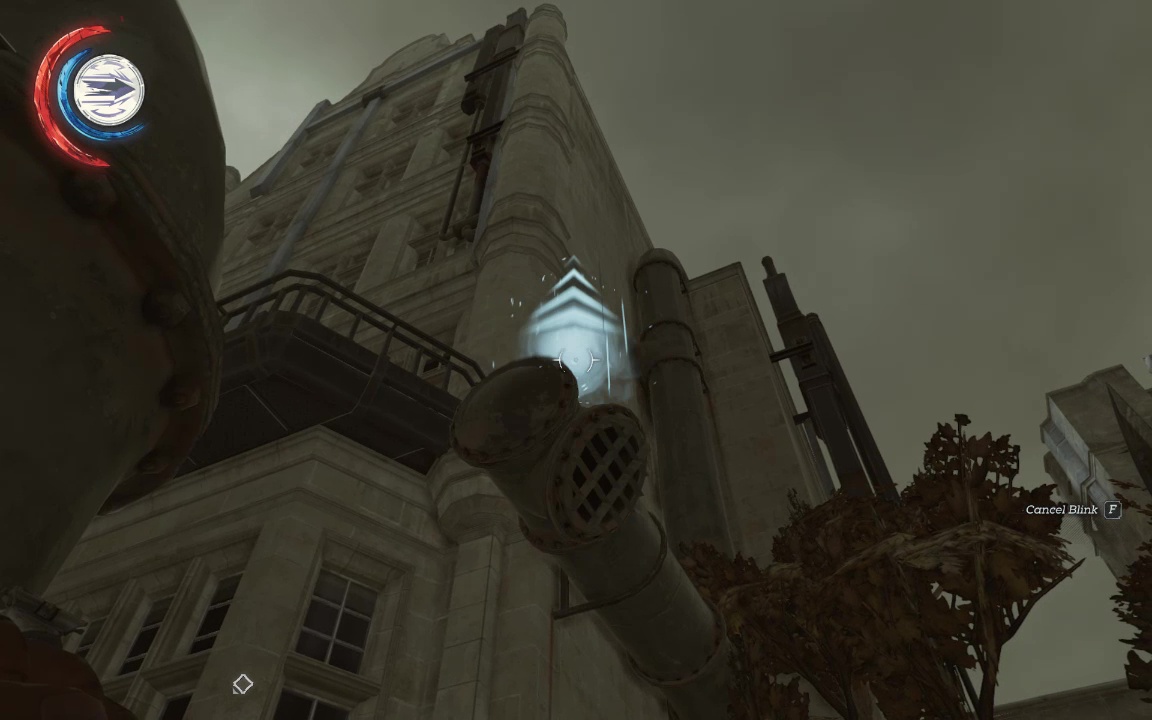
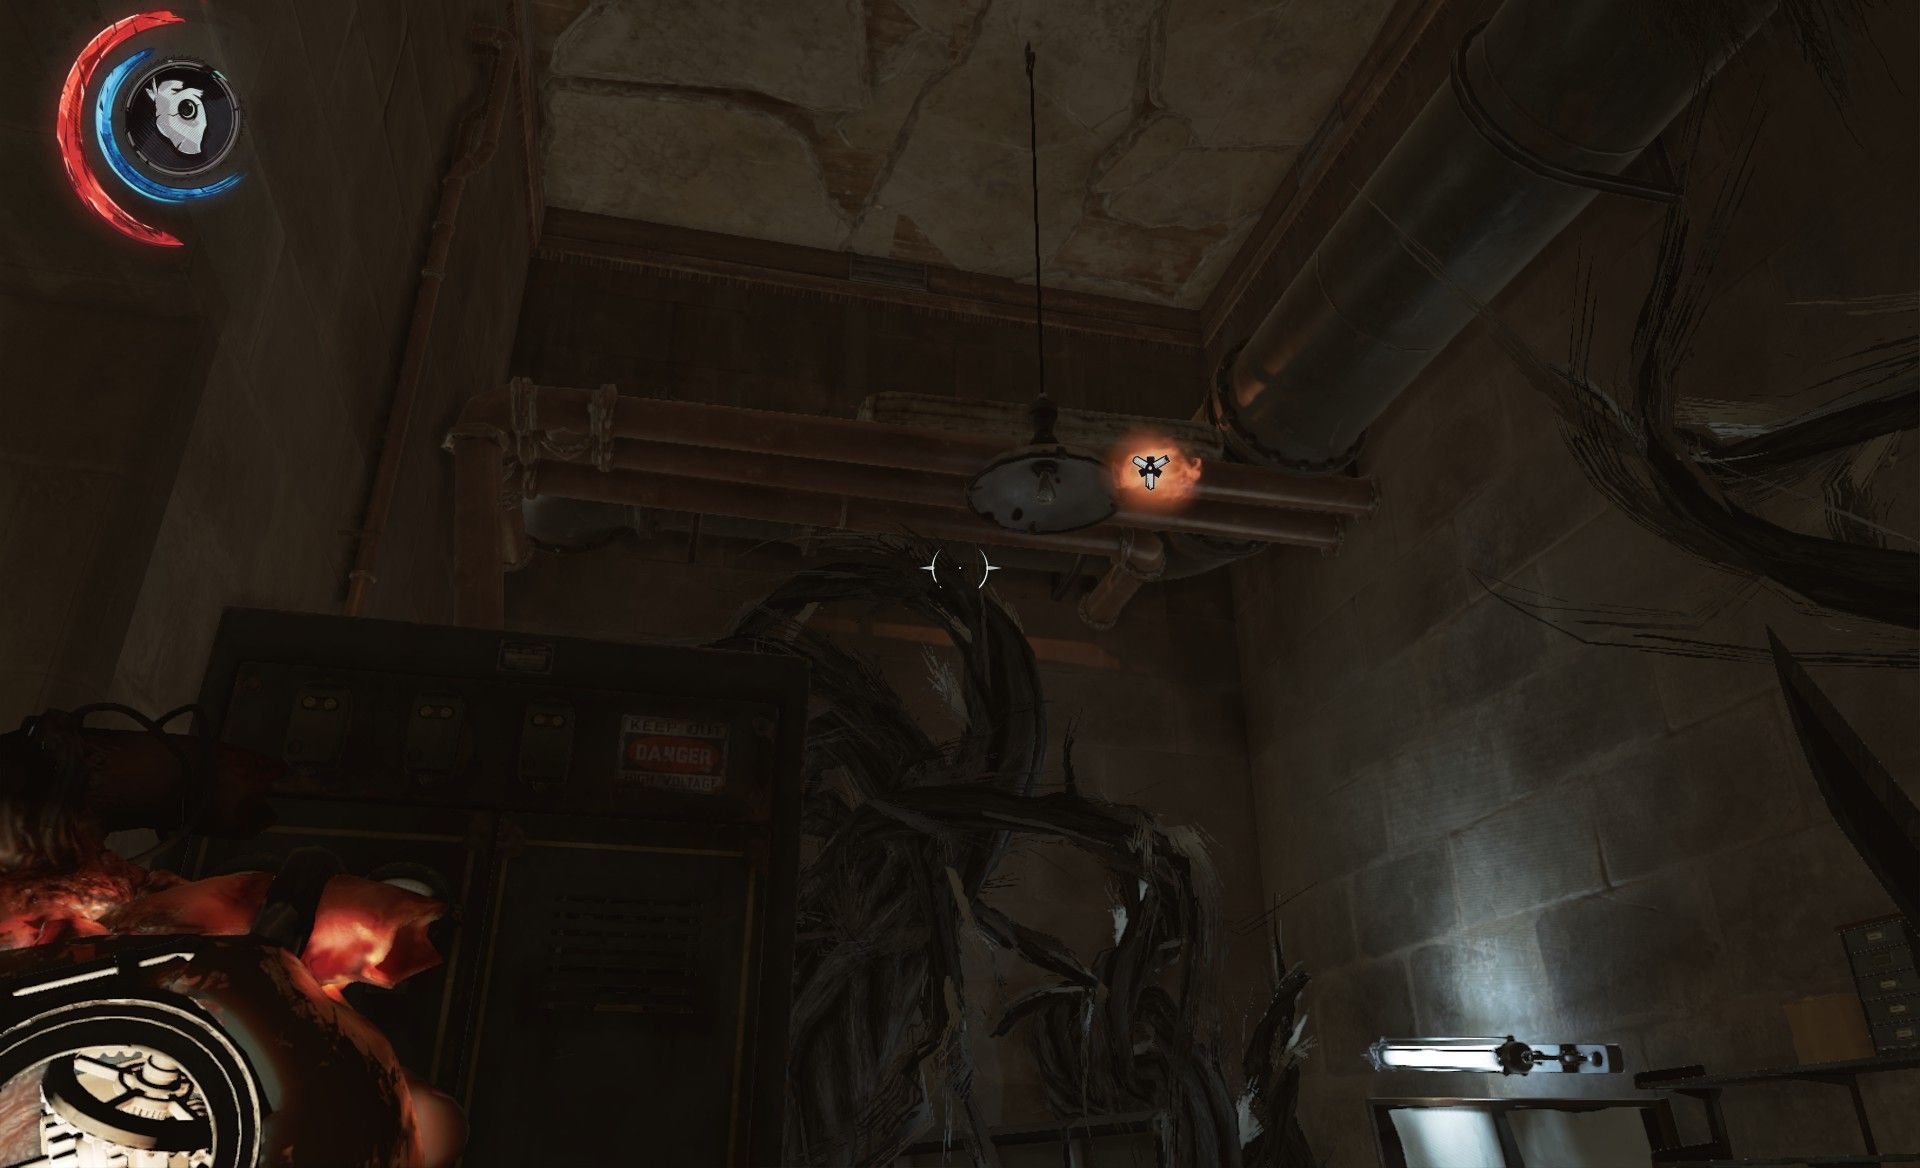
The safe code hasn't changed, and while there's little loot, Galvani's last cache is good for a laugh. — While we're in this corner of Dunwall, use Blink to retrace the steps you took in your initial escape. You can't enter the tower this way, but there is a Black Bonecharm hidden atop some pipework here.(Bonecharm 3/9).
There's also a public address microphone, but using it now will draw witchy attention of the unstealthy variety. You can seed the platform with a stun mine or two, or come back later, when the heat's died down.

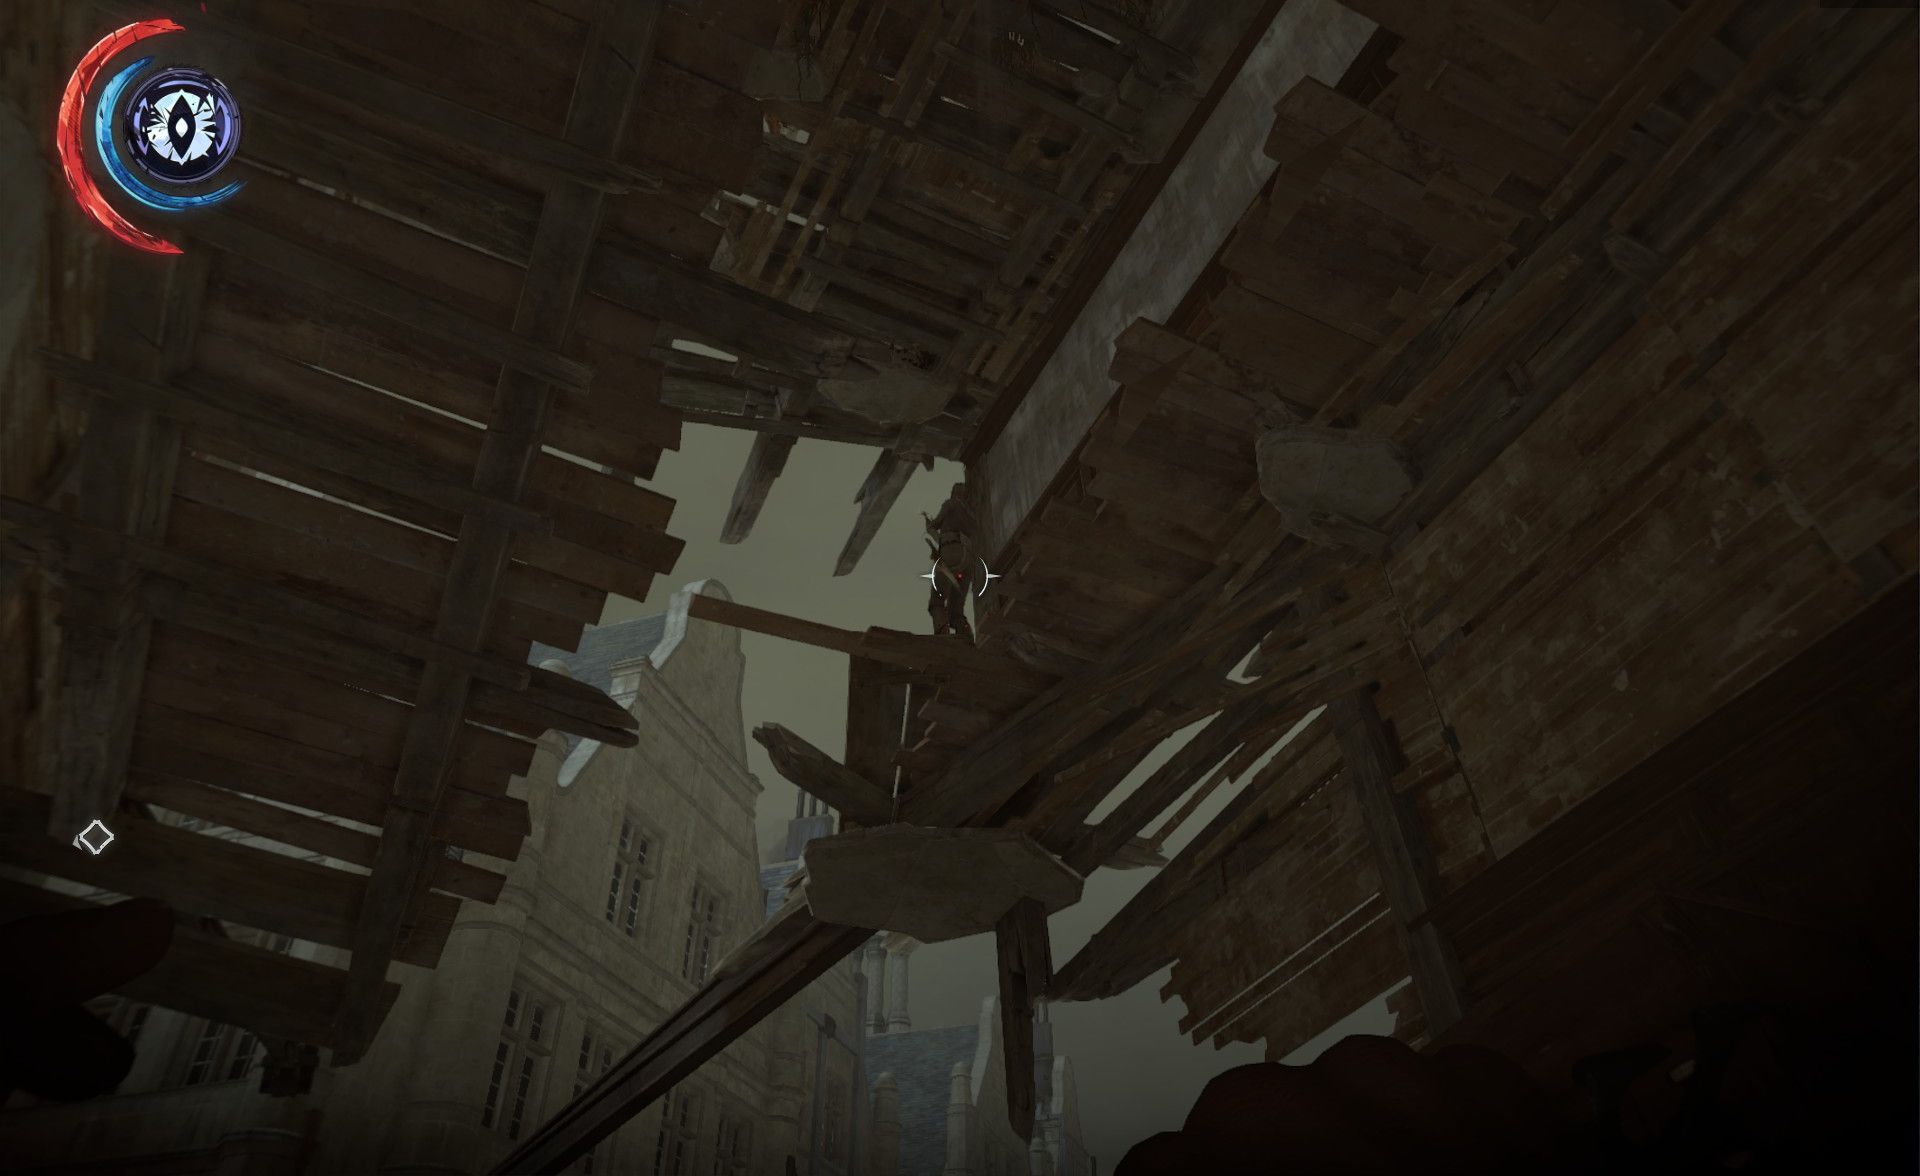
With all the blueprints in all the accessible empire ours, it's time for one last trip back to the market. Blink up aboard the rails, and as you go back, look for the ruined building to your rightish. There's a witch keeping watch on the top level – Blink to a lower level and make your way up the inside of the building for a chokeout.
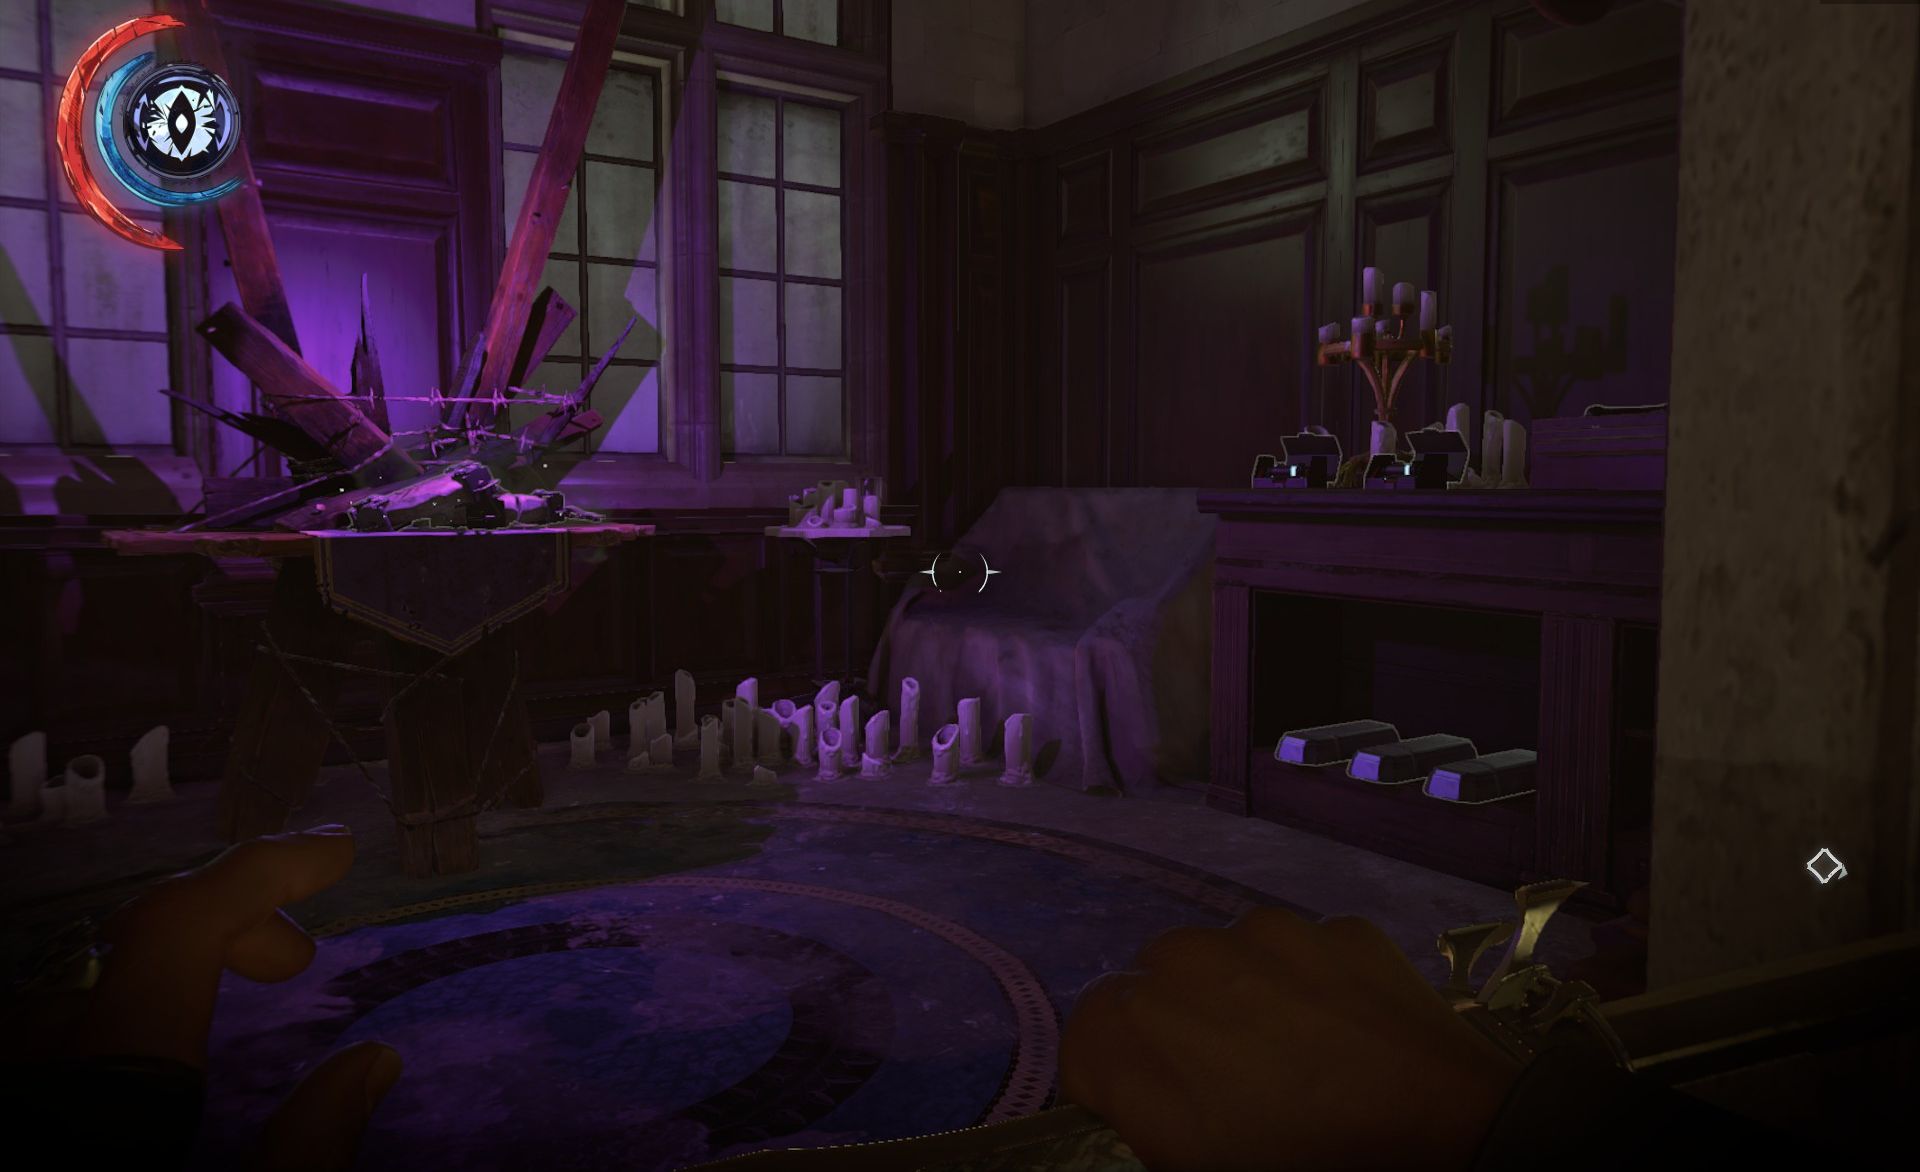
Cross the street to the far, high balcony. Sneak in and drag away the first goon. His partner gets suspicious quickly, so stash his body on a balcony further down the street, then return here. The second goon should still be searching- shadow and choke him. Darkvision reveals a lot of nearby treasure, an inaccesible button… and a barometer. Activate the barometer to reveal a hidden treasure room, complete with Shrine (Runes 1& 2 of 5).
Chat with the Outsider, who is singularly unhelpful to the very last, then loot the rest of the room. You probably don't need all the healing items (unless you were… incautious, at Galvani's), but the three silver ingots are nice. Head back to the warehouse entrance at the docks- the key from the Courier alley will open it. Look up to see a gaping hole into the black market. Bingo.
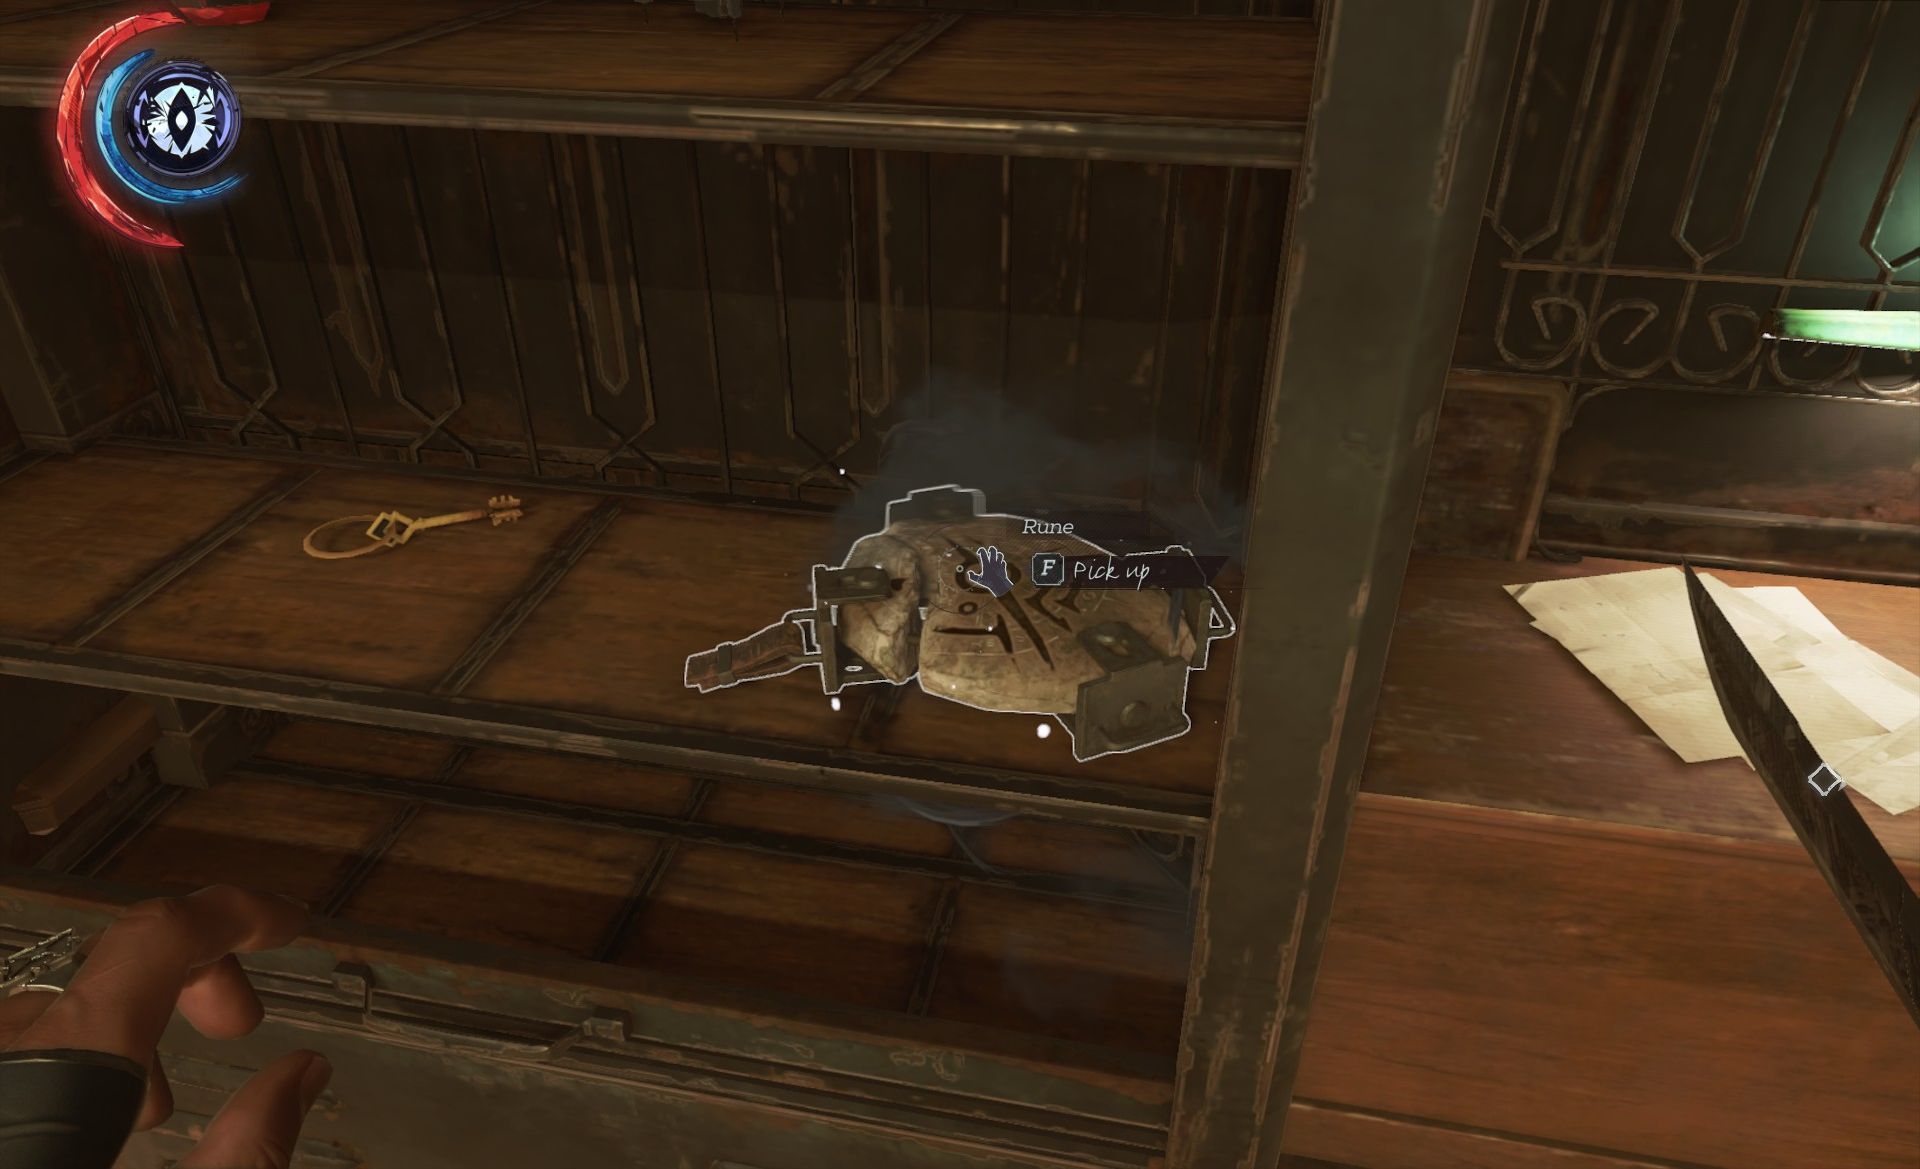
Choke and loot what might be the very last black marketeer in all the Isles. At least you get a Rune out of the bargain, and a key (Rune 3/5).
Since we've got a key to the Armory, it would be a shame not to visit. Blink your back to that end of the street, and approach via the rails. When there's no nearby canine attention, Blink over to the door and see what's what.
There are few useful items, and lot of useless ones, but most important thing is the door to the canal here. Passing through the door isn't irreversible, but it's still a good idea to make sure you've done pretty much all you want to do in the Streets. Once you're ready, pass through into Coldridge Canal, and the shadow of Dunwall Tower.