Part II – Coldridge Canal and Dunwall Tower
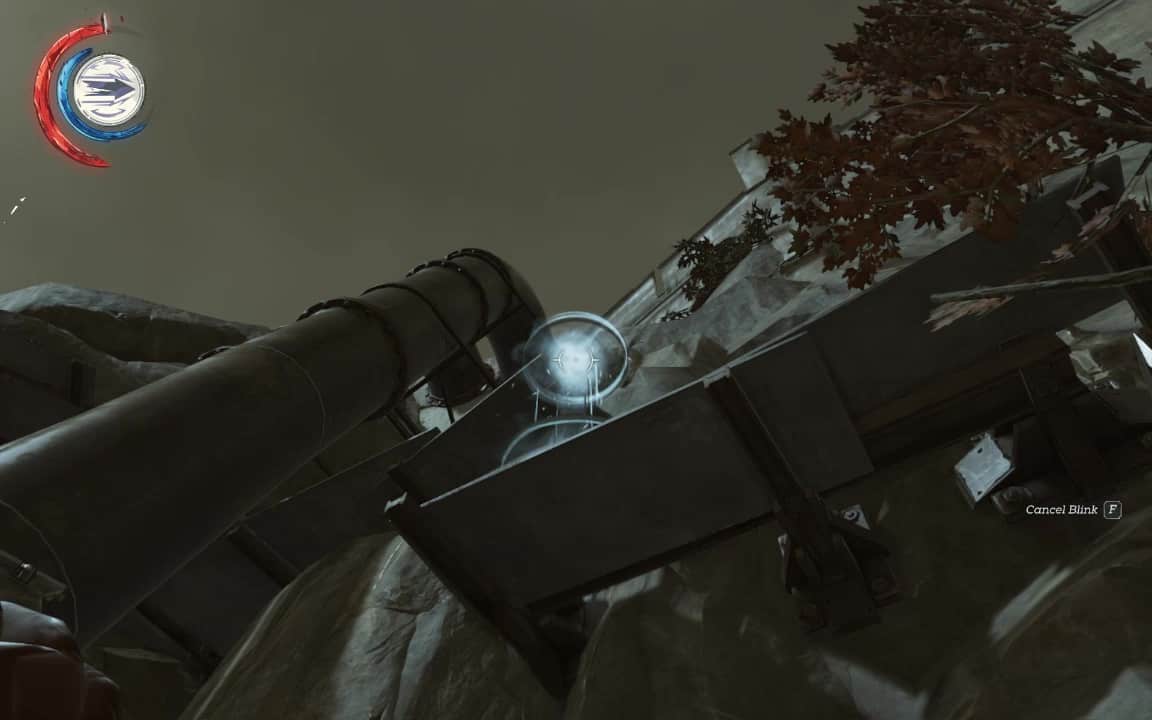
Swim quickly across the water, then Blink and climb up the ramshackle pipes and platforms to your right until you can ascend over the wall, and into tower grounds.

Balance-beam across the gate here, to an opening in the far roof. You'll hear a lot of chanting. Use the heart to locate a bonecharm inside. The witches here are pretty wrapped up in their work, so simply snag the charm, then zip back to the roof (Bonecharm 4/9).
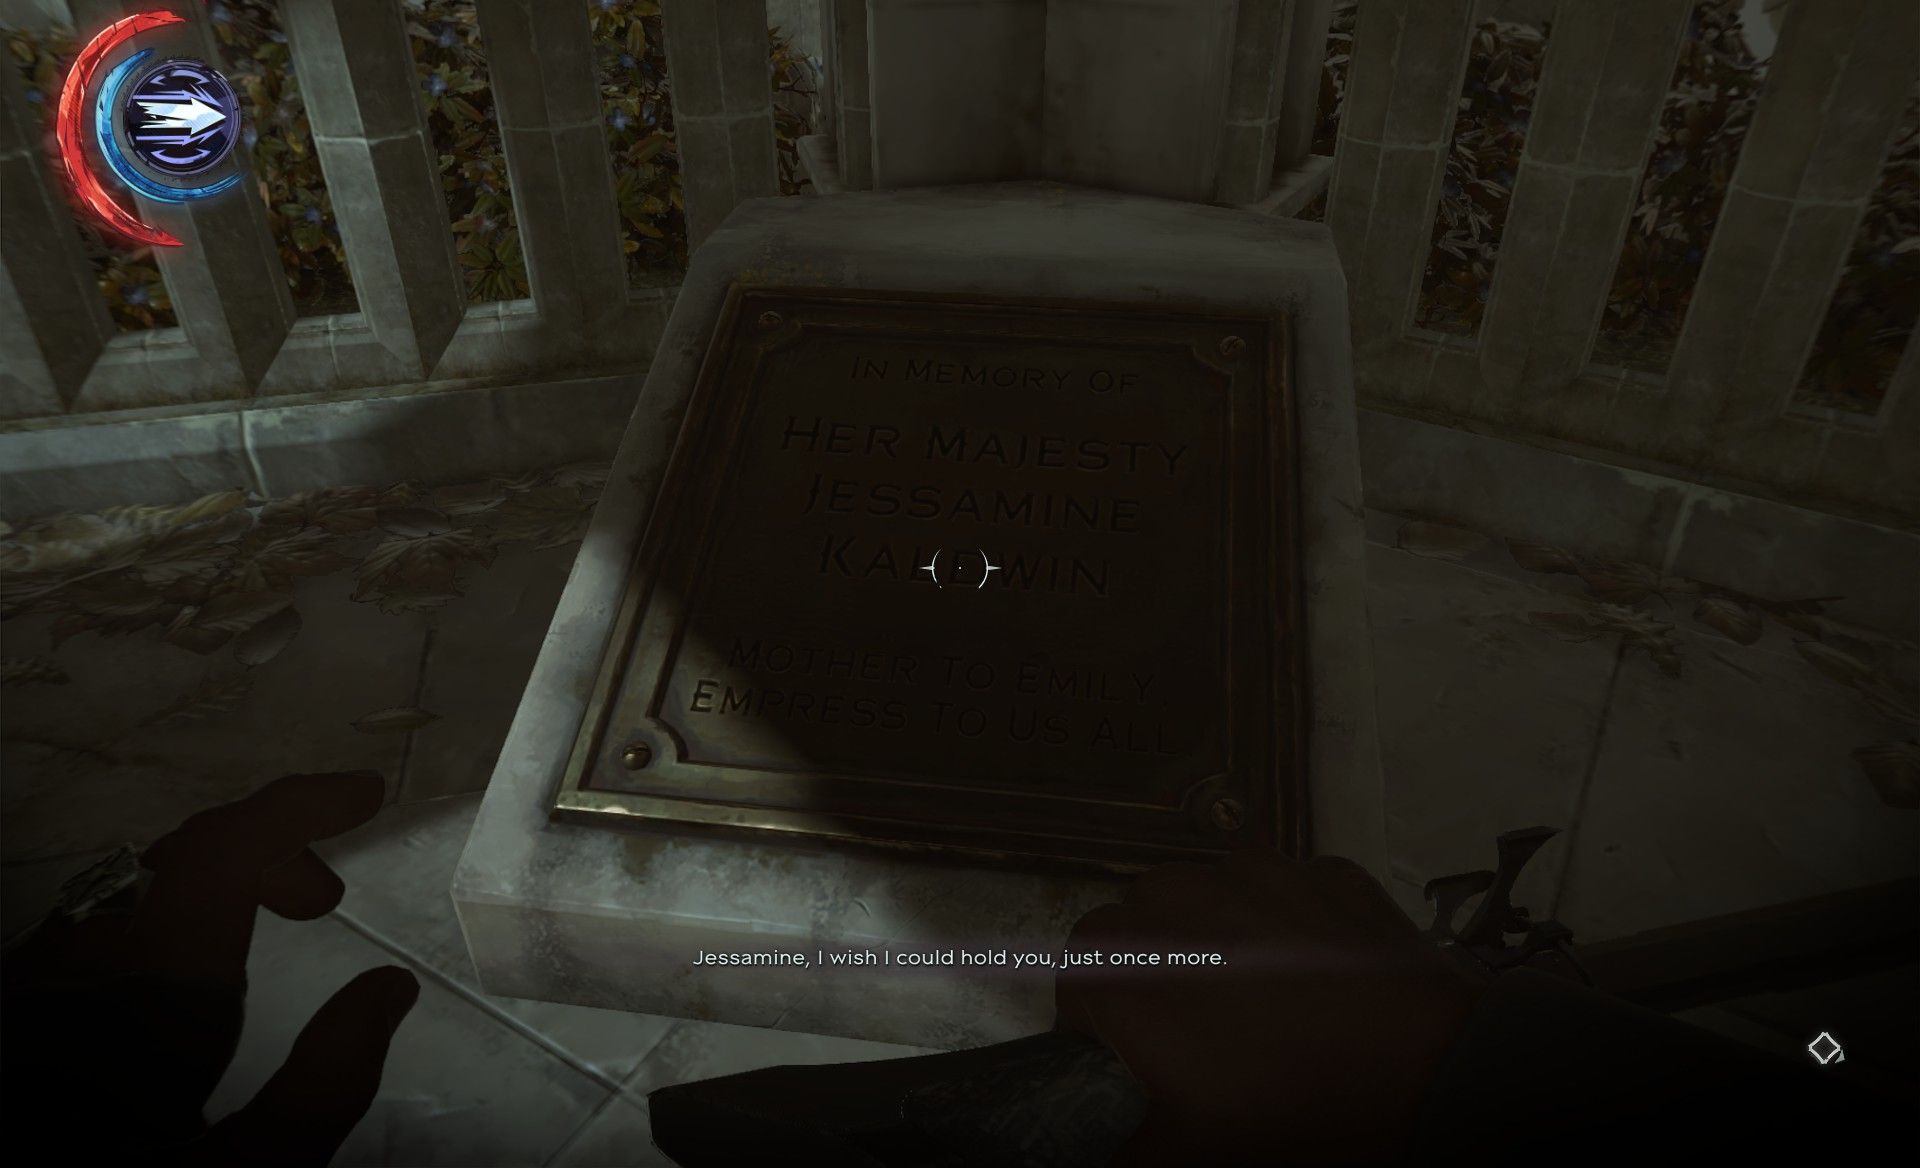
Blink your way to the gazebo. Use the barricade across the road here for cover, then make your way along the wall, dropping to the lower stairs, then Blinking/climbing up the rocks to the gazebo proper. Read the memorial plaque for an achievement.
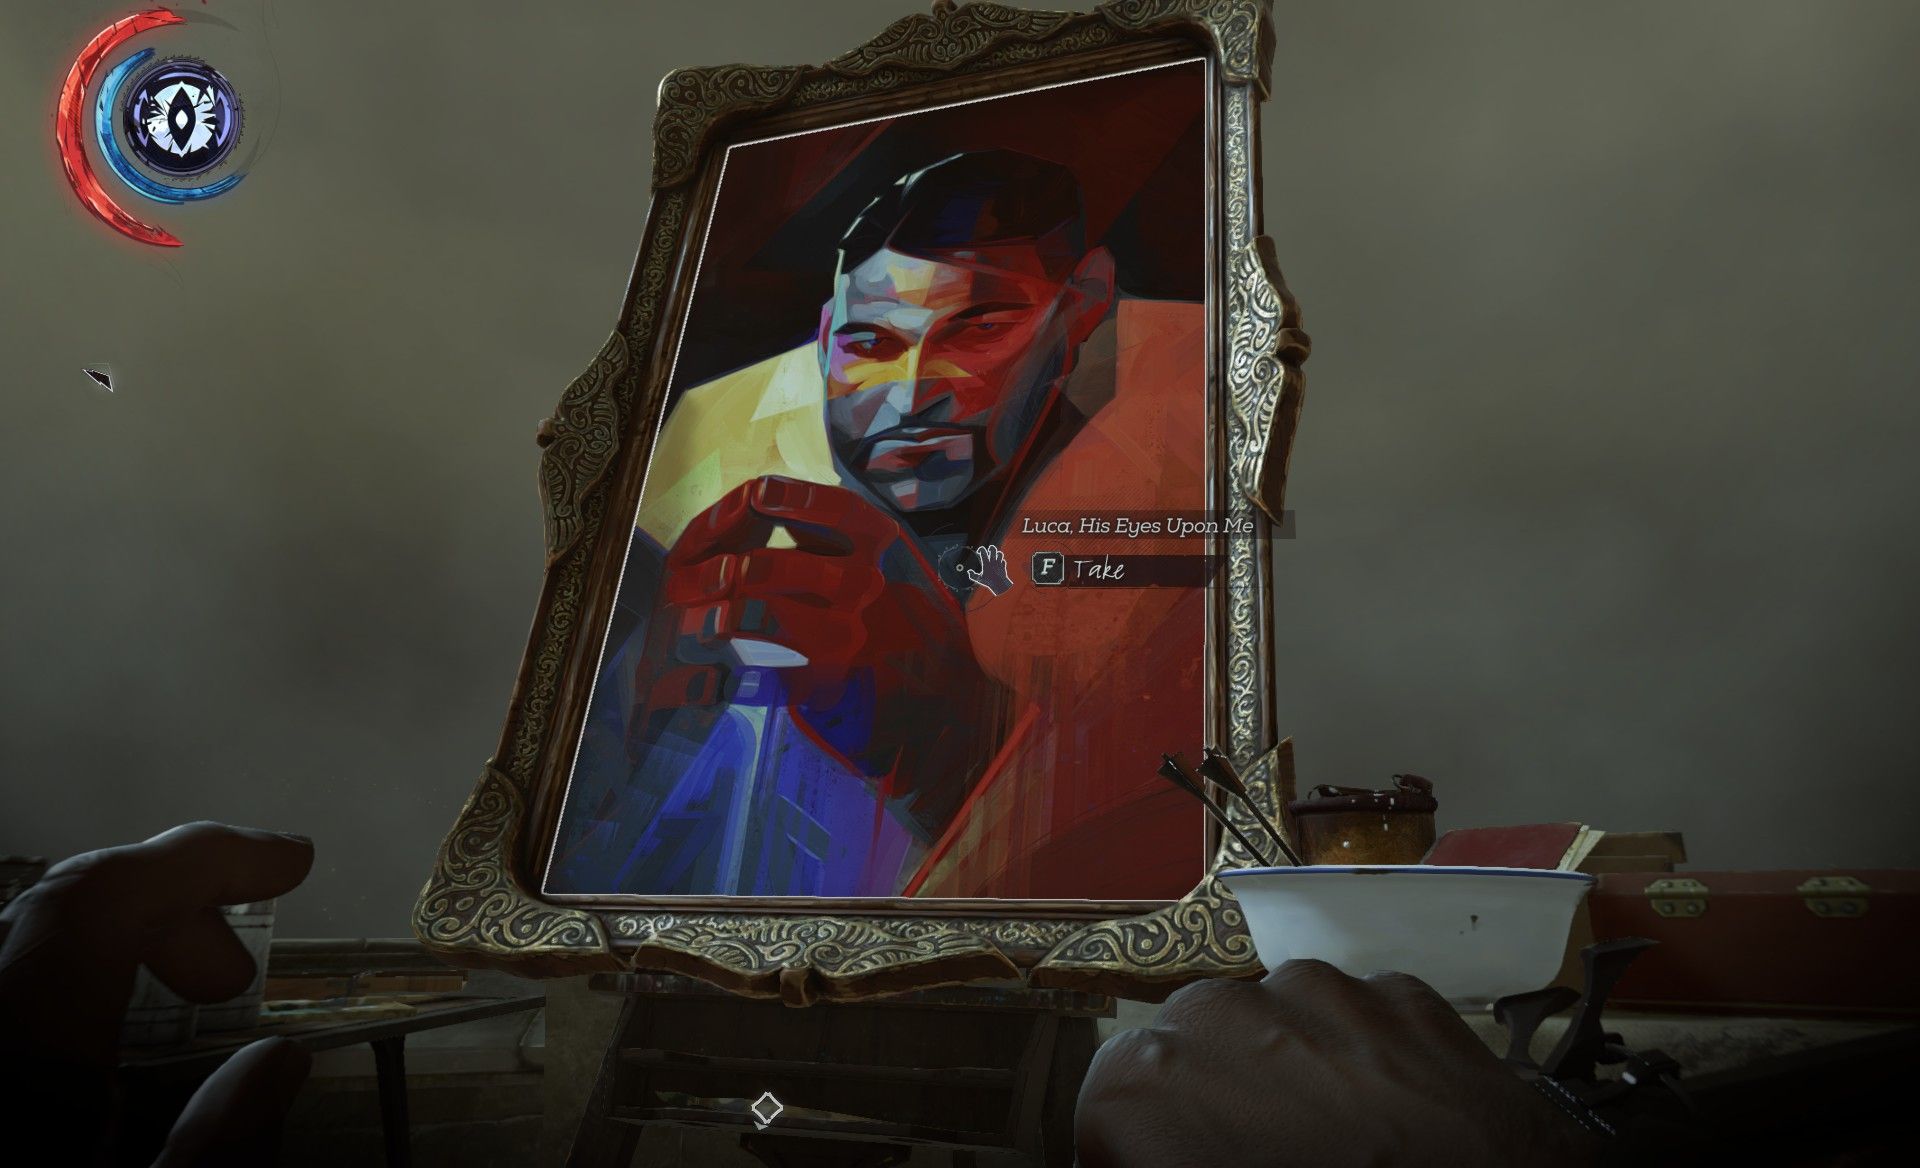
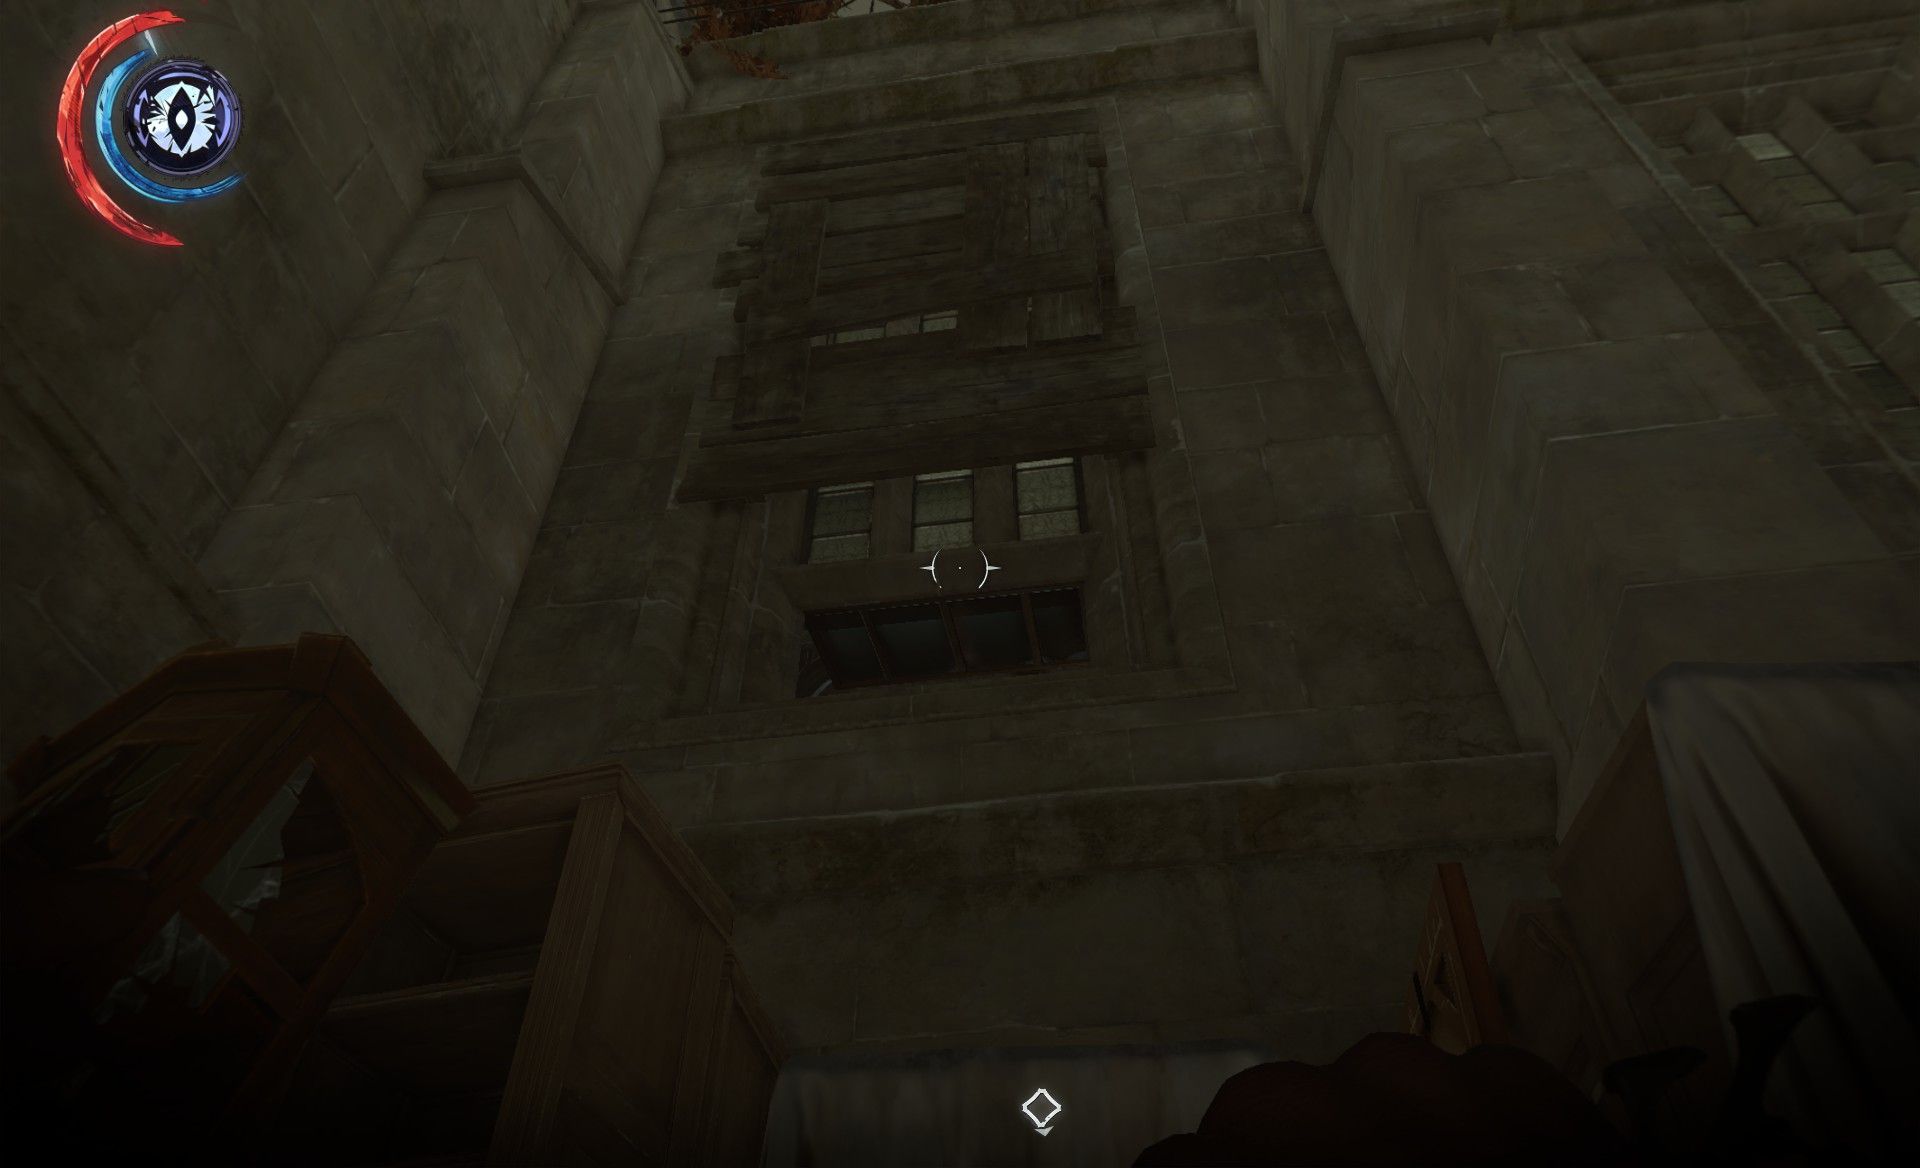
Gaze back out to see a painting on a lower balcony.
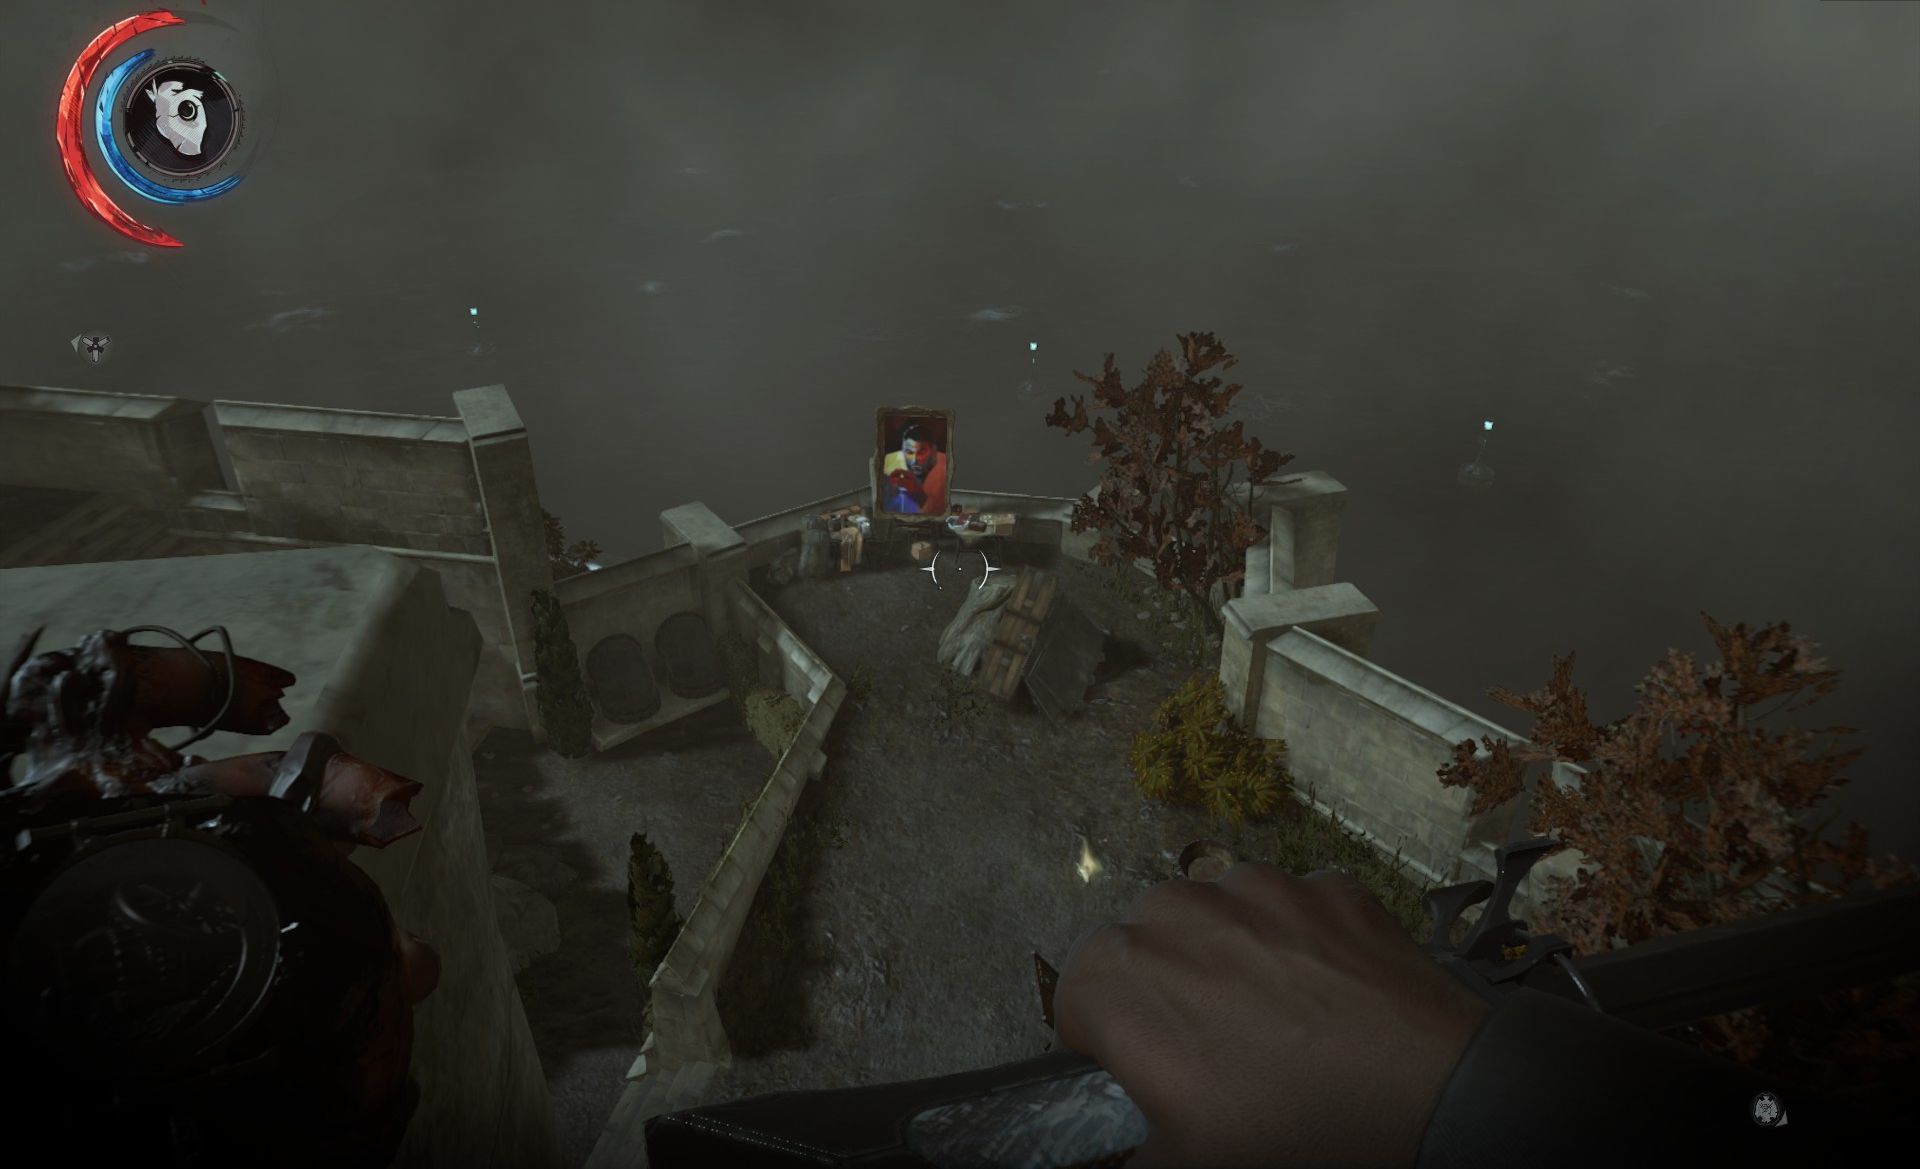
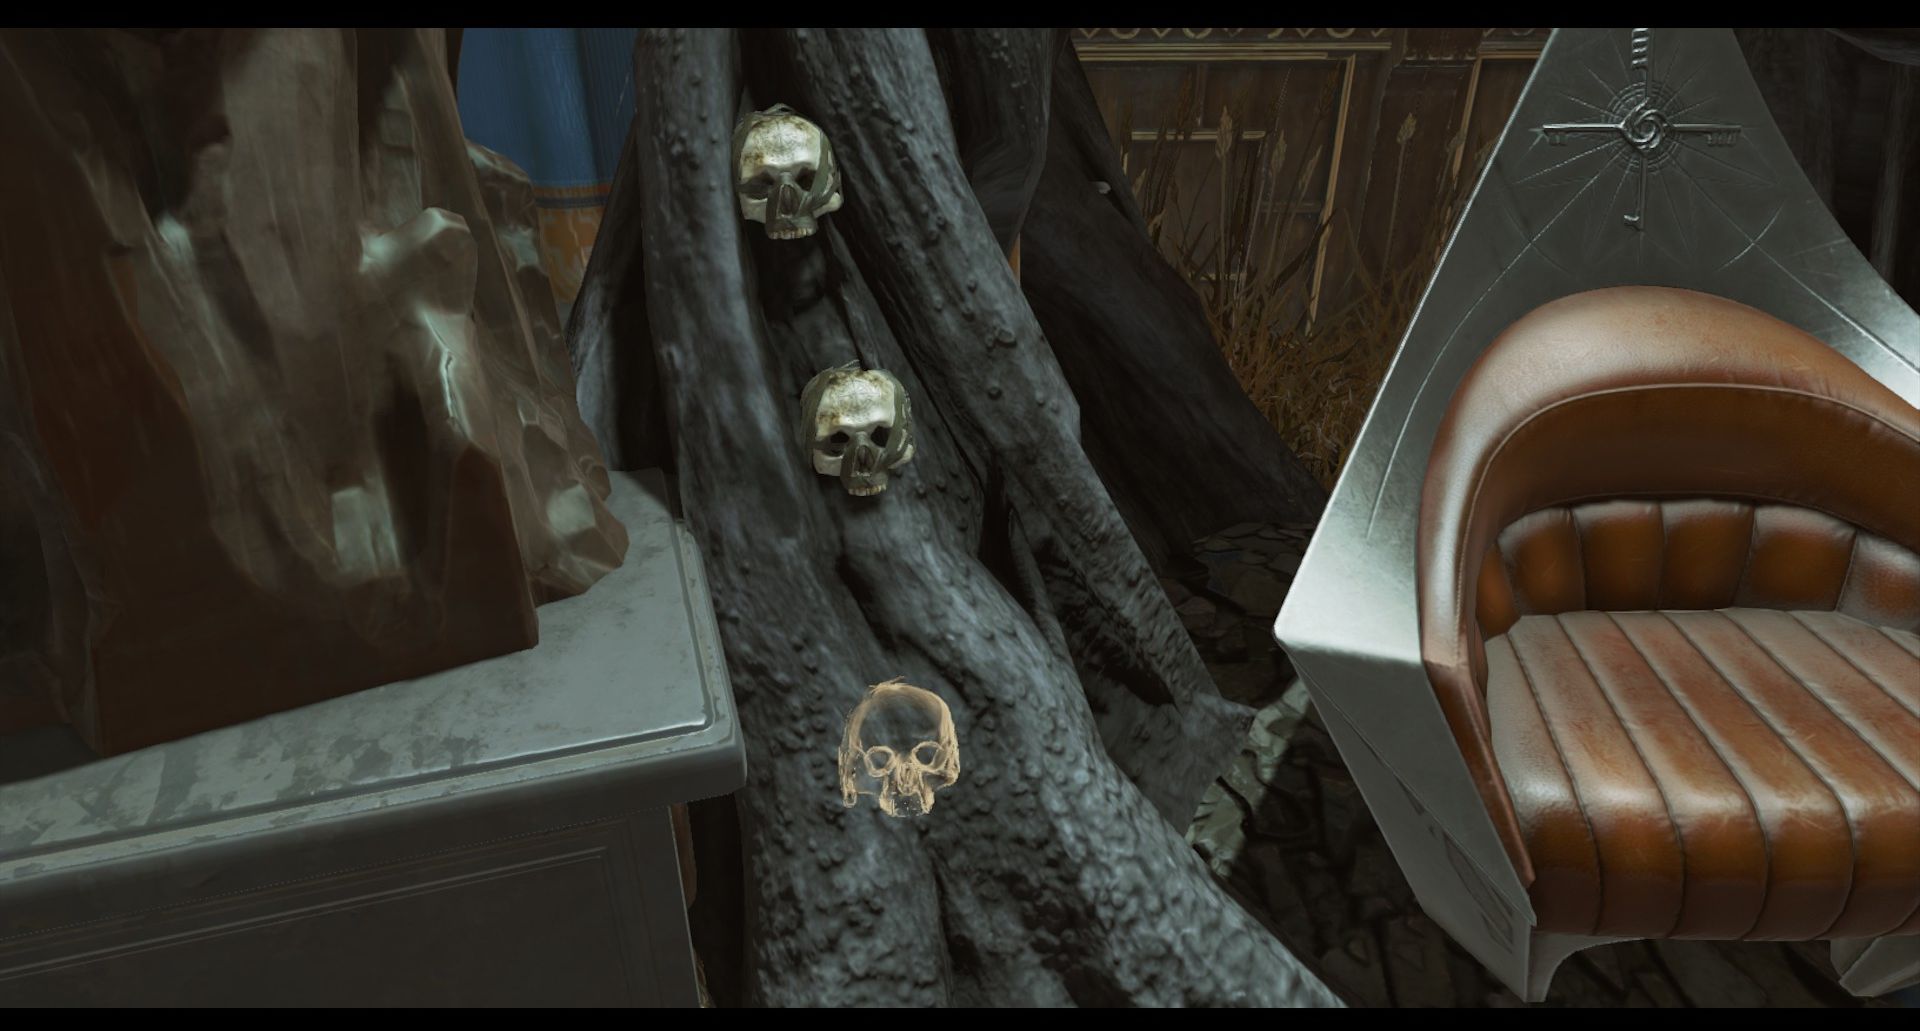
The gravehound skulls are far enough away from listening ears that you can pop them with crossbow bolts (there are two spare bolts next the painting). Clear a path, then grab the painting and your bolts (if you've been following this walkthrough, this should also pop the Art Collector achievement).
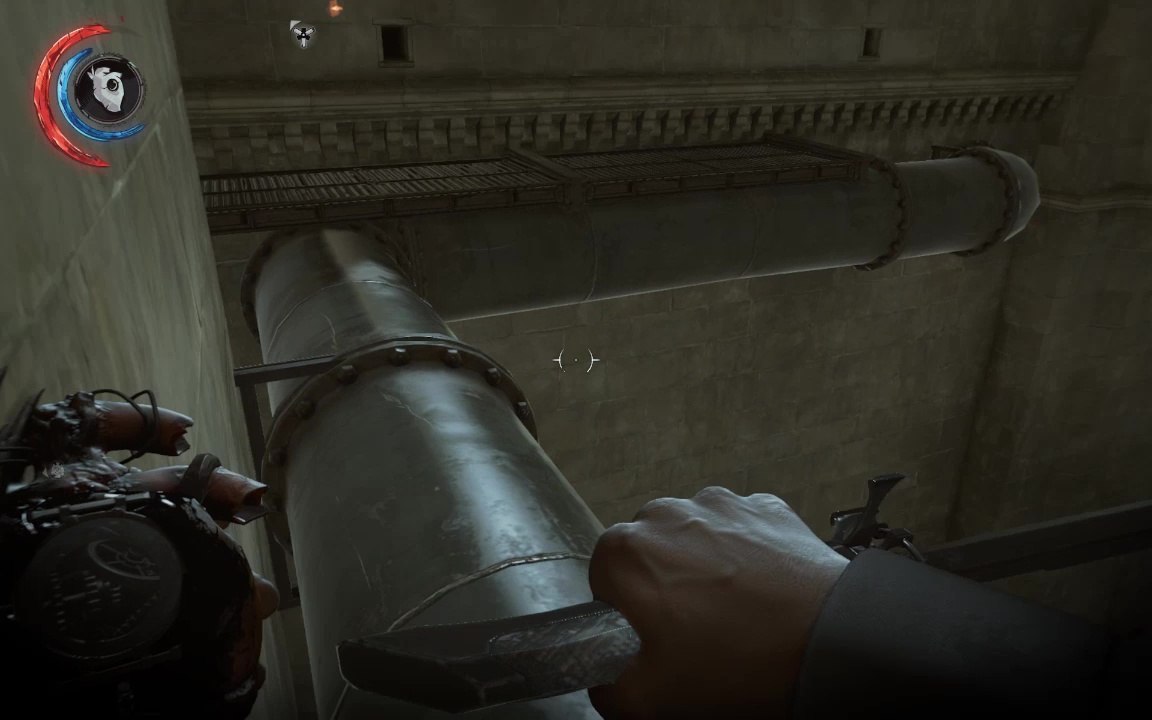
Bear right, along the side of the building in front of you (keeping your head down to avoid attention). Follow the pipes around the building to a parapet.
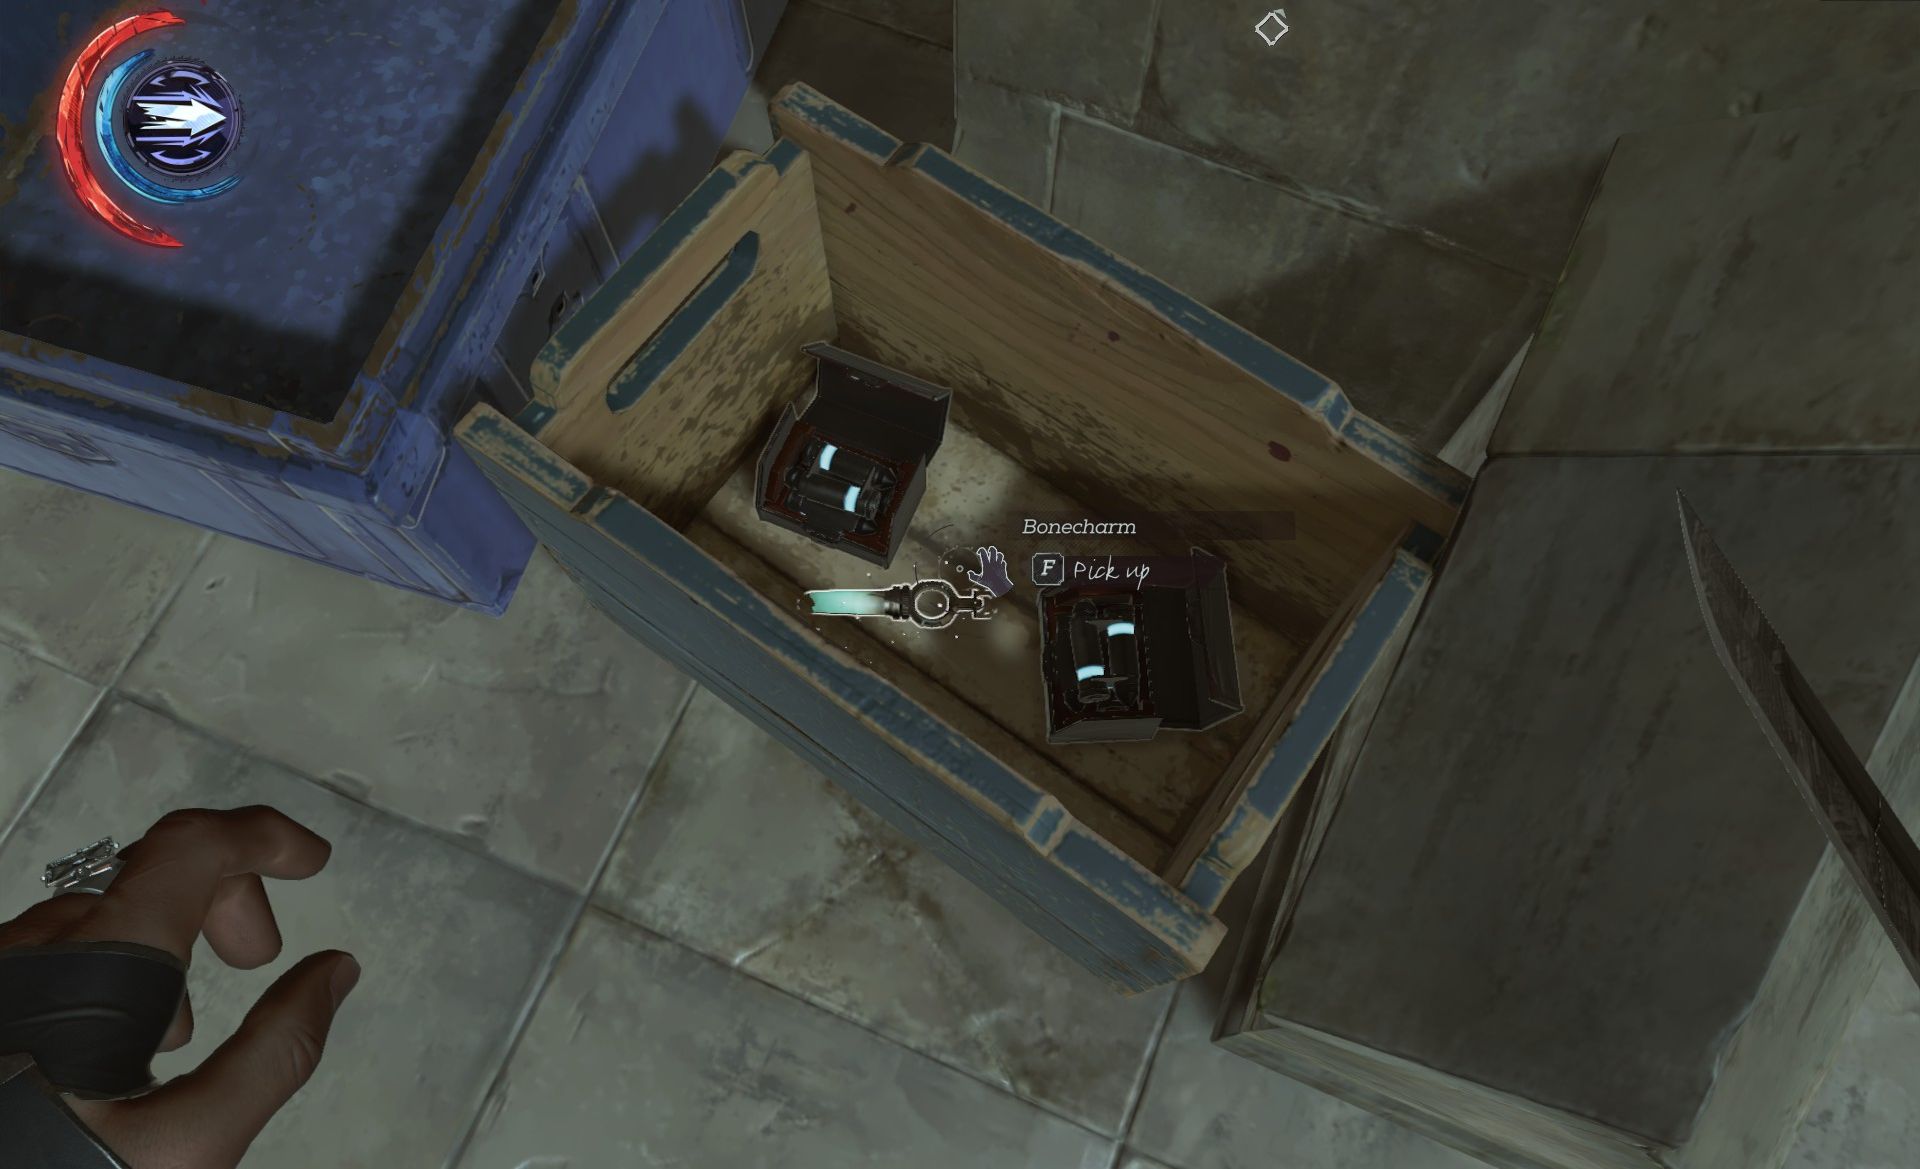
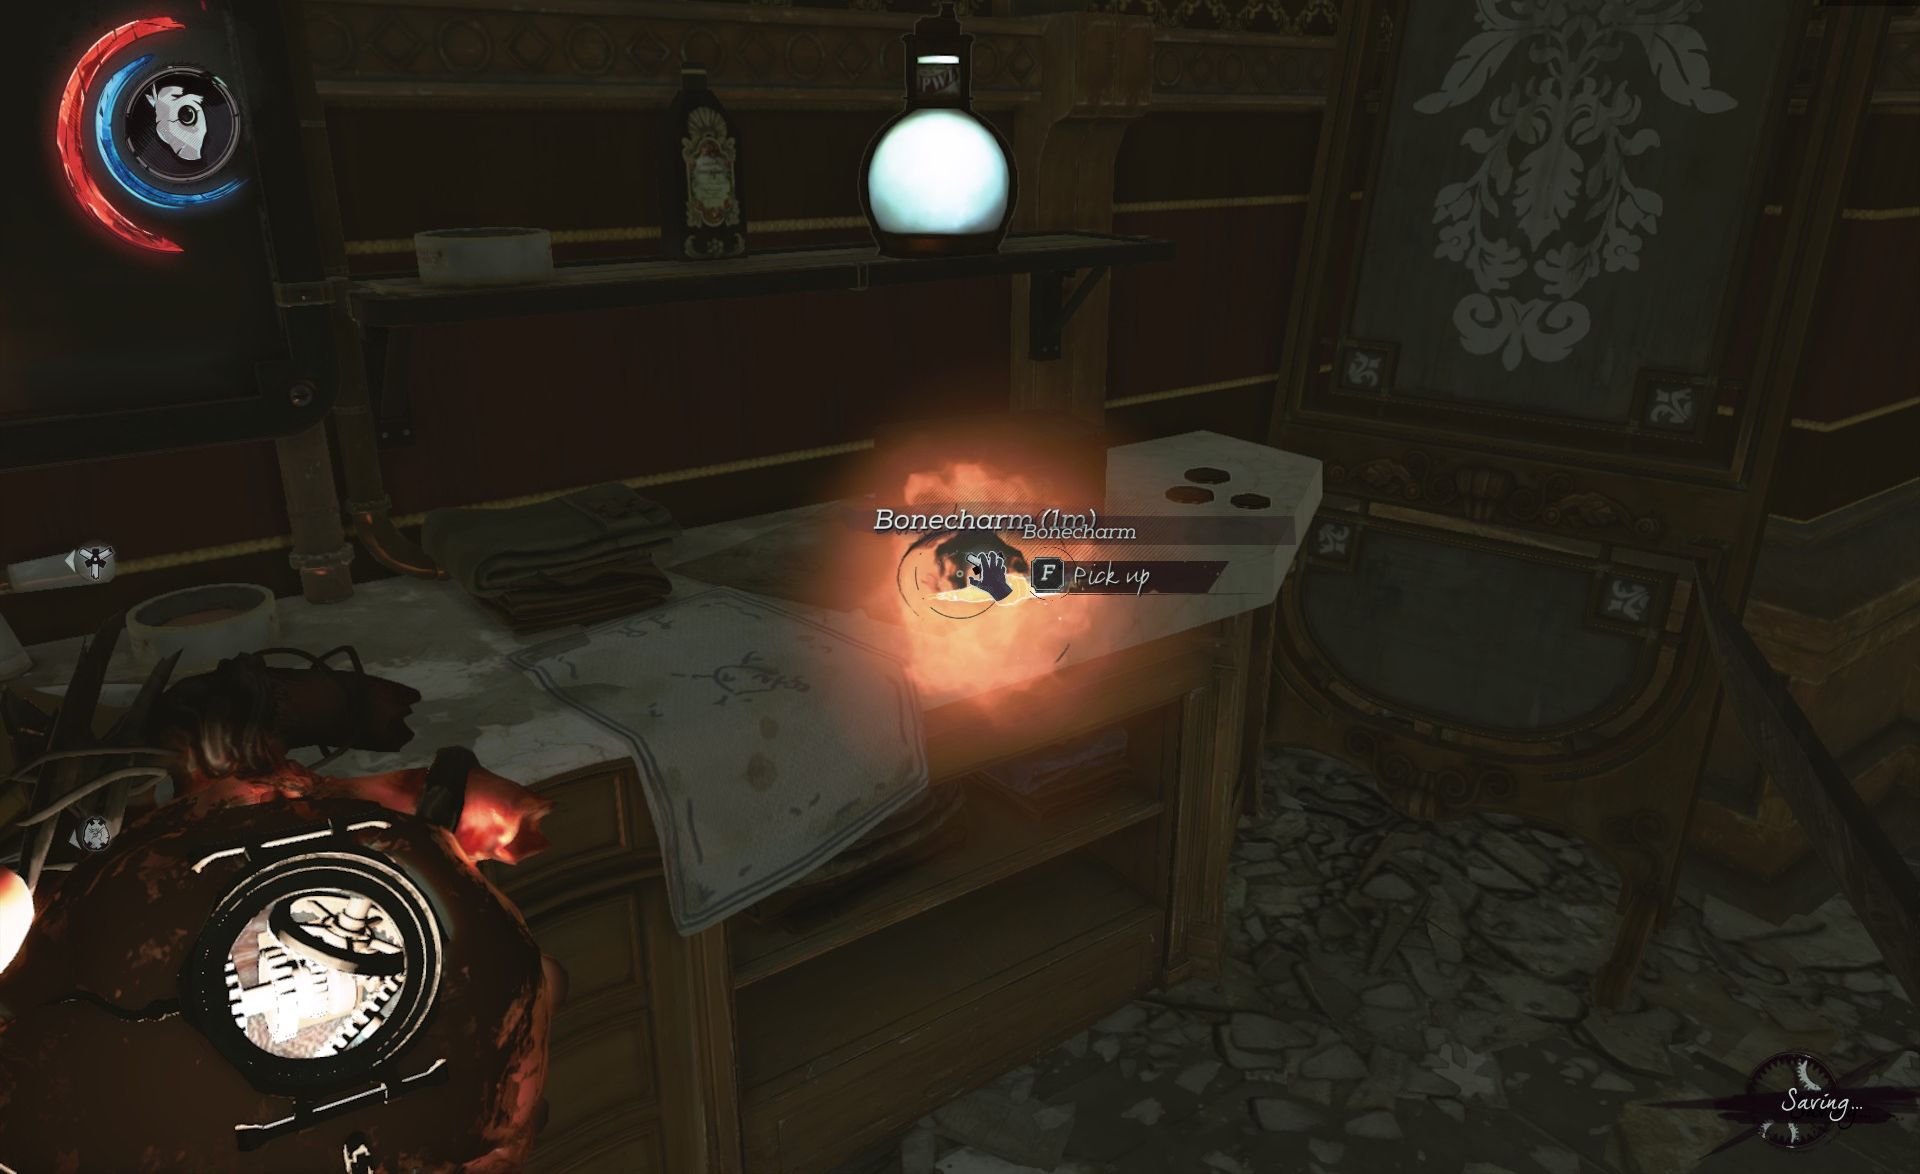
There are two witches here, not very alert. Choke them out, and claim the bonecharm from a small wooden box (Bonecharm 5/9).
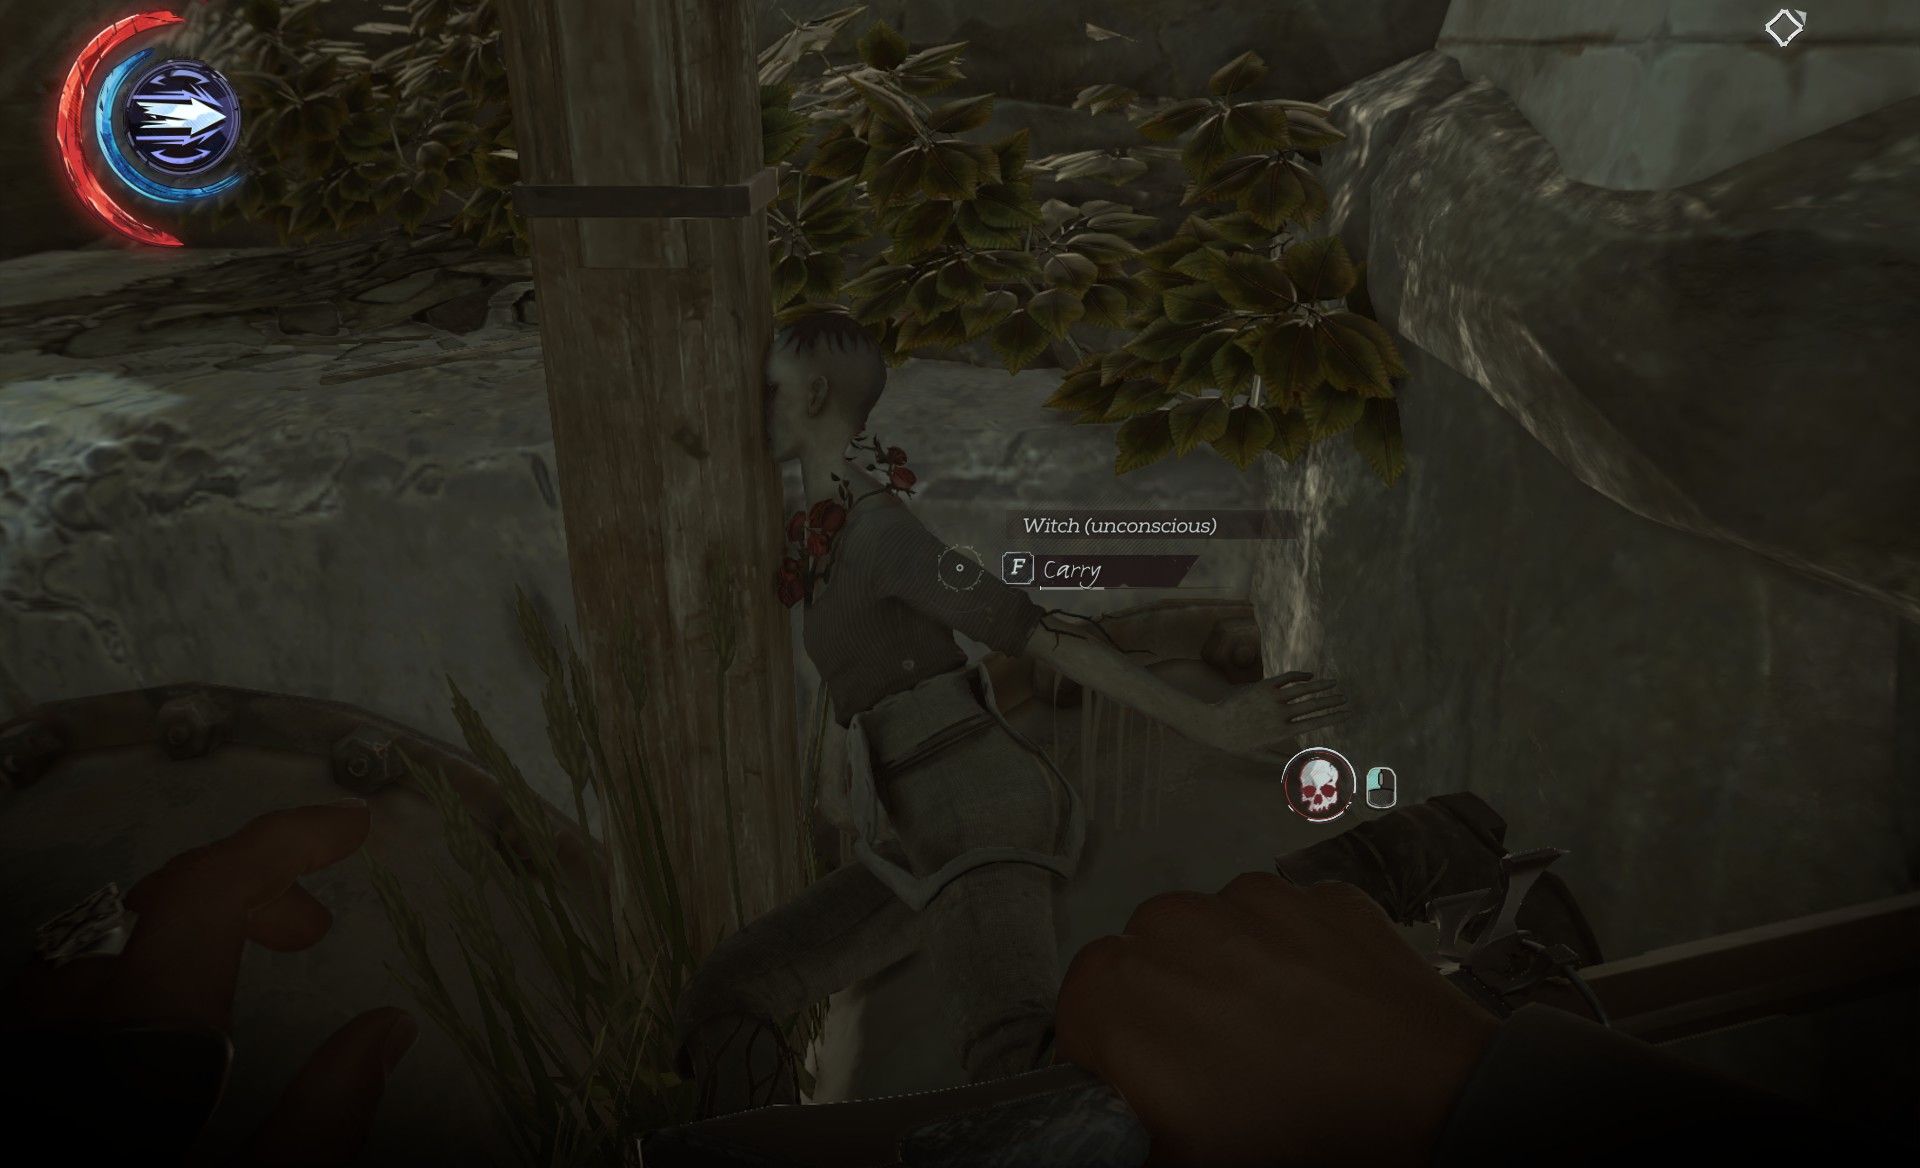
Creep back to the gazebo and hug the wall bearing left. This will take you to a marshy pit guarded by a lone witch. Choke her out, and stash her under the stairs in such way that she won't slip into the water.
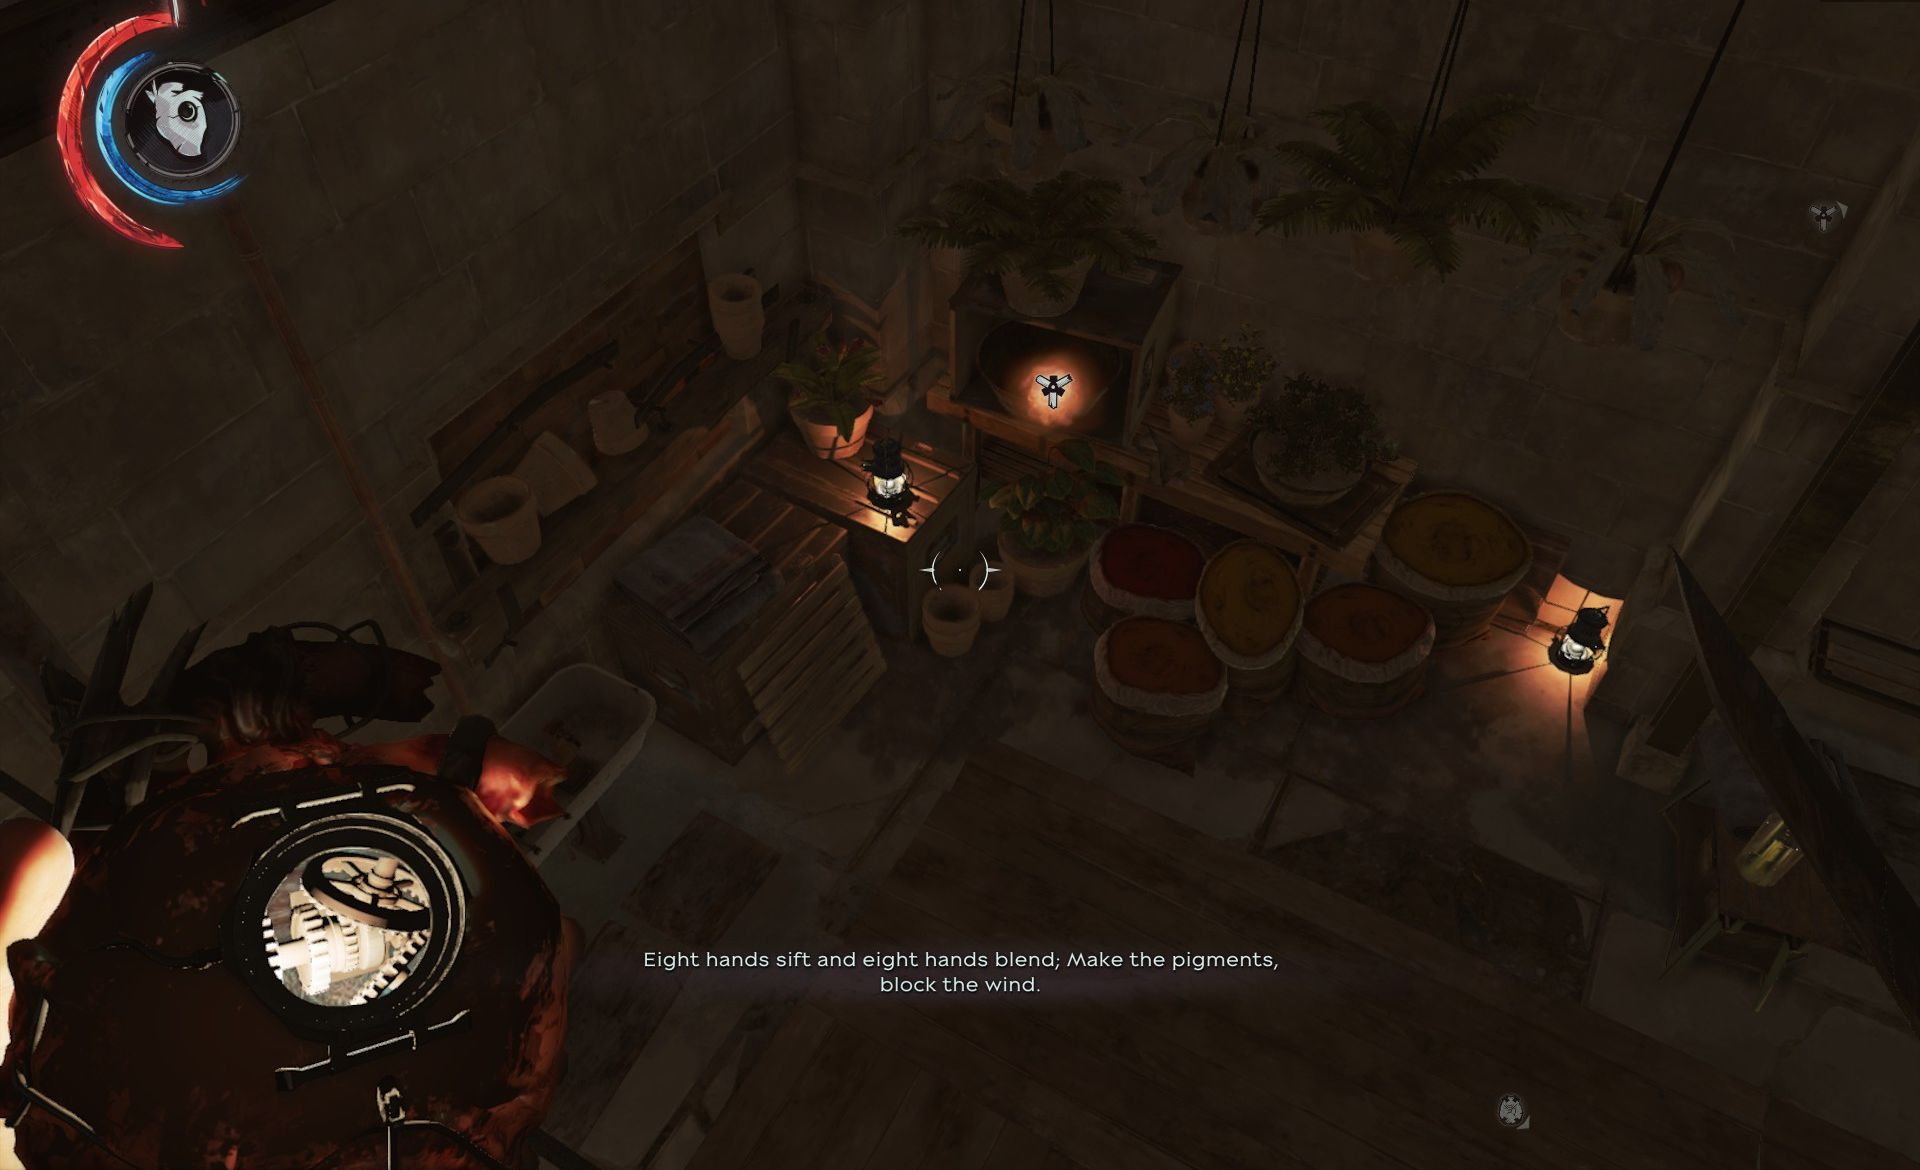
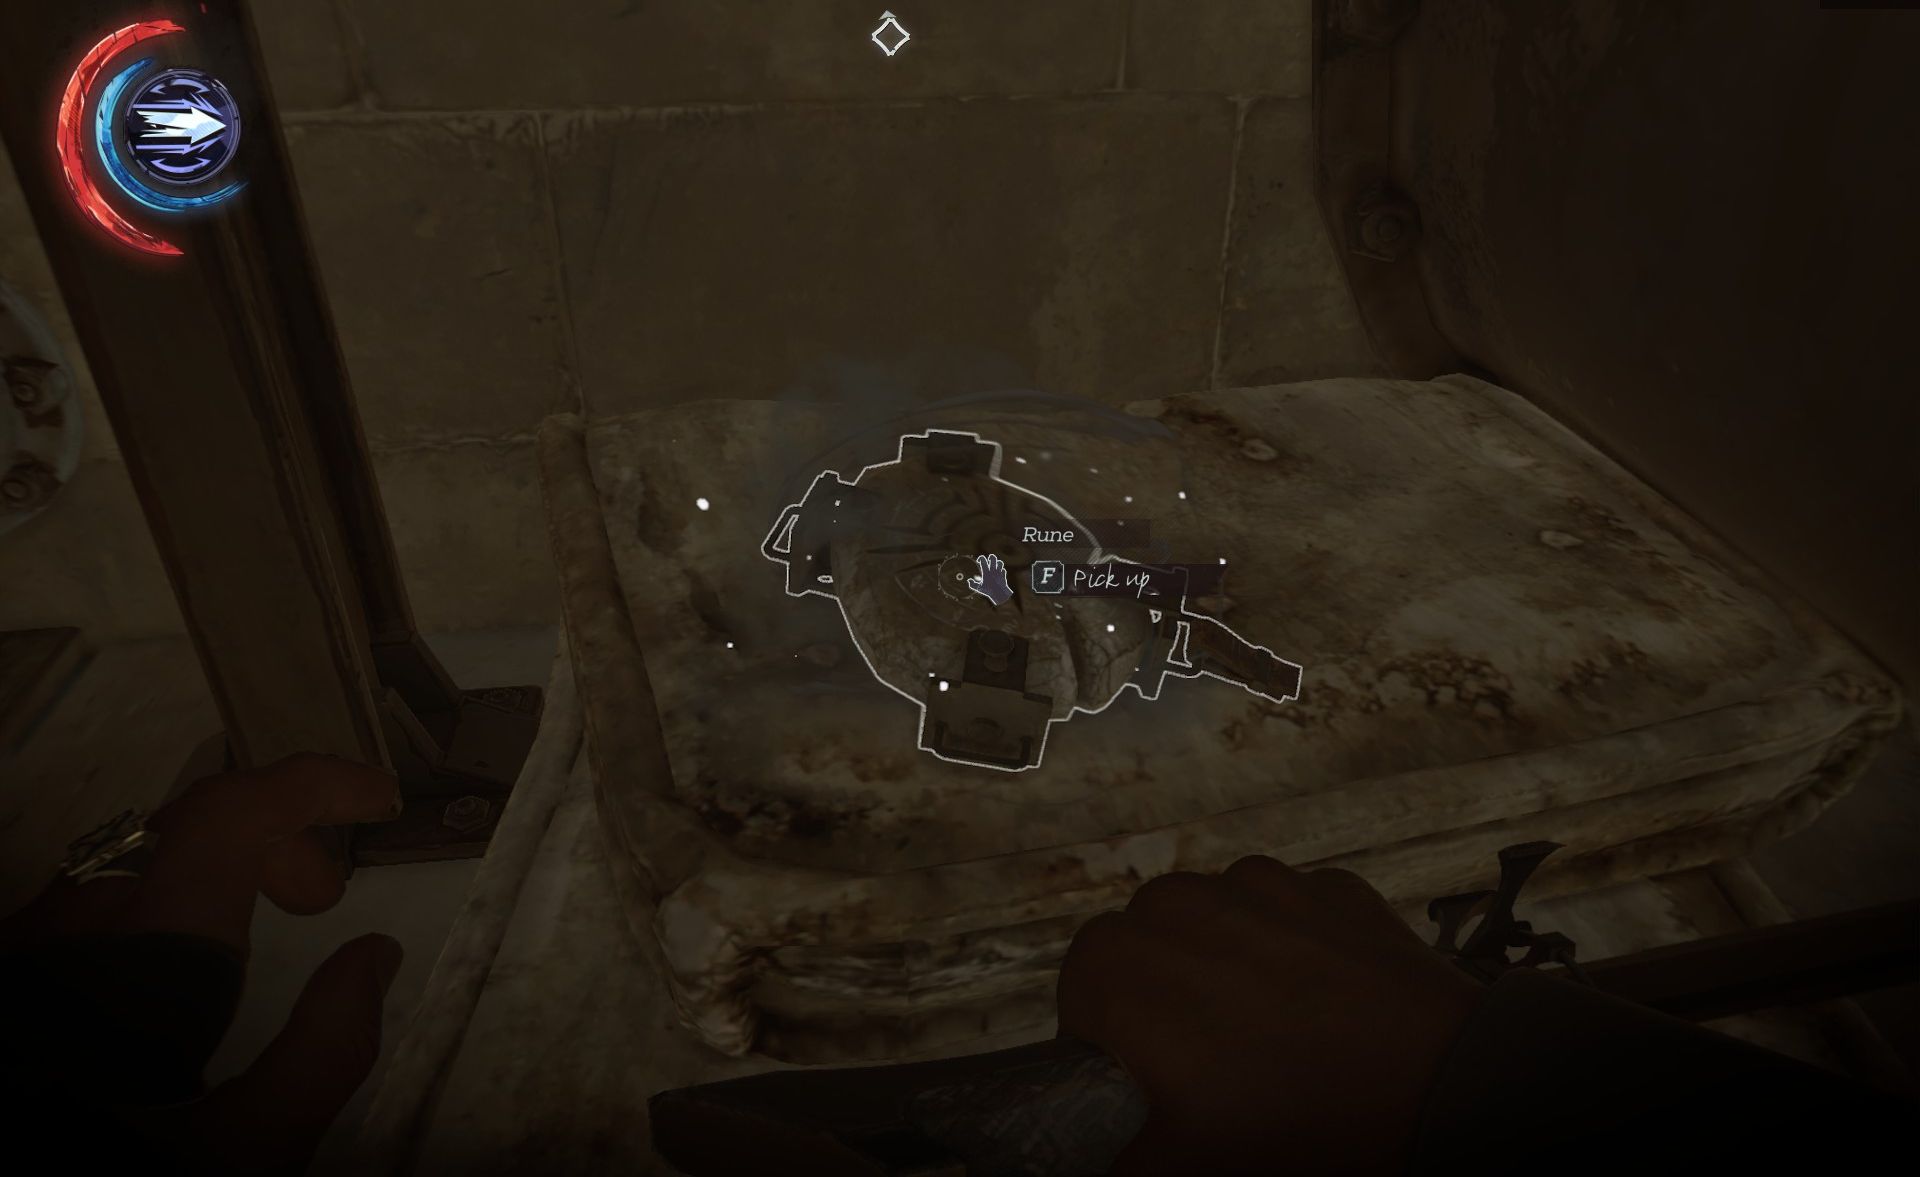
Carefully open the door to the pump room here. Eavesdrop on the two witches, then choke out, as per normal. The heart indicates a nearby rune, but it's hard to access. Walk along the upper catwalk looking for a gap between two pipes (It's marked by a dirty white napkin).
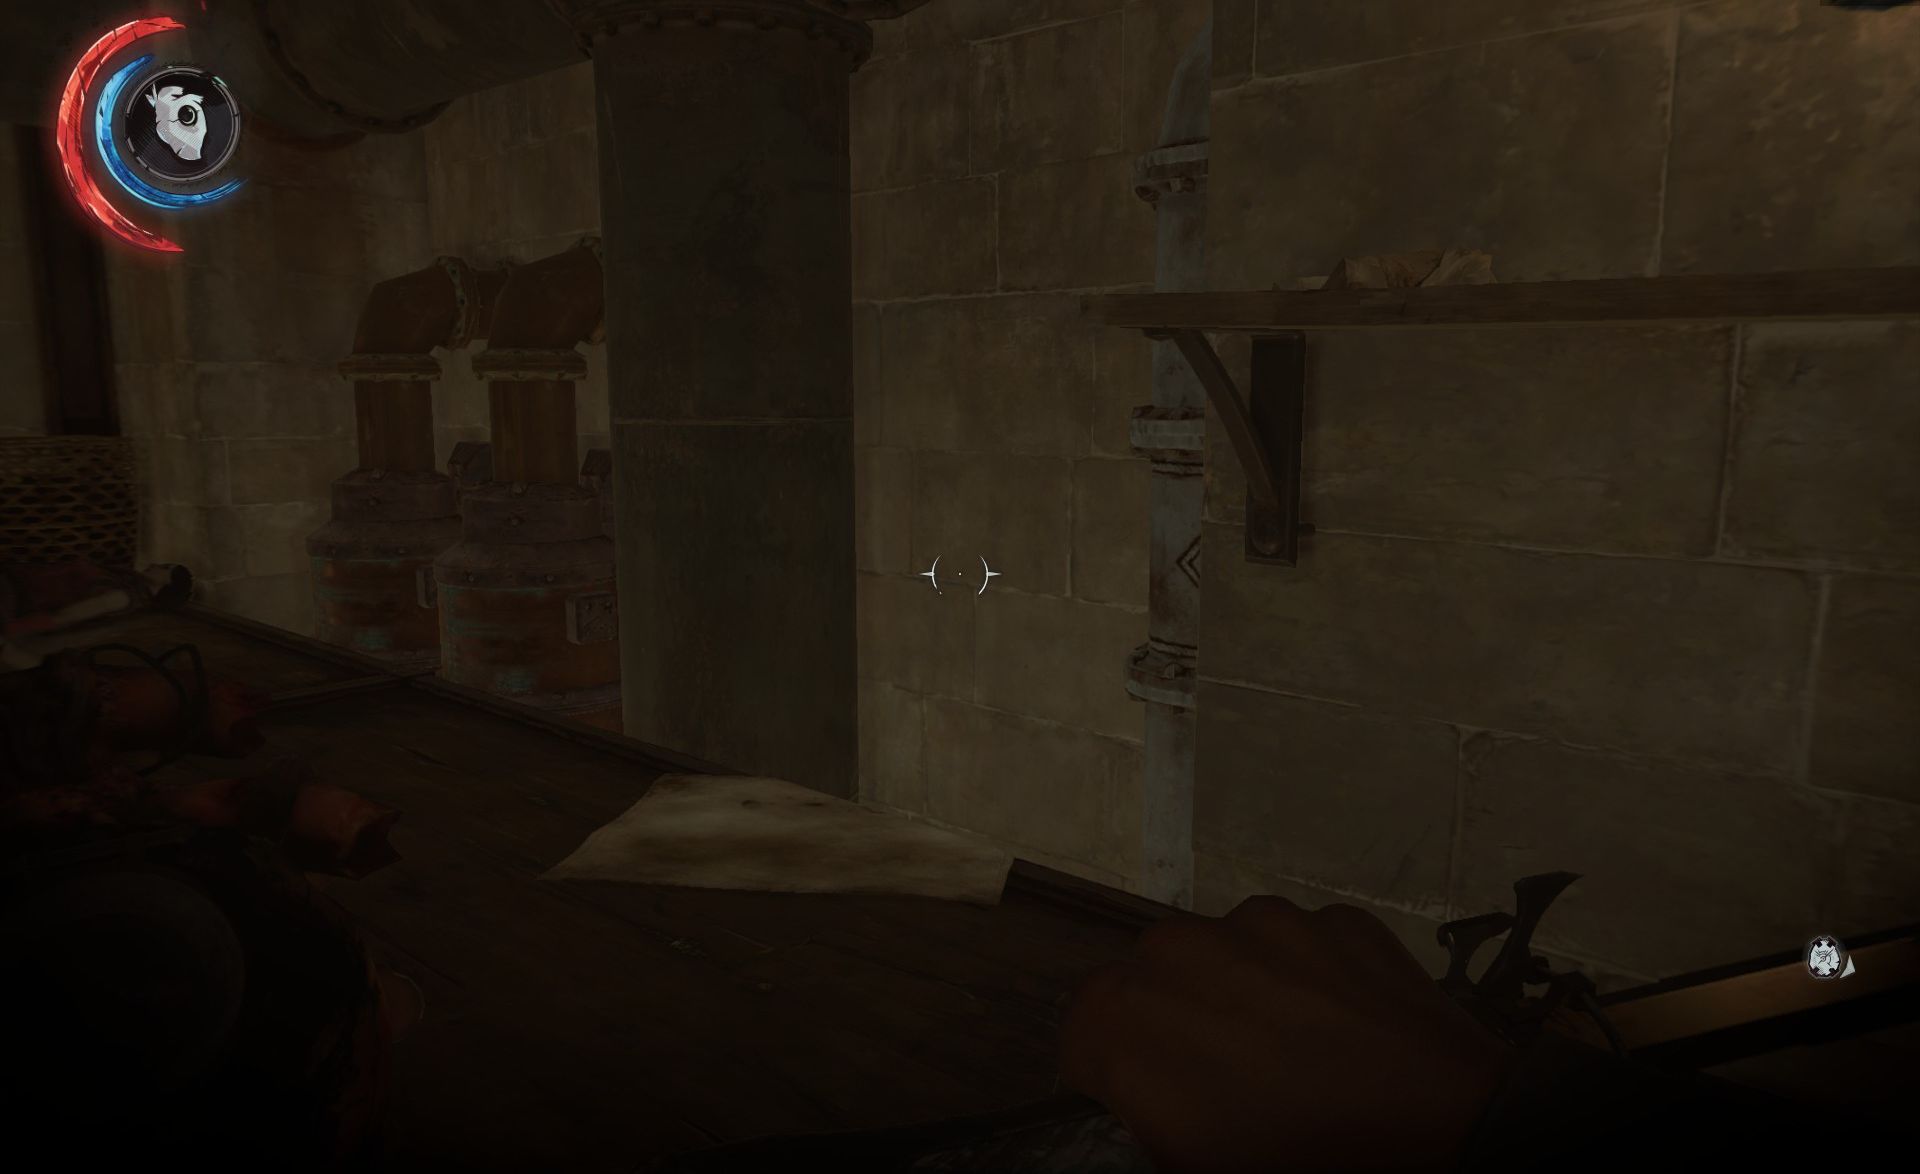
Drop down and retrieve the Rune (Rune 4/5).
Leave the pump room through the upper window, and creep along the moat until you can climb up to the tower entrance (tagged by your objective marker) and slip inside.
The very first room has a map you may find useful. There are two witches chatting in the room to your left. Let them finish and they assume an easily chokeable configuration. There's no loot here, but you're removing a potential threat. Close the door behind you when you're done.
There are two bonecharms on the body strung up in the large room here.
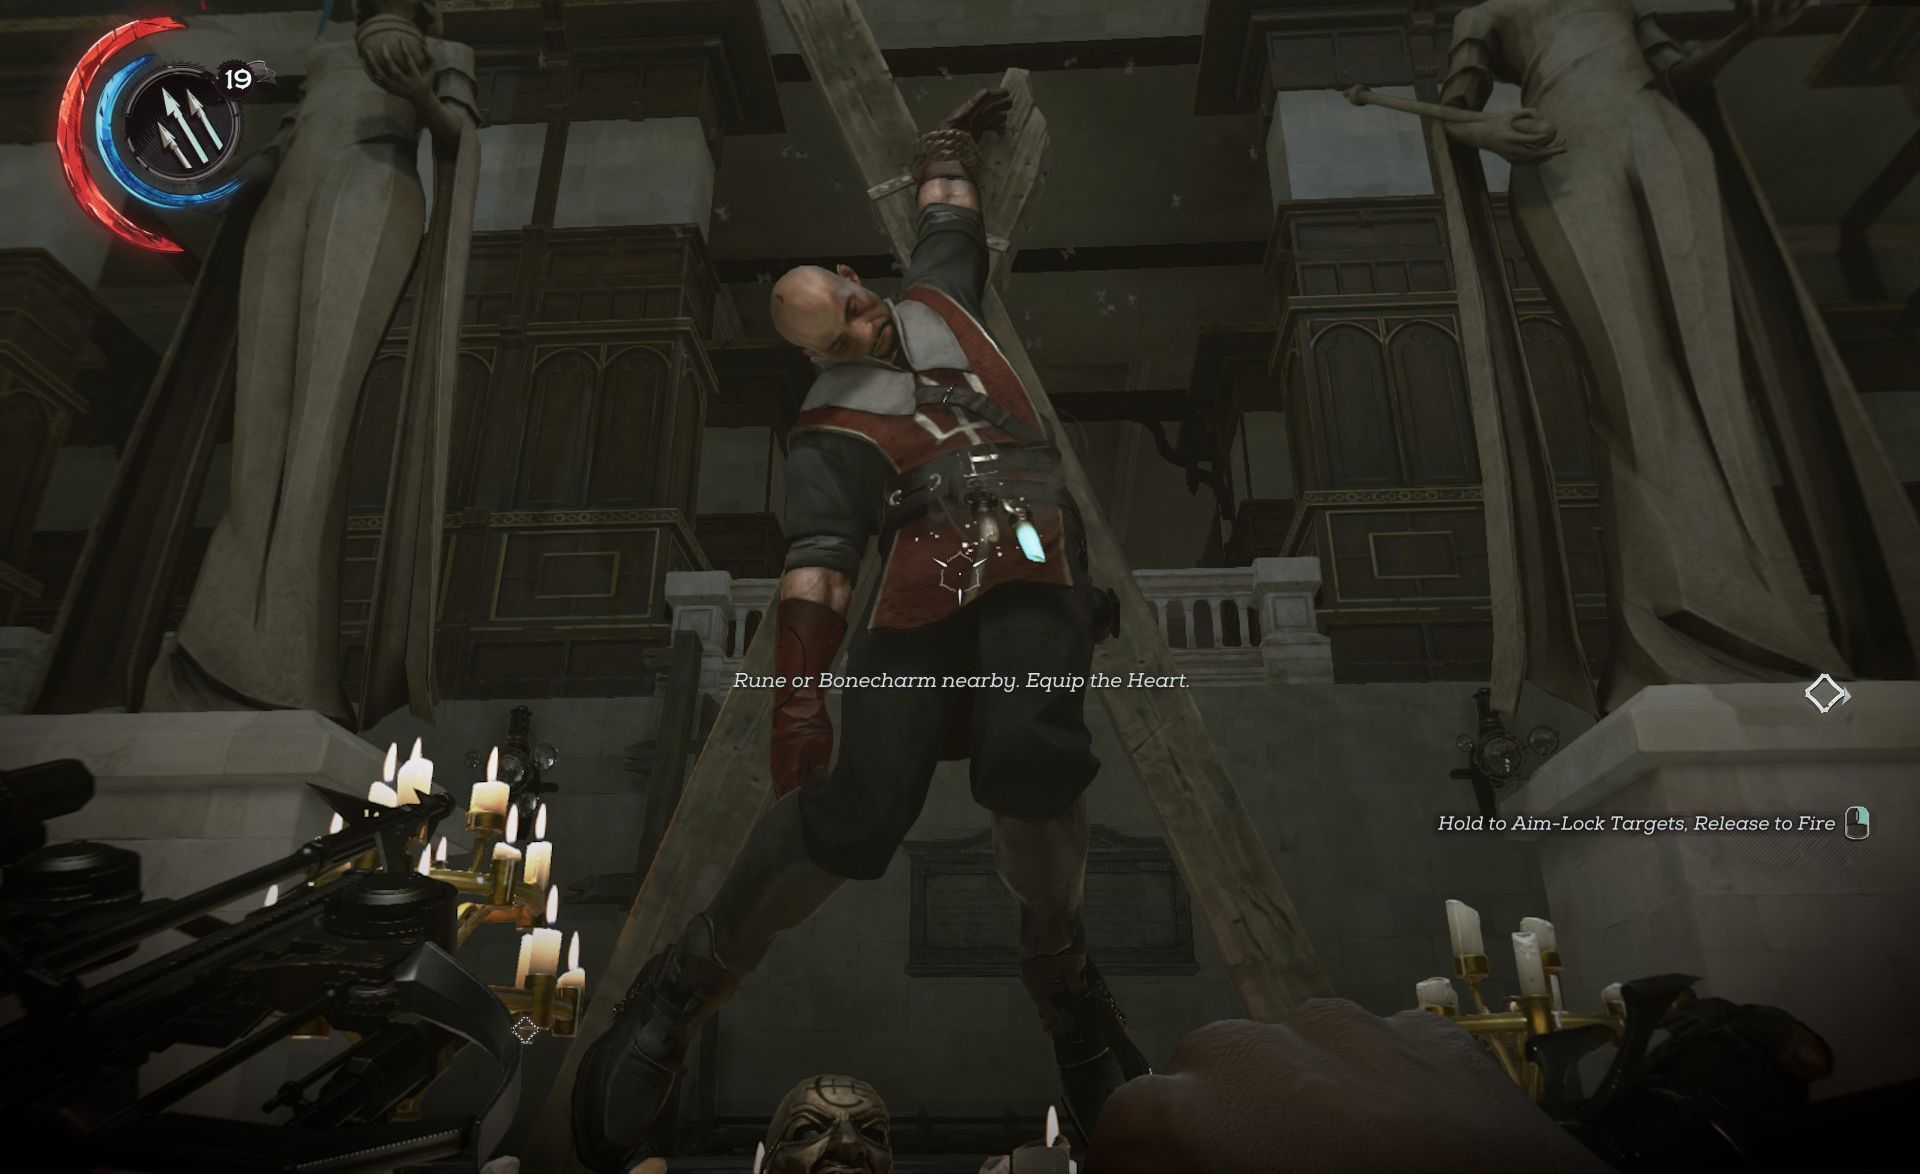
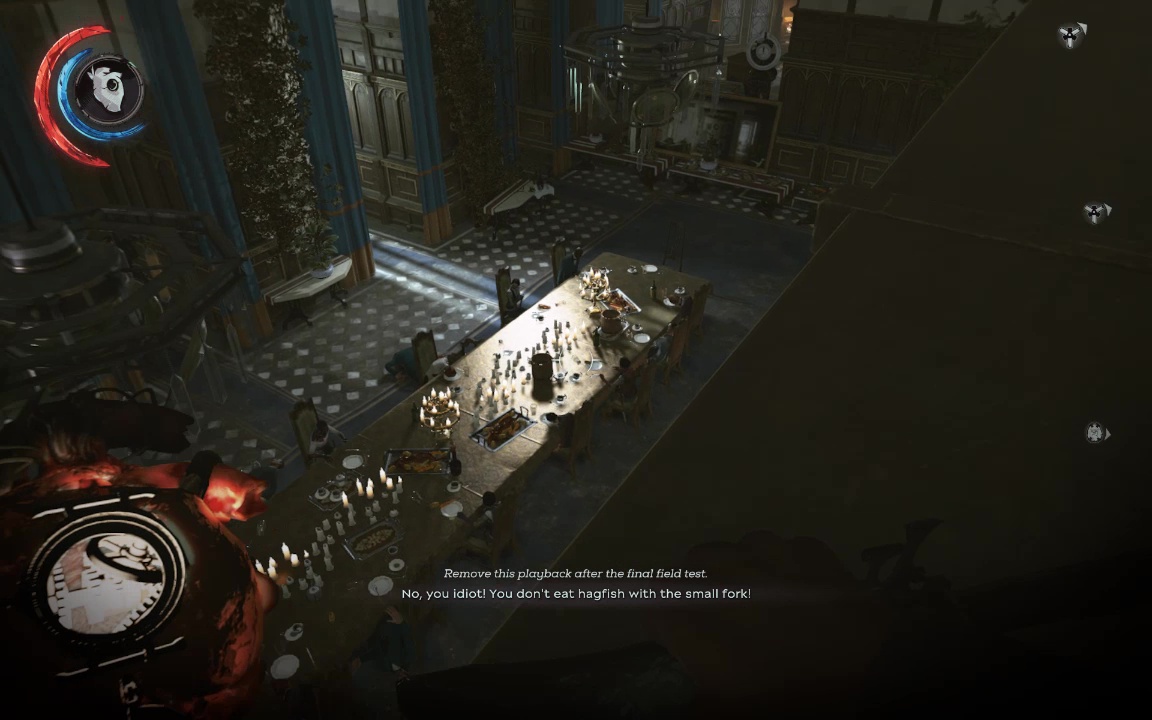
Shoot the gravehound skull next to it, then take the charms. (Bonecharms 6 & 7 of 9). Move forward, following your objective marker to the chapel. Once you pass the door behind the barricade, Blink up to the upper moulding here to sneak over the dining witches.
Blink down to open the chapel. Close the door behind you.
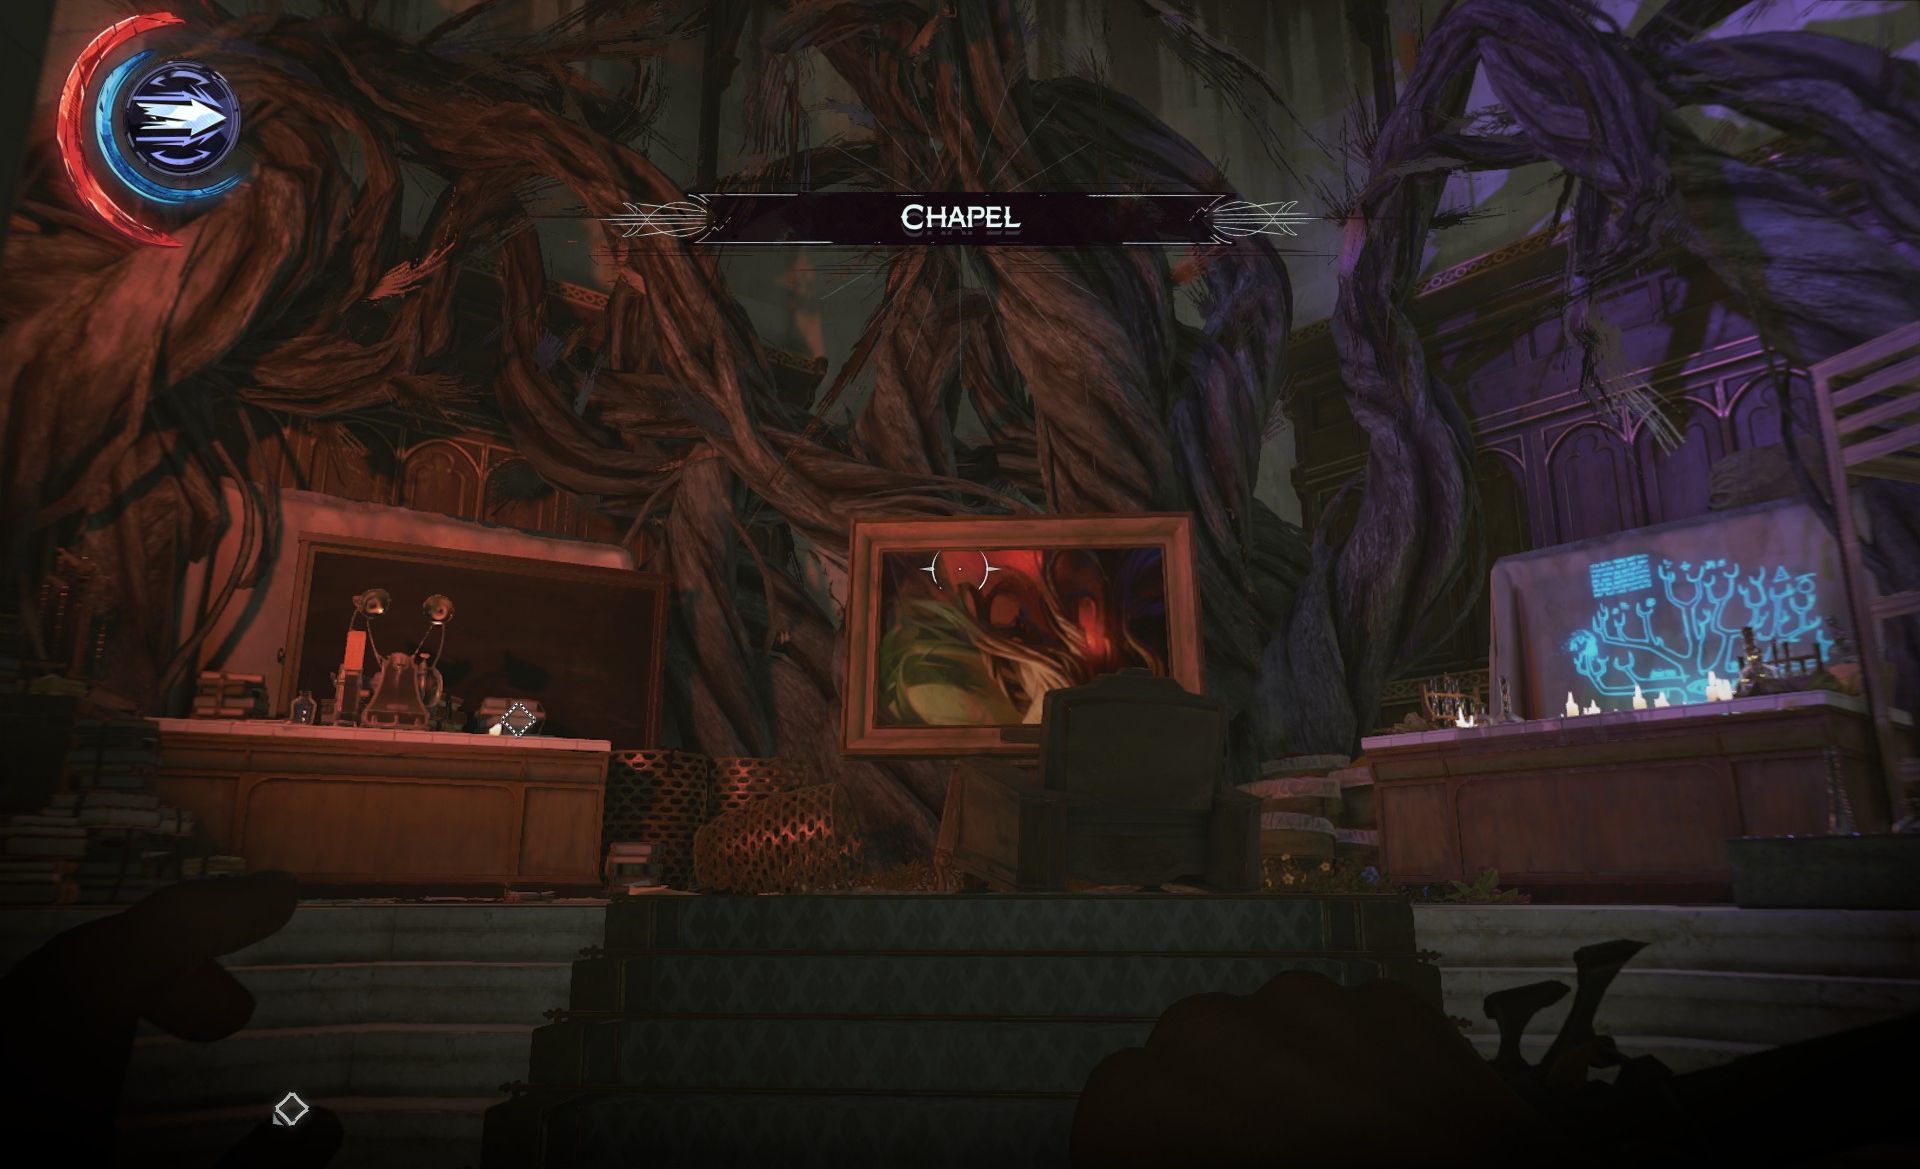
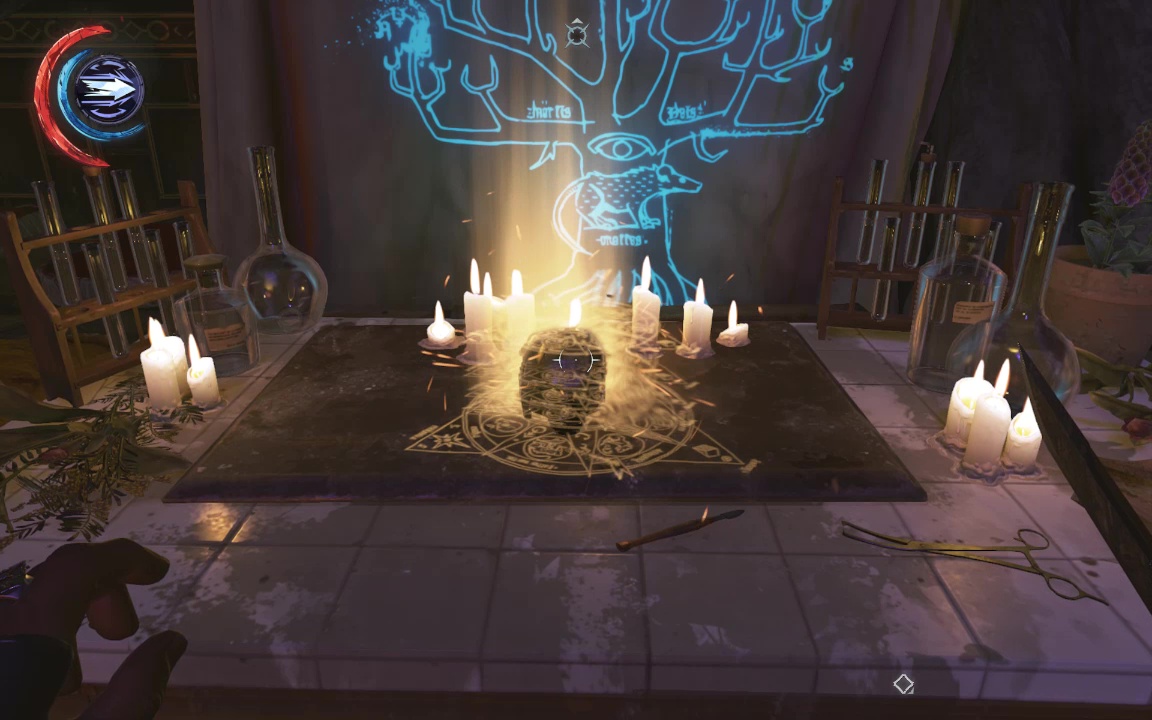
The audiograph and notes here give you a nonlethal solution to the Delilah problem. Luckily you don't have to backtrack any- all the components required for a corrupt rune are right here – the pigment (doesn't matter which color), the human bone (skull on the table), and the algae. Place them on the table in turn, and they'll magically whoosh together into a Corrupt Rune.
Take it, and Blink up to the upper floor of the Library. Exit, (keeping a ware eye out for witches and the clanker that patrols here) and enter the near room, with a Delilah shrine. Blink up to a high window, and follow the Heart across the beams to discover a survivor holed up in a sealed room.
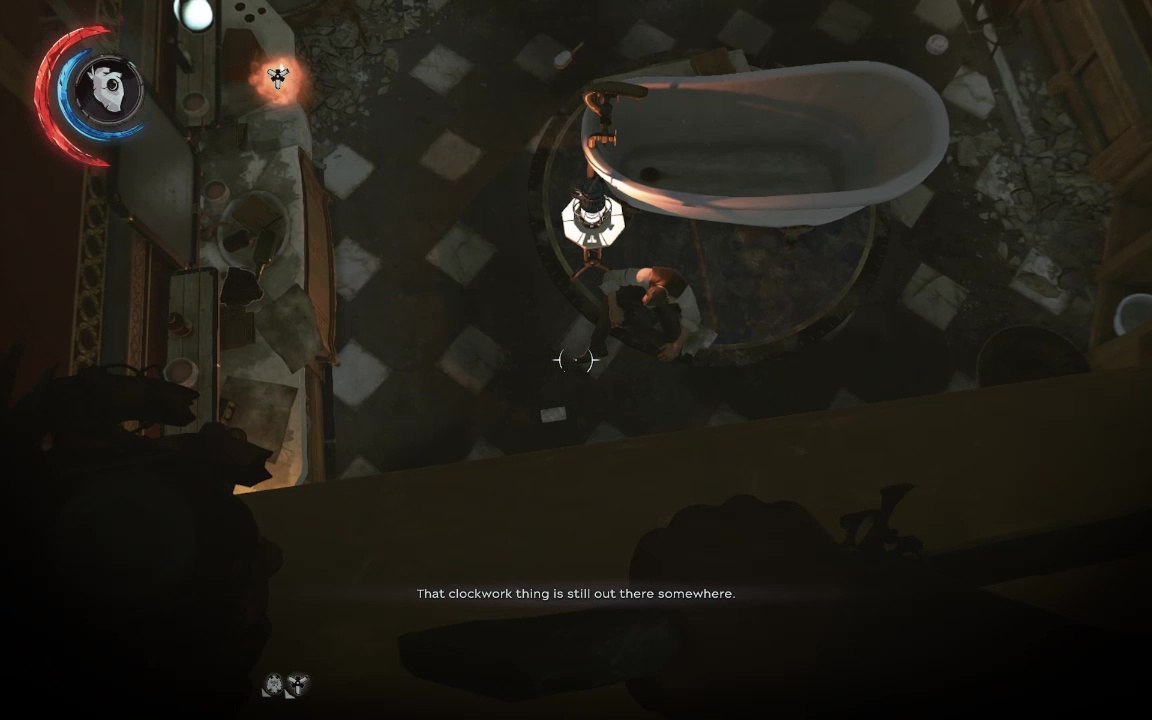
Interrogate him, then loot the room, including the bonecharm by the sink (Bonecharm 8/9)
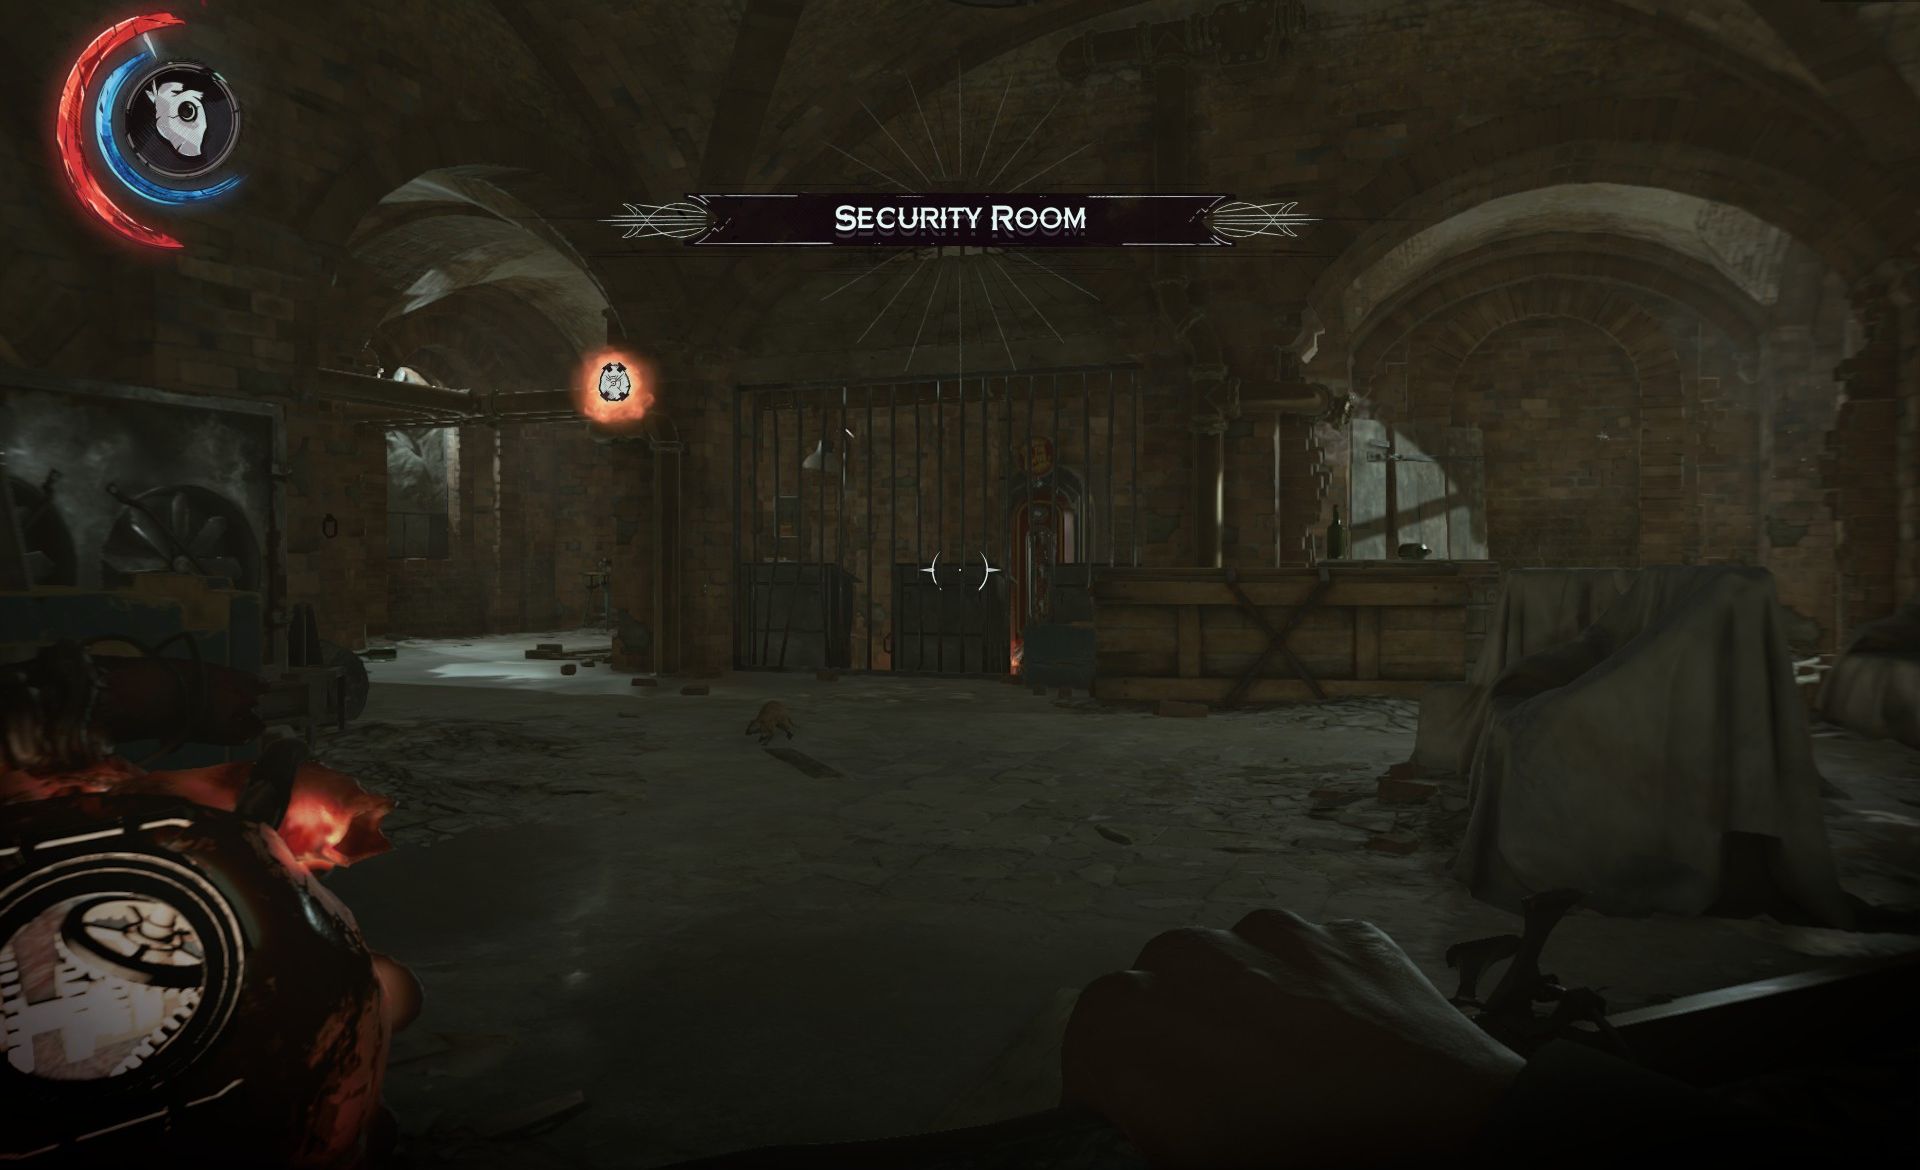
Exit the way you came, all the way back to the Deliliah shrine room. Exit this room and turn right. There's a witch at the end of the hall, Blink up to the chandeliers for a take-out vantage (mind the already-active gravehounds around the corner). Note the near room, which the Heart tells you holds a charm. After doubling back to stash your latest body in that Delilah shrine, leave the shrine, turn left, and drop over the banister to the stairs. Go up the stairs until you see a passage between two rooms to your left, leading to the gravehound hallway. Enter that passage and look up to see a high window into the bonecharm room. Enter, choke out the isolated witch (apparently named Marykate), and claim your final charm. (Bonecharm 9/9) If you're interested, there's an audiograph with Marykate in the room twinned to this one, across the highbeams, but otherwise drop into the stairwell, head down, and turn right, entering the doorway marked for the security room. Follow the stairs down and, then use the Heart to locate a rune hidden atop some pipes (Rune 5/5).
You'll also find a whale oil receptacle missing its whale oil. Fill a new tank for it, and set it in place to power the elevator up to Delilah.
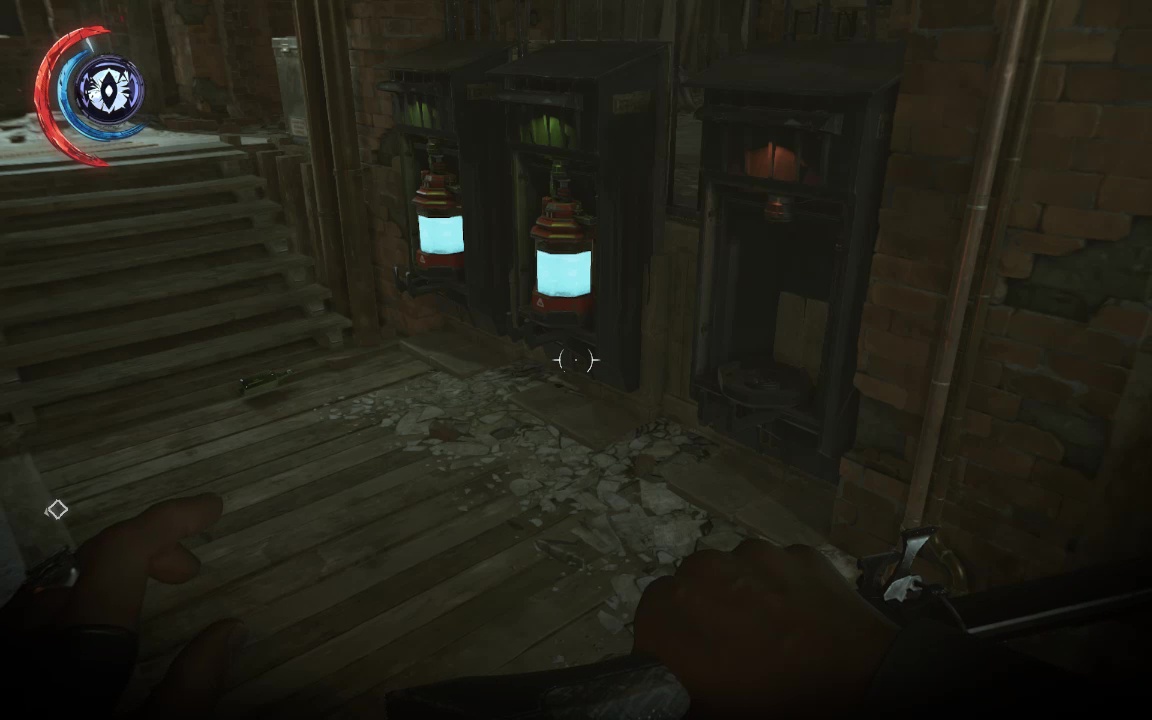
Two witches arrive soon to investigate the power surge- take up a position atop the pipes or in the corner near the door to prepare a suitably sneaky ambush. Dispatch the witches, climb the stairs, and blink up to the pipework in the hall to move unseen toward your objective. Where the piping dead ends, drop down to enter a kitchen area, and drop again down a dumbwaiter shaft.
Follow the elevator objective marker down some sort of sewer, back to the room with the strung up overseers near where you first entered. Blink back over the barricade to the elevator. There's a gravewolf skull in the elevator itself, so step back after hitting the call button, then clear the skull with a crossbow bolt.

The ding of the elevator will attract witchy attention, so hide in the elevator once you reach your floor, then ambush the witch or wait for her to leave. Exit to the top of Dunwall Tower. There are witches on the parapets here- they probably don't *need* to be taken out, but better safe than sorry. When ready, face the throne room door and take the alley to the left. There's an open window at the end for easy access.
Enter the throne room, which has changed a bit since last we saw it. Still, someone's untipped he throne. Bear left to add your corrupted rune to an empty spot on its left thornguard.
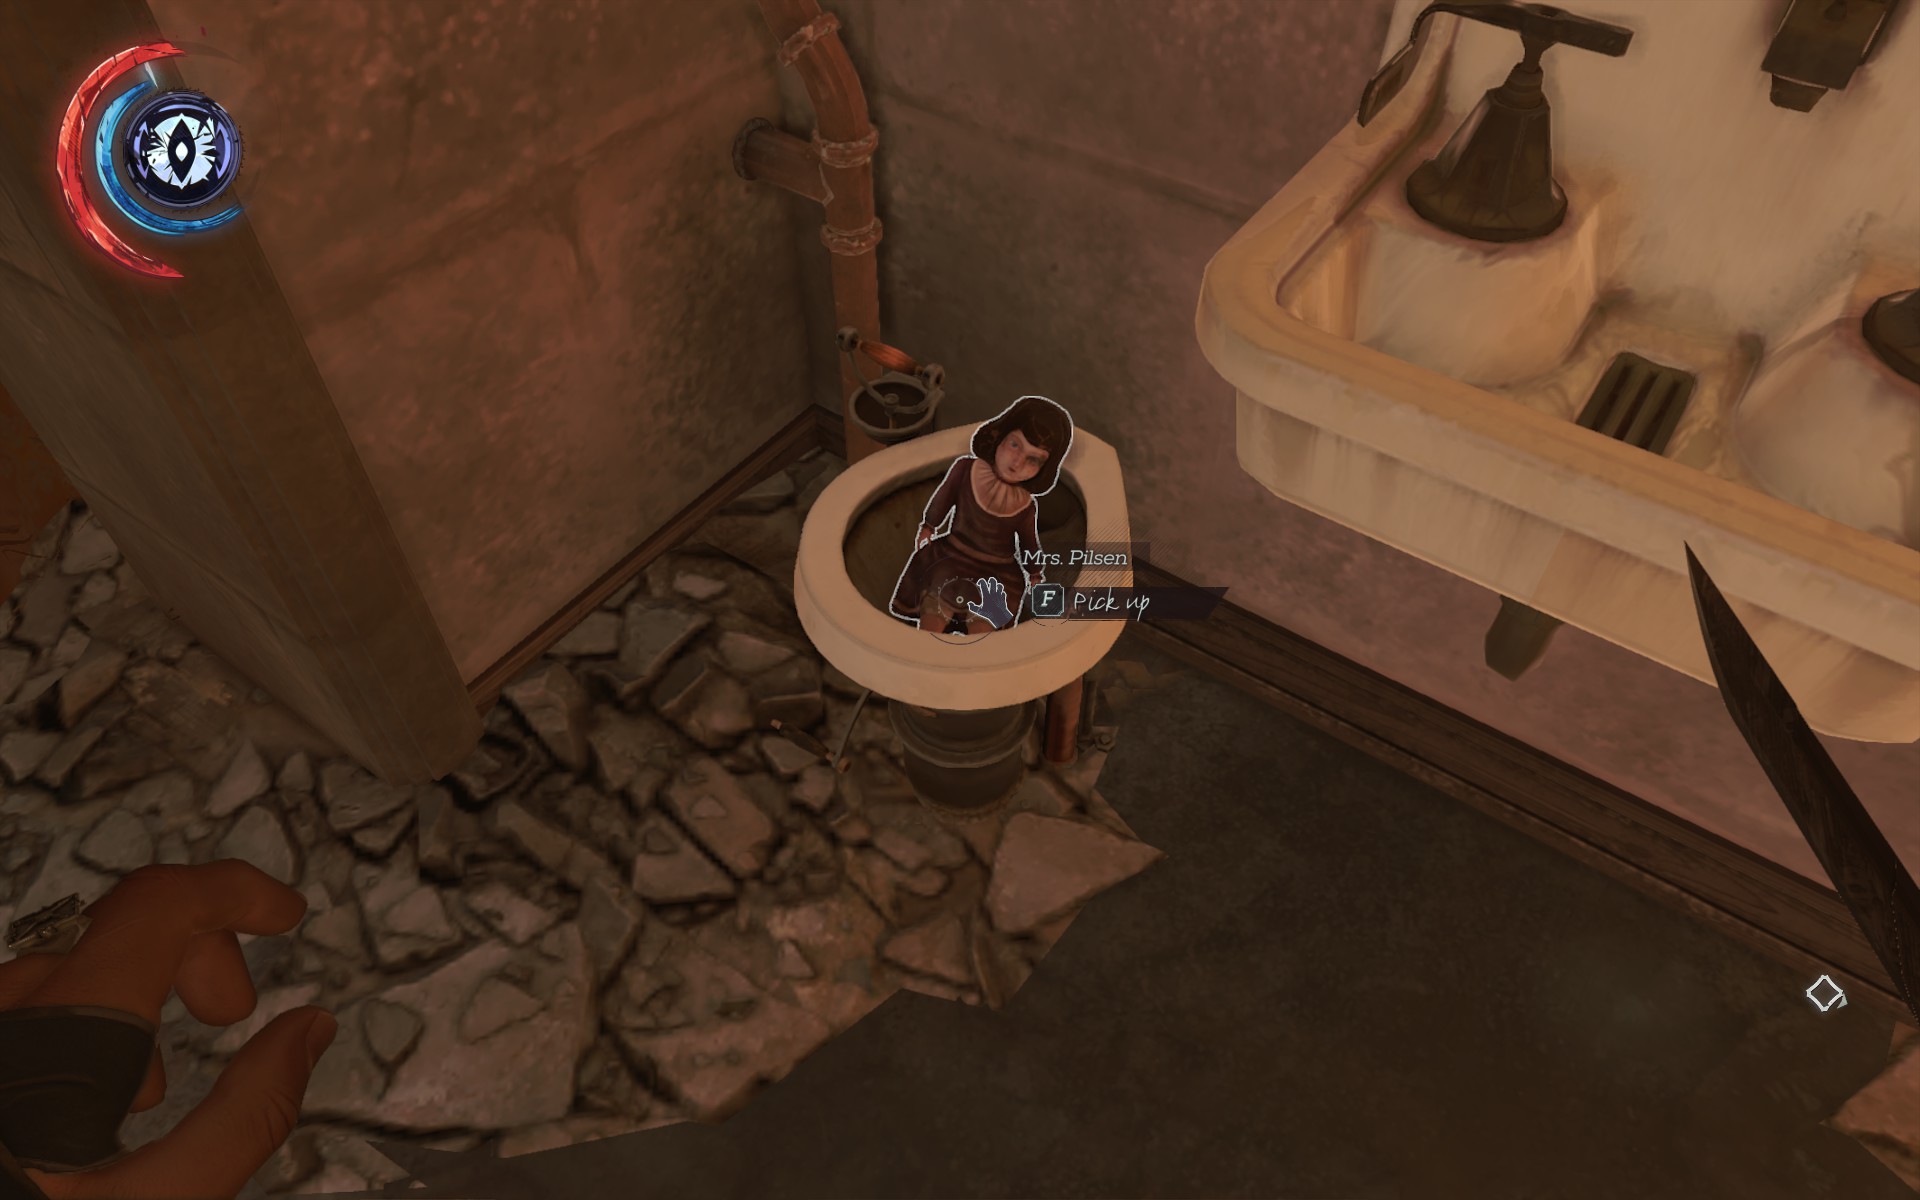
Now, while the topography has changed a bit, the layout is still exactly as it was when you were first here, as the very first part of mission one. Sneak your way back to the safe room to find that Emily's beloved Mrs Pilsen doll has been tossed in a toilet. Retrieve it to finish off the 'Souvenirs' achievement.
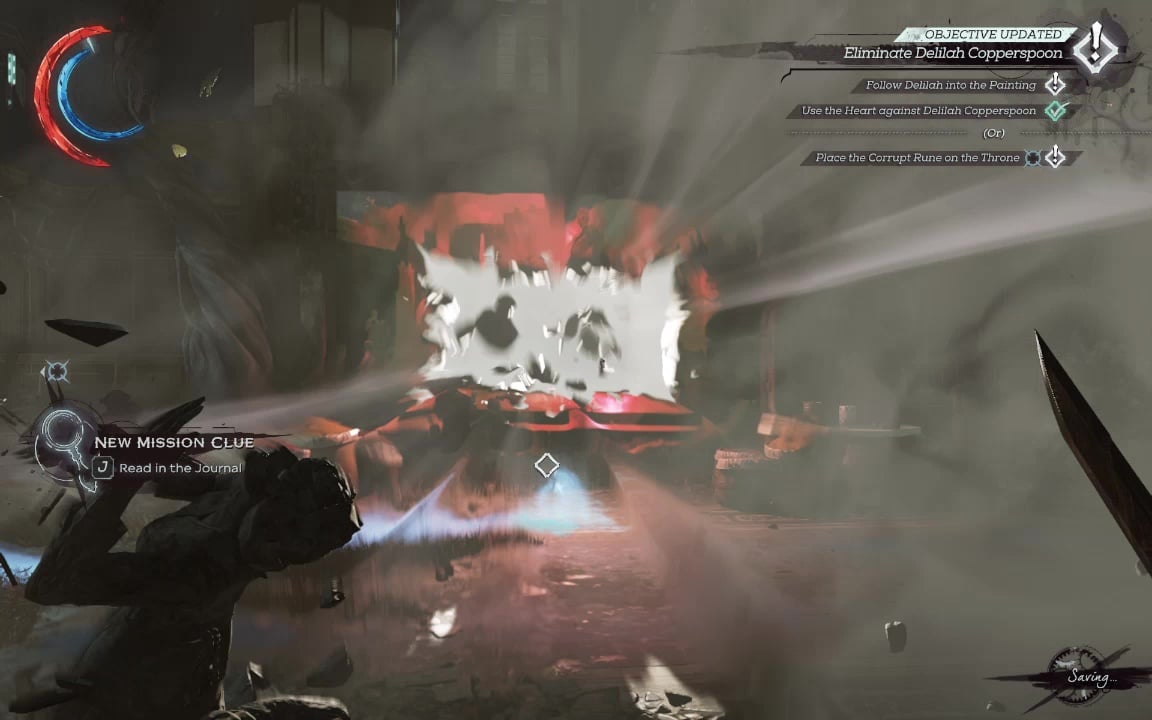
There's also some gold here, and a diary detailing Ramsey's fate. When ready, sneak back to the throne room and use the Heart on Delilah to restore her mortality and trigger a cutscene. Follow the arcane psychopath into the painting trap.
The painting world is full of statues- mostly sycophants, but mixed up among them are replicas of Delilah. (Delilah herself is actually hidden high on the rock above and just behind you as you enter, but that's not really relevant for now). Move stealthily amongs the groups, choking out Delilah replicants. You'll know them by her ridiculous ruffery, and the way the stoneclones start to color when you're near. While motionless, they are active observers, so stay out of their line of sight (though you can use this detect them as well- briefly wandering into the center of the space and then looking for white alert bolts to appear on radar). Take out the replicas on the parapet to left and right, then the stone promontories, then the one at ground level to the right of the throne. This last one you'll have to move quickly on, to avoid being spotted by the replica on the throne. Taking out the throne sitter is tricky- if you can't get your position right without being detected, try a bit of peekaboo with the sitter until they stand up. Then the replica and Delilah will start walking toward the painting. Trail and choke the replicant, then hide the body, leaving only Delilah.
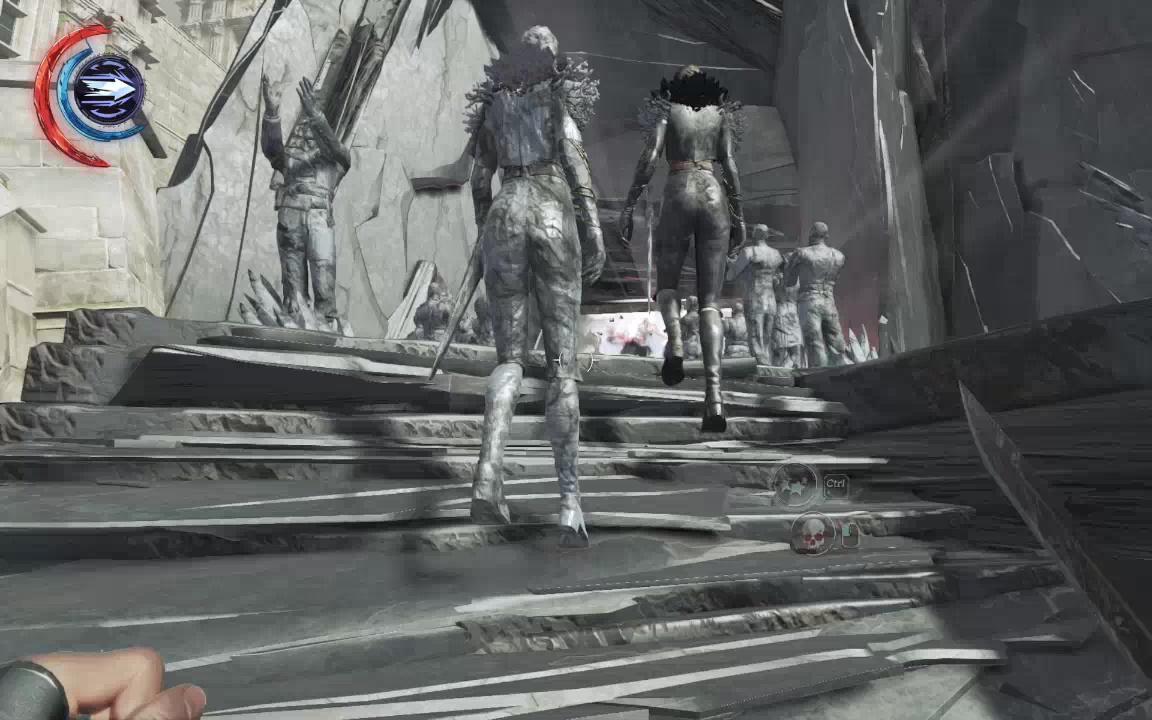
Another option is to finally make use of your pistol's sniper mod, and headshot the replica from cover (does not count as a kill, or a body spotted). You'll know you've gotten all the replicas when a sandstorm springs up, and Delilah teleports to the central floor.

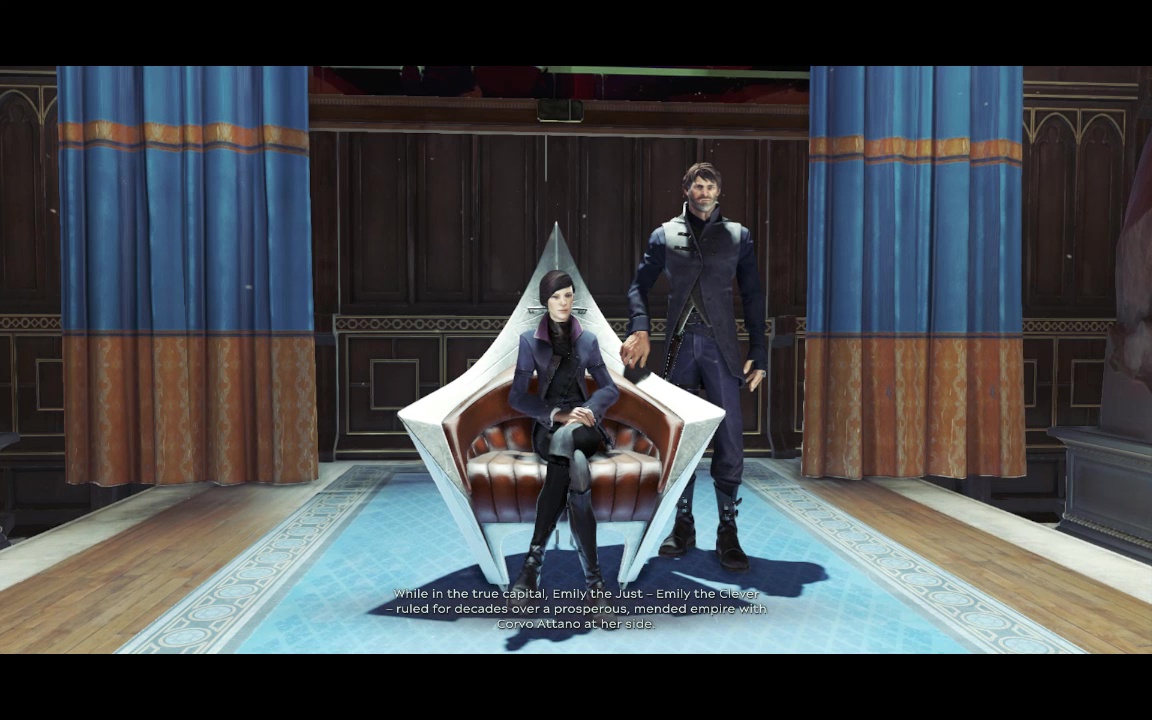
Sneak up, and choke her out. Drag her back through the painting and place her on the corrupted throne, which somehow (it's magic), traps her inside the painting. Touch Emily to restore her to life (also magic), and let the credits roll.
Thanks for reading this walkthrough- be sure to check our guide on Dishonored 2's New Game Plus mode to get the most out of your next visit to Karnaca!