
Part II – The Conservatory
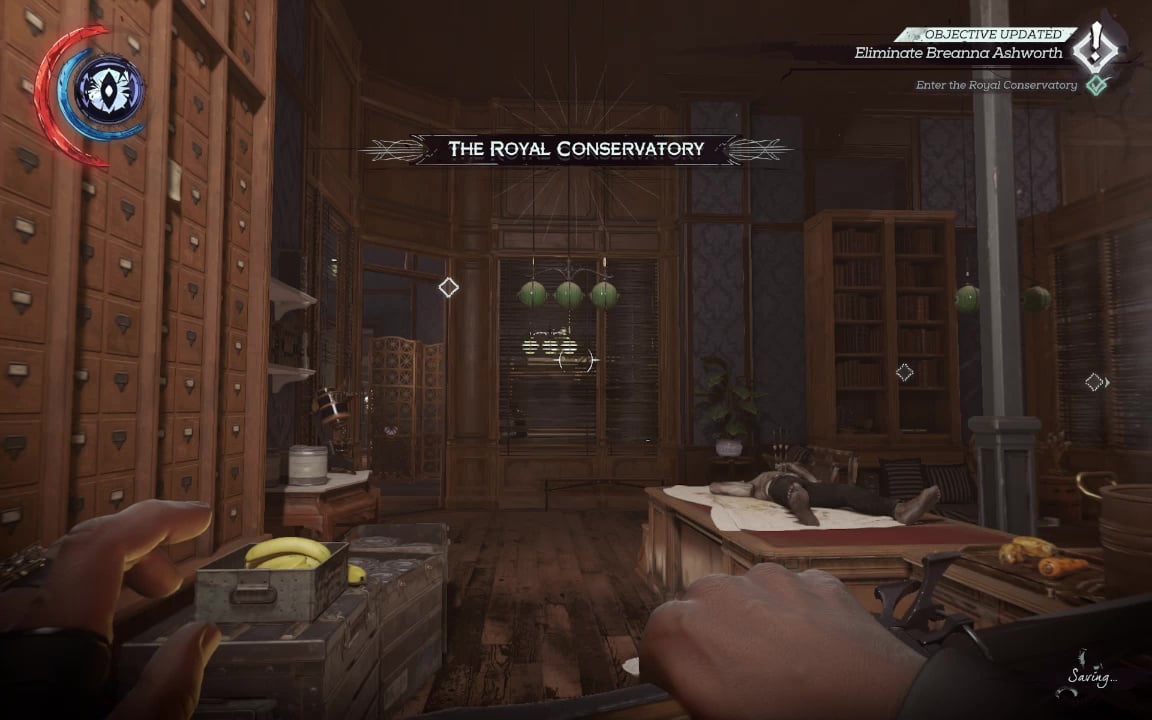
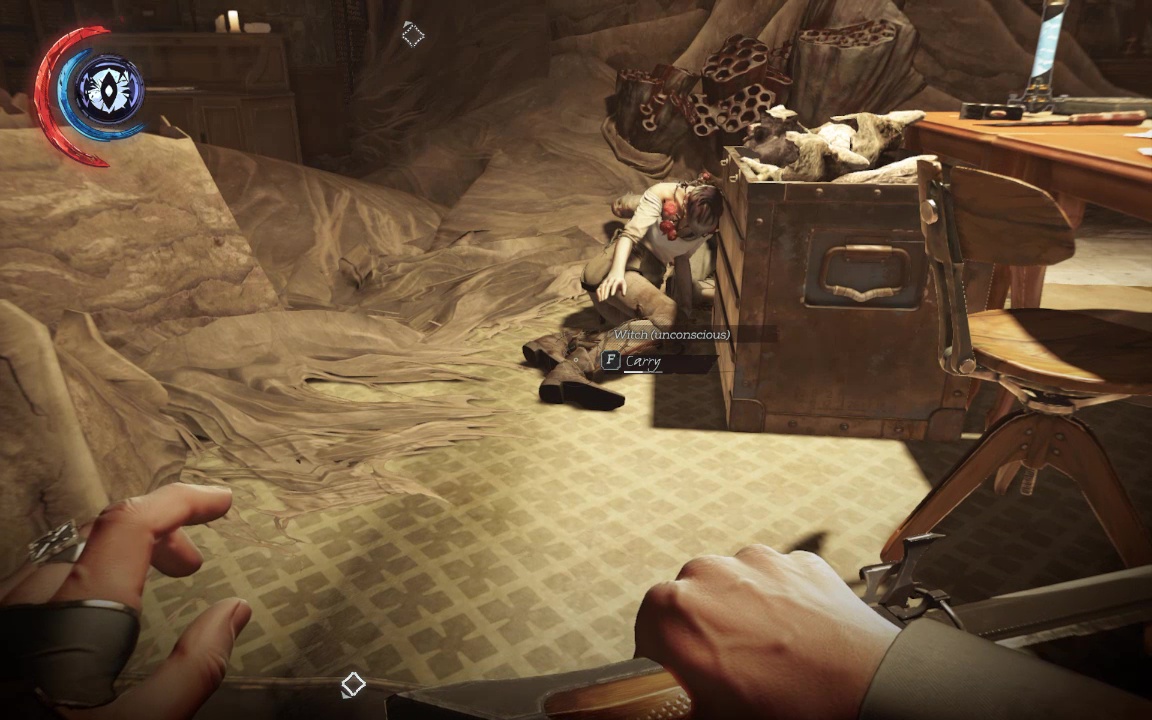
Both to safeguard our Clean Hands status and go for a sneaky-but-perfectly-valid attempt on the Heartbeat Reaper achievement, we're not going to knock out any witches here. Don't worry, there will plenty of time for looting once the main quest is complete.

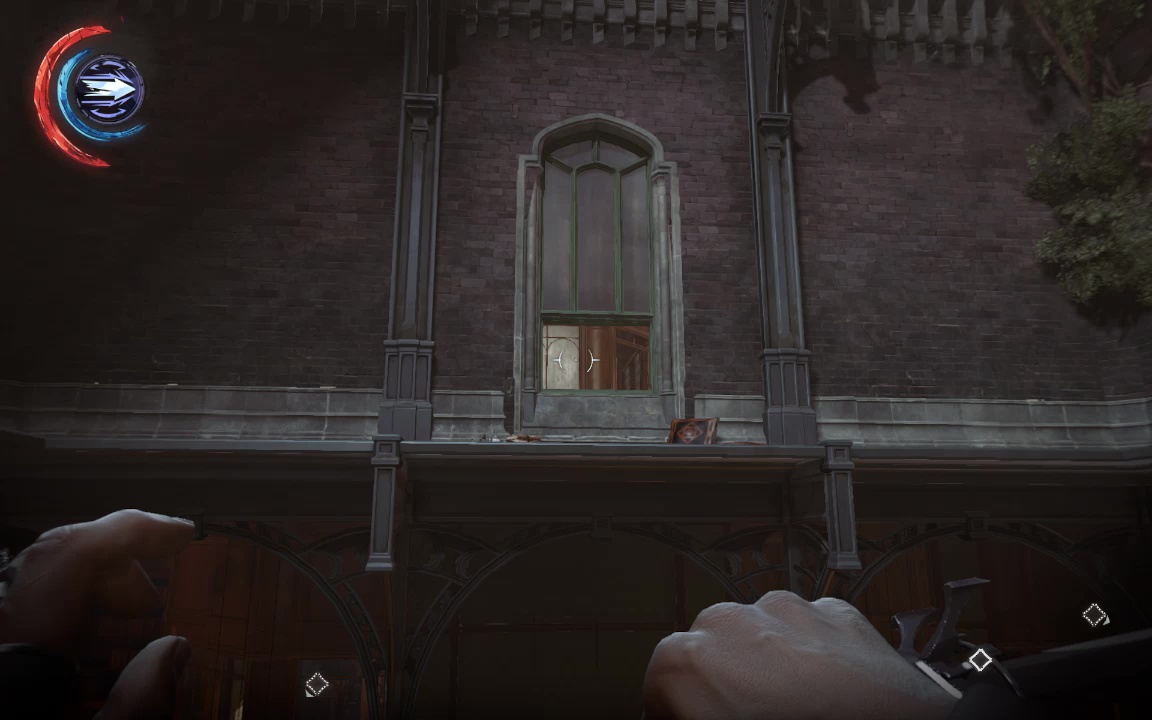
The first thing to to do is get some altitude- Blink or climb up the railings and bookcases, then enter the main chamber and use the chandeliers or hanging owl displays to get to the high open window here.
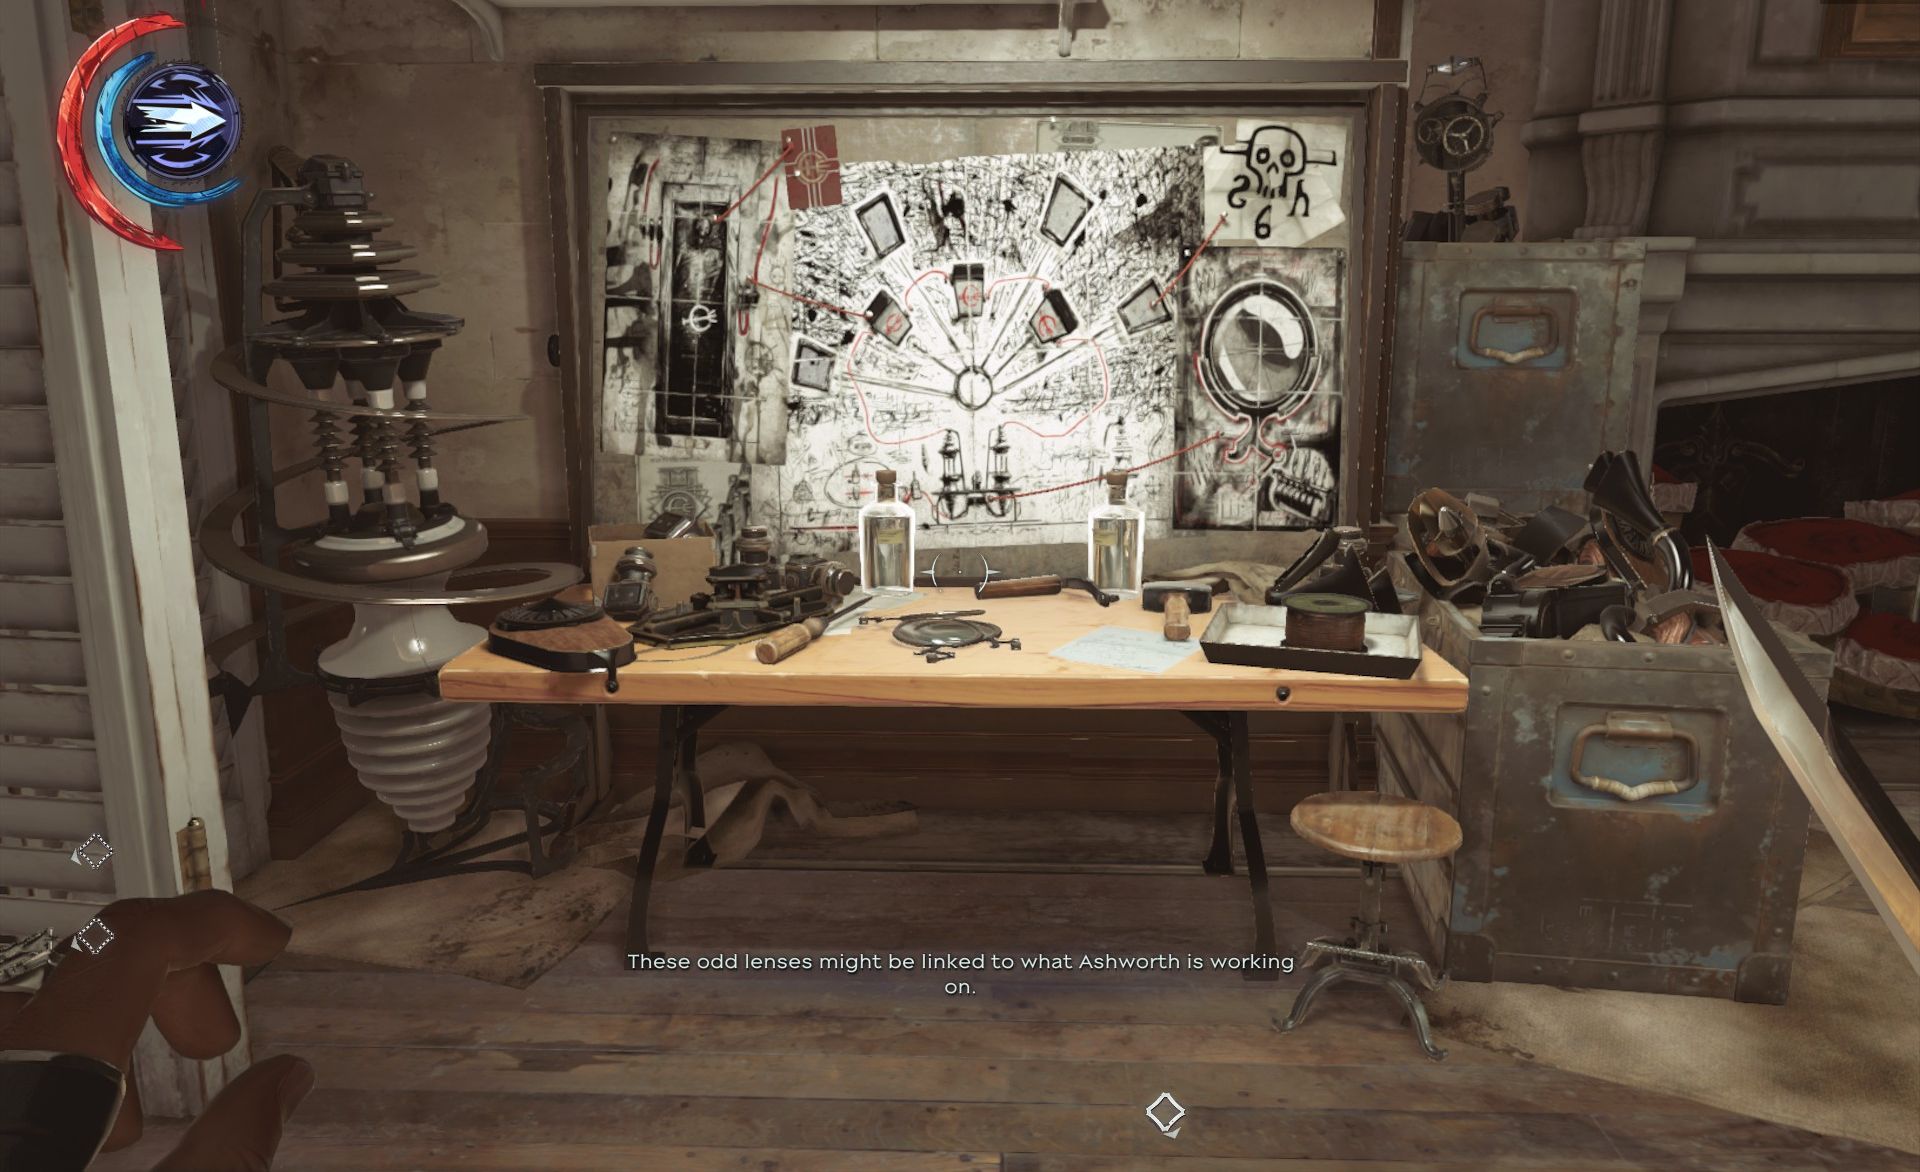
In the room with a grisly body tacked up (Breanna's lab, naturally), find some flawed lenses, and a note explaining how these flawed lenses can be used to cut Breanna off from the Void, and Delilah's power. Quelle intrigue.
Return to the main chamber, and hop bookcase tops until you reach the Oraculum.
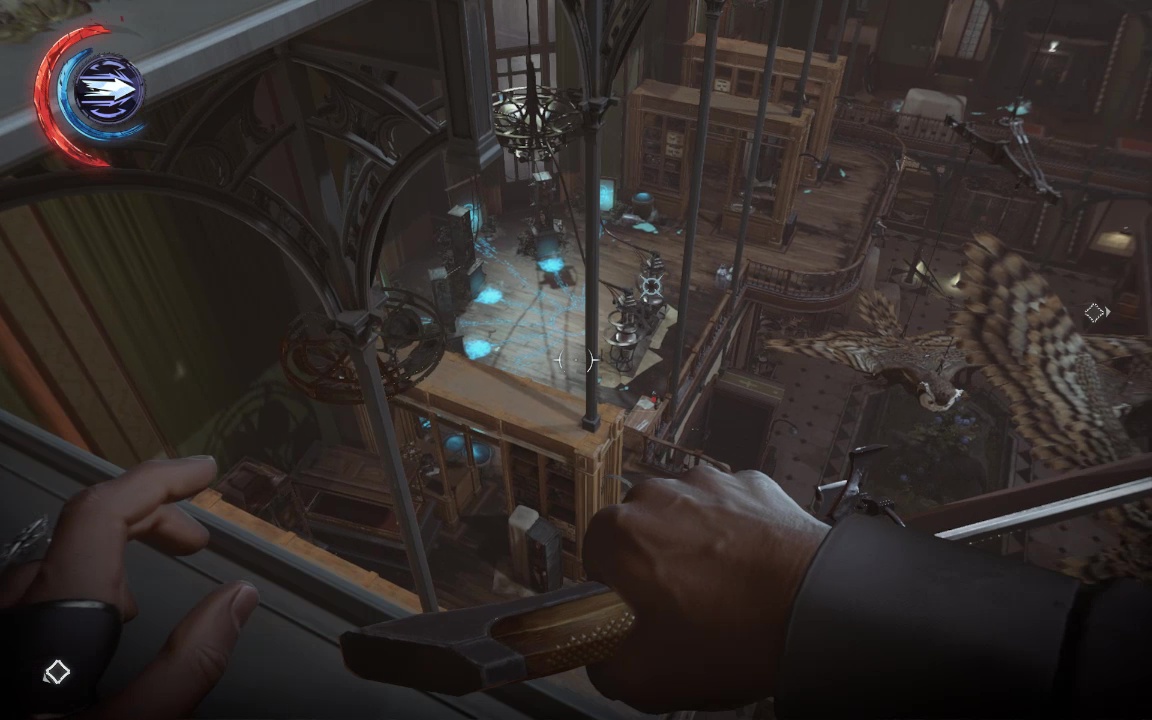
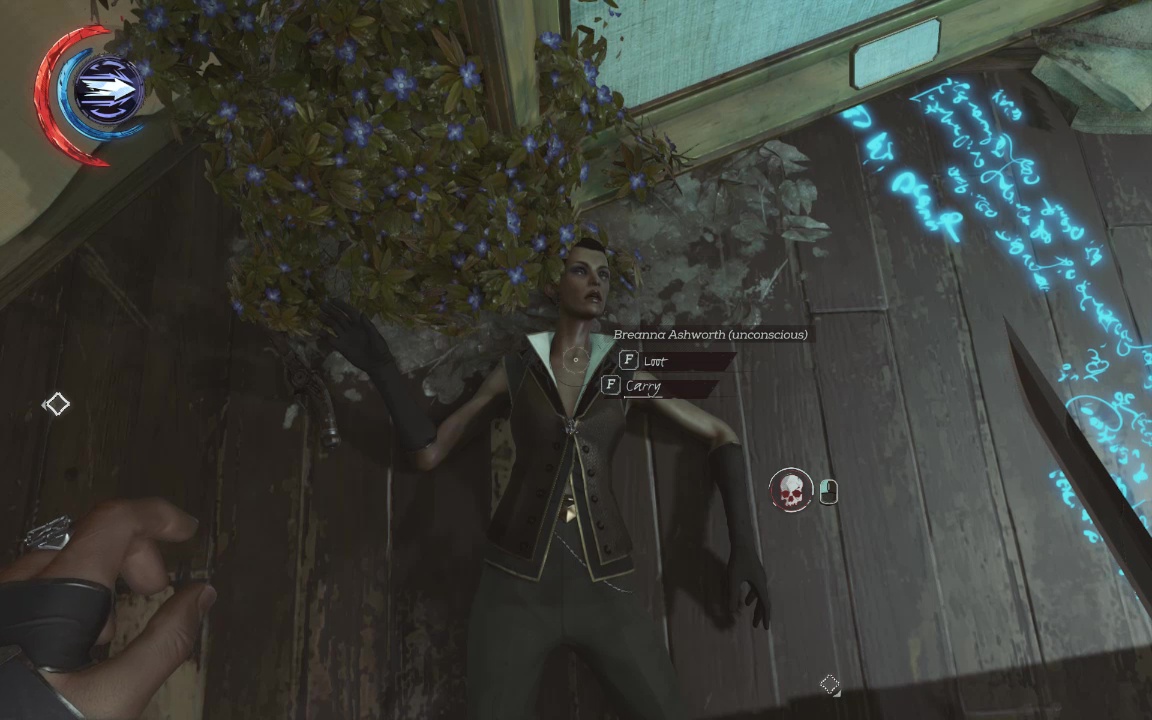
Wait for your moment, then dash down. If you have the time, pull the lever before messing with the lenses. Doing this three times, and listening to the resultant audio, is worth the 'Oracular Echoes' achievement. When ready, install the lenses, and pull the lever one last time. This will depower all the witches,kocking them out, and summon Breanna. Use Blink to drop-stop her, and loot her body for two bonecharms (Bonecharm 4,5/9).
And this is just the beginning of our lootings.
Zip back up to the high window, and follow the Heart to a nearby bonecharm (Bonecharm 6/9).
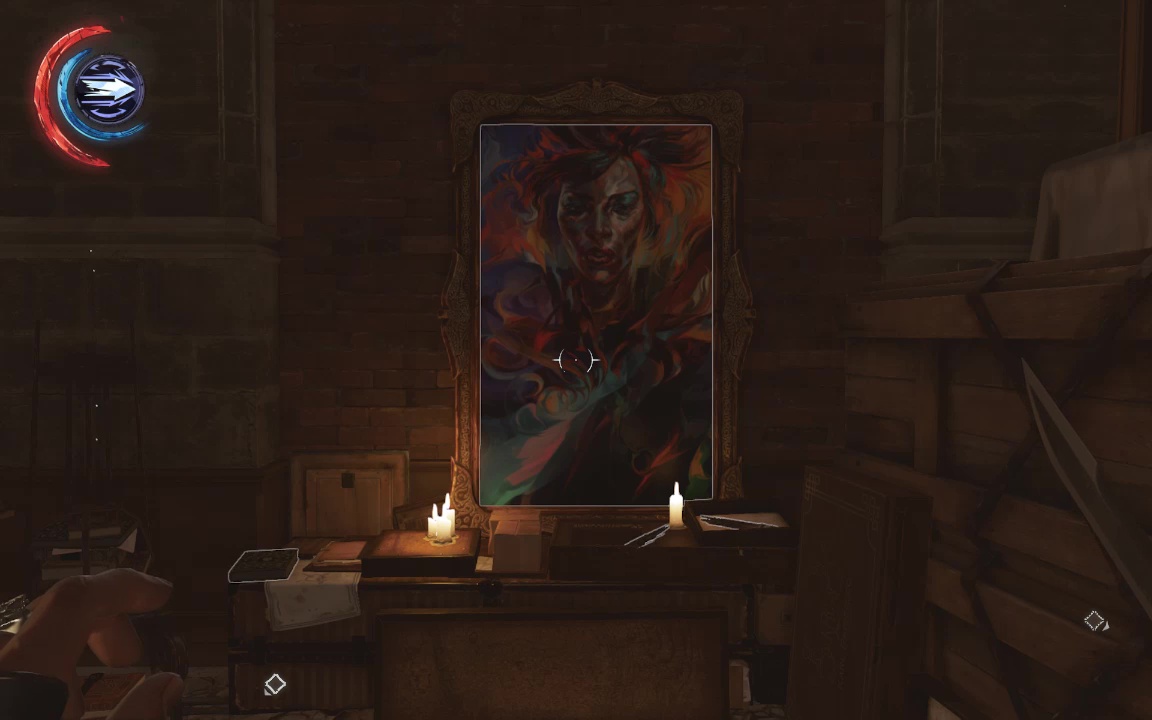
Go down the stairs toward Breanna's office for a new painting (Painting 2/3)
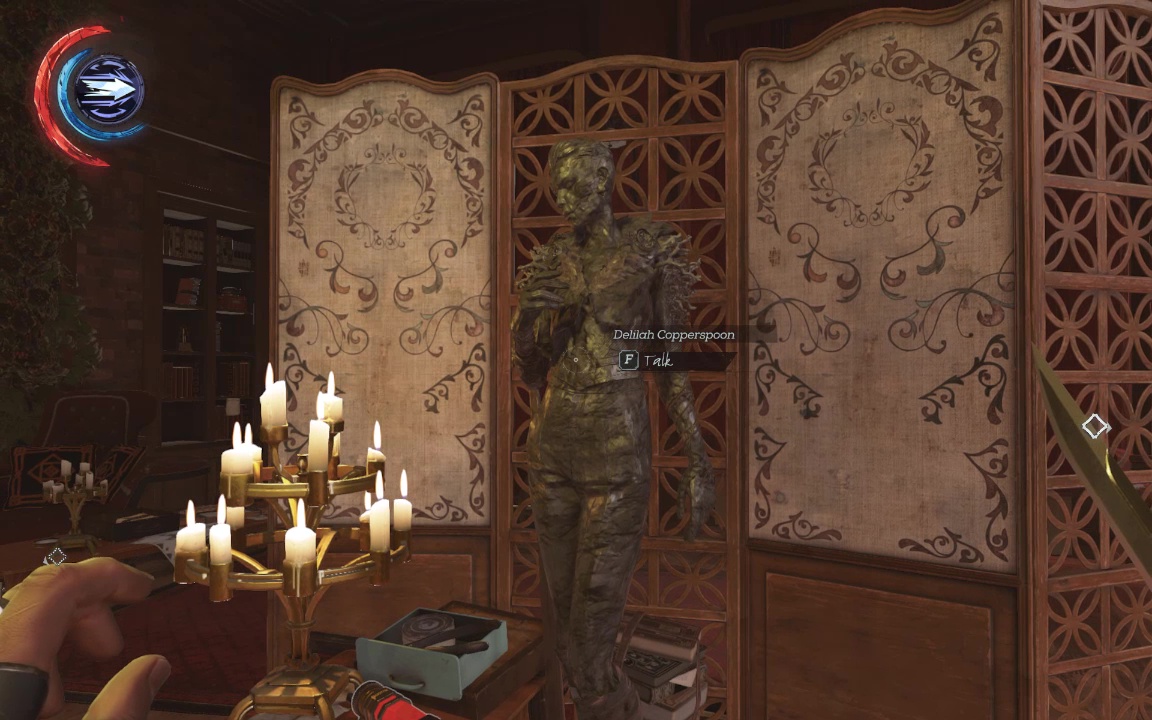
Enter the main office here and talk to the statue of Deliliah to trigger a Special Action. This seems like a tactically poor choice, announcing your mission mid-operation, plus you're taunting the woman who has boundless occult power *and* your daughter for a plaything, but hey. Special Action.
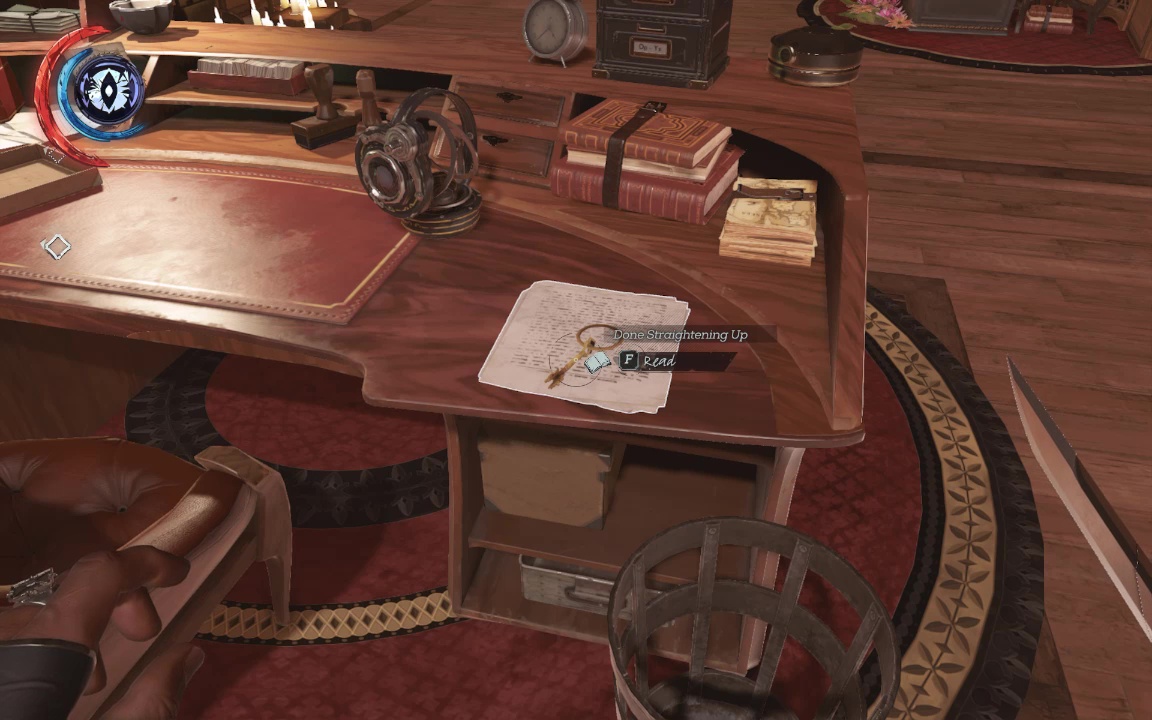
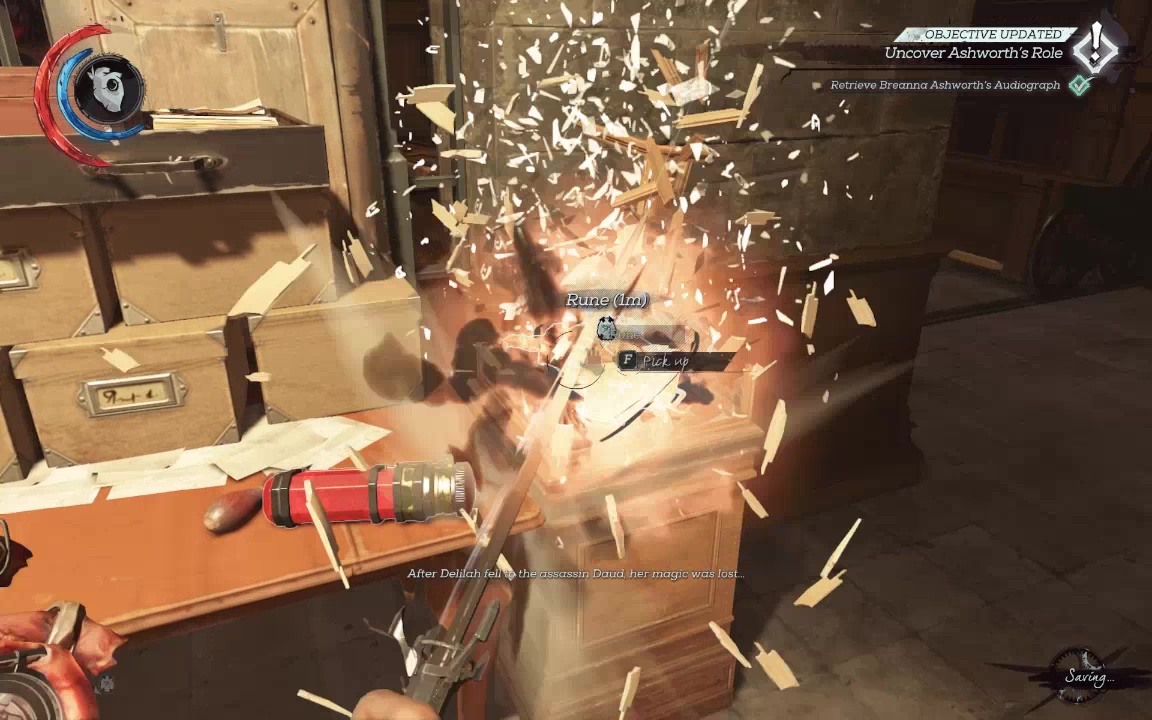
Pick up the documents and key on Brenna's desk to move that objective along, then go back up the stairs and into the main room. Follow the Heart to a Rune on this Level (Rune 3/6)
Also here is a whalebone sword, which will turn up in your souvenir shelf if you snag it.
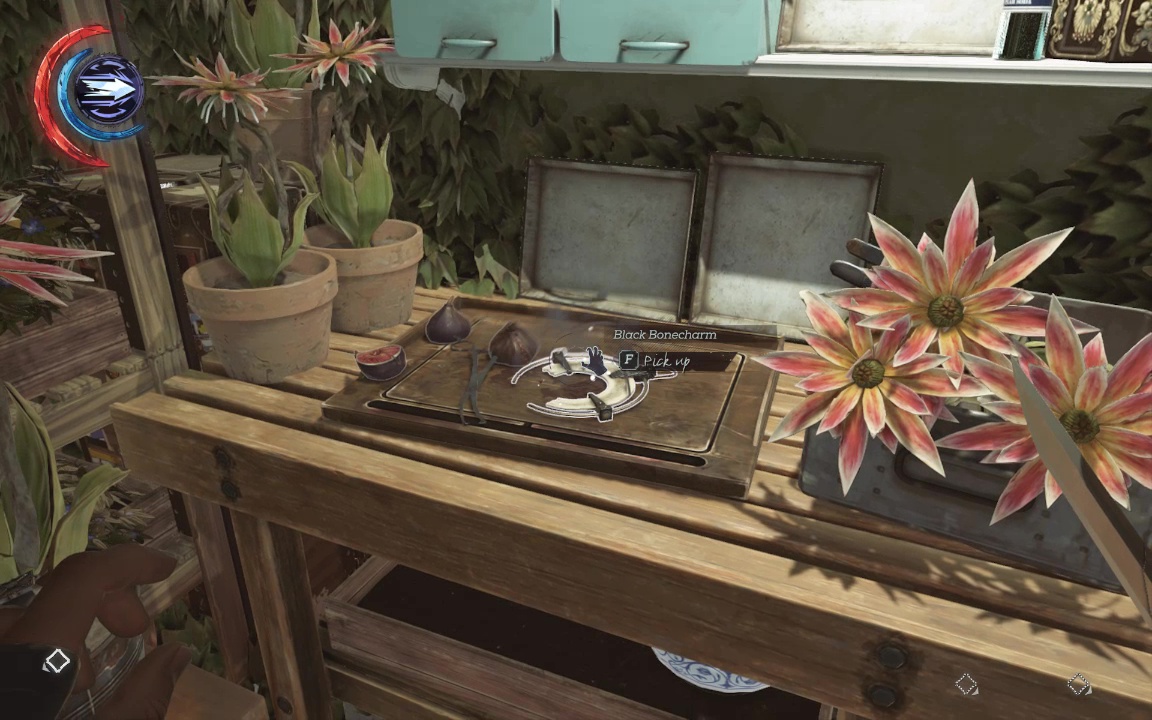
Before descending lower, you may also want to call the elevator car up here (to level 3), jump up through the hatch and snag another Bonecharm from its hidey hole here (Bonecharm 7/9, Captain)
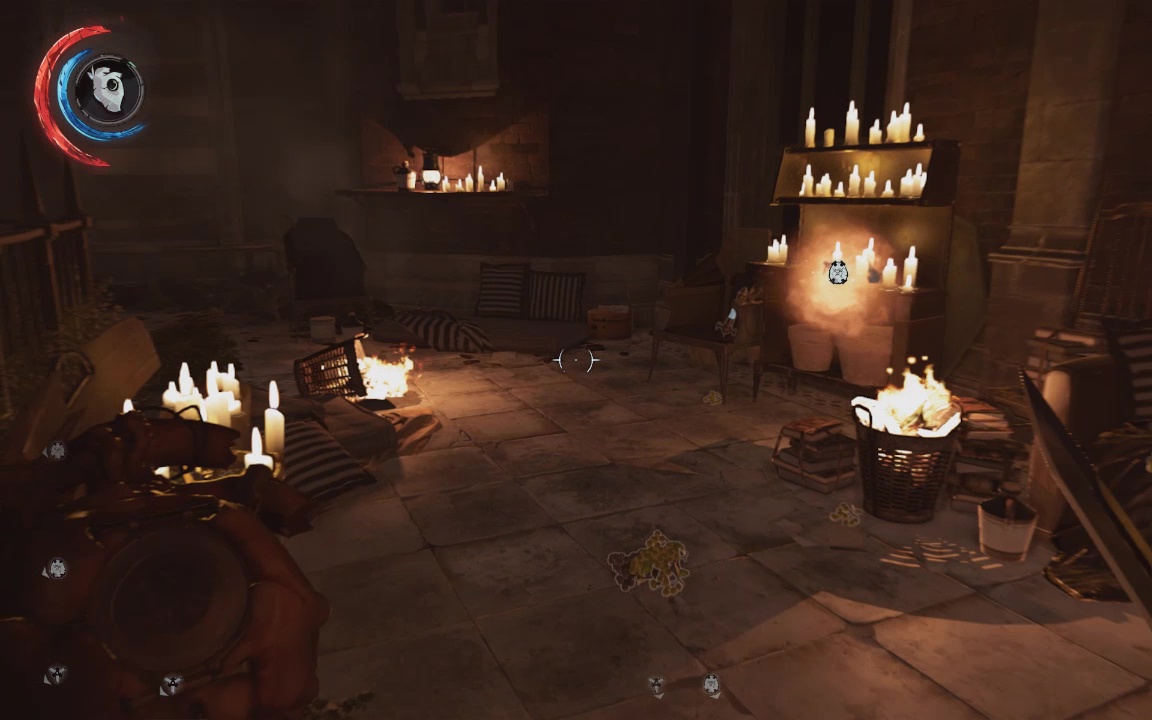
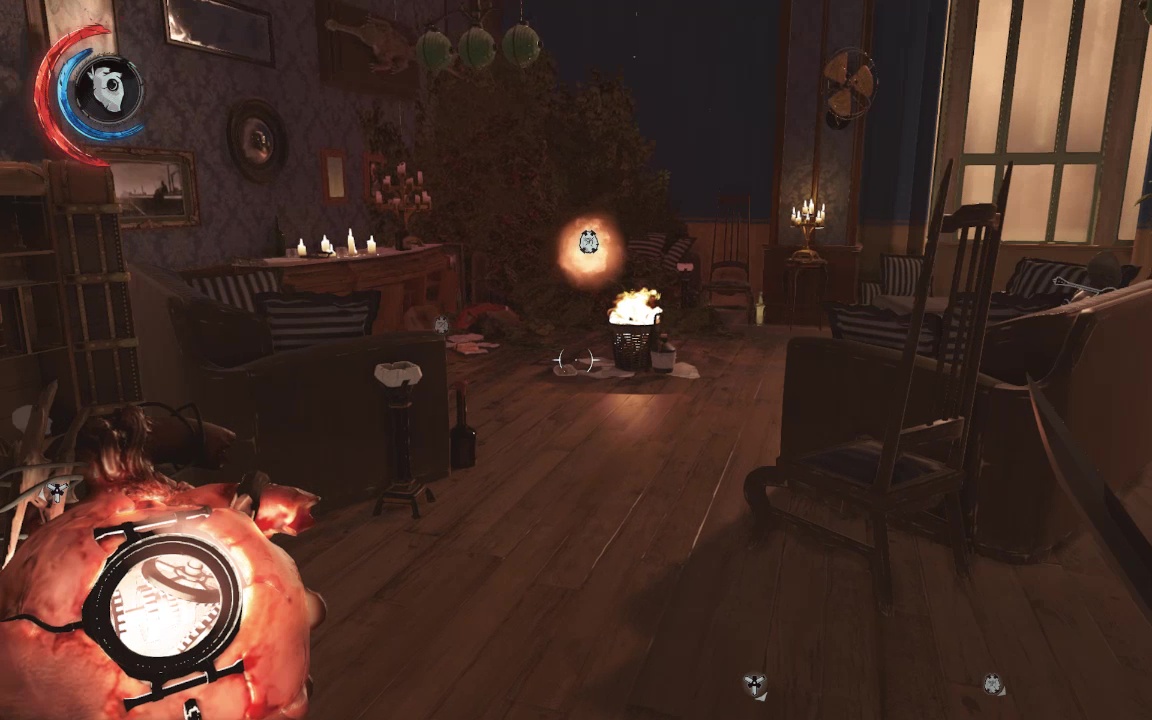
After that- well, you're surrounded by a Conservatory's worth of treasure, and all the hostiles are unconscious. Do a thorough floor-by floor search, picking up anything with resale value and using the Heart to lead you to nearby charms & runes. These will include any of the above you haven't snagged yet, as well as-
A rune on the second floor, on a bed of plants across from across from a crossbow-bolted body on a couch (Rune 4/6).
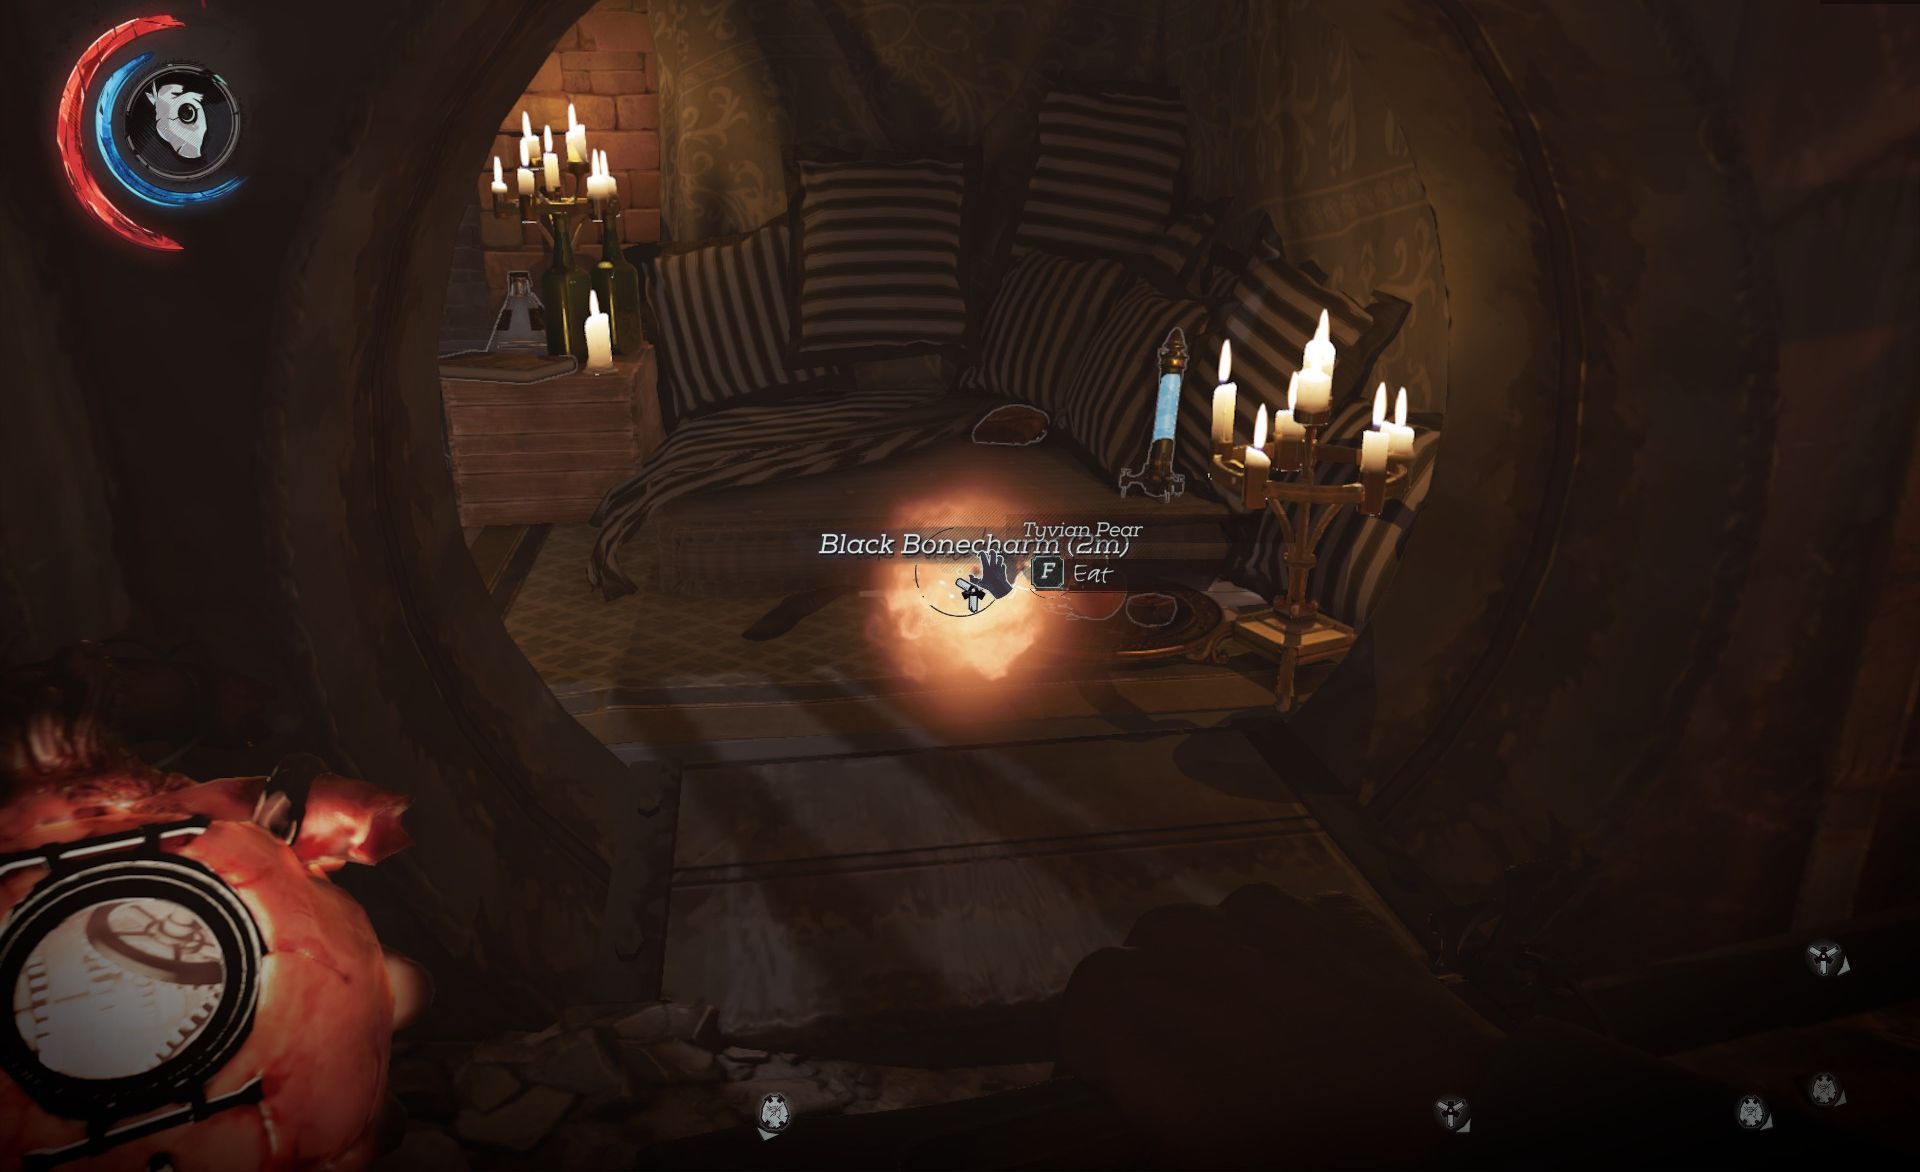
Past the hives on the top level (you can use grenades to clear these- there are two replacements in the workshop downstairs), break the glass to enter a classroom with some feathers and a charm (Bonecharm 8/9)
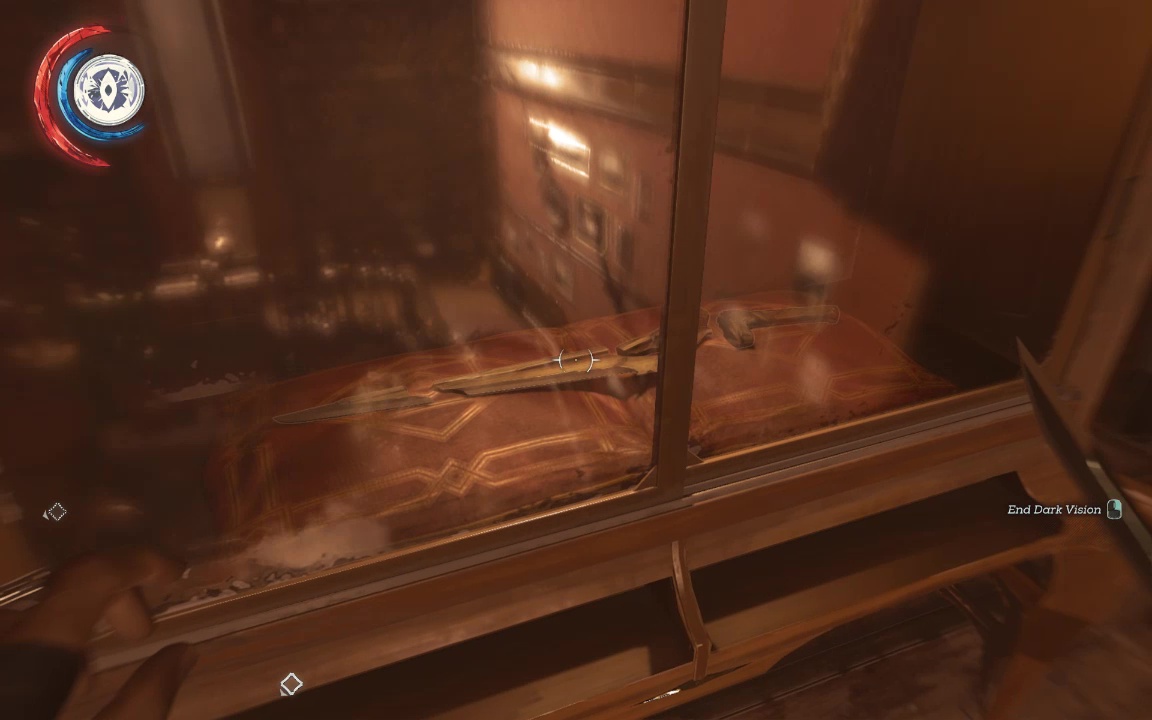
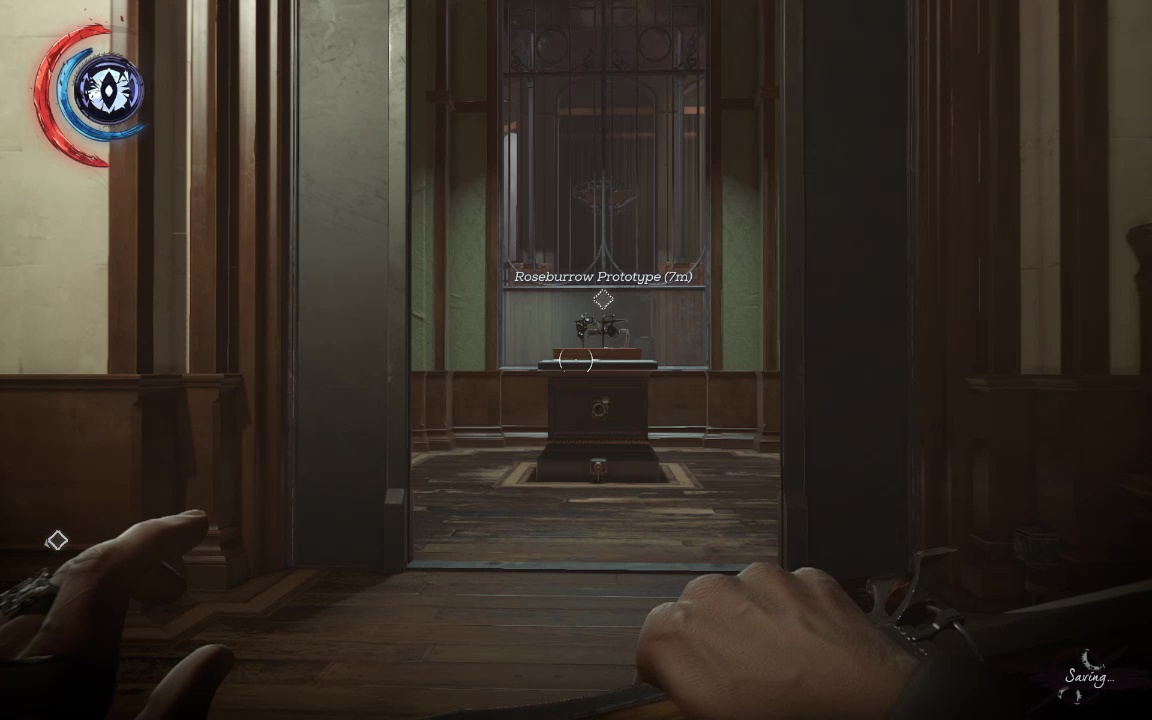
For dealing with the hives, there are also bottles of flammables in the broken case near the entrance to Breanna's office, by an unconscious witch on the ground floor, and tons near the archive. On the ground floor workshop, in additions to some grenades and other sundries, you'll find the blueprints for triggered housing (Blueprints 2/3). The last major item worthy of your interest is the Roseburrow Prototype, hidden behind glass on the second floor.
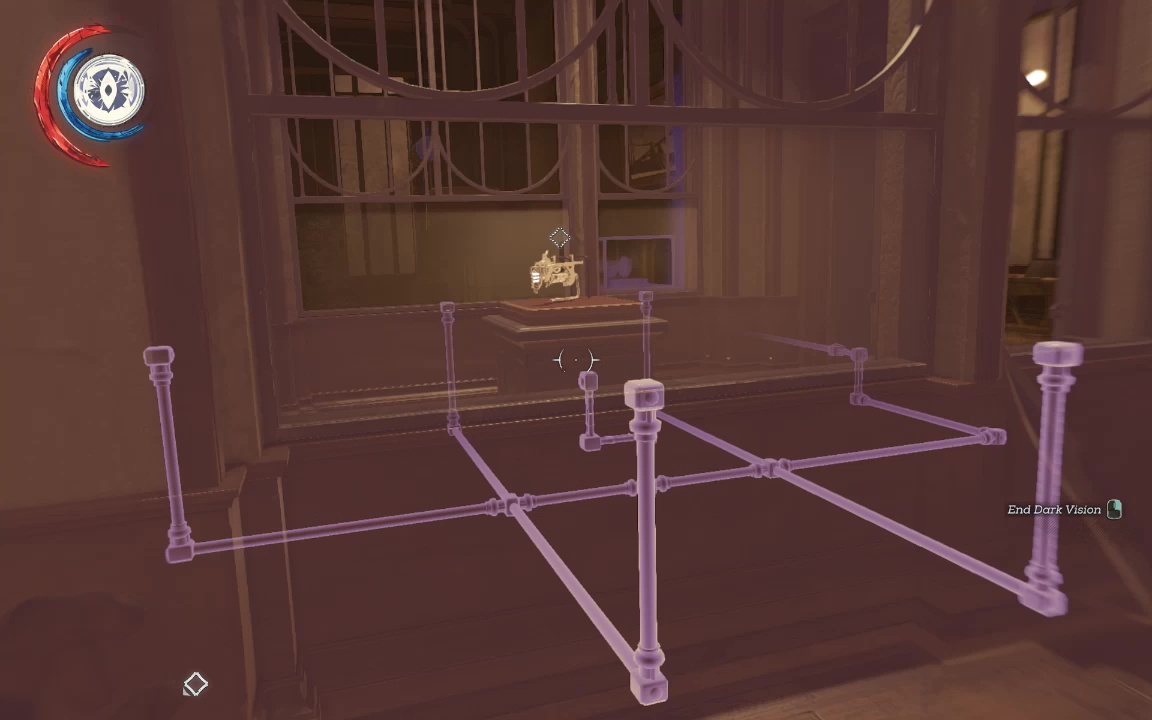
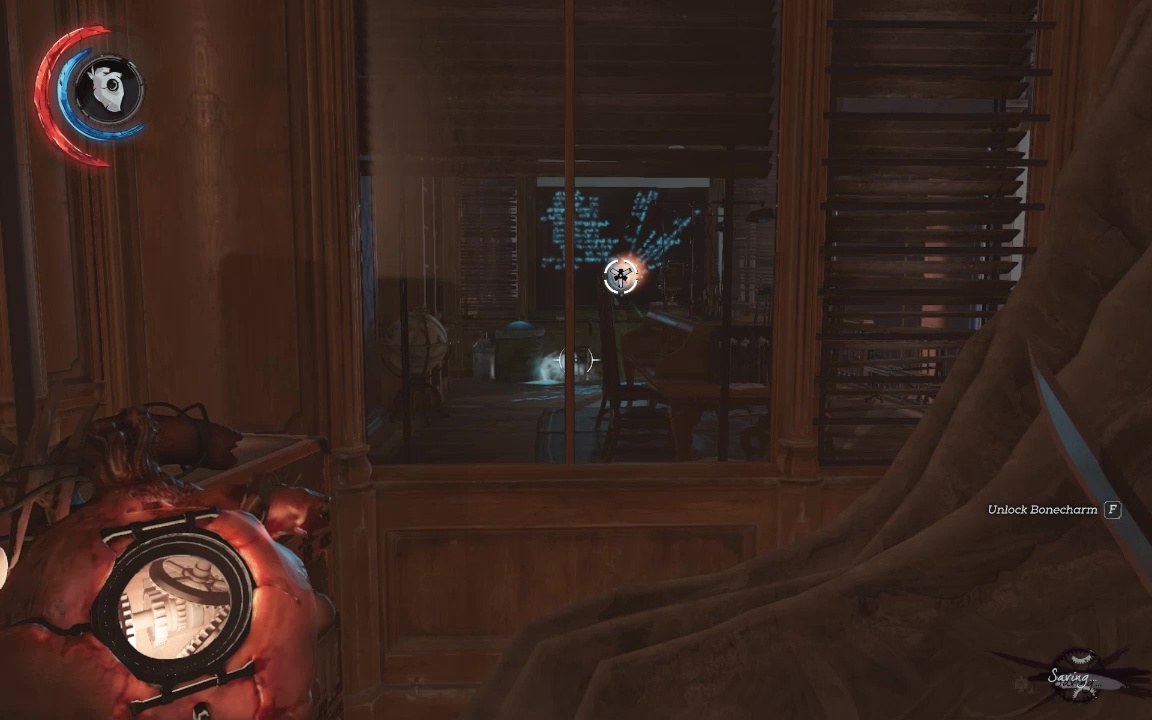
Don't smash the glass to get in- as Darkvision shows, the windows are all wired up to a security system. Instead find the door round back that claims to need a Security Room Key. It's unclear how Corvo knows this, especially since it's useless intel- the Key is actually behind the door.
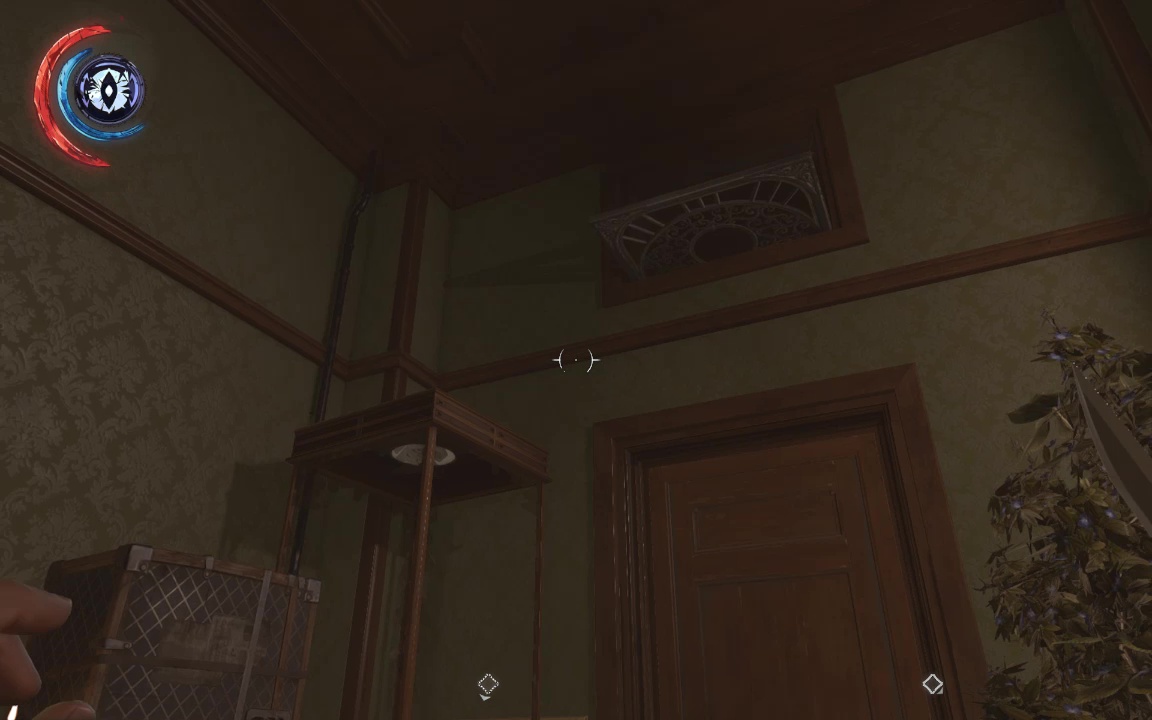
Climb or Blink up through the ventilation window to loot the key from the guard here, then snag the Prototype. Disable the alarm here or don't- it goes off for a few seconds, but no one's left to care.
Once you've cleaned out the ground and upper floors, go down the stairs to the Restricted Area. There is, disappointingly, nothing of interest in the custodian's room, but go down another level and look for the Quartermaster's office.
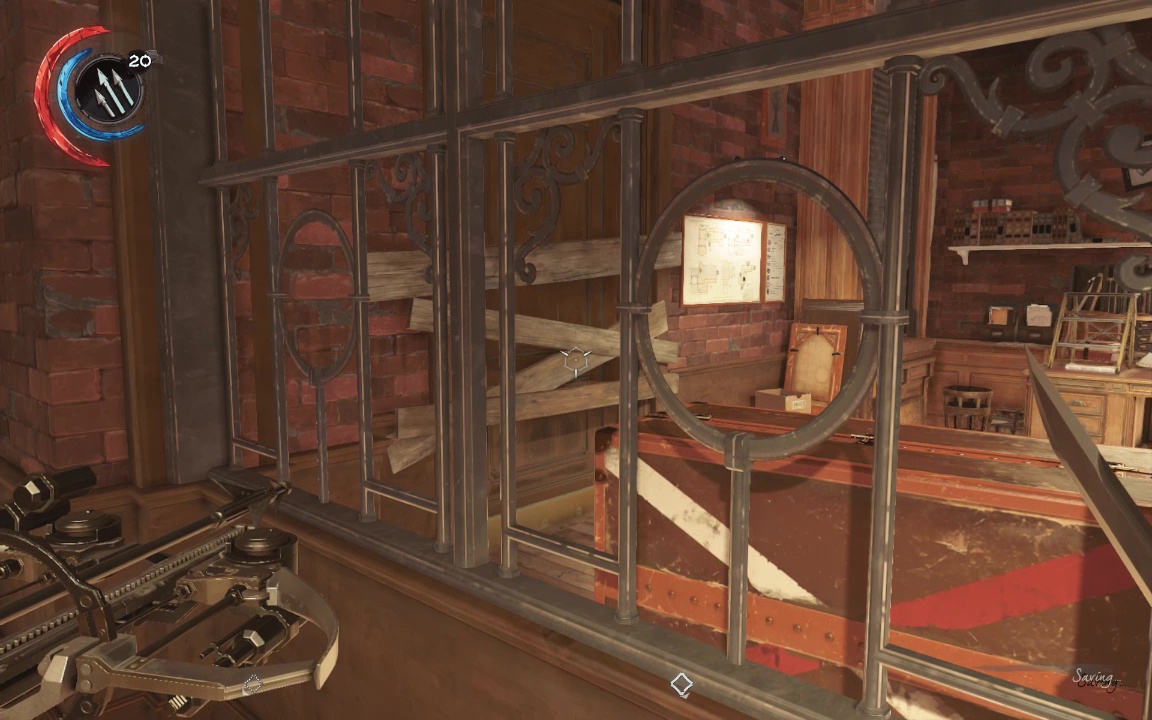
It's boarded from the inside, but these can be dismantled with a single crossbow shot through the window (if you have the Hardened Bolts upgrade).
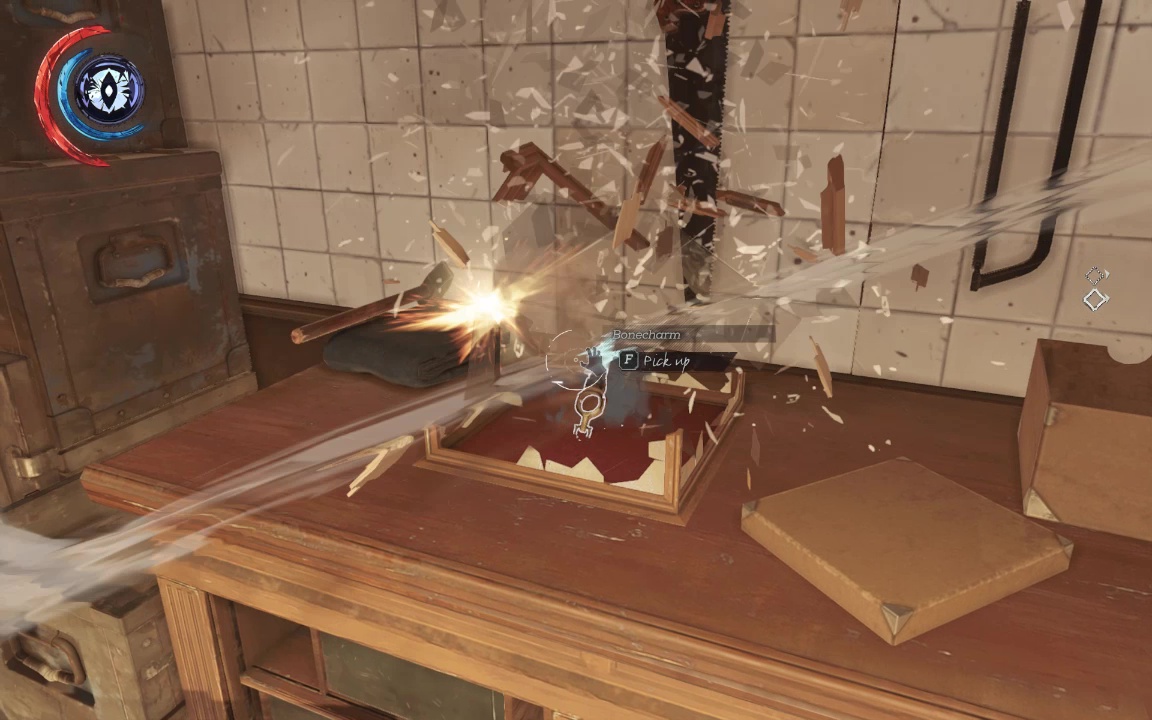
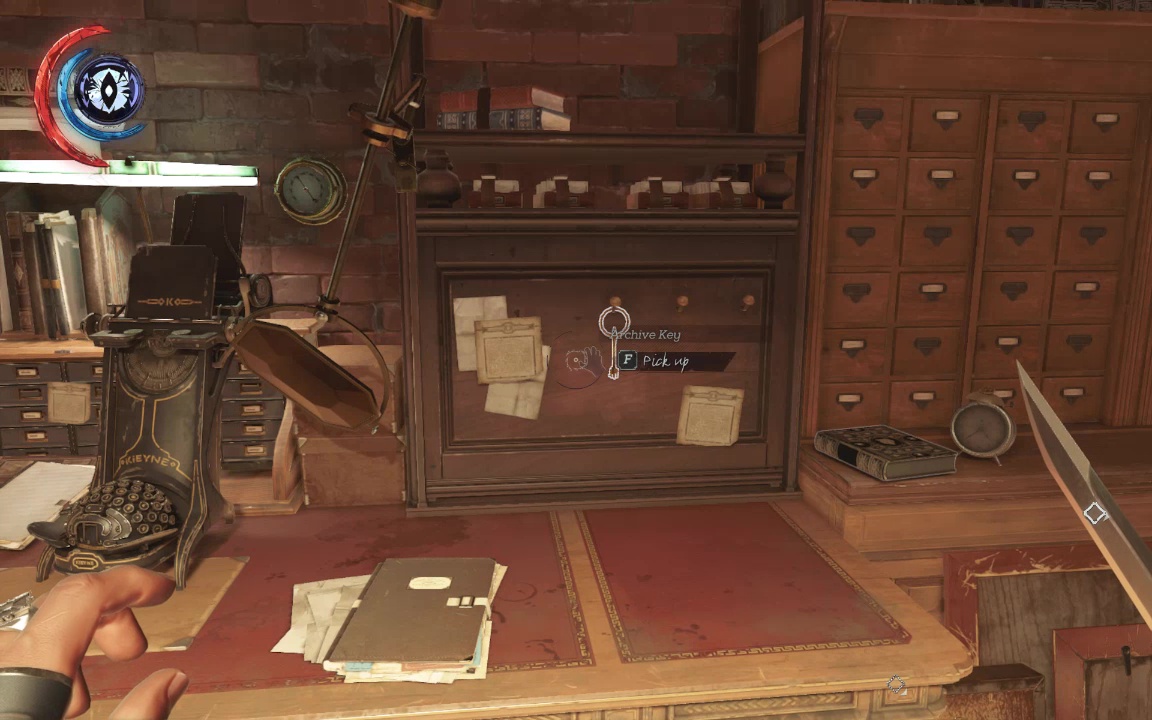
Smash a glass case on the desk for the final charm (Bonecharm 9/9) You'll also want to grab the key to the Archive, hanging on a board here.
Exercise care with the hives once you reach the basement level. There are a few unconscious witches here who may be accidentally immolated when the hives above burn (seriously, even a slight spark will set them off).
If you carefully burn the near hive (there are several flammable bottles towards the elevator), then you can just get close enough to drag the unholy abominations to safety before the torching the other hive (another bottle of flammables on the table here).
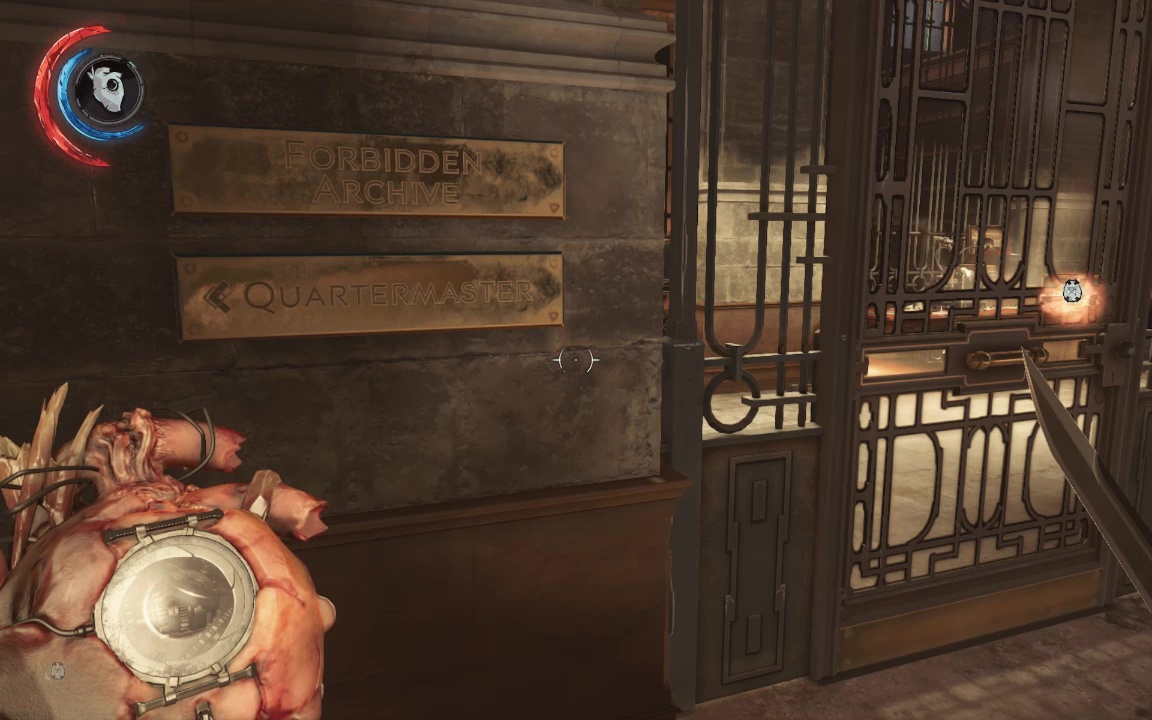
The brass plaque to the Archive is actually labeled 'Forbidden Archive.' Nice. Unlock the door and play the audiograph to complete a mission objective, and smashy smashy another case for a Rune (Rune 5/6).
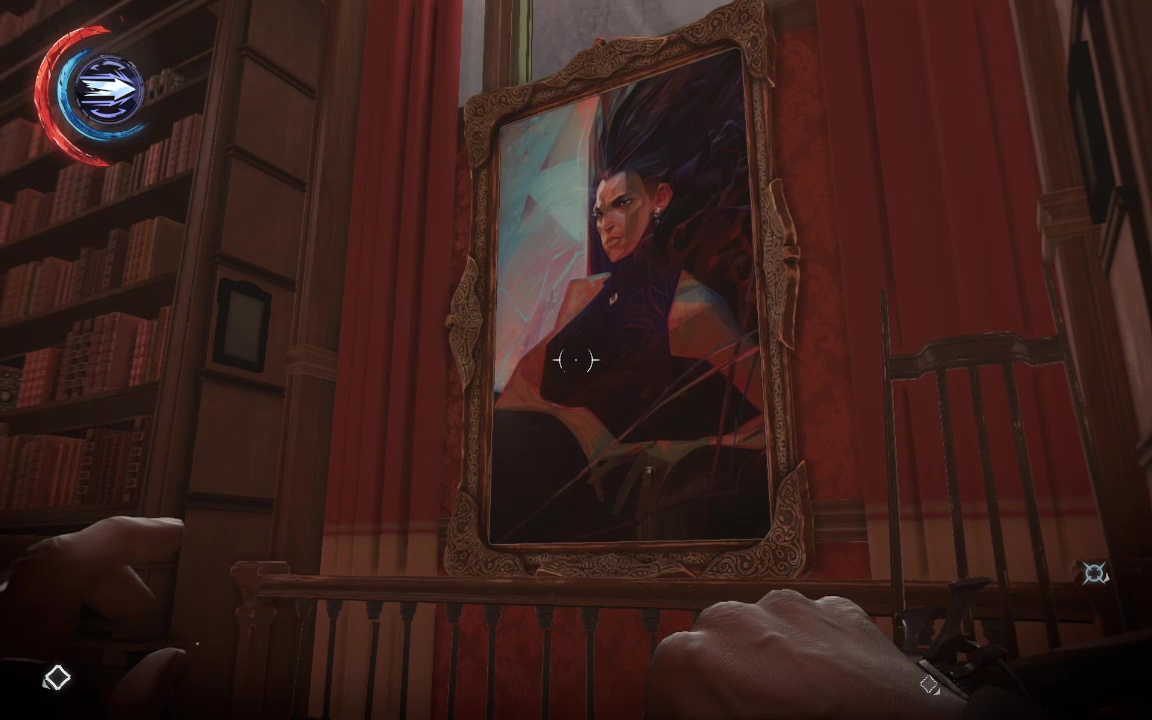
Blink up and over the bookcases here for a psychedelic painting (Painting 3/3)
Take one last pass through the Conservatory looking for things you missed (watch out for the stun mine display- they're armed) before heading back out to the black market in Cyria Gardens.