
Part II -The Dockside, The Black Market & The Condemned House
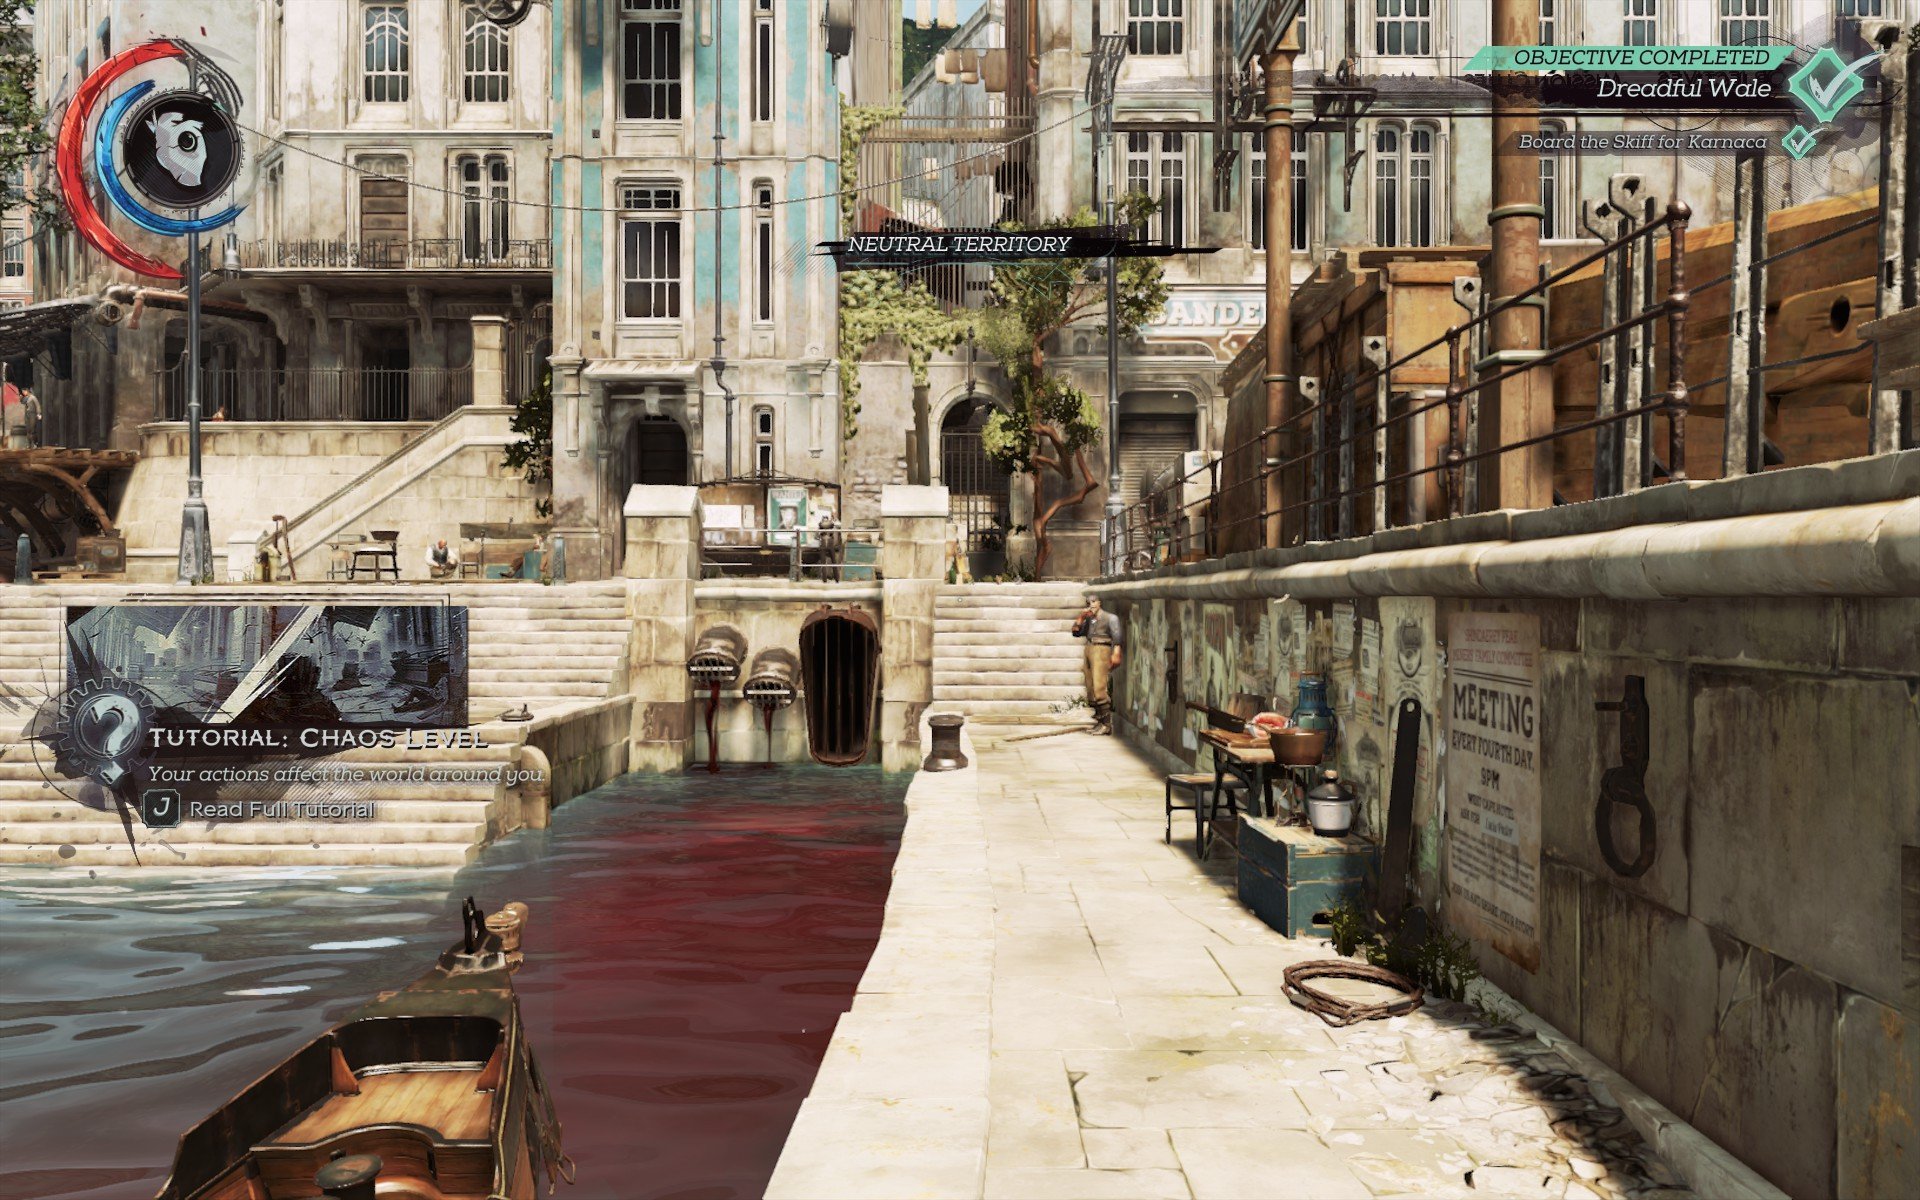
As soon as you reach the dock, pull out the Heart to locate a nearby rune. Luckily, no one bats an eye at the skullfaced stranger with clutching a sword in one hand and gently cradling nothing at all in the other.
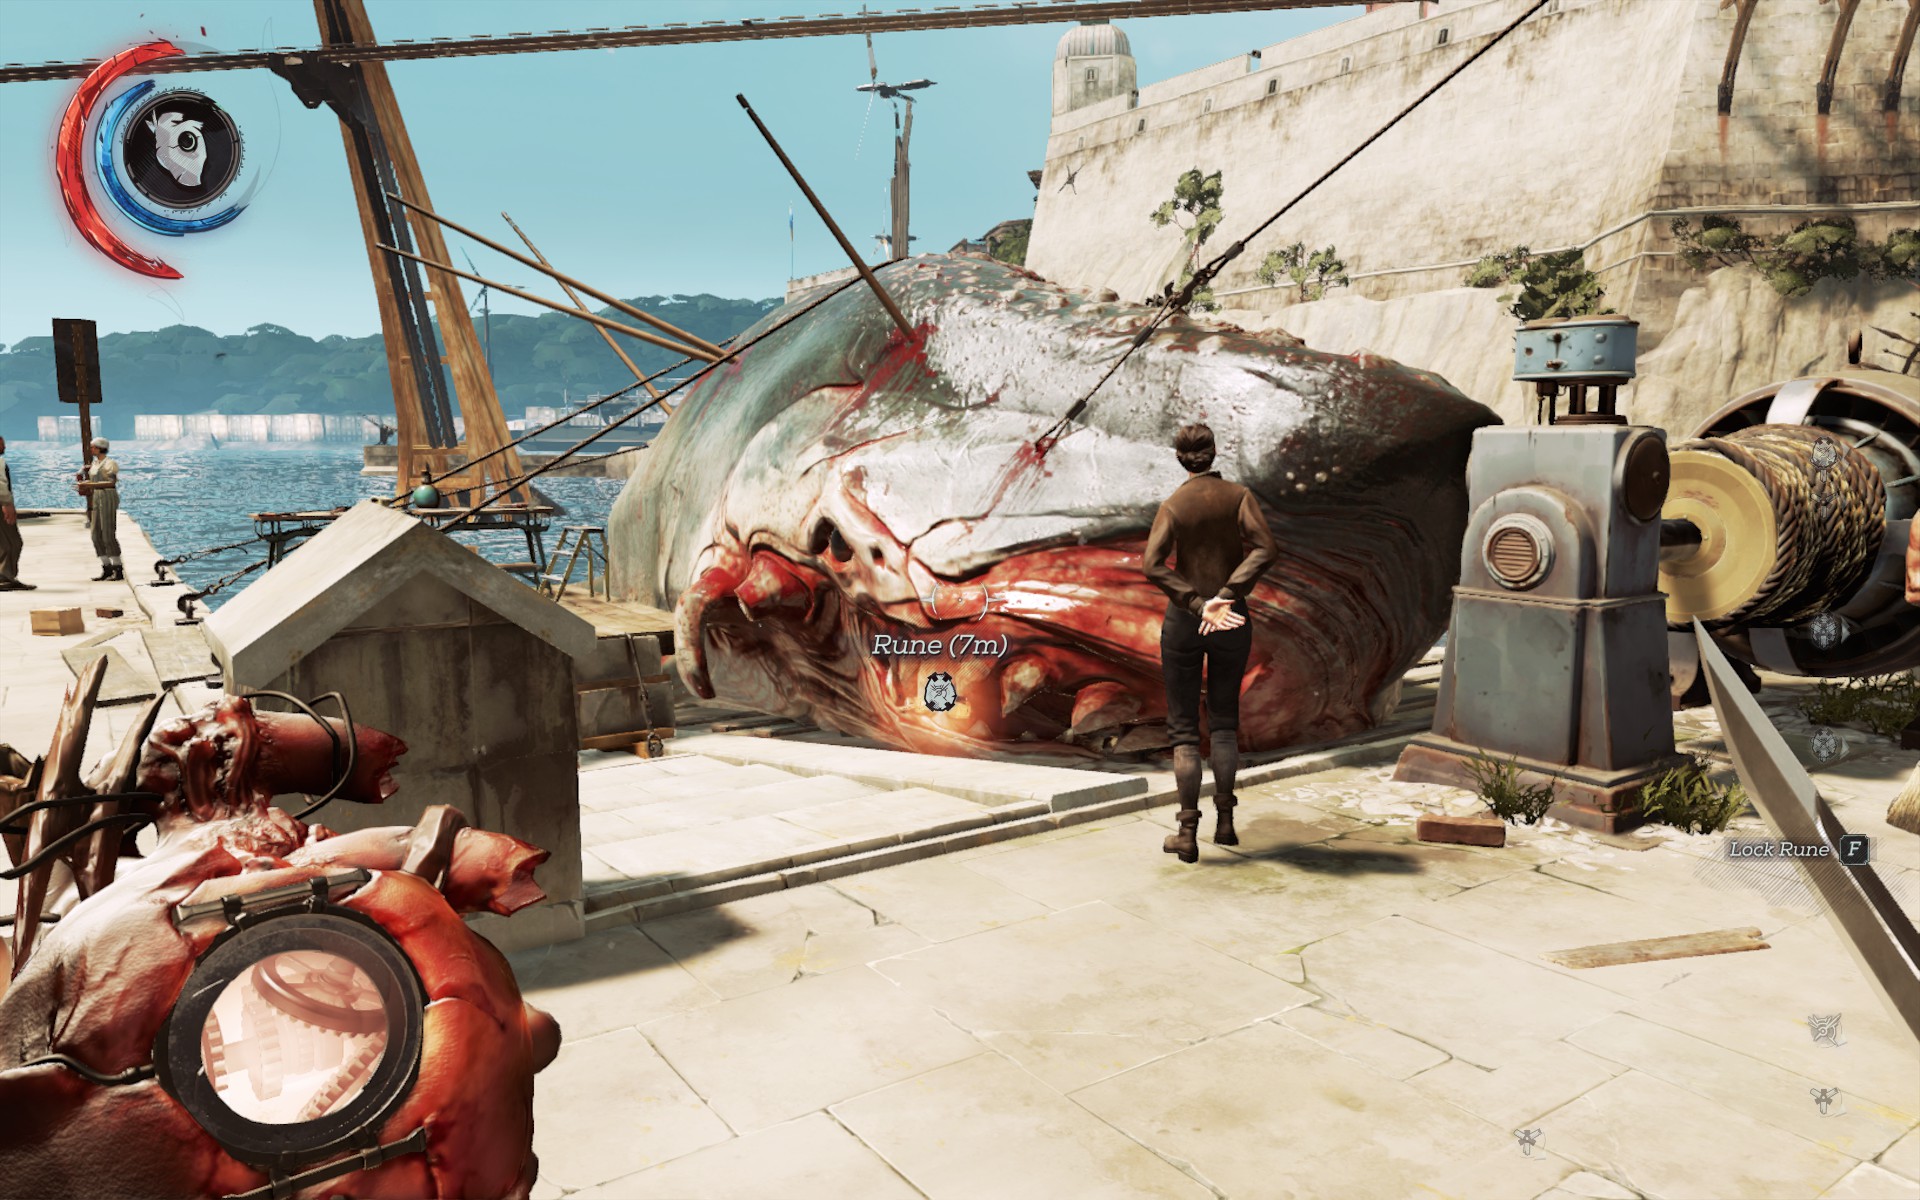
Bear left toward a whale carcass to retrieve the closest rune (Rune 4/10), along with bone and various trinkets from the nearby tables. Go down the pier here to clear out the tiny boat for some modest loot and an audiograph. As you walk back to land, look up. There's a covered awning here with some open windows above.
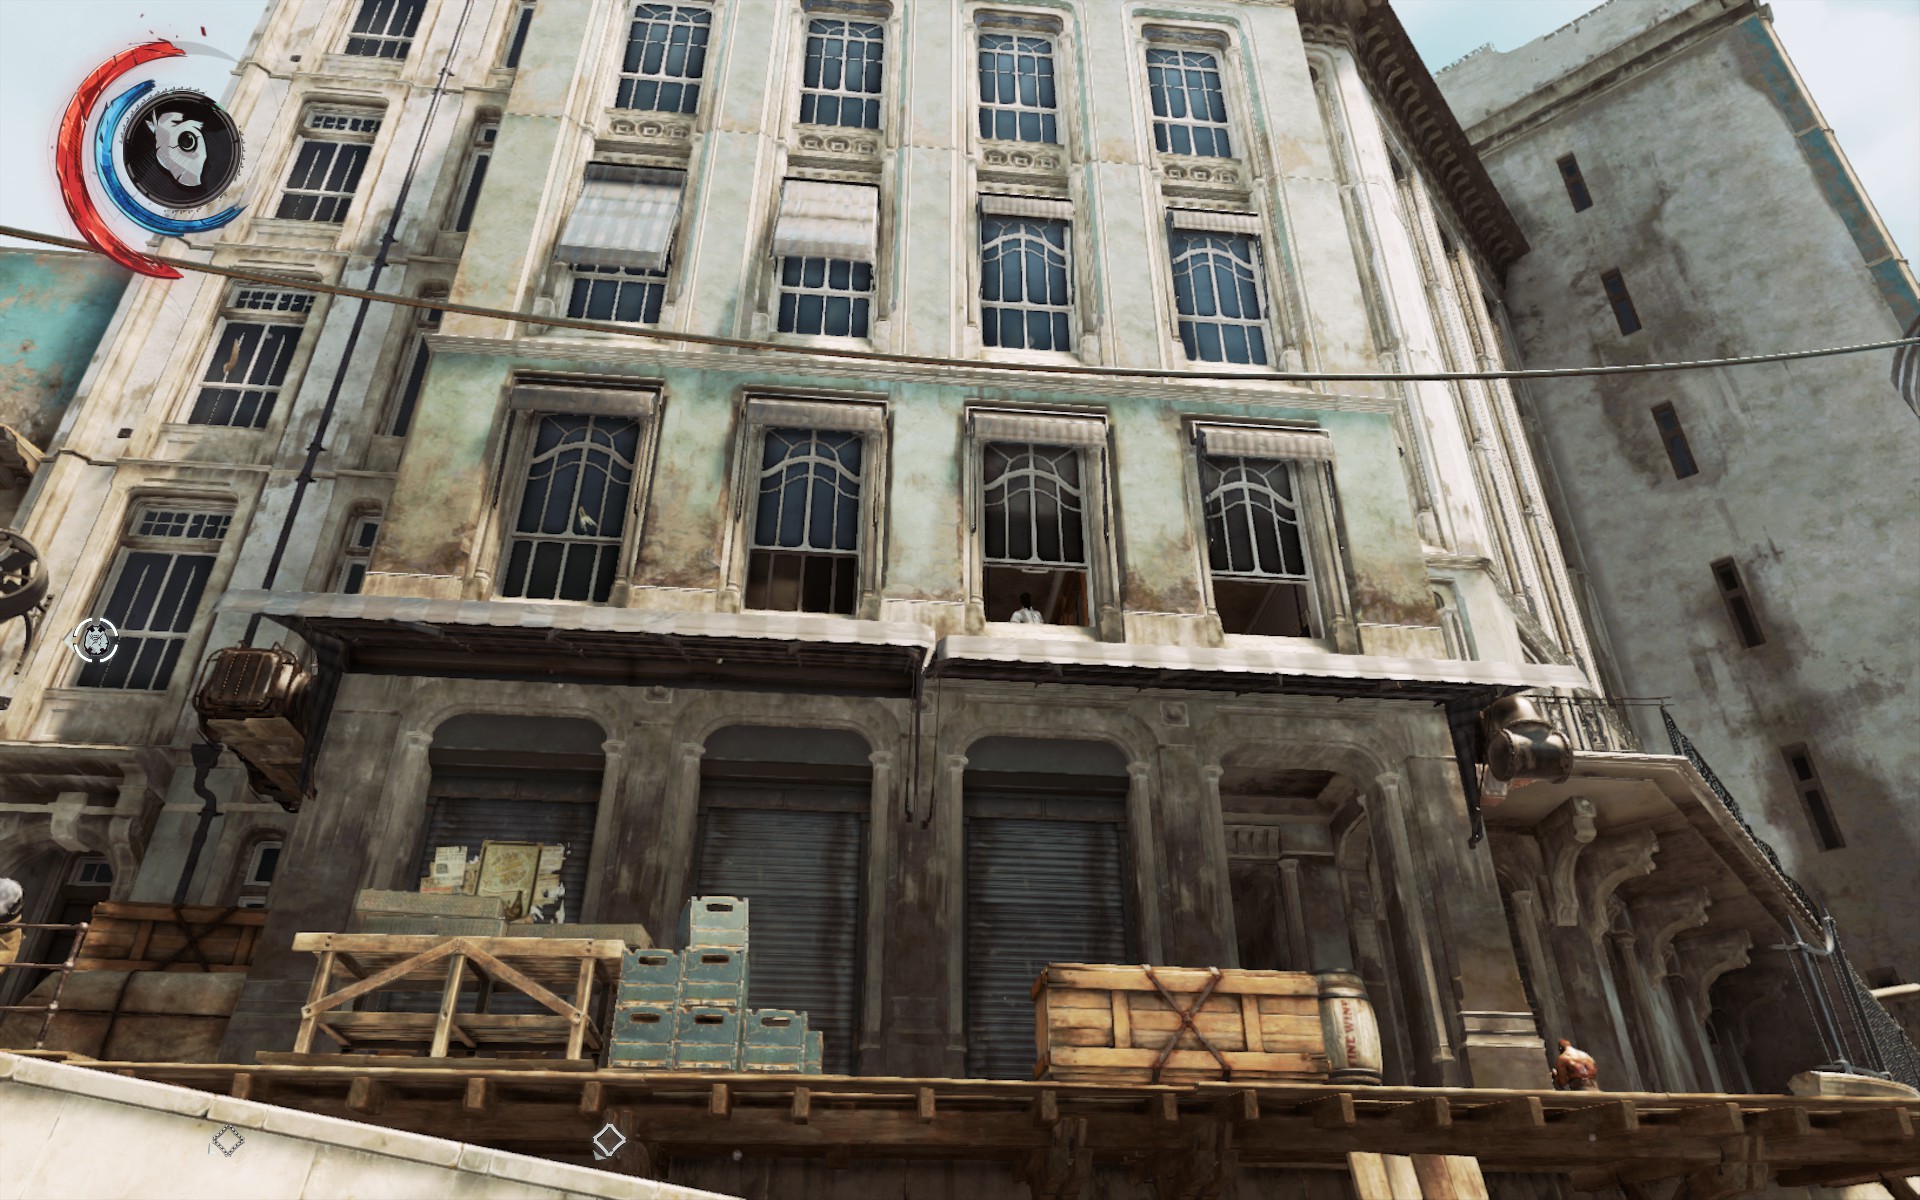
Get up on the Awning with Blink (or just climb the crates to piping on the left side). Loot the rooms here- there's a civilian wandering about, but choking him out or evading him is fine. Just don't let him get freaked, as it'll count as an enemy sighting. Clean out the (unsecured) safe to get a blueprint for Dispersed Incendiary Release (Blueprint 1/2) and a nifty whale statue. Pick up any other shinies in the office you like (there's a mana elixir if you went heavy on the Blink). Head out the window again and bear left, following a balcony to a protruding pulley high in the wall on your right side.
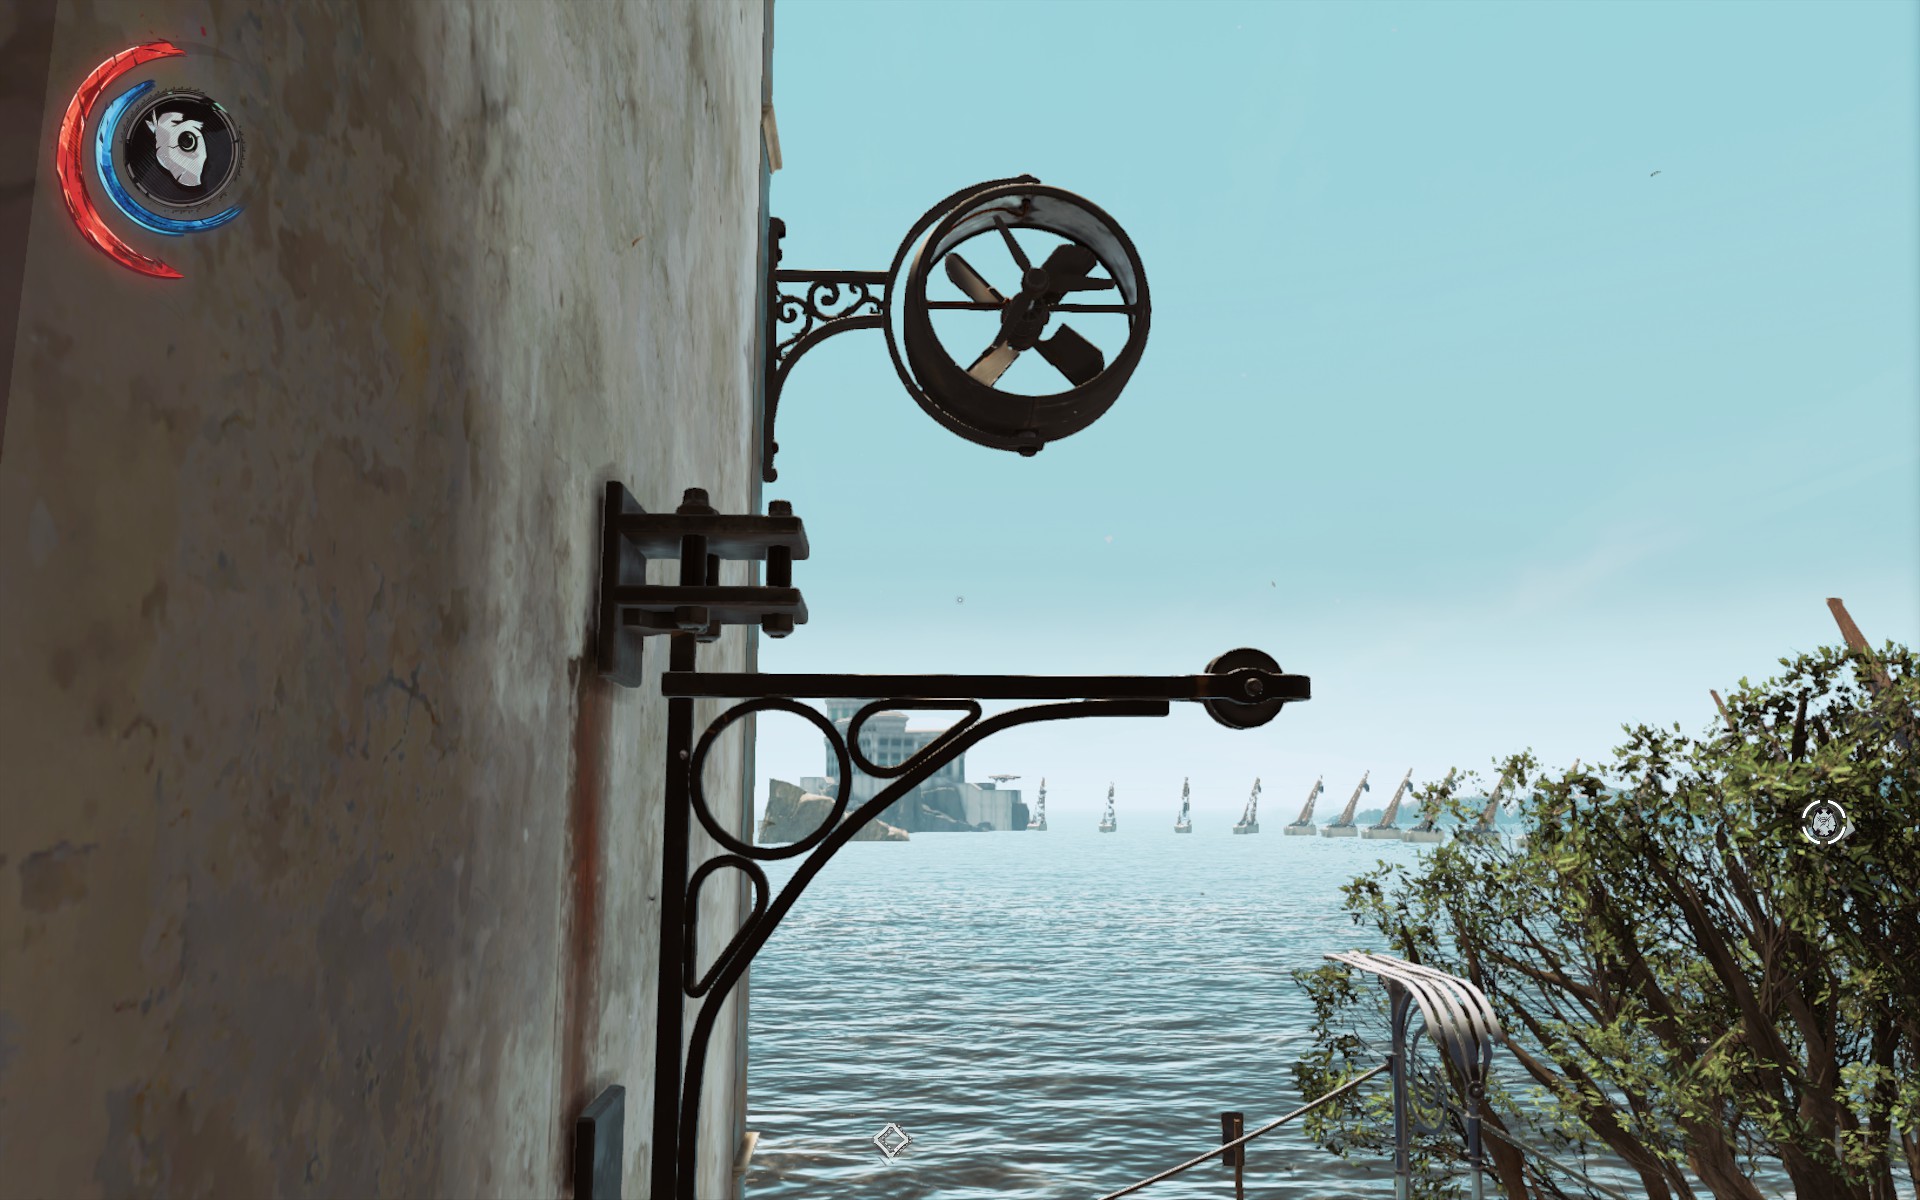
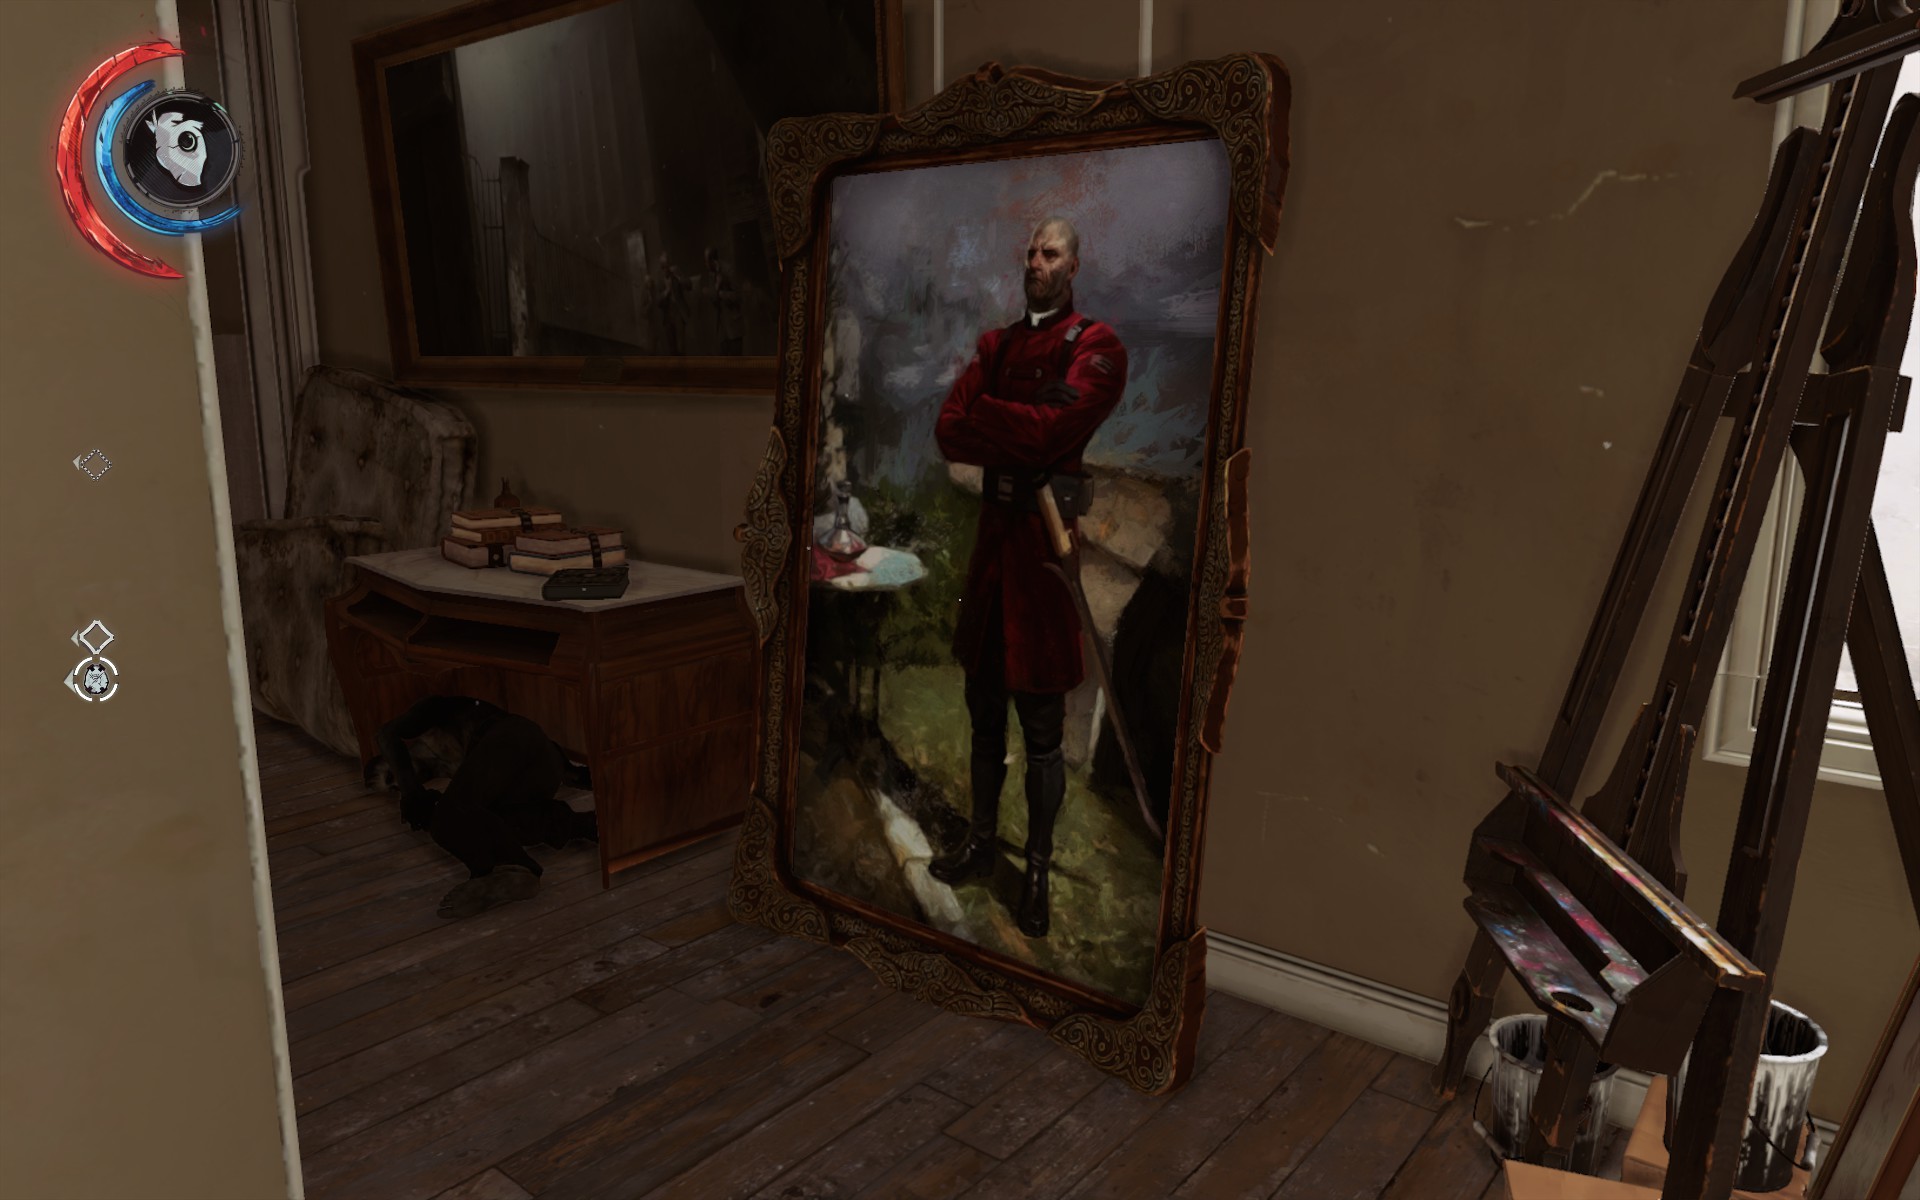
Jump up to the pulley, then to the fan, then up to the mini balcony on your left to gain access to to a witches' apartment. Collect the painting of Thaddeus Campbell (Painting 1/4) and a bit of scattered lore before retracing your steps to ground level.
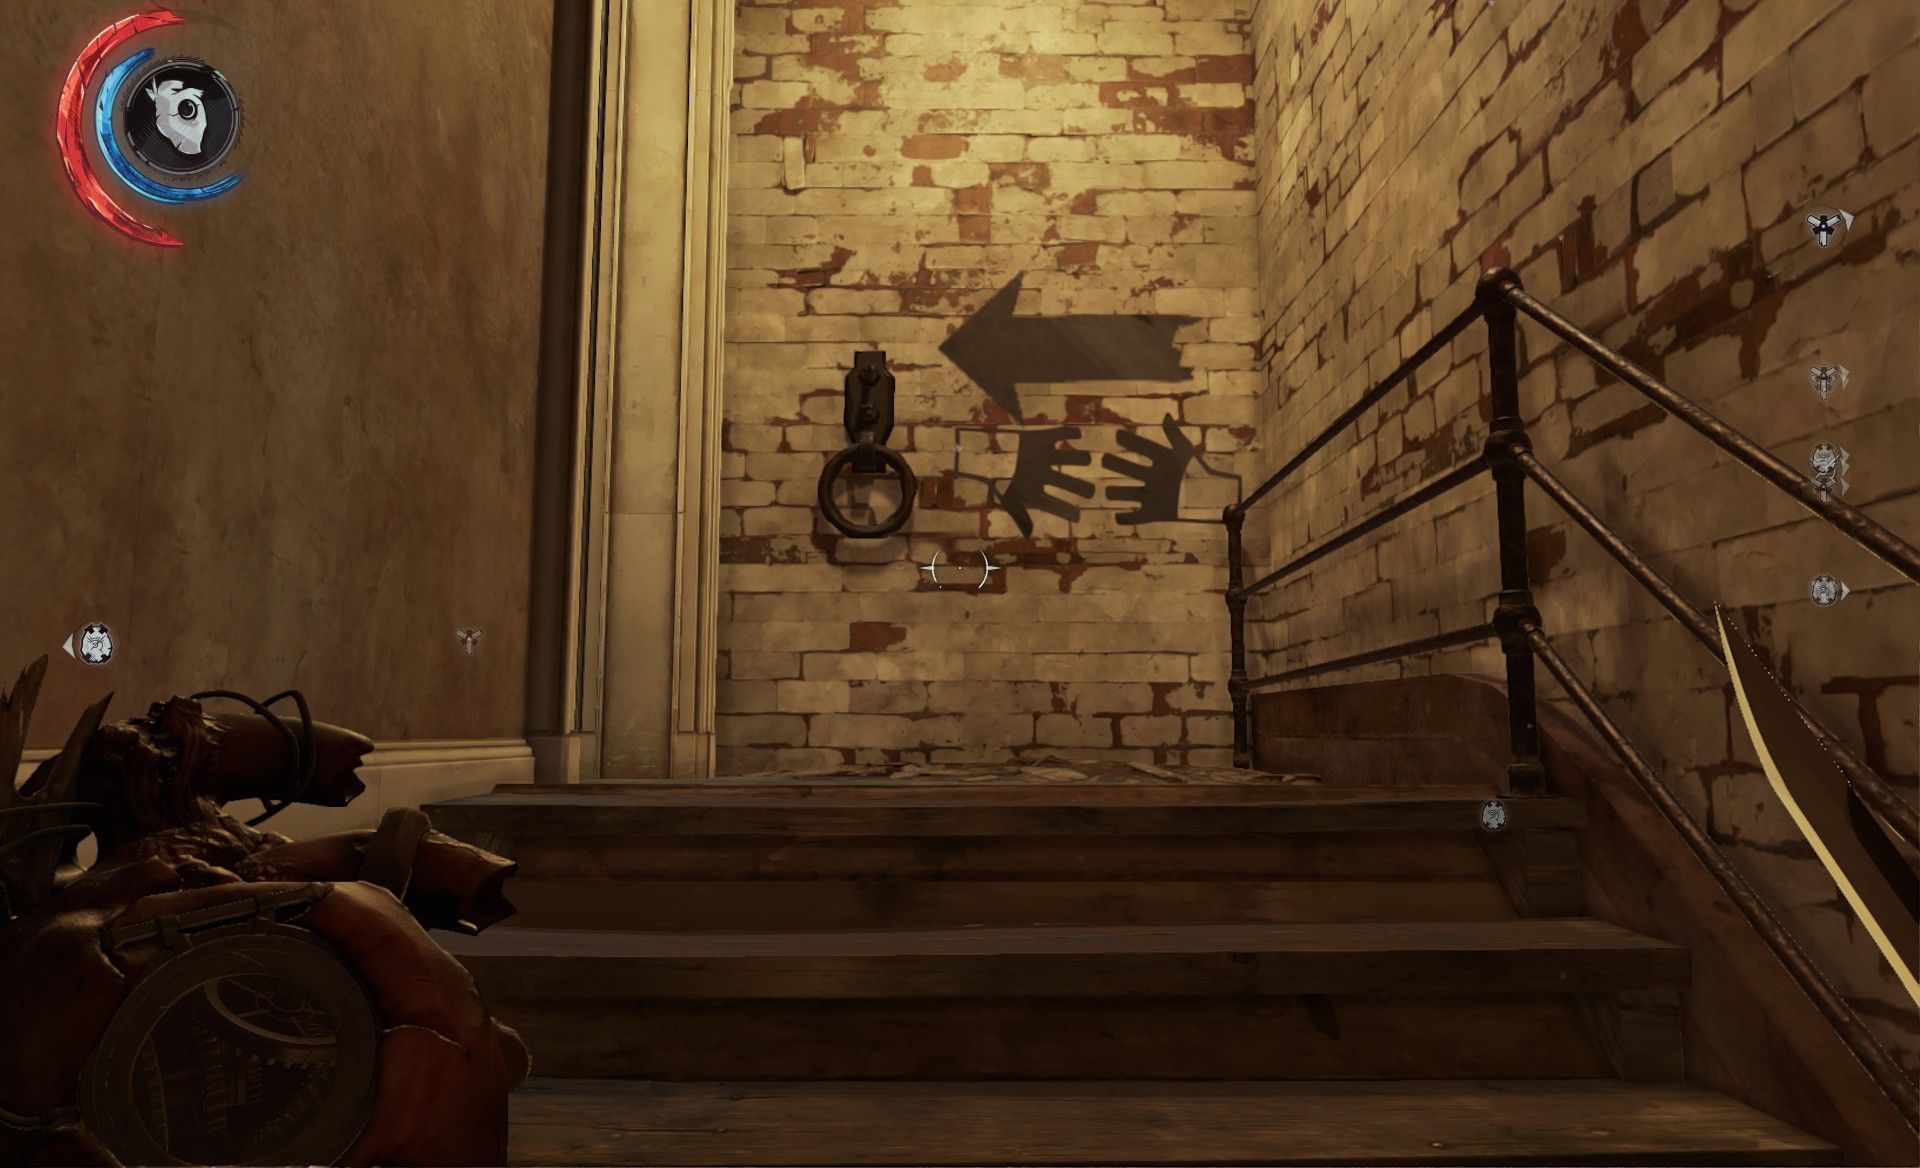
Back on solid ground, climb the steps inland, looking for the sign of the black market that Meagan described to you. It's plastered up everywhere around here, so just follow the arrows up.
Just before you reach the Market proper, an unsavory blonde will beckon to you through a window. Climb over to pick up a sidequest to steal a corpse. For reasons. Keep this in mind, but first duck back through the window to see the Market itself, fulfilling the objective.
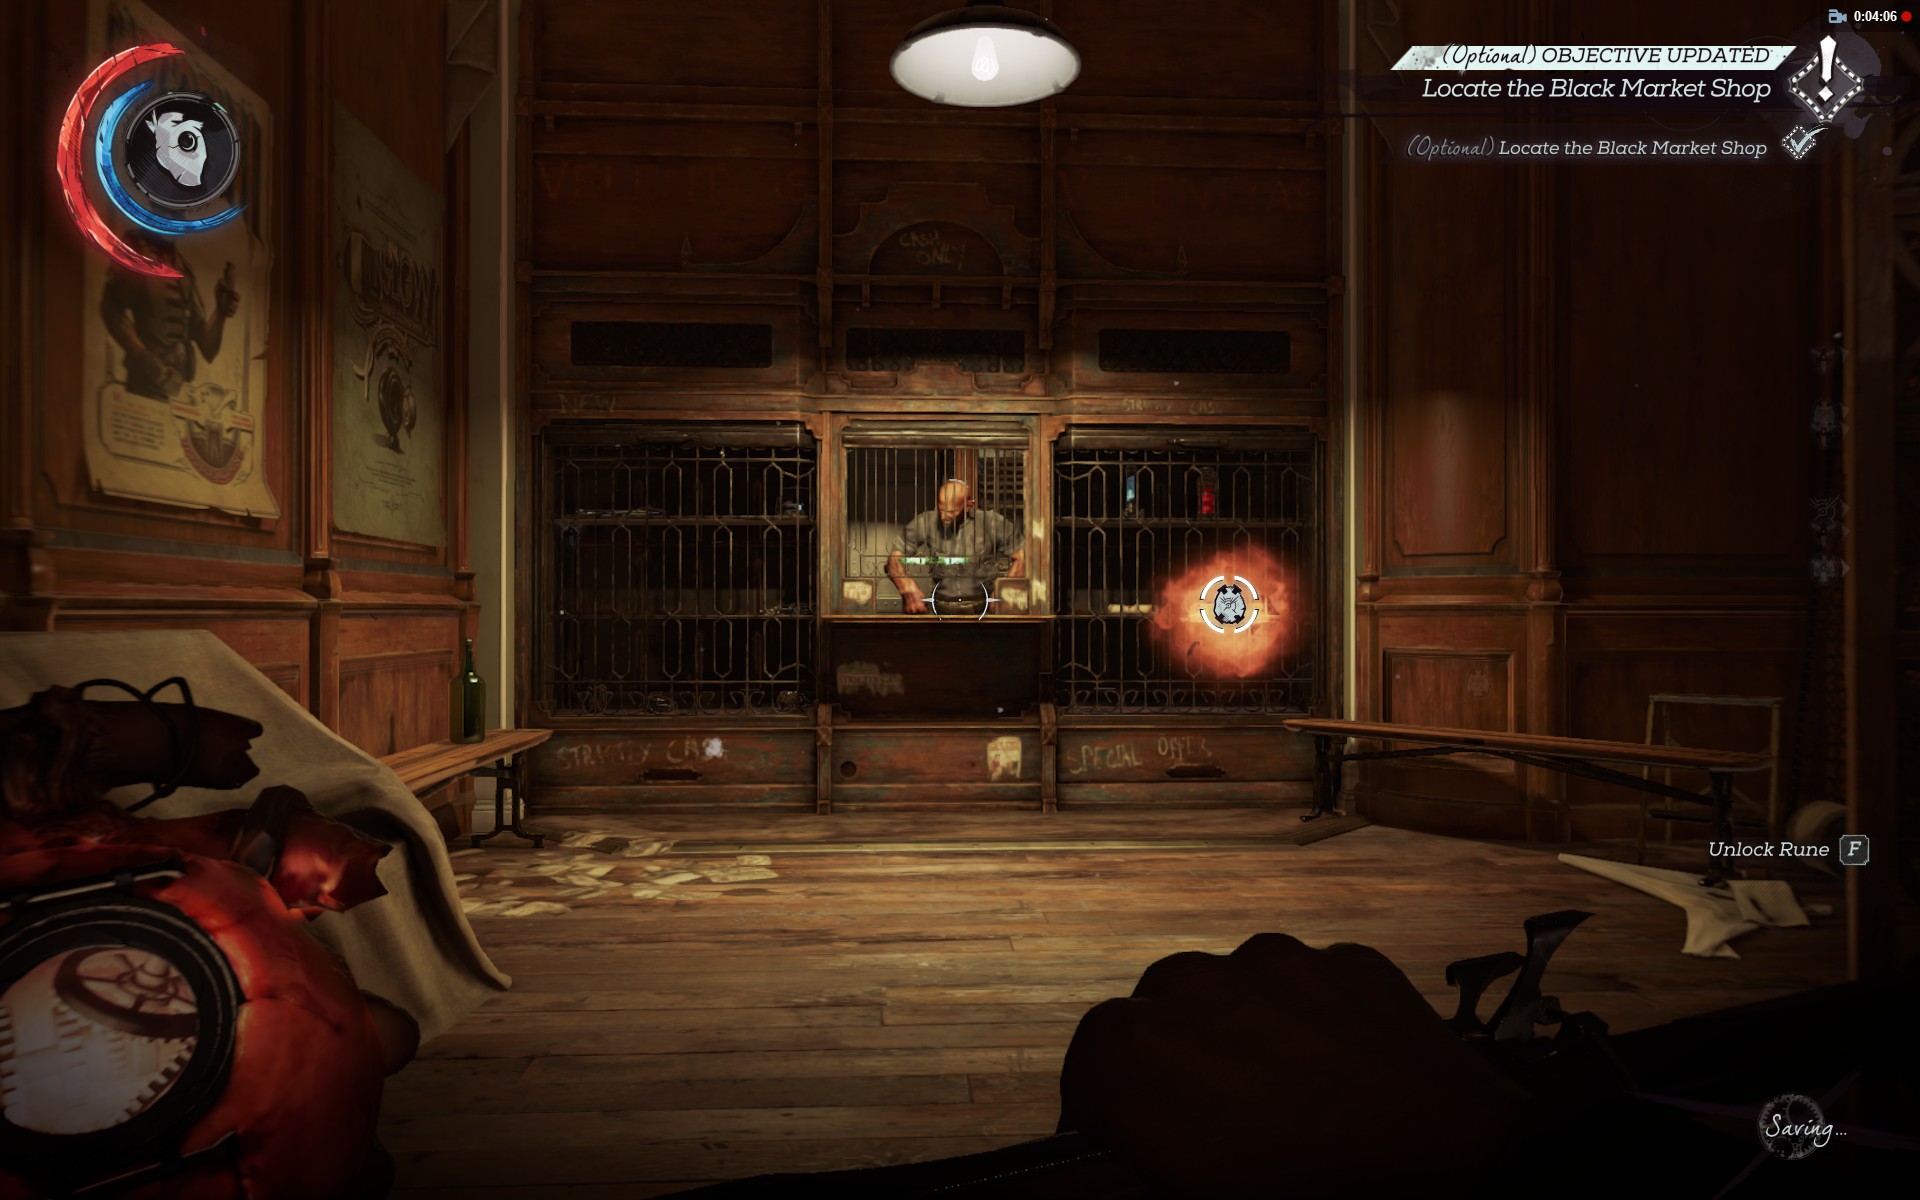
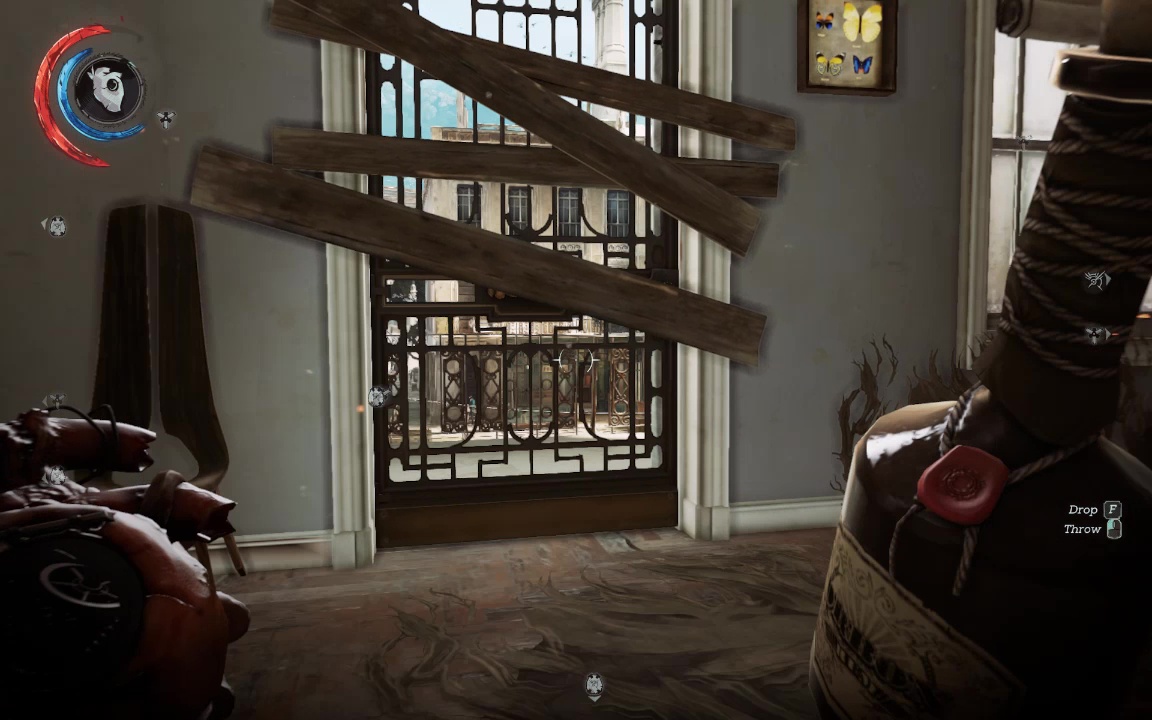
He's got some pretty nice stuff here, but Corvo didn't loot all those bath salts just to throw away his coin at the first vendor he finds. Remember the location, but leave your pursestrings tied for the moment, and go through that window one more time. Unlatch the door at the top of the steps to your right, and walk out to see a corpse hanging halfway out the window of a condemned building.
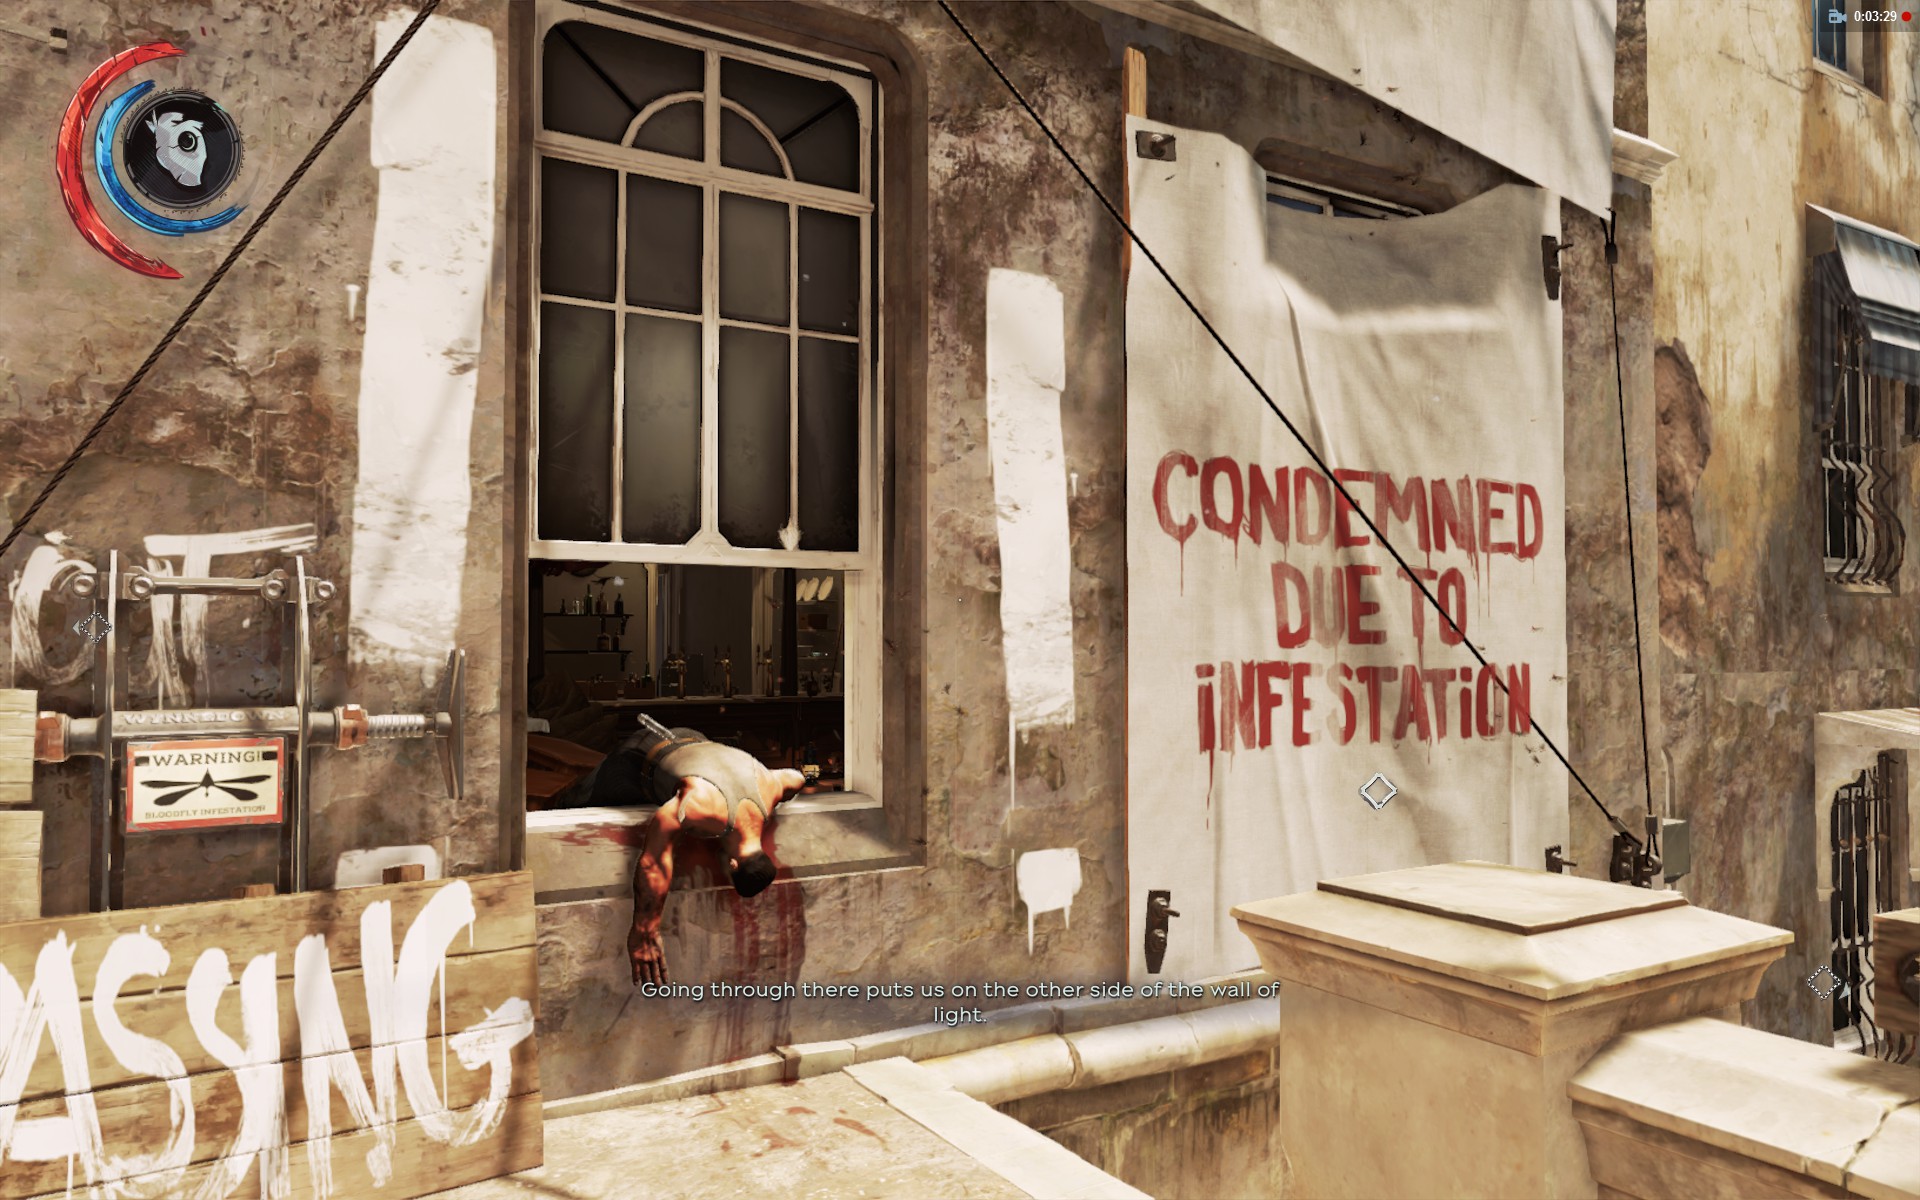
You can overhear some plebs below talking about the bloodfly infestation inside, as well as how this house leads past the Wall of Light. Apart from all that, it also holds the key robbing the blackmarket. Take time to loot the window guy as you climb in over his corpse, and take in the situation. As the notes will tell you, bloodflies won't attack unless you move fast or get close, and even then they'll go into a warning mode (buzzing and angrily and glowing) before engaging. Individual flies and swarms can be killed with fire and sword, but taking out their hive is the only way to get rid of them permanently. If you followed this walkthrough onboard the Wale, then you should be packing some incendiary bolts. Slot one up and aim for the reddish, tender looking part of the hive.
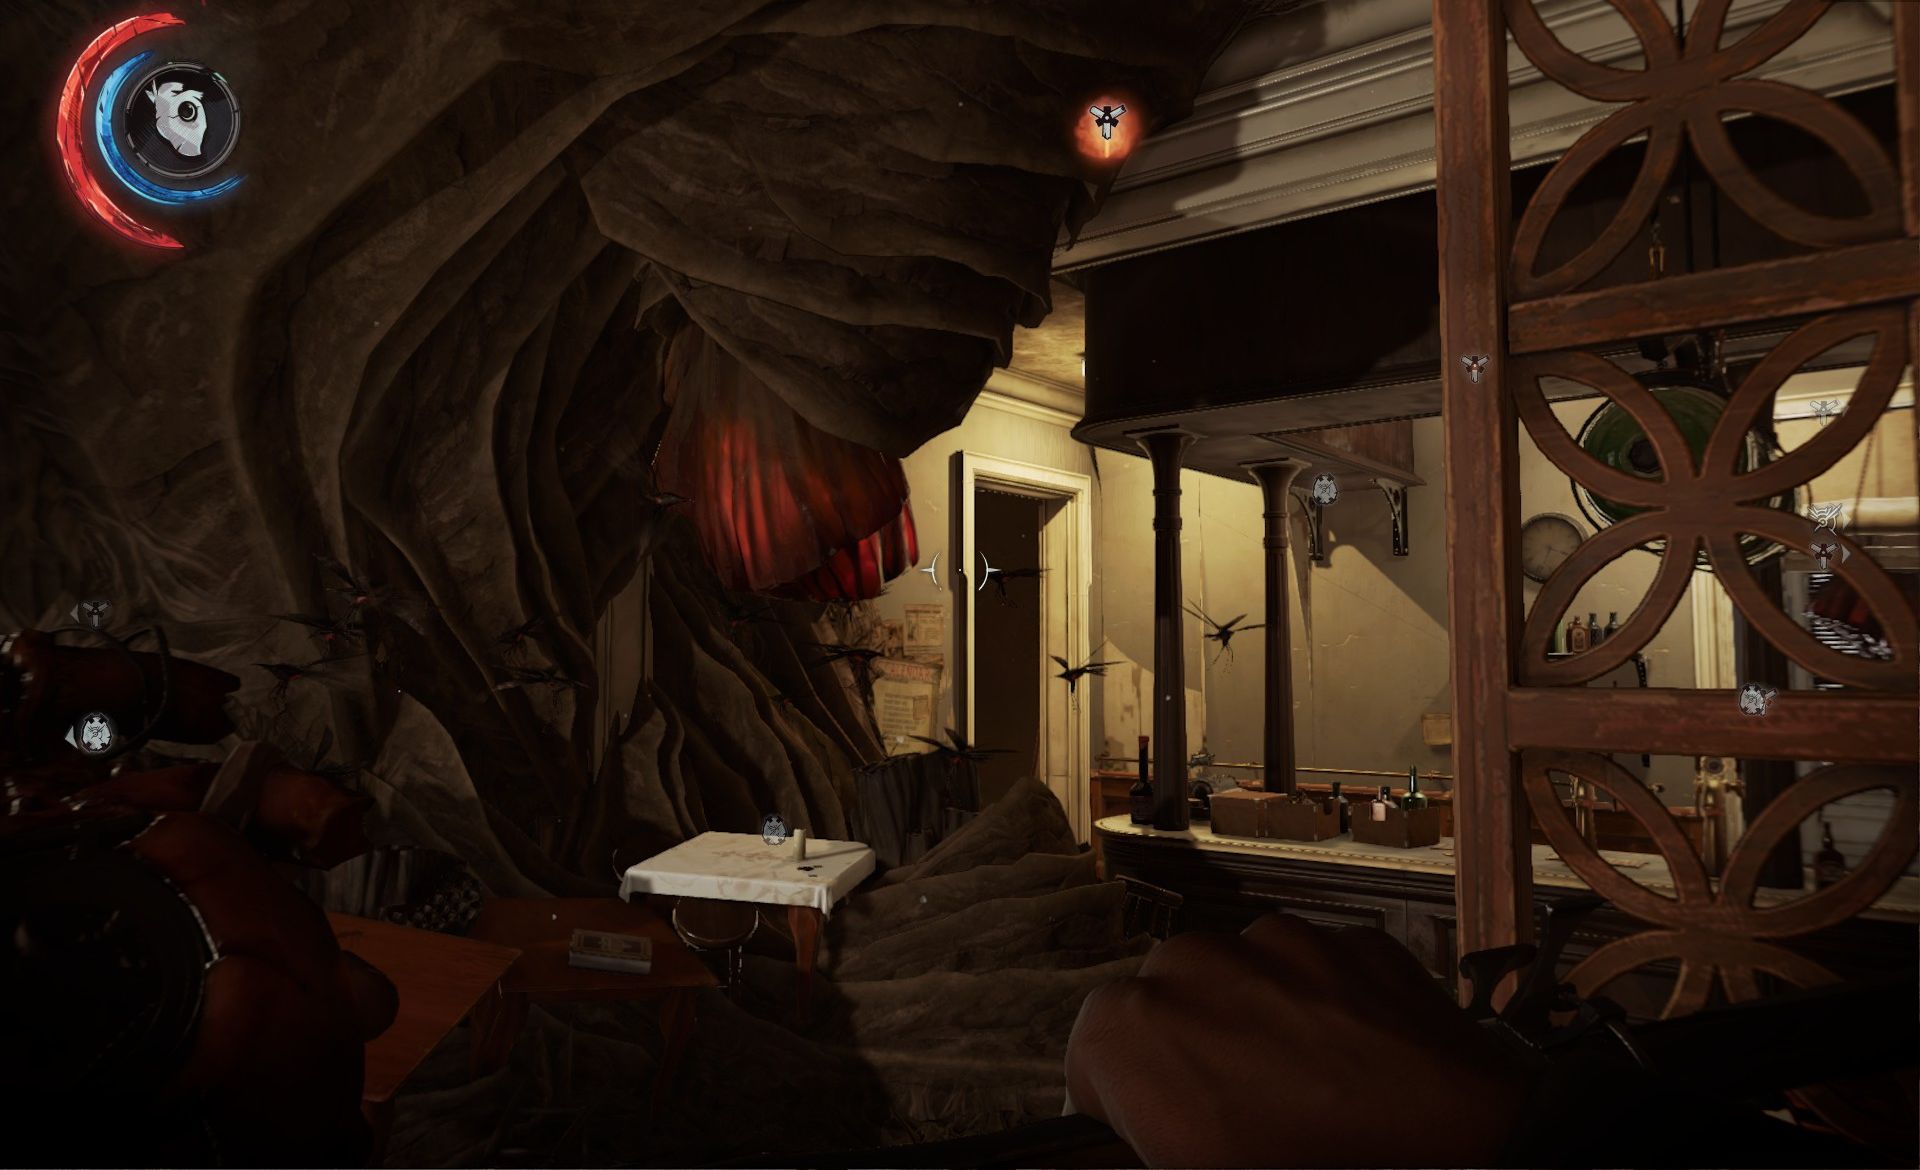
Delightfully, incinerating the hive also incinerates all the flies spawned from it. Still, incendiary bolts don't grow on trees, so as you move forward into the building, keep an eye peeled for bottles marked as 'flammable.' These combust on impact when thrown, and each one is a guaranteed hive-killer. So the pattern is easy, cautiously move into a new area, spot the hive, and use liquor or incendiaries to take it out. There are a few incendiary bolts hidden throughout the building, so don't be too parsimonius.
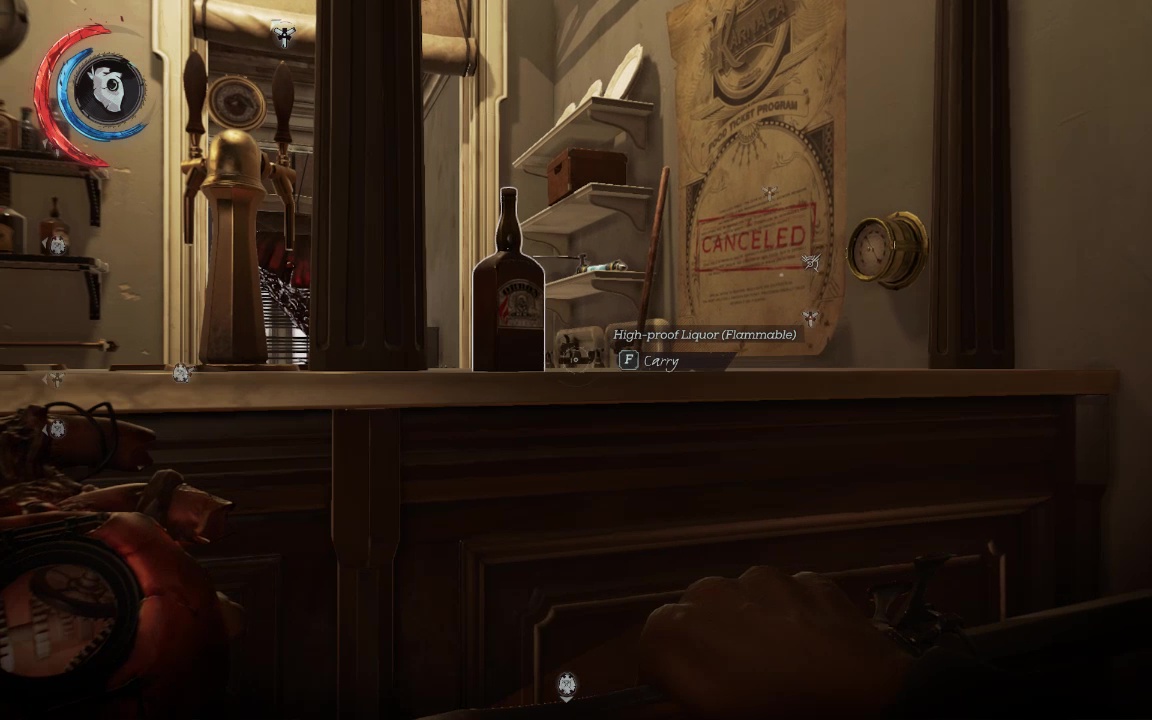
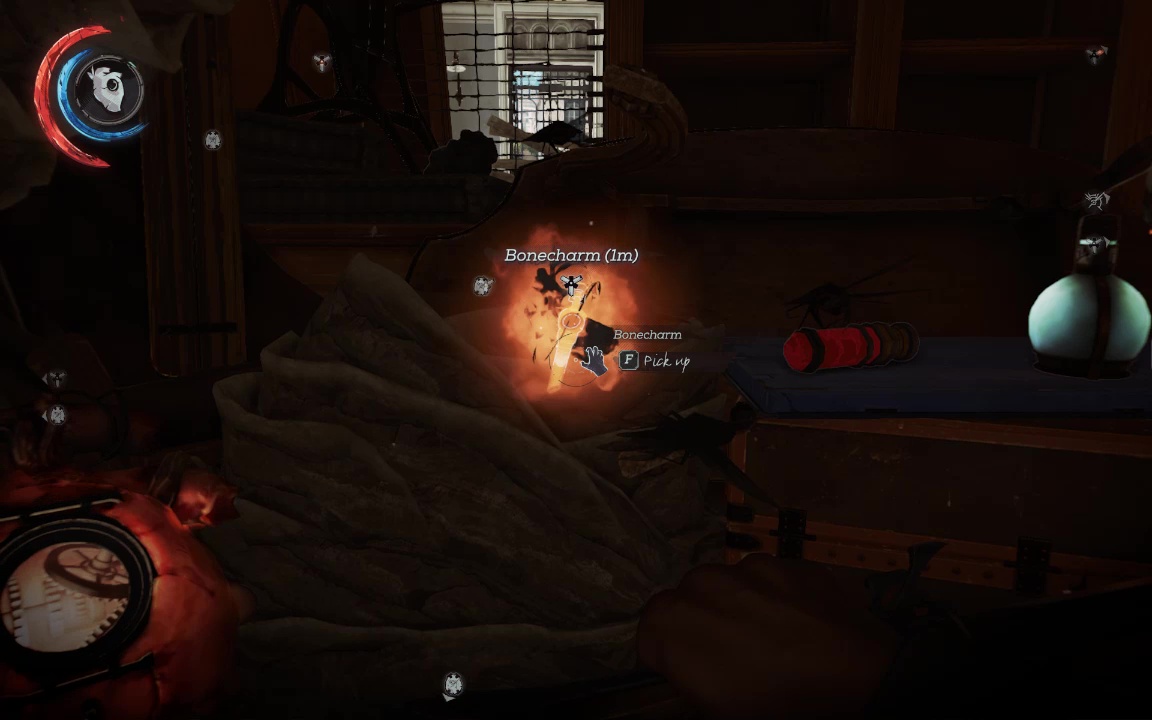
Pick up the blood amber from that first hive, then hop the bar, and grab a bottle of something flammable. Take the hive here, loot, and grab another bottle before heading upstairs. A box of high proof liquor here will help you clear the floor, including the hive containing the bonecharm your Heart has been thumping about (Bonecharm 3/8) .
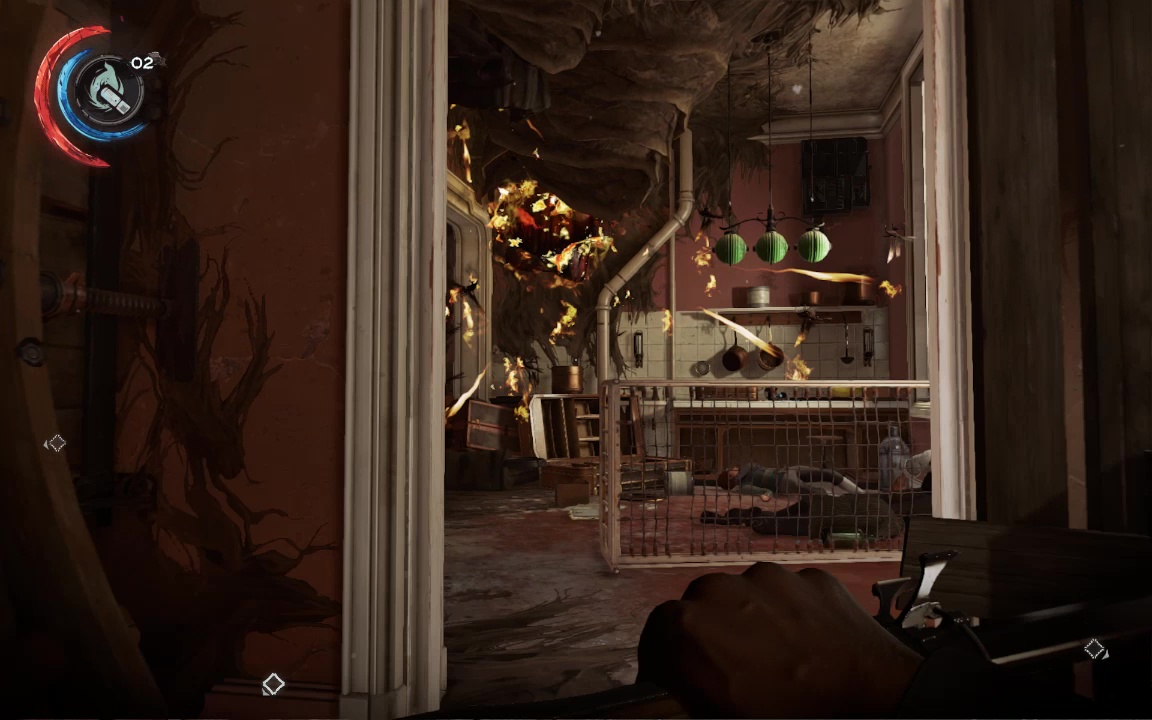
Gather it, then grab the incendiary bolts from the linen closet before heading upstairs again. Here you'll find a cage full of dead people, and another hive that needs burning. Feed it its fiery medicine and then creep through a largish hole in the wall to your left.
Do not go downstairs yet, but make your way over to audiograph for a new journal entry, then turn around at face the triple decker piano. You'll see a tall cabinet-of-drawers blocking a doorway to the left.
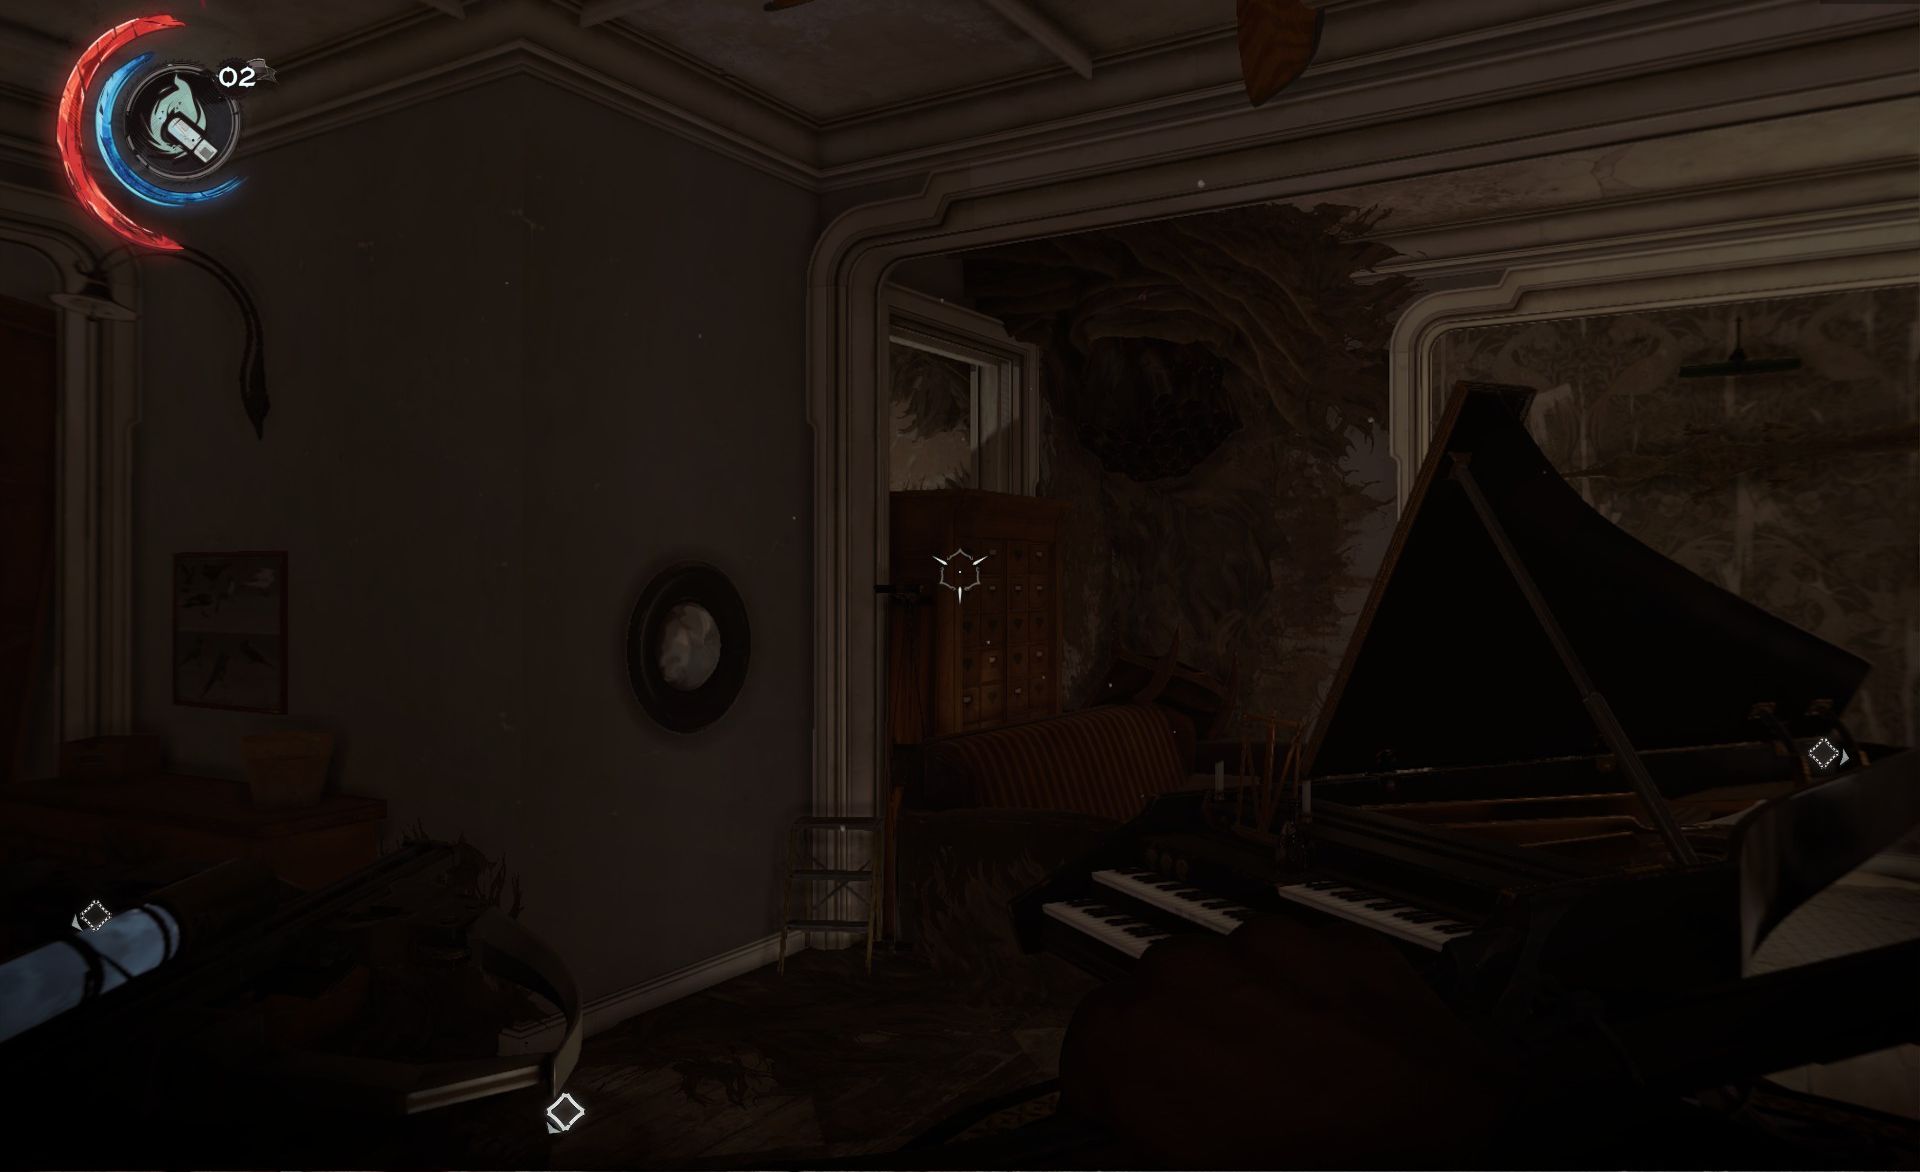
Climb over the cabinet, then bear left to get some more incendiary bolts (if you're full up, don't worry- you'll pass this spot on the way back down). Go up the stairs to find brains of the outfit- a guy apparently known as The Nest Keeper (I guess all the good names were taken?)
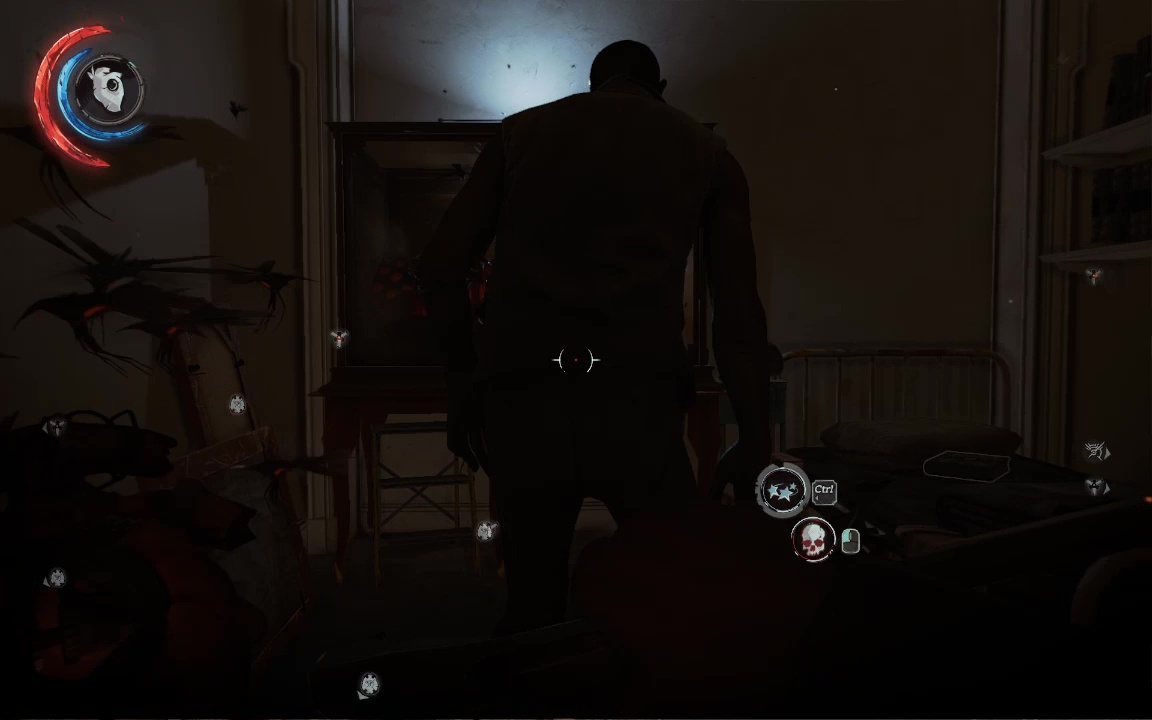
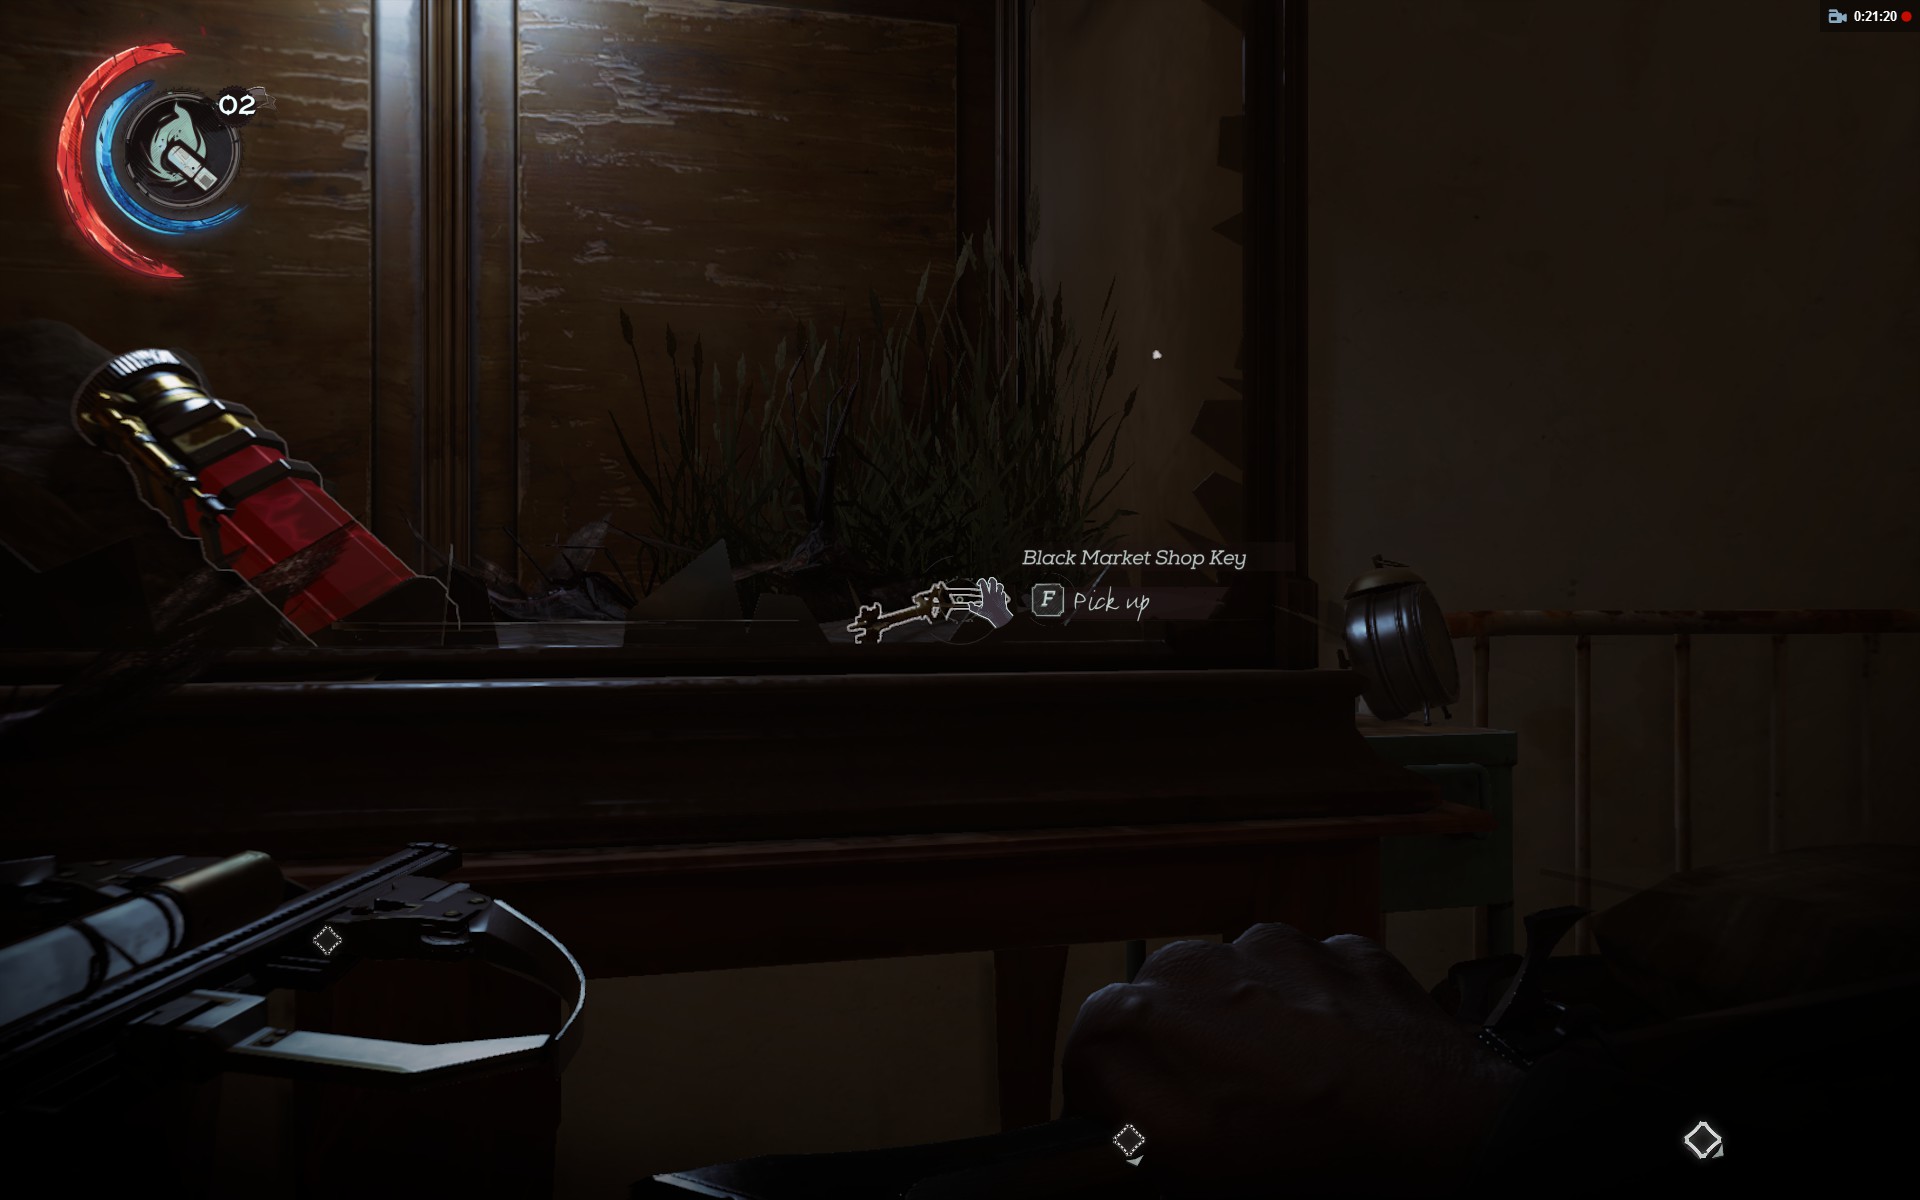
Despite the title, he can be choked out like anyone else (Special Action 1/6). Just be sure to drag him out of the way before you start torching things. Take out the ceiling hive with a bottle, and use a single bolt to both break the glass of that far terrrarium and destroy the hive within, leaving you free to grab the blackmarket key inside.
Read the literature here for some insight into how this bloodfly menace came to be, and be sure to check the small room by the bathroom for scads of specialty ammo, including the sleep darts that are so valuable to non-lethalists such as ourselves. Clear out any rooms you haven't yet to pick up more notes, ammo, and elixirs, as well as precious blood-amber from the destroyed hives. Do not, however, bust open the boarded up door downstairs from the piano. That leads to the next section, and we're not quite done here.
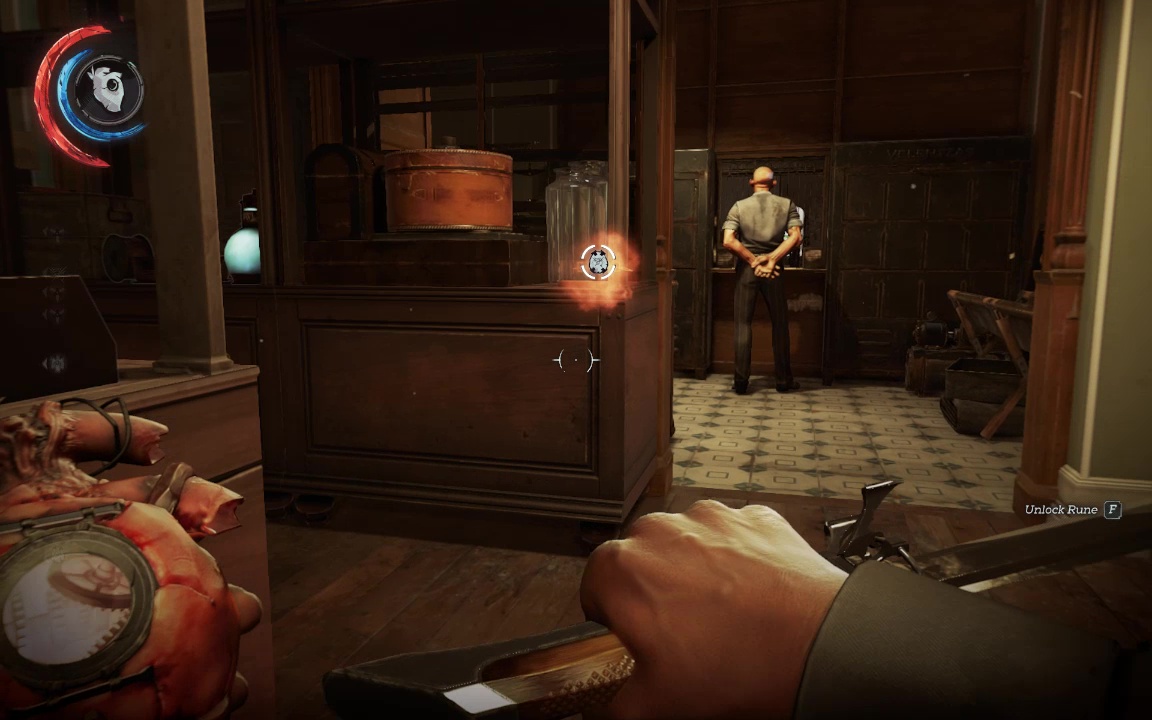
Instead, retrace your steps to the couch where you first met Mindy (the corpse-needy blonde). The locked door here leads into the back of the black market. Choke out the proprietor and rob him blind (Rune 5/10)(Special Action 2/6). This does not affect your Chaos rating, presumably because he is sensibly bonded and insured, as all good black-marketeers all.
(Note: You will, of course, want to have purchased any upgrades and redeemed any blueprints you fancy before the choking begins. There's nothing missable here, these things will still be available at the next blackmarket, but you'll lose access to them on this level once the marketeer says goodnight.)
With your pockets full of illicit goodies (the best kind of goodies), head back into the sunlight for your next objective.