Part III – The Wall of Light and the Overseer's Outpost
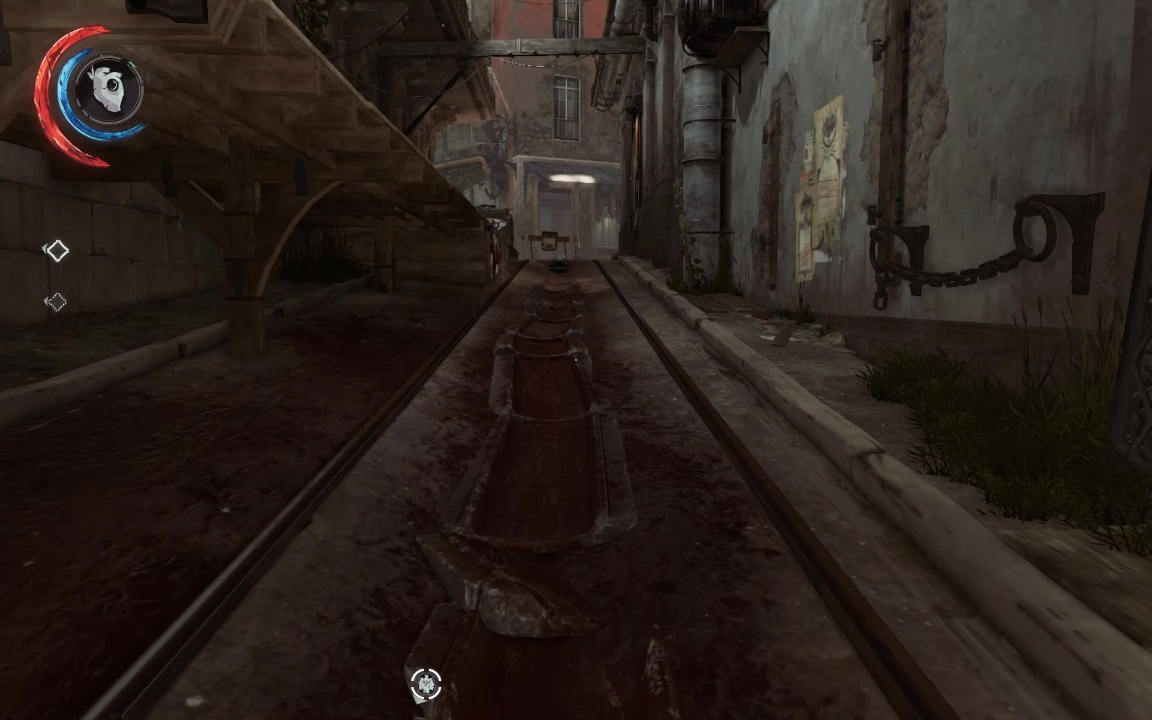
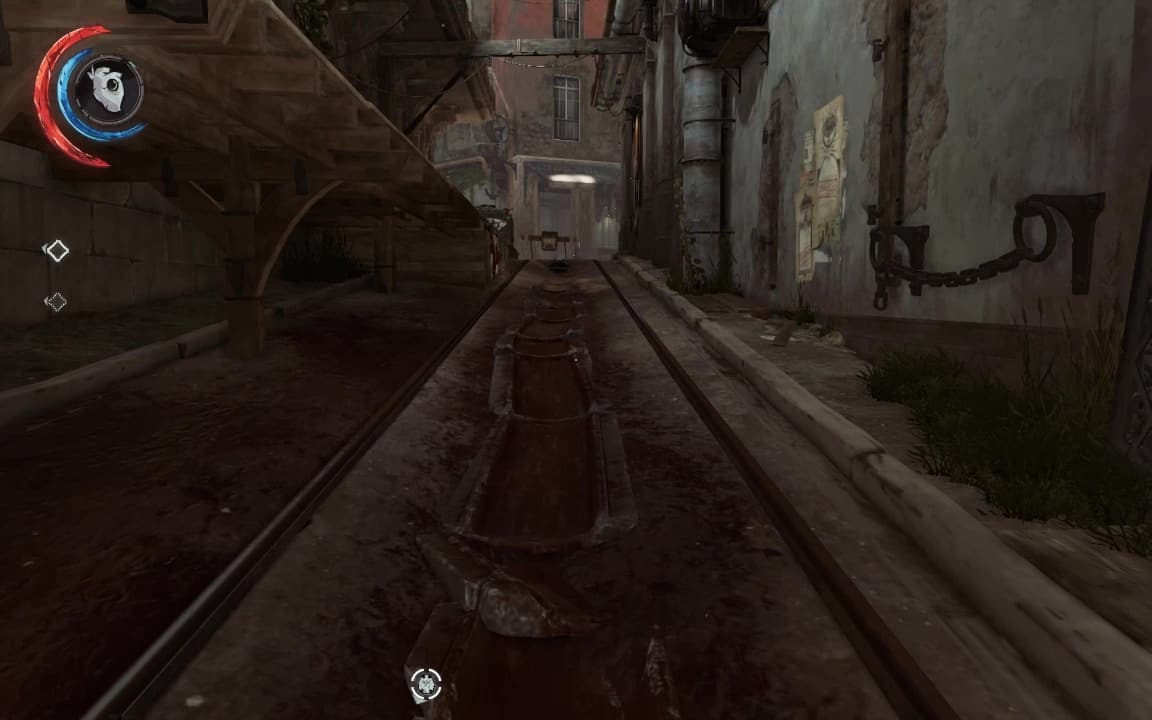
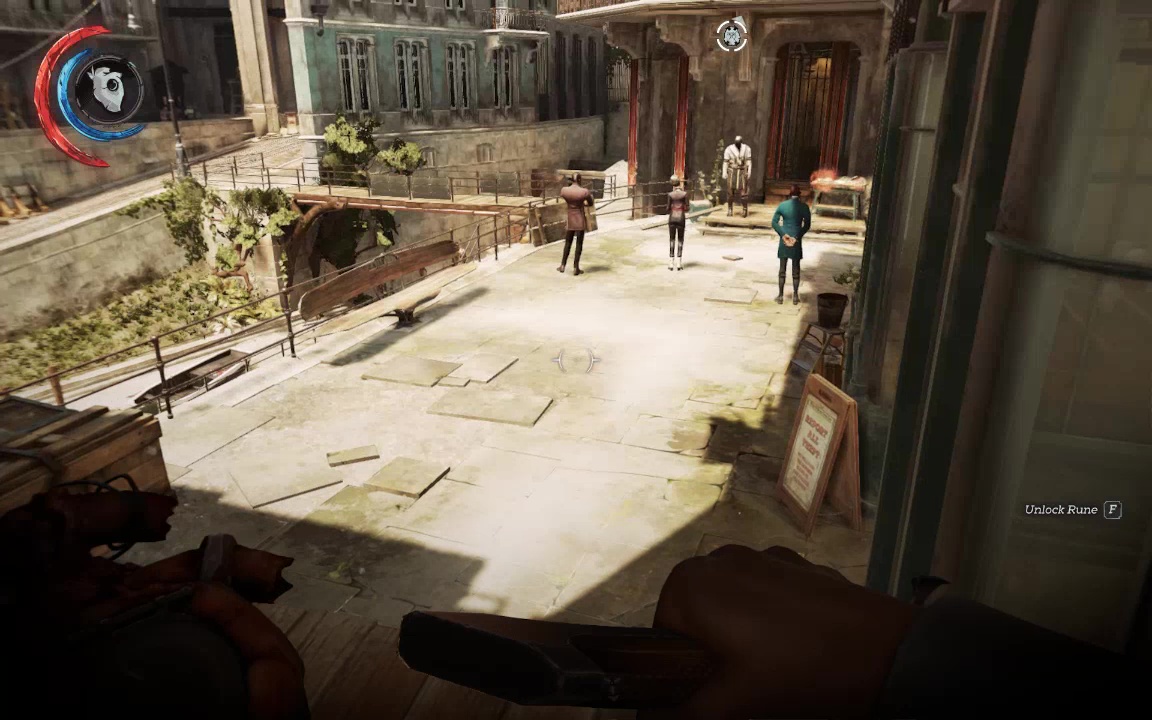
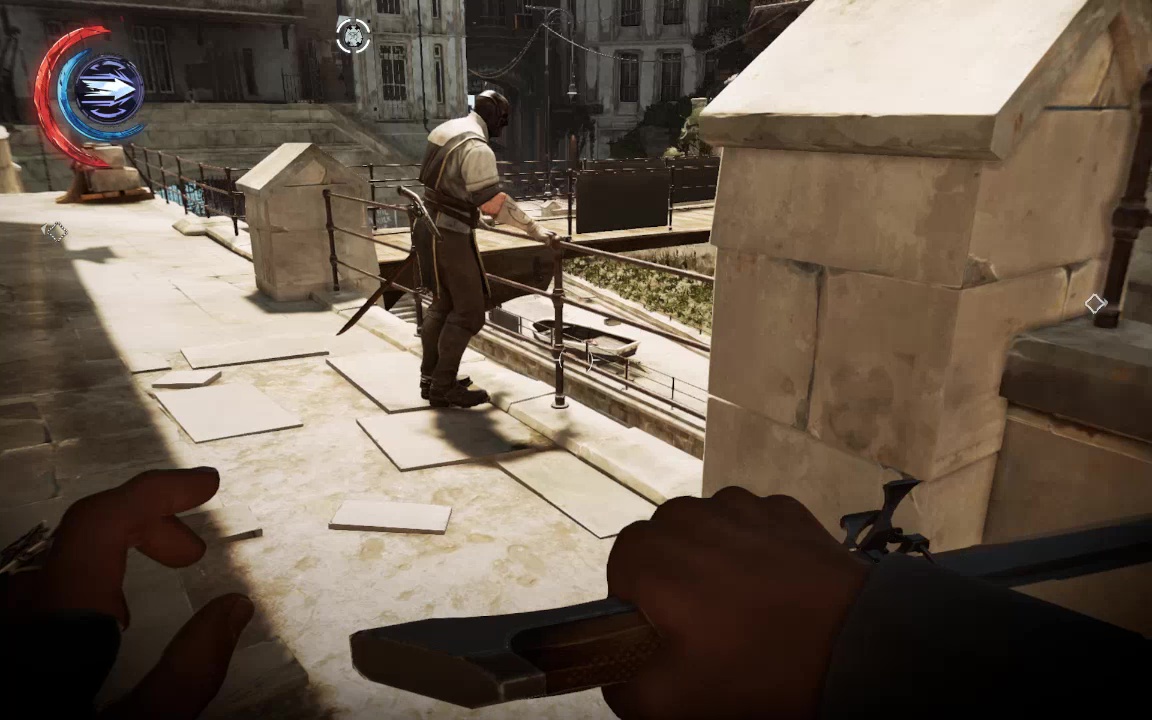
Follow the bloodied alley with slight upward slope to the Wall of Light. You can bypass the Wall entirely by going through the Condemned House, but the best loot is always on the path of most resistance, and besides, there's a special action opportunity here. A little mini screen will pop up with info about various ways to defeat the wall. Click through, and be ready to move fast- two guards are about to throw a hapless citizen into the annihilitave embrace of the Wall.
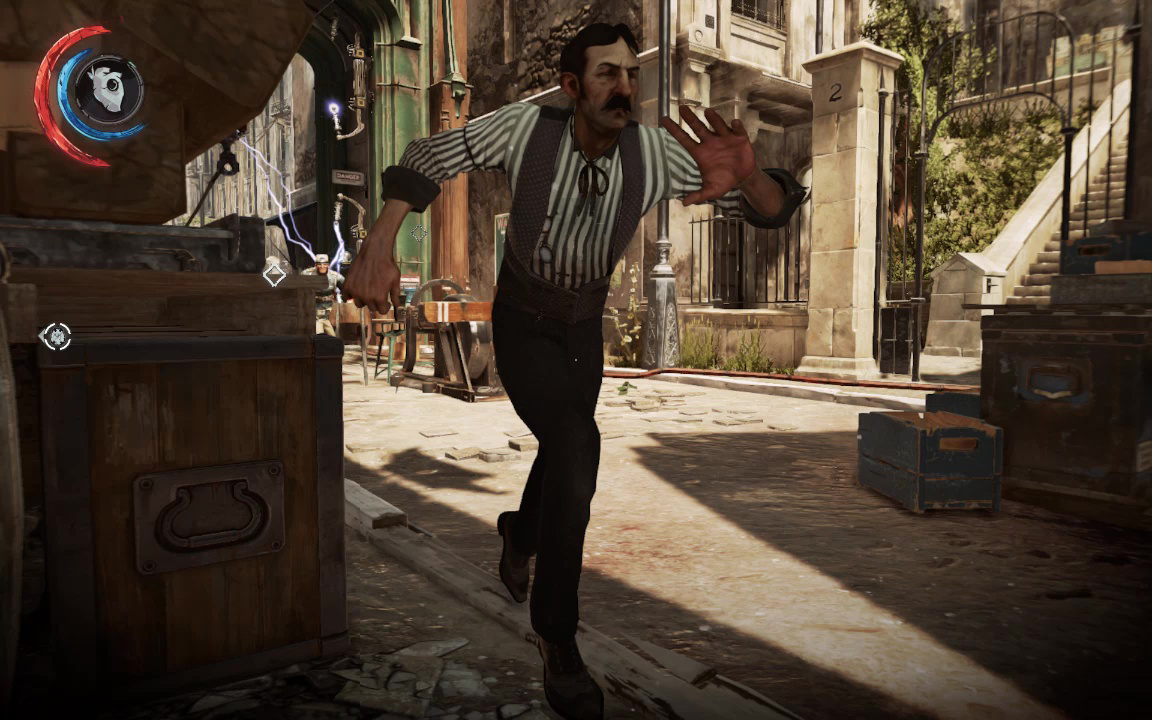
The most economical, but non-lethal way to intervene is to sleep-dart the more aggressive guard, then choke out his companion when he comes looking for you, though you can also try throwing a bottle and going for the discreet double-choke. Just make sure the civilian gets away safe, for both an achievement and a Special Action (3/6).
Be aware of a third guard on the windmill platform above- he'll likely spot the sleep-darted body before you're done here, but his searching gives you plenty of time to come up from behind, pickpocket and dispatch him.
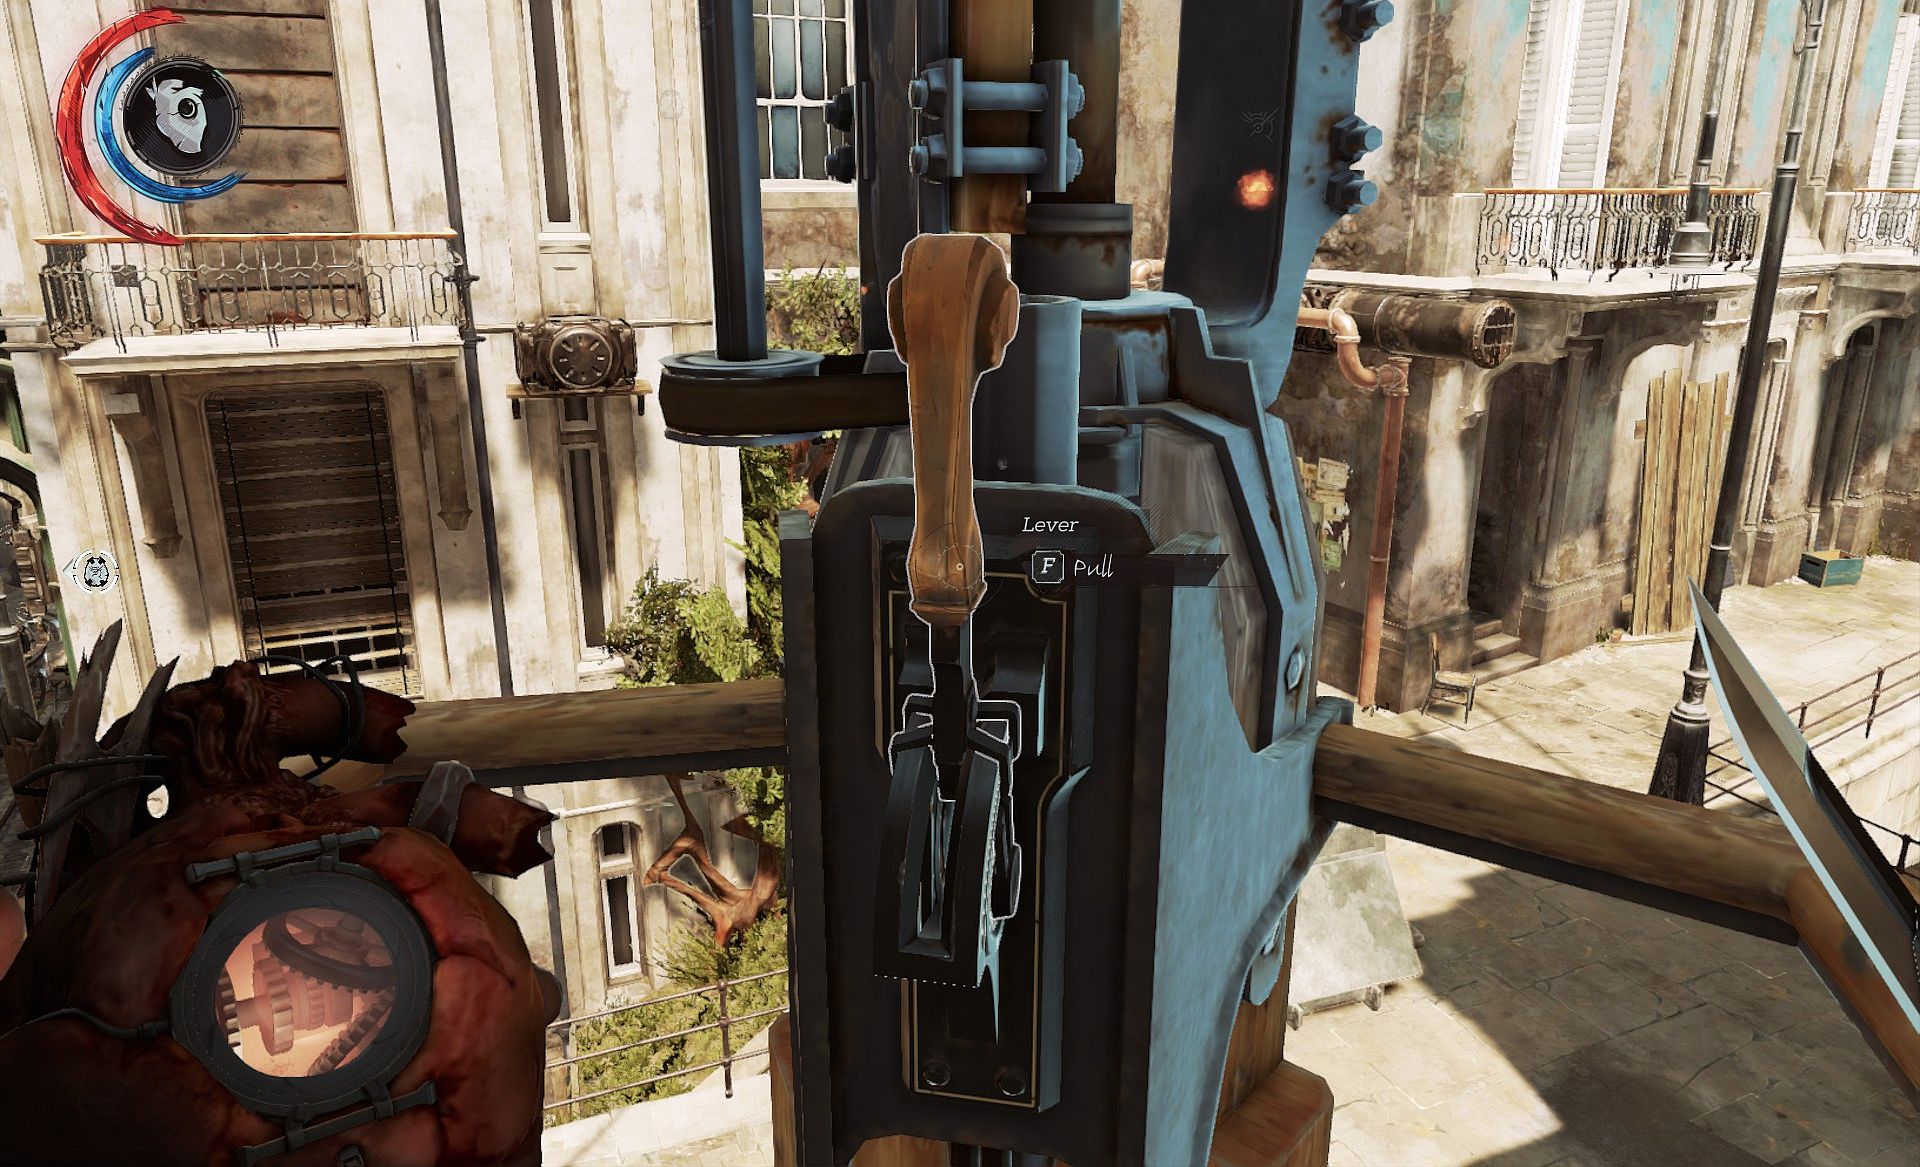
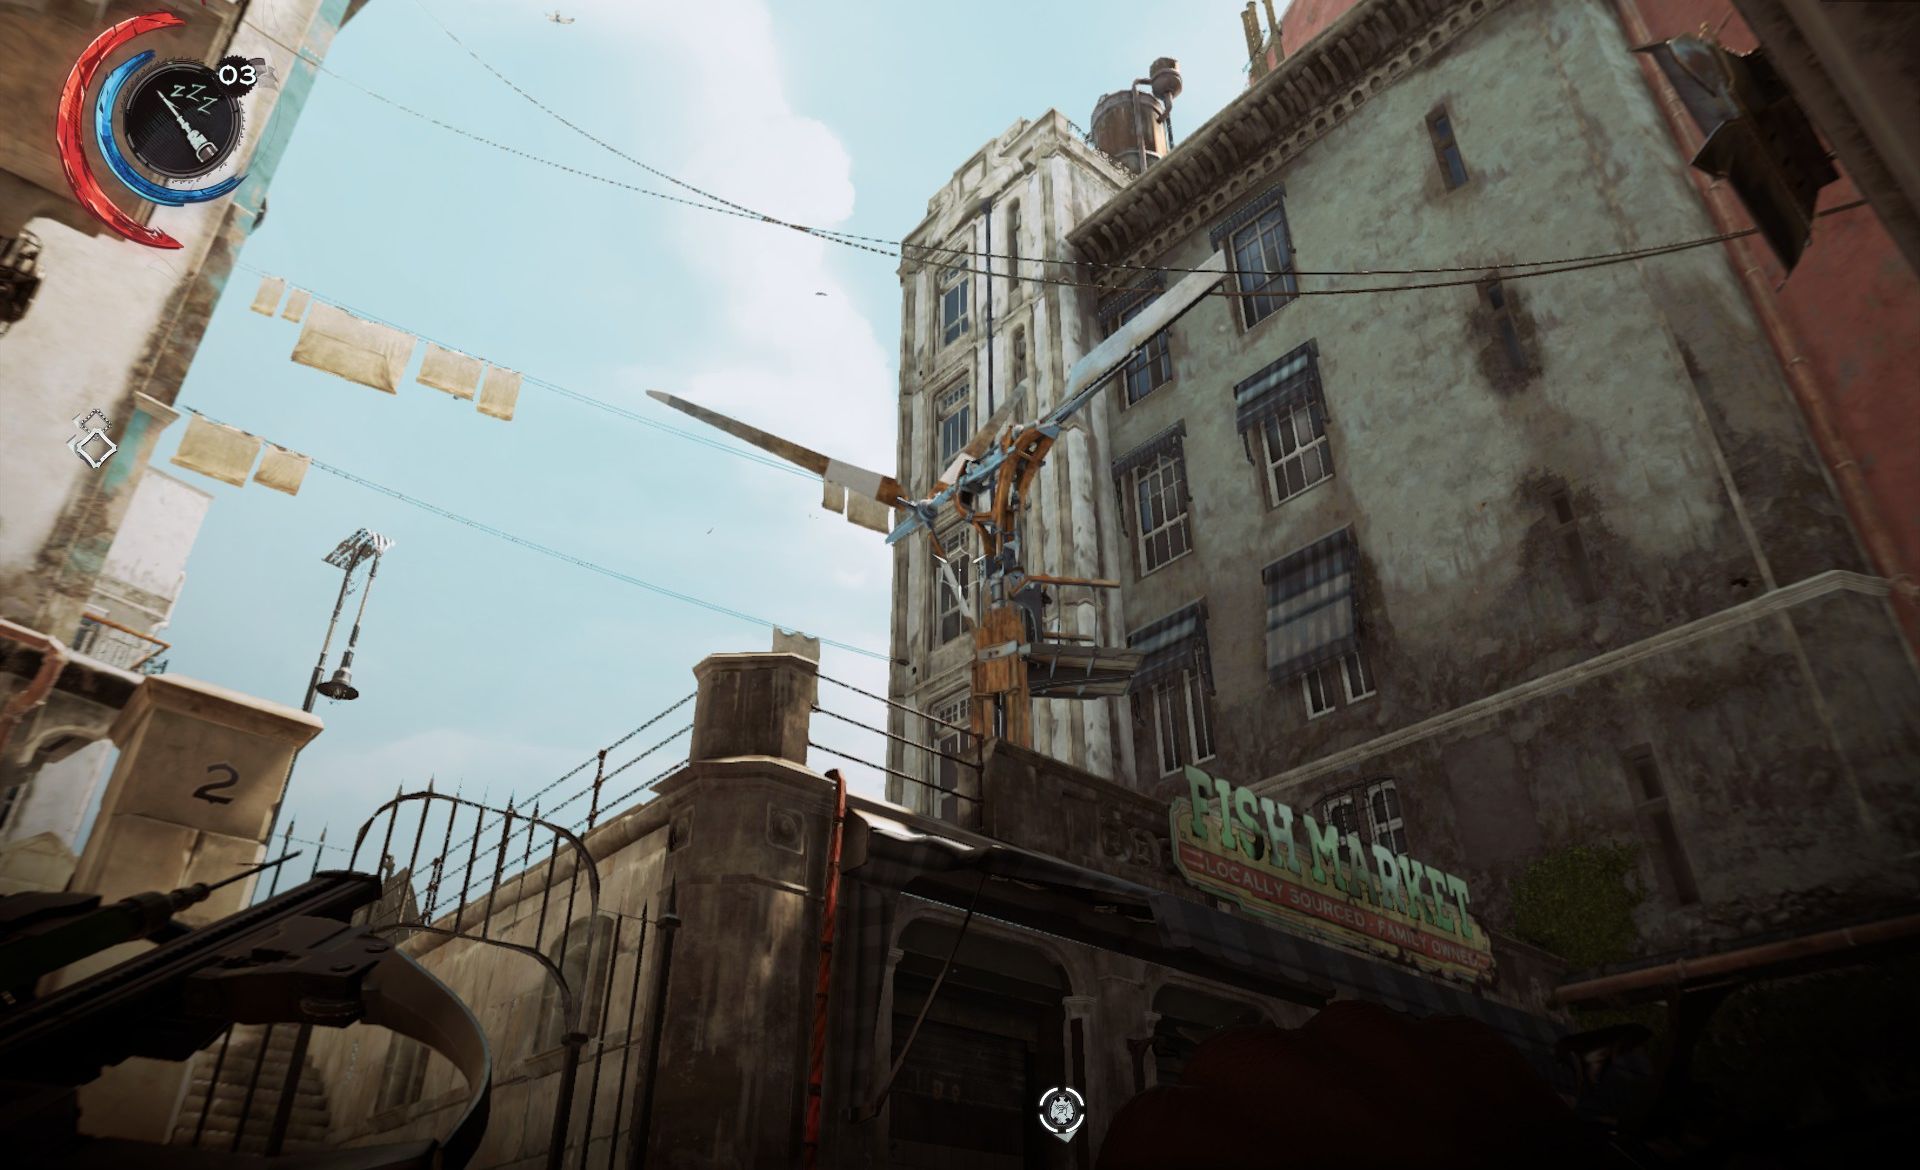
Climb up the stairs, and either Blink or clamber up the Windmill to deactivate it (use the black metal junction box here for a jump start). Climb down, and make for the nearby building where people are raising a ruckus. It seems this tenement is being raided by Overseers.
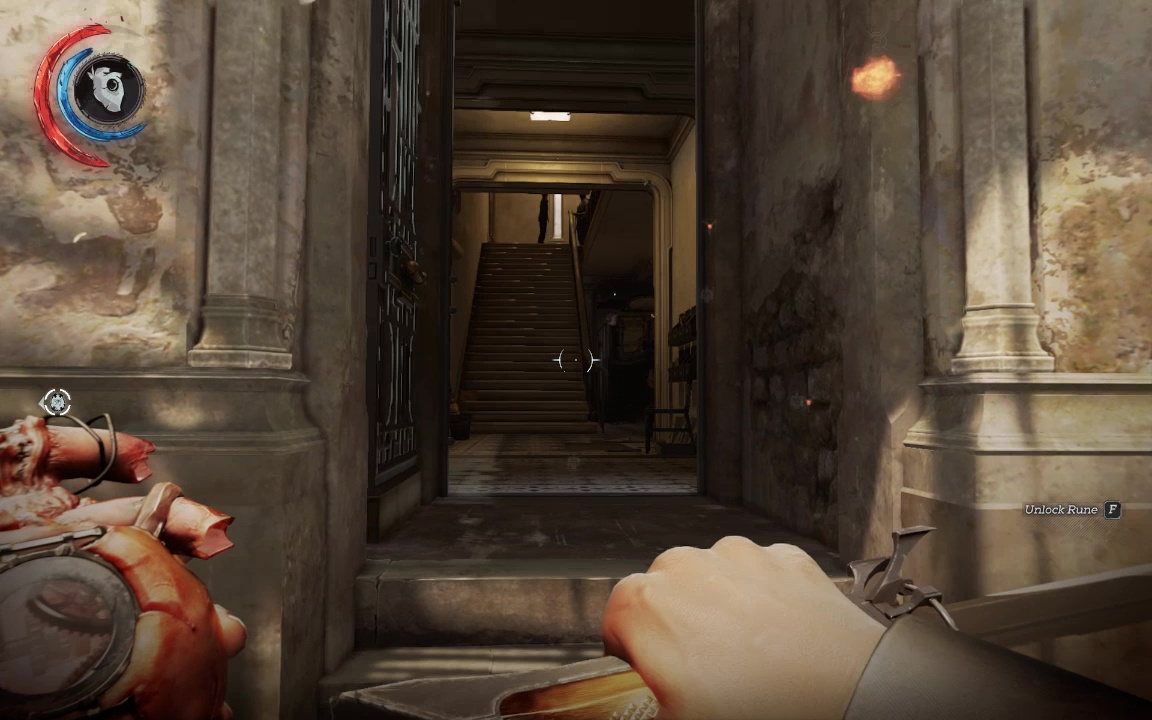
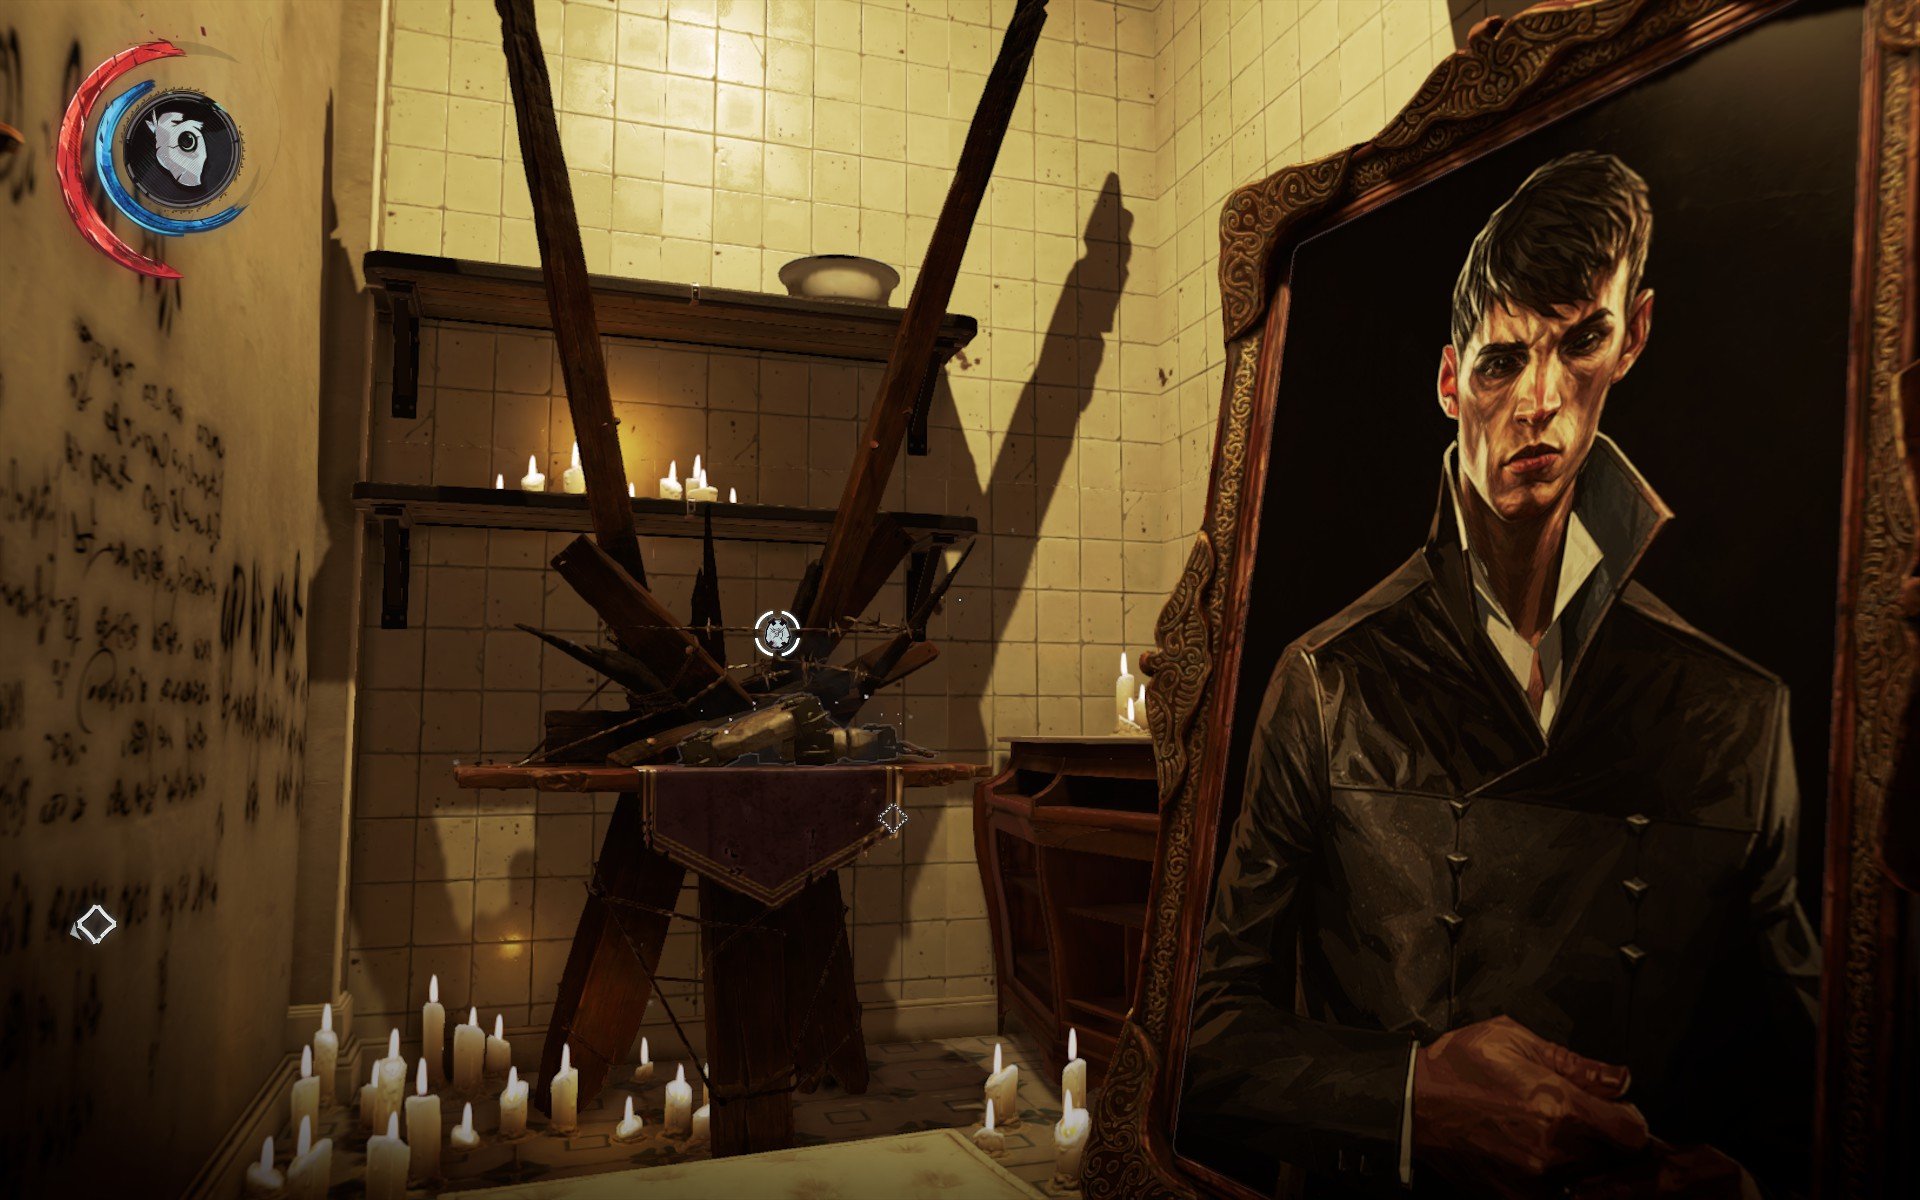
Let your Heart lead the way as you choke out these intruders (they're all pretty absorbed in their work, and all in seperate rooms) and close in on the Outsider Shrine for this section. Go up the stairs and grab the bone charm from a gap between the floorboards (Bonecharm 4/8). Turn right to gather the runes from the picturesque little Shrine here (Runes 6 and 7 of 10), and trigger a chat with your old chum the Outsider. Remember to grab the painting (Painting 2/4) when the void clears.
As the game is at some pains to tell you, there are many ways to get into the next section, but we've already deactivated the windmill, so might as well go through the Wall. Sneak through, then turn right up the stairs. There's some security fencing, but there's just enough of a ledge to let you shimmy across.
Bear right to take out a windowshopping guard. Stash him out of the way, then smash open the shop window for some loot, including your first stun mine. You can also sneak ahead toward the preaching overseers and rob a barber shop, but there's little of interest.
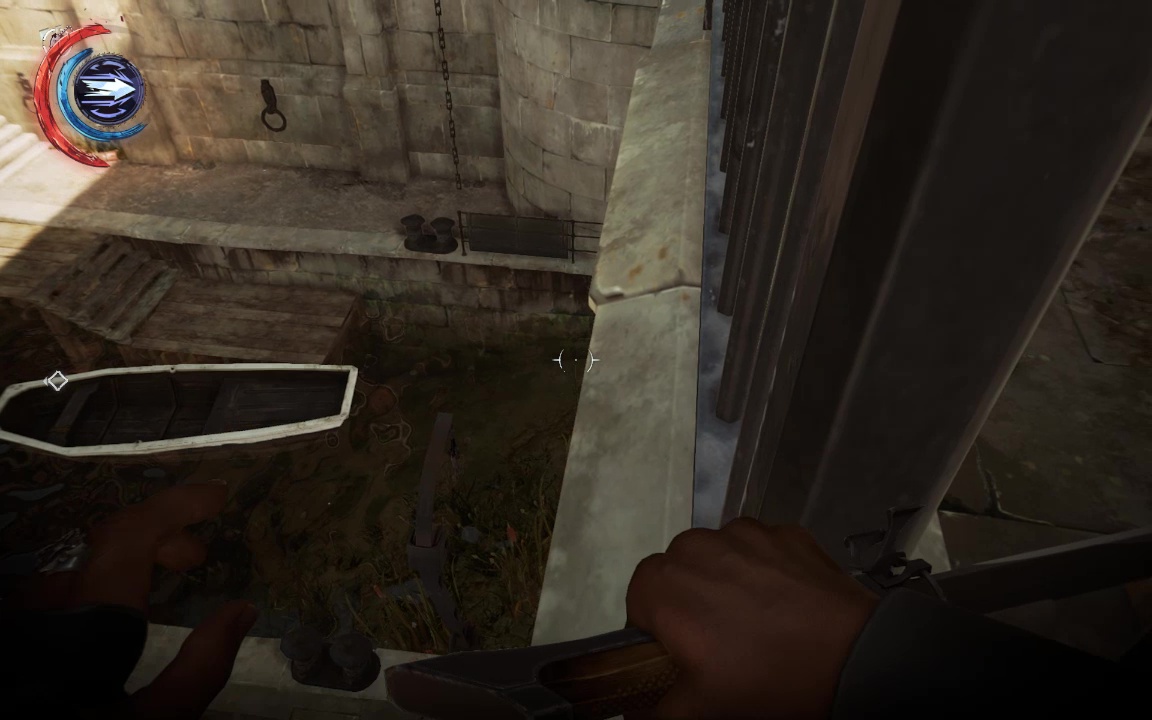
Back away from the preachers- you could probably make that balcony with some fancy stealth blinking and a few quickloads, but there are easier ways. For now, head down to the water, watching out for the patrolling-but-relatively-short-sighted guards. Dive in and swim away from the Wall to find a rune caught behind some flotsam and jetsam.
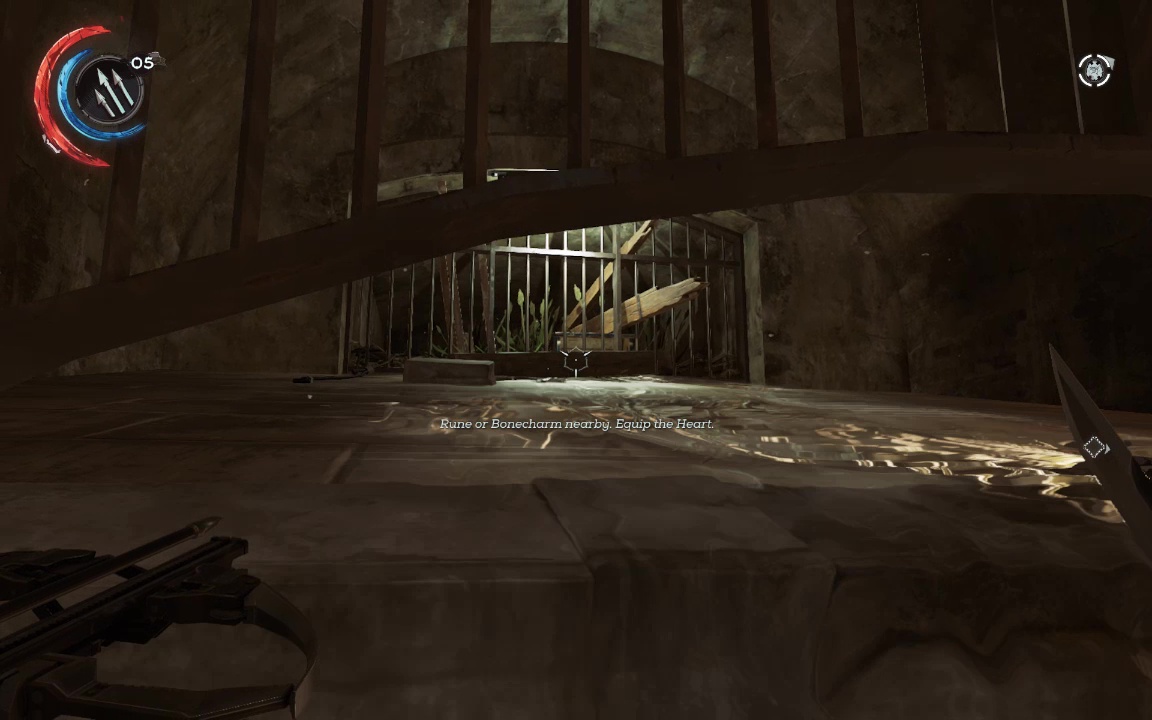
Fire a crossbow bolt at he bottom-most plank (not of the ones sticking up in the bars) to break the logjam, and send the rune floating towards you (Good work, Lara- Rune 8/10). Diving back underwater to evade the patrols, swim toward the Wall, surface, and go back toward the Wall. This time, take the walkway to your left, past the condemned house. Your objective is to get past the check point up ahead.
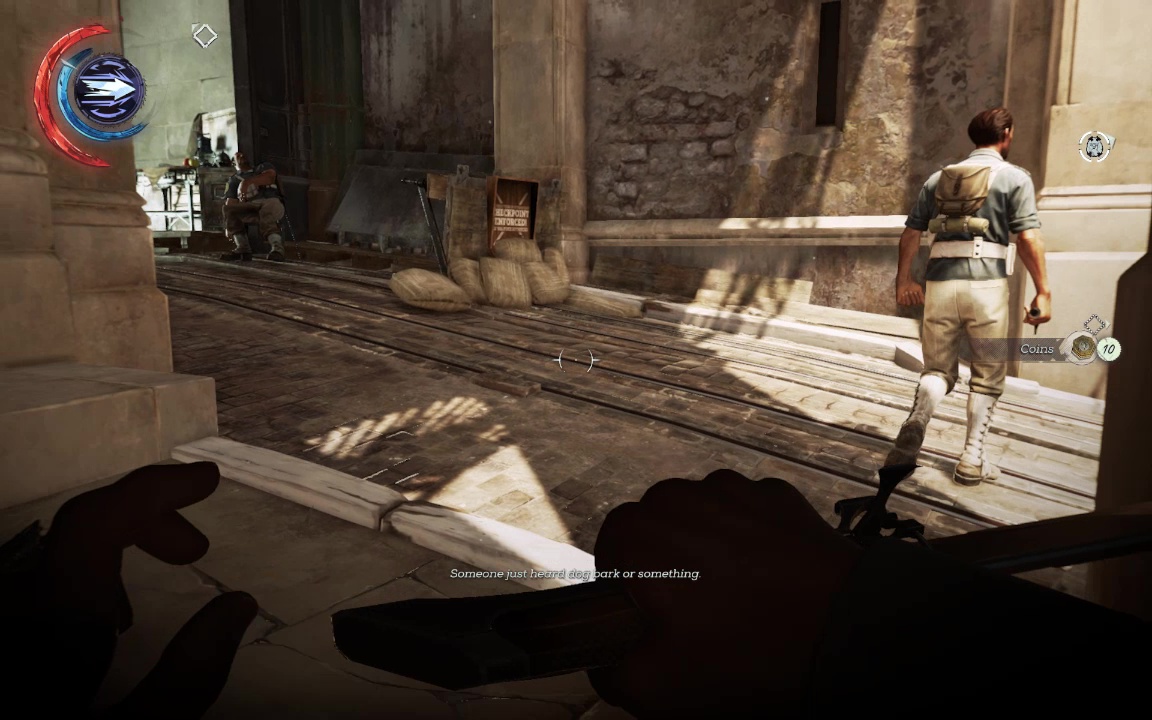
One guard is a perpetual leaner, and the guard in the archway is actually asleep, so you can decide whether you want the spend the time sleep choking these guys or just sneak past them. If the former, Blink can be handy for zipping up precisely behind someone. Be careful about using the nearby dumpster for body hiding, though- it's full of bloodflies.
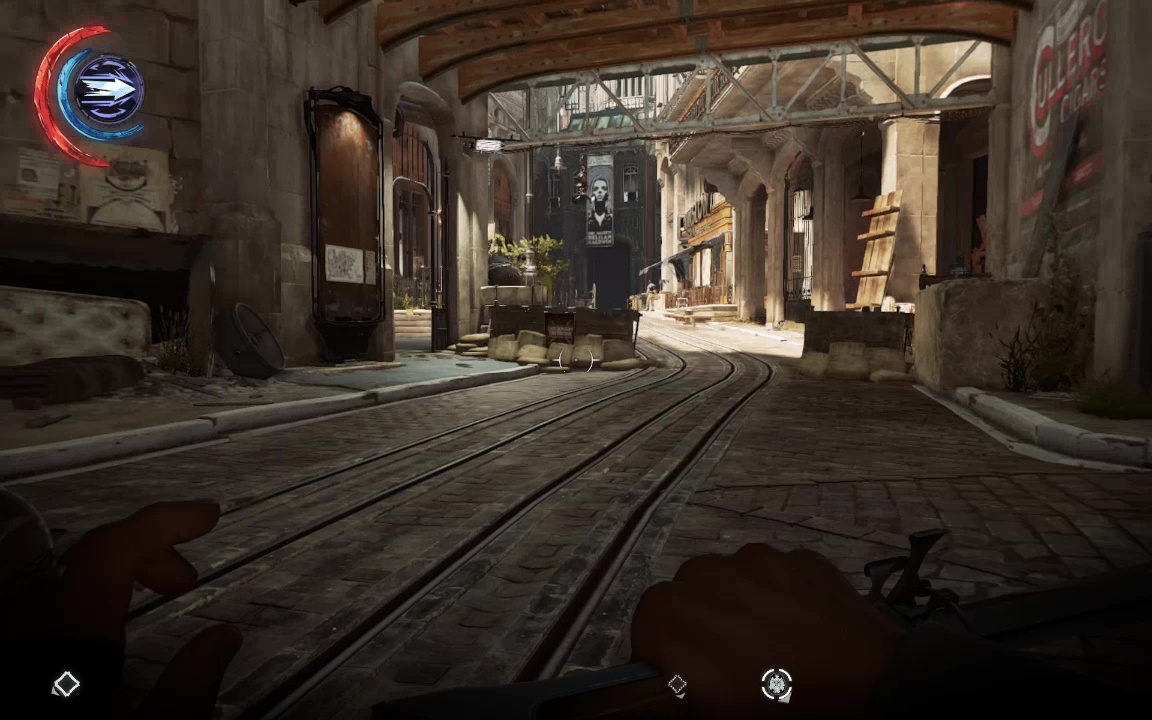
Make your way through the arch and into a slightly ritzier section of the shopping district. Bear right, picking up loose valuables and trinkets, then make your way to the rear of the Overseer Outpost.
There's guard daydreaming against the rail here that can be choked out without alerting citizens below, and another guard by the door can be evaded, or lured into a vulnerable position by playing peek-a-boo in the pillars here.
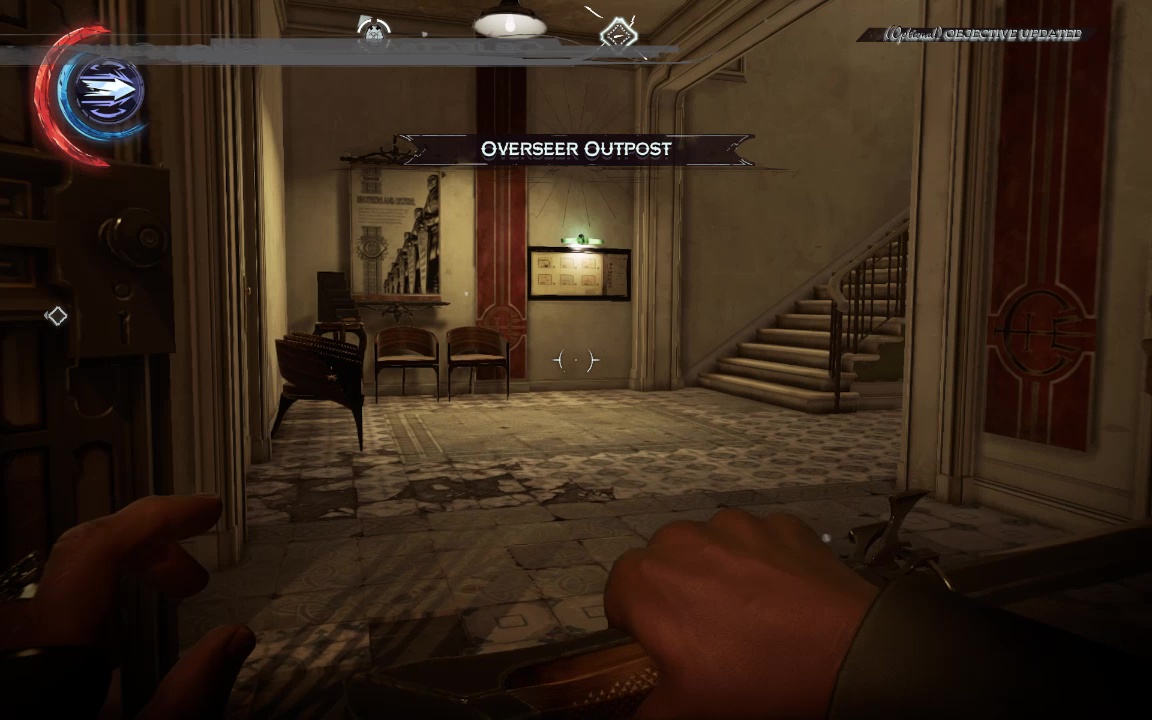
Enter through the front door, closing it behind you (hopefully this is second nature to you by now). If you are followed, hide in the restroom here, keeping an eye out though the keyhole until the coast is clear. When it is, smash the display case to liberate some scrimshaw (the sound is not quite loud enough to carry either upstairs or outside). Follow the stairs up until you reach the third floor, and sneak into the office of the Vice Overseer.
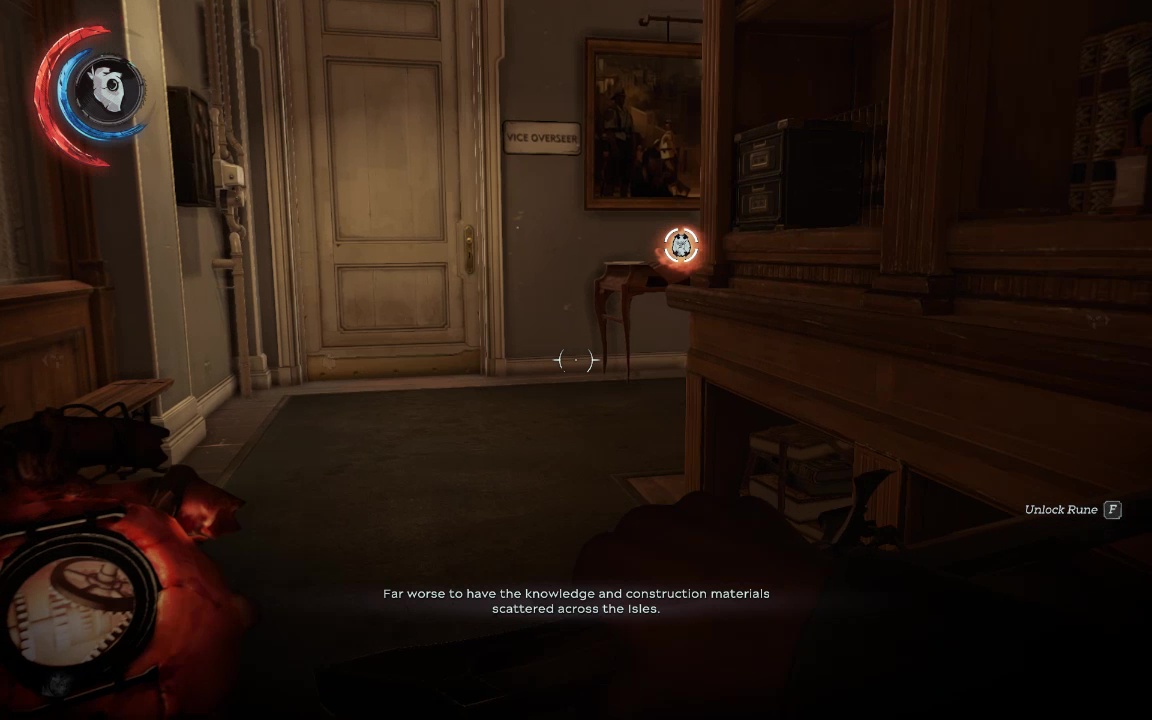
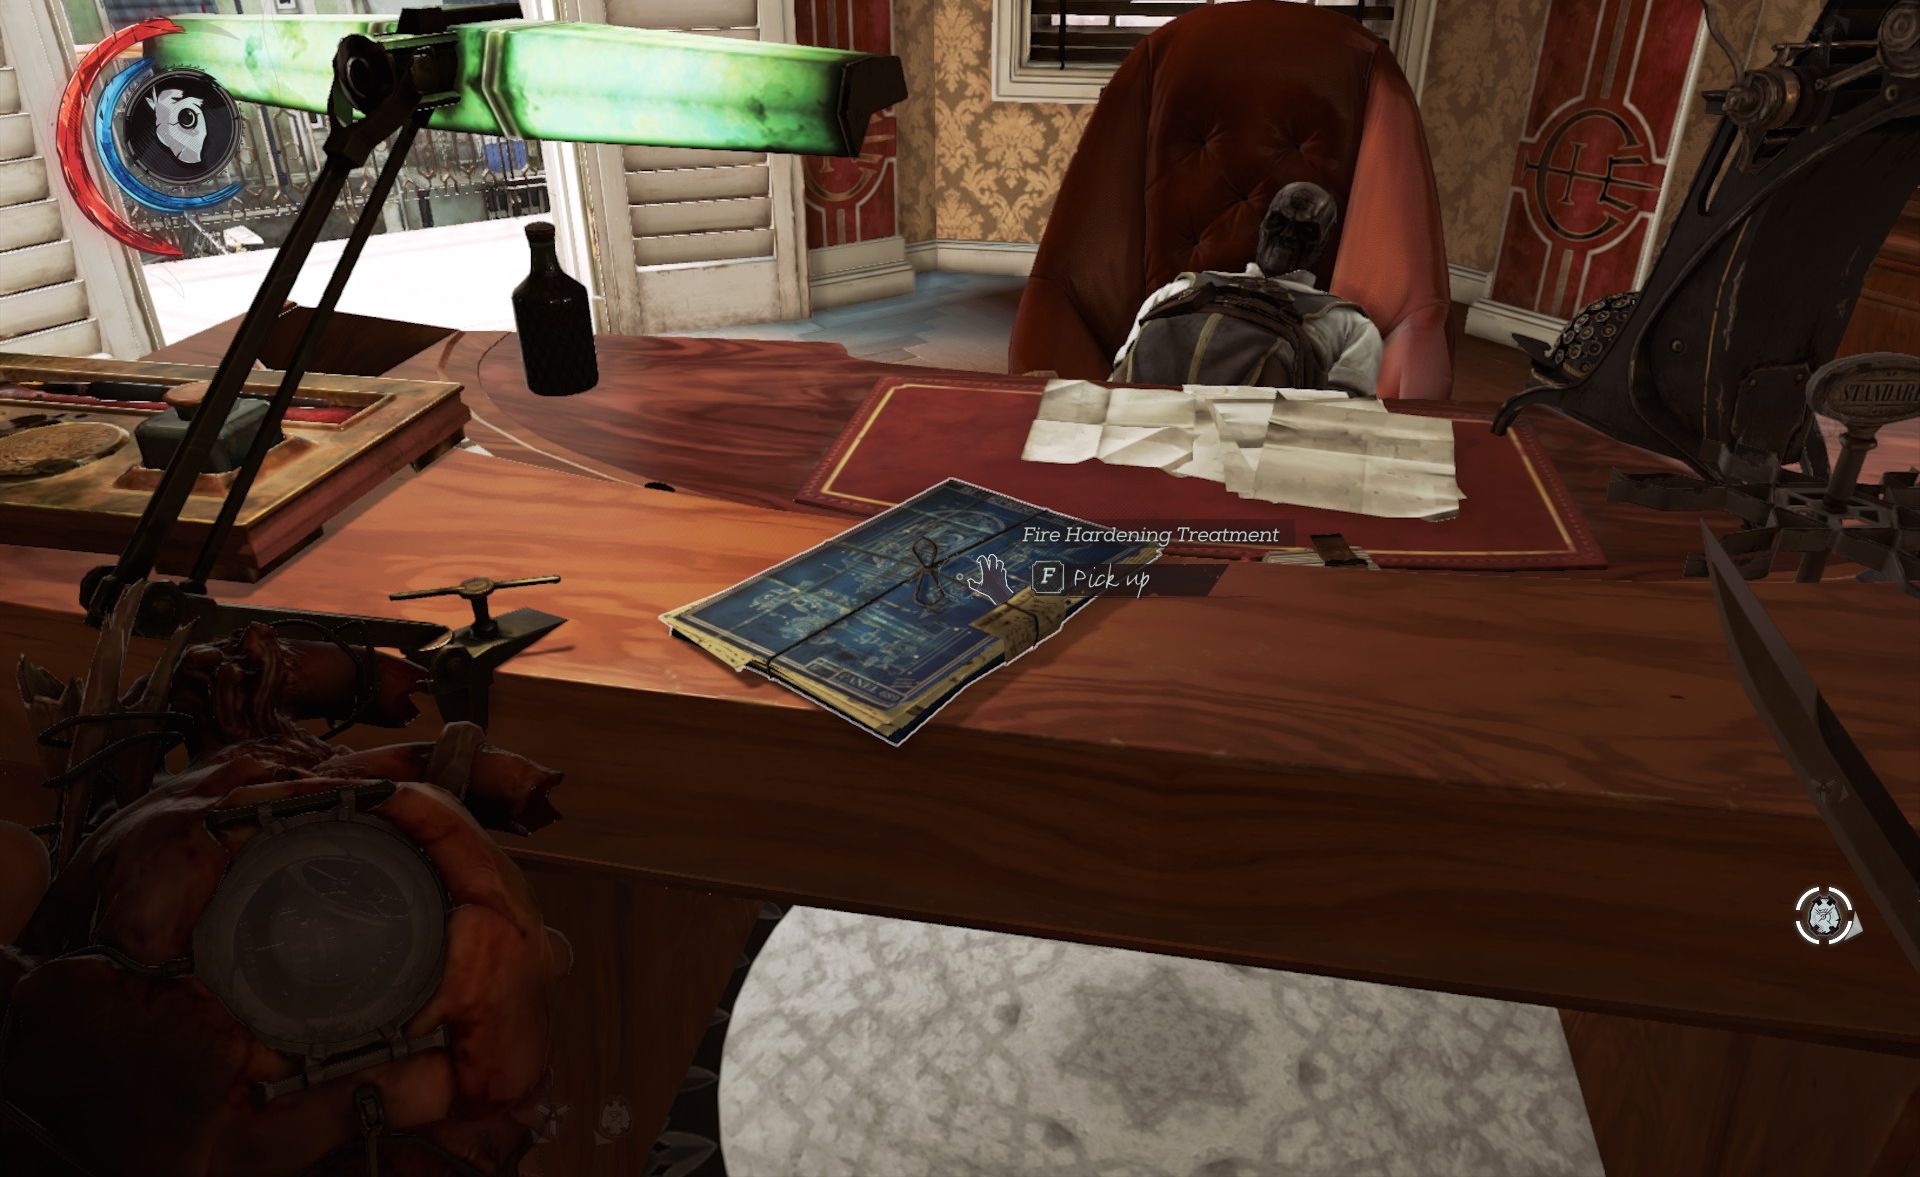
There is a safe to the right here, and the V.O. himself sits to your left in a very large chair. So large, in fact, it can be hard to find a choking vantage point. Either risk standing up, balancing on the chairback itself, or just shoot him with a sleep bolt. There are two other guards on this floor- let them finish their conversation, and they'll separate into two rooms, both lost in reverie. Loop back to the entrance of this floor to come at them unobserved (through the hallway with the carved horsehad). Once they're down you'll have free run of the place, which is stuffed with valuables. First, on the Overseer's desk is that last set of blueprints on the level, for a Fire Hardening Treatment (Blueprints 2/2).
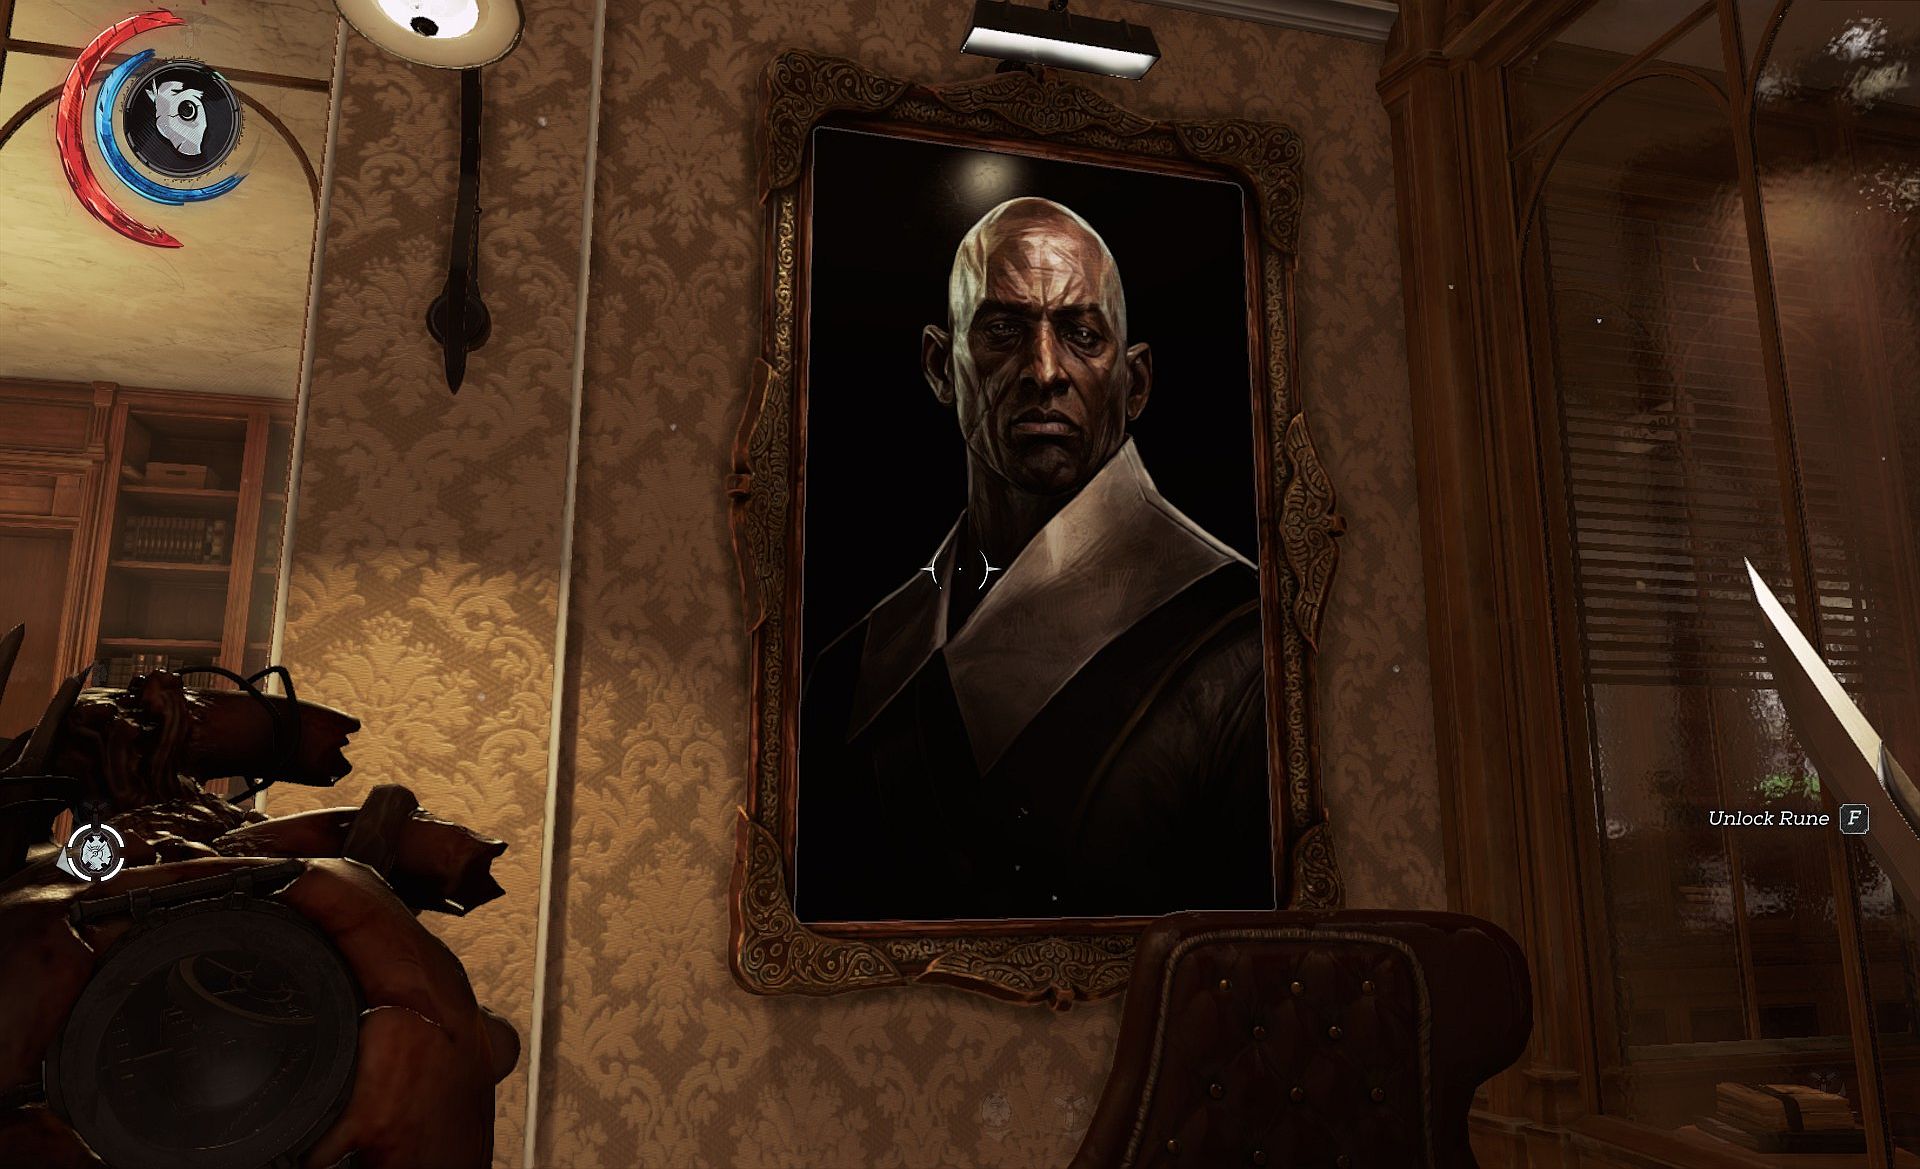
Across from his desk, a collectible painting, presumably of the guy you just choked out (Painting 3/4). If he wanted people in his office to know what he looks like, maybe he could just not wear a mask?
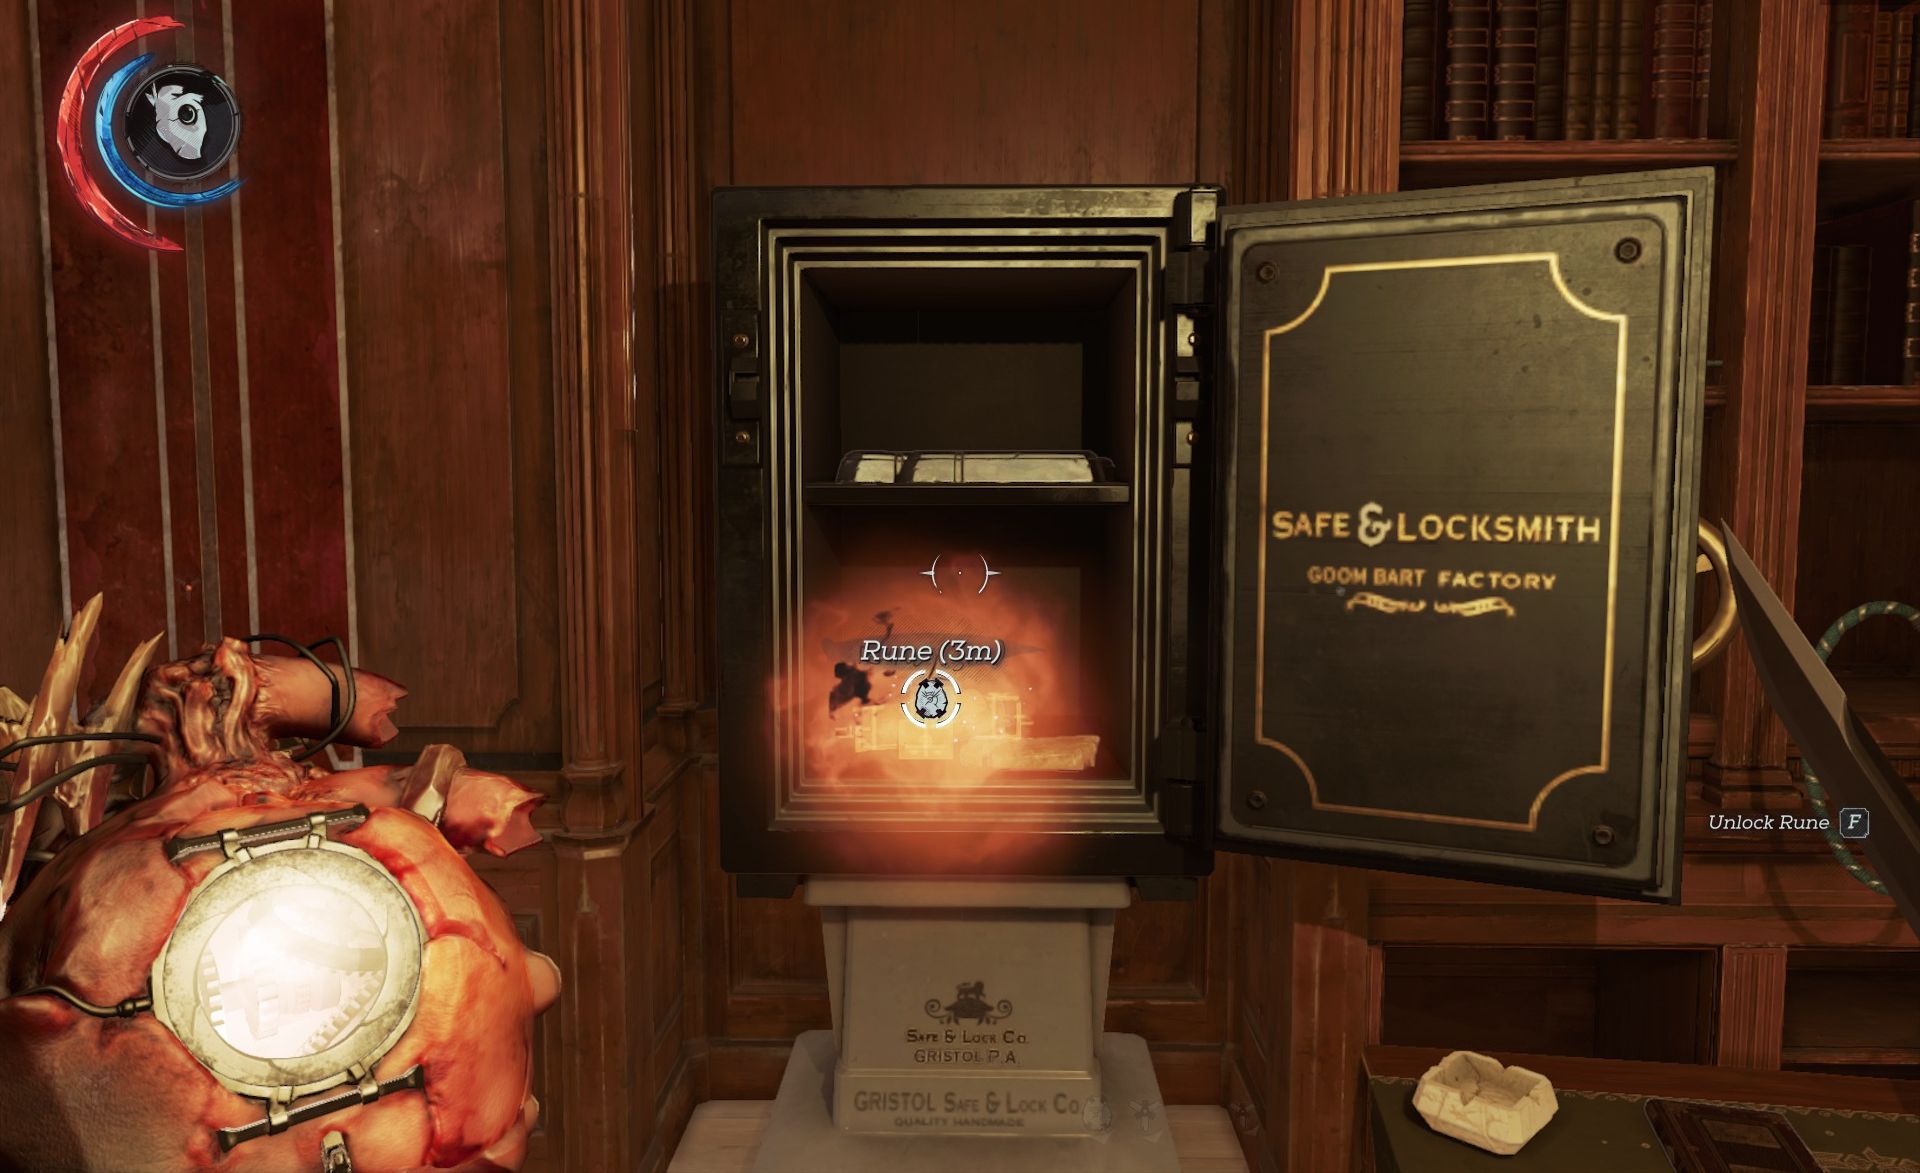
In anycase, snag any lose trinkets you like before attacking the safe. Like many safes in Karnaca, the combination is random, but the answer is close at hand. Note the book just right of the safe, which details the seven strictures.

In the room between the office and the sanctum, there's a note on the table entitled 'Strictures to Keep You Safe.' Ignore the pun, and instead observe the strictures listed. By comparing them to the numbered strictures above, you can divine the safe combination, and claim the ingots and runestone within (Rune 9/10). Note that, once youv'e gathering both clues, consulting your journal will also serve up the combination.
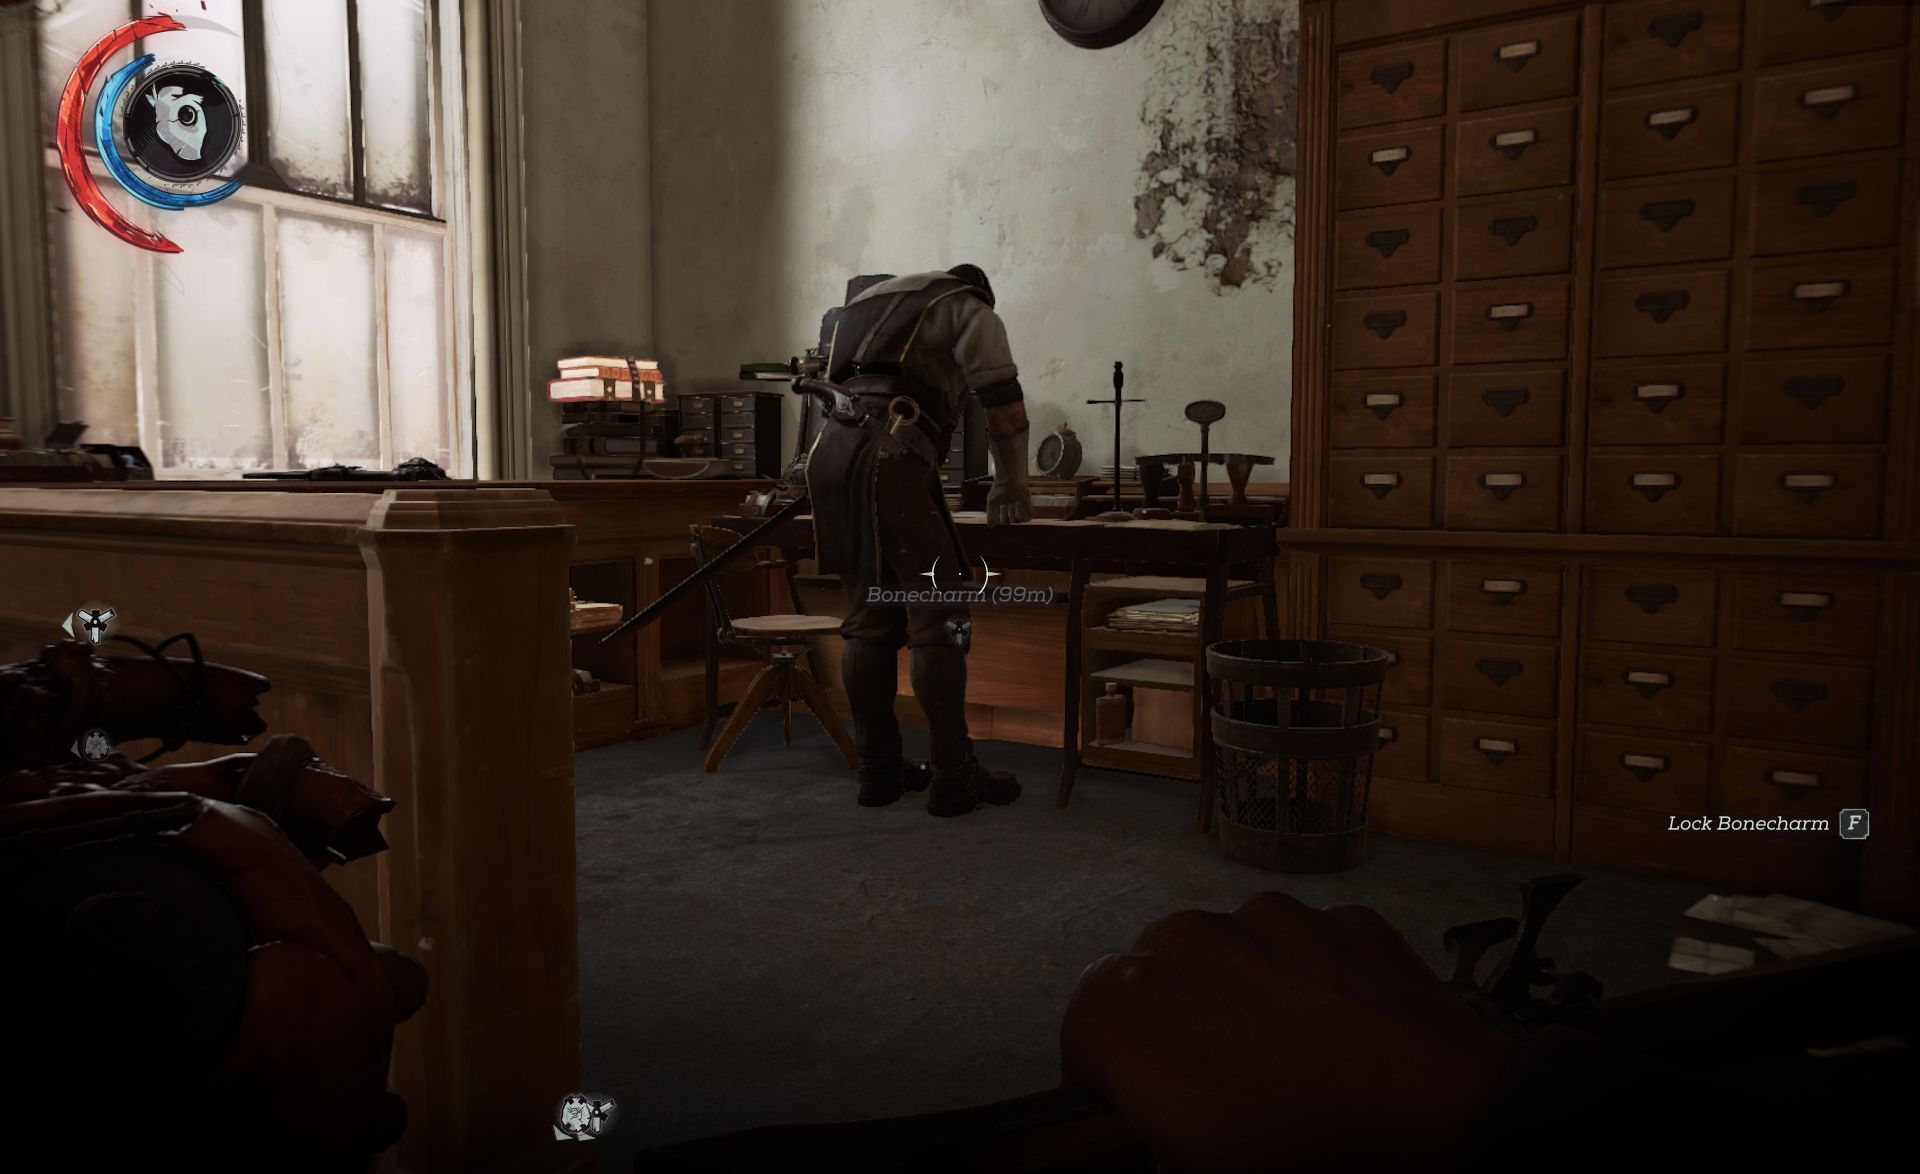
Go up the stairs. This floor has the body that Mindy asked for, but we're not quite ready to snag it yet. Instead, go the roof where two Overseers are idling at the shooting range. Pickpocket and choke them, then use the Heart to identify a bonecharm on a distant rooftop.
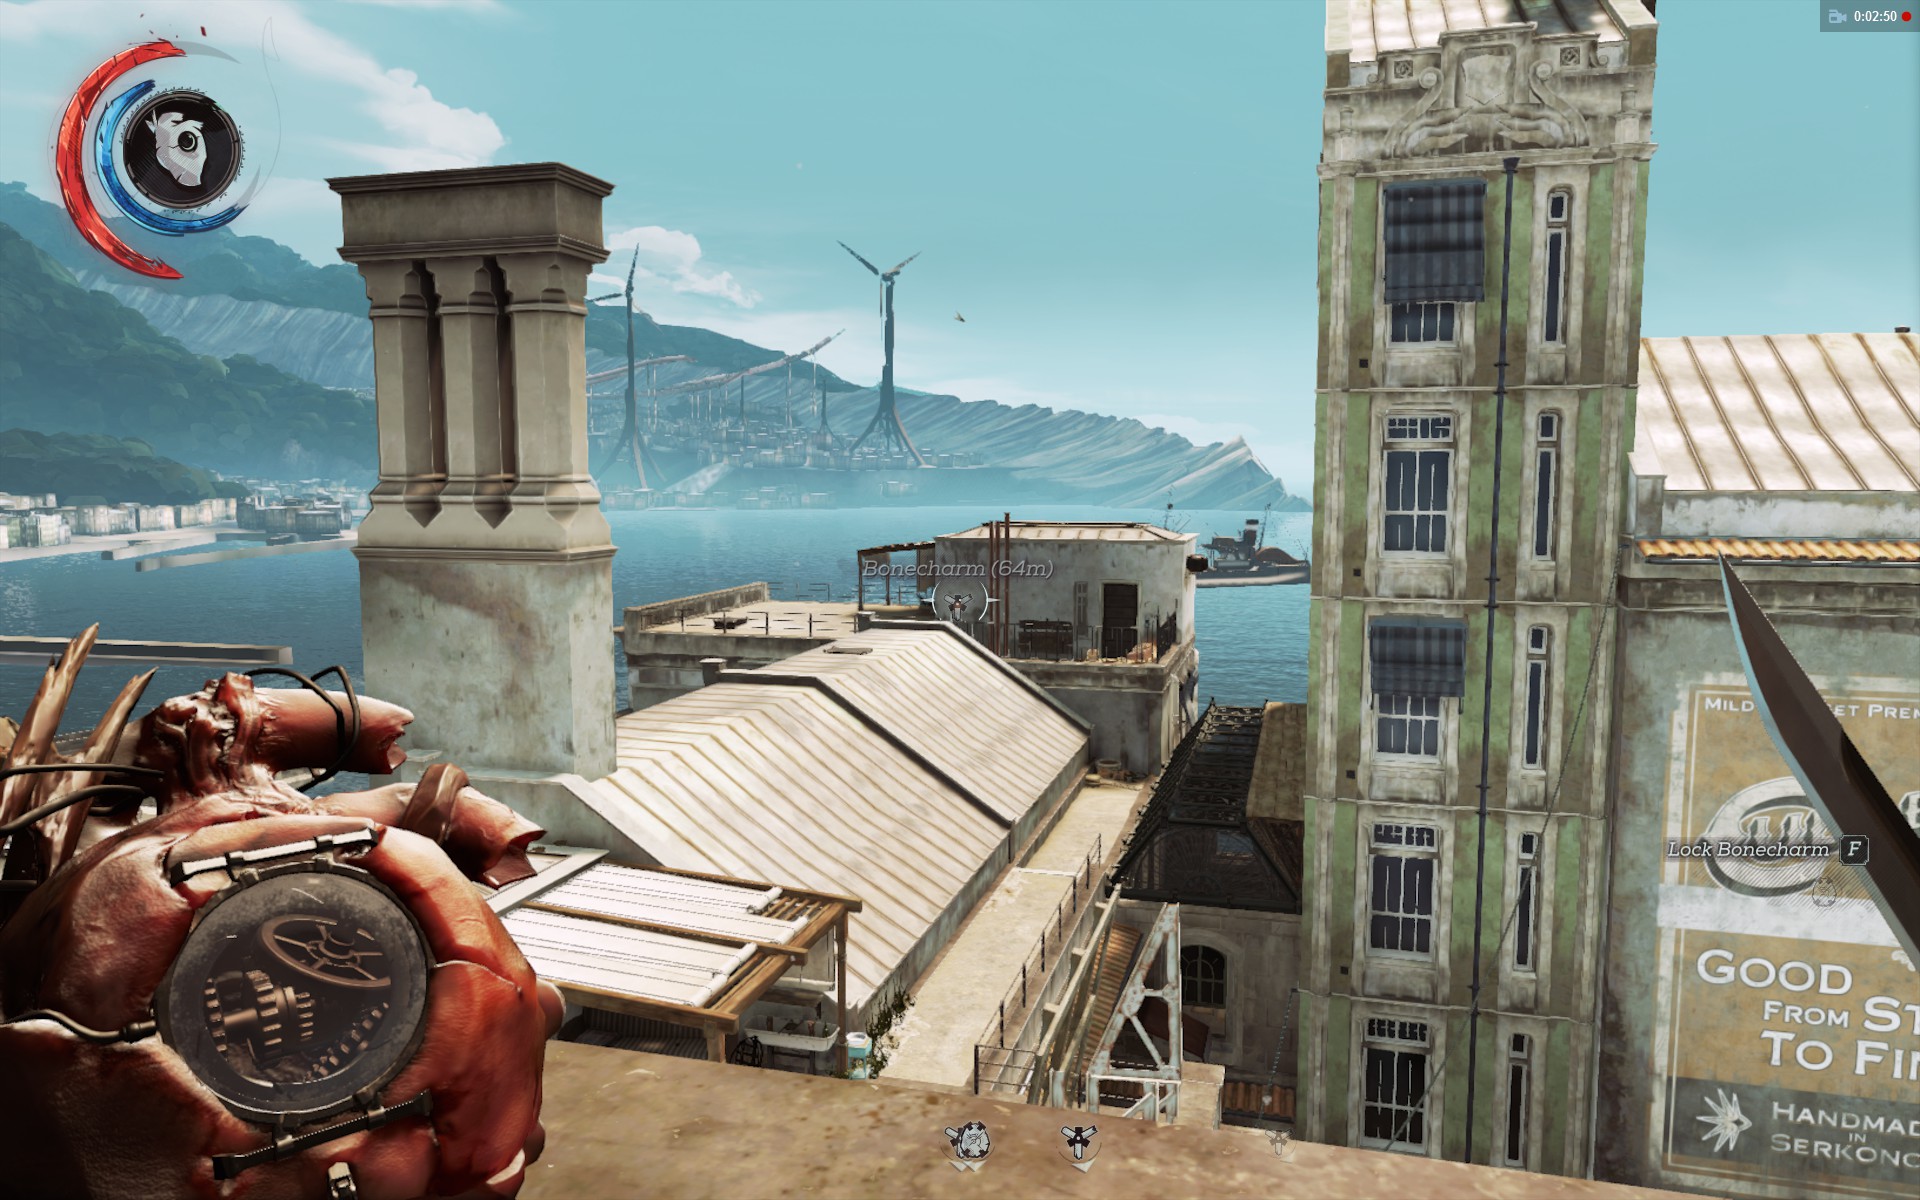
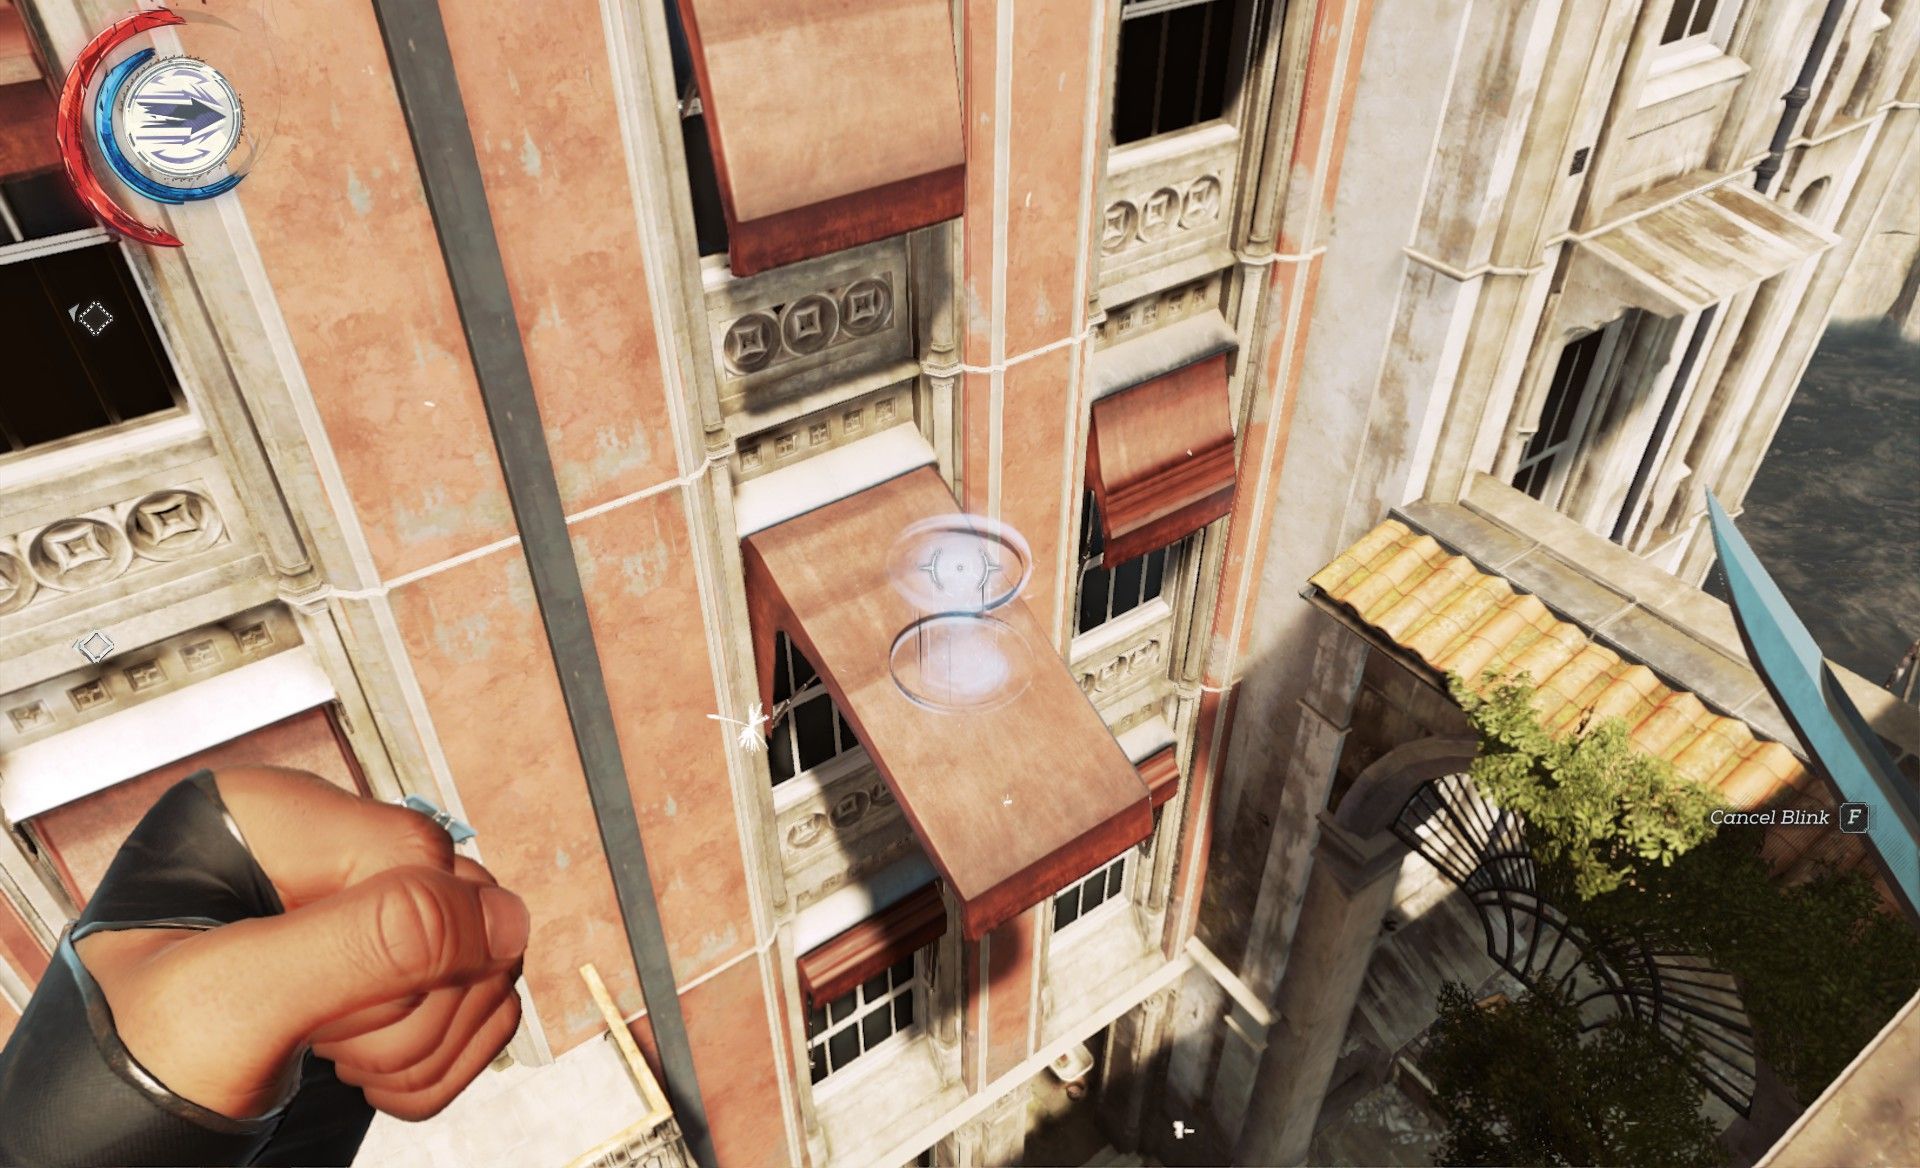
Jump for it, using Blink halfway down to avoid falling damage. Pick up some Heavy Pouches of lucre here and then make a beeline for the charm. The bloodflies can be dispatched with sword alone, by advancing and falling back as they grow hostile. Grab the charm (Bonecharm 5/8) and return to the outpost- Blink onto one of the helpfully large canopies and re-enter the building through the vice overseer's office.
When you return to the fourth floor, the two overseers will have split up. Take out the one by the stairs, then approach the other, who should be in his office with his back turned- easy pickings.
Read the note on his desk to discover that the body is one of the residents of the raided building (perhaps explaining why there was a sketch of Mindy by the bed in the Shrine apartment). Use the guard's key to enter the interrogation room.
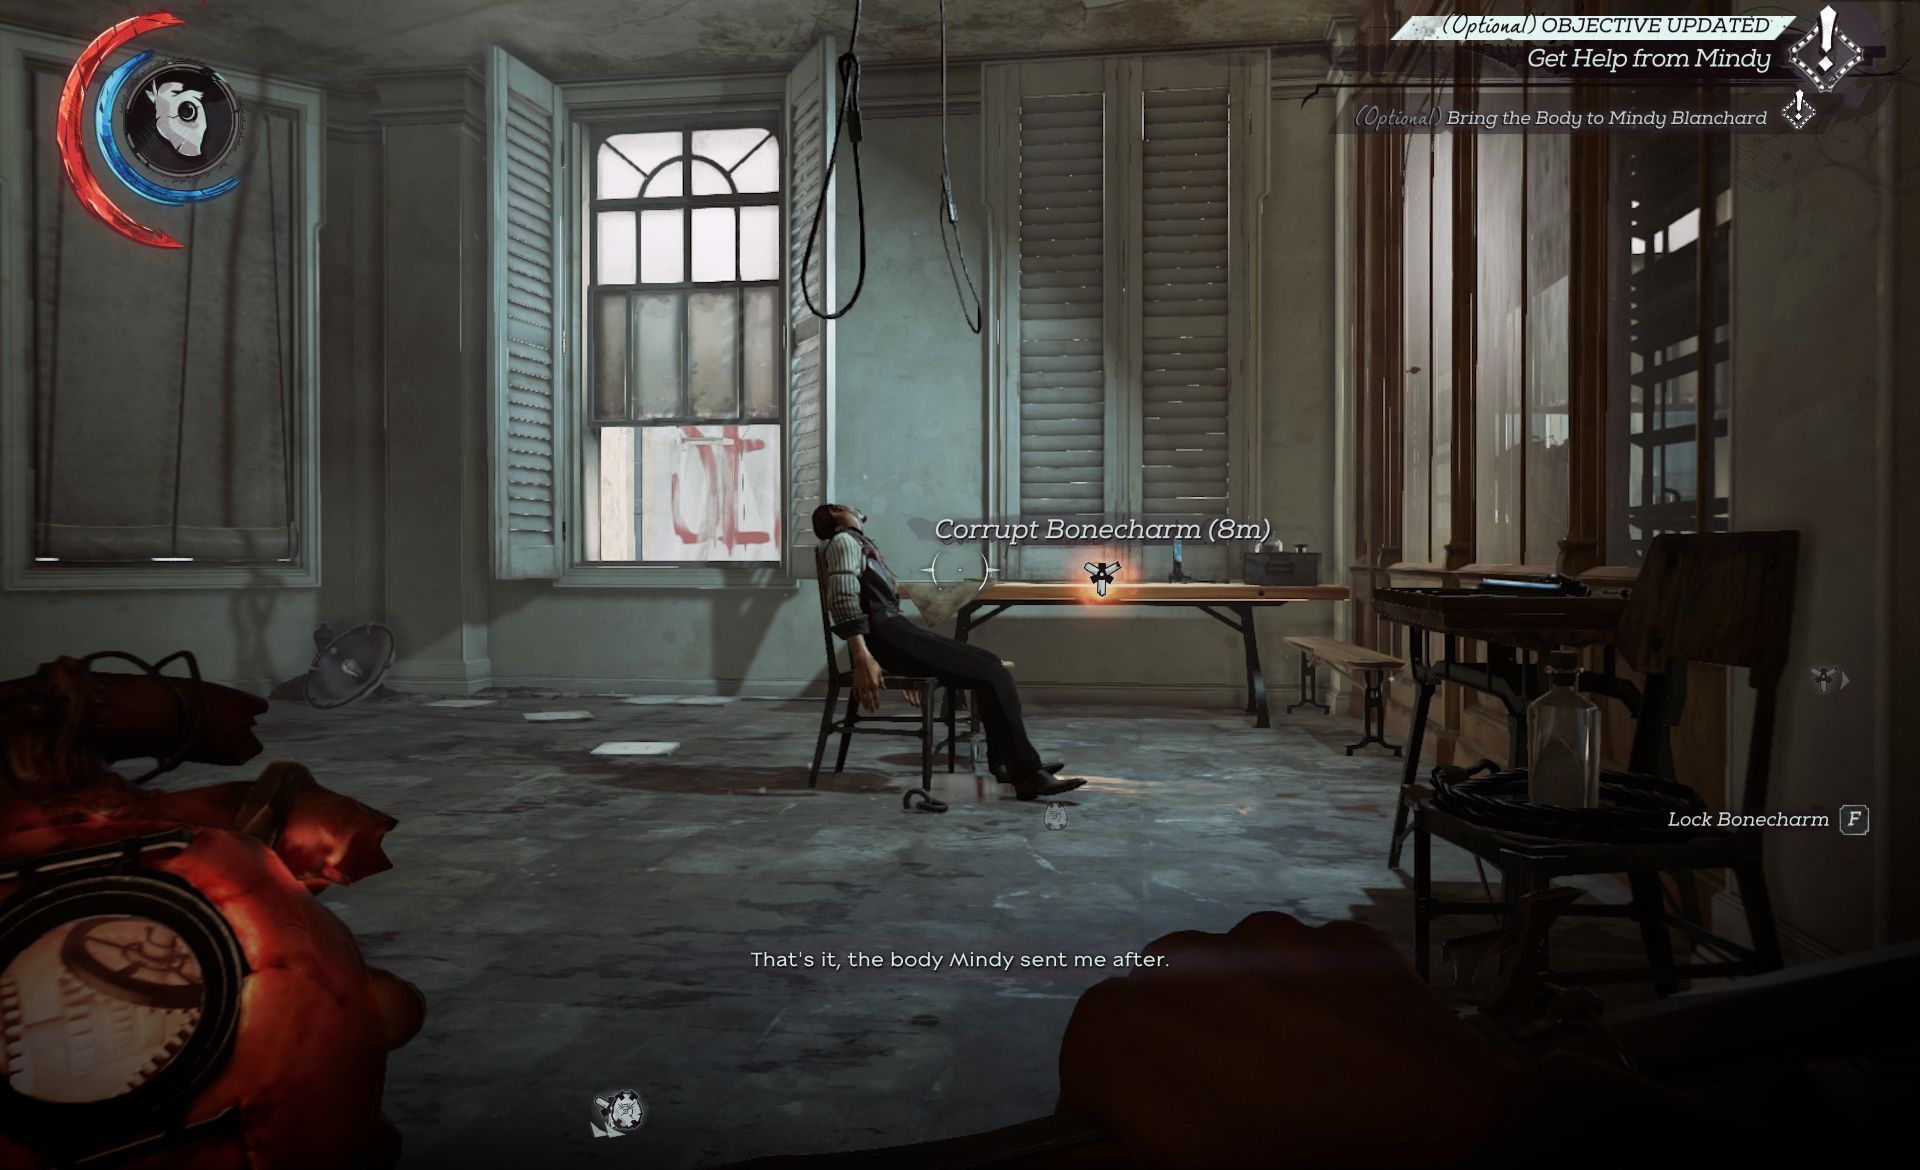
Pick up the corrupted bonecharm (Bonecharm 6/8) and hoist up the body. This next section is a little tricky because any civilians that see the body will immediately go hostile. Exit the building using the balcony from the vice overseer's office and carefully pick your way down to street level.
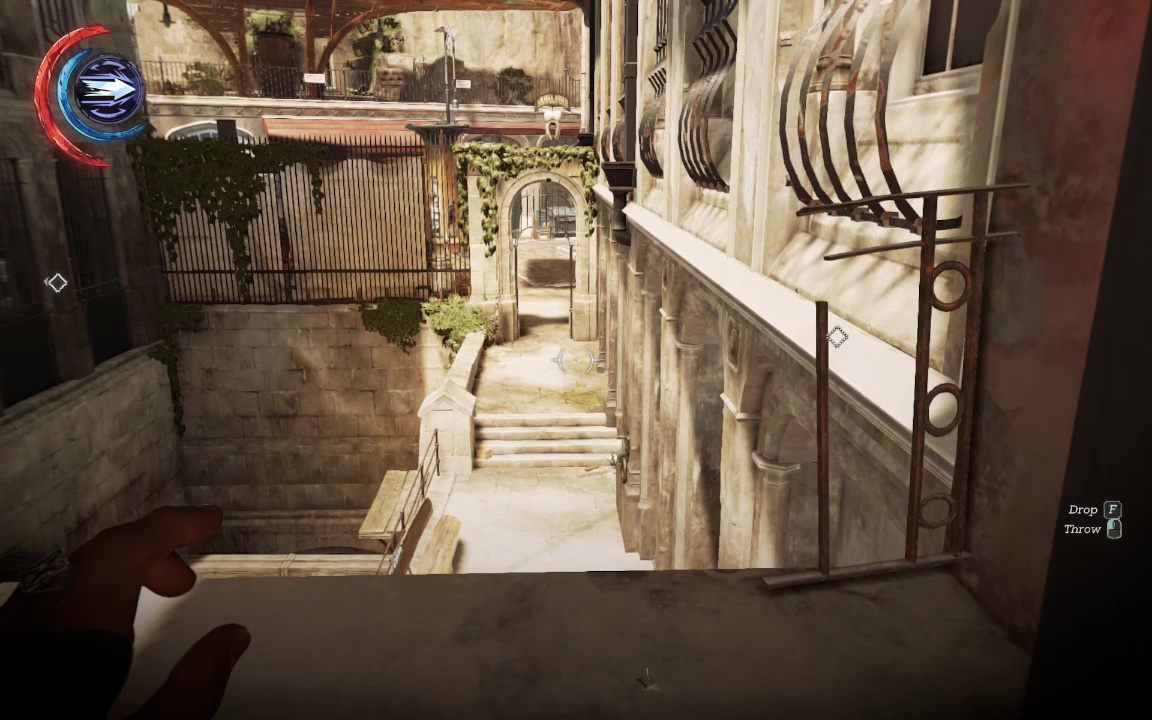
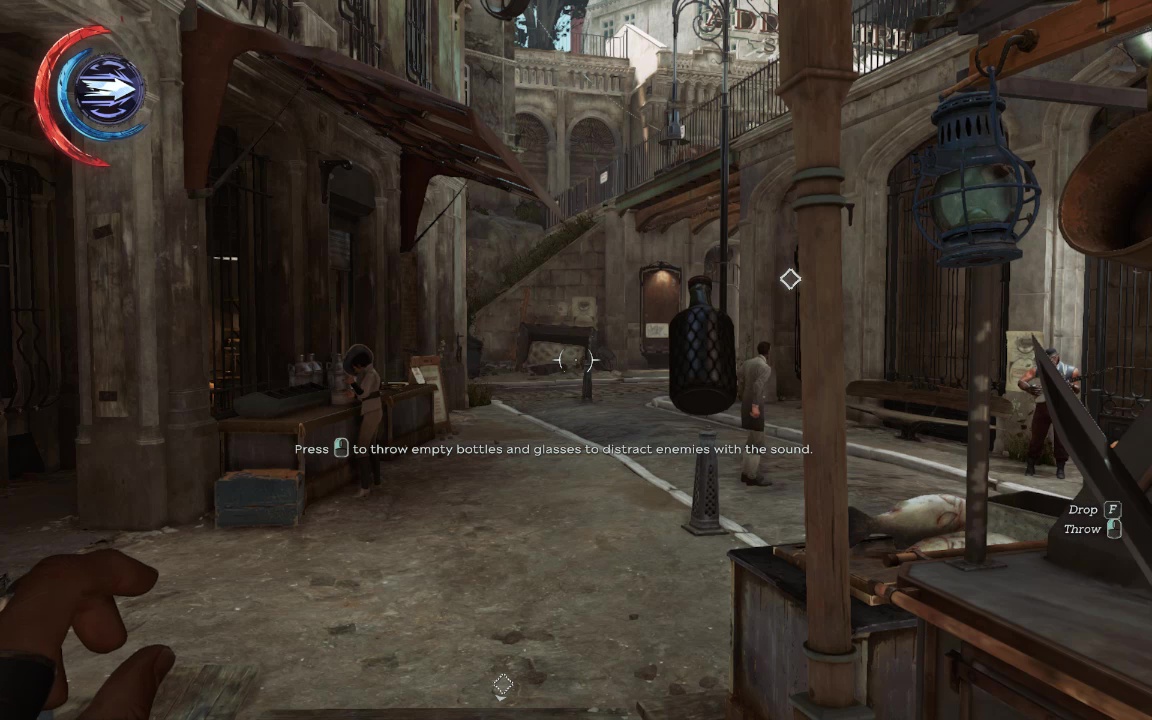
The hardest part is this corner just by the market- there are plenty of moving civilians both here and on the rail platform above. Use Blink to stash the body atop the awning here, then drop down and pick up one of the many empty bottles to throw as a distraction.
Nip back up for the body, drop down to the basement stairs, and toss Amadeo in a shallow grave to complete this objective and score an achievement (Special Action 4/6).
Achievement Alert: There are a few musicians under the rail platform here. Hang around and listen their full set without spooking them. It's worth one third of an achievement, and there's no coming back for it.
