Part IV – Loose Ends and Hypatia's Apartment
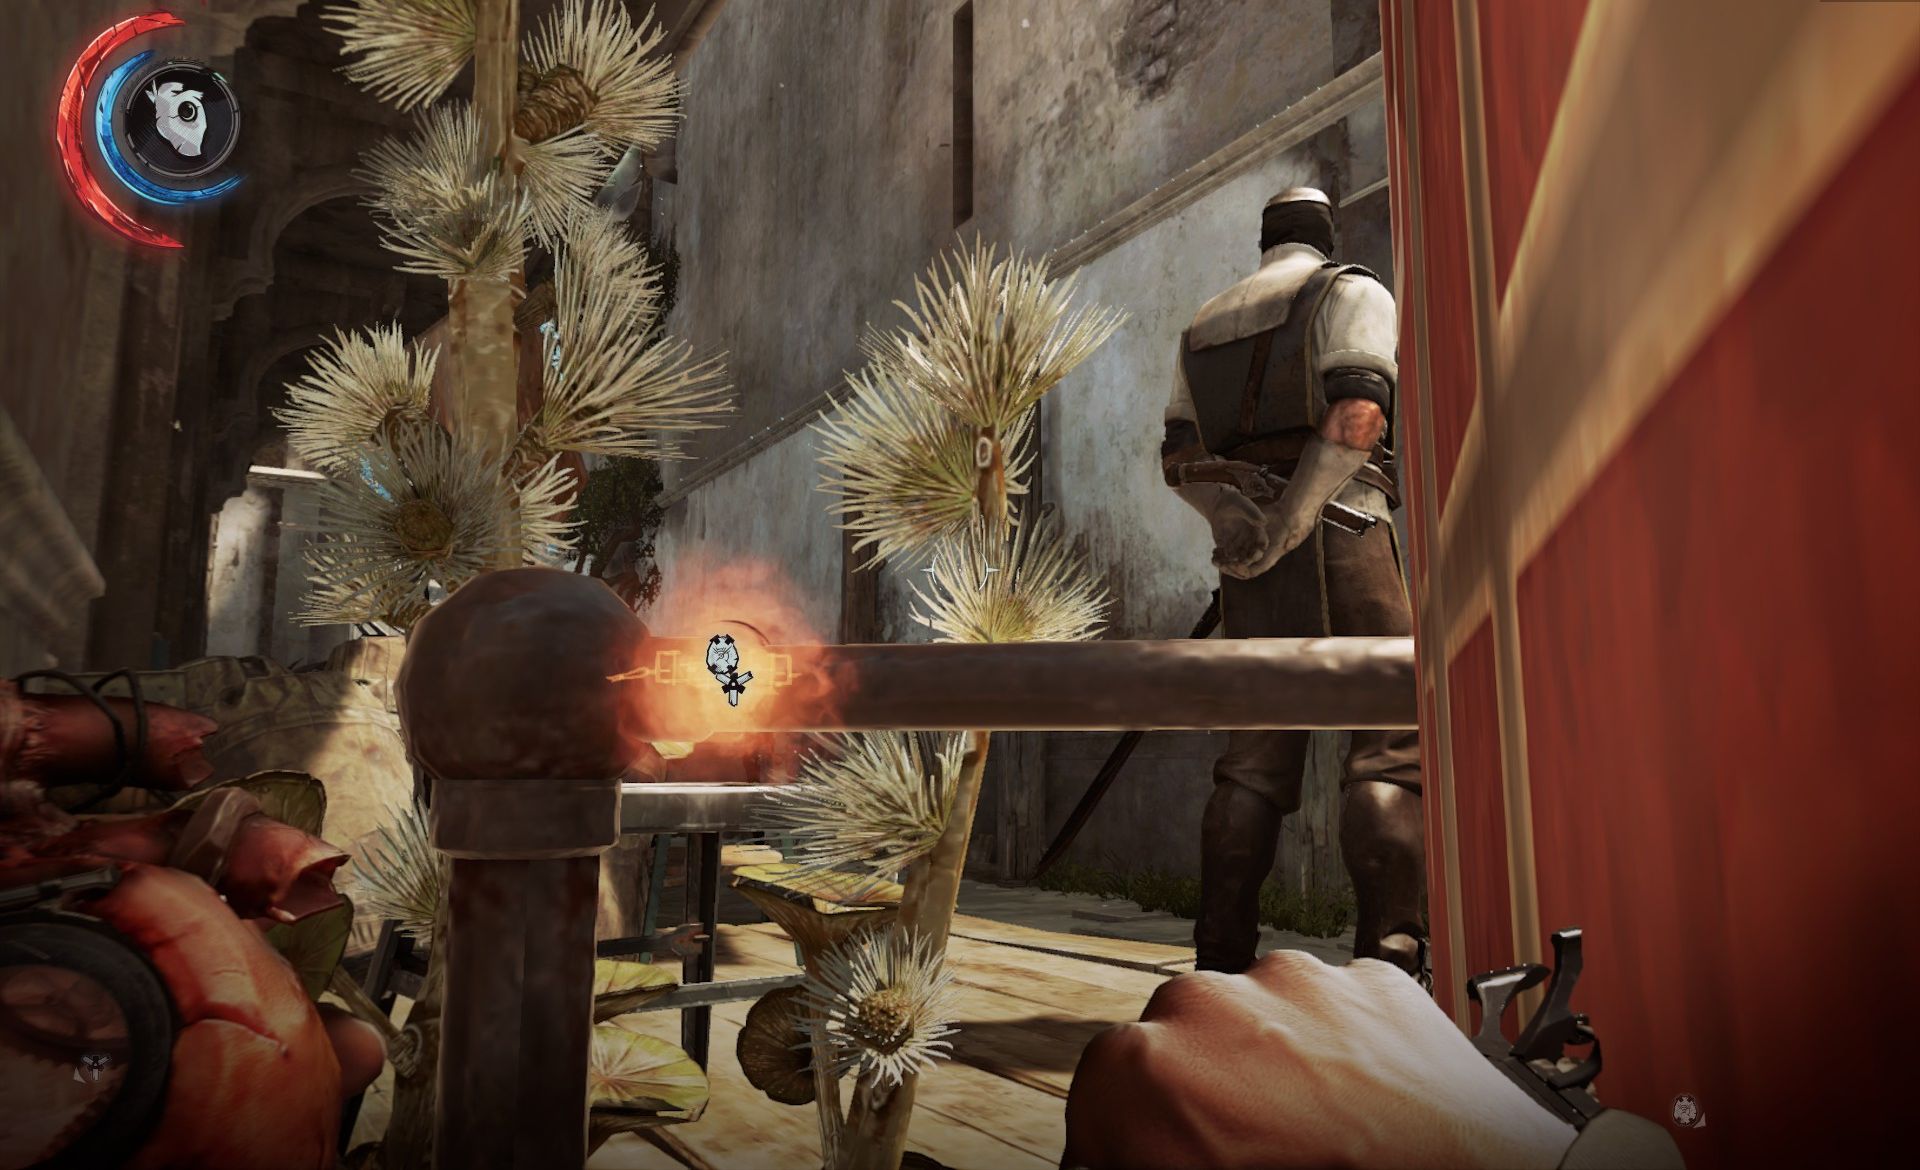
If you haven't yet, now is good time to double back and rob the black market (as detailed in Part II of this mission guide). On your way, pass by the Overseer Outpost one last time. The preachers will have finally finished their sermonizing, and only one remains to guard the platform. With the upper level guards dispatched, you can just sneak-hop up the platform behind him, grab the loot, and sneak off (Bonecharm 7/8)(Rune 10/10).
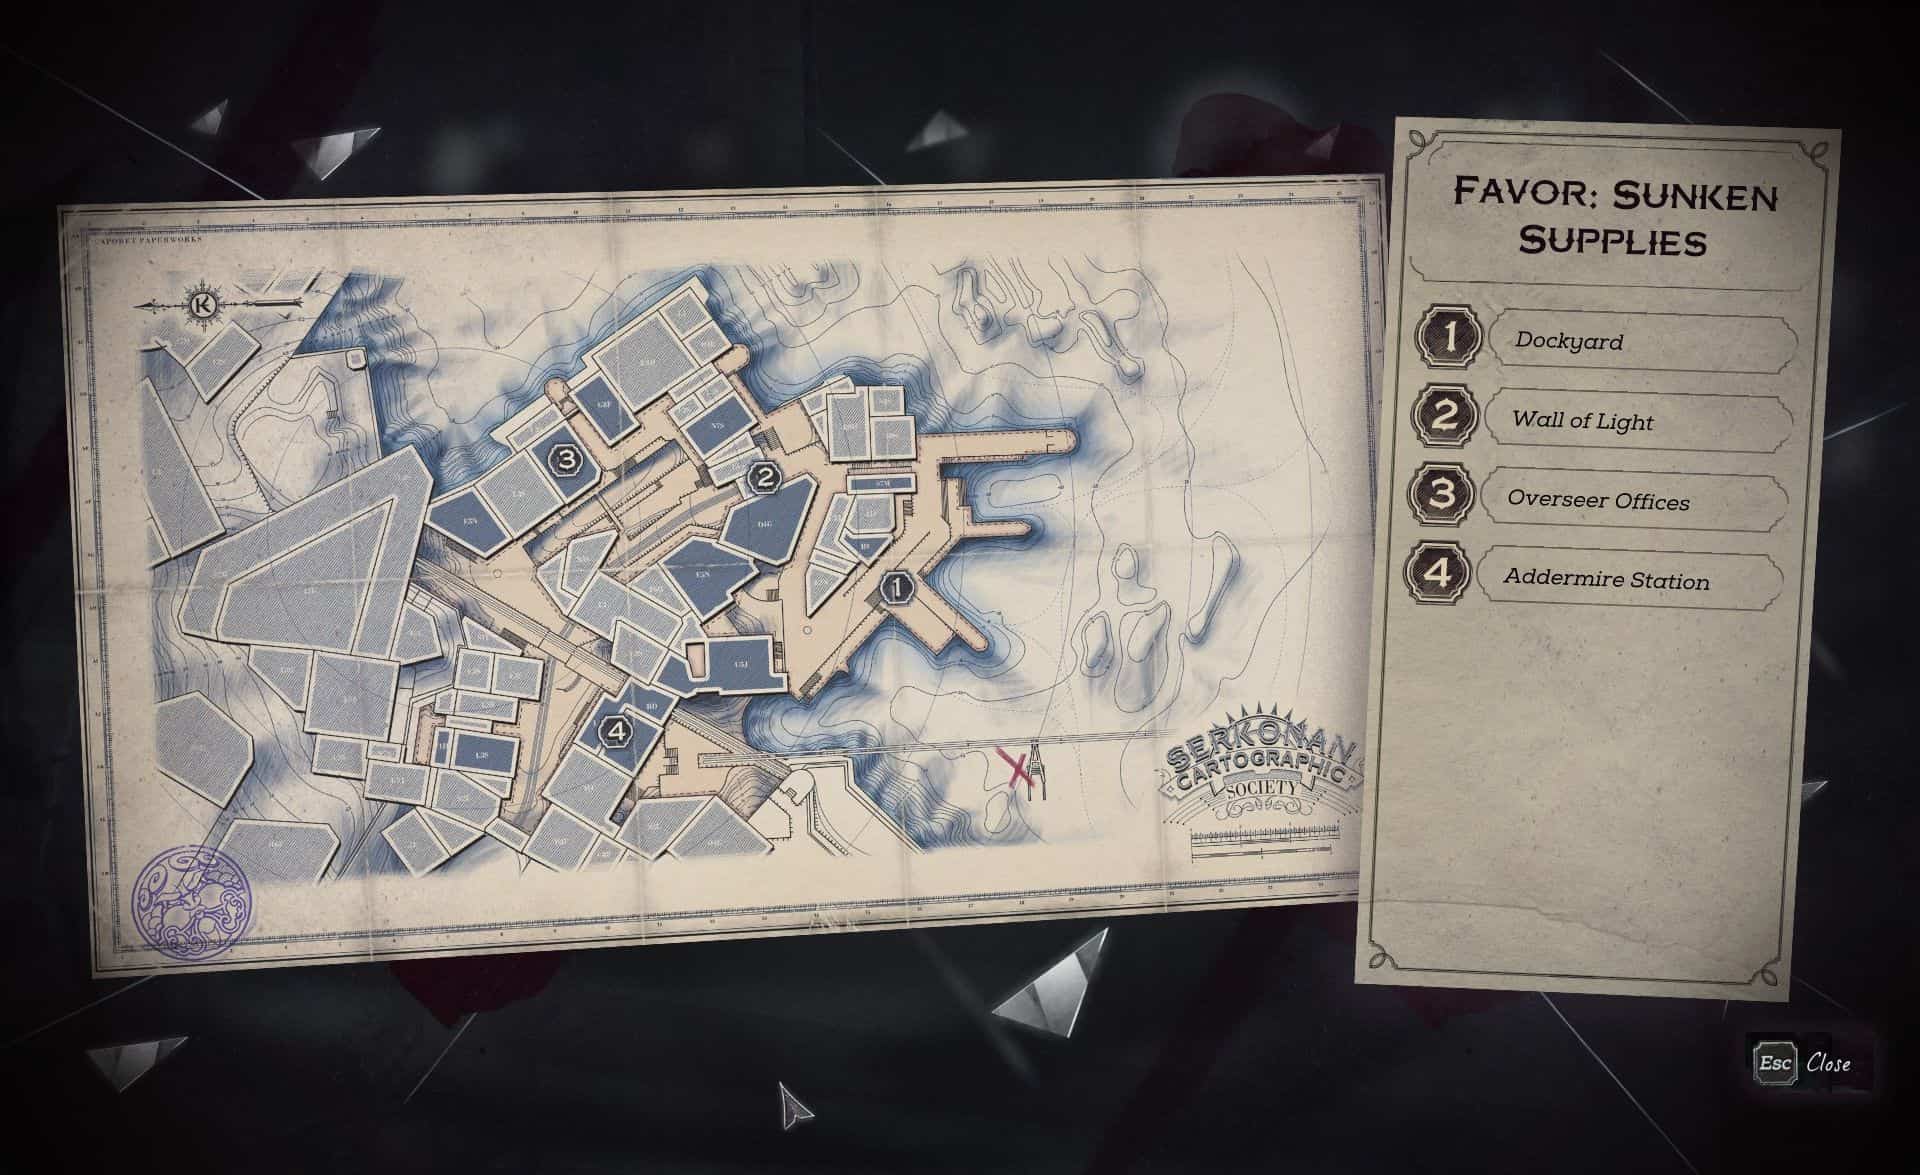
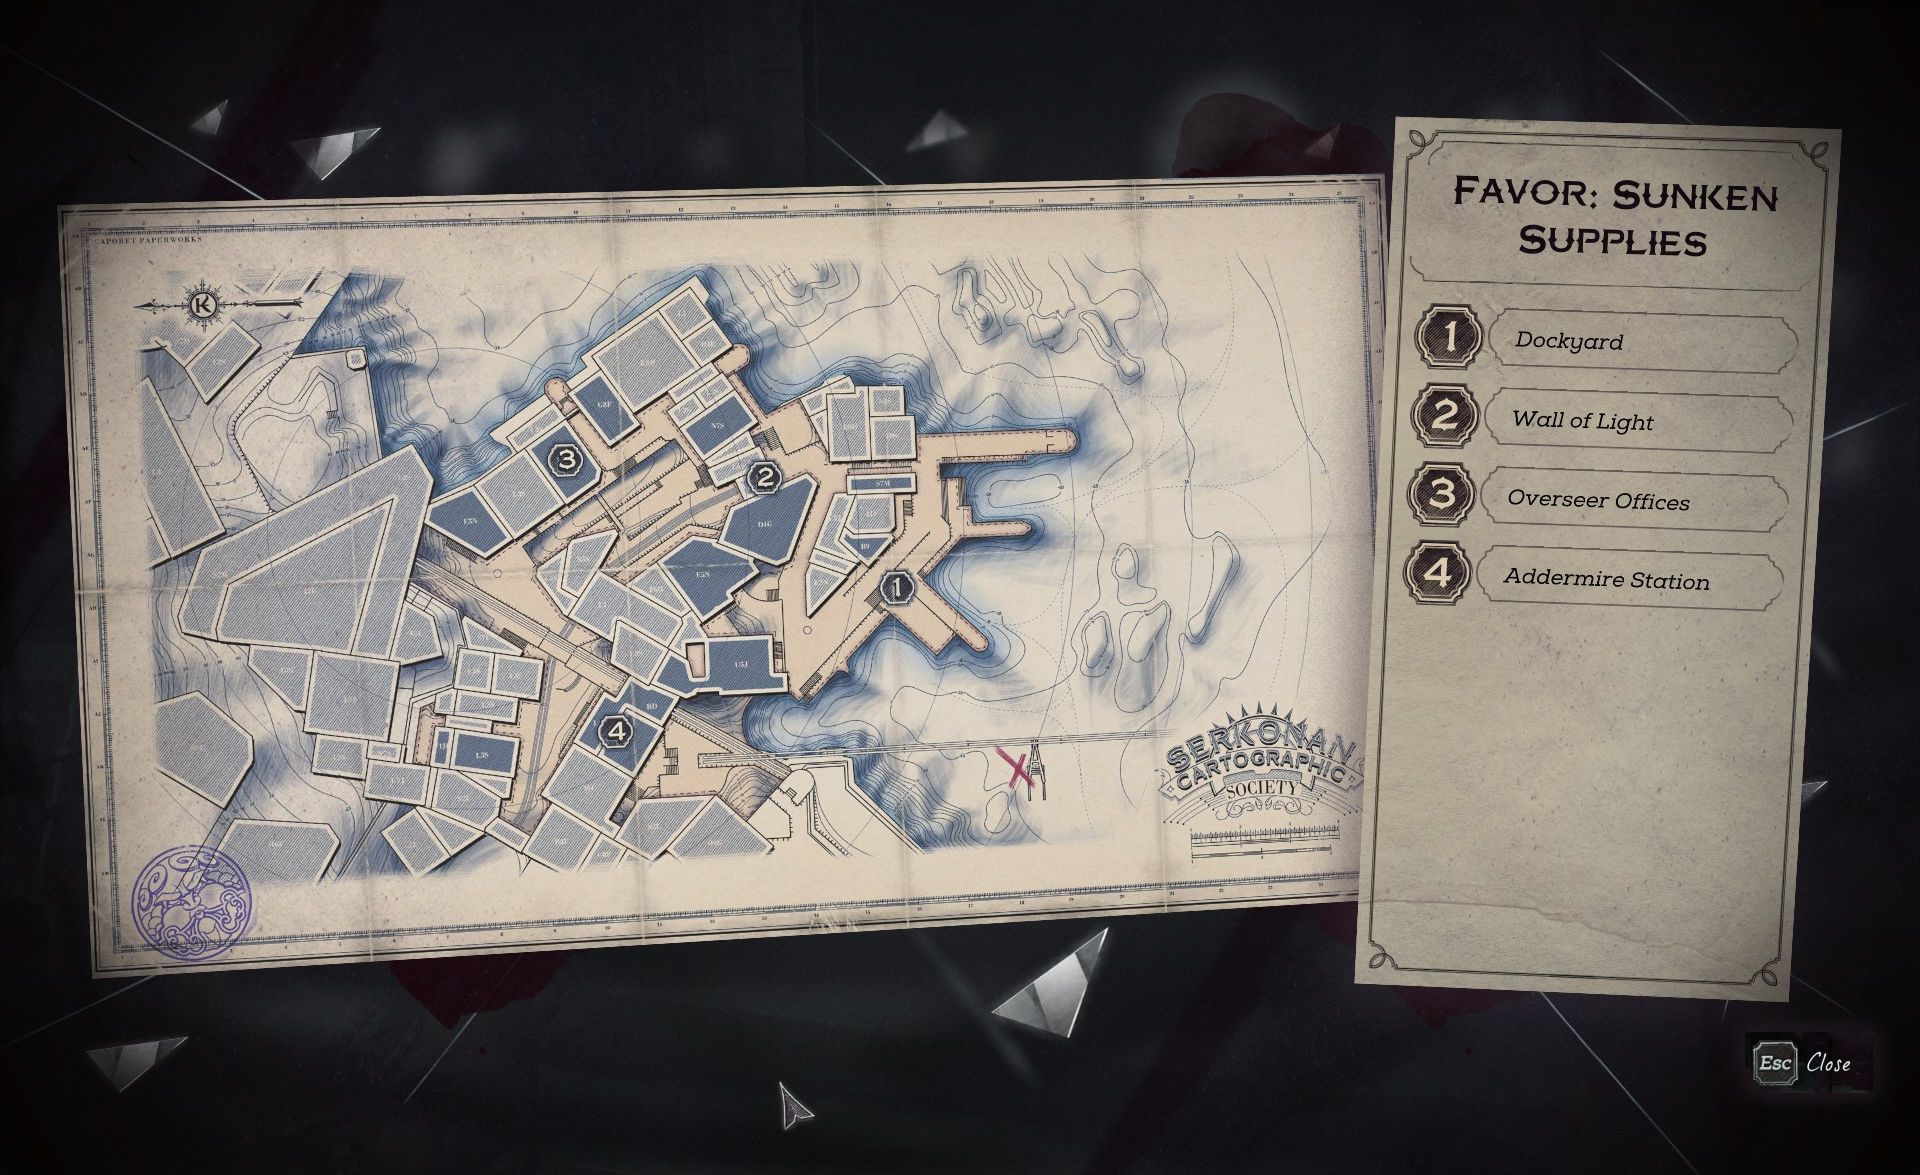
In robbing the market, you'll find a map to hidden treasure off the dockyard. There's not a lot of interest here, but there are a fair number of sleep darts, if you're running low. Go to the dock where you got the whalerune and look right, you'll see a rail stanchion and a little buoy floating right next to it.
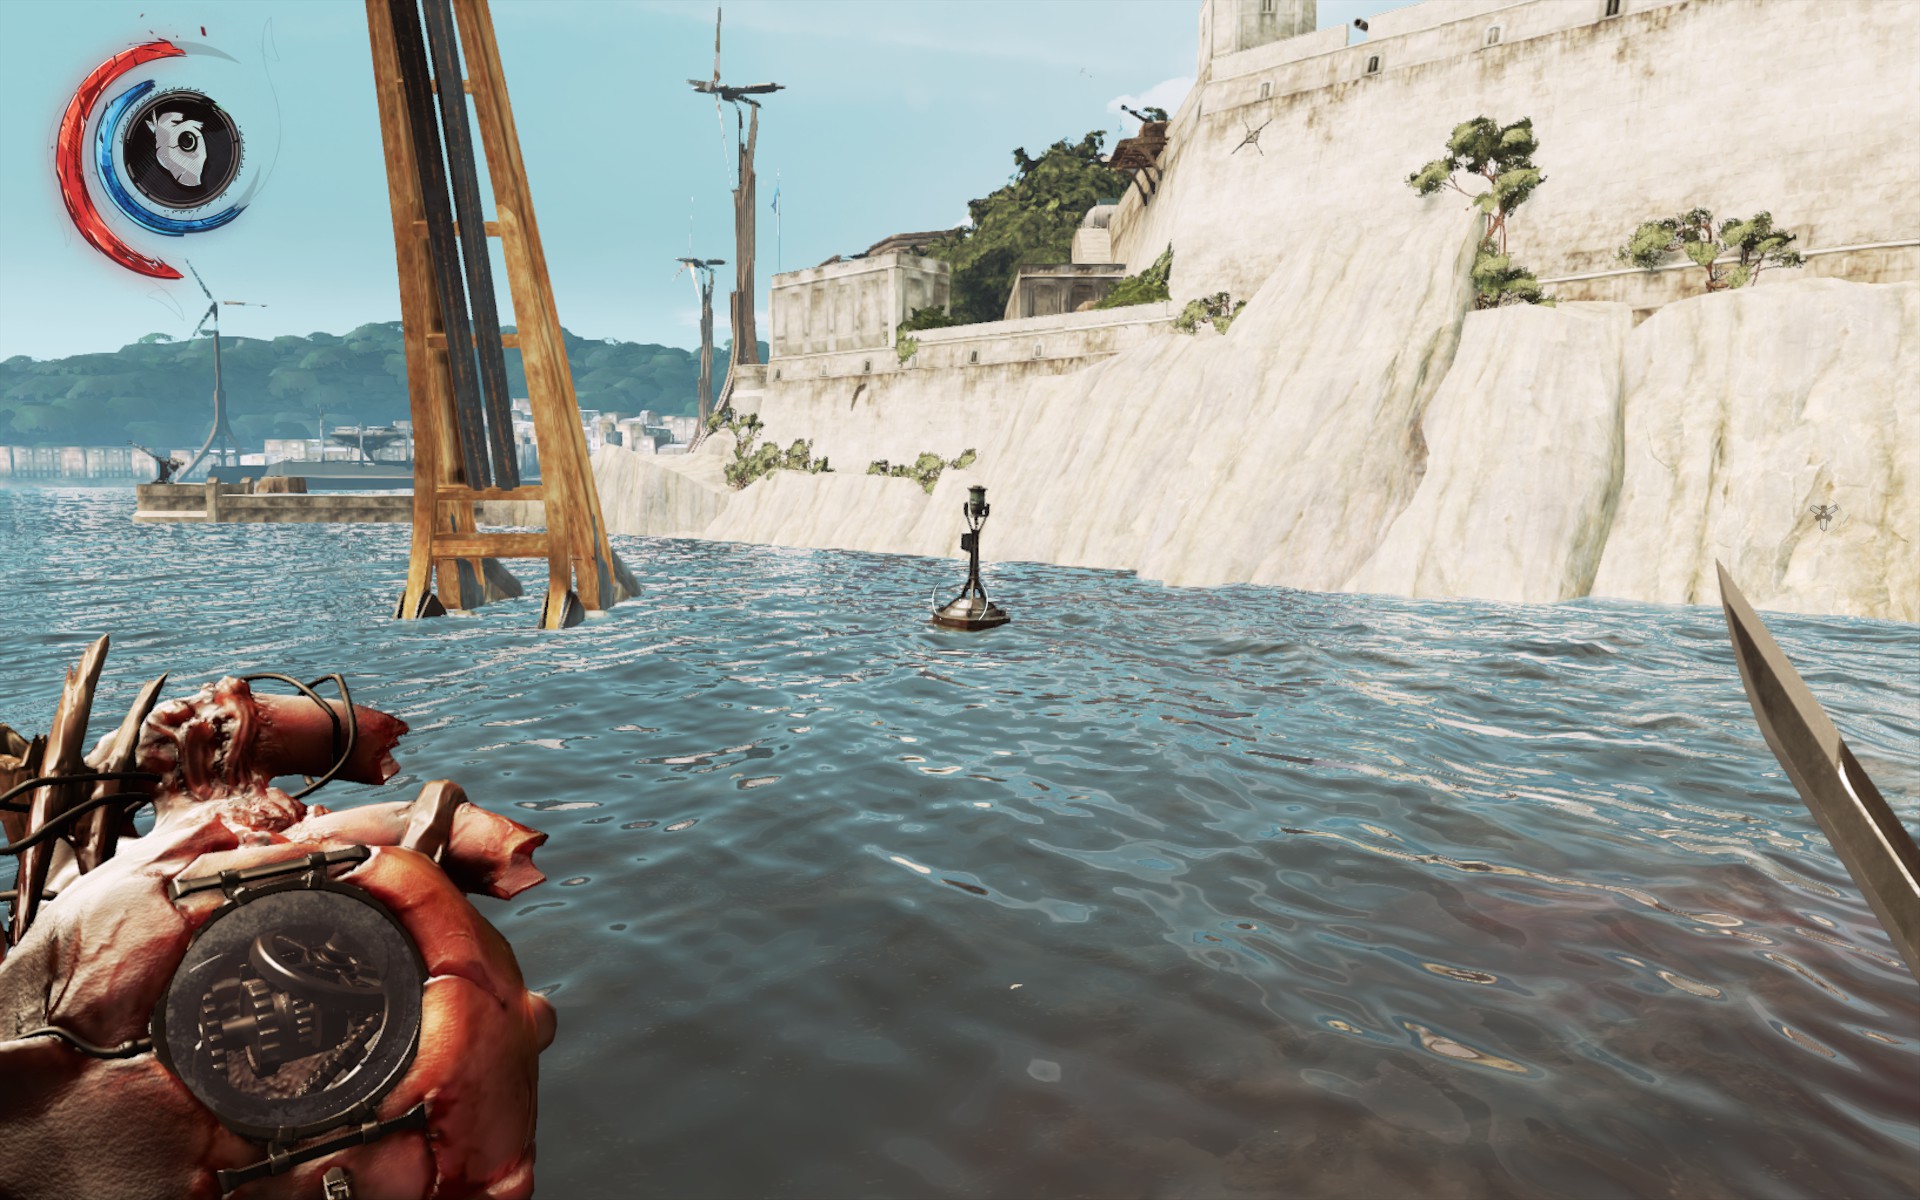
Directly beneath the buoy is a sunken rowboat, with the 'treasure cache' scattered about. Return through the check point, but this time go straight ahead, toward the poster of Delilah. Keep to the right to avoid scrutiny, and duck into the alley here, which will lead you to the back of Winslow's safe shop.
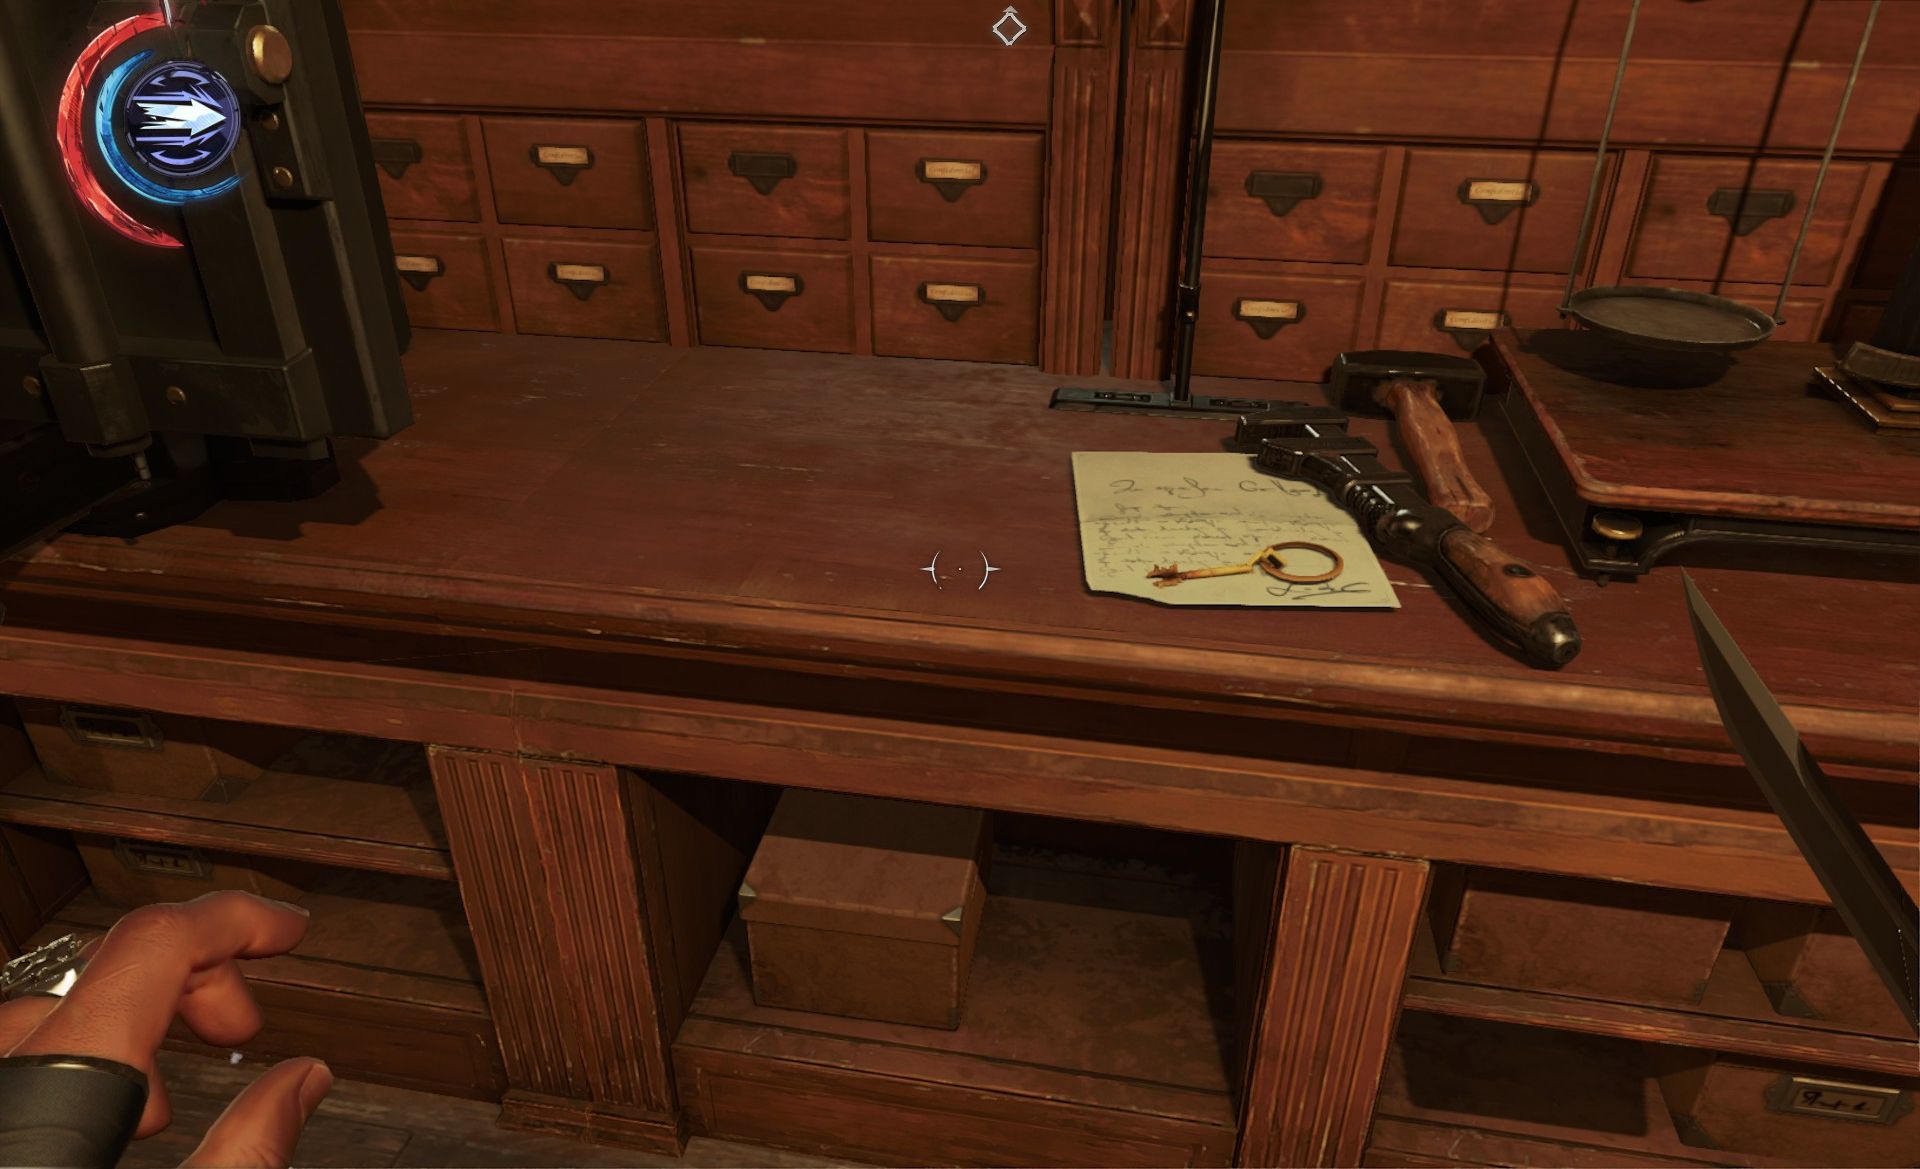
At the back counter is a key to Dr. Hypatia's apartment, so snag that, but then move forward into the shop to see the giant safe, and an advertised contest. The combination is hidden in the cash register up front.
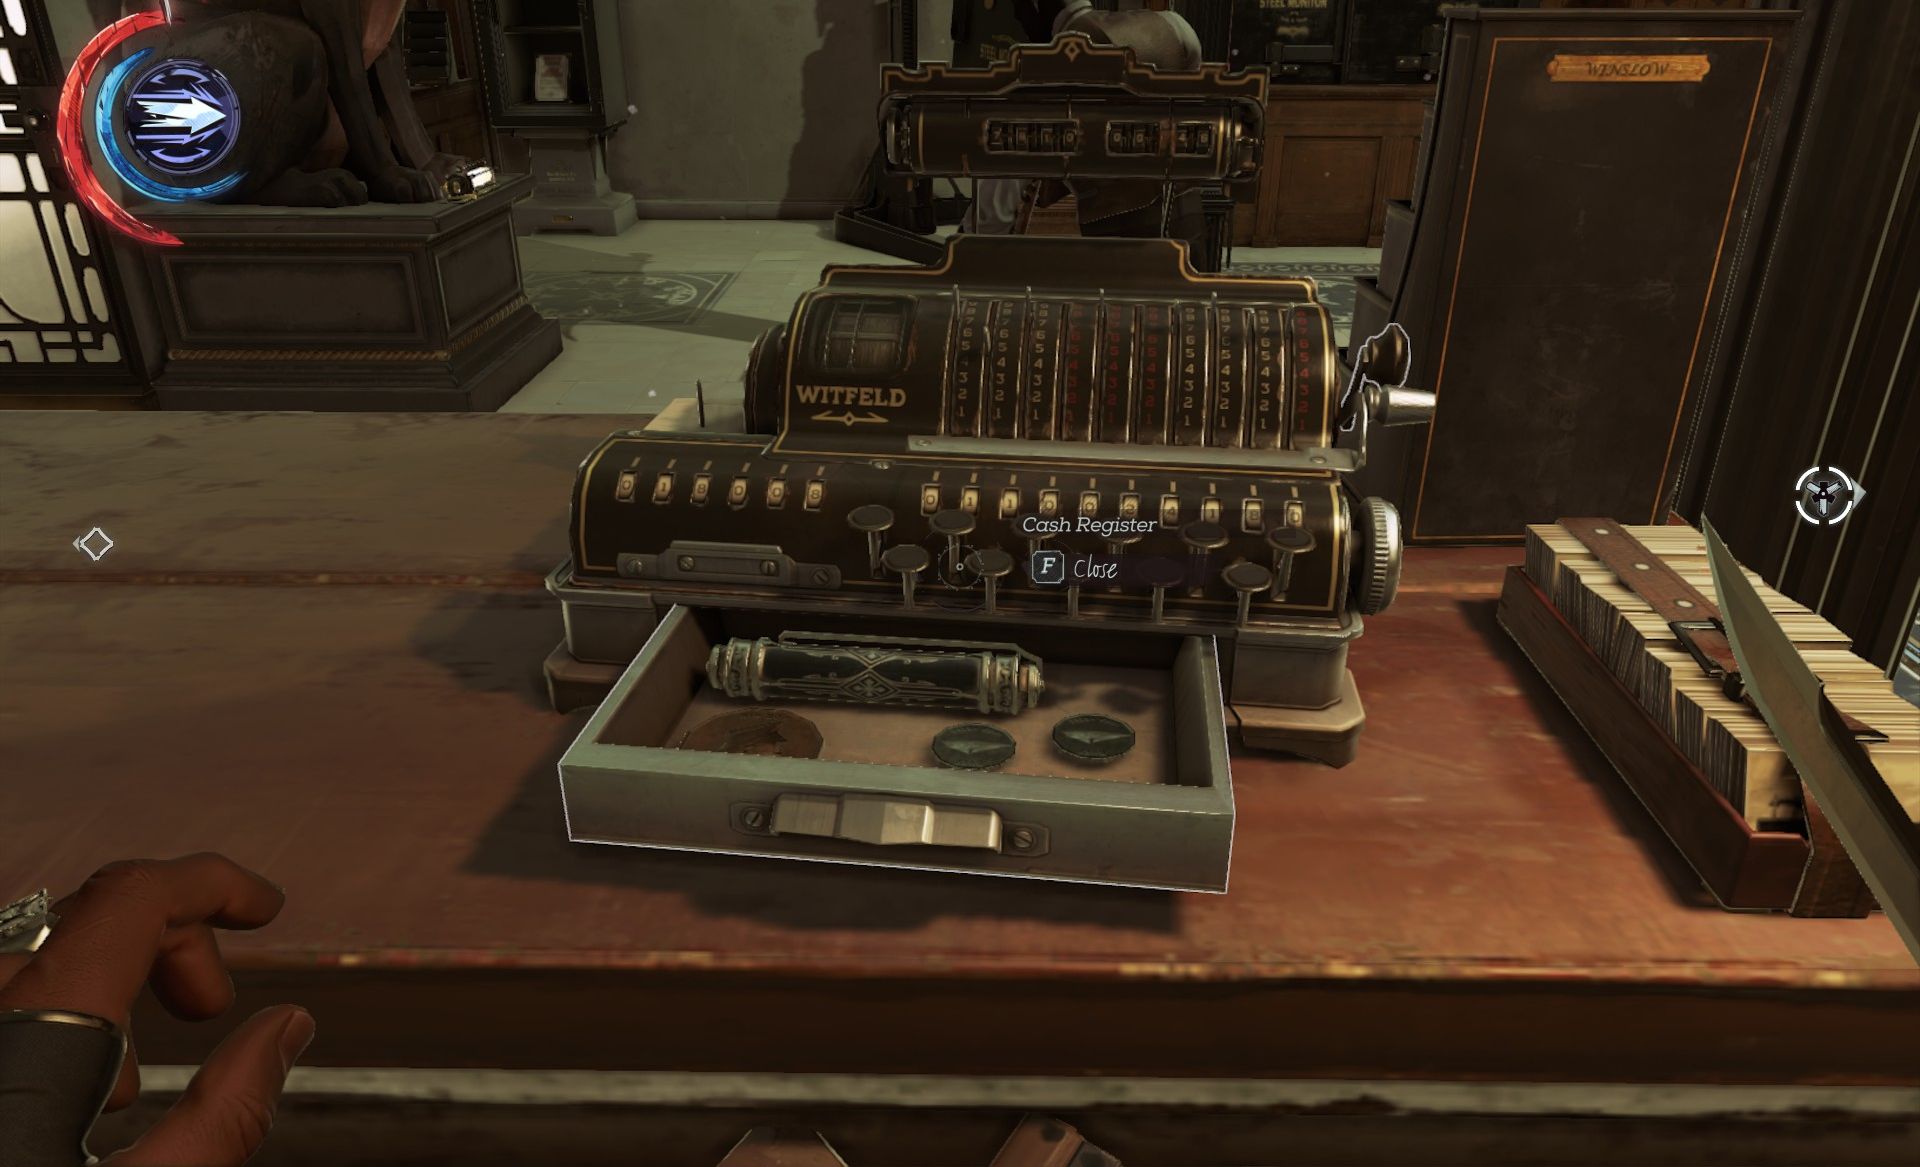
The lone employee doesn't seem to mind you raiding the till, but after emptying the safe (Bonecharm 8/8), be sure to engage stealth as you sneak back to the private area of the shop. Take the stairs up to the locked door, and make it an unlocked door.
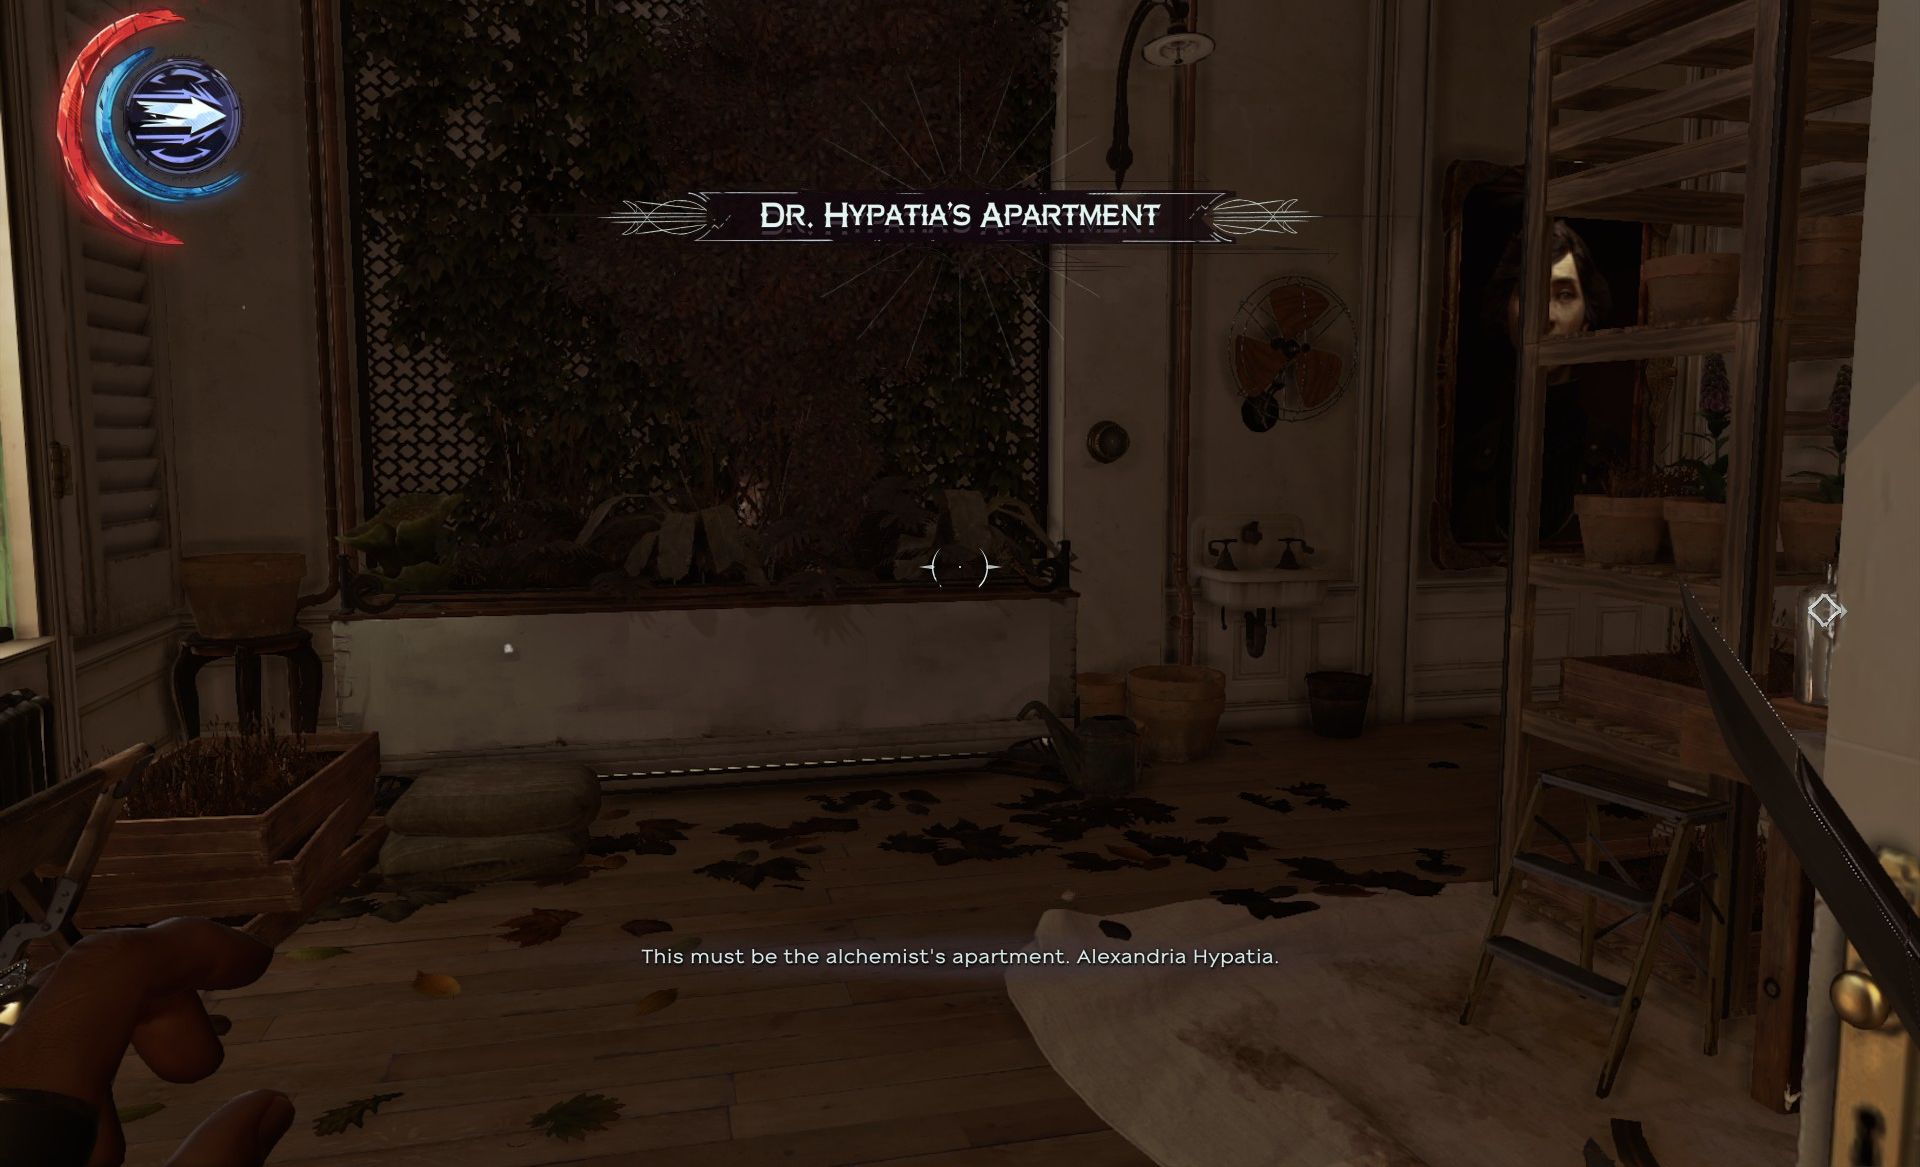
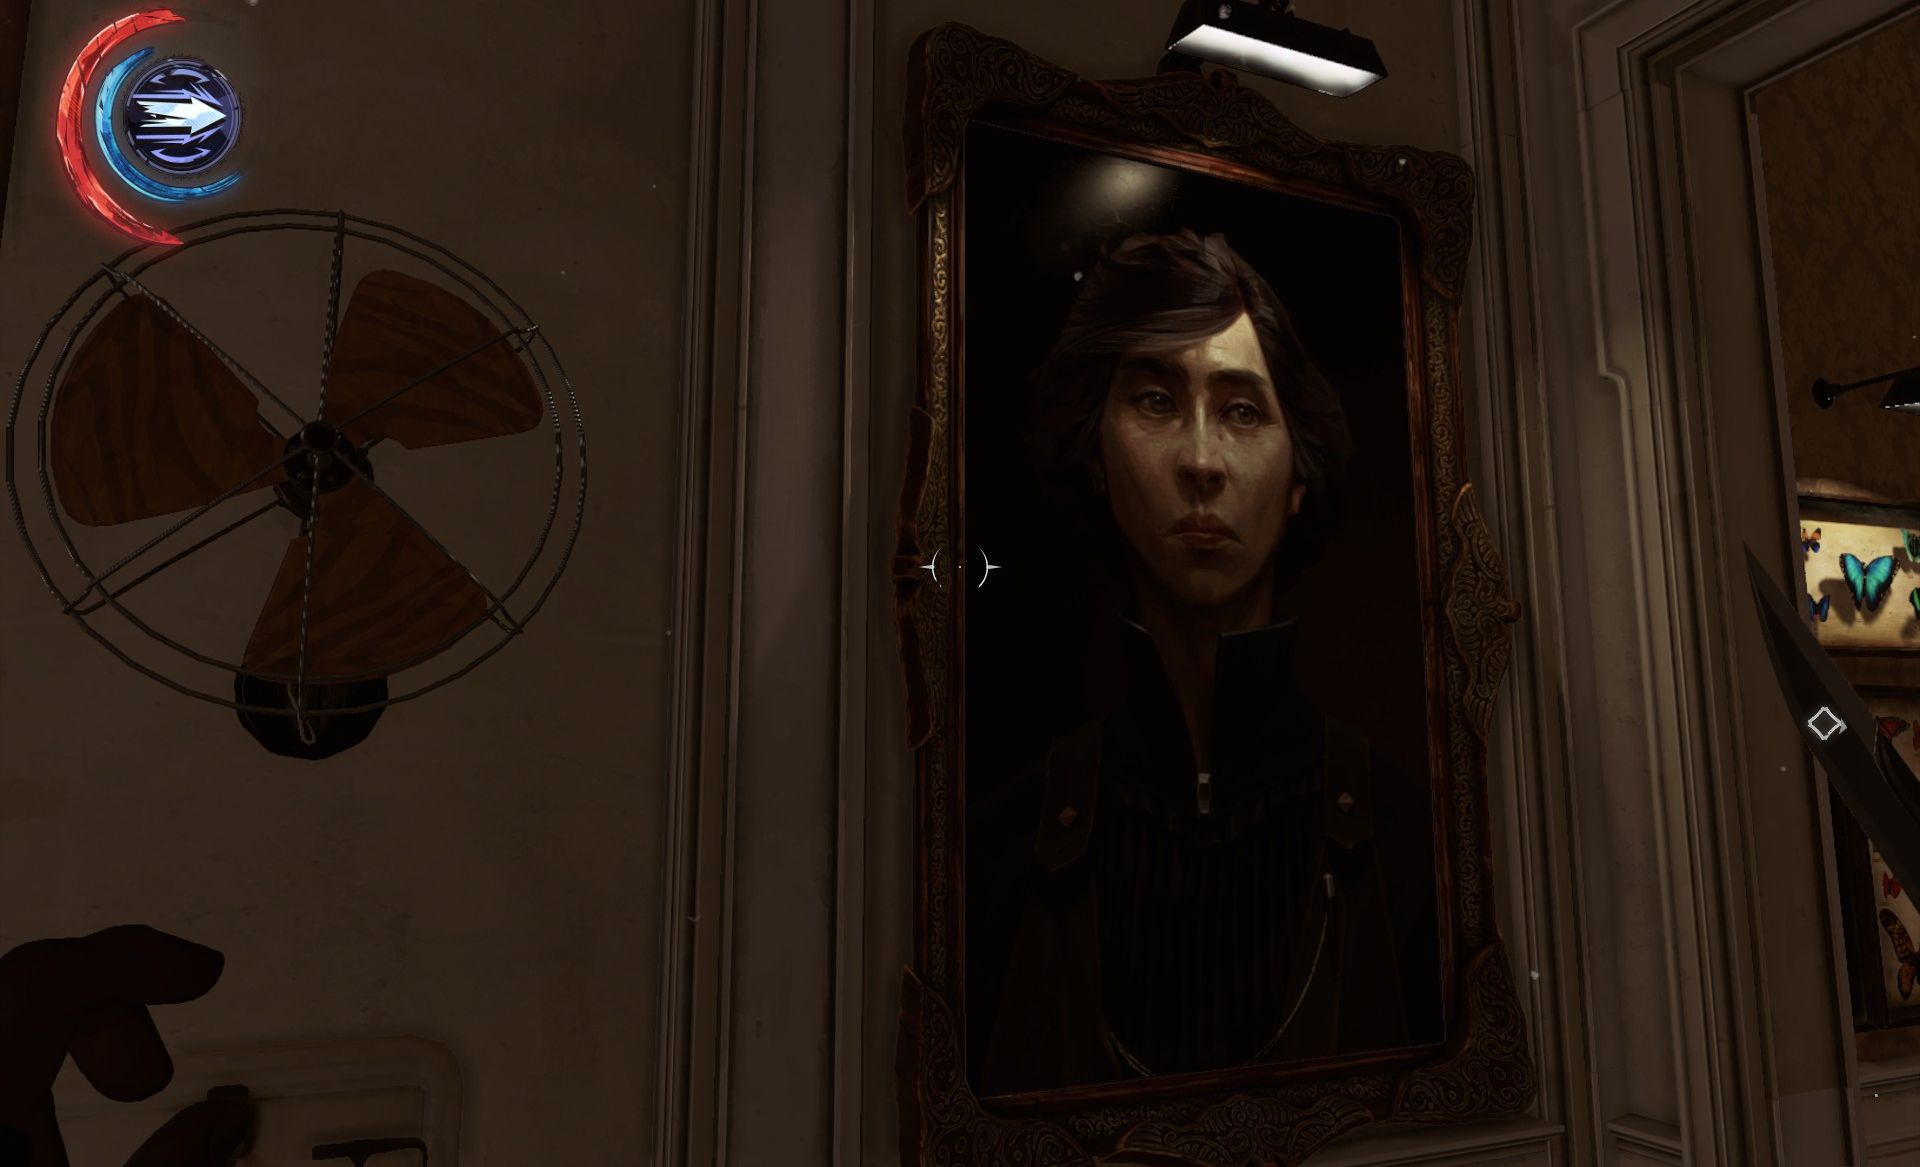
Plenty of good stuff in here, including some interesting notes on Nest Keepers, and the last painting of the level (Painting 4/4).
Clean the place out before you leave (you may need to break some glass to get at those precious, precious bathing salts). Your escape carriage is just on the other side of the station here, and there a million ways to get there. From this very apartment you can Blink your way over to the roof. You can descend to street level and enter by door, grate, or window, you can deactivate the Wall or tumble through the second floor window, et al. In short, you've got choices.
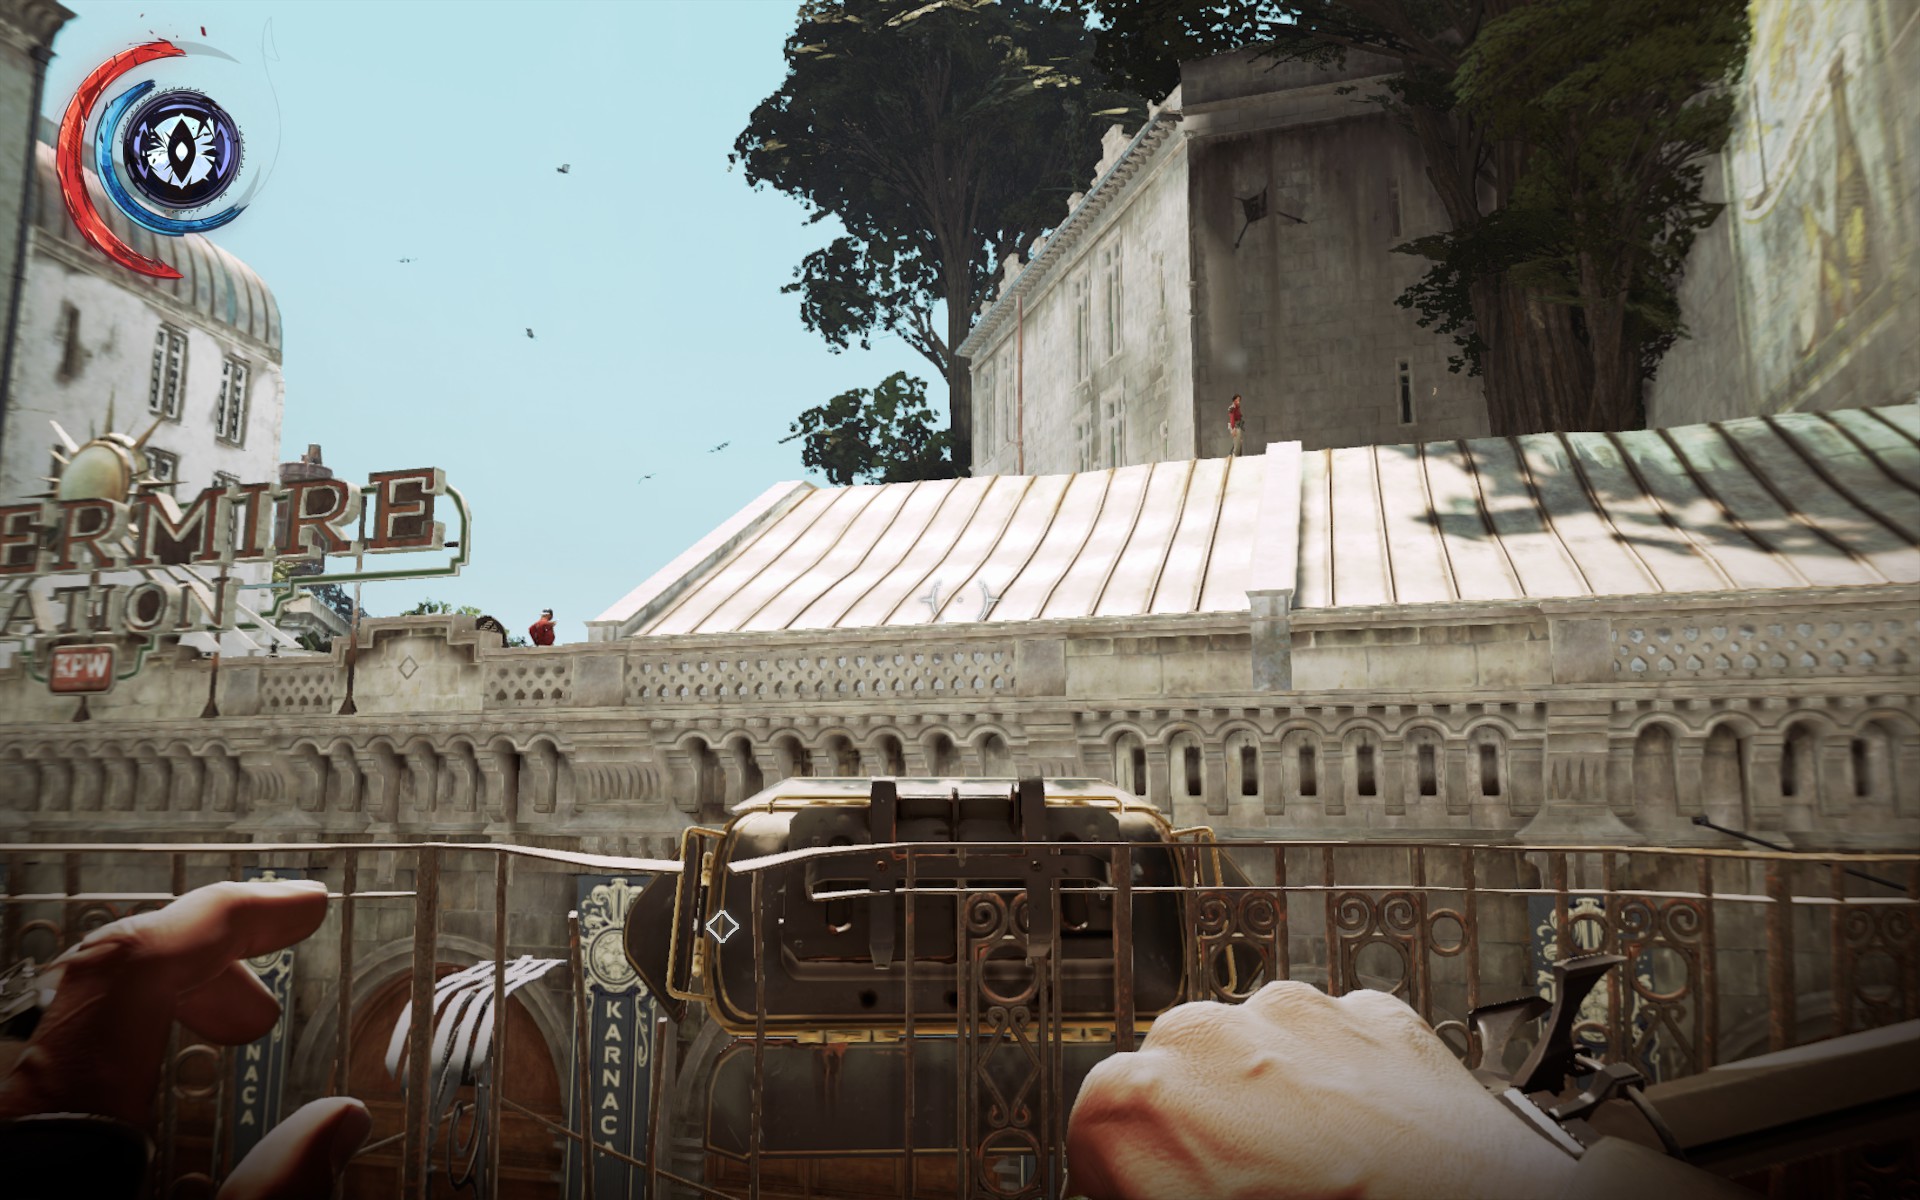
The station itself, however, doesn't have a lot of good loot, so if you're not feeling particularly acquisitive, best bet is to double back to train platform by the dentist's office and follow the rail line to its dead end, climb up the debris here, and hop into the carriage.
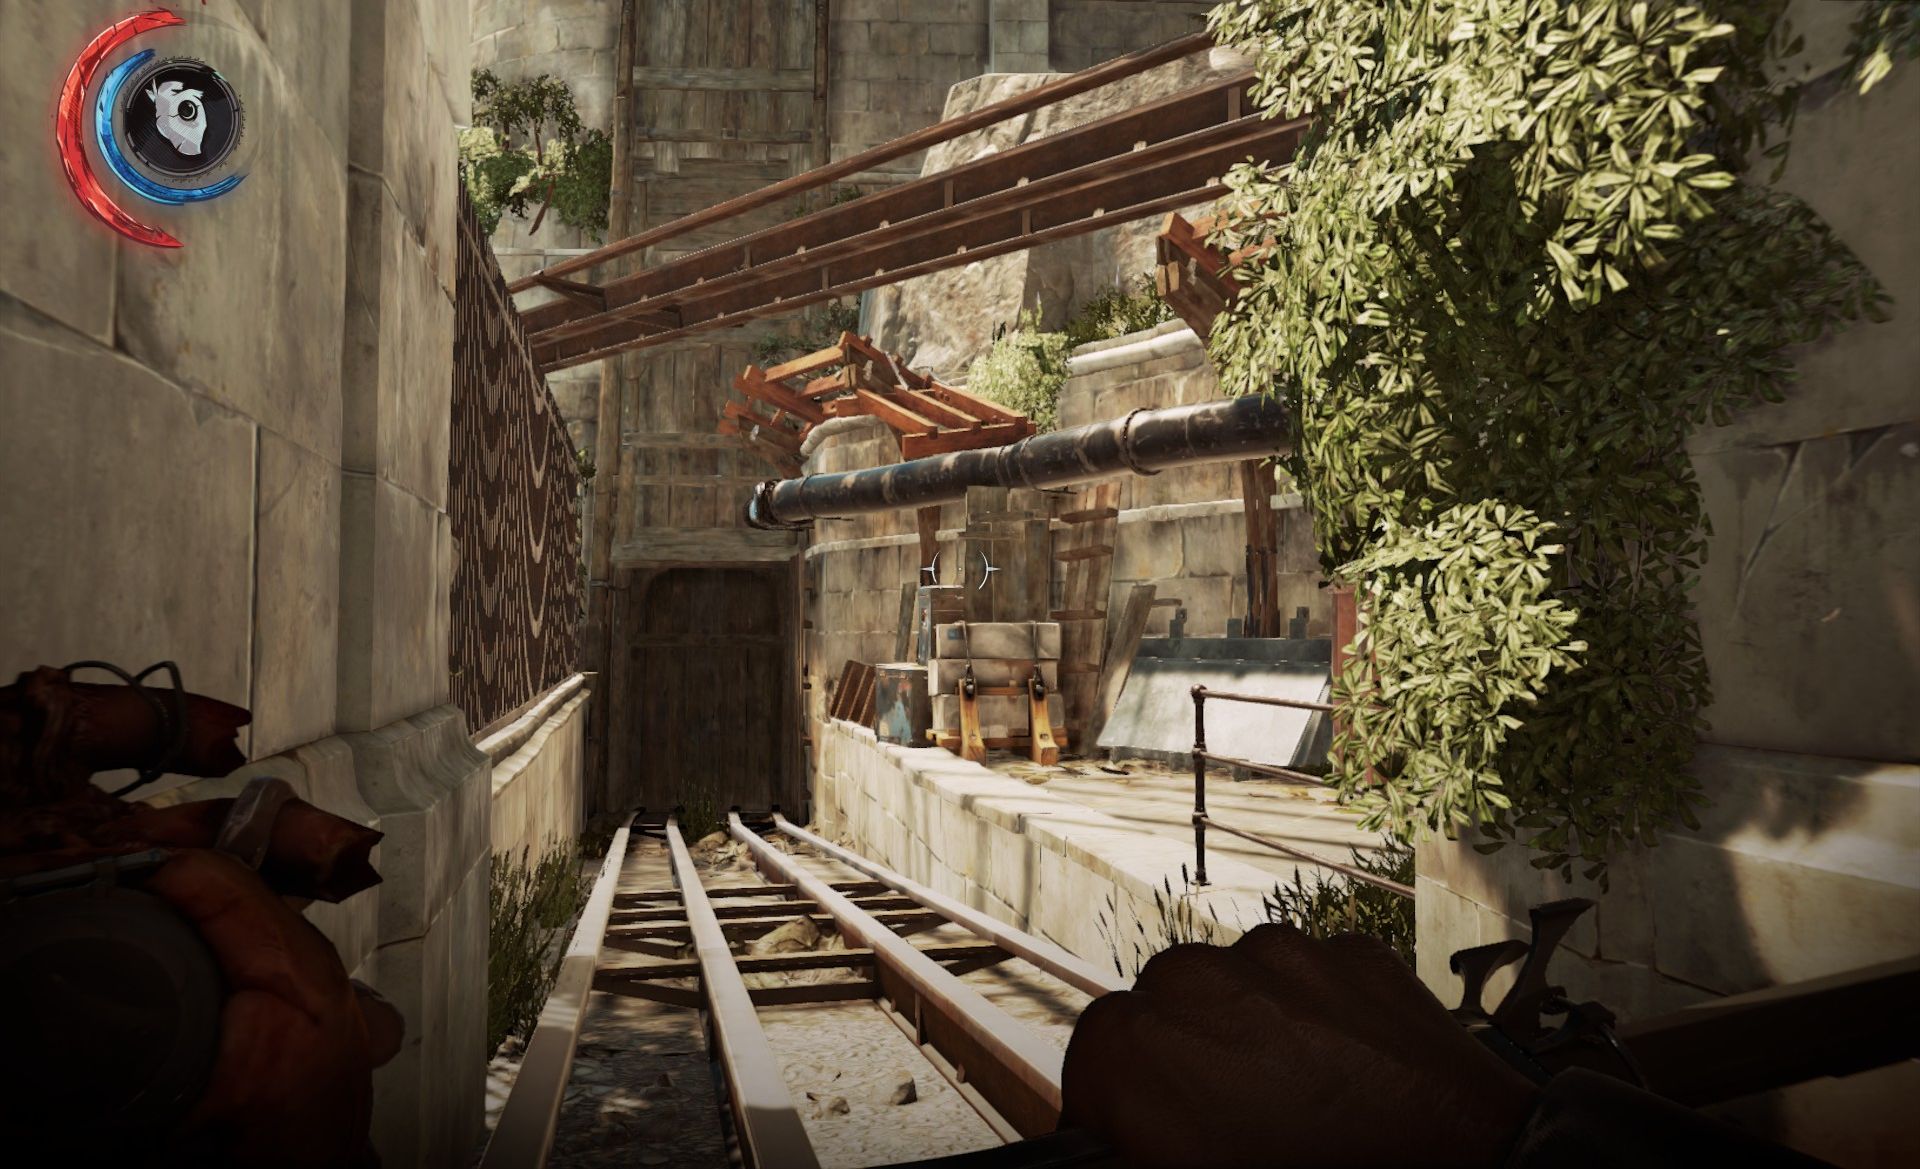
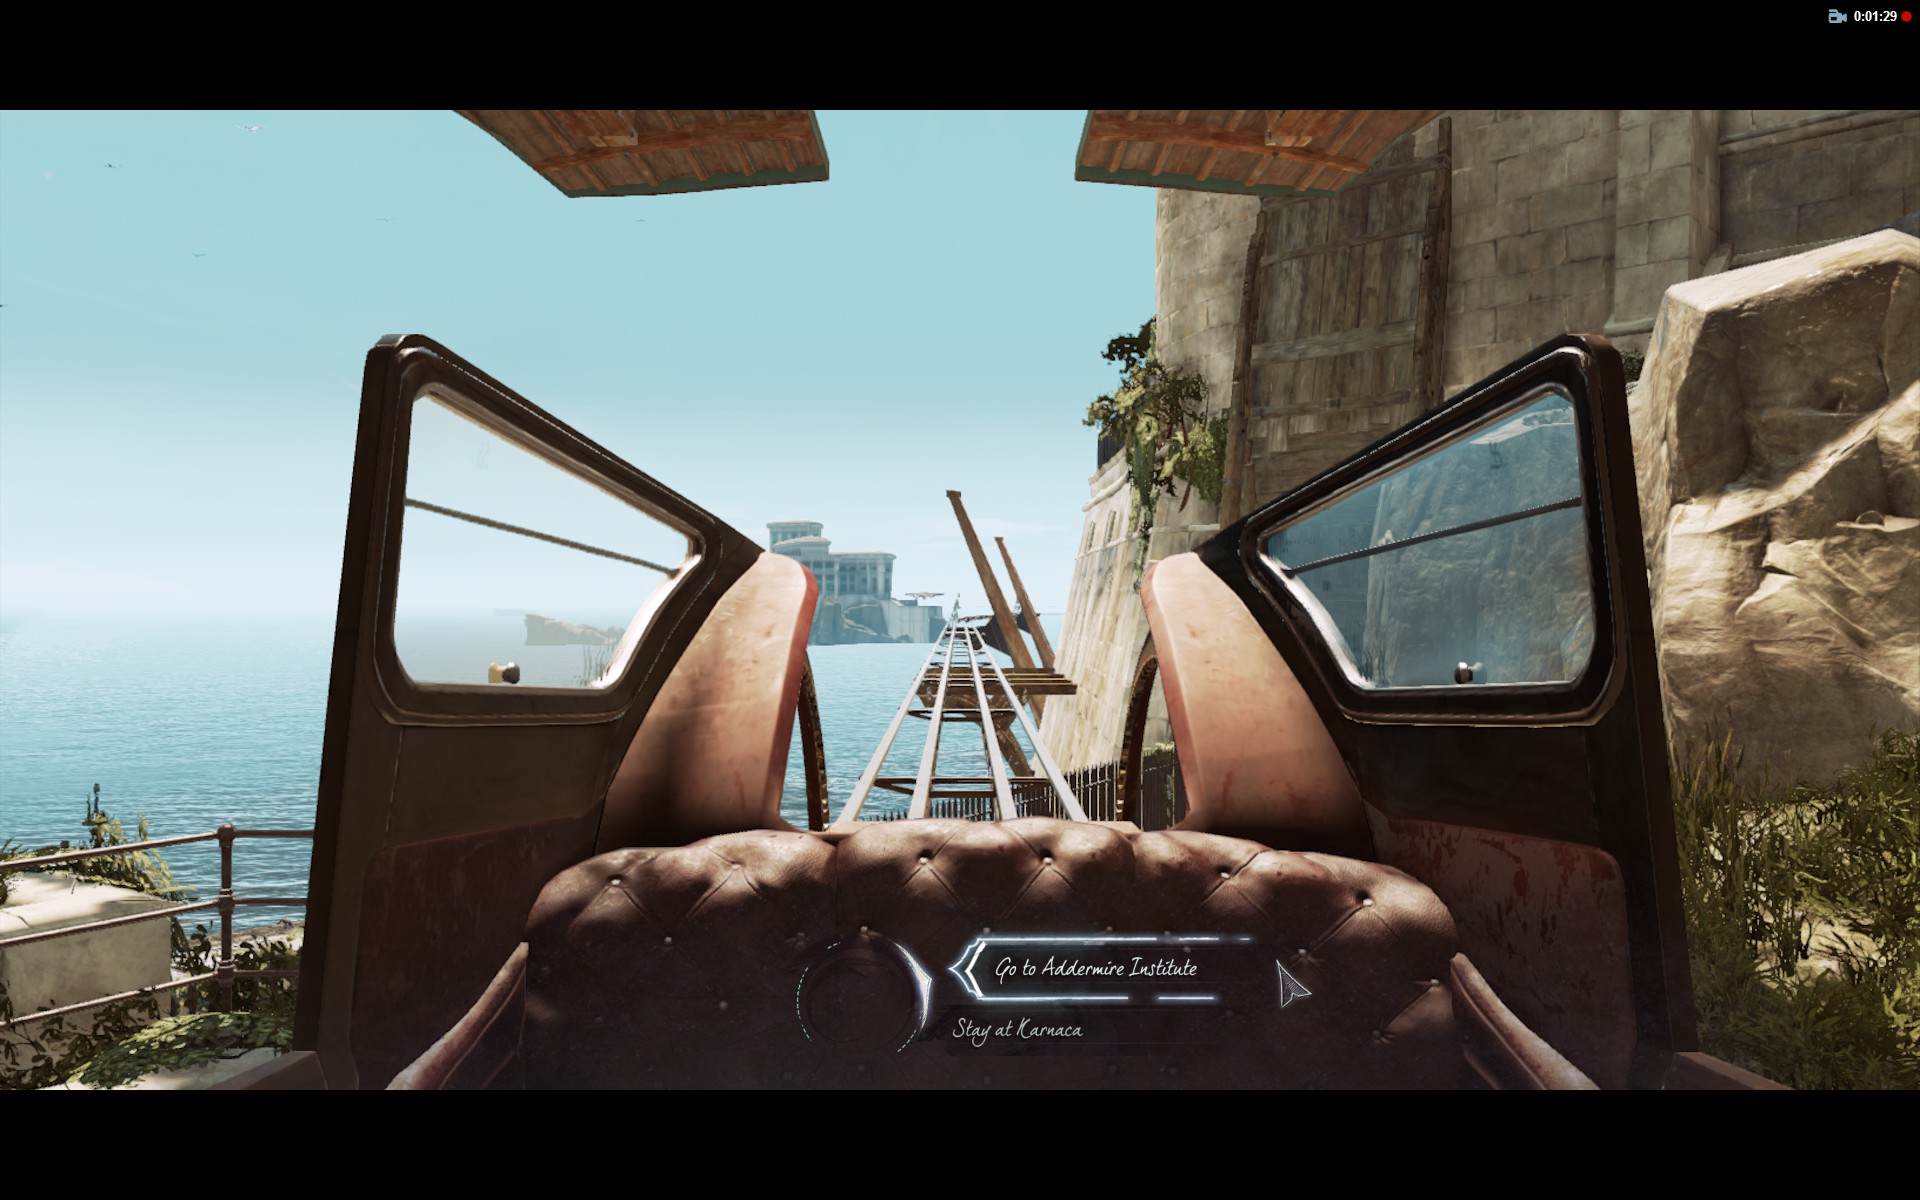
Note that, while the one railway line is deactivated, the carriage line to Addermire is not- so don't step on it. Once you're in the carriage, it's off to Mission 3.