
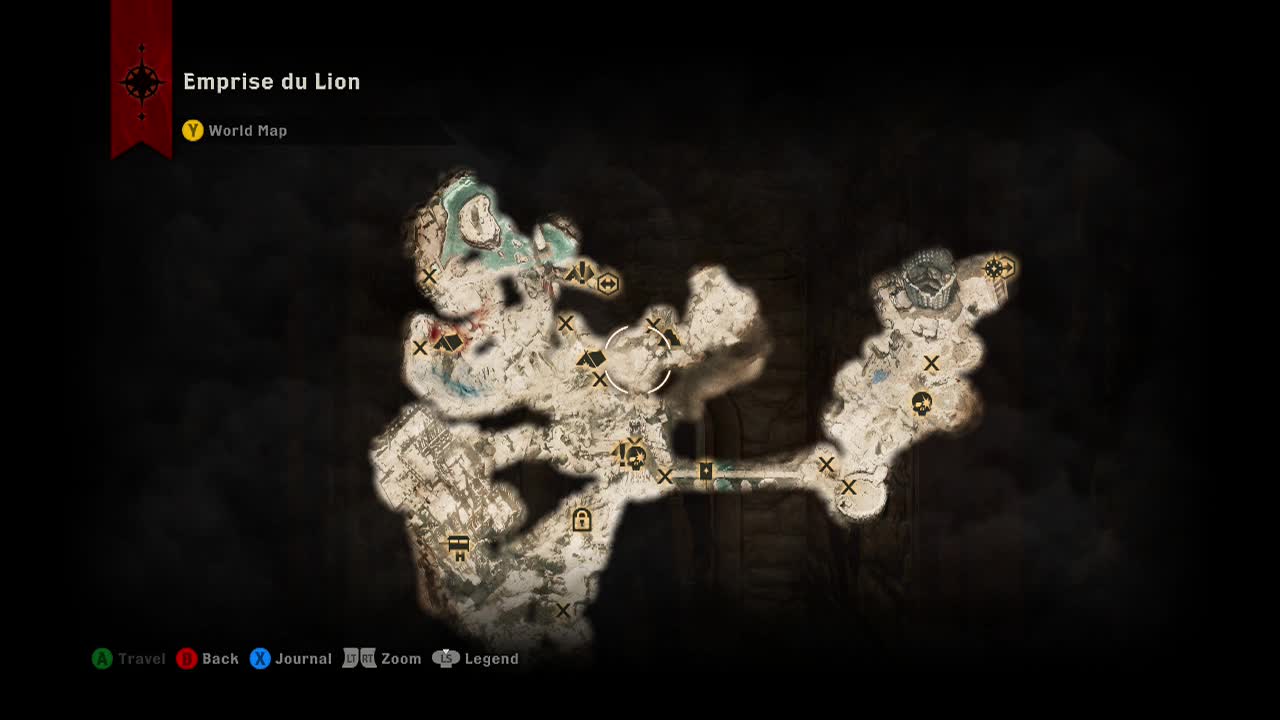
SIDEQUESTS – Emprise du Lion
Breeding grounds (reward: )
From: Baron Edouard at Suledin Keep after capturing it and completing the restore Judicael's Crossing operation in the war room
As if the red templar occupation wasn't enough, dragons have moved into the region. So far, only a few high dragons have been spotted: A hivernal, a kaltenzahn, and a highland ravager. But if they breed, the presence of these unique and powerful beasts could prove an even greater threat to the local population than the templars.
Slay the highland ravager
Slay the kaltenzahn
Slay the hivernal
Caged confession (reward: +150 Influence)
From: Scroll found in Sahrnia Quarry far to the South of the tower camp. Same area as where you rescue the villagers from the red templars (from cages)
After Louis was captured by the red templars, he wrote a note confessing to the murder of his wife's brother, Garde.
Return to Sahrnia with Louis' note
Fast travel back to Sahrnia.
Choice: Give the confession to Louis to keep his secret
Choice: Give the confession to Linette to reveal what really happened to her brother
When you get back, Louis and Linette will be sitting near each other. You can either let Louis destroy the letter to keep the secret, or tell Linette the truth.
"Lois killed your brother." (Cassandra+)
Capturing Suledin Keep (reward: +3000 Influence, +10 Power)
From: Becomes available after completing take back the lion sidequest in Emprise du Lion
The red templars have been pushed back to the long-abandoned Suledin Keep. If they lose this ancient elven fortress, their grip on the region will be severely weakened.
Travel to Suledin Keep
The keep is a large area with heaps of red templar forces inside. Head there fully stocked and in your best equipment.
Claim the keep for the Inquisition
To capture the keep, you'll need to claim it. The biggest danger in the keep is an infected giant (giant imbued with red lyrium), this enemy is really difficult to damage and deals massive damage with his melee swipes. You can navigate around it if you cannot beat it. You'll have to head up into the higher areas of the keep to claim it. Look for supply caches just before large fights. When you arrive at the main location of the keep, you'll stumble upon a demon by the name of Imshael (*groans at the horrible reference).
"Fight" *Takes you straight into battle, ignoring remaining dialogue
"What choice?"
"Riches" (Sapphire, Pearl, Diamond, Emerald)
"Power" (Pure spirit essence, Amulet of power (+1 ability point – Cole), March of the everlasting shield)
"Virgins" *He instead offers you an additional dialogue option, see below. You can also choose another option instead.
"No, I'm killing you." *Takes you straight into battle, ignoring remaining dialogue
"Yes I'll take it." *If requested virgins option, this appears (Superb corrupting rune – unique)
If you chose any reward option he offers you, he will dissappear, along with his remaining forces, allowing you to capture the keep without a massive fight.
If you chose to fight, you will engage him in demon form with his spider minions and red templar horrors. He will change form multiple times during the battle (from various demon types). Save your Inquisitor abilities for when he becomes a pride demon with massive guard at the end. You will want to wait until you finally whittle it down to use all your specials before he renews his guard.
If you manage to beat the demon, you'll receive the same rewards as if you chose the power options with the additional exp bonus of the kill. Climb the nearby stairs and interact with the flagpole to claim the keep.
(Multiple operations become available)
Coat requisition in the Emprise (reward: +1 Power)
From: Requisition officer at any camp
The quartermaster requested materials to make additional heavy coats for Inquisition forces.
Gather the coat materials (x5 Plush fustian velvet, x10 Snoufleur skin)
Mama's ring (reward: +150 Influence)
From: A ring box in a small house in Sahrnia
An elderly woman left an heirloom ring behind when she was forced out of her home by the red templars.
Find Mama's ring
You'll have to go a fair way and through a lot of red templars to reach the ring location. The closest camp is the tower camp unlocked during the take back the lion sidequest. When you reach it, use advanced search to locate the ring in a broken down house.
Return the ring to its rightful owner
Fast travel back to Sahrnia camp and give the ring to Granny Mae
Quarry quandry (reward: +150 Influence)
From: Automatic after completing red captors and rocky rescue sidequests
Mistress Poulin confessed to selling her family quarry to the red templars. But what would they want with a quarry?
Speak with Mistress Poulin
"People died because of you" (Cassandra+)
"Practical." (Cassandra-)
Once you finish the talk, the quest ends.
Red captors (reward: +600 Influence, +1 Power)
From: By nearing the quarry during the rocky rescue sidequest
The red templars captured townspeople to mine the quarry in the heart of Emprise du Lion.
Rid the quarry of red templars
The actual enemies you have to kill for this quest are red templar lieutenants scattered through the quarry. The quarry section is pretty linear, so just follow it along, defeating the clusters of enemies along the way and you should get them all.
Rift on the frozen water (reward: +600 Influence, +2 Power)
From: The Inquisition upon arrival to the area
An active fade rift has been spotted on Elfsblood river just outside Sahrnia.
Close the fade rift
North-West rift: Hard (+600 Influence, +2 Power)
Rifts at Drakon's Cleft (reward: )
From: The Inquisition when passing near the area
Active fade rifts have been spotted around Drakon's Rise
Fade rifts closed (2)
East rift: (+600 Influence, +2 Power)
North-East rift: (+600 Influence, +2 Power)
Rifts in the Springs (reward: +600 Influence, +2 Power per rift)
From: The Inquisition after unlocking eastern area of Emprise Du Lion via Bridge Operation
Active fade rifts have been spotted in the Pools of the Sun
Fade rifts closed (2)
All locations are in relation to Tower Camp
North-east rift: Normal
Far north-east rift: Normal
Rocky rescue (reward: +600 Influence, +2 Power)
From: Becomes available after completing take back the lion sidequest in Emprise du Lion
Mistress Poulin said the red templars took workers from the town. They may be held captive somewhere in the quarry.
Search the quarry
When you arrive at the quarry, your objective will automatically update. An additional quest will also appear (red captors).
Villagers freed (7)
Descend into the quarry and find the caged prisoners. Open the cage doors to release them and add them to your rescue count.
(Cole++ for each rescue)
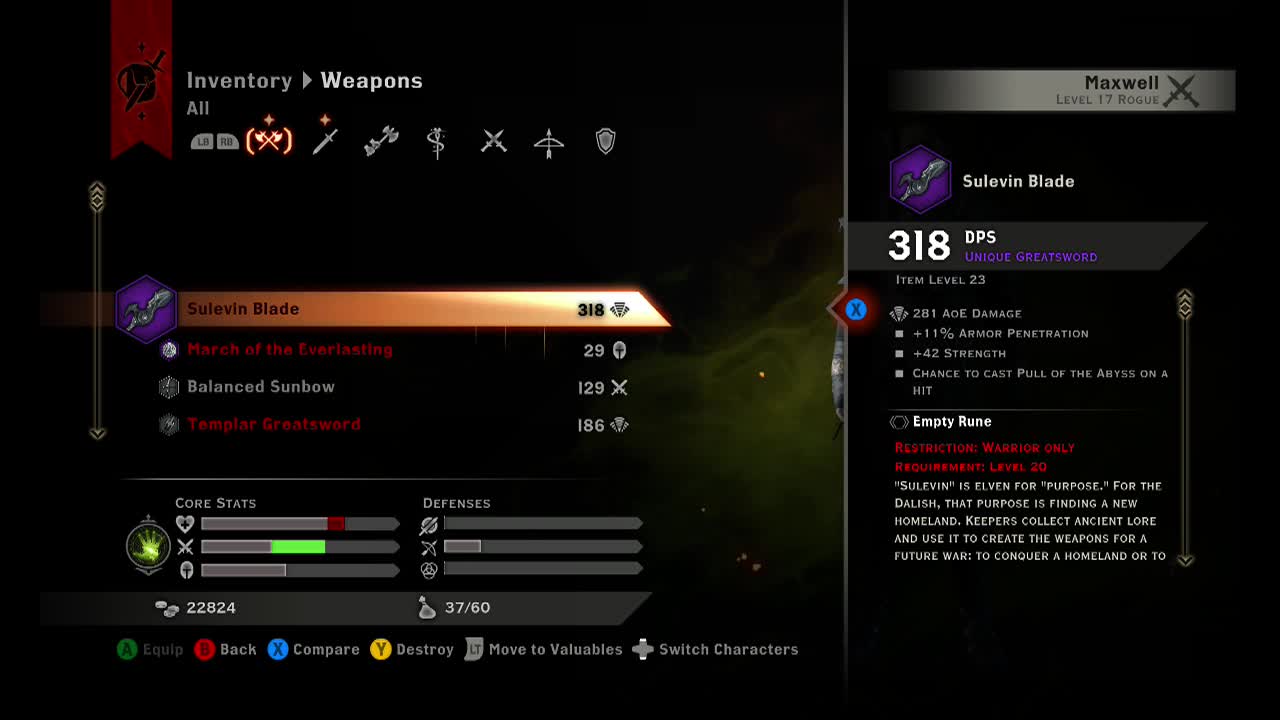
Ruined Blade (reward: +2000 Influence, +3 Power, Sulevin Blade Unique 2H Sword) *In Cradle of Sulevin map area, Mage required for quest
From: Entering Cradle of Sulevin after unlocking the area by completing Rumor of the Sulevin blade operation. This operation can be unlocked by finding a note to the North-East of drakon's rise camp in Emprise du Lion
There is a legendary elven sword rumored to be found within an overgrown ruin on the edge of the arbor wilds.
Find the Cradle of Sulevin at the war table – Power required (10)
These are already completed once you are in the area.
Collect the shattered pieces of the sword – Pieces recovered (4) (+500 Influence)
All four pieces can be obtained by activating scrolls which summon revenants. All four scrolls are in bowls of statues, but can only be seen when you are holding a torch of veilfire.
Fall down into the basement (or take the stairs if you are regular and unexciting), and light the veilfire torches with a mage. Once they are all lit, a scene will show others lighting up around a statue. Activate the statue and it will summon a revenant which will drop a piece of the sword upon redeath.
Western Shrine – Light and carry a veilfire to see and grab the scroll. This will summon a revenant and a couple of corpses. The corpses summoned are equal level to the revenant, and higher level than of others in the area.
Central Shrine – Light and carry a veilfire to see and grab the scroll. This will summon a revenant and a few of corpses. The corpses summoned are equal level to the revenant, and higher level than of others in the area.
Northern Shrine – Light and carry a veilfire to see and grab the scroll. This will summon a revenant and a few of corpses. The corpses summoned are equal level to the revenant, and higher level than of others in the area.
Bring the pieces of the sword to someone who can repair it
Take the sword to Dagna in the Undercroft of Skyhold to finish the quest, and get the ridiculously awesome Sulevin Blade.

Securing safe passage (reward: +600 Influence, +2 Power per tower marked)
From: Baron Edouard at Suledin Keep after capturing it and completing the restore Judicael's Crossing operation in the war room
Now that Judicael's Crossing is rebuilt, the road must be secured to allow free travel in and out of the area. There are abandoned towers along the road that, if secured, may be ideal for keeping watch.
Secure the first tower
Secure the second tower
Secure the third tower
All you need to do is travel to each location and mark the tower. Just avoid the high dragons in the area. No, really. They hurt. Oh, and the level 20 red templar horrors and behemoths at the base of the towers, yeah. Hope you're at least level 18 before you try to take them on (or are stocked up on potions).
Sifting through rubble (reward: +150 Influence)
From: Book in destroyed house to the West of tower camp
A fisherman was near Judicael's Crossing when the red templars brought the bridge down. He thought he saw something glimmering in the rubble, but was too scared to investigate, worried the red templars might see him.
Find what was glimmering in the rubble
After rebuilding Judicael's crossing in the operation, cross the bridge and use advanced search to find a superb lifeward amulet in the rubble. Quest complete.
Stalker (reward: +150 Influence)
From: book next to a hut North-West of Sahrnia camp on island at elfsblood tower.
A hunter came through here, obsessively stalking some elusive prey.
Find the ruins mentioned in the hunter's note
The ruins are nearby on another raised area out of the river. Near a stone statue is another note on the ground. Read it to complete the quest.
Take back the lion (reward: +2000 Influence, +1 Power)
From: The Inquisition upon arrival to the area
The red templars have occupied the Emprise du Lion. Advance into the region's heart to learn why.
Wipe out the red templars at Highgrove (+200 Influence, +1 Power for setting up camp)
This is the equivalent of the camp establish quests from other areas. The only difference is you'll need to capture the camp sites by defeating groups of red templars. You'll find several clusters of red templars, red defenders, red templar marksmen and other 'red' enemies before you reach the quest marker. When you arrive, you'll find a large group of zealots, defenders and marksmen defending a camp site. Once the enemies are dead, claim the camp site.
Wipe out the red templars on Drakon's Rise (+200 Influence, +1 Power for setting up camp)
You'll have to pass through a red lyrium cave to reach the area of Drakon's Rise with several groups of templars on the way. When you reach the area, you'll need to deal with your first red templar behemoth (large hulking brutes who can deal significant melee damage). More red templar forces will be guarding the camp site on the other side of a massive red lyrium spire.
Wipe out the red templars at the tower of bone (+200 Influence, +1 Power for setting up camp)
There is a sizable force lurking at the tower of bone, including a behemoth and templar knight (close range caster). Take it slow and try to clear as many as the groups from range as you can to avoid wasting your resources.
The corruption of Sahrnia (reward: +150 Influence)
From: The Inquisition upon arrival to the area
The people of Sahrnia are cornered – by the elements and the red templars that have overtaken the region.
Speak with the townspeople about what can be done
You need to talk to mistress poulin in town to find out what's been happening in the area.
They shall not pass (reward: +150 Influence)
From: Baron Edouard in Suledin Keep once you have taken it over in capturing Suledin Keep sidequest
Judicael's Crossing has been destroyed, presumably by the red templars, to restrict access into the region.
Inspect the bridge to see if it can be repaired
A short distance from the tower camp is the crossing you need. Walk along the bridge to find a banner. This banner will unlock the restore Judicael's Crossing operation. You don't actually have to repair the bridge to get the reward, just planting the banner finishes the quest.
Turning the tables (reward: +150 Influence)
From: Book to the North-West of the tower camp after completing the stalker sidequest
A note at an abandoned camp, left by a huntress, suggests she is being tracked by a former lover and intends to turn the tables on him.
Learn her next move
Head to the marked location to find the book next to a small camp. Look at the screenshot if you are having trouble finding it.
Valeska's watch (reward: +150 Influence)
From: Interacting with the door to Valeska's watch to the East of Drakon's Rise camp
The entrance to an abandoned grey warden outpost known as Veleska's Watch is locked.
Find the key to Valeska's Watch
Use advanced search to find the nearby corpse holding the key.
Enter Valeska's Watch
Open the locked door to complete the quest.
Words not hollow (reward: +150 Influence)
From: An infected woman lying on the ground on a hill in Sahrnia Quarry far to the south of the tower camp
A woman, infected by red lyrium and unable to walk, has asked for a letter to her husband to be placed in a hollow tree by the river.
Place the woman's letter in the hollow of a marked tree by the river
Fast travel back to Sahrina camp and walk over the frozen river to find the hollow tree and place the letter. Quest over.