
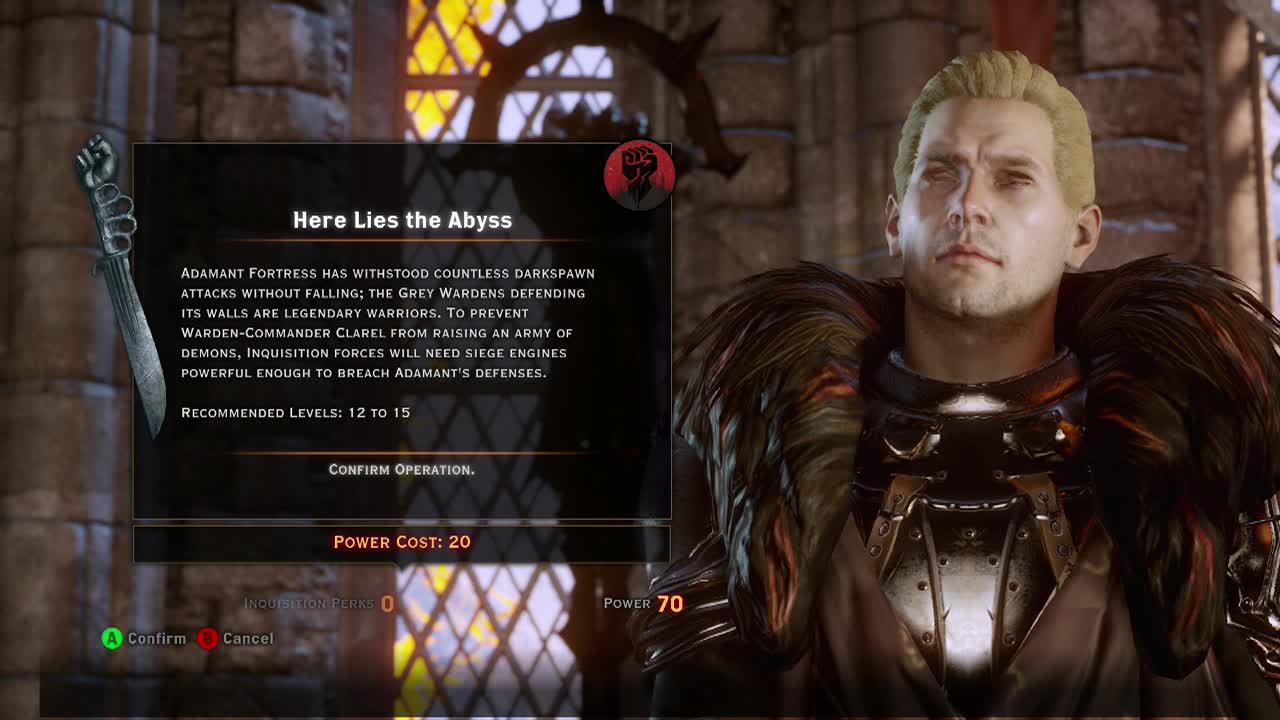
STORY QUEST – Here Lies the Abyss
Kill the demons and recover memories
Possibly a glitch, as one of the later objectives of the quest is the same. This will already be completed.
Go to the war table to find the warden – Power cost: 8
Enter the war room at Skyhold and complete the find the warden operation. This will unlock Crestwood on the world map, your next destination.
Meet Hawke's warden ally in Crestwood (+160 Influence)
You'll have to trudge all the way across Crestwood to find the cave the warden is in if you haven't already explored the area. Head towards the mission marker from the North Gate camp and you should stumble across the village of Crestwood along the way as a fast travel point. Leave the village and travel South-East along the old market road and you should eventually find Three Trout Farm camp and the cave, with Hawke at the entrance.
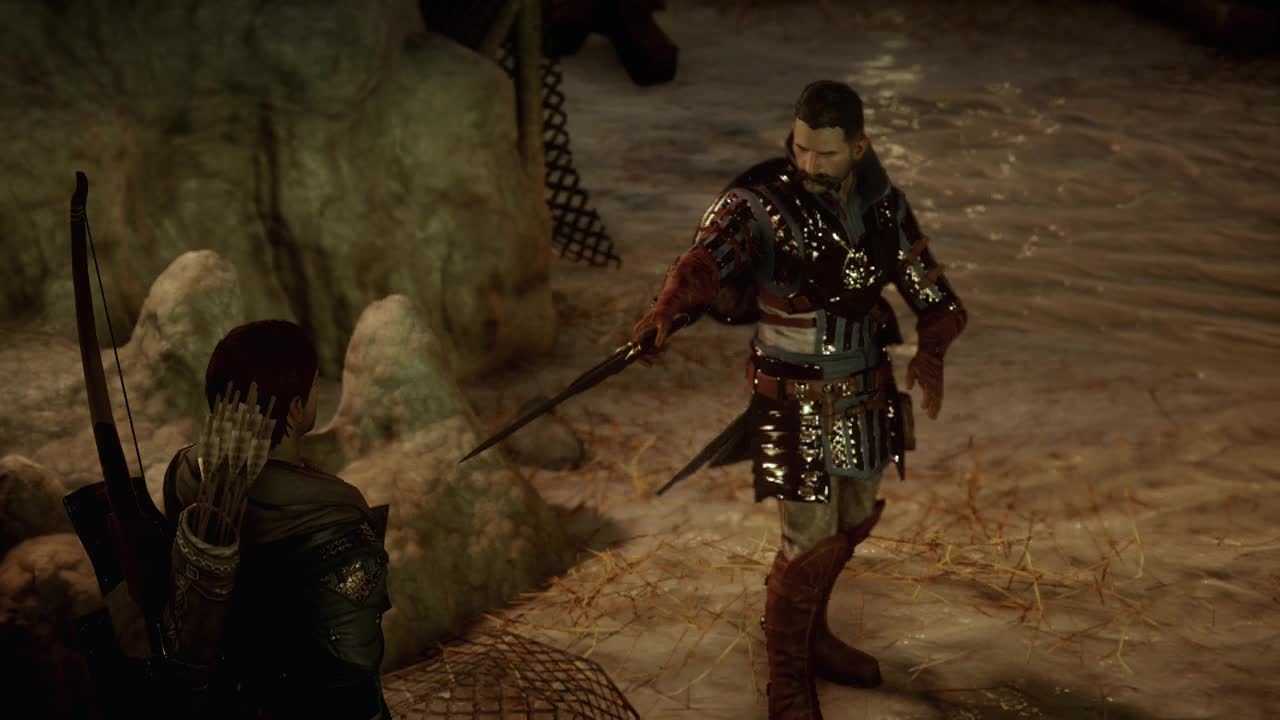
Walk inside the cave with Hawke to find a door at the back of the cave. Open it for a scene and a chat with the elusive Stroud.
"What is the calling?" (Solas+)
"The wardens are scared." (Cassandra+)
"The wardens are foolish." (Solas+)
Meet Hawke and Stroud in the Western Approach (+80 Influence)
You will need to have unlocked the Western Approach on the world map by completing investigate the western approach operation in the war room.
In the Western Approach, you'll need to wind your way through the canyons and across the sand flats to reach the tower the wardens are using for the ritual. Hawke and Stroud will meet you at the bridge into the tower. After crossing the bridge you will meet a magister and have a little discussion.
"Oh, that demon army." (Solas+)
"Let the wardens go." (Cassandra+)
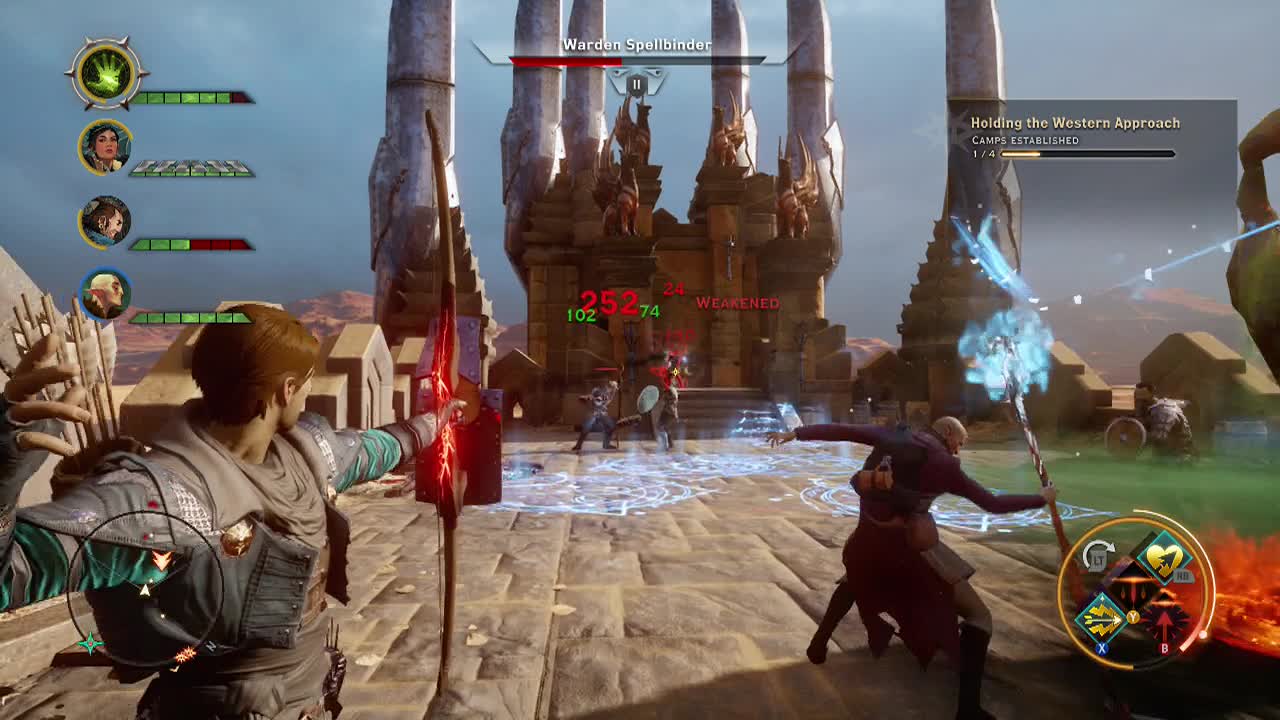
After the magister retreats, you'll be faced with plenty of demons and their warden spellbinder controllers. AoE and knockdown or disabling effects work great here as the enemies are all clustered in a small area. If you have poison attacks, try and spread poison to all the enemies, to wear their health down during the battle. After the battle, you'll talk to Hawke and Stroud.
"They were misled." (Solas-)
"How could they do this?" (Cassandra+)
Afterwards, you'll need to return to Skyhold.
Speak with the advisors at the war table in Skyhold
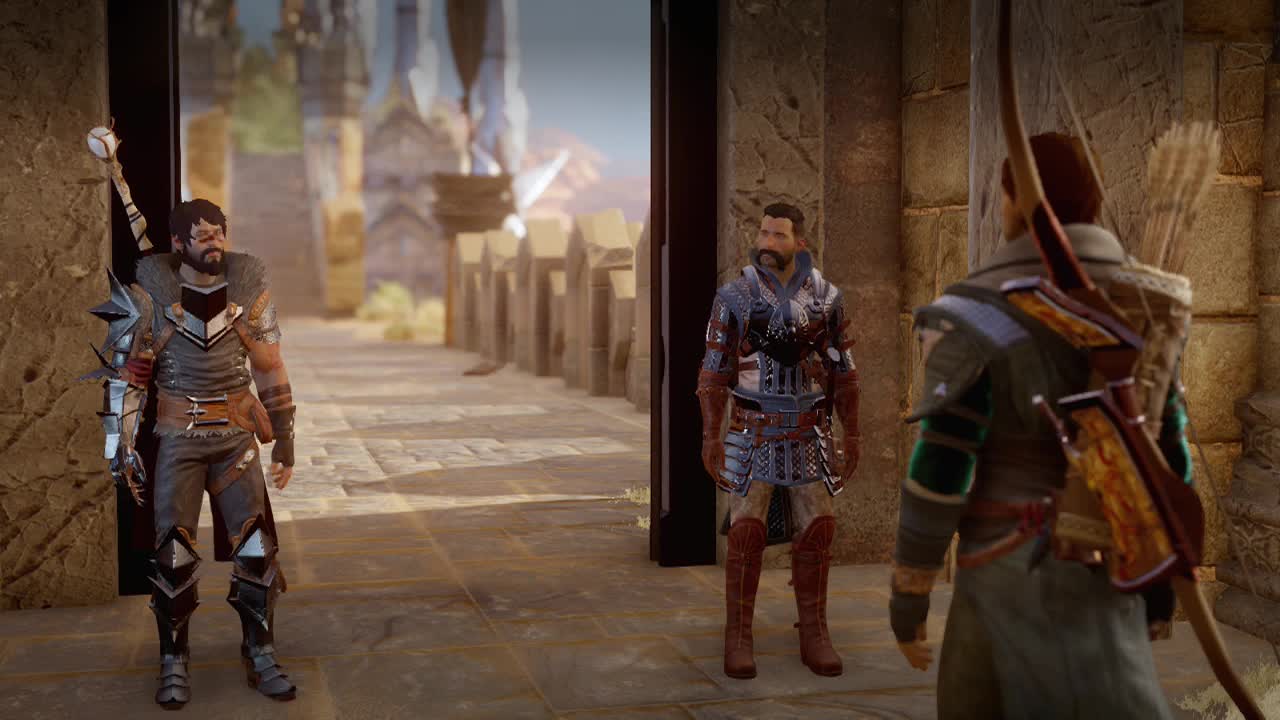
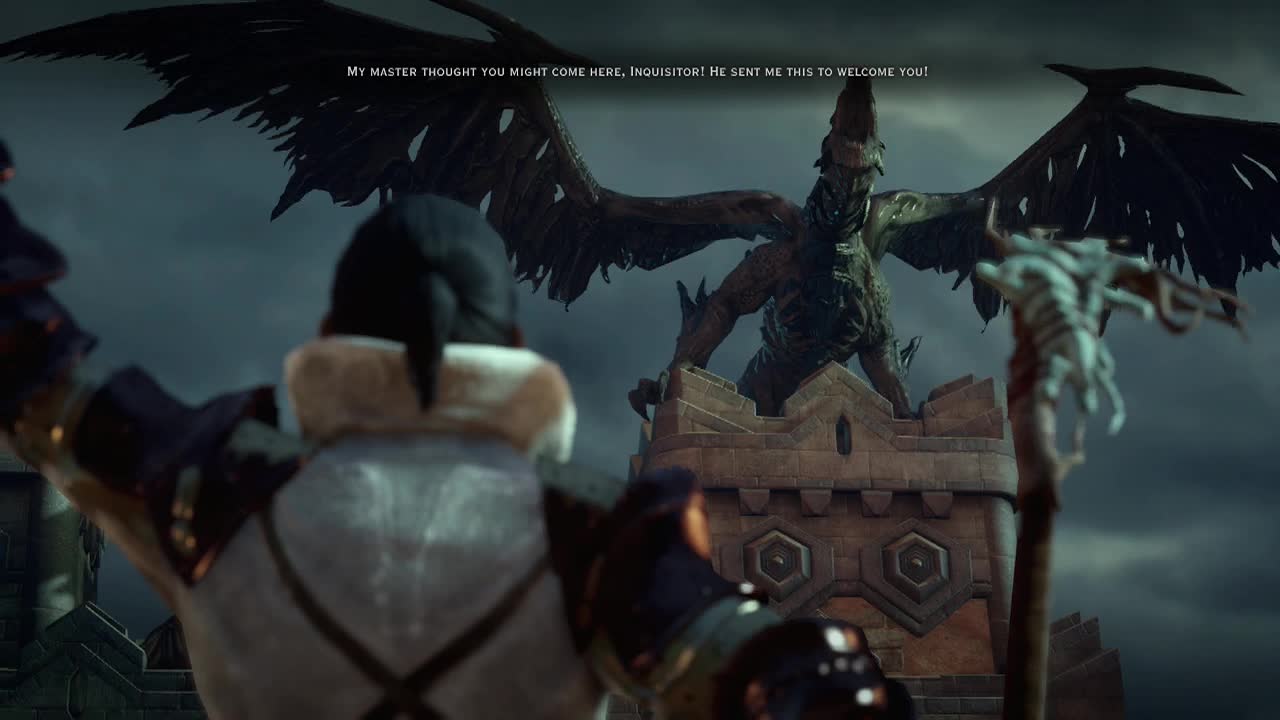
Pass Hawke and Varric in the corridor and enter the war room. On the Orlais side of the map will be here lies the abyss operation. Complete the operation to start the story quest proper and head for Adamant.
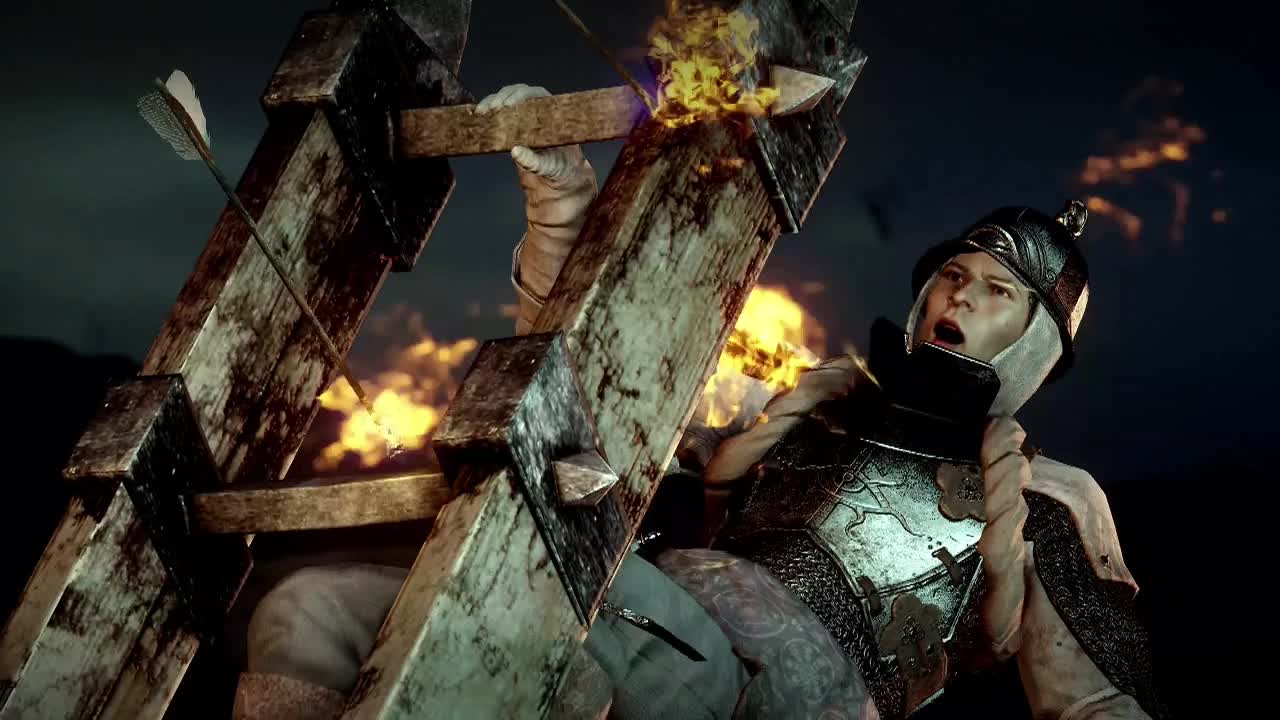
Watch the opening barrages of the onslaugjt and the epic scenes of warfare (wow, killing the wardens, this can only look good on your resume).You'll regain control just inside the main gate of the fortress.
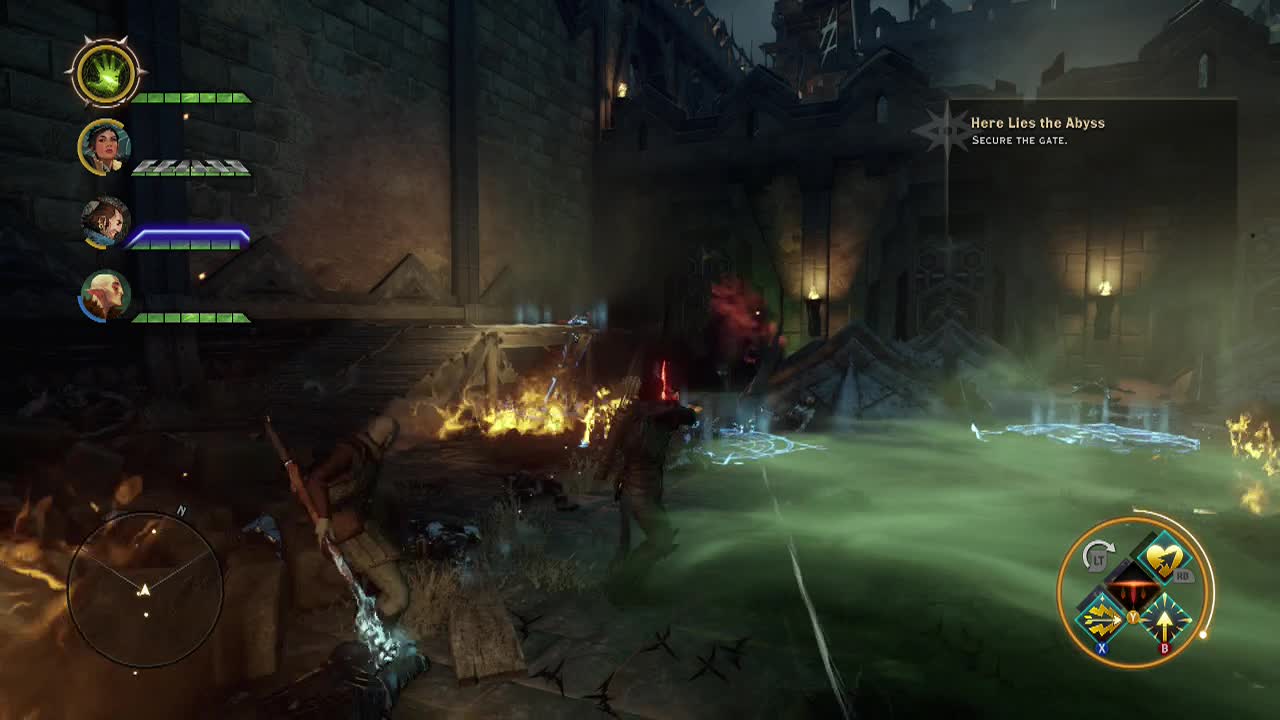
Secure the gate
Immediately open fire / attack with AoE abilities and knockdown/ disrupting status effects as the demons and warden spellbinders will arrive in clusters within seconds. After smashing through the first wave, you'll get a quick scene with Cullen.
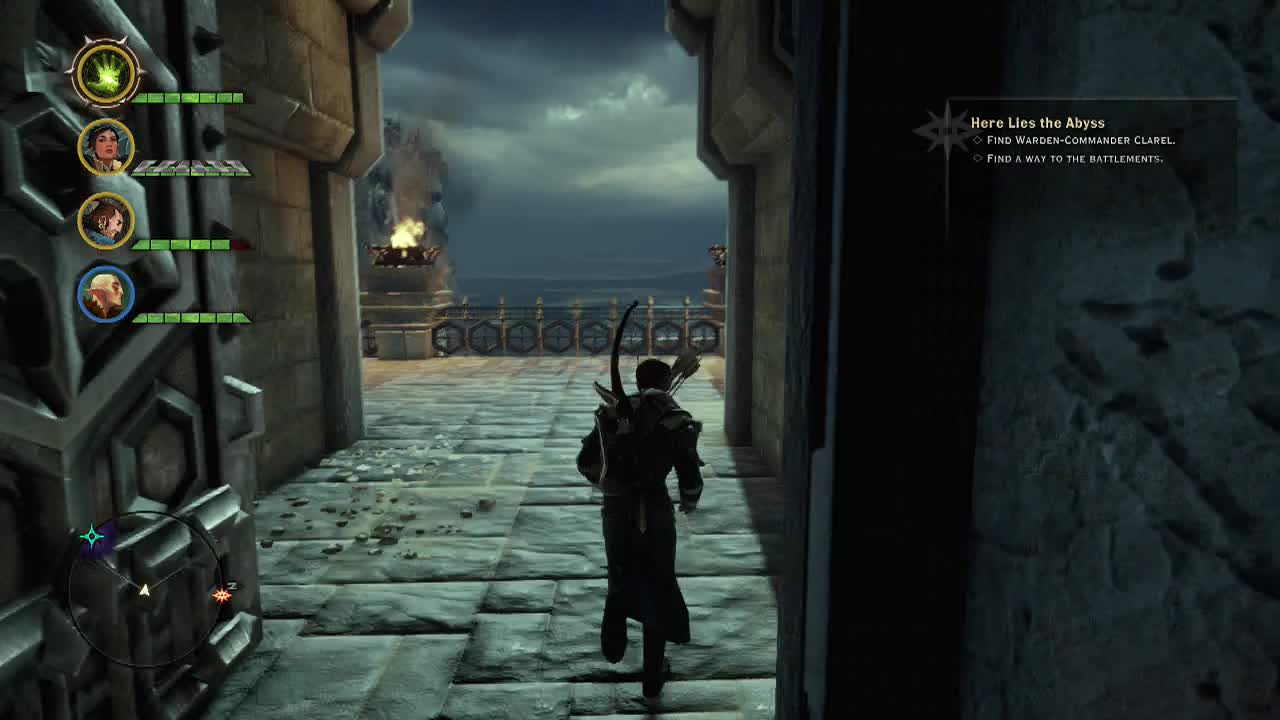
Find Warden-Commander Clarel
(Optional) Find a way to the battlements
Leave the entrance area and start working your way through the walled yards, dealing with warden forces as you go. Kill the two shades guarding the metal door and open it up to reach the main bailey. Here, you'll find neutral wardens battling against their dark brothers. After saving them, if you approach them you will be prompted with a dialogue choice.
"Surrender." *The wardens turn hostile and attack
"Just fall back to safety." *The wardens will remain neutral *You will want to take this option for a later special dialogue choice
There is a supply cache at the back of the area where the neutral wardens area if you need it. Near here is a door that opens up to a staircase leading up to the battlements for the optional objective. Fight your way up to them and the battlements objective will update.
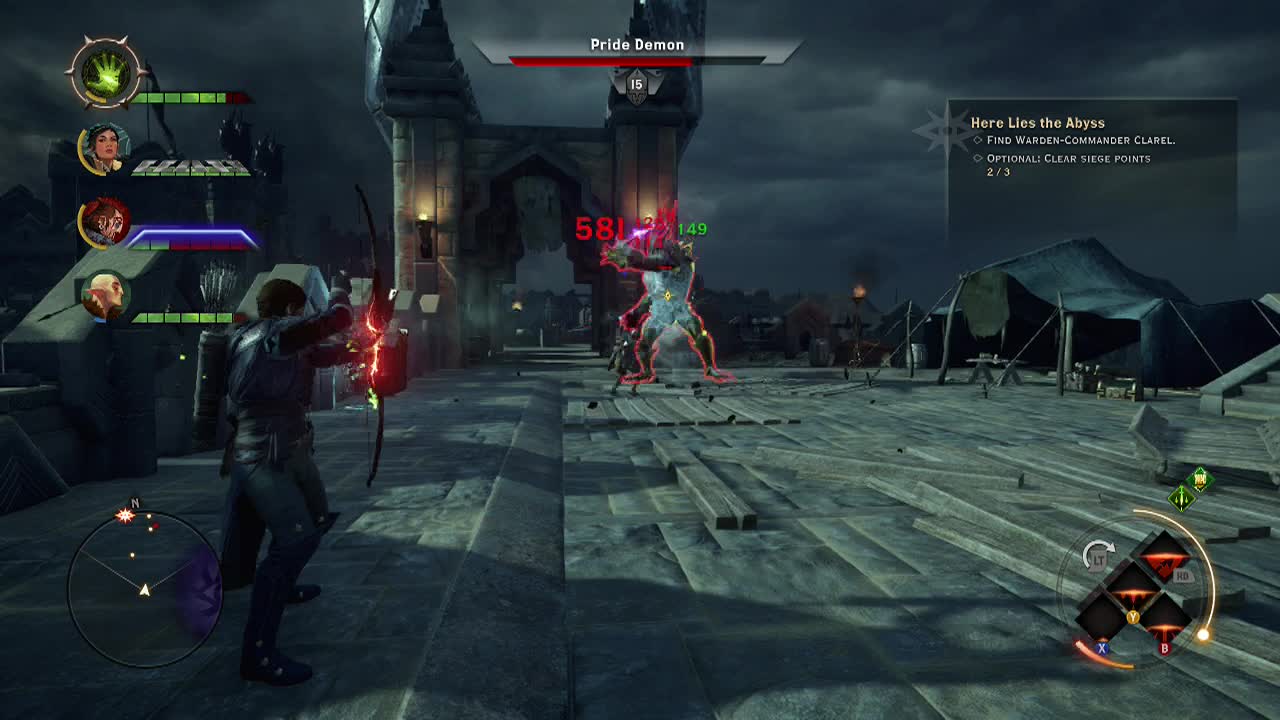
Optional: Clear siege points (+200 Influence, +2 Power)
Once you are on the battlements, follow the linear path along, clearing the wardens who stumble into your path. You need to clear enemies from each marked point for the objective. The long sightlines here are great for ranged characters. There is another supply cache in the large room partway along the battlements (like a barracks).
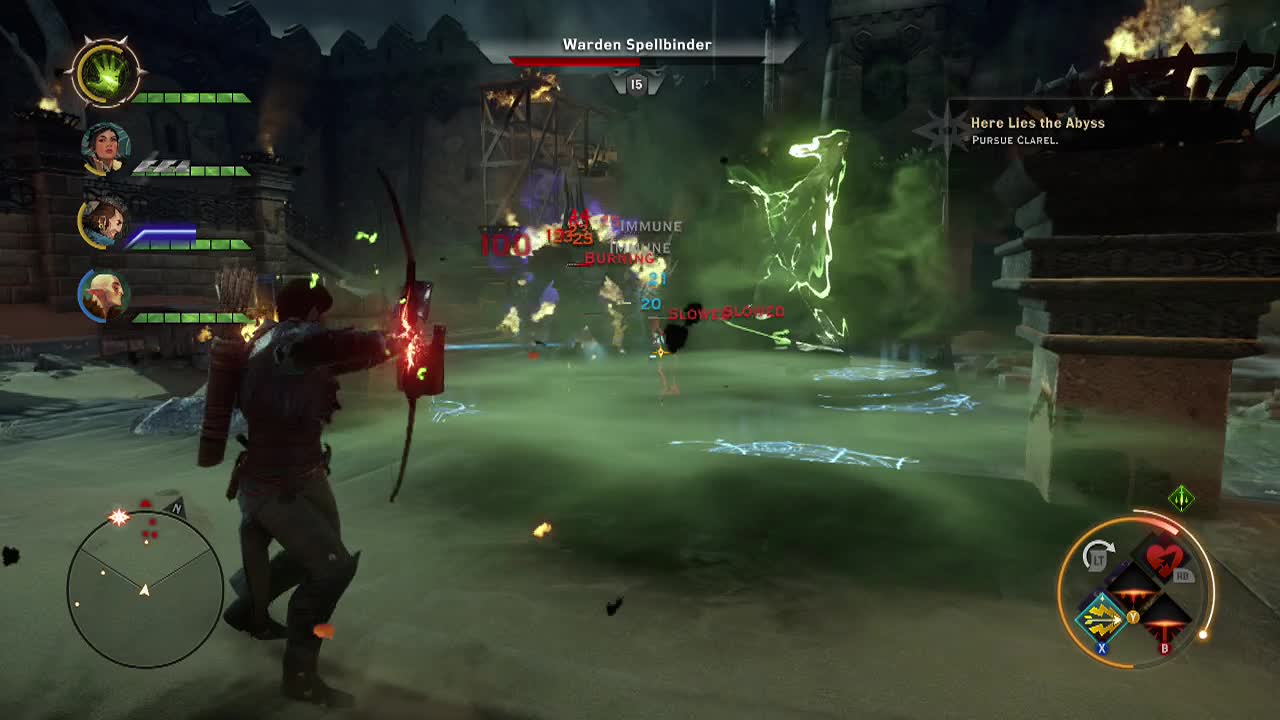
Behind the next metal door is considerable enemy forces (a pride demon, despair demons and warden spellbinders). Focus on taking down the despair demons fast if you can, so they cannot use barriers on the pride demon. After that you can whittle down the pride demon fairly safely.

After this battle, you'll get another dialogue choice. You can request aid in getting through the fight or support for your troops.
(Grey warden banner can be found in a loot chest here)
Keep moving to the next point to find neutral wardens fighting against a pride demon and several shades. Work with them to bring it down fast. There is another supply cache here as well for those that need to restock. Loot one of the bodies here to find an Amulet of Power (+1 ability point – Blackwall).
Head back along the wall the way you came and descend the stairs marked on the mini-map to resume your search for the Warden-Commander. Go through the series of metal doors and you'll find more neutral wardens under attack by demons. Once they are safe, look against the wall for another supply cache. More metal doors will greet you and afterwards a scene will take over.
You will get a major choice here if you have the prerequisites:
[Special] choices
"Think of the warden's legacy!" *History inquisition perk required (Solas-), some warden forces will join you in battling the demon army
"I spared the wardens before!" *Requirement: Spared neutral wardens earlier in the quest (Cassandra+, Cole+++), some warden forces will join you in battling the demon army
"Attack." *Attack warden forces *All warden forces will be hostile (Solas–, Cole–)
After that, you will be facing a pride demon and other demon forces with (hopefully, if you could make those choices) wardens on your side.
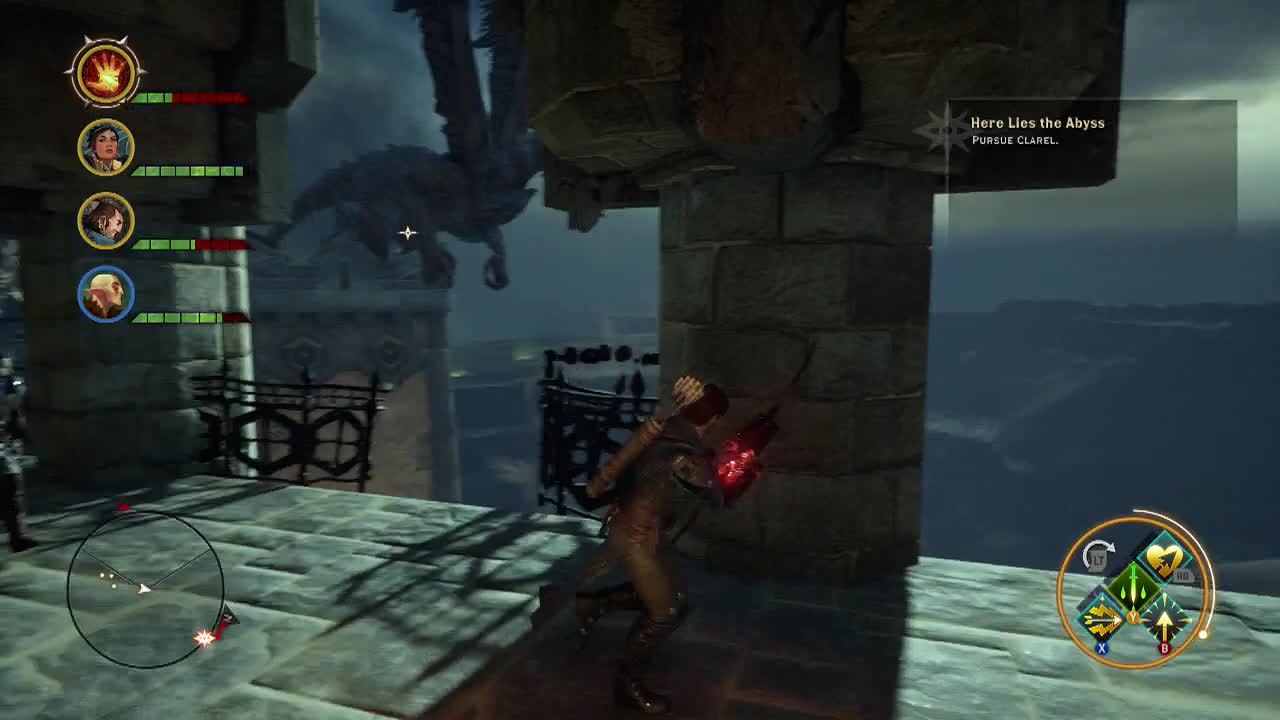
Pursue Clarel (+200 Influence, +2 Power)
Clear out the lesser demons first if you can before concentrating everything you can on the pride demon. The wardens will act as decoys (or attack you if you couldn't convince them). If you did, they will also act as lures for Corypheus' dragon that is flying overhead and bombarding the courtyard. Once the area is clear, head upstairs and follow Clarel.
You will encounter more demon forces on the way, after defeating the group of shades, you'll approach a balcony with arches over you and pillars to your left. Watch out here as Corypheus's dragon will blast lyrium fire all the way down the hall here, dealing large damage to whoever it hits. Help the wardens (or kill them) at the end of the hall and ascend the stairs. At the top, you'll see a scene.

Looks like the party has stumbled into a portal game… no, wait. It's just the fade.
Find a way to escape the fade
Next to a nearby rock covered in skulls is a supply cache which you will likely want to use. Be careful wandering around as there are a few wraiths scattered around the area. This area contains sidequests and items that will give you a permanent stat boost, so be sure to scour the area.
(+1 Magic from mirror to the east of your starting position (near shade and wraith group)
Climb the stairs to meet a familiar face and have a brief talk.
"I thought you were dead." (Solas+)
"How did you know my title?" (Solas+)
"Why do demons serve Corypheus?" (Solas+)
"Can I kill it?" (Solas-, Cassandra-)
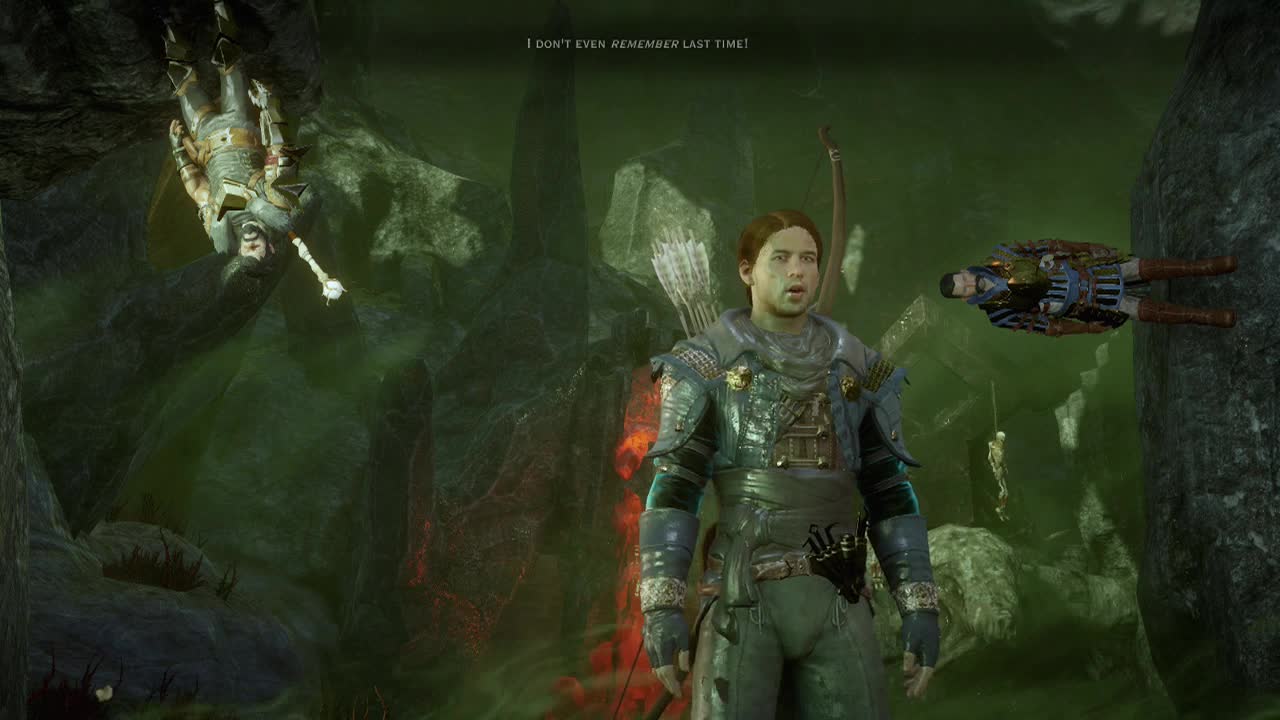
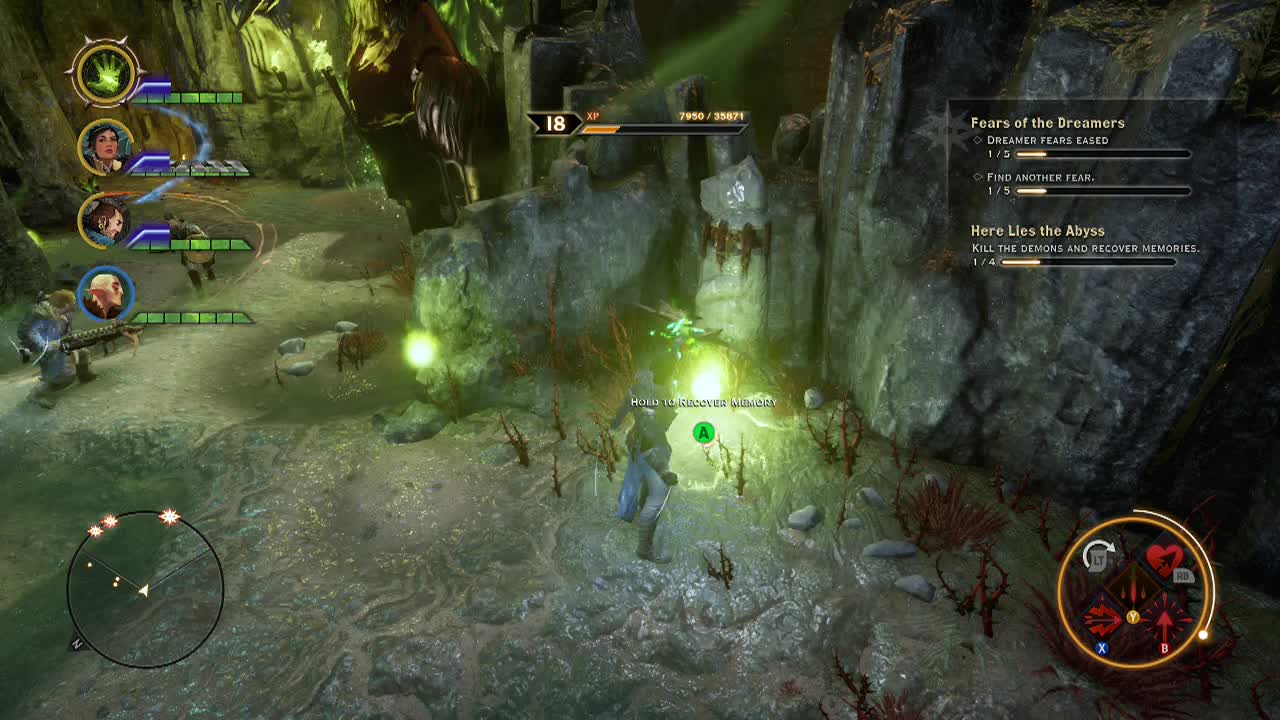
Kill the demons and recover memories (4)
Four wraiths will appear next to your position, wade into the fray and kill them off fast. After killing them, they will drop a memory shard you can investigate to put together your missing memory.
After collecting the memories and finding out some of what happened at the temple, the barrier that closed off the area will be gone. Keep wandering forwards, clearing the wraiths and shades along the way. After the next large group of demons (when the nightmare first talks to you) partway down the stairs leading out of the area is another mirror.
(+1 Dexterity from mirror)
The path will split just ahead, take the North path to find a mirror ringed with still corpses. Invesigating the mirror throws you into a battle against multiple wraiths and rage demons. Afterwards, you can examine the mirror for your reward.
(+1 Cunning from mirror)
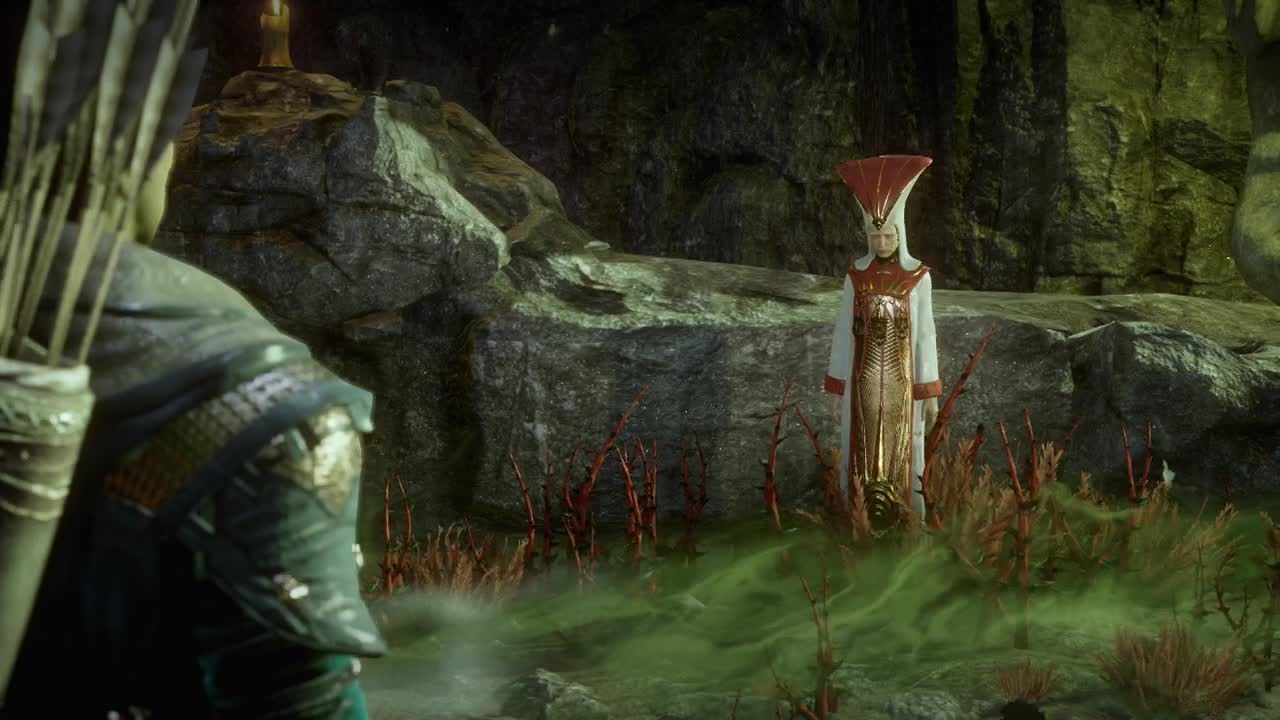
Backtrack to the path split and take the East one this time. Spider demons (war) will engage you here, but they shouldn't pose a real threat. At the end you'll find the Divine once more. Next to her is a supply cache as well. Close to her will be more memory wraiths for you to kill and collect. After the kerfuffle, you'll be fighting more demon spiders (another day, more spiders).
Follow the Divine
Along the now open path, you'll run into a terror demon and deepstalkers. At the next barrier you will be attacked by another wave of spiders. Vanquishing them will clear the barrier for you. Take the South-East path first here to find more wraiths and terror demons. This large area holds another mirror at its top right corner.
(+1 Strength)
Near the water of this area, you'll find a strange graveyard guarded by shades and a despair demon. The graves are interesting reading if you like. When you are ready, climb the stairs to find another barrier and the Divine. There is a supply cache in the center of this area if you need it. When you get close to the barrier, various enemies will attack (spiders, shades, pride demons etc), you will need to kill enemies here to reduce the strength of the barrier blocking your path.
Get to the rift to escape the fade
Once you have killed enough enemies, the barrier will vanish. Follow the spirit and restock at the supply cache on the table along the way. When you round the corner, you'll reach the Nightmare's lair and have to battle the demon.
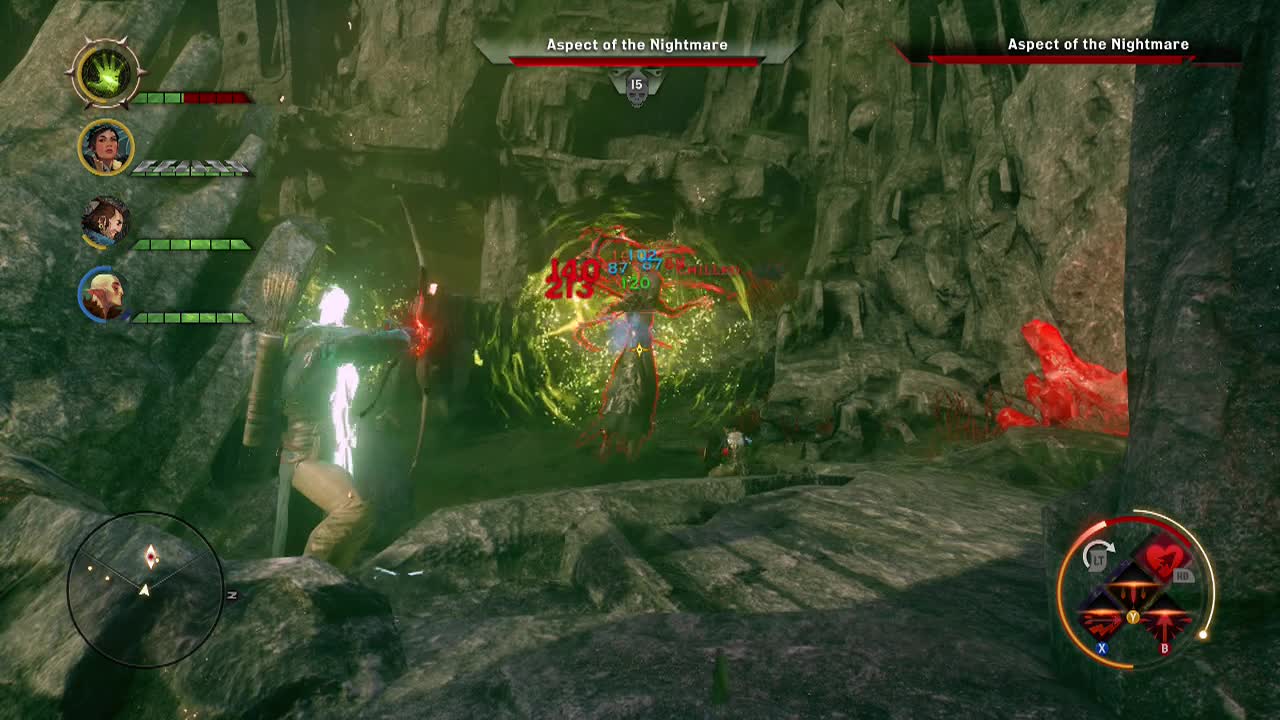
The demon can summon spiders, cast barriers on itself and teleport. It is immune to the sleep status. Poison will work though. As the battle progresses, he will summon more spiders and then eventually terror demons when his health gets low (about 1/3rd remaining). Keep hammering away and he will eventually fall.
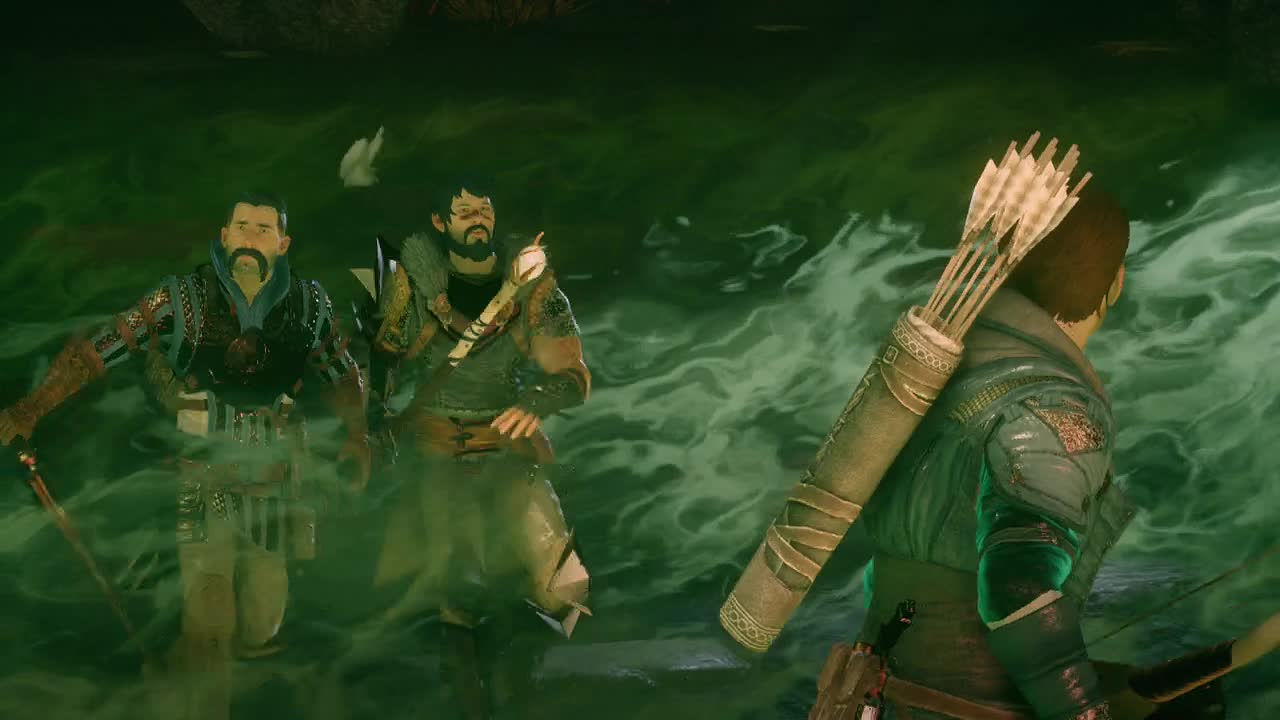
A scene will take over after the battle as you make your escape. Here, you will have to choose which character you want to keep around for the rest of the game, and which one stays here. You will also get the chance to recruit the remaining wardens to your cause. You will get several approval and dissaprovals no matter which option you pick.
(+3200 Influence, +4 Power)