PROLOGUE – The Breach
As the game begins, you will be shackled in the center of a cell, awaiting the pleasure of your captors. A strange brand burns upon your hand as you meet Cassandra and Leliana. Once they enter the room you will be prompted with your first dialogue choice. Select the response you desire with LS and press A to confirm it. After a few more dialogue choices (and the introduction of emotional responses), you will be raised to your feet and escorted out of the cell.
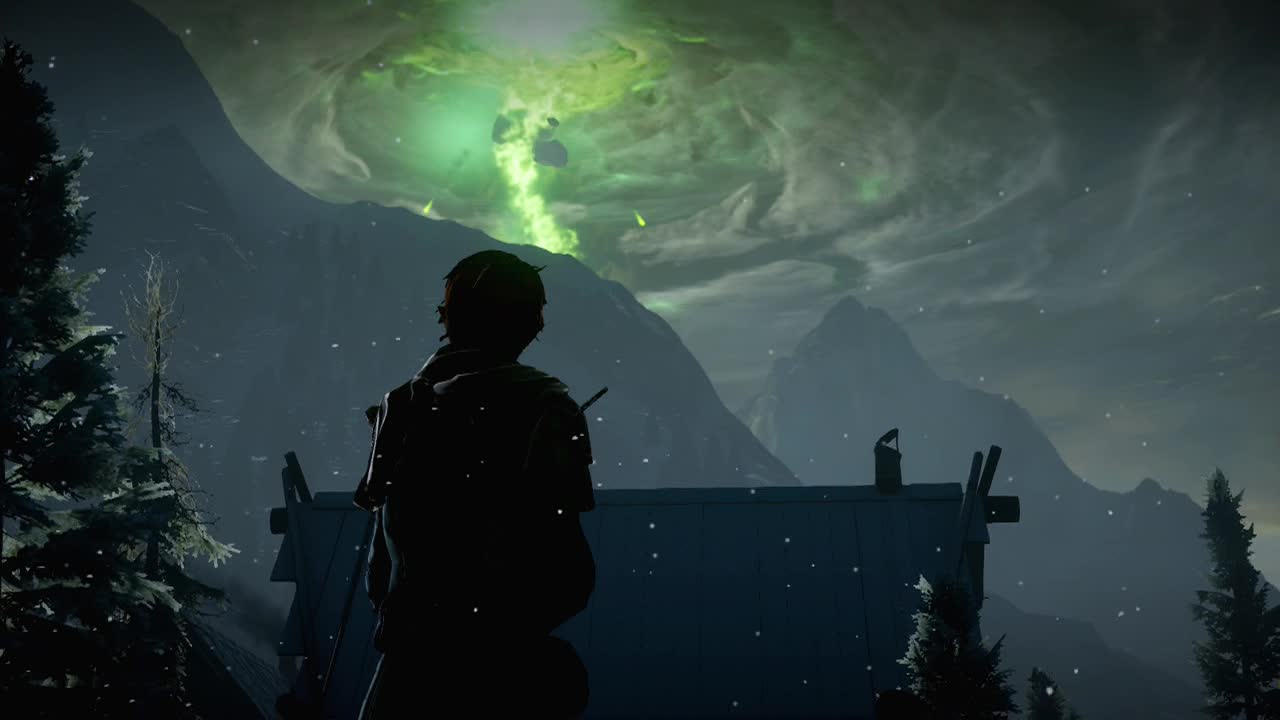
Stagger outside and take your first look at the sky and the glowing light that is, the Breach. After contending with your glowing brand, you will talk with Cassandra some more. Certain dialogue choices will increase other character's affinity for you. Approval is essential for romancing characters and ensuring they do not leave your party. Unlike previous Dragon Age games, conversation is the main way to increase approval (although event and item increases are possible).
"If I can help, I will" (Cassandra++)
"Do I have a choice?" (Cassandra–)
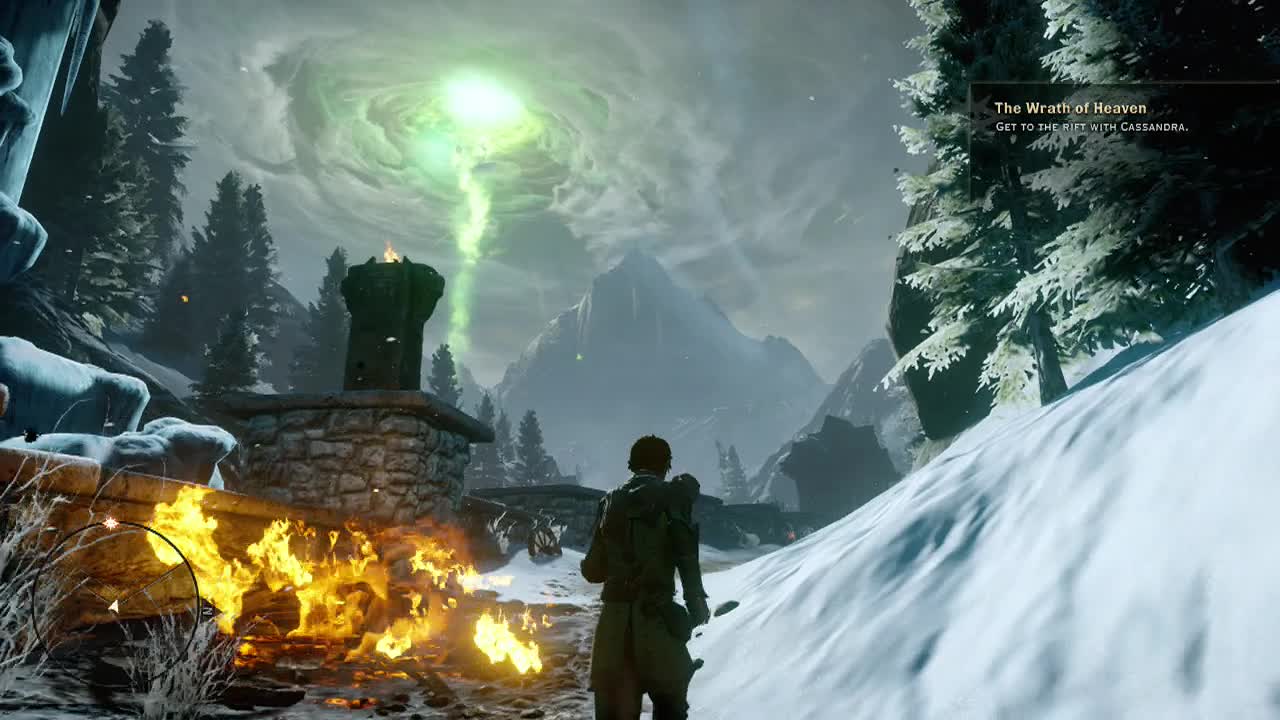
STORY QUEST: The Wrath of Heaven
Get to the rift with Cassandra
After a short walk, you will finally gain control of your character. At the moment, you don't have any weapons and your menu options are limited (although you can save, load and examine the map), so just follow the path ahead. Strangely, Cassandra will follow you, not the other way around. Cross the stone bridge and enter the doors that are opened when you approach. Head left and walk along the trail, with the breach glowing ominously overhead.
A quick scene will hurl you to the ground, as your brand pulses once more. Scrabble back to your feet and pass through the gatehouse ahead. Start crossing the stone bridge here to begin a sudden downwards trek. The Breach will release several demons, smashing the bridge and attacking your party as you rise. During the scene, you'll acquire the first weapon of the game (dependent on your class) and afterwards, you'll be thrown into your first battle.
Two shades will engage the party and it will be up to both of you to deal with them. At present, you won't have any special abilities, but your regular attack (RT) should suffice for these weaklings. Once the short battle is over, Cassandra will confront you.
"All right, I'll disarm." (Cassandra++)
"You need to trust me."(Cassandra–)
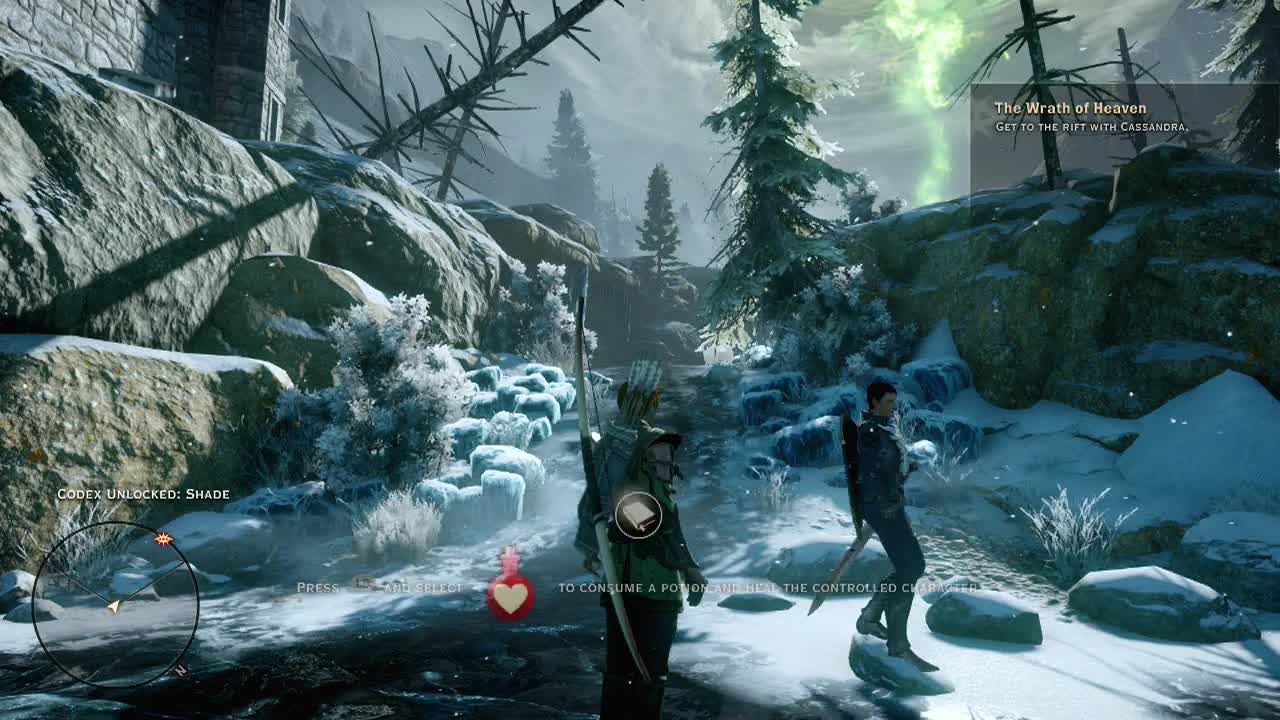
After that lovely little confrontation, potions will be unlocked for use. To use a potion, tap LB to bring up the command wheel and select the potion with LS. Tap A to confirm and drink it. Regular health potions are replenished for free when you return to Haven or a camp once the prologue is over. More complex potions (tonics, grenades and the like) require ingredients to replenish and should, as a result be used sparingly.
From this point onwards, there are several bodies and bags to loot if you look carefully. Make sure to use the search ability (push in LS) to highlight items and ensure you keep your character as well equipped as possible to make engagements easier. Keep moving along the snowy trail, keeping an eye open for items until you get an information box about abilities. This should unlock your base abilities (depending on class), for upcoming battles.
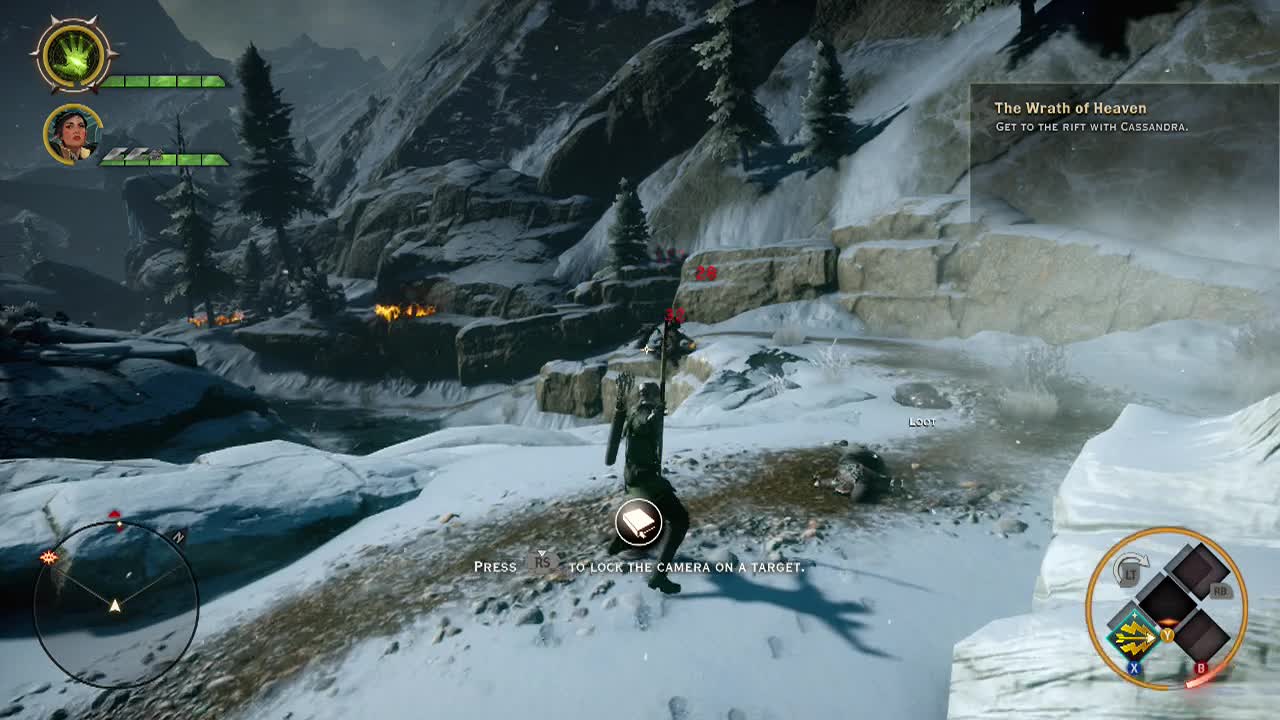
From the top of the rise where the box triggered, you should see two shades on the frozen river below. If you are a ranged character, use the elevated terrain to your advantage and pepper them with projectiles. Melee characters will have to slide down the bank and battle them toe-to-toe. Er… toe-to-floating-rag. Use your newly unlocked abilities and you should start to get a feel for combat in the game. Keep in mind you can use the RS (push in) to lock onto targets and moving RS changes targets.
Descend onto the frozen river (if you didn't already), and keep trekking towards the eye shaped objective marker. Just ahead, you'll meet another shade and a wraith. Wraiths use ranged projectiles and can be quite a nuisance if ignored, so leave Cassandra to engage the shade and race up the path to take on the wraith (or just target it and fire if you are ranged). Use your special abilities to bring it down fast, minimizing the damage it can deal to you.
From where the wraith was, keep pressing forwards until two shades and two more wraiths drop from the sky. Use your position on the cliff here to pick away at the enemies below or race down and engage them (targeting the ranged enemies first like usual). If you are a rogue class character, you will be introduced to your stealth ability here (mapped to Y by default). Once the coast is clear, look nearby (where the wraiths were) to see flaming lamps and a set of stairs to climb.
At the top of the stairs, you'll reach your first rift (a smaller version of the Breach), where a set number of enemies will spawn from. You need to kill all the spawned enemies before you can close the rift. An additional ability you can use in these situations is a rift disrupt. This disorients any nearby enemies and gives your allies a short breather to pile on the damage.
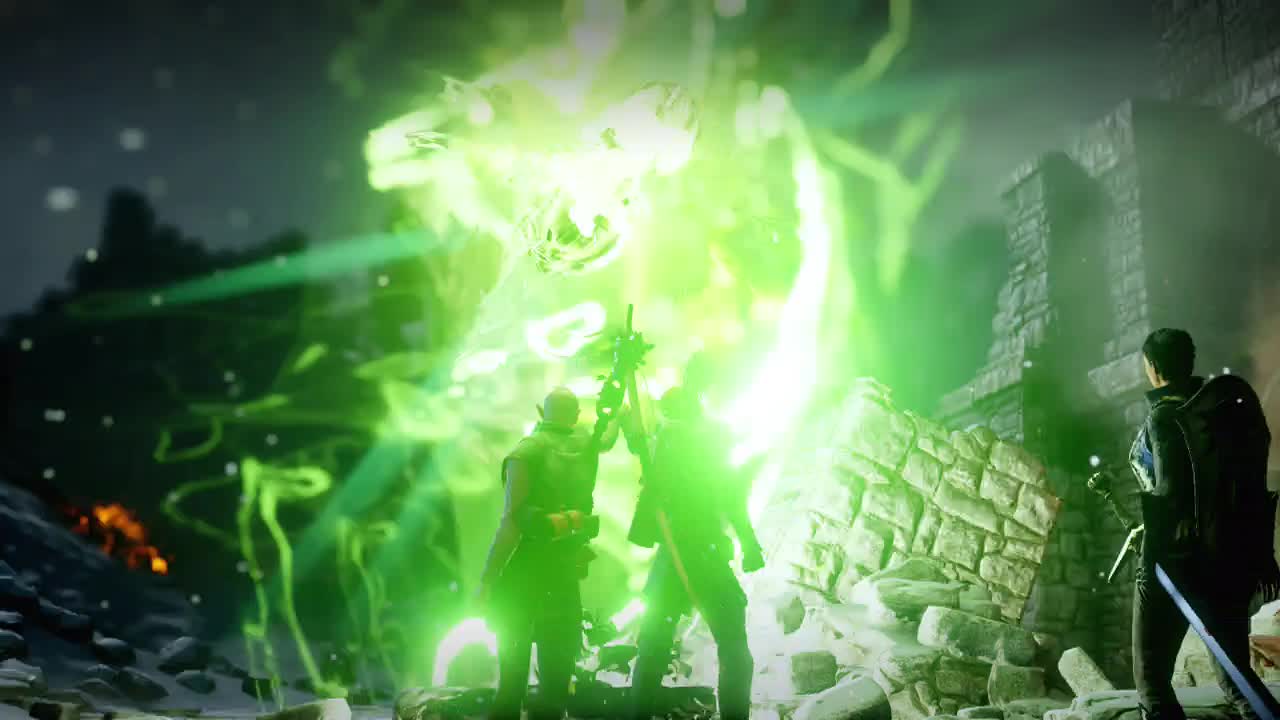
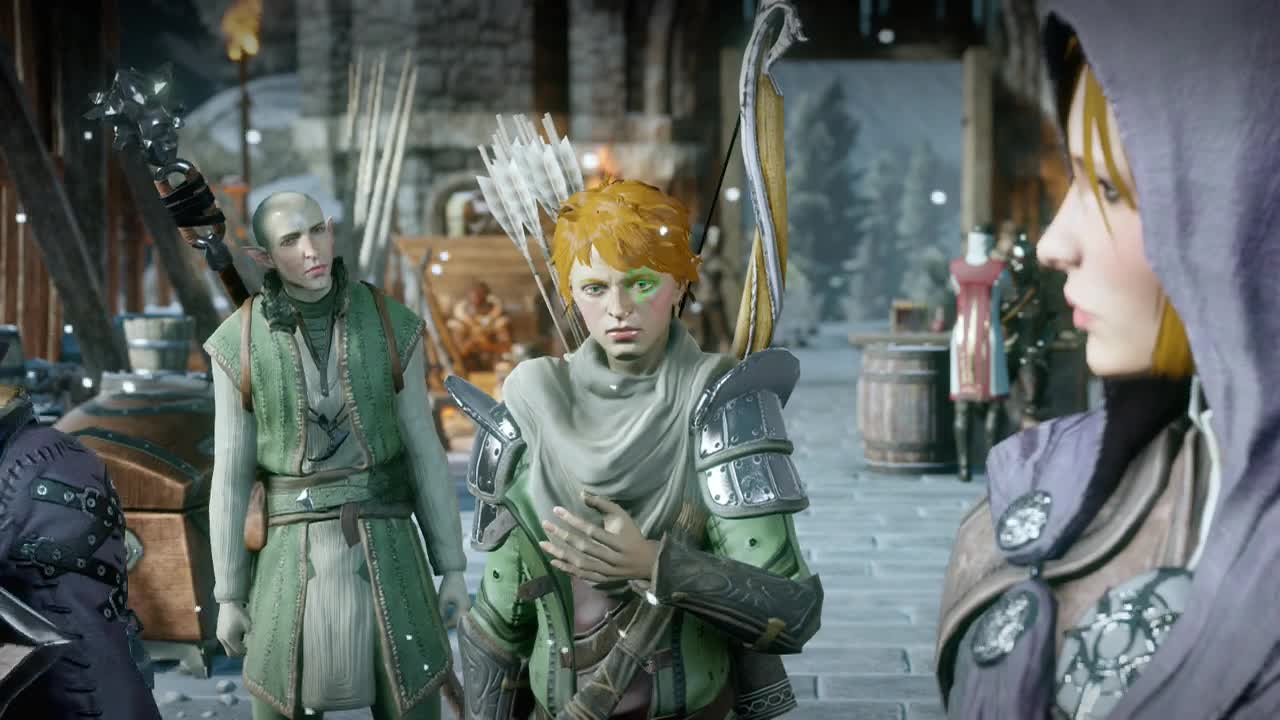
To do this, get near the rift and hold A for a few seconds. The soldiers here should act as a distraction, allowing you and Cassandra to make short work of the demons here. Once they are all dead, You'll get a quick scene in which you seal the rift automatically. In future you'll nead to hold A while close to the rift to seal it when the battle is over. In the following scene, you will meet two new (or one new and one old if you played Dragon Age II) companions. Have a little chat to find out about what has happened in the valley.
"You know about the mark?" (Solas+)
"And when this is over?" (Solas+)
Reach the forward camp
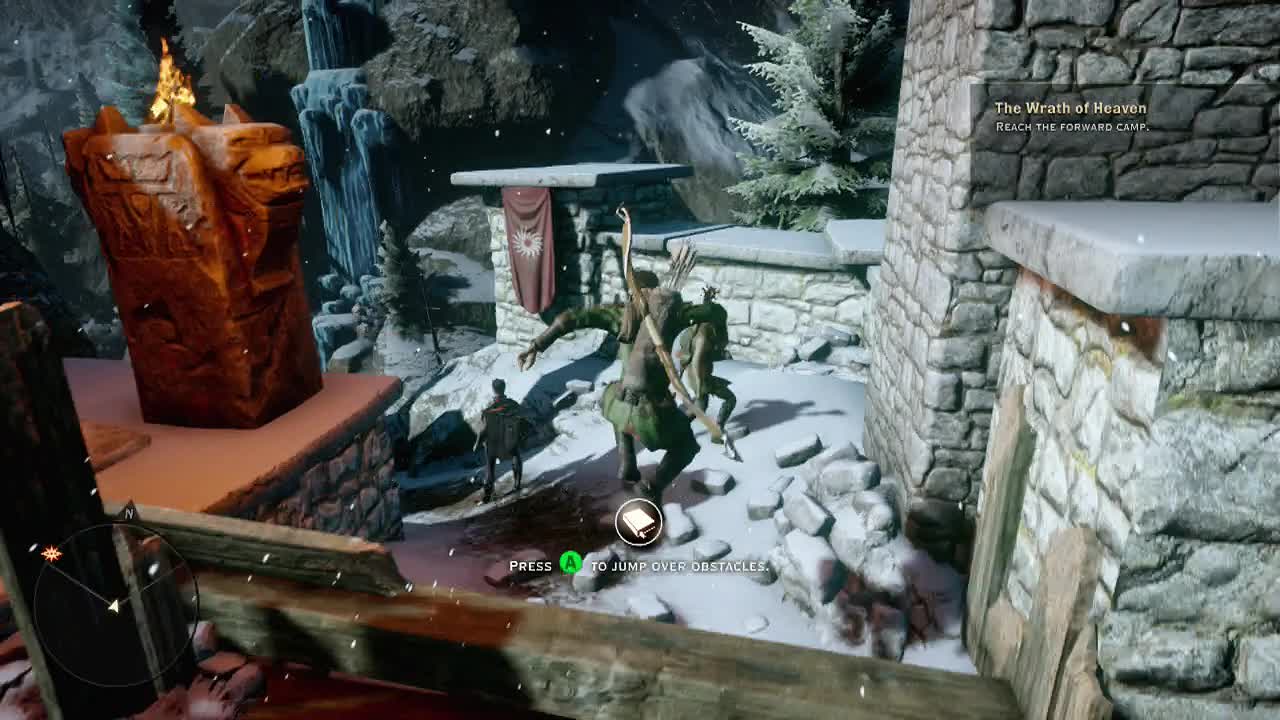
After the scene ends, directly ahead is a gap in the wall. Tap A to jump over it (yes you can finally jump in Dragon Age. Slightly awkwardly but better than nothing). Descend into the ravine below. You can now swap between party members by pressing up or down on the D-pad. As you reach the next turn of the river, two shades and two wraiths will drop down on the riverbed. When they do, you'll be introduced to the tactical camera (push the Select/Back button to trigger it on and off).
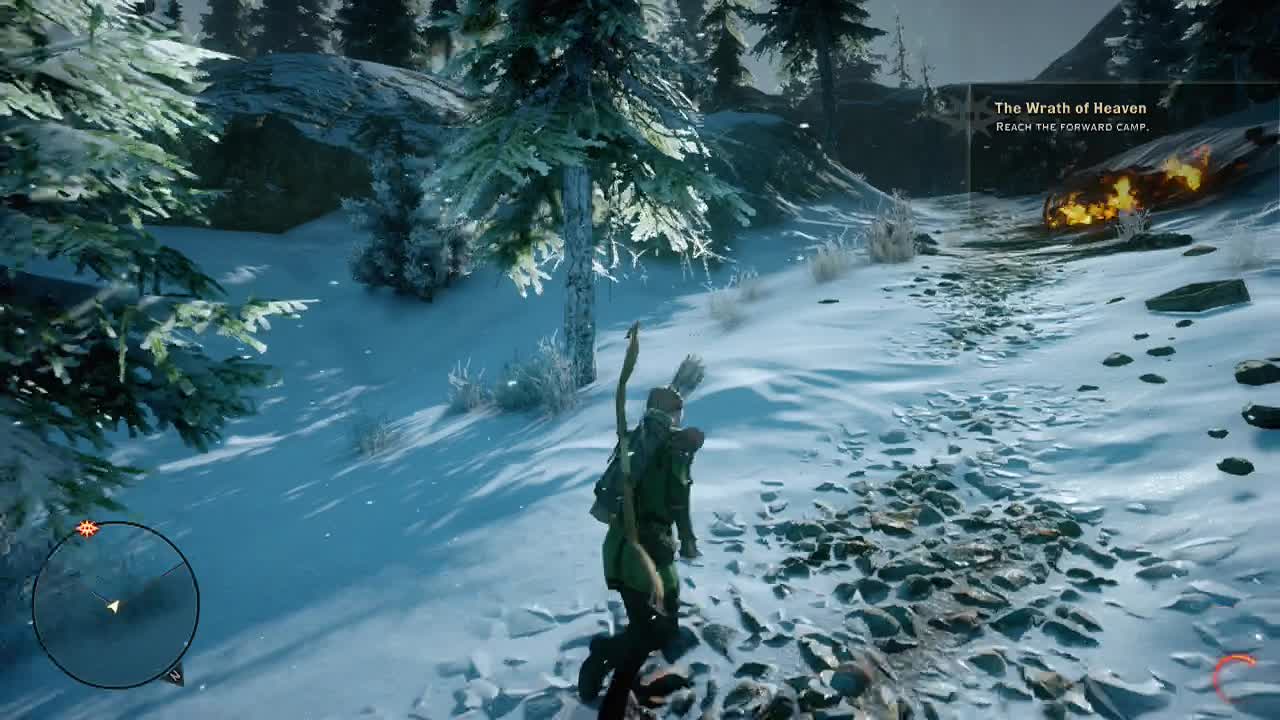
When the battle ends, head further down the river until you reach a set of stairs next to a flaming shack. You can continue along the path here to find a greater shade and two lesser shades which give exp and items, or just use the stairs. Ascend the steps to meet another pair of wraiths, a greater shade and a lesser shade on the trail ahead. Once they are done, keep moving up the hill past the flaming wreckage.
Seal the rift at the camp
At the top you'll stumble upon another fade rift. Whittle down the enemy forces until they are gone and then close the rift (get close and hold A until it closes). You will know the remaining enemy strength from the red bar at the top right of the screen. When it is empty you can close the rift. Once you do, you should reach level 2 and obtain your first ability point to spend. This also unlocks the character record in the menu so you can use it.
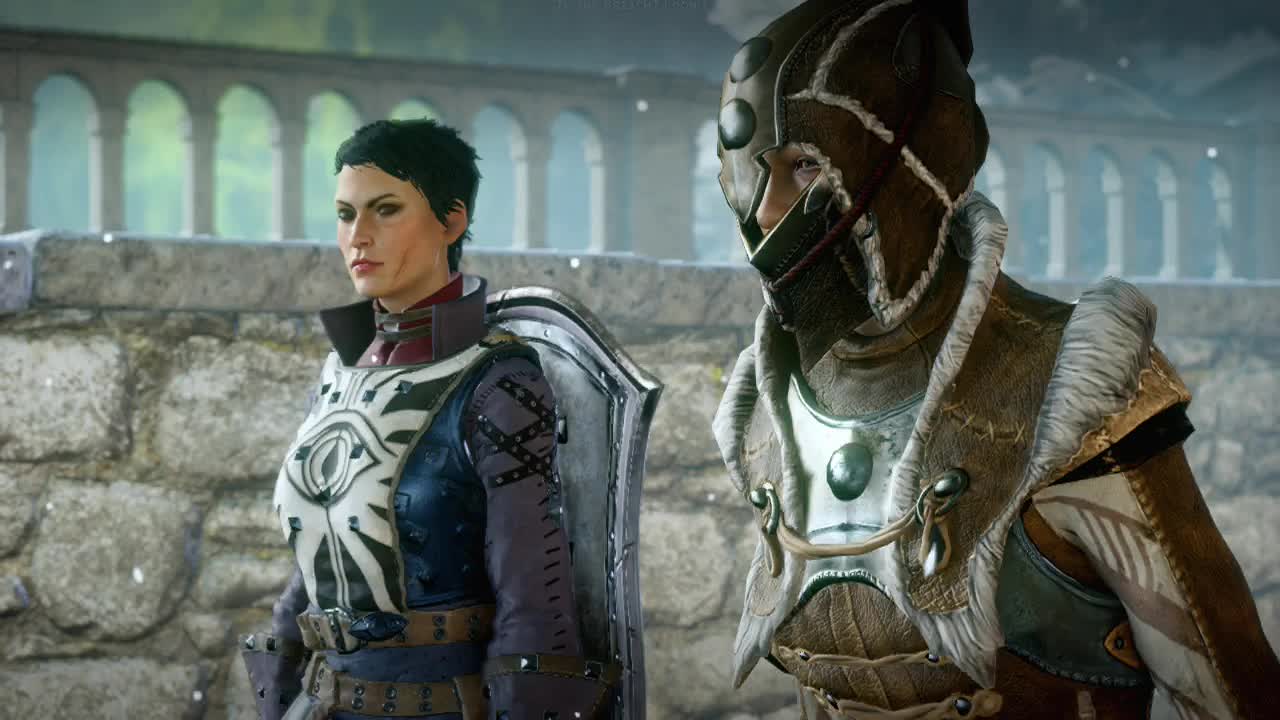
Speak with Leliana
Open the large wooden doors ahead and walk out onto the stone bridge. Partway along is a supply cache where you can restock your potion supply if you need to. At the far end of the bridge, a scene will take over.
"What about the Breach?" (Solas+)
Near the end of the scene, you will get the choice of which path to travel to reach the Breach itself. You can take the longer mountain trail or charge straight across the battlefield. Below, the two paths have been split, so read the one relevant to your choice.
"Charge with the soldiers." (Cassandra++)
Charge forward to the temple with the soldiers
Follow the linear trail to the top of the hill and ready yourself for battle before passing through the stone gateway at the top.
Seal the rift to secure the temple path
On the plain ahead, soldiers will be engaging shades and wraiths around a rift. Work your way forward, using the soldiers as distractions when you can while you approach the base of the rift.
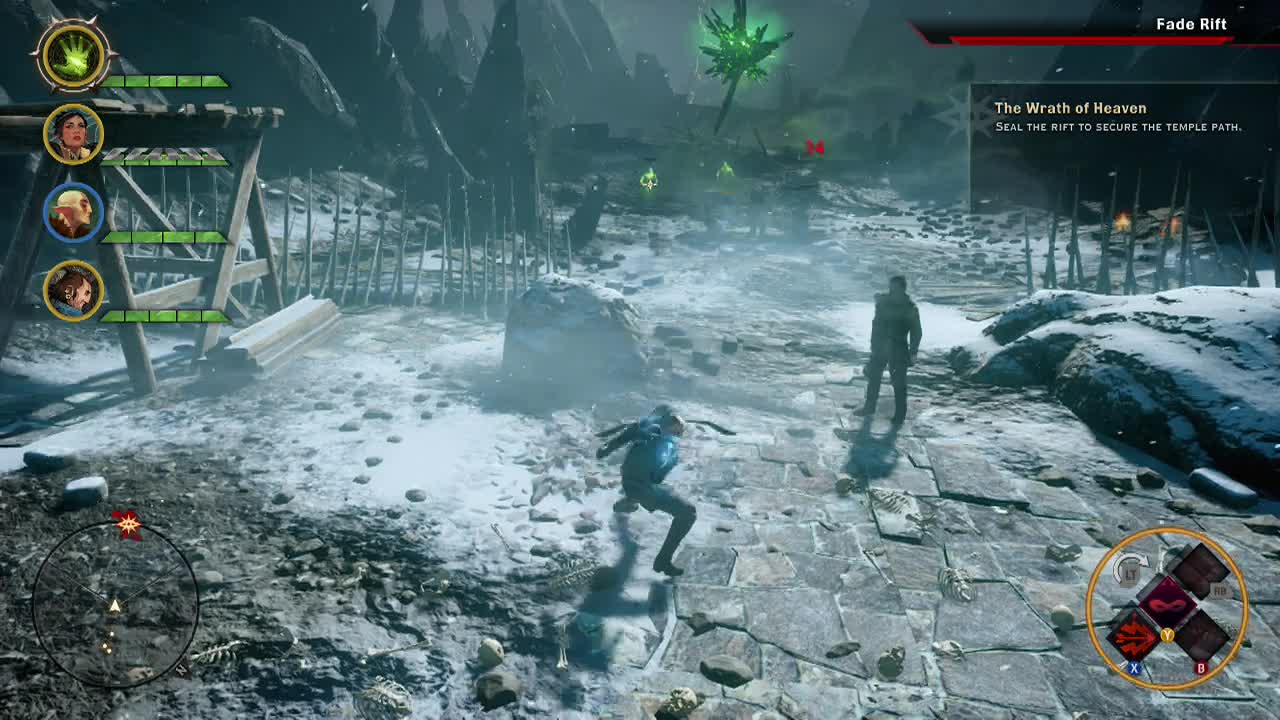
The second wave from the rift will include a new enemy, the lesser terrors. These enemies have the ability to burrow into the ground, and reappear underneath a character dealing damage to them. Try and keep moving to avoid their attacks. Once the enemies stop spawning, close the rift. After the battle, you will have a brief chat with Commander Cullen, before you turn towards the temple.
"Take the mountain path." (Cassandra-)(Varric++)
Reach the temple through the mountain path
Climb the ladders in front of you until you reach the entrance to the tunnels. In the entryway is a greater shade, just waiting to say hello. Just beyond it are two wraiths waiting to join the fun as well. Clear the first room and trek deeper inside. A little further in you'll run into a greater shade, lesser shade and two wraiths at the top of some stairs. By now you should be well practiced in taking these enemies apart.
When you reach the open air once more, you'll find the bodies of some of the missing scouts. This doesn't bode well.
Seal the rift to secure the temple path
Just ahead, you'll find another rift with a new enemy, a wraith amongst the lesser shades. Swat them down quickly. The second wave from the rift will include another new enemy, the lesser terrors. These enemies have the ability to burrow into the ground, and reappear underneath a character dealing damage to them. Try and keep moving to avoid their attacks. Once the enemies stop spawning, close the rift. After the battle, you will have a brief chat with the surviving scout, before you turn towards the temple.
"It was worth the risk." (Solas+)
Descend the series of ladders to reach the scorched plain below.
Enter the temple
Cross the burnt waste and enter the temple at the base of the Breach.
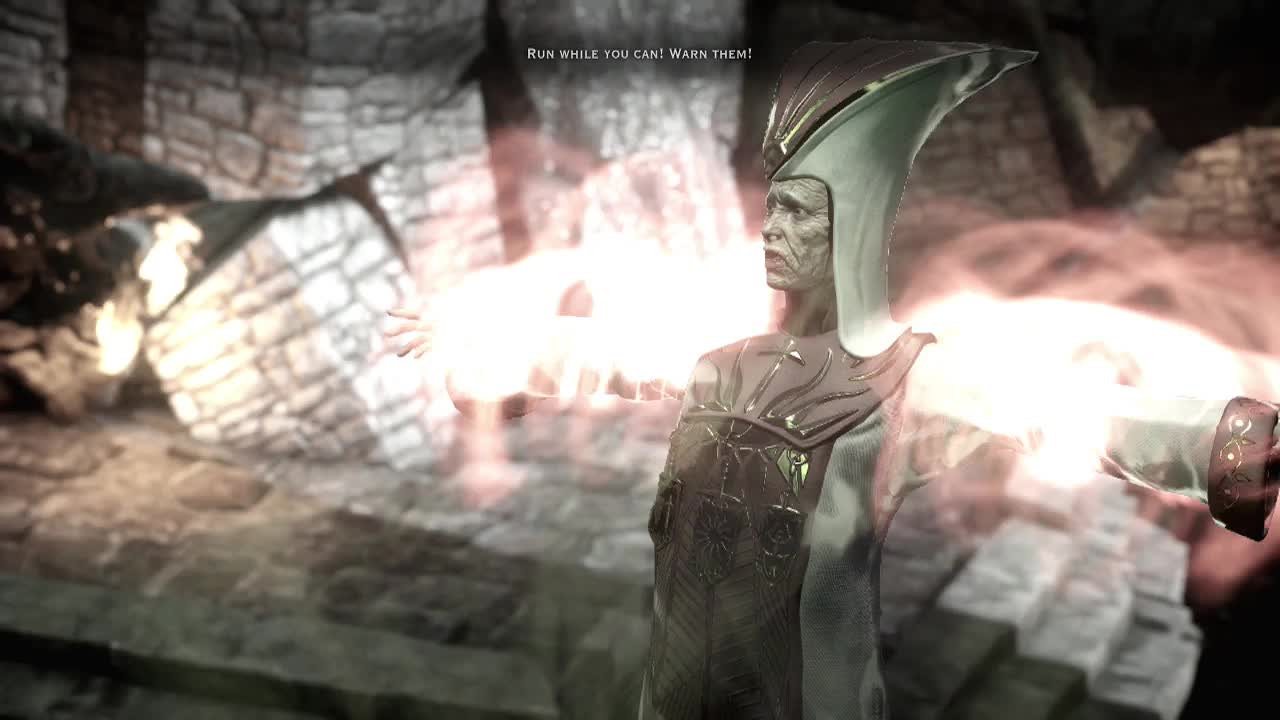
Find a way down to the rift
Follow the linear path down the walkways to the large open area below where the rift is waiting. After a scene showing some past events, you will activate the rift and you'll be tossed into the roiling sea of battle once more.
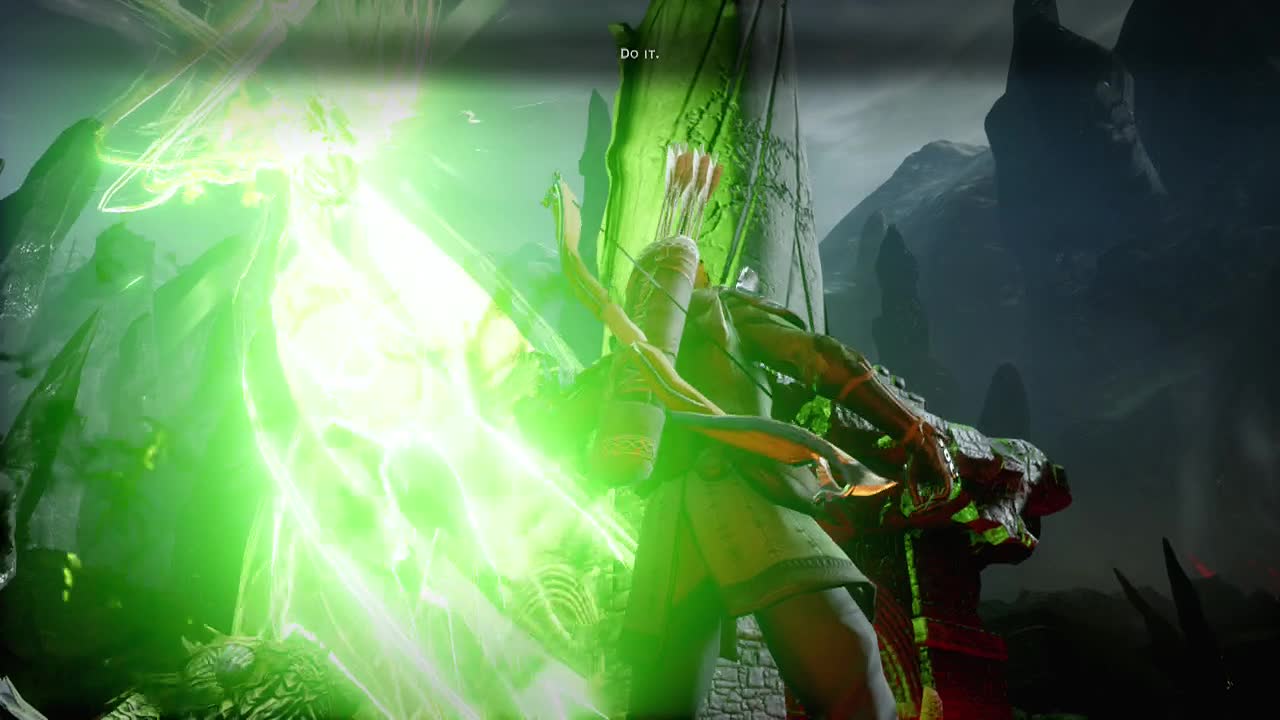
Seal the rift in the temple
This time you (and all of Cassandra and Leliana's forces) will be up against a pride demon. There isn't really much call for alarm here though, as the number of allied troops will help distract it and deal chip damage. While easy to avoid, the pride demon is a heavy hitter and has impenetrable armour. To get through you need to disrupt the rift. Whenever the demon uses guard (silver chains cover it's health), disrupt the rift to remove the armour. After a bit of a pounding, shades will spawn in and join the battle as well. Keep wearing away at the enemies and the demon will fall. When it does try to seal the rift and a scene will take over.