
STORY QUEST – The Threat Remains
Find Cassandra in the chantry
When you wake up, you'll have a quick talk with a terrified elf maid and then be on your feet once more. Leave the small hut to find that the Seeker's soldiers have changed their opinion of you quite drastically. Wind your way through the ranks to the large building at the top of the hill (the chantry), where Cassandra is waiting. Also with her are some familiar faces, waiting to talk to you.
"I did what I could." (Cassandra+)
"Blessed be the Maker." (Cassandra++)
"I'm not a 'chosen one.'" (Cassandra-)
"Are you serious?" (Cassandra-)
"I want to help." (Cassandra+)
Watch the scene end and the formation of the Inquisition get underway. Afterwards you'll receive your first influence points. These act as exp for the Inquisition itself, rewarding you with useful perks that can be redeemed at the war council whenever the Inquisition levels up.
Report to Haven's chantry
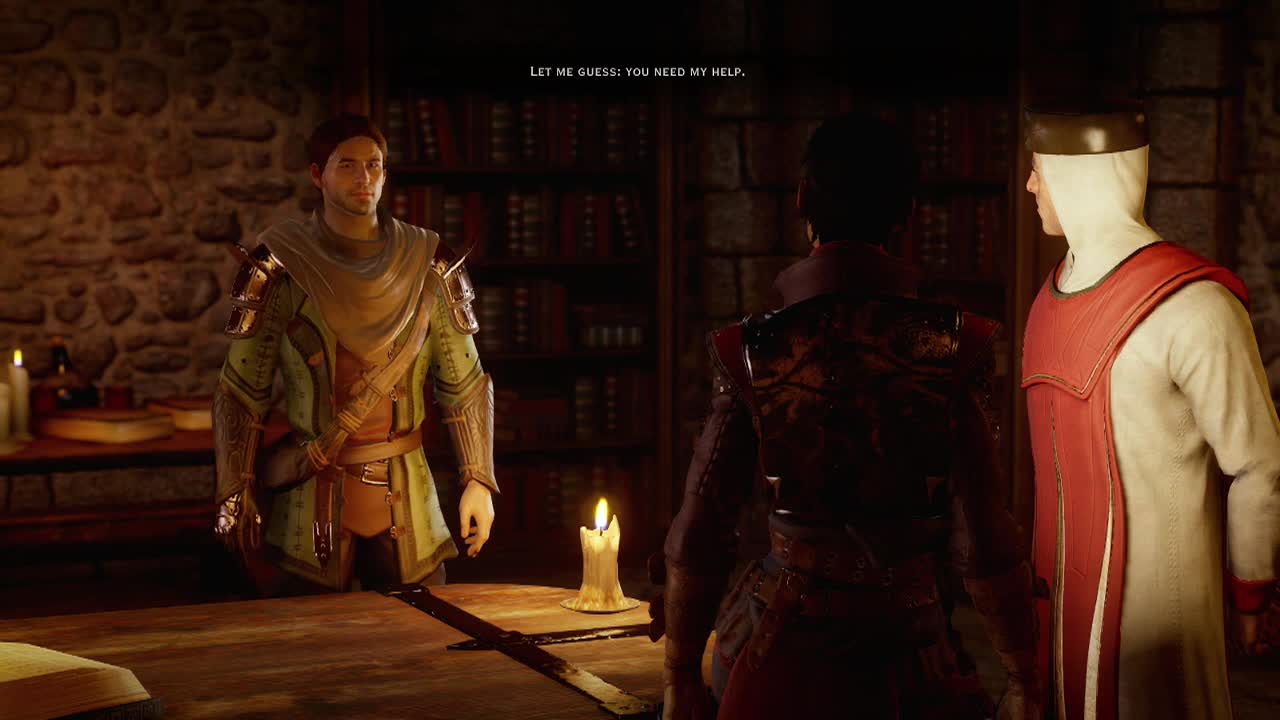
Head back into the chantry to talk with Cassandra again about your brand. This time you'll have a long discussion with the members of the Inquisition's leadership (the choices you make during the conversation do count to approval with Cassandra, but only after leaving the operations map).

Following all the listed conversation options will result in (Cassandra++) at the end:
"I want it gone."
"That sounds dangerous."
"Impressive titles."
"They still think I did it."
"The Herald of Andraste?"
"I like it."
"The breach doesn't worry them?"
"That could be trouble."
Afterwards, you'll be taken to the war council operations map. This map allows you to send Inquisition agents and leaders on missions, as well as opening up new areas and obtaining resources. You have three leaders: Josephine (connections), Leliana (secrets) and Cullen (troops).
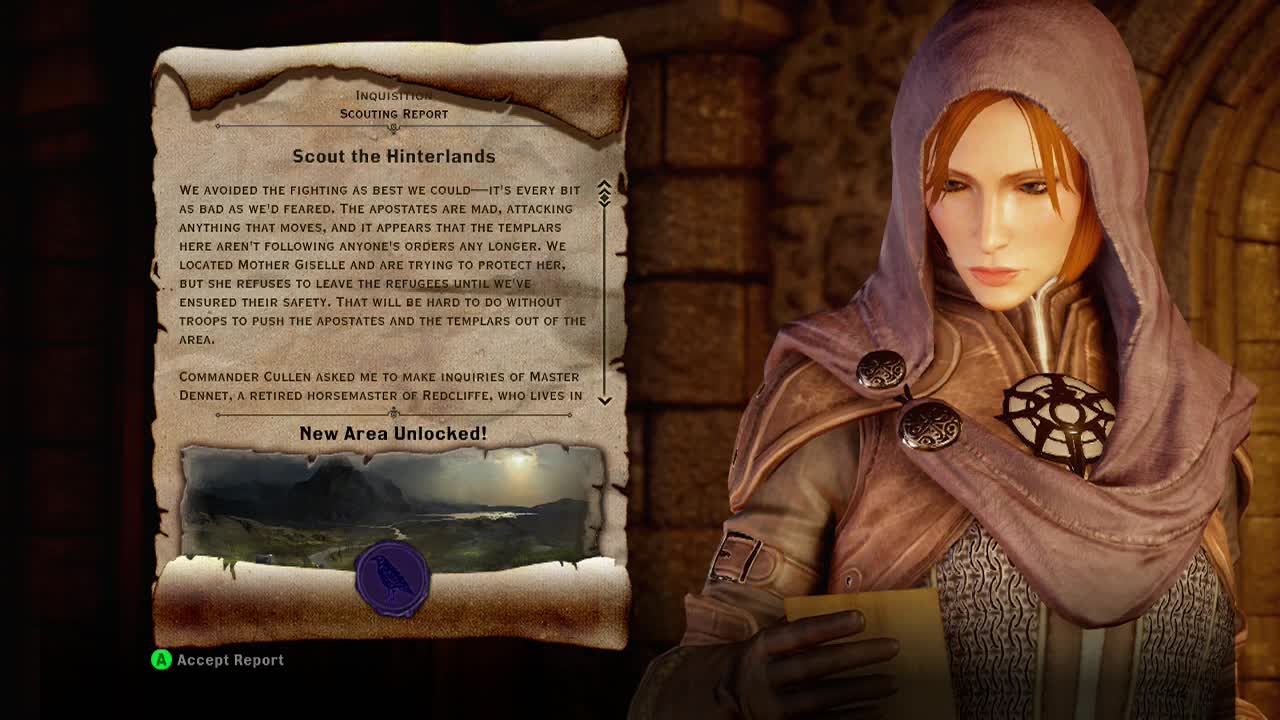
Each leader has differing time requirements for a mission and the resulting rewards can change depending on which leader you send. The same is true if you send agents. You have connections, secrets and troop agents who will also undertake certain missions. Some missions only accept certain types, so examine each mission closely before you decide who to send. In this case, the first mission's options are set for you. Send the secrets agents to scout the Hinterlands, this will open up a new destination on the world map and allow you to travel there.
If you want to use your resources efficiently, decline to go to the area and send leaders and agents to the missions that you can currently access (have a look at the operations section of the guide for more info on potential rewards). This means they will be in progress while you work on the story mission, meaning your rewards will arrive quicker.
Travel to the Hinterlands to speak with Mother Giselle
Once you are done at the operations map, back out of it to regain control in the chantry. Look at your own map and press Y to see the world map. Highlight the Hinterlands and press A to fast travel there.
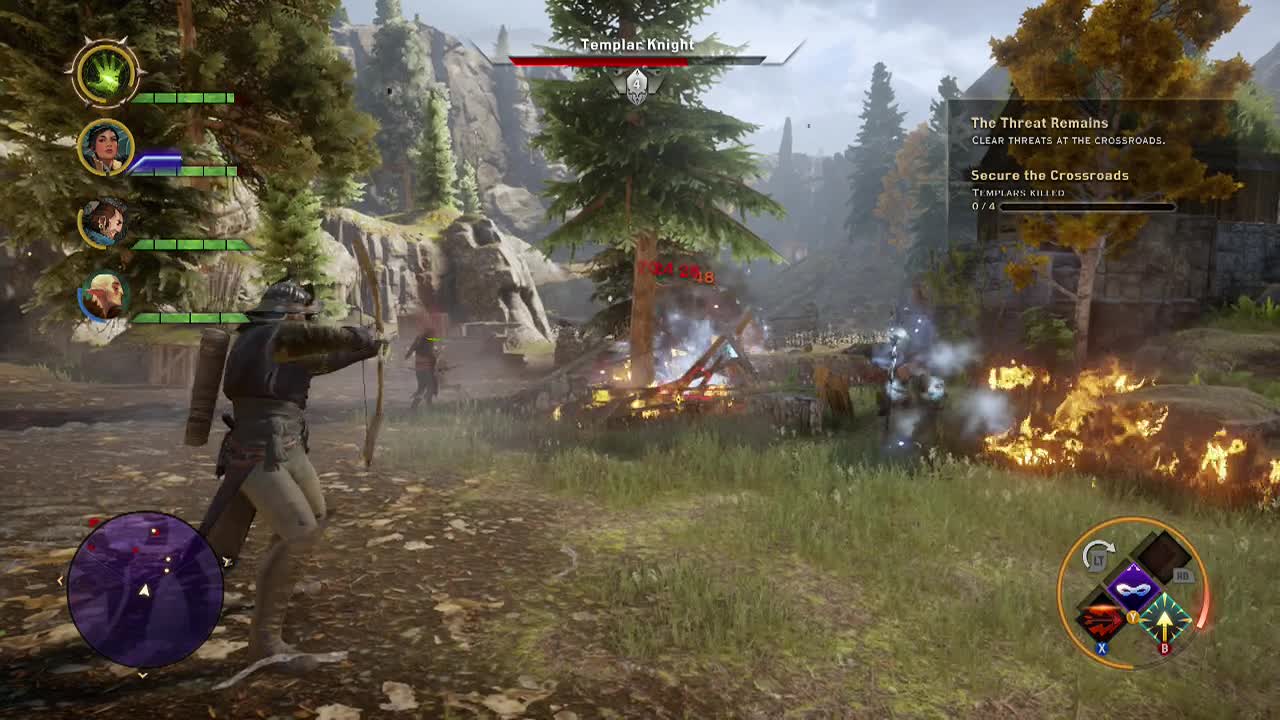
Clear threats at the crossroads
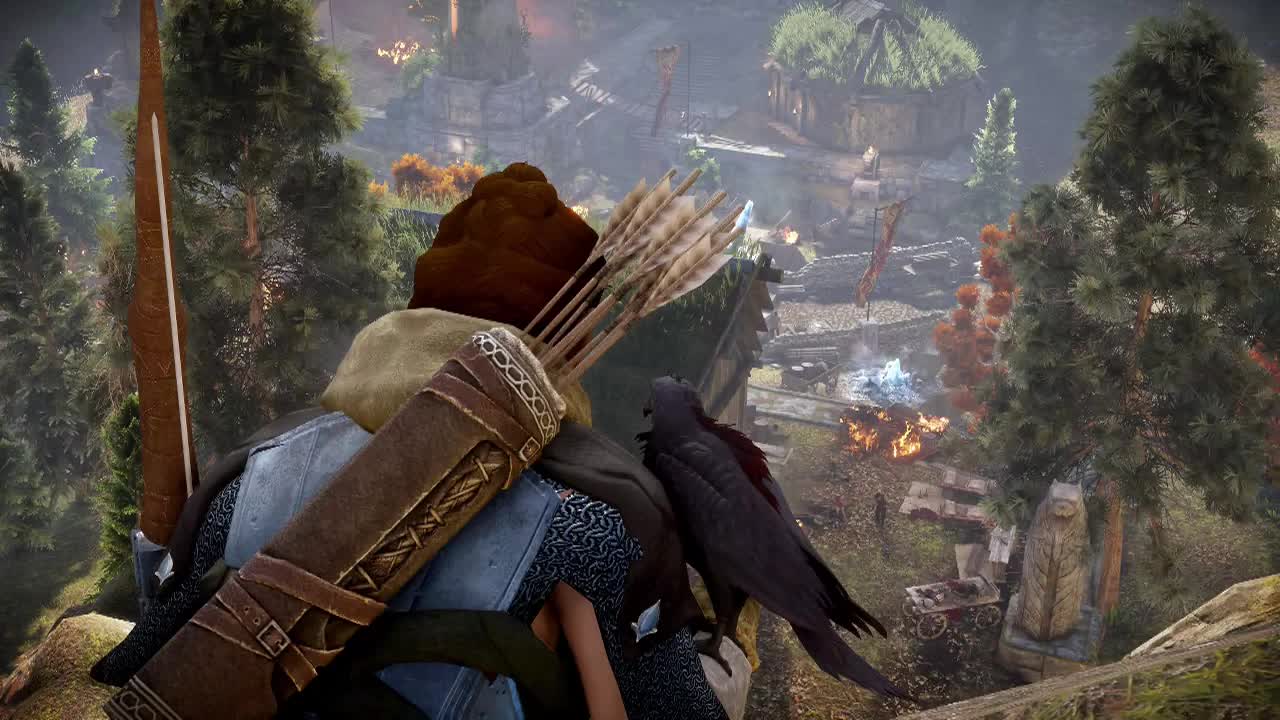
When you arrive at the Hinterlands, you'll discuss the situation with a scout before arriving at the Inquisition camp. The crossroads area is just at the base of the hill you begin on, so it should only be a short trek down the slopes to reach it. Be careful while descending though, as the fall damage can be quite significant if you aren't.
When you arrive at the crossroads, you'll find Templar forces engaging apostate mages in battle. You'll have to kill three Templar knights, four apostate mages and then another four Templar before the objective will complete. Even with your starting gear, this battle shouldn't be too difficult. Once the final Templar falls, the village will be under the control of the Inquisition.
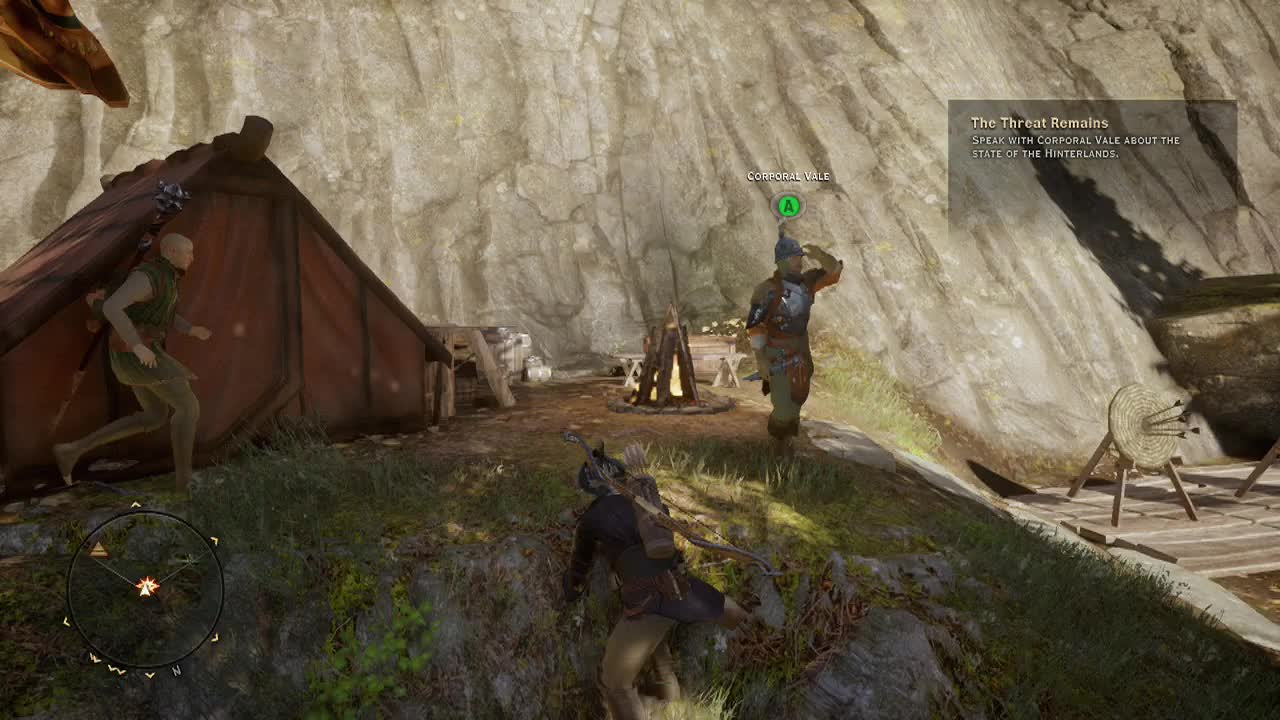
Speak with corporal Vale about the state of the Hinterlands
Corporal Vale can be found up a small hill to the South-West of the Crossroads village. Head up there and have a chat with him. Exhaust all his left hand options for some side-quests before asking him about the horse-master in the area. After you finish speaking with the corporal, your objective should update. For the next stage of the quest, you may have to do some side-quests in the area to increase your power points. Have a look in the side-quests section of the guide if you need more information.
*Note: When you return to Haven after this, you can watch Cullen disperse a mob at the chantry doorstep.
*Note2: Josephine will be talking to the Marquis in her room to the left of the war council room, entering it will allow you to interrupt and talk to him.
Travel to Val Royeaux – Power cost: 4
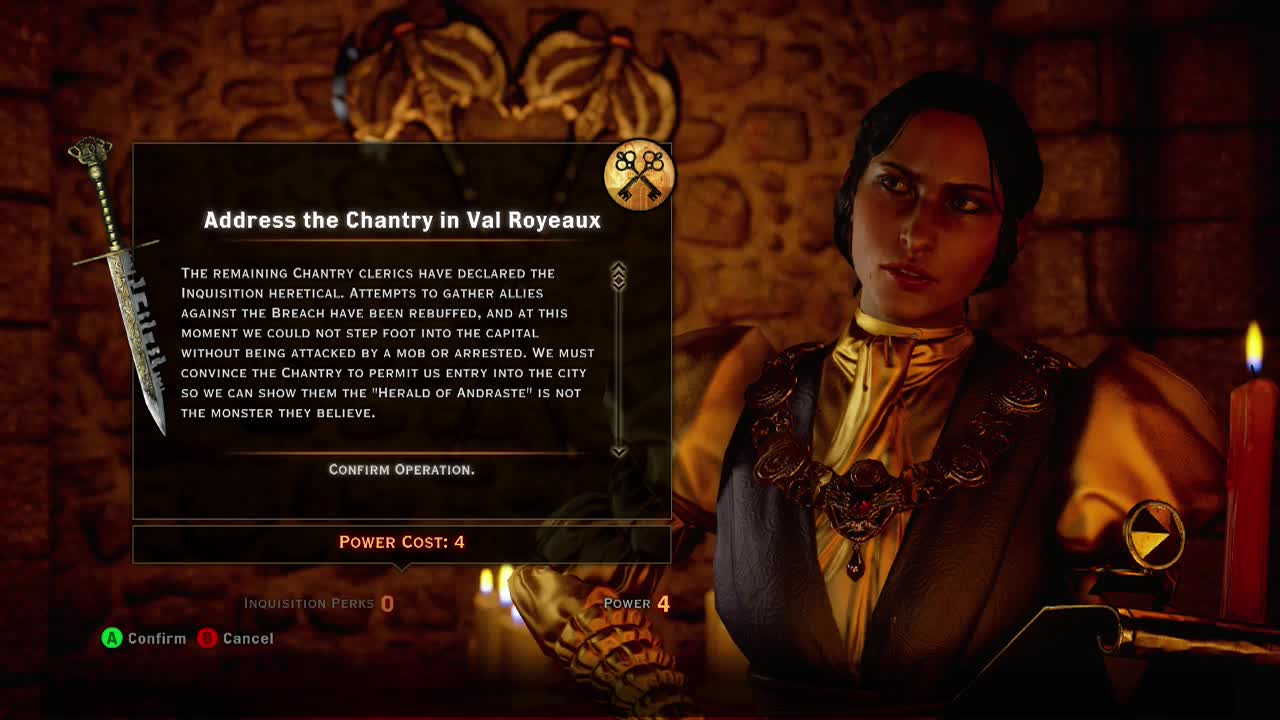
Fast travel back to Haven on the world map and enter the war council room at the back of the chantry. On the operations scroll, you will see the operation 'address the chantry in Val Royeaux.' Pay for the operation to travel to Val Royeaux automatically.
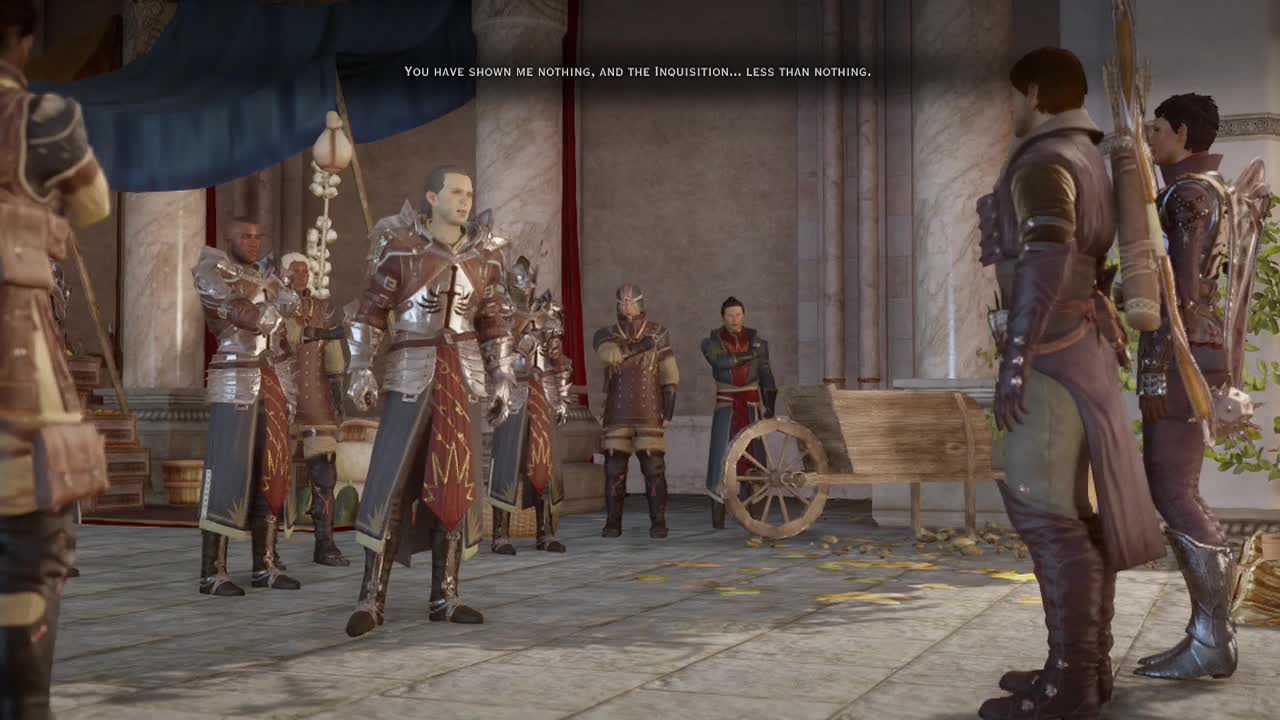
Your arrival will cause a bit of a stir, but nothing major. Watch the scene and then cross the plaza to where the Templar and chantry clerics are waiting. When you get close, a scene will take over. Once the scene is over, you can leave the city straight away if you wish. Note that the merchants in the area are now open for business and there are plenty of codex entries to find in the area if you want some free exp.
As you try to leave, you will meet the leader of the rebel mages on the way. After a quick chat, you'll get an invitation to Redcliffe to meet with the mages.
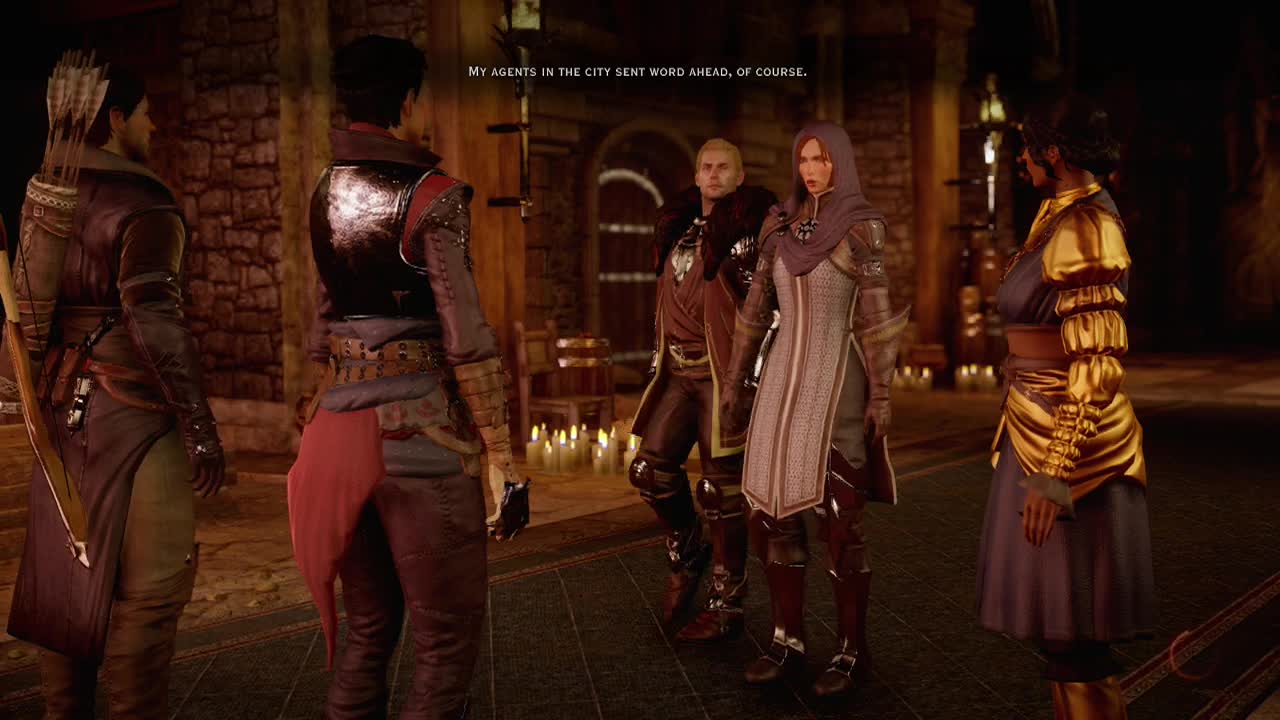
Return to Haven's chantry
Fast travel back to Haven and enter the chantry war room. The leaders will discuss the current situation on the way inside with you.
"You must choose soon." (Cassandra++)
After the discussion is over, the mission will end.
(+400 Influence, +2 Power)