
THE MONSTERS
Goliath (close combat)
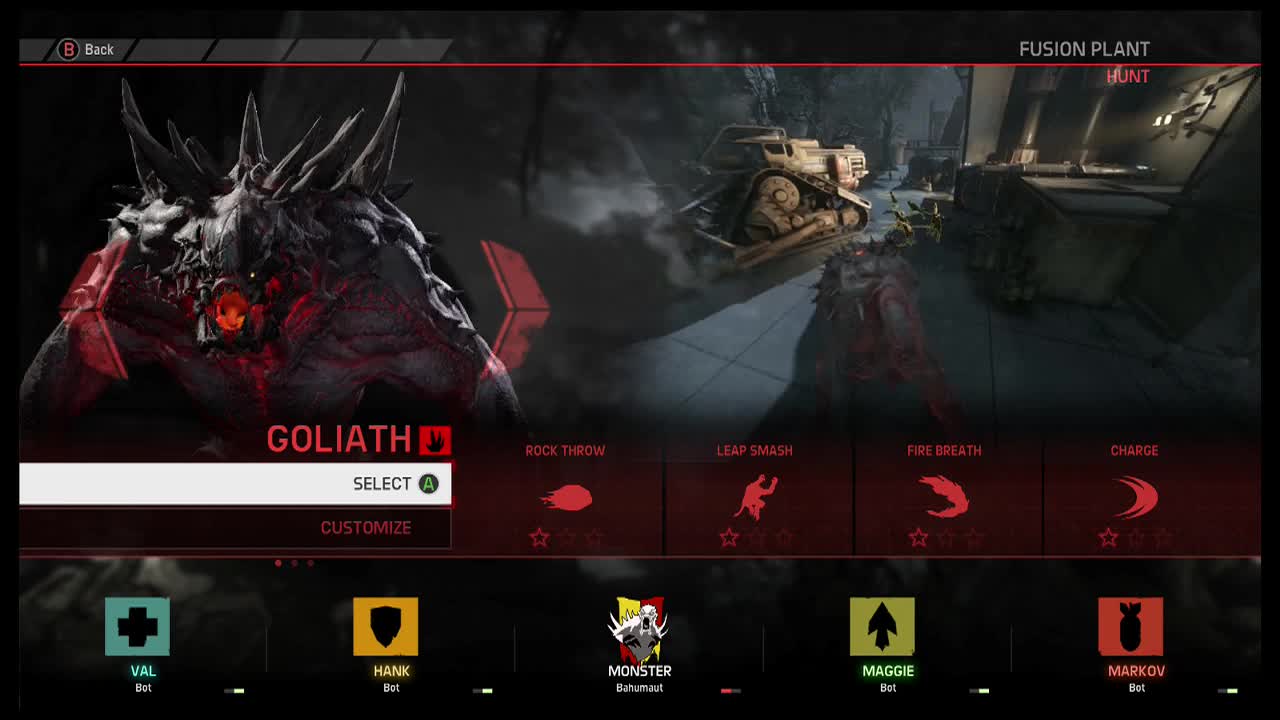
Rock throw
Level 1 – Damage 100%, Radius 100%
Level 2 – Damage 130%, Radius 130%
Level 3 – Damage 169%, Radius 169%
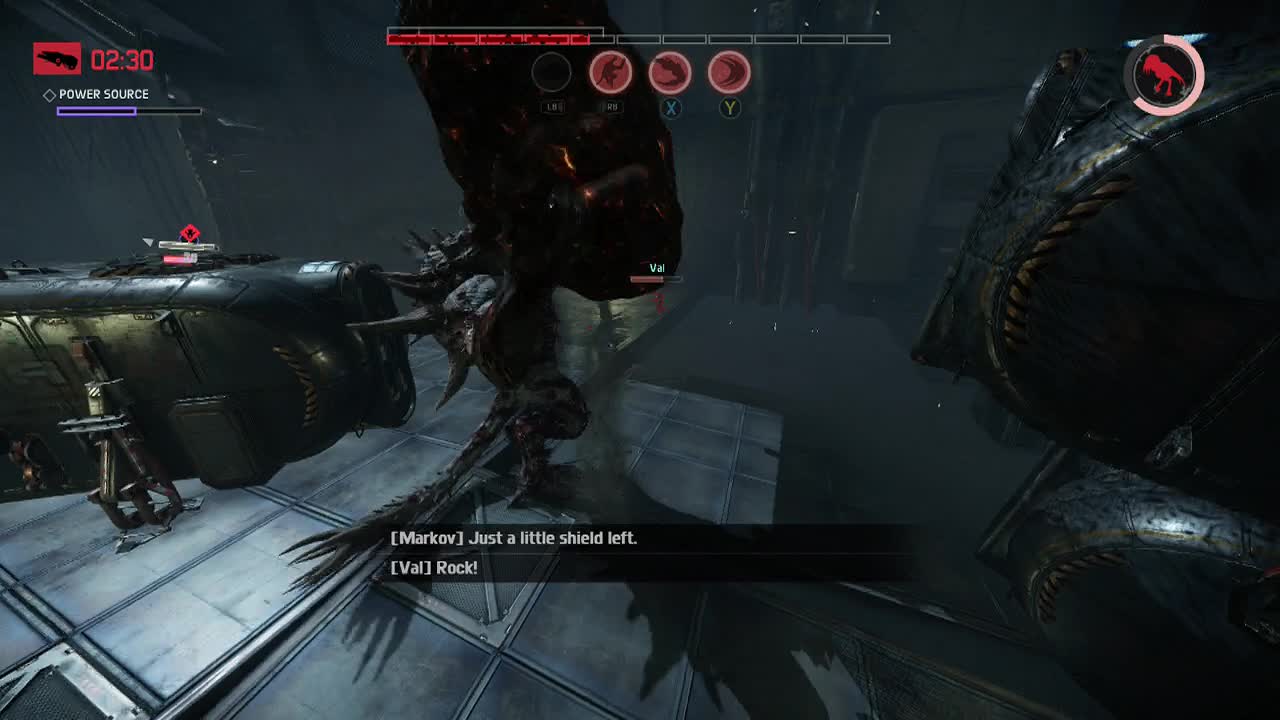
Description: The Goliath digs his claws into the ground and wrenches out a giant clump of dirt/ rock and hurls it at speed towards an enemy. During the animation, the player can quickly target where the monster will throw the projectile.
Usage: The Goliath's only real long range attack deals impressive damage and can be used to blindside or distract enemies before retreating. At level 3 it is deadly enough to knock out the weaker hunters in a single shot.
This ability can also be used for guerrilla tactics (hit and run attacks on objectives such as generators), or to damage/ kill dangerous wildlife to feed on without taking damage. A useful utility skill for many situations.
Leap smash
Level 1 – Damage 100%, Radius 100%
Level 2 – Damage 130%, Radius 130%
Level 3 – Damage 169%, Radius 169%
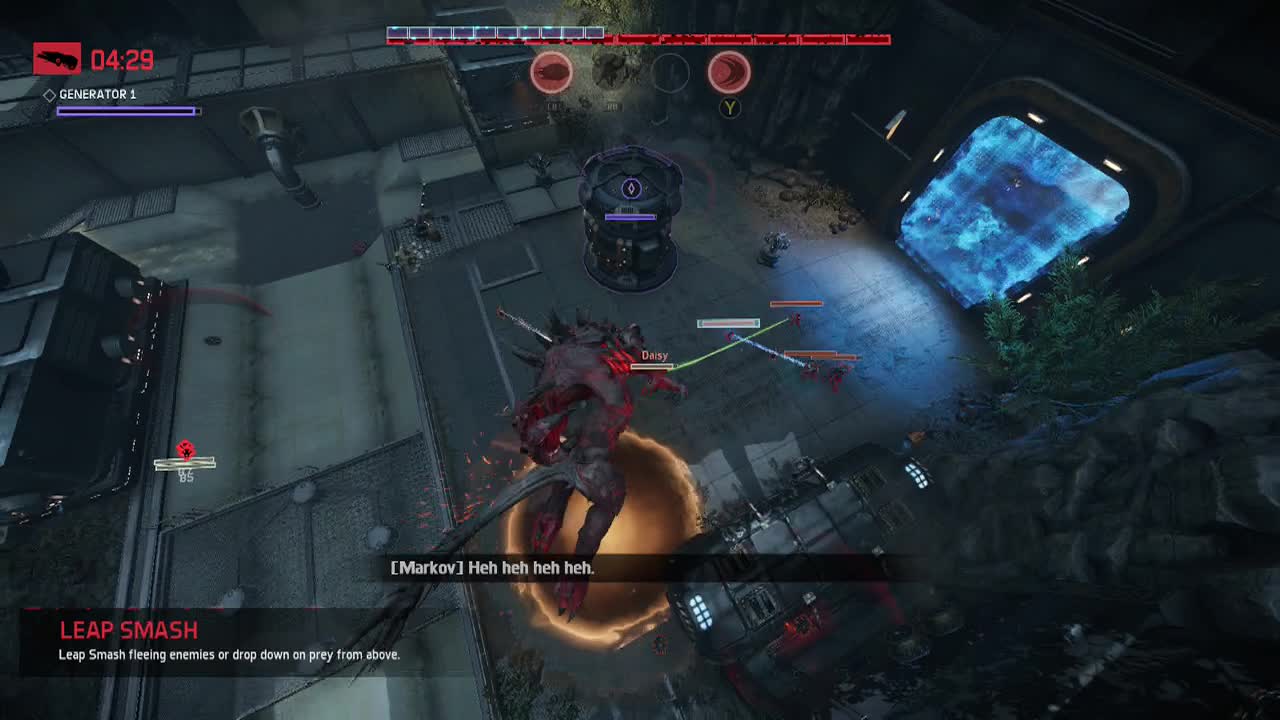
Description: The monster jumps high into the air and smashes down into a target location, dealing area of effect damage to anything nearby and knocking back enemy hunters. The player can control the landing area of the jump by moving the target ring while the jump animation plays out. This means the monster can adjust it's target mid flight if the player is quick enough.
Usage: This attack is a great boon for offense, defense and retreating all in one. Leap smash is an excellent battle opener, dealing heavy damage to clustered hunters or wildlife as well as knocking hunters back and disorienting them. It can also be used to help break out of harpoon traps without making yourself an easy target by standing on the ground and swinging in melee.
It's great for catching up with fleeing hunters when you need to deal that last bit of damage to incapacitate them. It can also be used as an extra jump to escape (aim it away from enemies) and can also disorient hunters while you scarper. It is also one of the easier targeted abilities for the Goliath, so it is easy for starting players to get the hang of.
Fire breath
Level 1 – Damage 100%, Range 100%
Level 2 – Damage 130%, Range 130%
Level 3 – Damage 169%, Range 169%
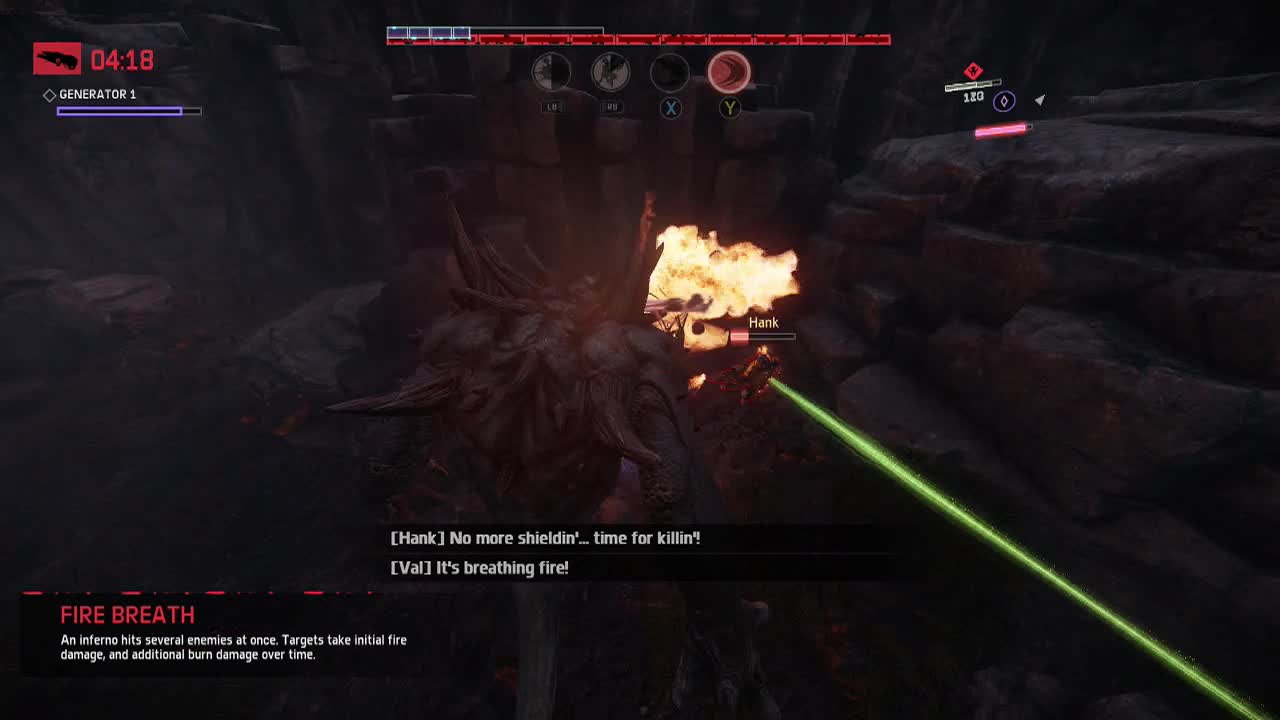
Description: The monster spews a stream of fire from it's mouth in a line in front of it. The stream can be aimed by the player and adjusted to target enemies until the animation ends. The line of fire deals damage upon hitting an enemy and continues to deal damage over time while showing up on a hunter as fire on their body.
Usage: Depending on the hunter team makeup, this can be a simple damage over time effect or a strategic lifesaver. Fire breath has the added ability of revealing cloaked hunters, so it is one of the most effective ways of dealing with cloak teams (Lazarus, support characters).
Any cloaked players caught in the stream will be visible by the flames over their bodies after being hit. The damage over time effect can also be handy in dealing with teams who are missing or have lost a healer, as you can chip away at their health by flaming them and retreating.
Charge
Level 1 – Damage 100%, Radius 100%
Level 2 – Damage 130%, Radius 130%
Level 3 – Damage 169%, Radius 169%
Description: The monster rushes forward (no delay) and smashes into anything in a straight line from it's starting position, dealing damage to any enemy it hits and knocking hunters back. The player needs to line up the monster's perspective properly to ensure it charges into enemies for maximum mayhem.
Usage: Another multipurpose skill. Charge is awesome for dealing pure damage with knock-back in battle, while also being used as a run the hell away ability when your armour is low. It also allows you to charge immediately after dealing with harpoon traps to cover the distance between you and the hunters.
This makes it easy to get back into the face of fleeing hunters, which is always a useful thing. Works best when used aggressively (combine with leap and rock throw at level three for a constant stream of attacks).
Kraken (aerial/ ranged combat)
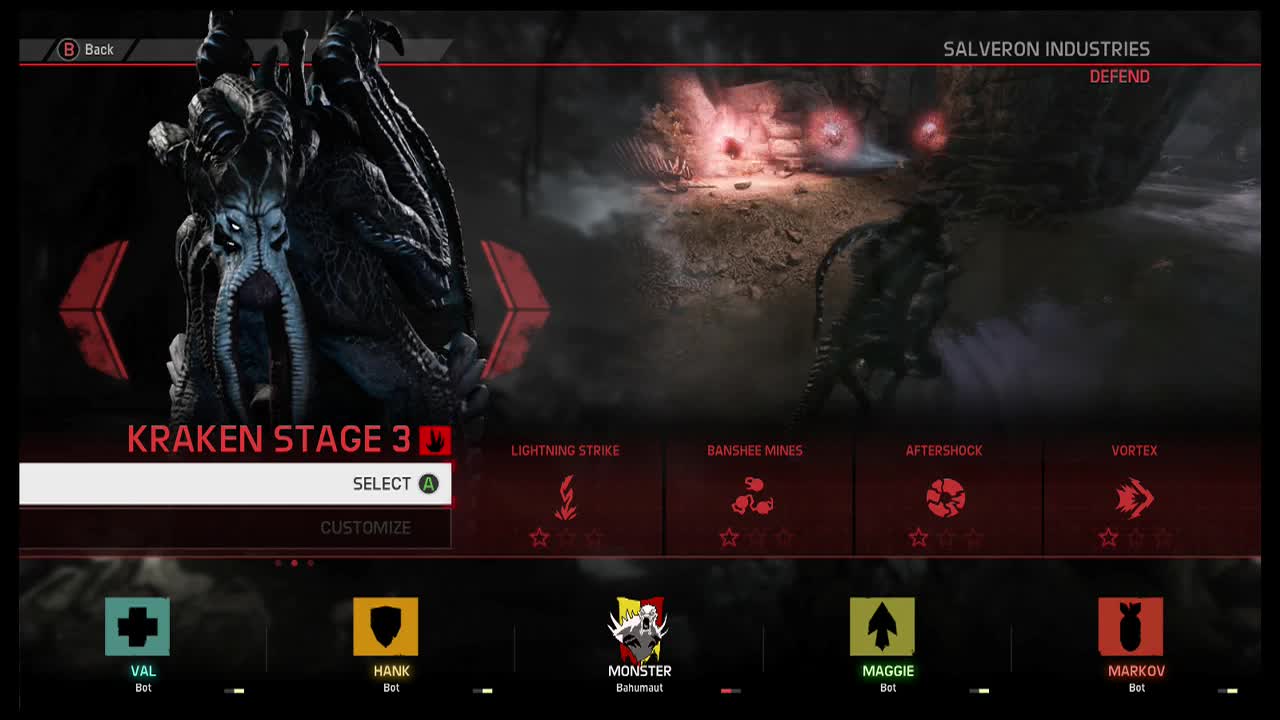
Lightning strike
Level 1 – Damage 100%, Radius 100%
Level 2 – Damage 130%, Radius 130%
Level 3 – Damage 169%, Radius 169%

Description: Four pillars of lightning slowly converge at a target location and then combine into one massive blast from the sky after a few seconds. The player can use the animation time to pinpoint and adjust the location, it allows for powerful close to mid range strikes against hunters and wildlife.
Usage: This is the most damaging single attack in the Kraken's arsenal but requires some finesse to use effectively due to it's long and obvious animation. The charge animation warns targeted hunters to move out of the blast zone. Most useful from the air, this blast does have a decent area of effect, meaning you have a little leeway in hitting your targets.
If you combine this with movement limiting abilities (such as vortex or banshee mines), it can prove a devastating option. Use vortex to knock your enemies away and then immediately start charging lightning strike while they are still disoriented to increase your chance of a successful strike.
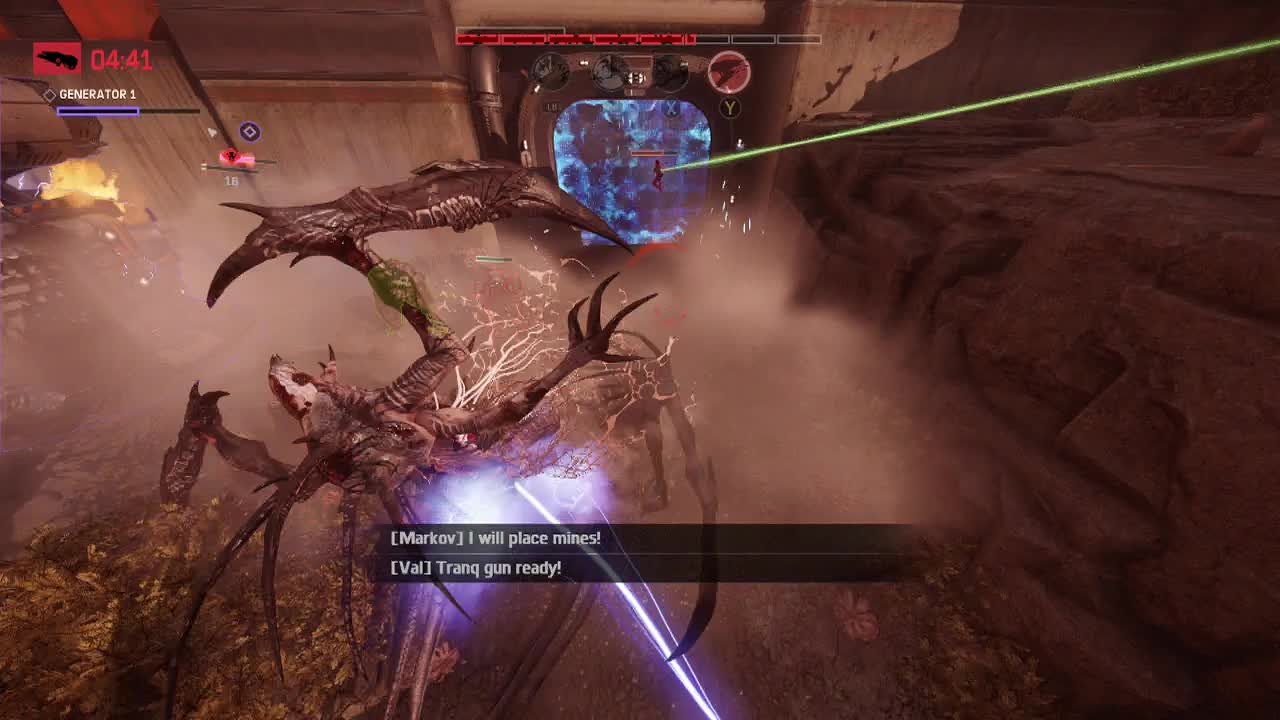
Banshee mines
Level 1 – Damage 100%, Radius 100%
Level 2 – Damage 130%, Radius 130%
Level 3 – Damage 169%, Radius 169%
Description: Think of this skill as a homing mine that the monster can place or use instantly to chase nearby hunters. The Kraken can have up to three of these active at a time. The player can use it as part of a powerful one-two hit on a single enemy, using the delay caused by tracking to attack with another ability, both combining to hit for painful damage. Note: Hunters can shoot and destroy the mines, but not if released point blank.
Usage: Banshee mines can be laid as traps to aid your escape into the wilderness (great in hunt mode). They can also be used for ambushes (wait until the hunters trigger the mines and then hit them with other abilities.
They also combine with other abilities (due to the priming delay of a second or two) with other abilities such as aftershock and vortex to hit a hunter multiple times in quick succession for unexpectedly large damage. You can also just shoot them at a hunter point blank to make them explode instantly (this works effectively on the turrets in defend mode as well.
Aftershock
Level 1 – Damage 100%, Range 100%
Level 2 – Damage 130%, Range 130%
Level 3 – Damage 169%, Range 169%
Description: Aftershock takes a few seconds to charge up before unleashing a crushing blast of area of effect damage in a circle to all enemies around the monster. Works best when actively in battle and/ or hunters are clustered together, hitting more than one at once.
Usage: Aftershock (despite it's massive area of effect), is generally considered the least useful skill to select. It deals large damage in a circle around the Kraken, but also slows down movement speed. Only really useful when you have multiple targets in close proximity (which, with the Kraken, you should be avoiding at all costs).
Most hunters can simply trot out of the effective range of this attack, meaning it is wasted. It can really shine when combined with movement restriction abilities. Use vortex to cluster a hunter team and then immediately hit them with aftershock for significant damage.
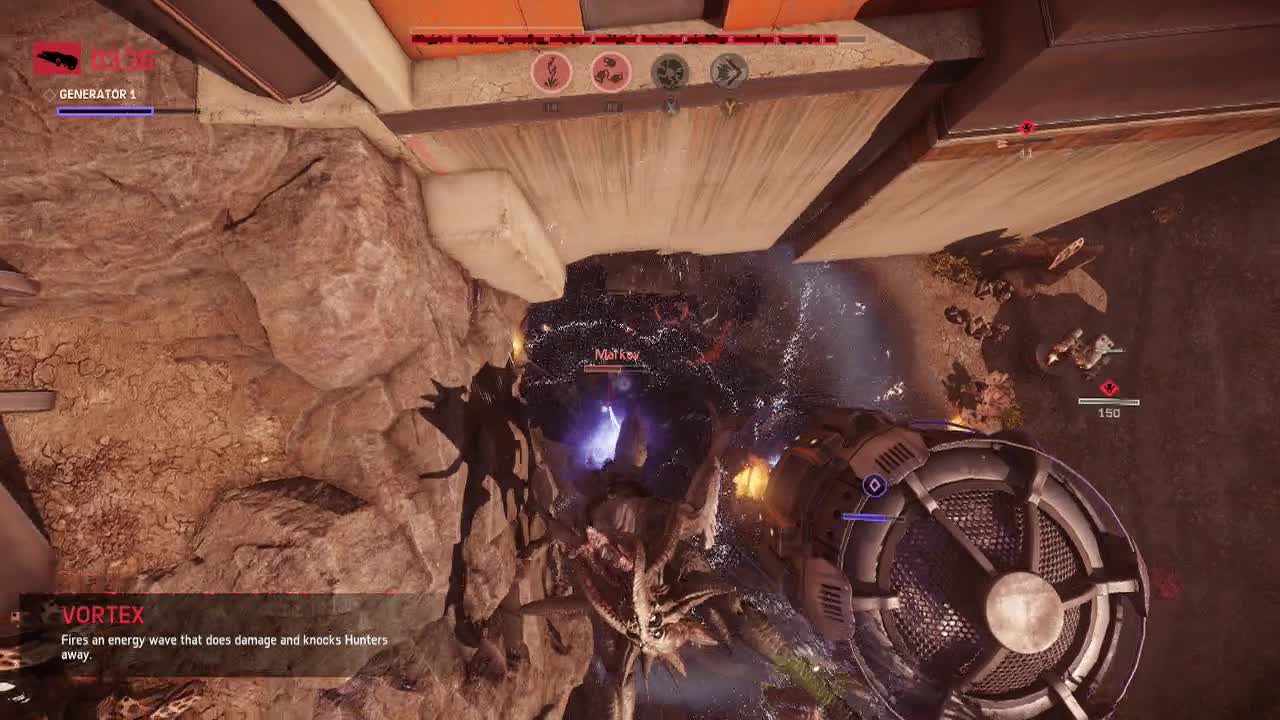
Vortex
Level 1 – Damage 100%, Radius 100%
Level 2 – Damage 130%, Radius 130%
Level 3 – Damage 169%, Radius 169%
Description: Fires a swirling vortex of air at a target, causing damage and knock-back to anything caught in it's path. The player aims the attack with RS and it will fire in a straight line towards wherever the player targets.
Usage: The vortex has a surprisingly large cone shaped area of effect and is essential for hunter knock-back and clustering. This can be used to gather hunters together for a lightning strike or aftershock combo resulting in massive damage. It can also be used as a utility skill for escaping or disrupting hunters.
The knock-back effect is consistent no matter what level the skill is, so it is advisable to always take at least one level of this skill into battle, due mainly to it's usefulness in many different scenarios.
Wraith (stealth/ assassination)
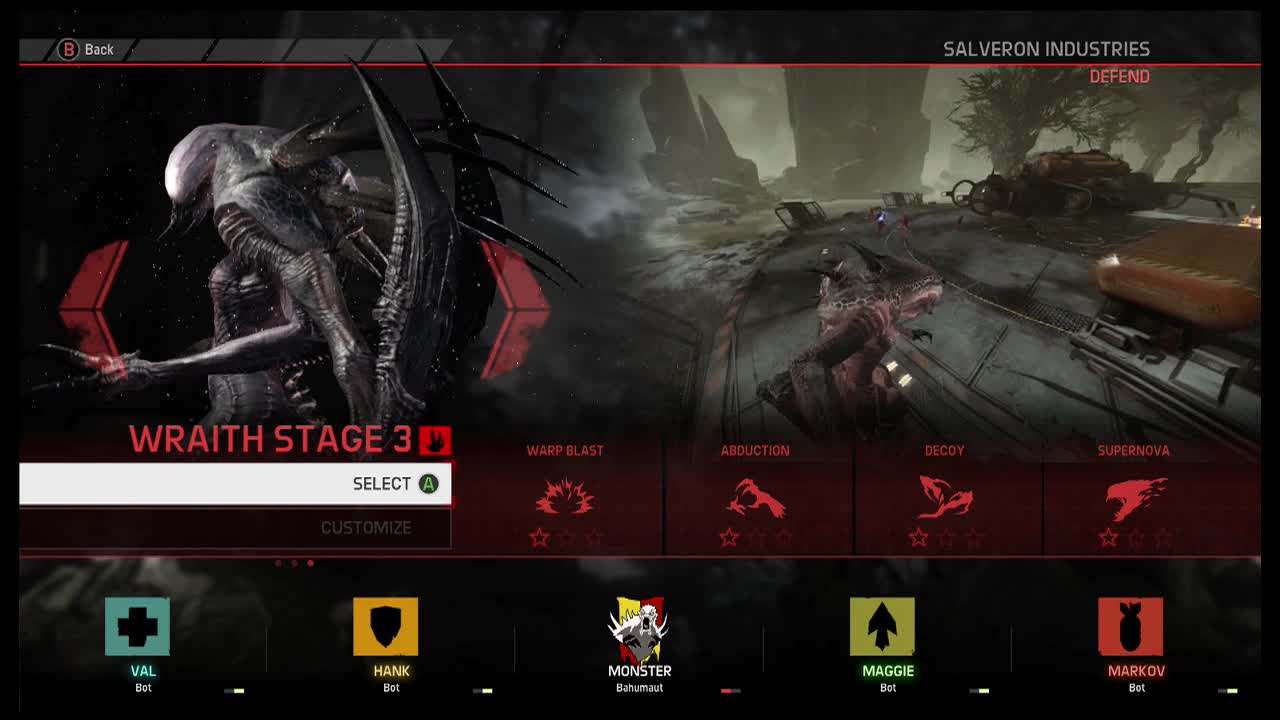
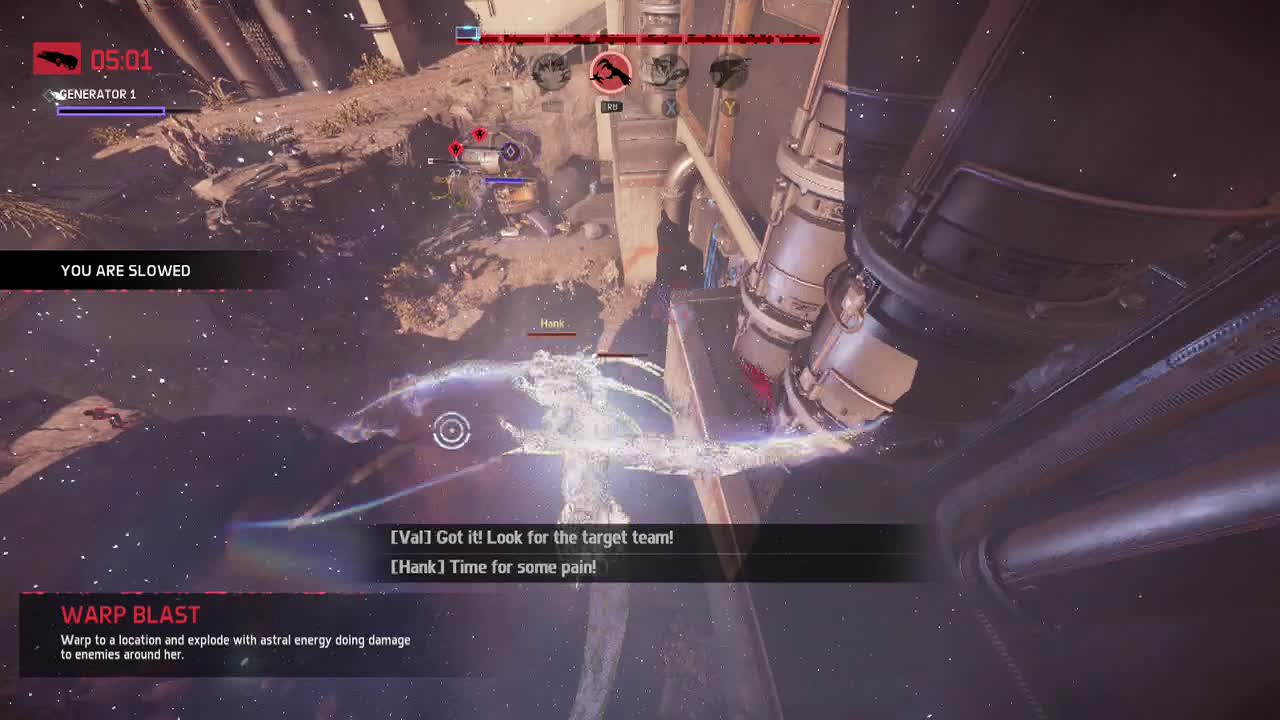
Warp blast
Level 1 – Damage 100%, Range 100%
Level 2 – Damage 130%, Range 130%
Level 3 – Damage 169%, Range 169%
Description: The Wraith will teleport in a straight line to where it is targeting and detonate after a second or two, dealing massive damage to any enemies clustered in a large area around the explosion location. The player can adjust the aim of warp blast before triggering it. It works great against clustered enemies or for rushing forward and dealing that last bit of damage to a weakened hunter.
Usage: A good opener to a fight (especially against clustered hunters), in stealth attacks when combined with decoy or even for escaping for that extra distance rush, warp blast is a good multipurpose skill that most Wraiths should have at least one level of when they go into battle.
A powerful combination is to combine Decoy to cluster the hunters together while they defend, followed by warp blast from stealth into the group and then immediately follow this up with supernova to lock them in place and deal massive damage while they are in the arena.
Abduction
Level 1 – Damage 100%, Range 100%
Level 2 – Damage 130%, Range 130%
Level 3 – Damage 169%, Range 169%
Description: The Wraith will surround itself in darkness before rushing forwards to snatch a targeted enemy and drag them back to it's original location. The player can line up the target before triggering the ability, which takes around a second between initiation and reaching the target.
Usage: This ability is mainly used for separation, disorientation and delay tactics. Combined with the distraction caused by decoy, a Wraith can separate key hunters from the group (such as the medic), without them immediately realizing. Combine the grab tactic with supernova's damage frenzy combined and the separated hunter will go down extremely fast, allowing the Wraith to melt back into the shadows.
Decoy
Level 1 – Duration 100%, Damage 100%
Level 2 – Duration 130%, Damage 175%
Level 3 – Duration 169%, Damage 250%
Description: Creates a body double of the Wraith which engages nearby enemies, while the original Wraith turns invisible. The player maintains control of the invisible Wraith, and can use the time while invisible to prepare attacks or retreat.
Usage: This skill has many uses, allow the decoy to engage the hunters while you line up other skills on the group, use it to slow the hunters down while you get away. Use it to deal extra damage while your other ability cool-downs reset so you can resume the attack. Combine this ability with supernova to increase damage and it can be particularly dangerous.
It is also great for hit and run tactics, to distract or weaken hunters while you abduct the medic from the group without their noticing. Using this skill correctly really makes or breaks a Wraith player, and it will be interesting to see the strategies expert players come up with in the future.
Supernova
Level 1 – Damage 100%, Radius 100%
Level 2 – Damage 130%, Radius 130%
Level 3 – Damage 169%, Radius 169%
Description: The Wraith and the surrounding area will glow as a this ability triggers. The ability generates an "arena" which will stretch to a certain size. While this ability is active, the Wraith will gain a massive increase to damage and attack speed while inside the area of the arena. This also affects any decoys of the Wraith that are present in the arena as well.
Usage: This is the Wraith's most offensive and confrontational skill, but shouldn't really be used directly against a full team of hunters. Use it with a decoy against a full team, combining it with hit and run tactics. Or you can use it against lone (or paired) targets for maximum effectiveness. The Wraith (due to it's low armour) isn't really made for head on confrontations.